When this handsome fella turned 5 months old,

we decided it was time to start introducing him to solid foods, pureed style, of course. I had never made my own baby food – we bought jars with Sawyer – but decided I would give it a try this time. I wanted it to be easy, quick and cost efficient. HOLY.CATFISH. It is all of the above! I will never highly doubt I will ever purchase baby food again!
Saturday, I made peas and green beans. For both of these purees, I bought frozen vegetables. (For carrots, sweet potatoes, apples, pears, bananas and squash, I bought fresh.) Canned foods aren’t ideal because they tend to leach nutrients in to the water or brine they are packed in and they have a lot of preservatives. Read up here. The only exception is pumpkin (which WD loves) because it isn’t cooked or packed in water, prior to canning.
To make pureed peas…
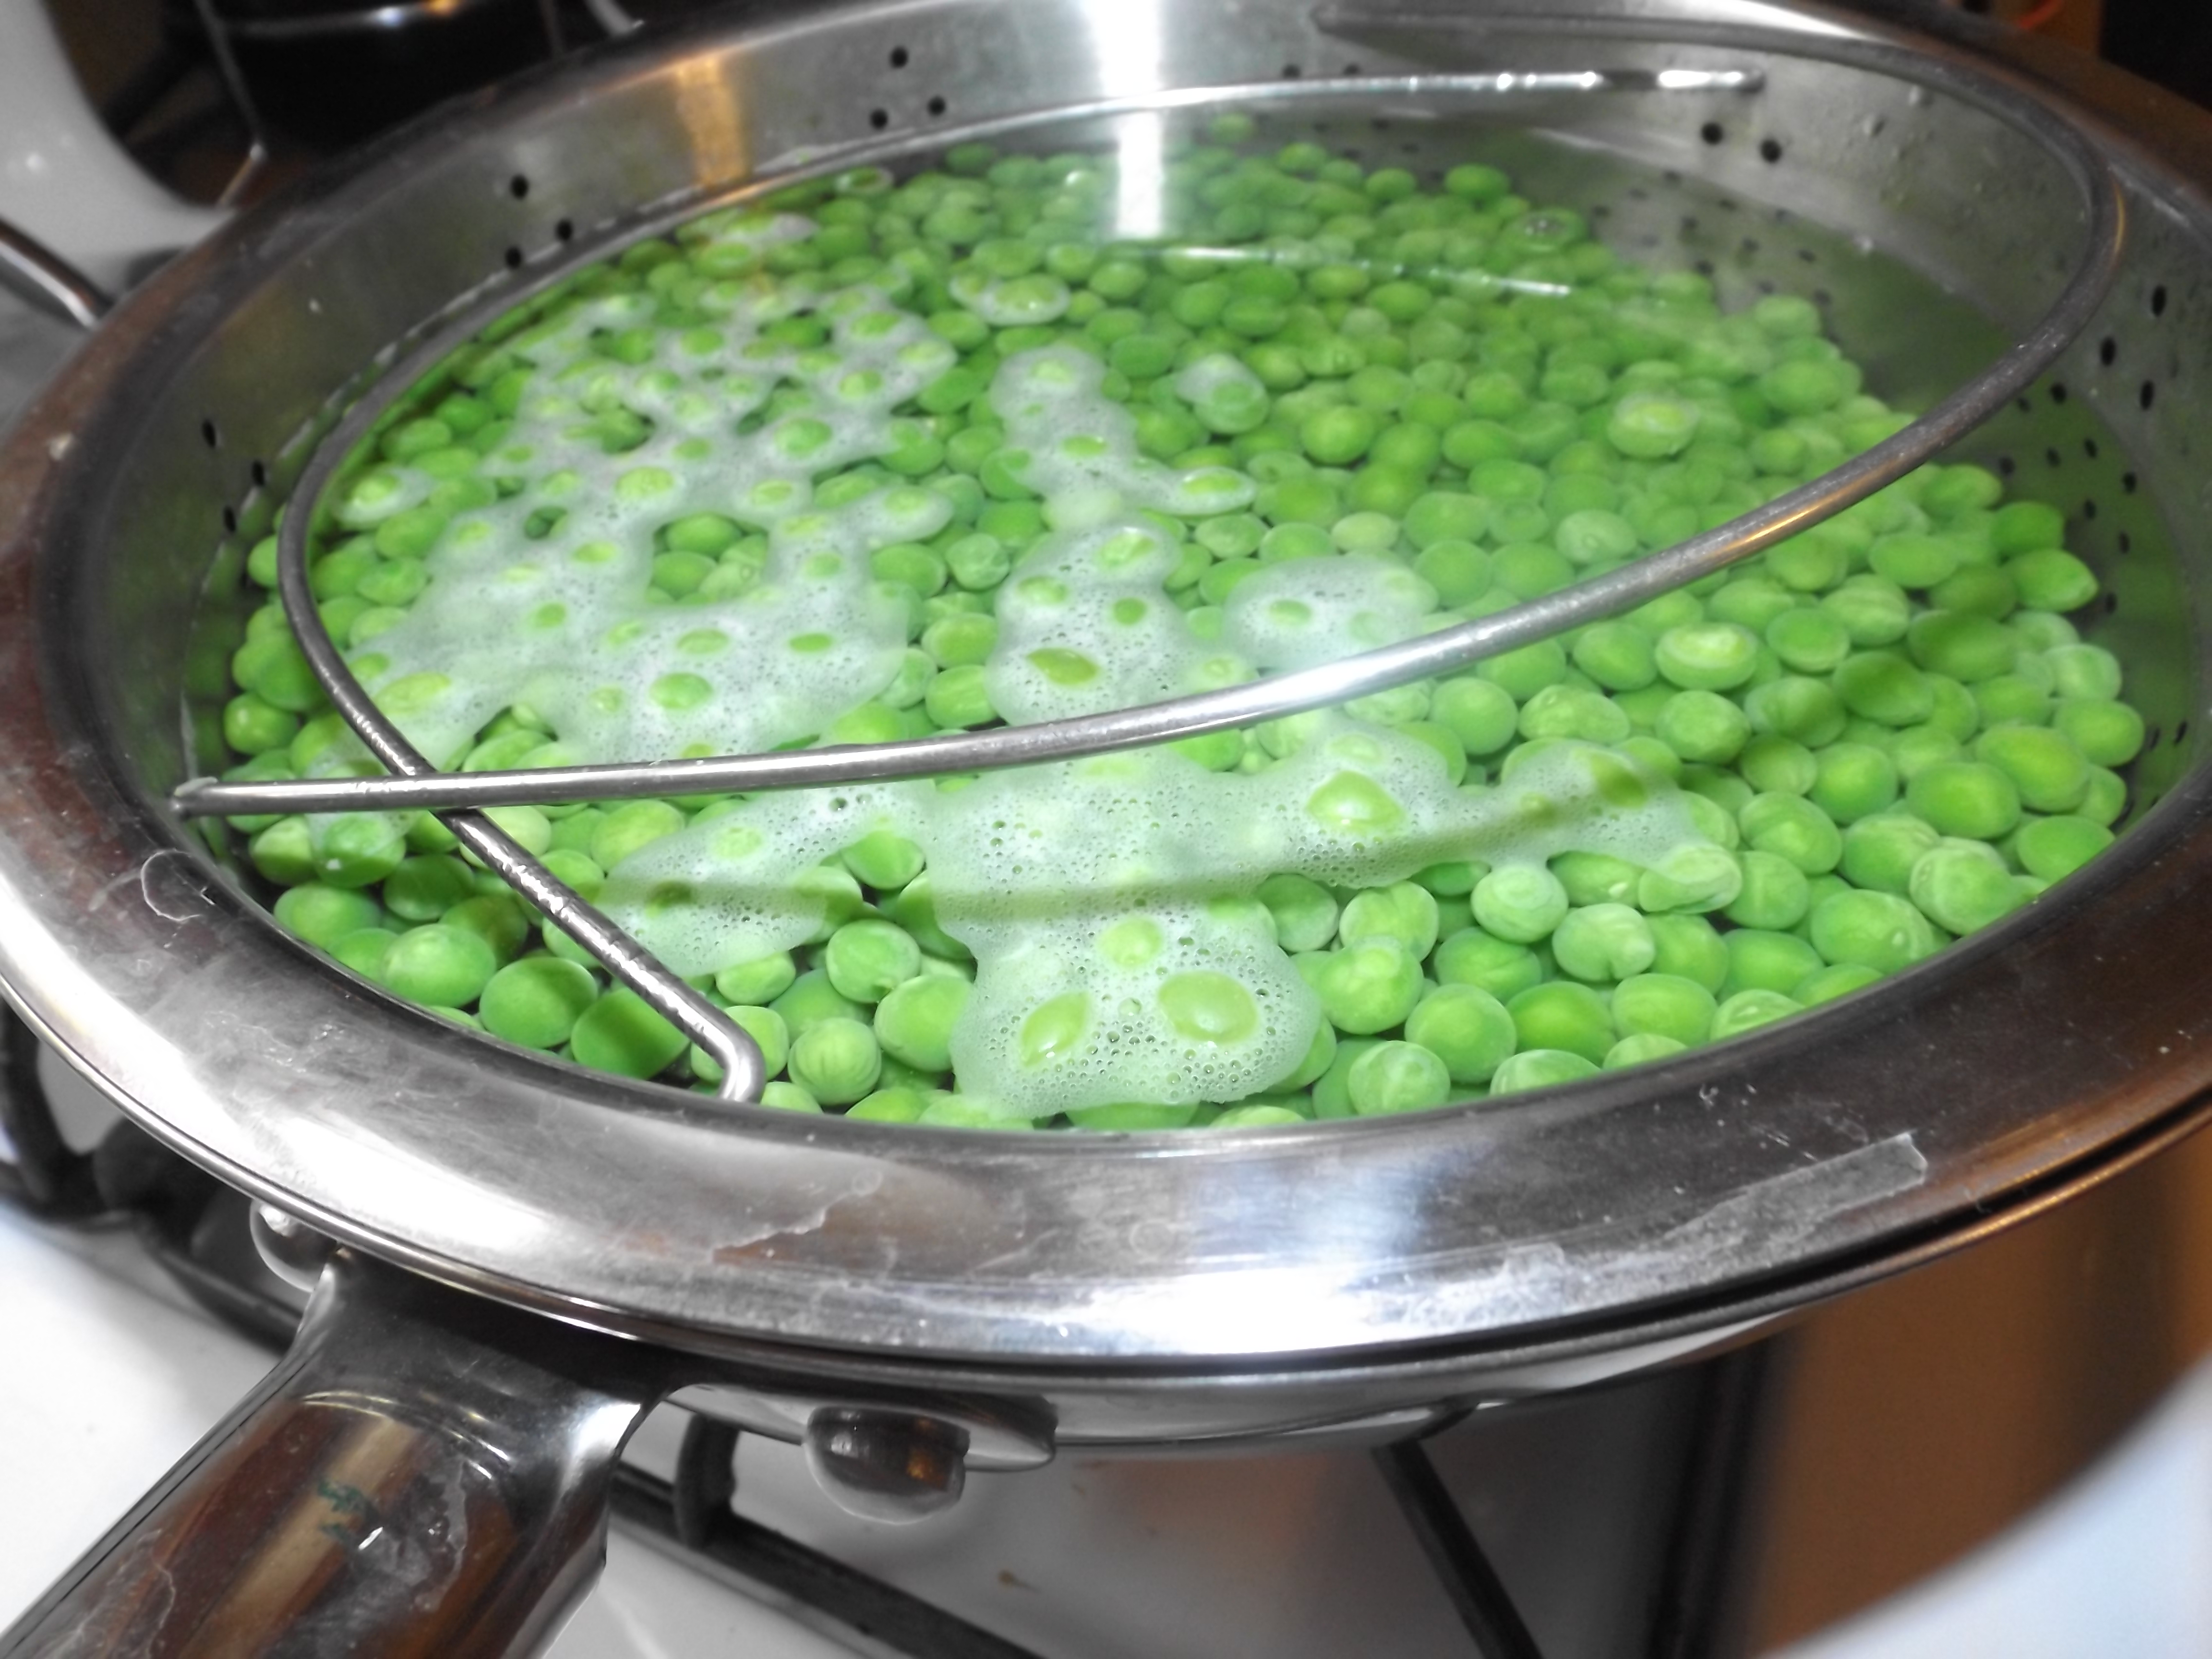
Step 1 – Cook your peas as directed on the packaging.
Step 2 – Drain (but save your water) and put peas in your appliance of choice for pureeing. I chose the food processor this time (though a blender usually gets them smoother) because I knew I was going to press them through a strainer later. This is recommended for peas because the skins are a little hard for baby to eat.
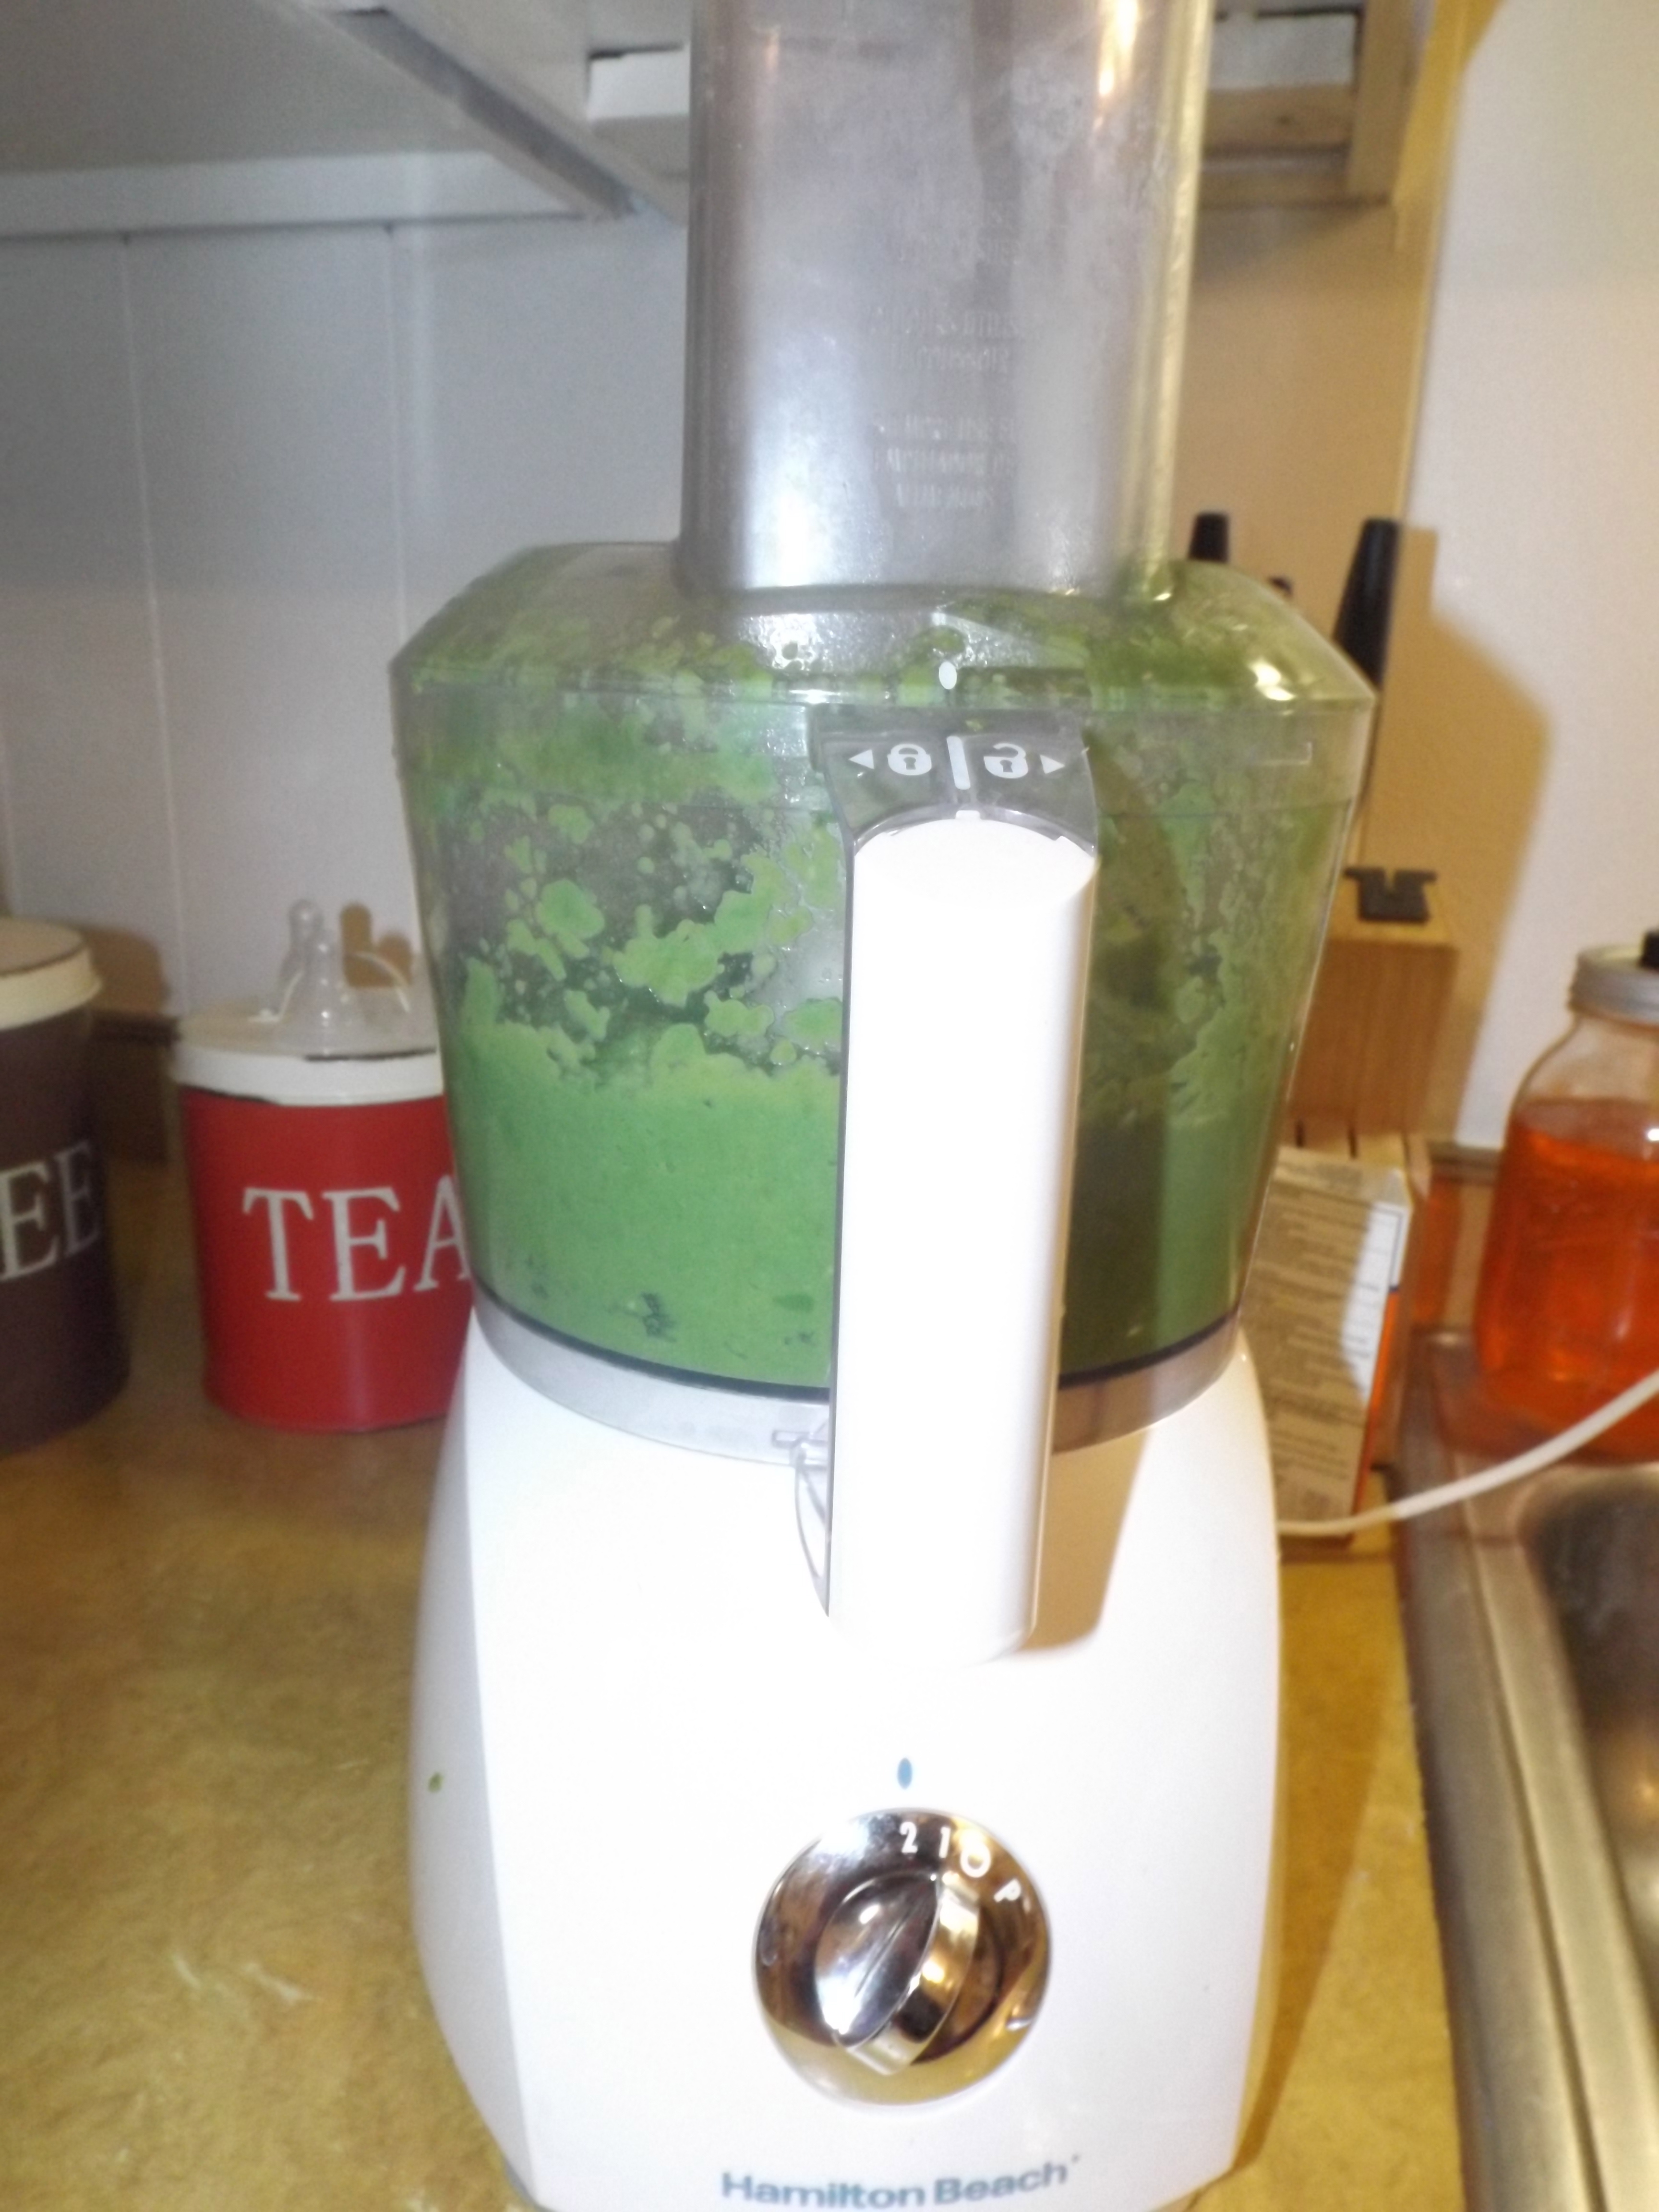
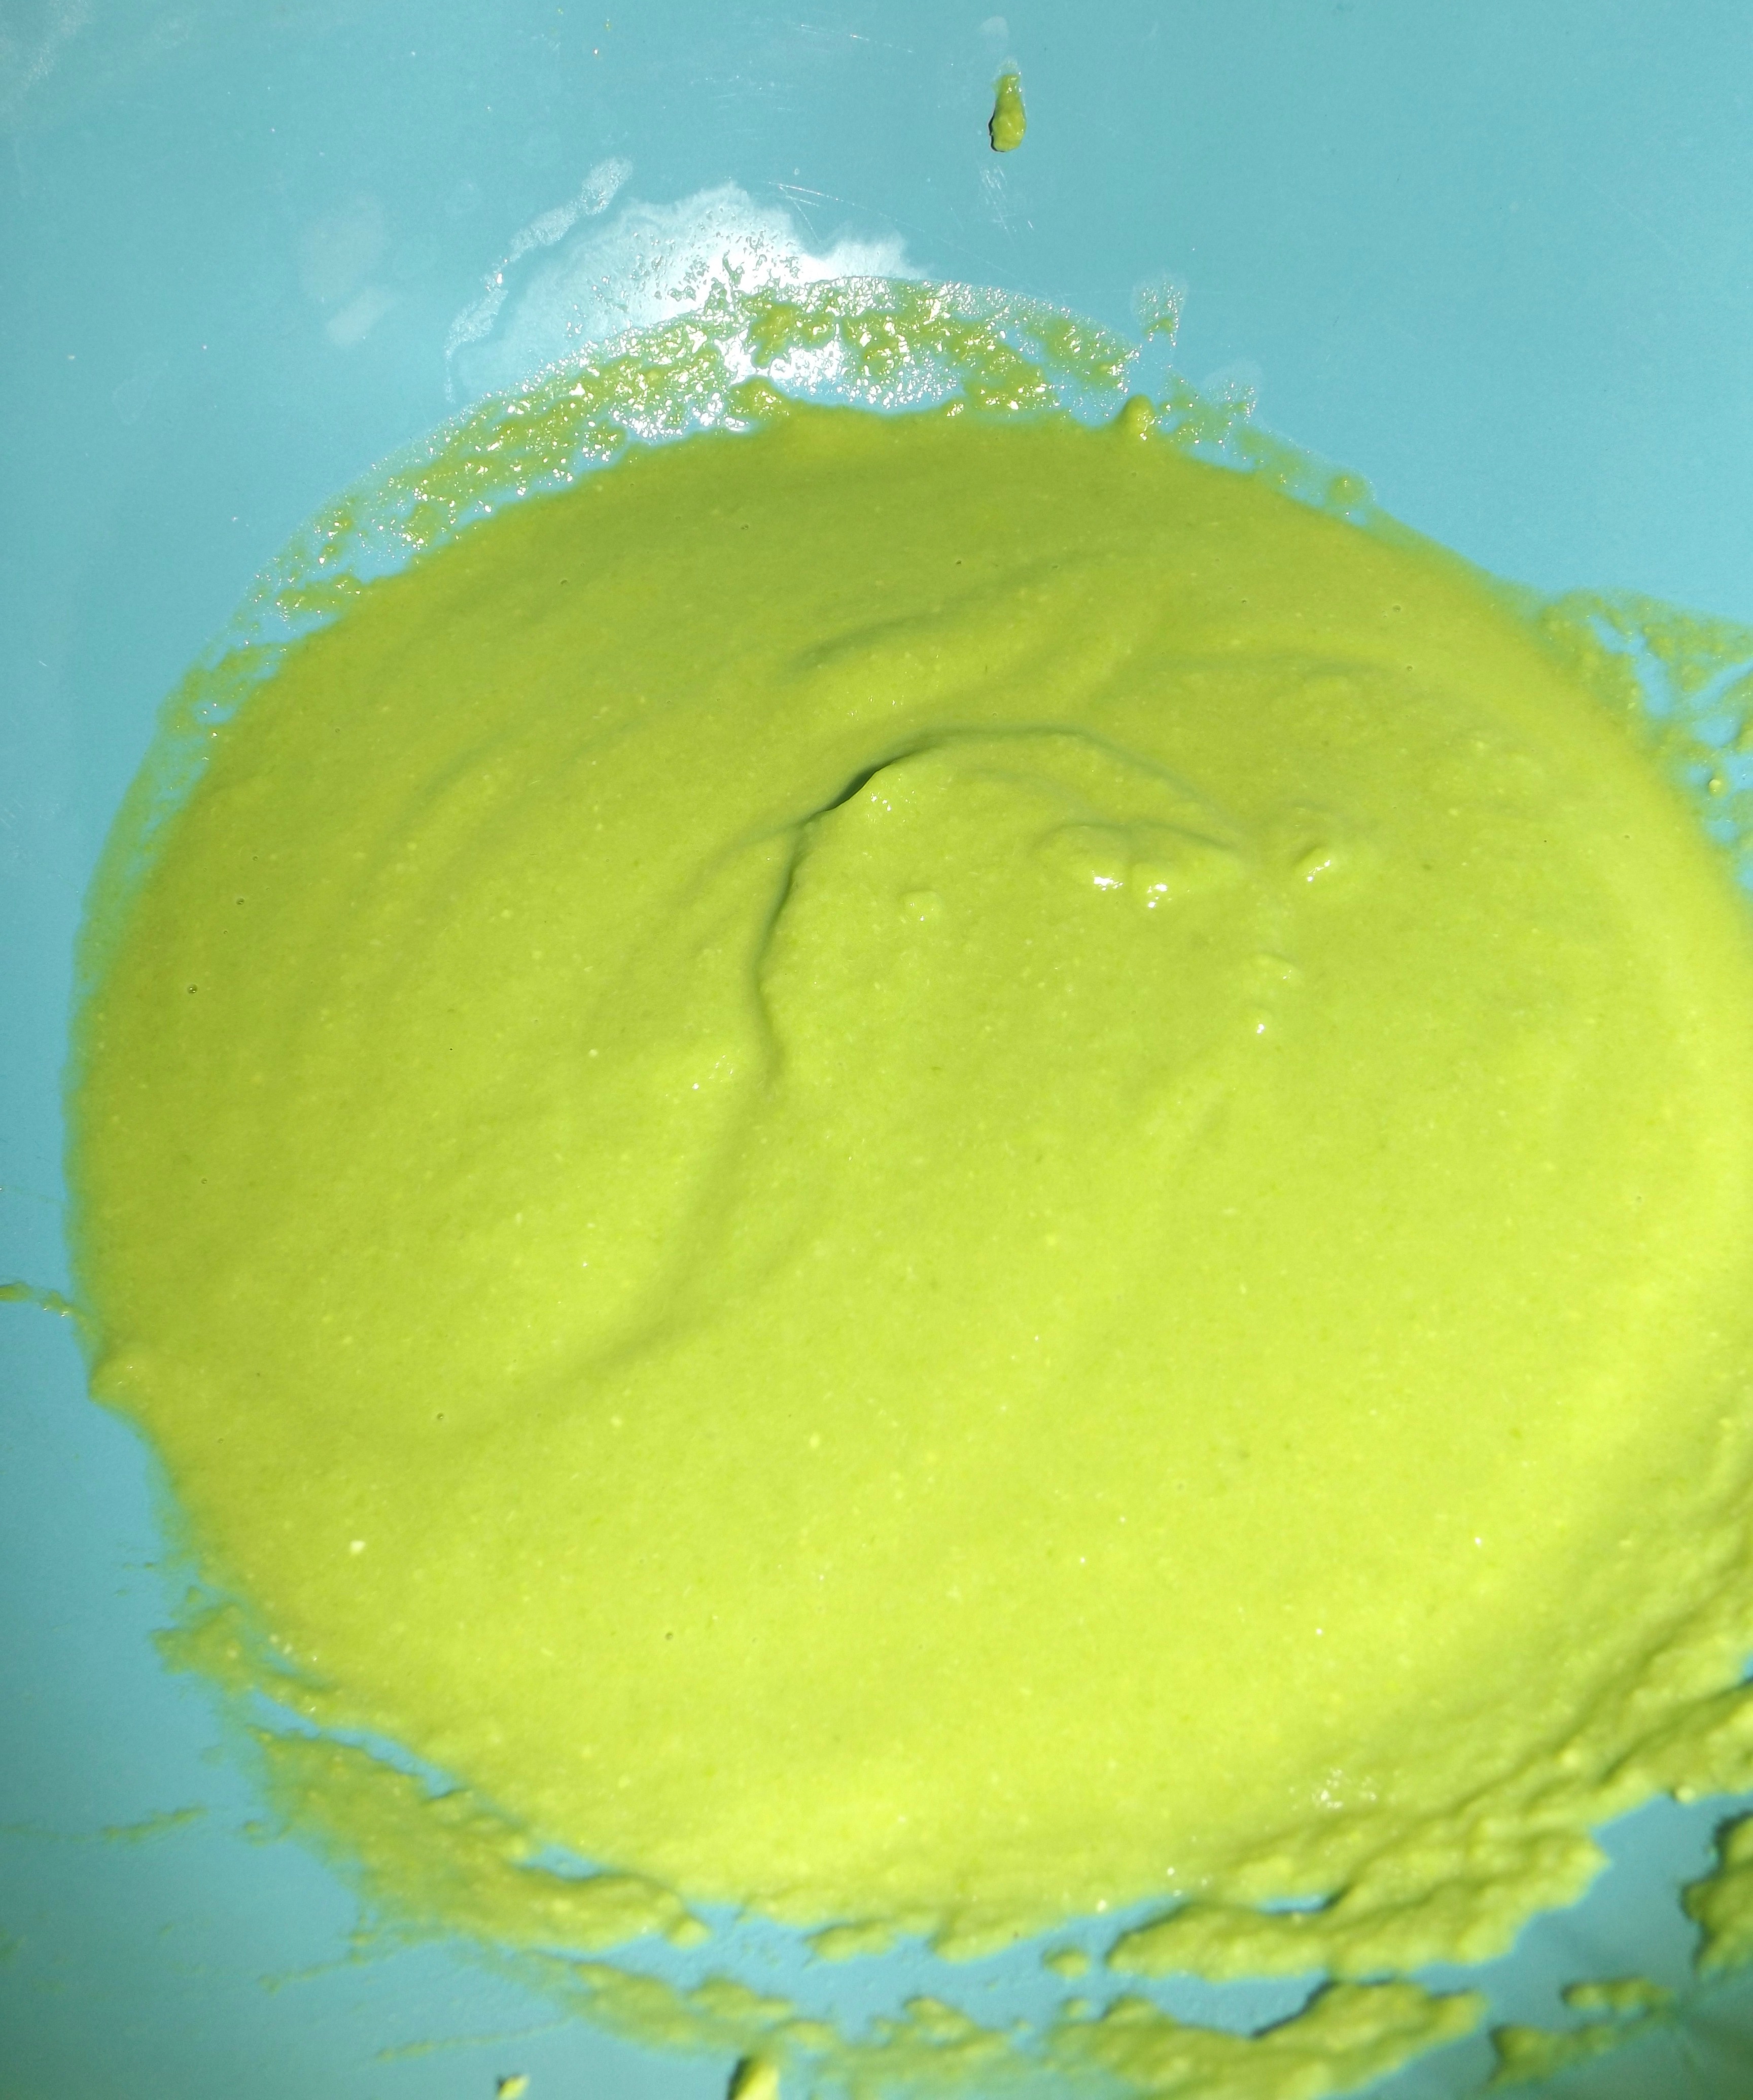
You may have to add some of your reserve water to help make a smoother puree. (You can use formula or bottled water, too.) After pureeing, you’ll end up with something like this:
It’s a little too grainy, due to the pea skins, for baby’s first foods. Here’s where the strainer or sieve comes in.
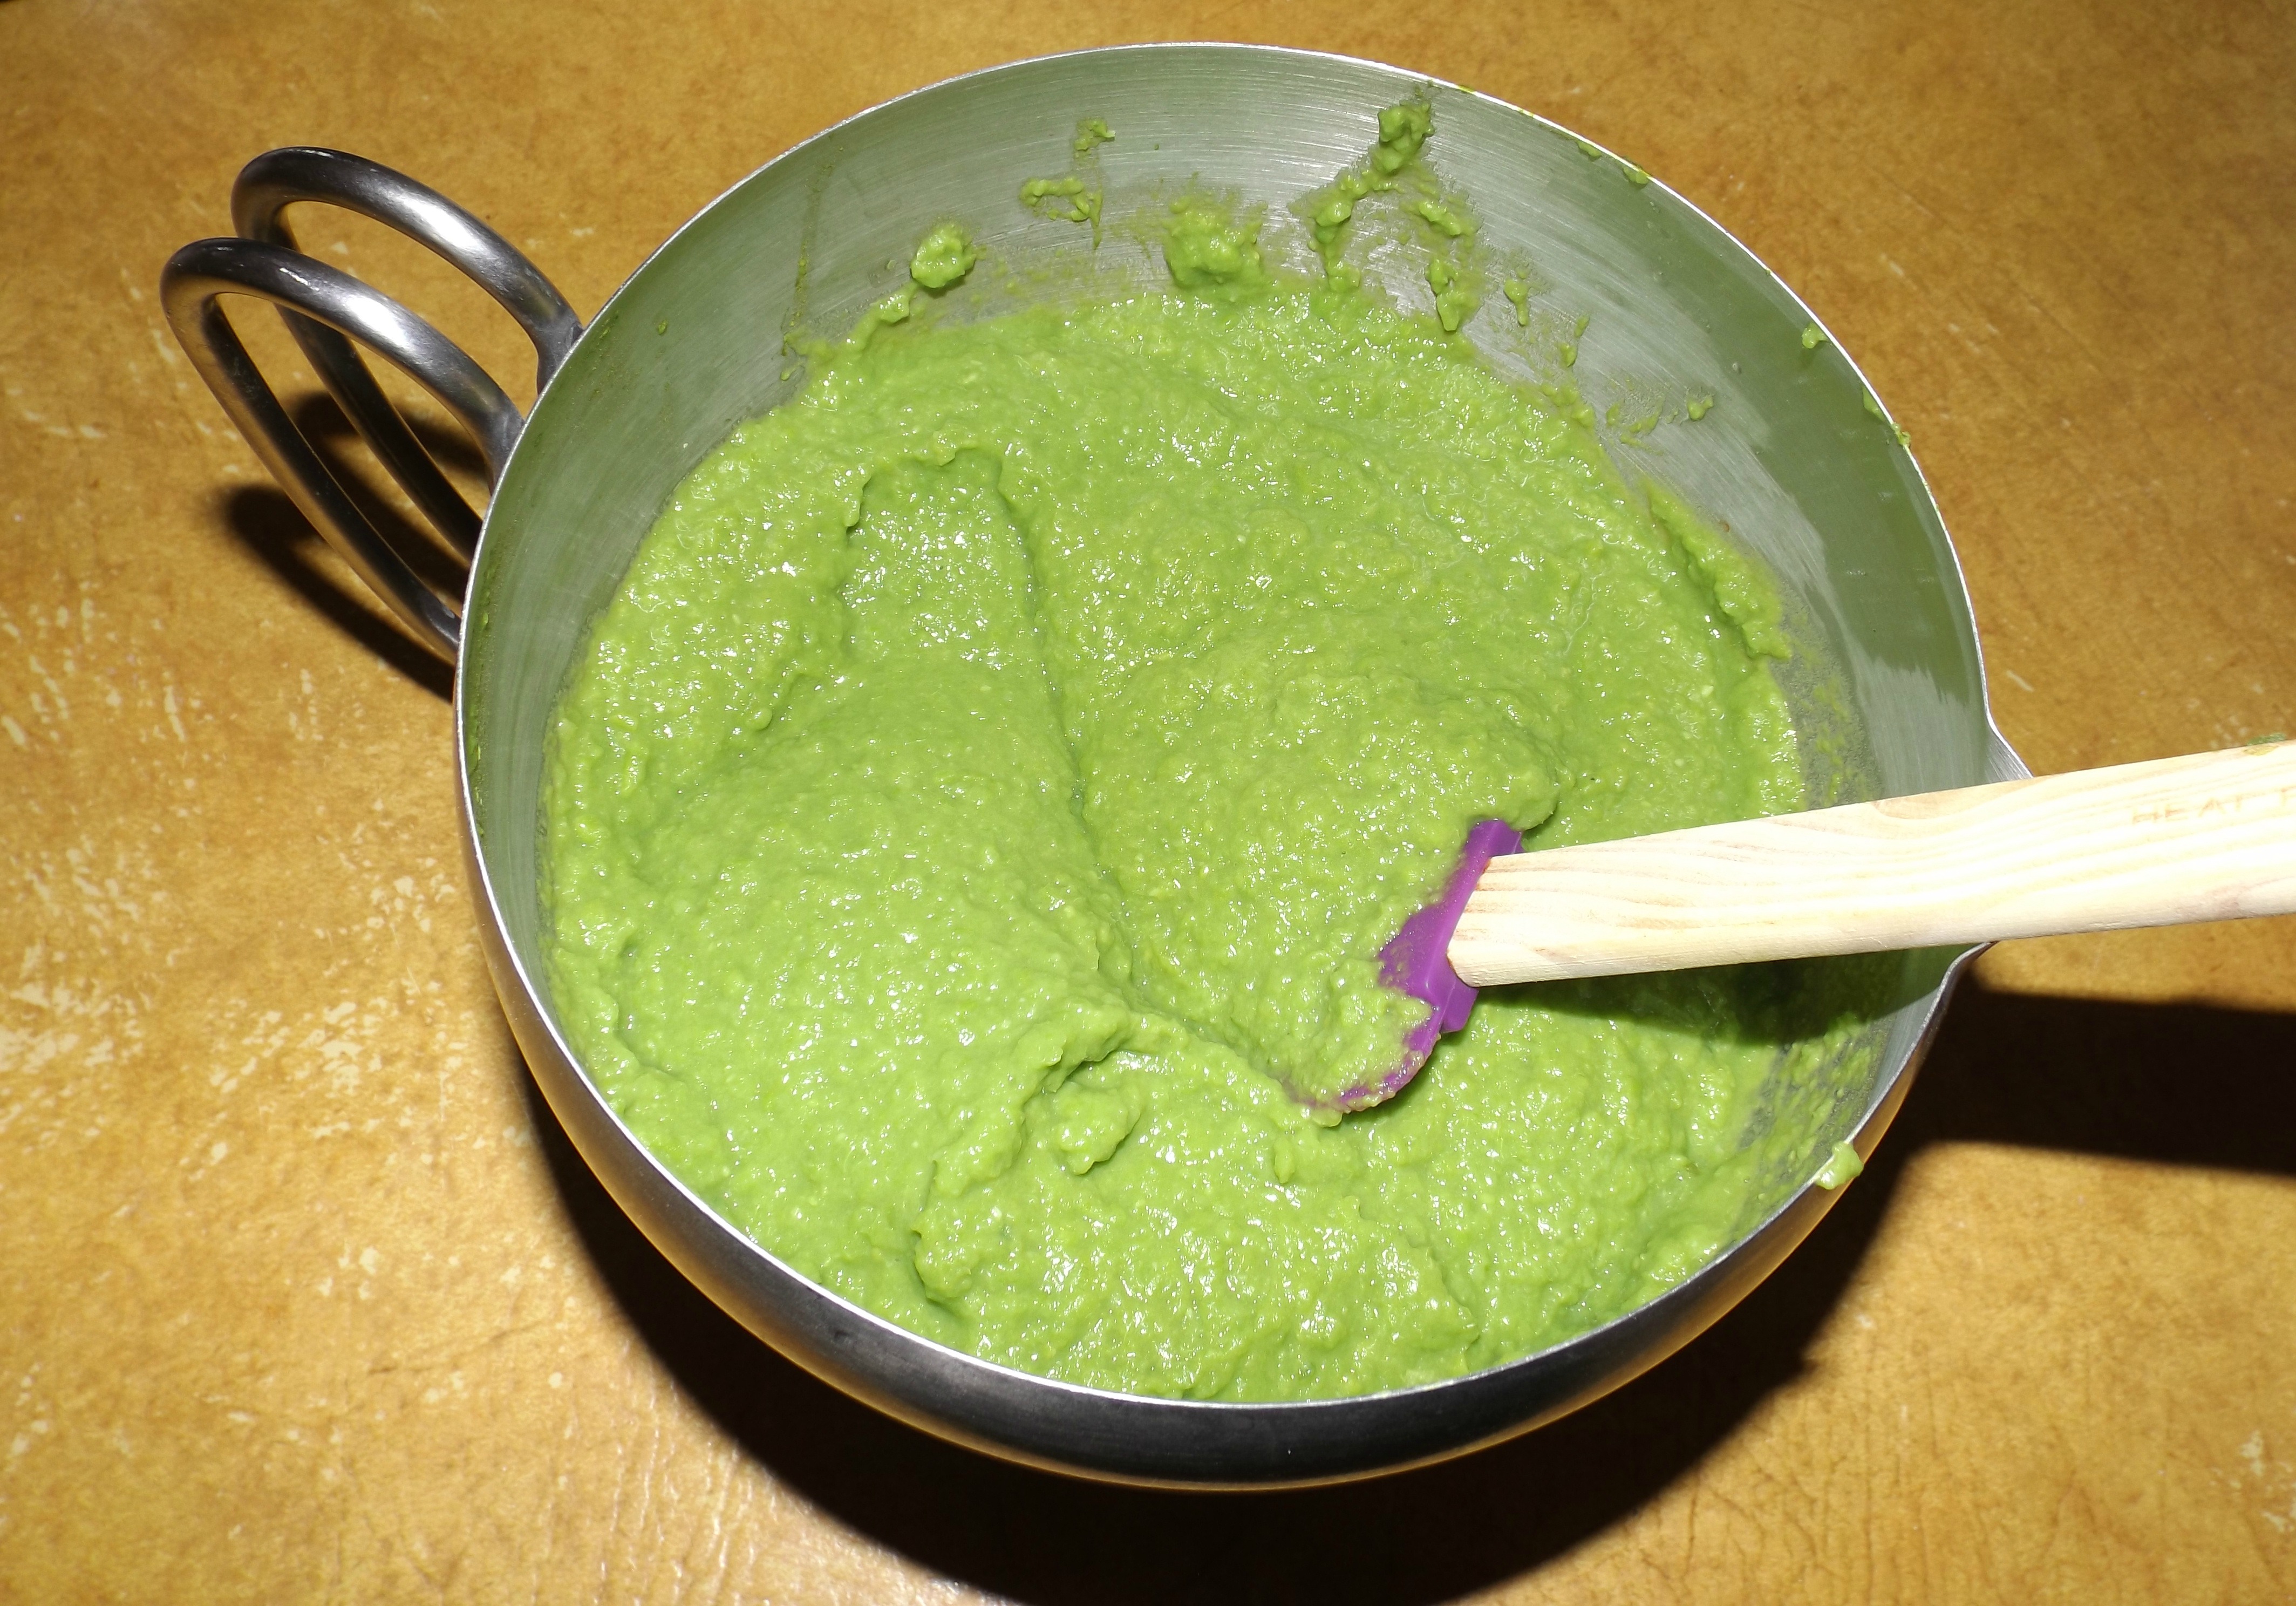
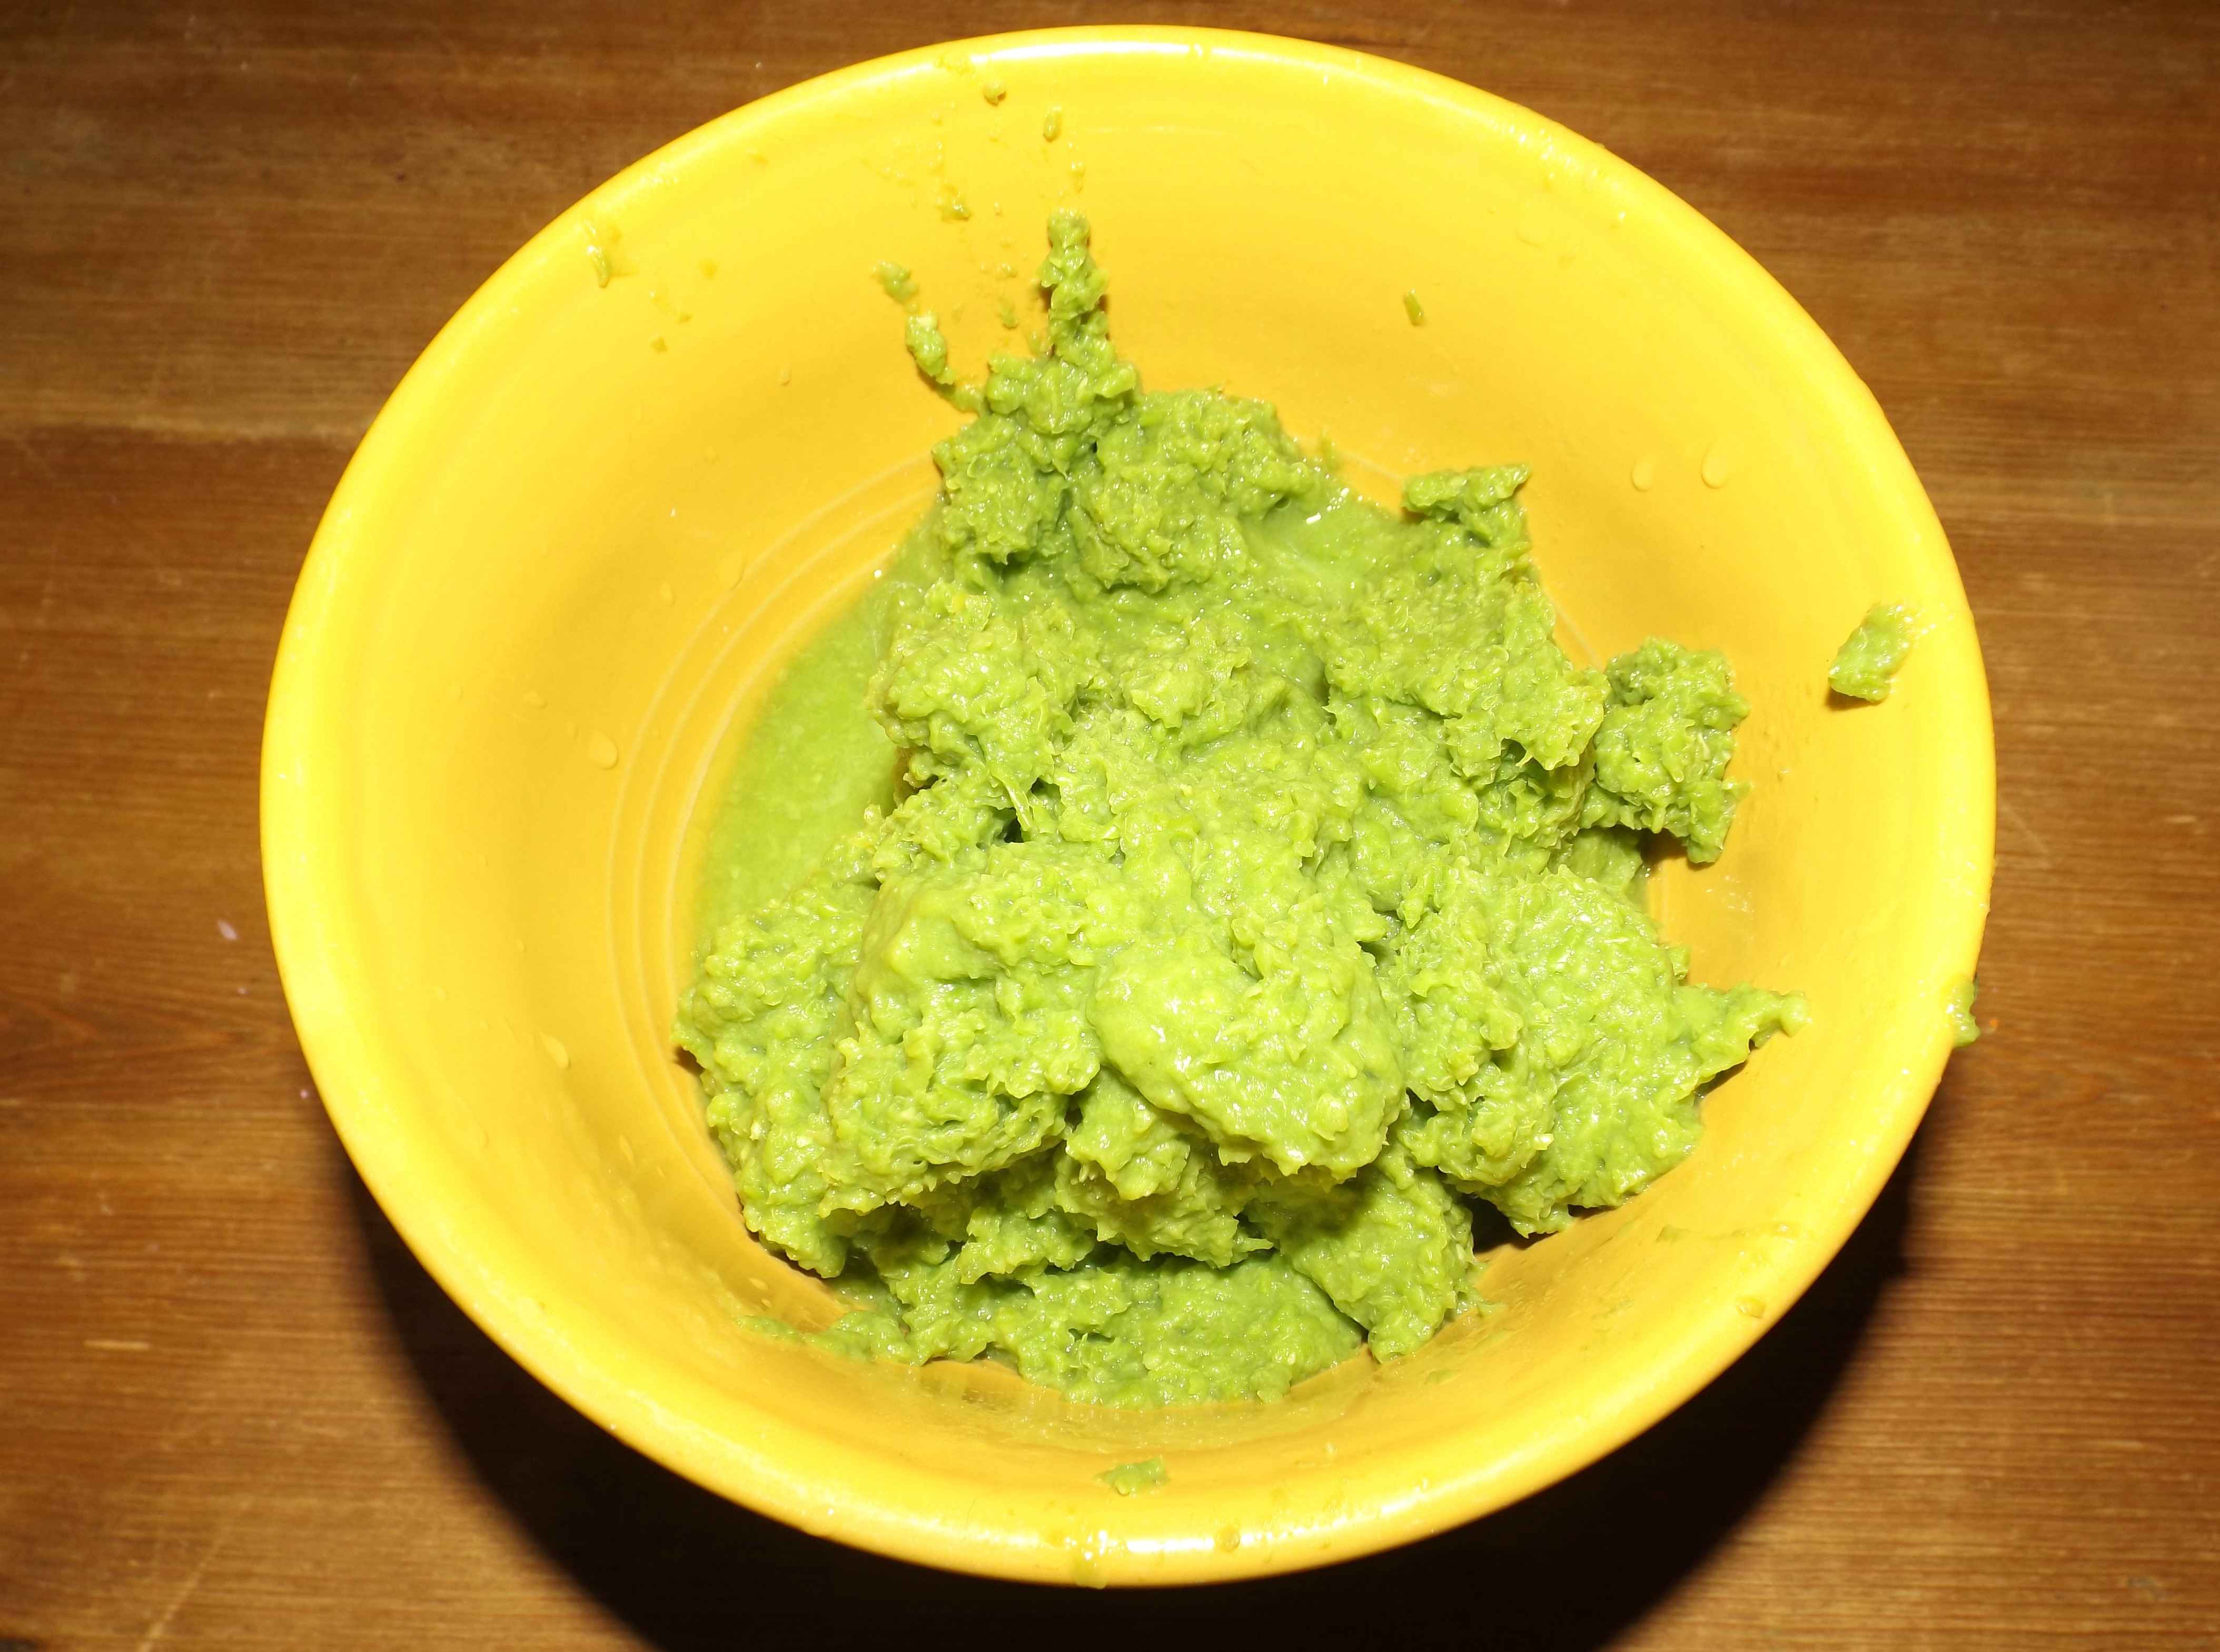
Step 3 – Work puree through the strainer.
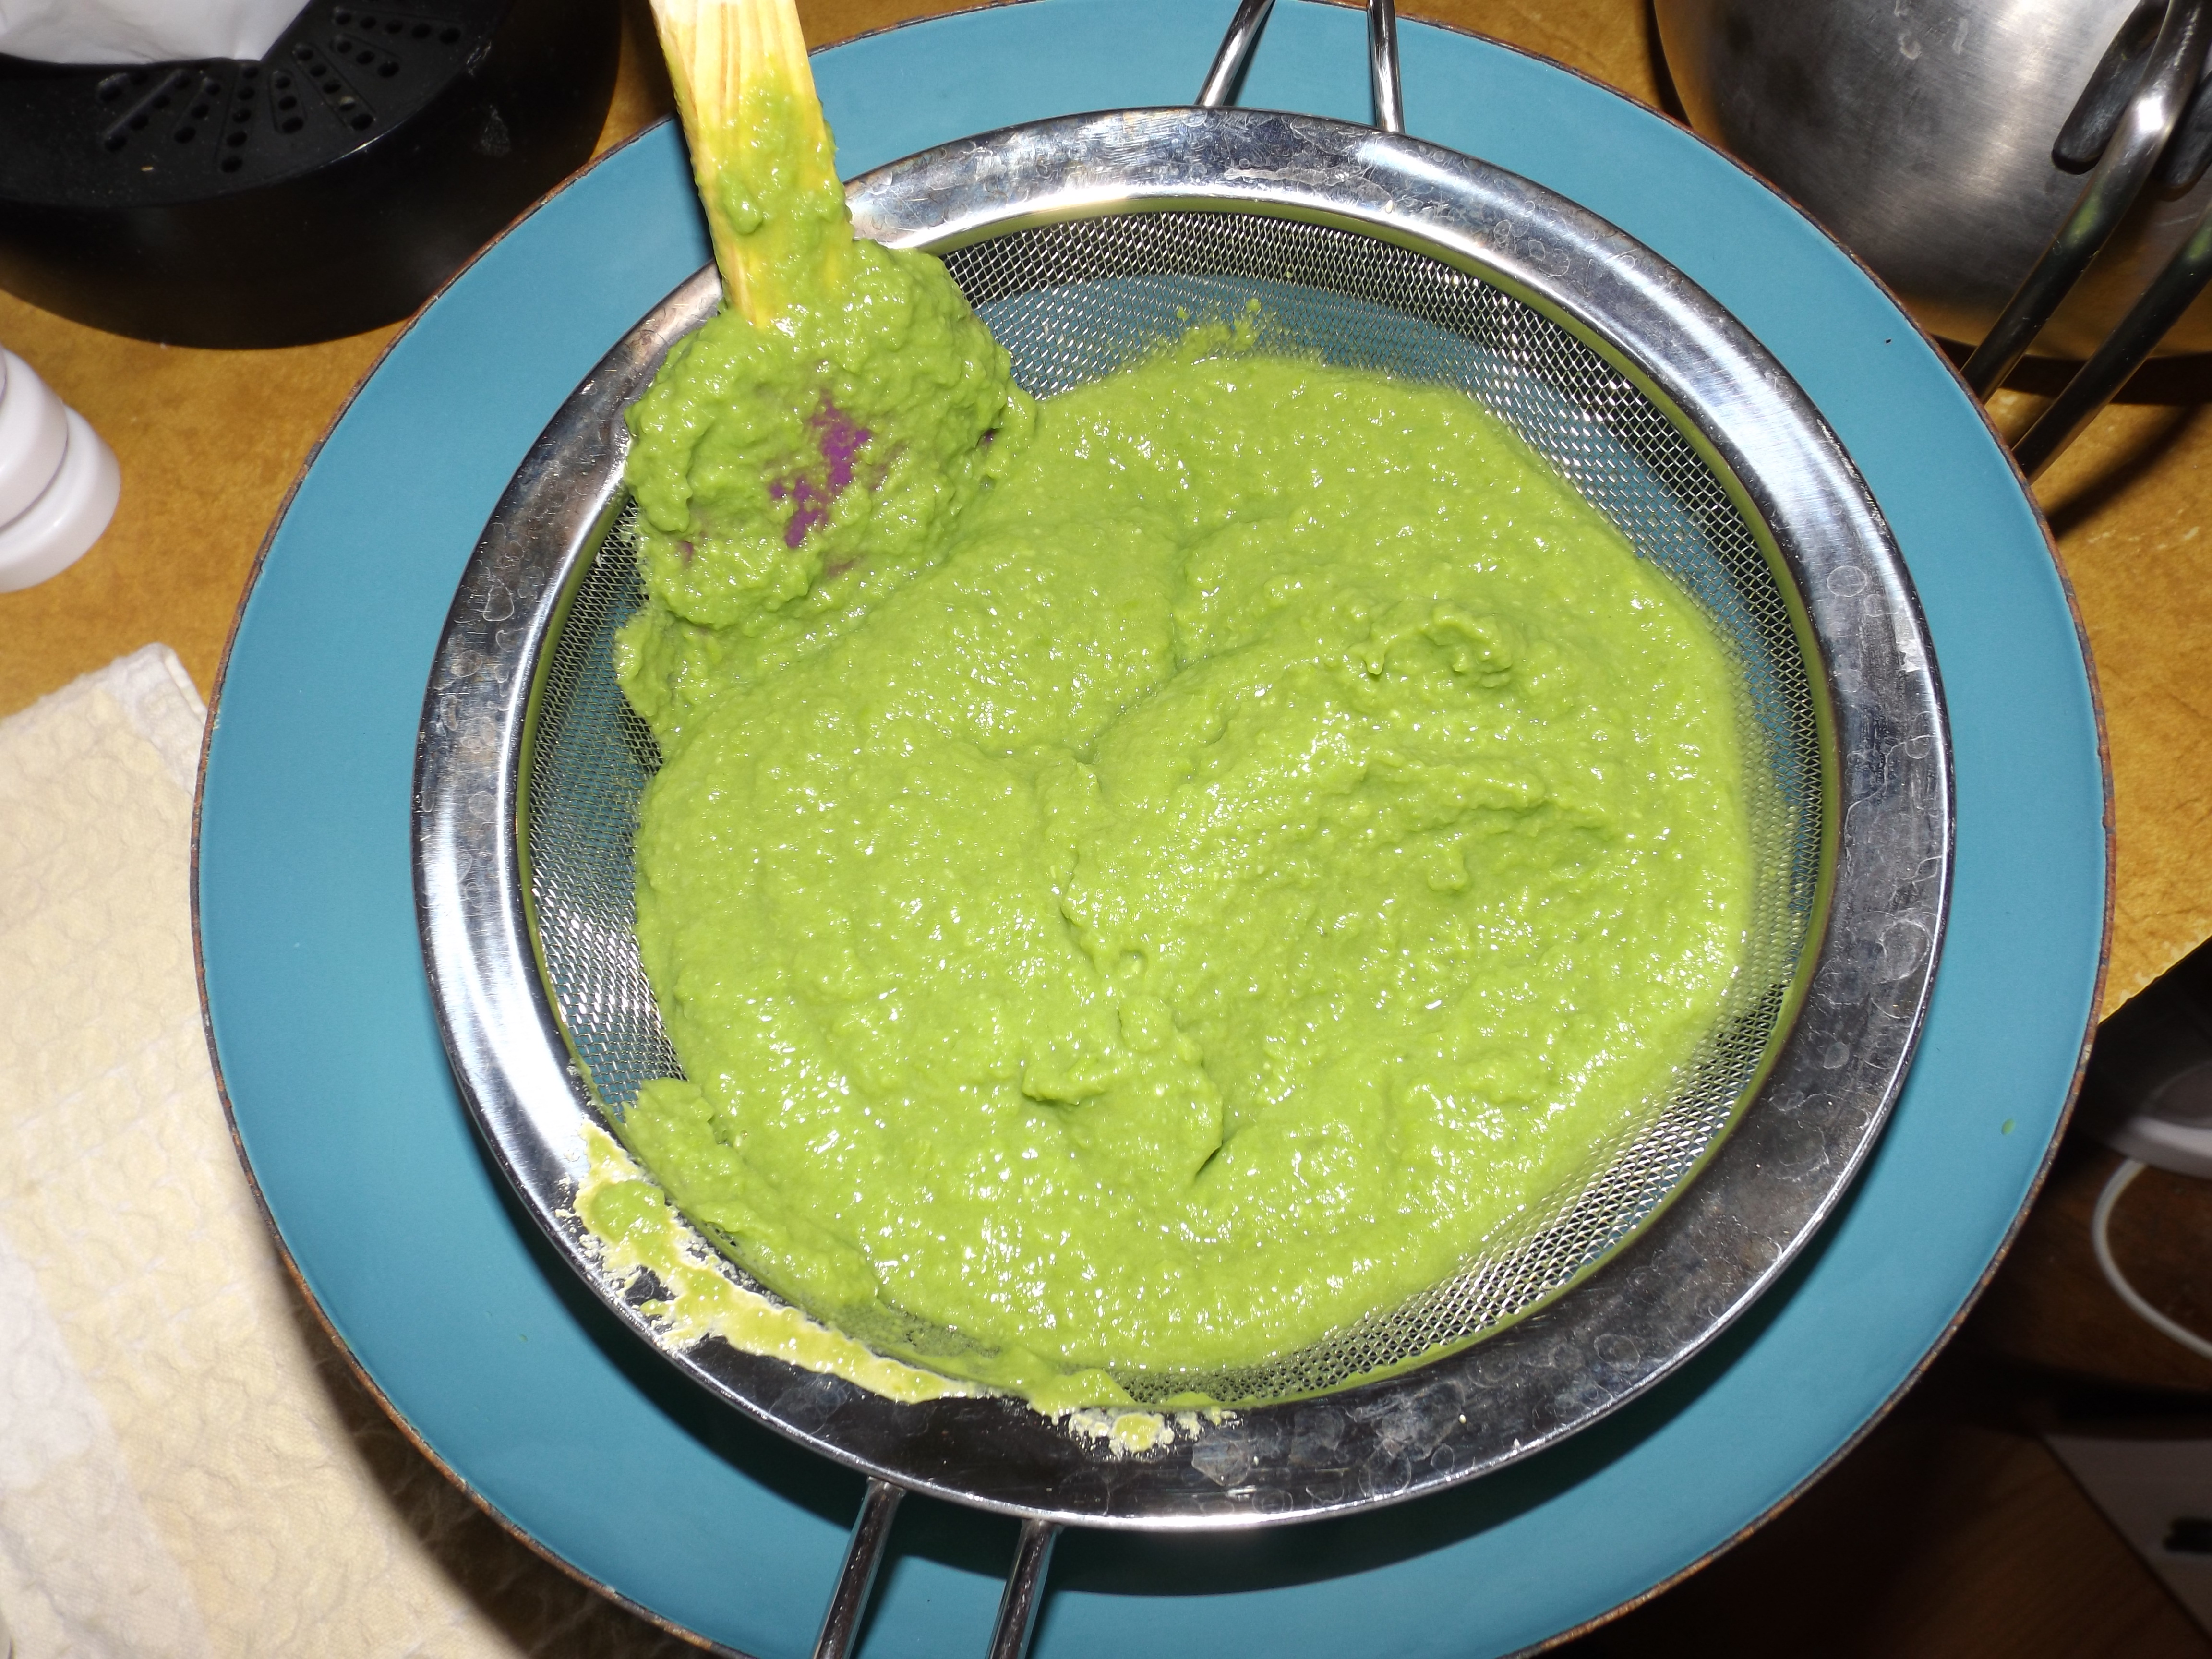
You’ve really got to push the peas to get the nice, silky puree you’re looking for. I used a bowl to press this and ended up with a beautiful, Jeanie-green blend!
We fed the leftovers, which looks a lot like guacamole, to the chickens.
Step 4 – Place into ice cube trays and freeze.
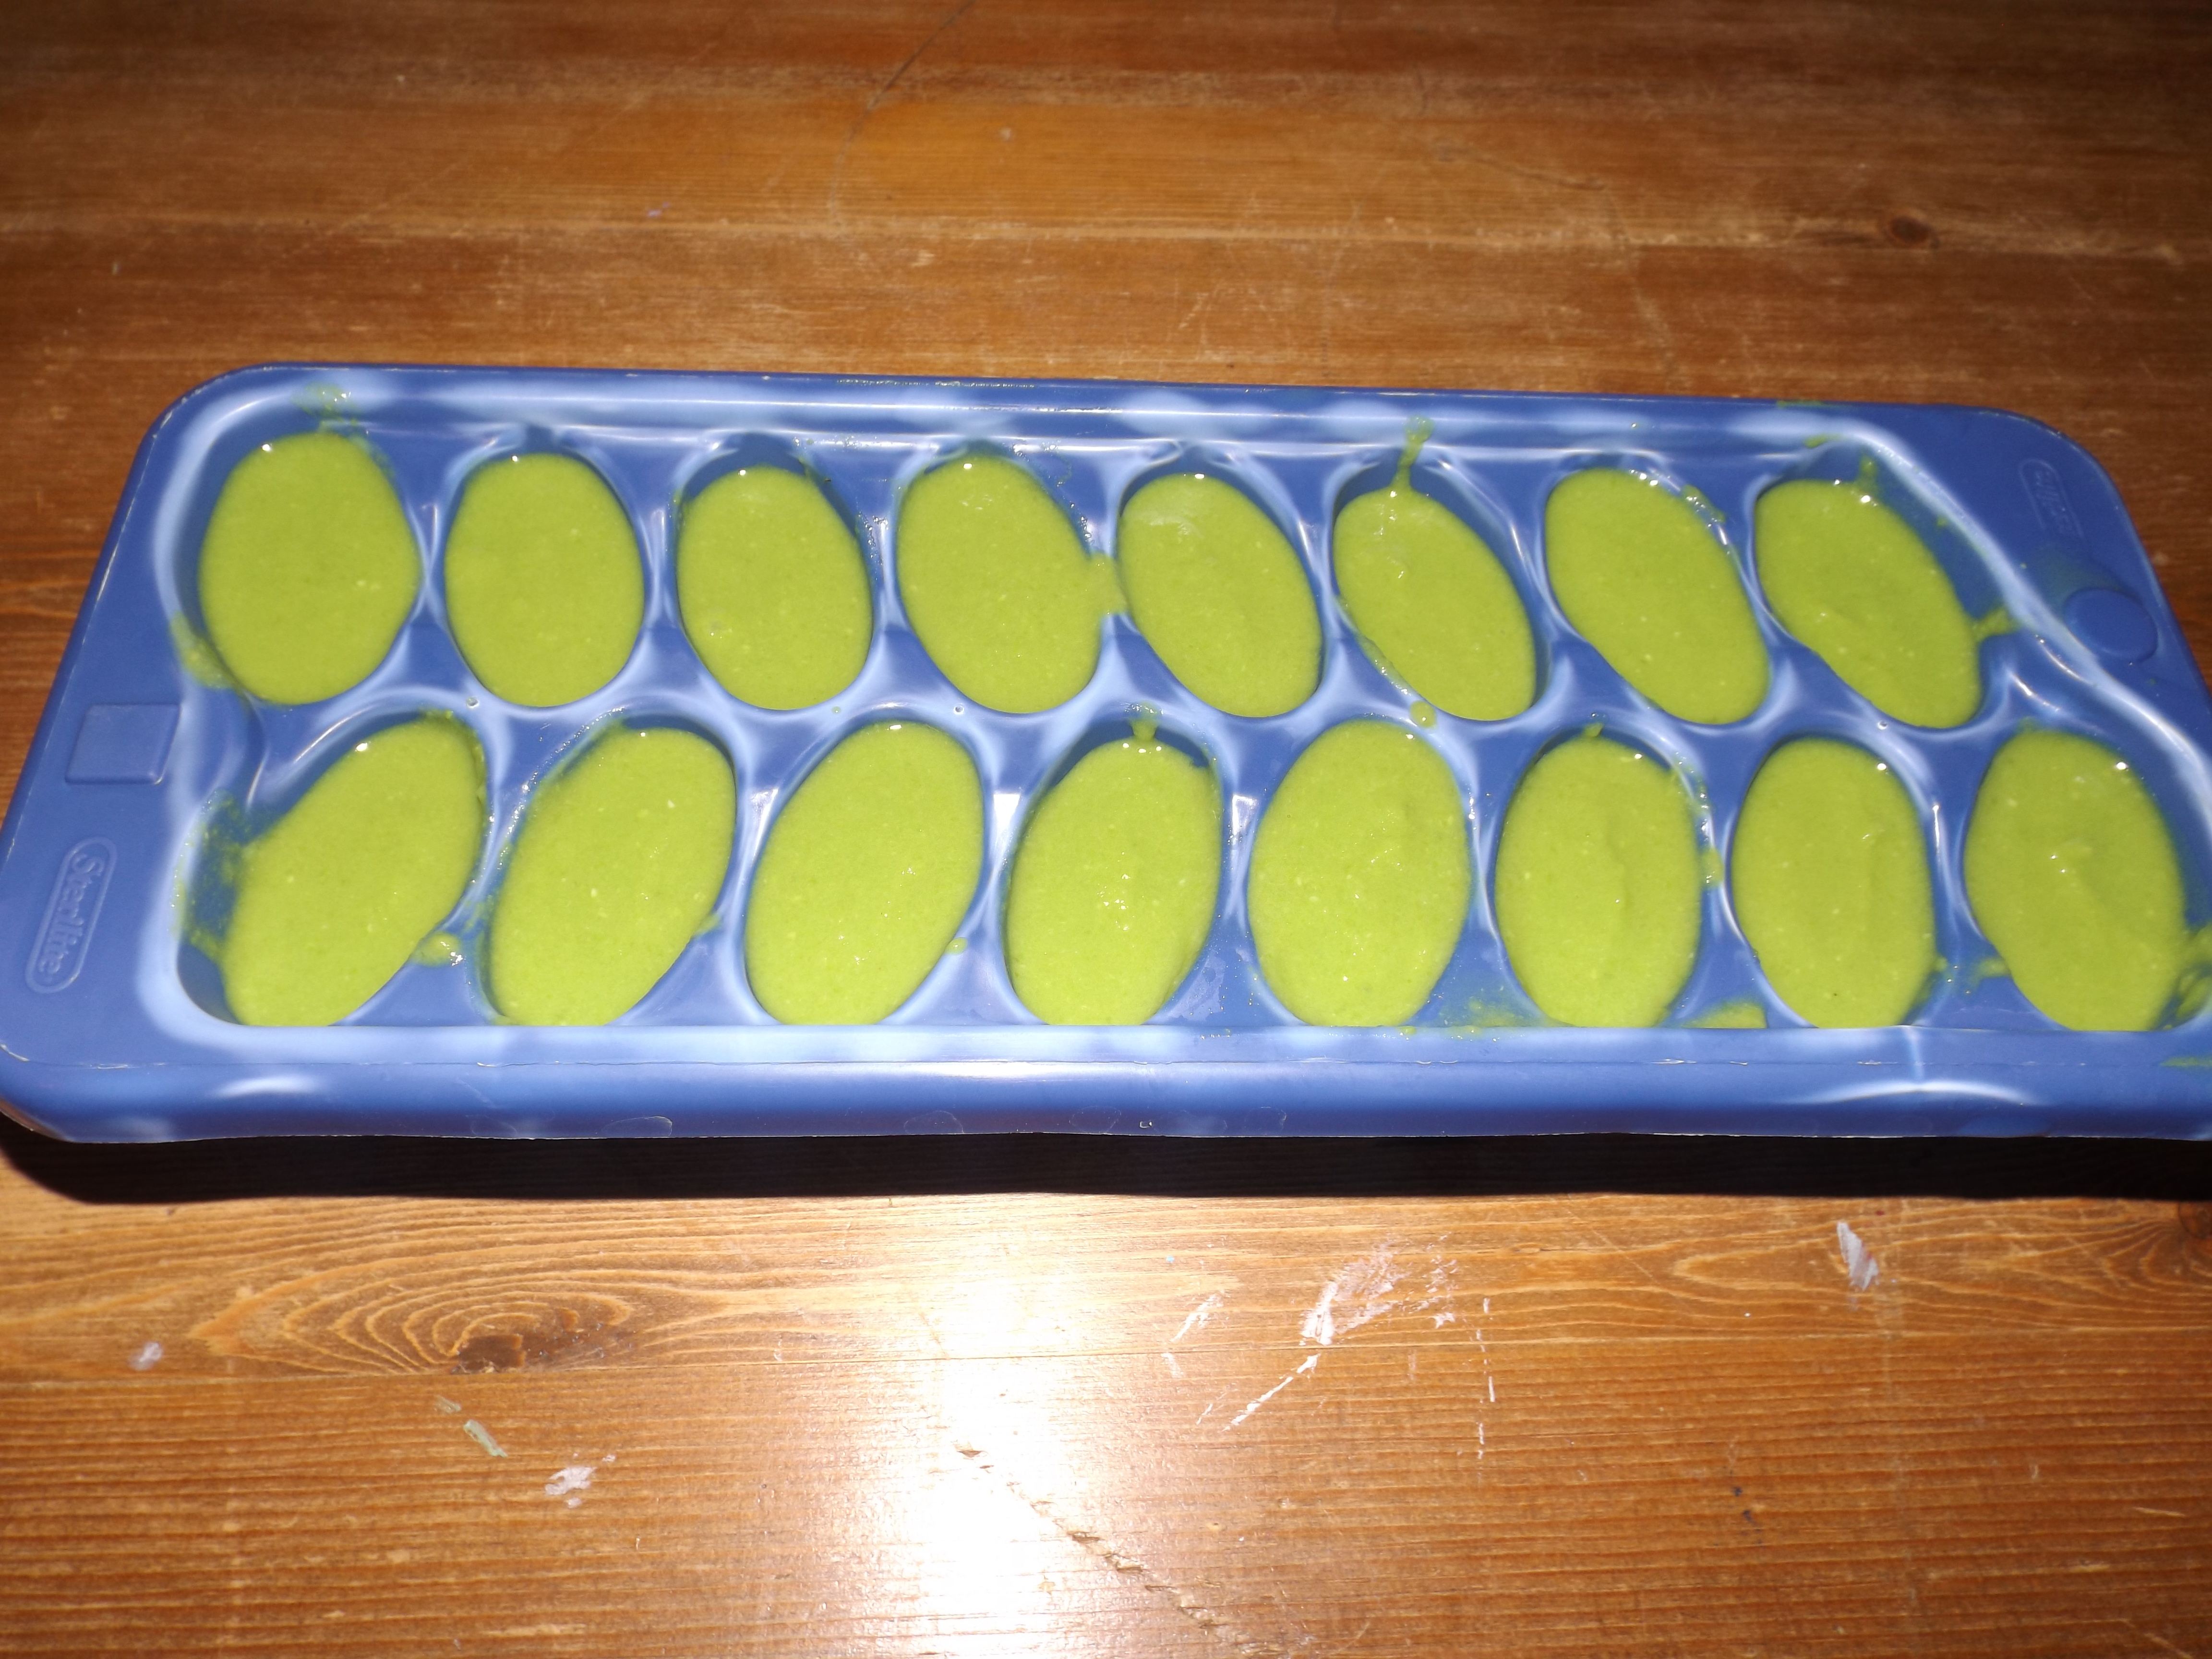
Each ice cube is about 1 ounce so it’s an easy way to measure out how much you’re feeding baby. Once frozen, I put mine in a dated Ziploc bag and toss them in the freezer.
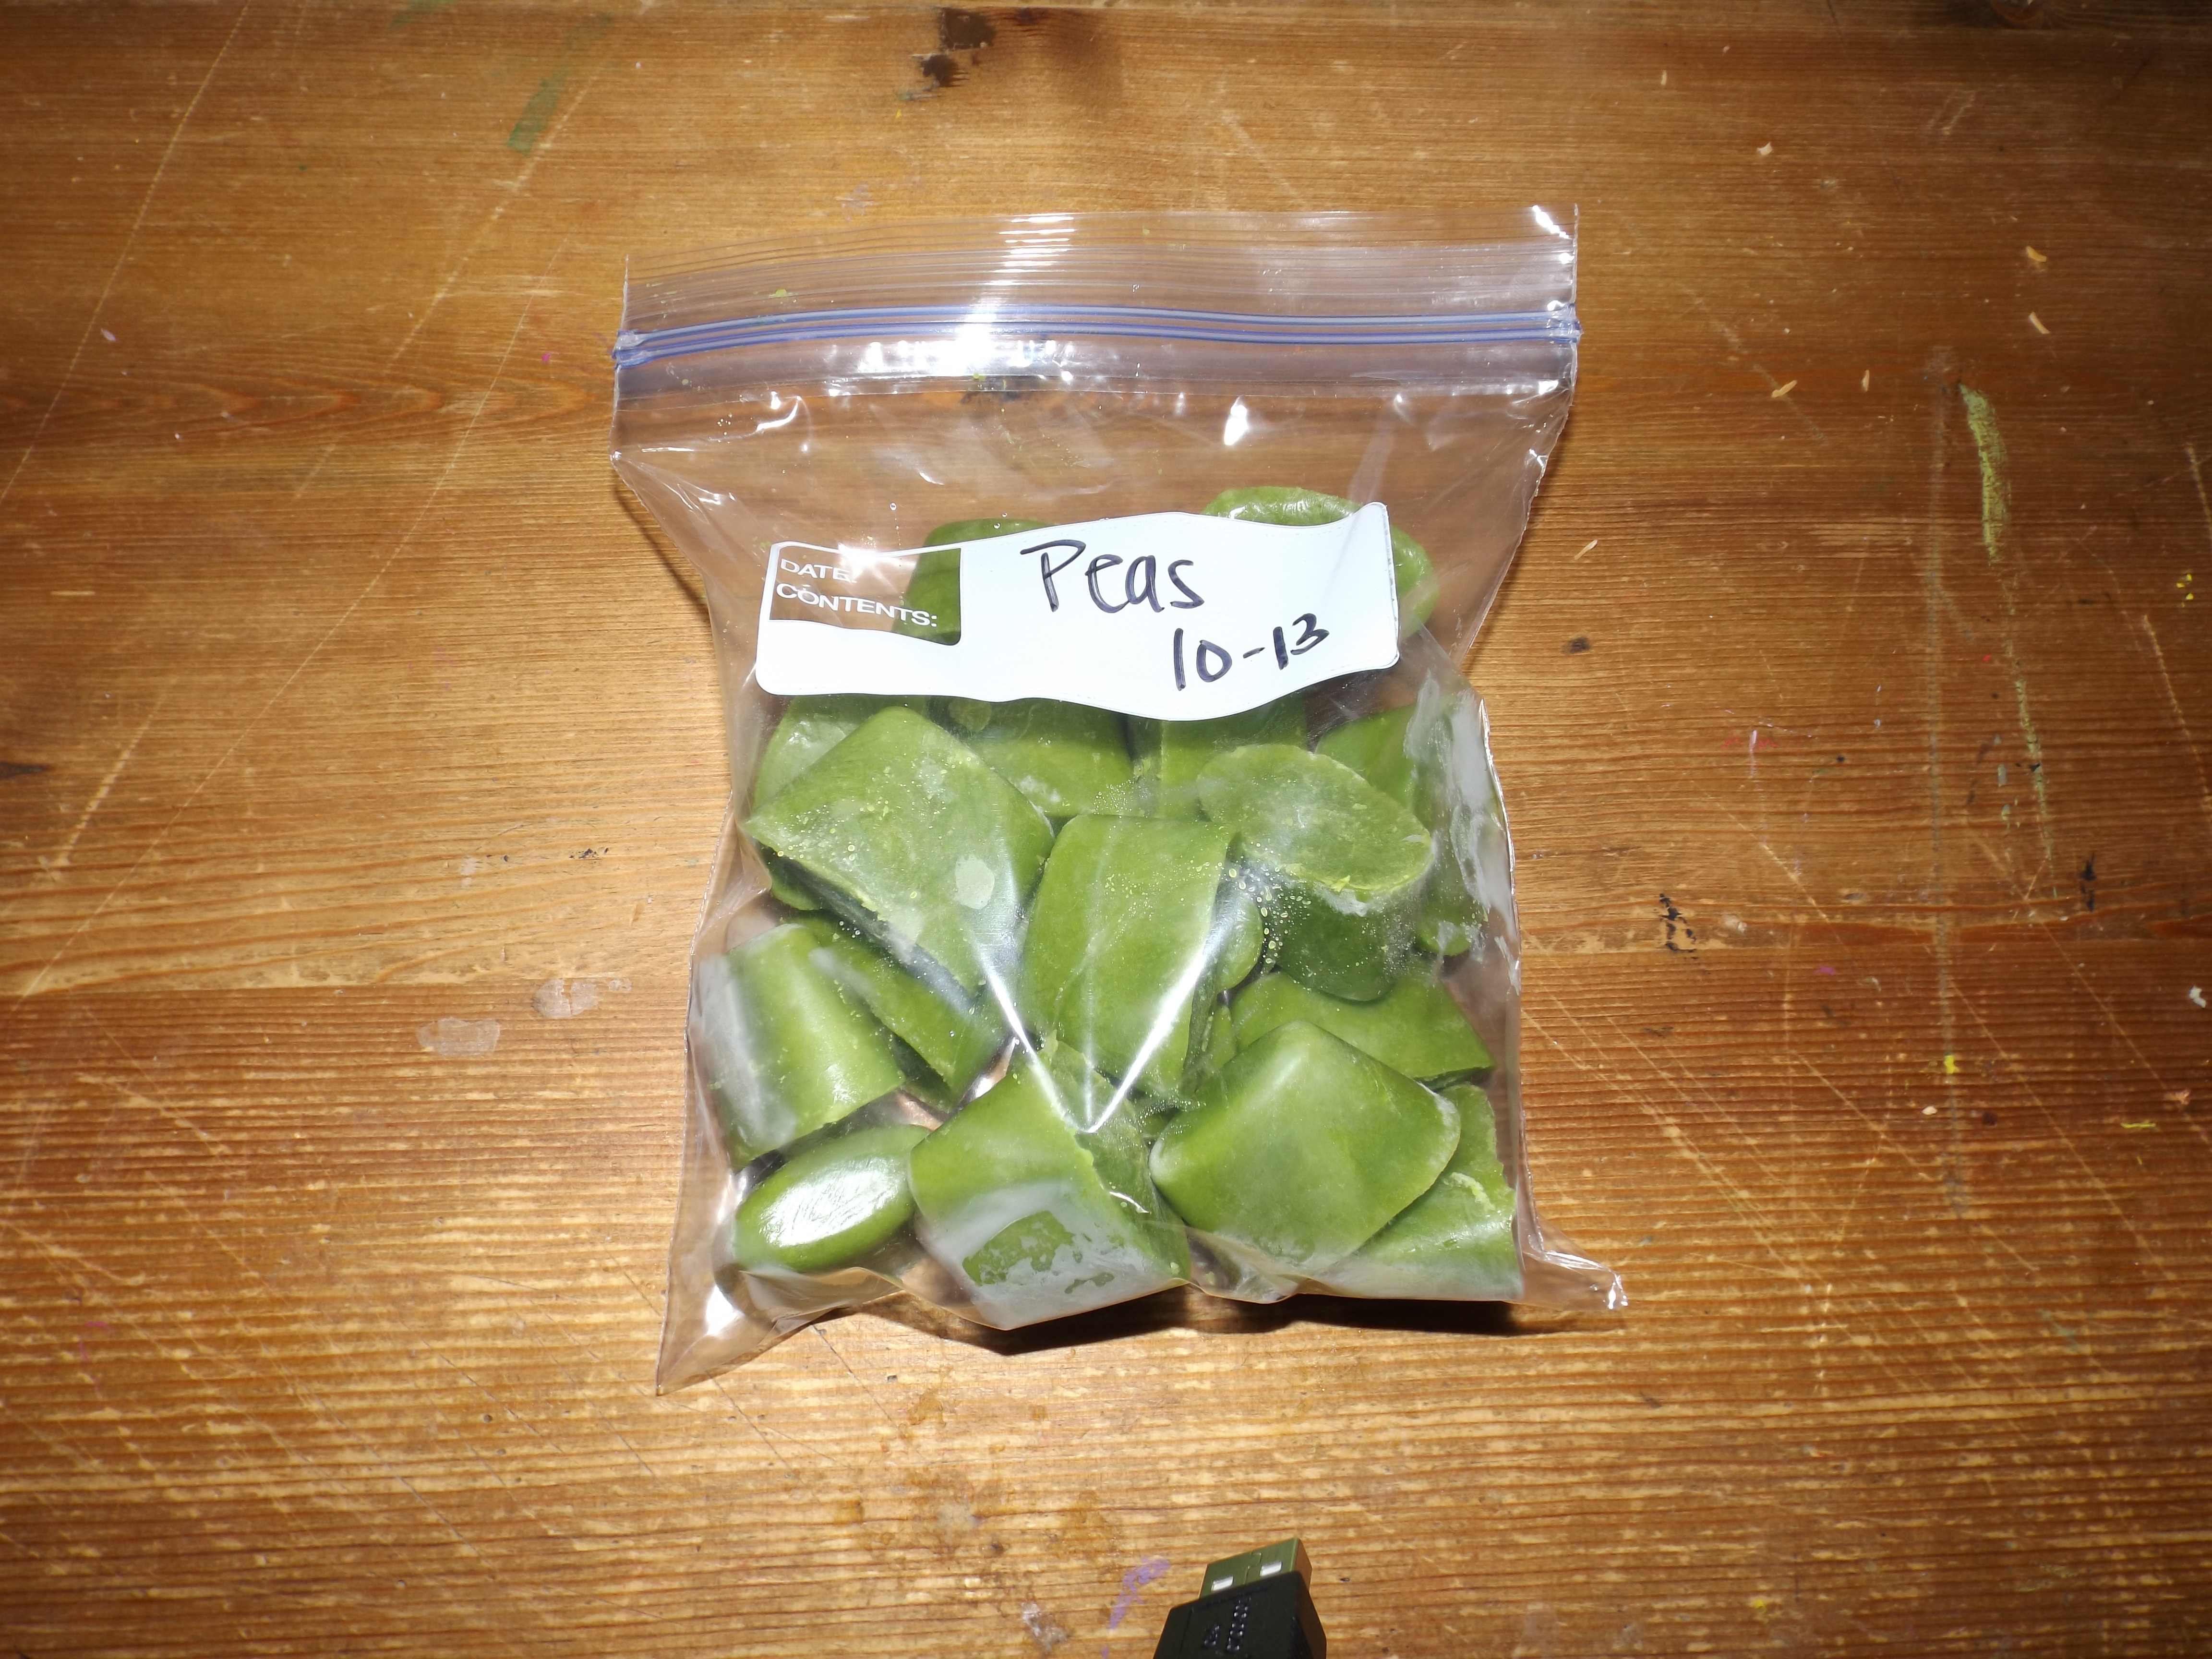
When it’s time to feed your munchkin, take out the number of cubes (ounces) your baby will eat. You can thaw them in the refrigerator (overnight) or microwave them or by submerging a small bowl of cubes into a larger bowl of hot water. Thawed purees can be stored in the refrigerator for up to 72 hours.
To date, I’ve made around 130 ounces of food for about $10! No joke – it really is the way to go. On average, baby food in the store is $0.40/ounce and I’m making it for about $0.07/ounce. To some, that might not be worth it, but for us it most definitely is.
Start to finish, this was the most labor-intensive puree I’ve made and it still only took about 30ish minutes.
Give it a try if you have the time; your kiddo and your bank account will thank you.