You all have been so kind regarding our sweet little home – thank you! All of your comments have brightened my day, no doubt!
We’ll finish up today so we can move on to bucket calves tomorrow. The kids are showing at the county fair and – oh my word – are they cute!
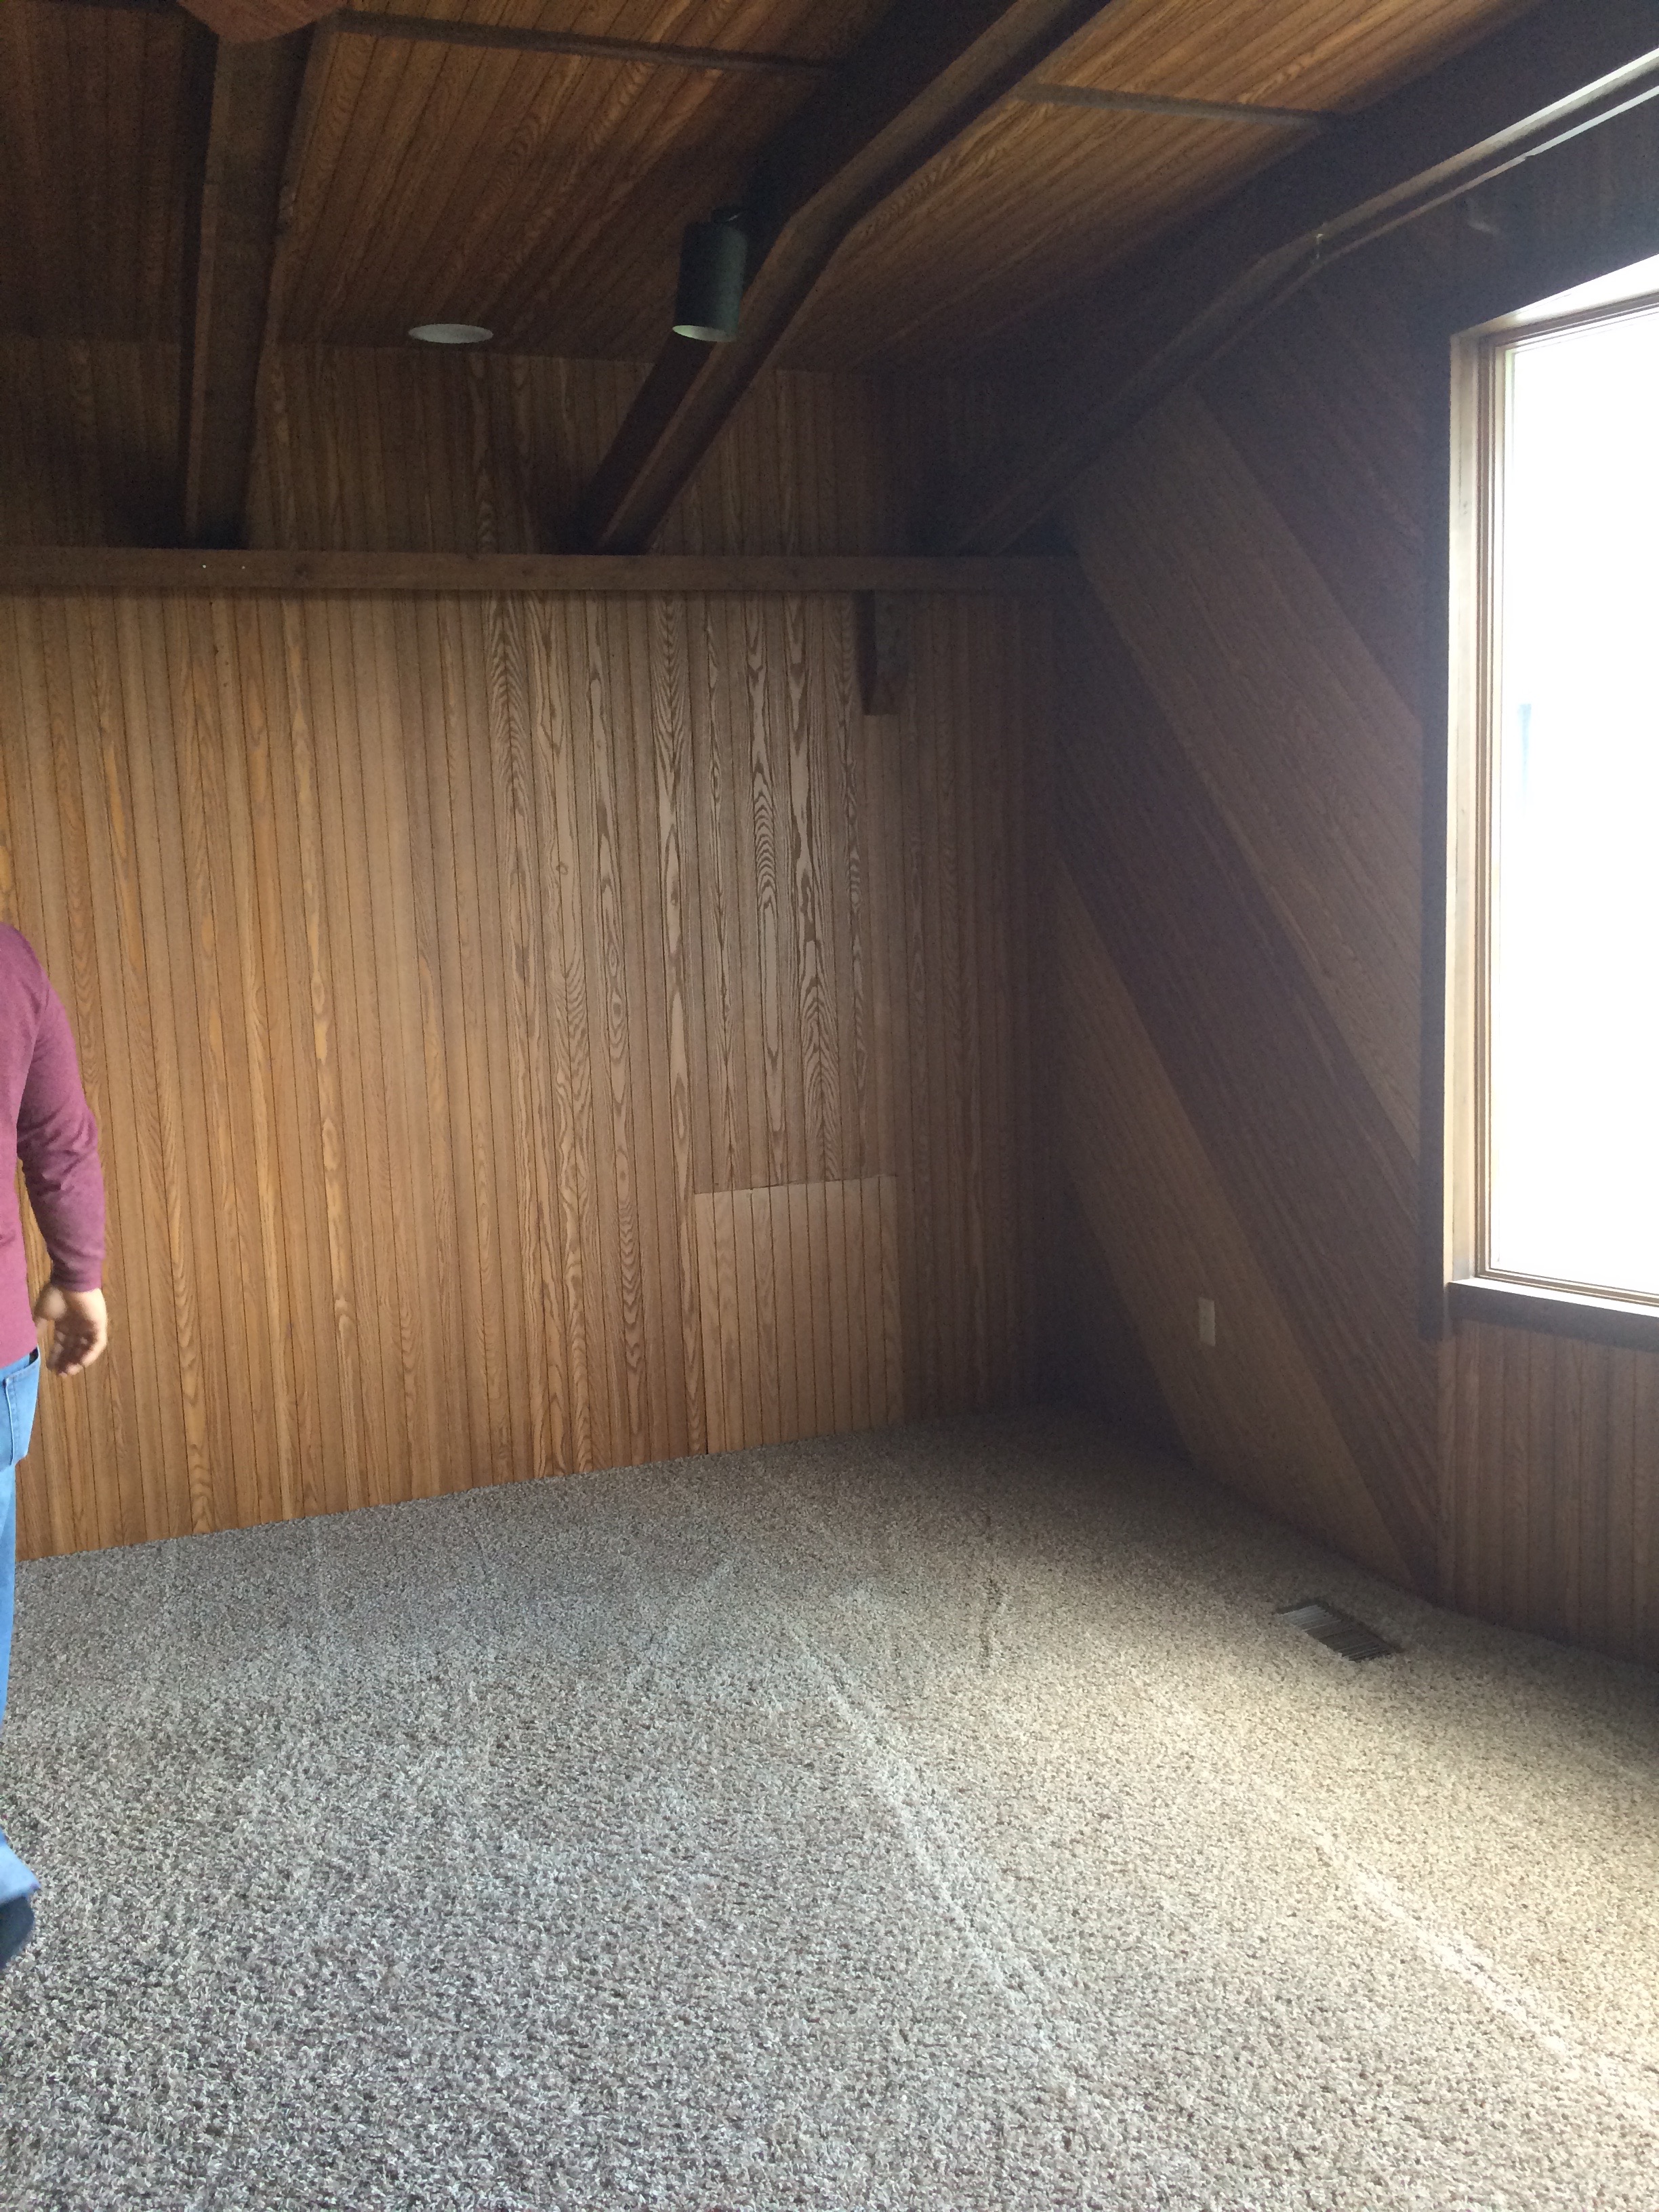
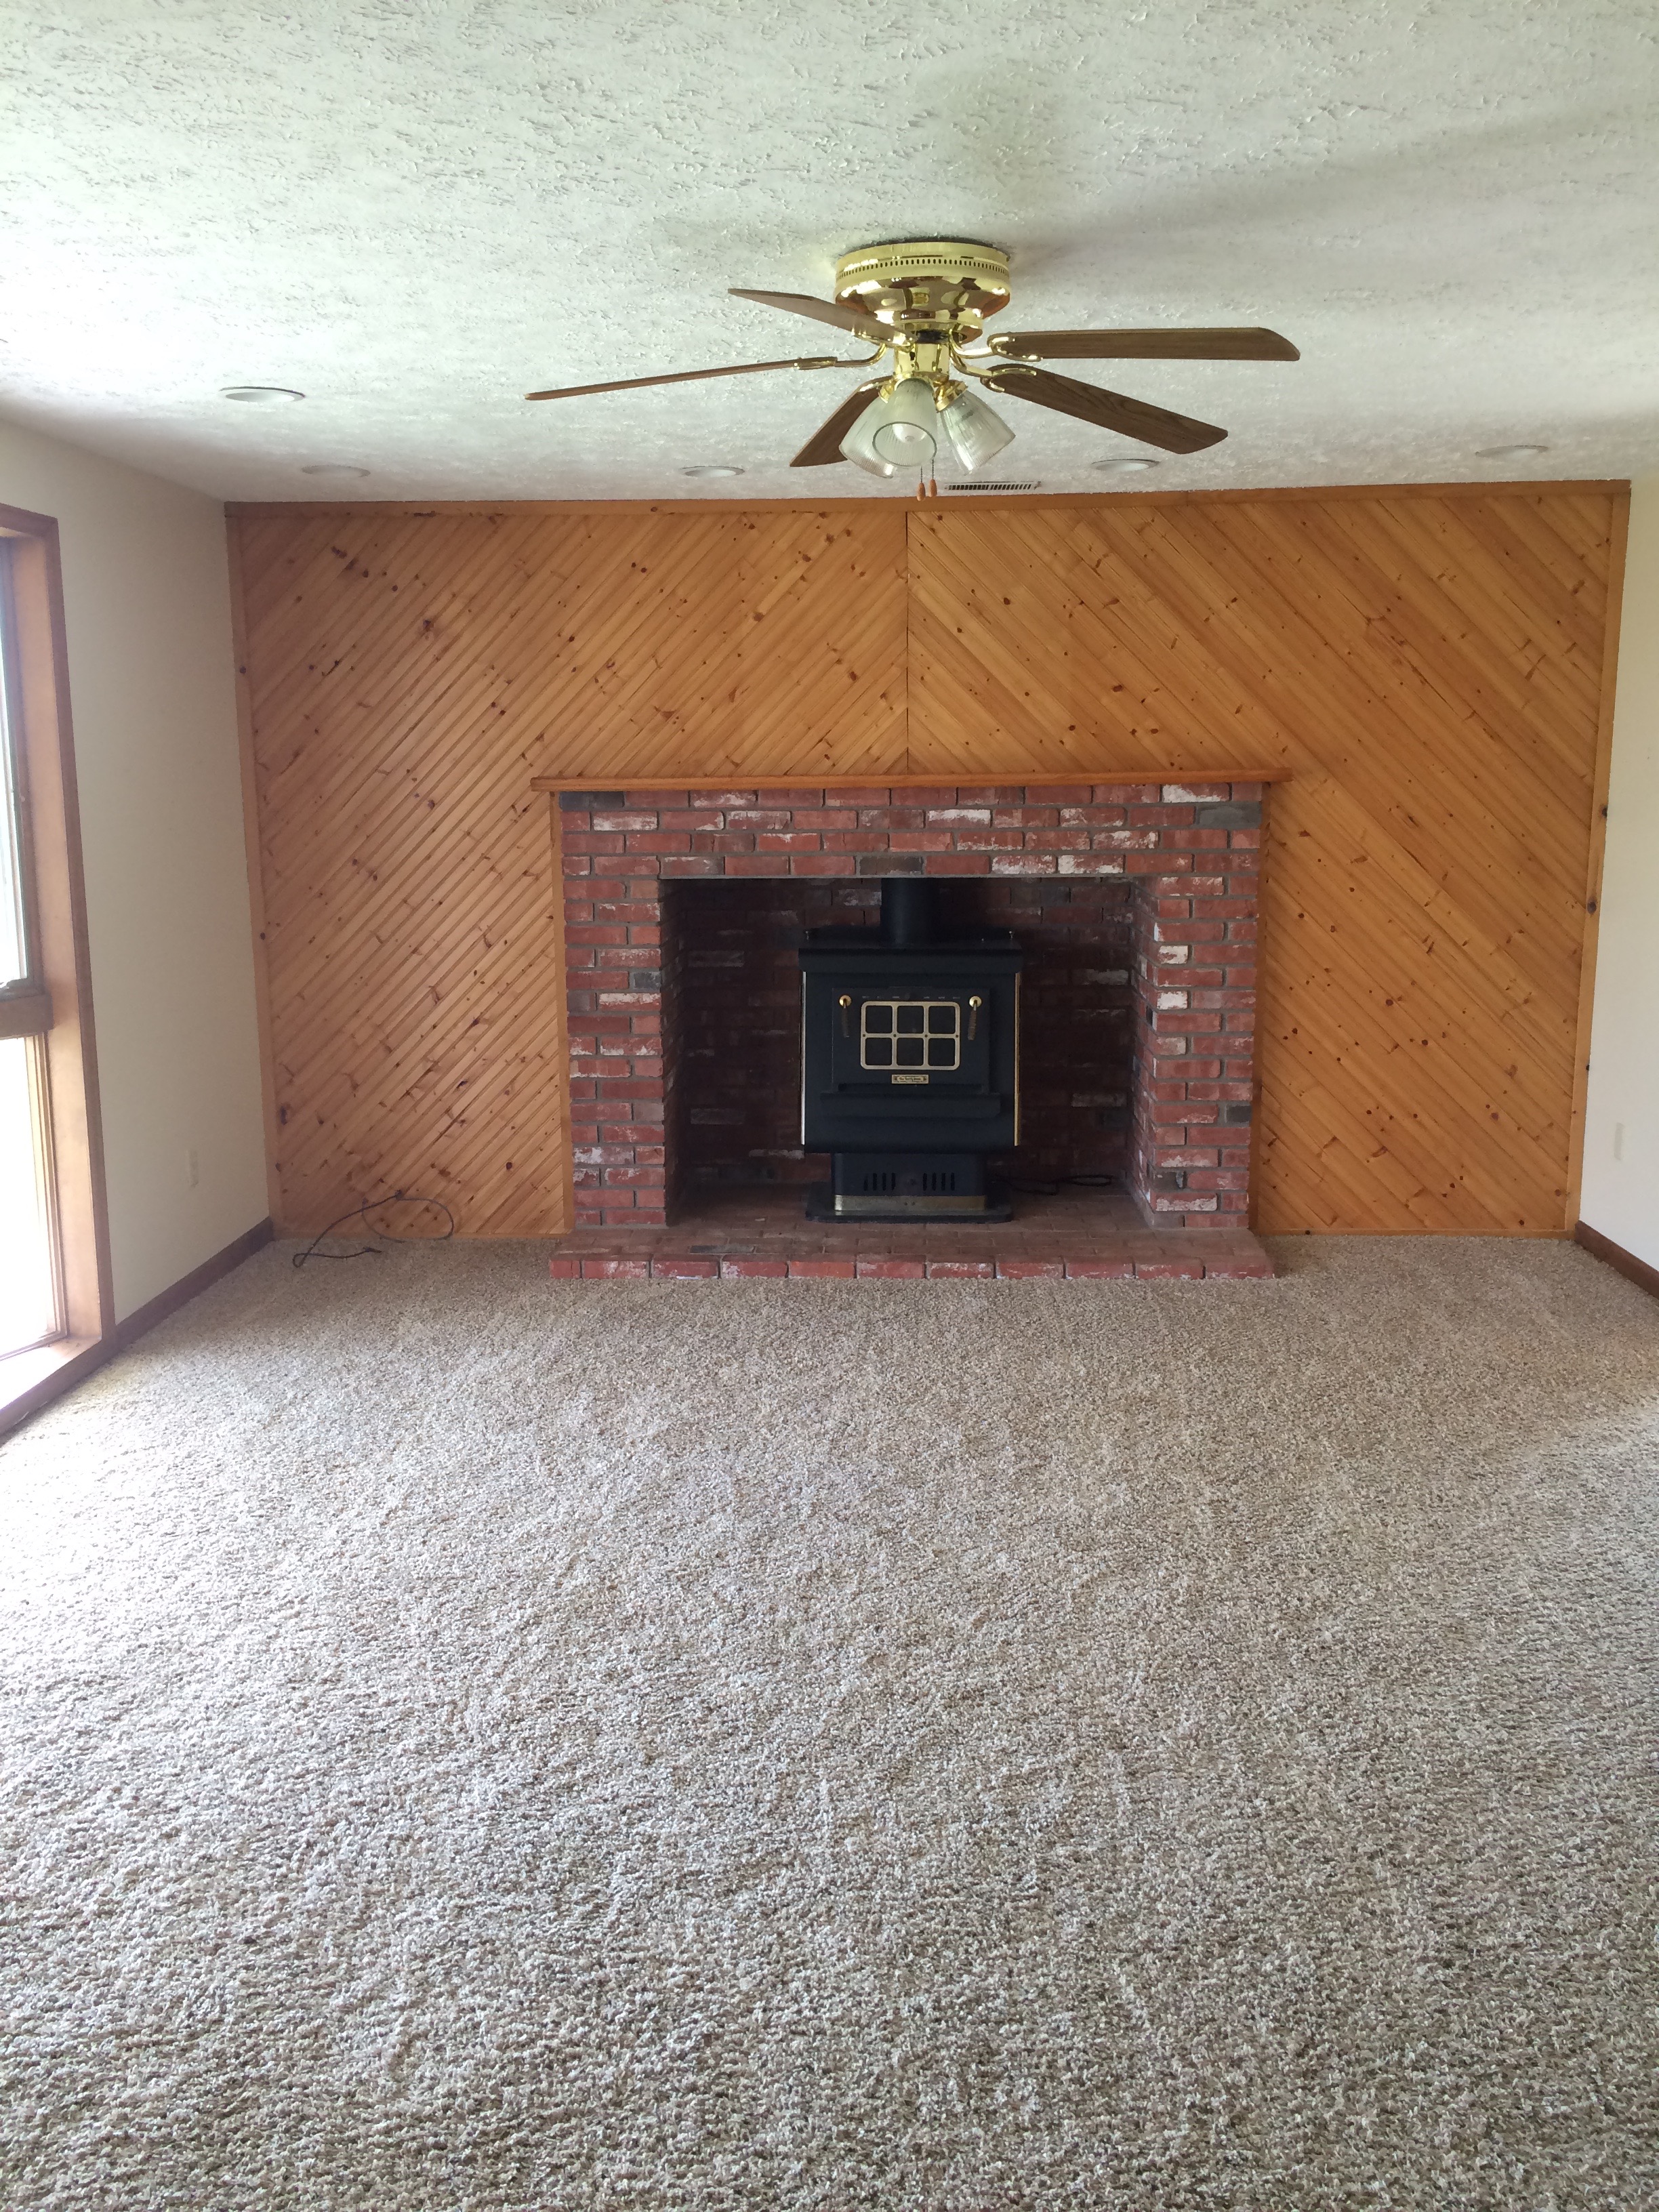
So off of the kitchen is the great, big living room/den/family room – whatever you prefer to call it. This room has a LOT of wood going on but it’s quite pretty!
Living room before
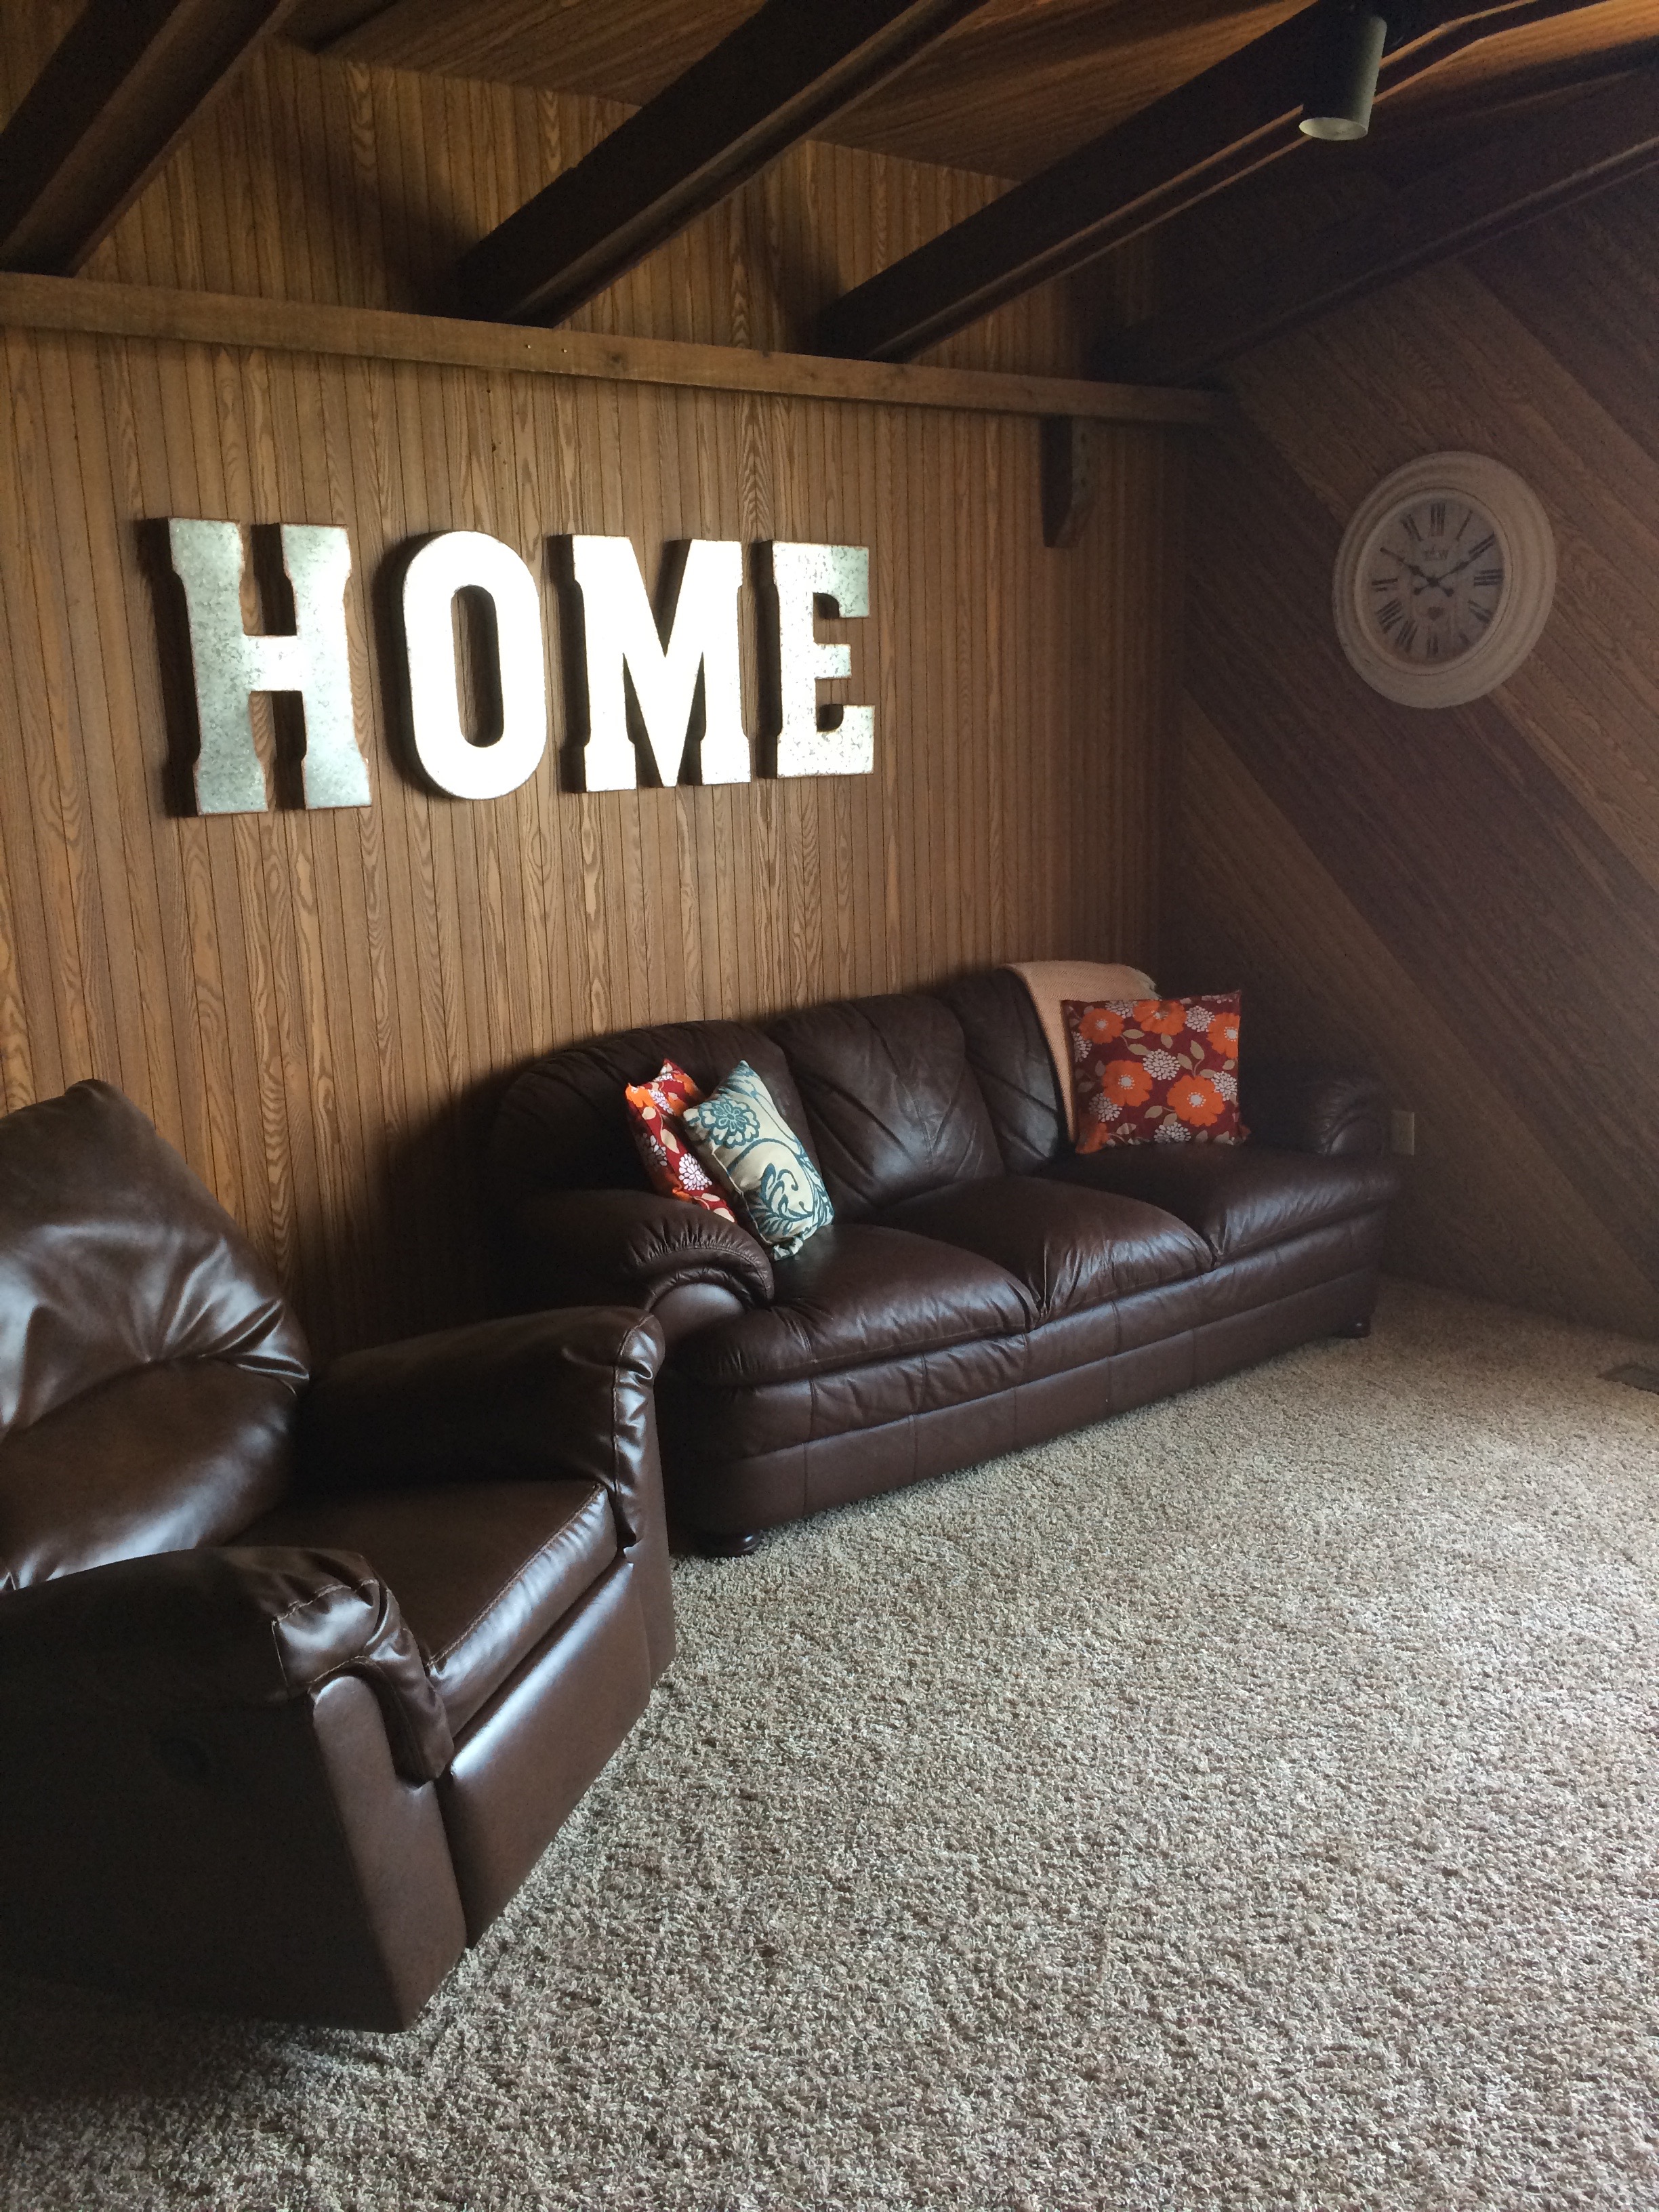
I wasn’t sure if I was going to like this room or not but it turns out, I do! It’s just a big, cozy space for the fam to hang out and play games and wrestle around… We’re dying to host our first pitch party/game night!
Living room afterLiving room before
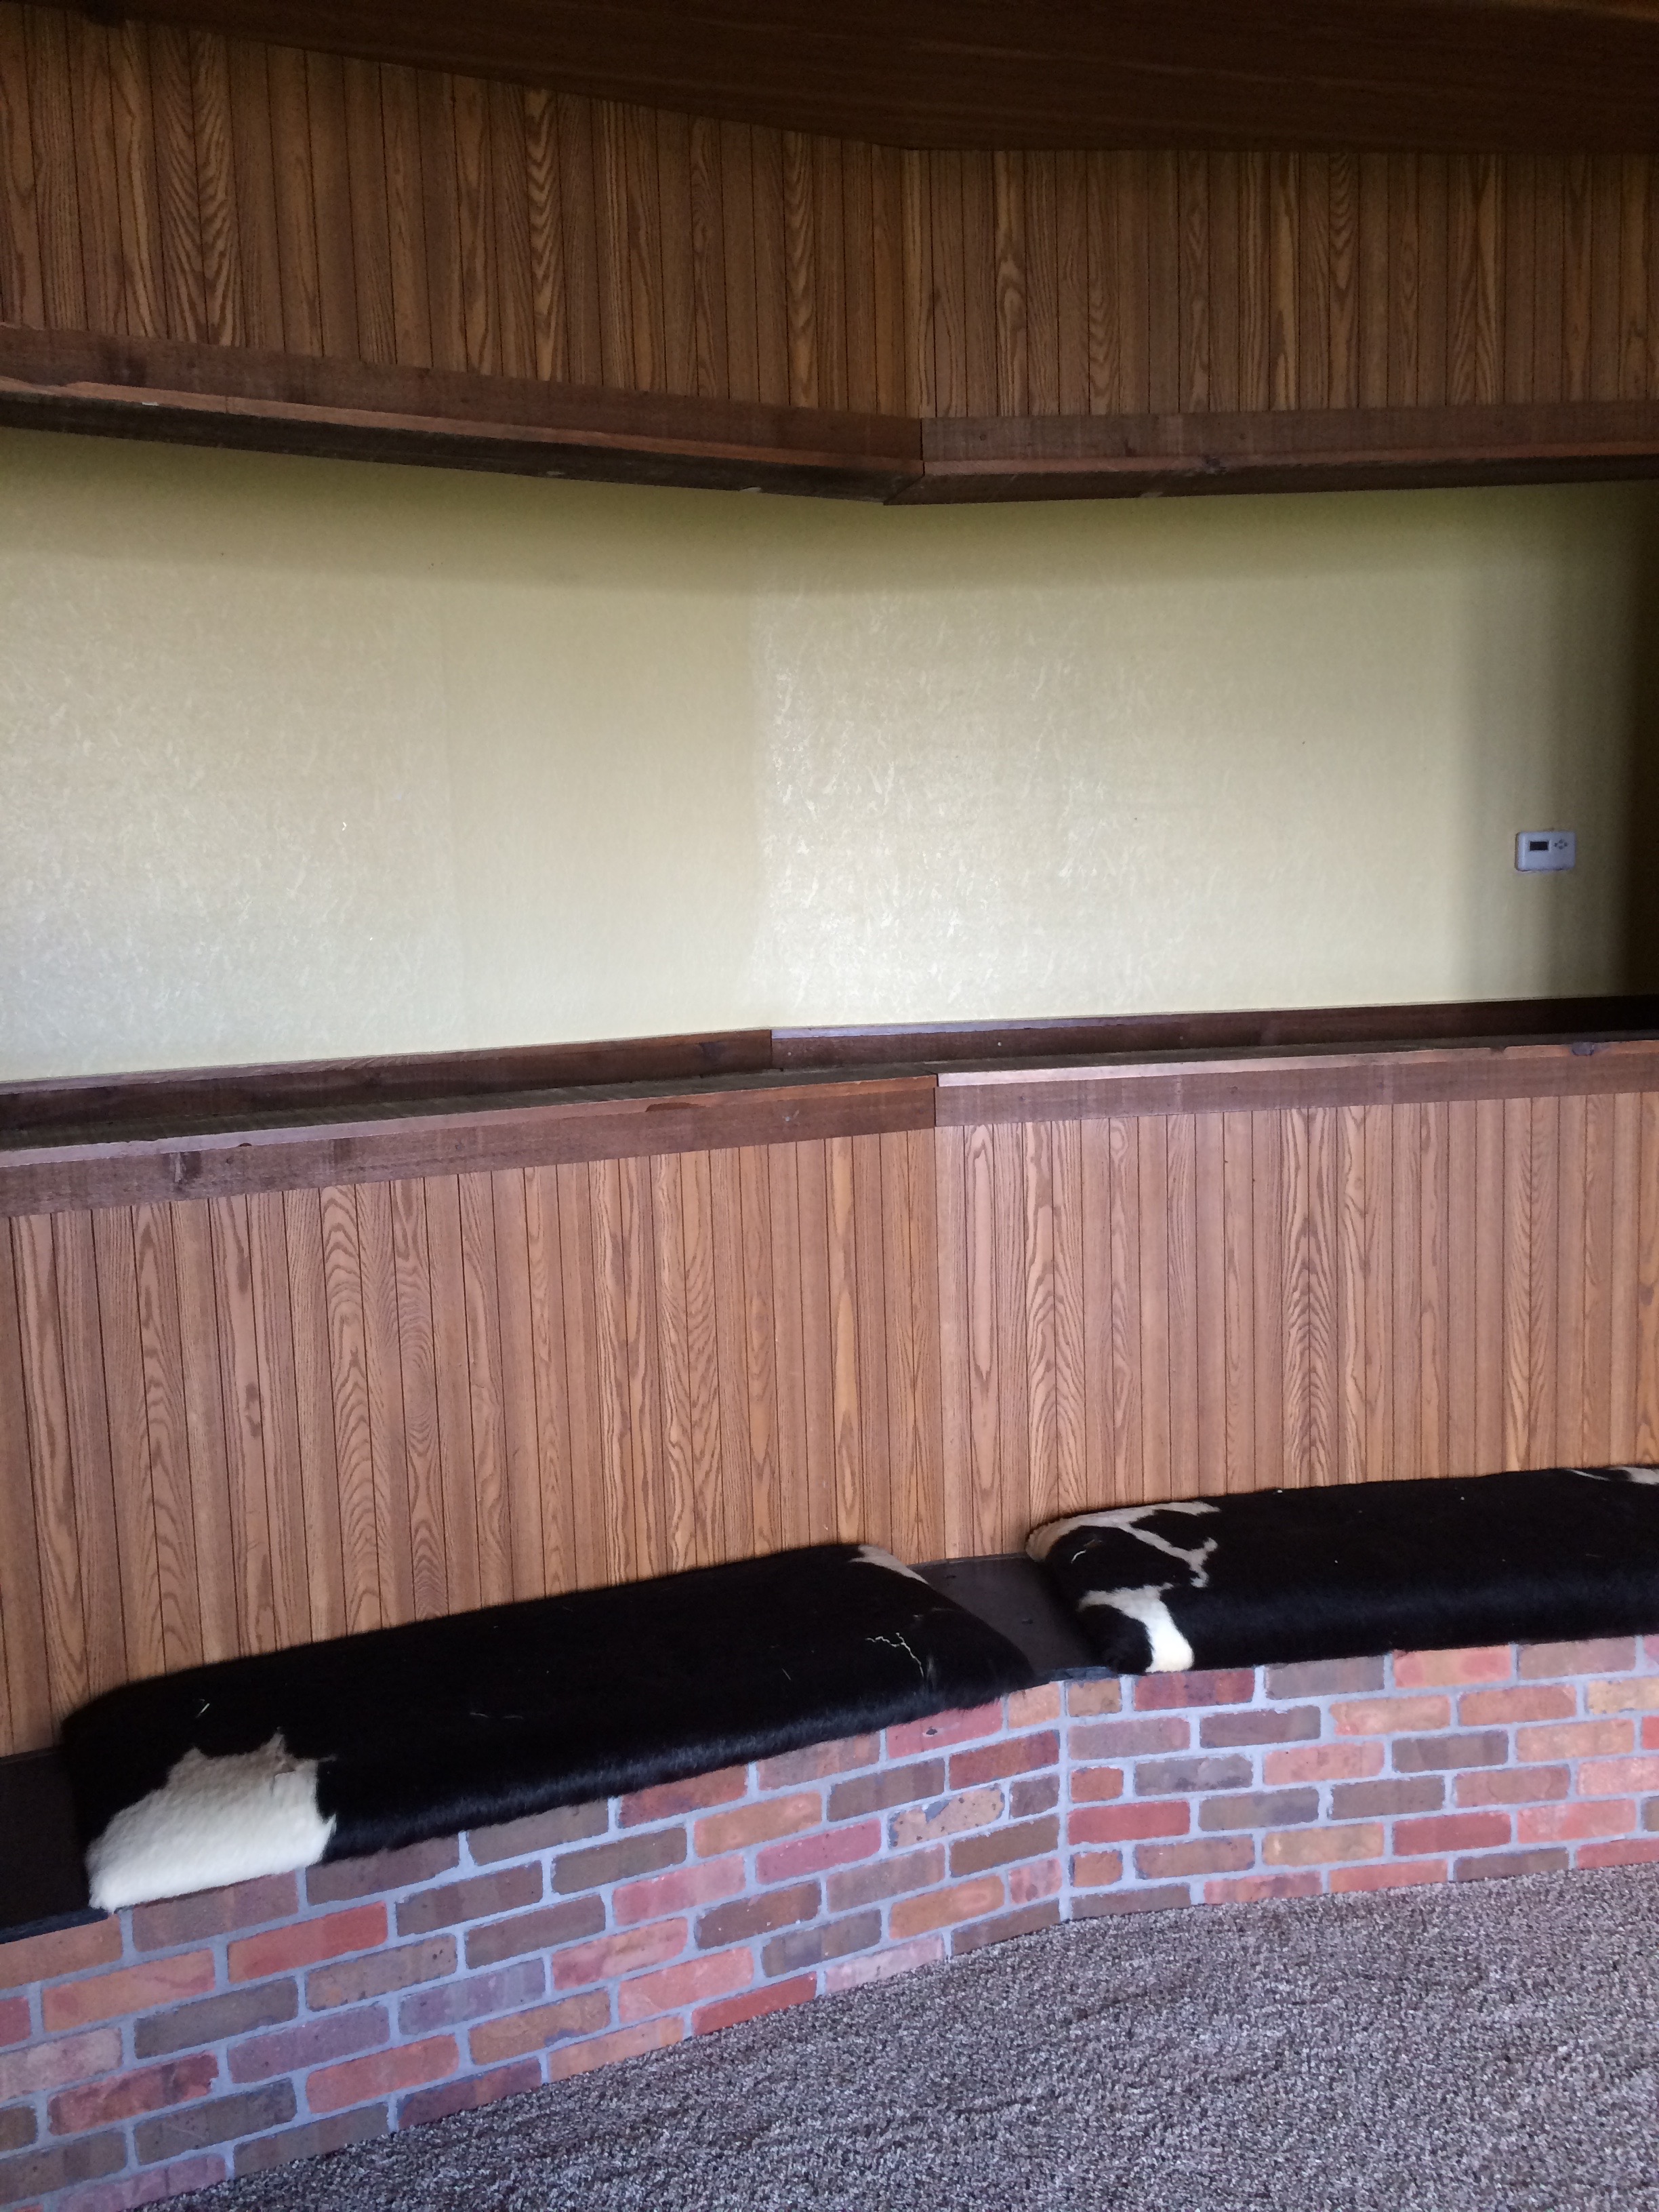
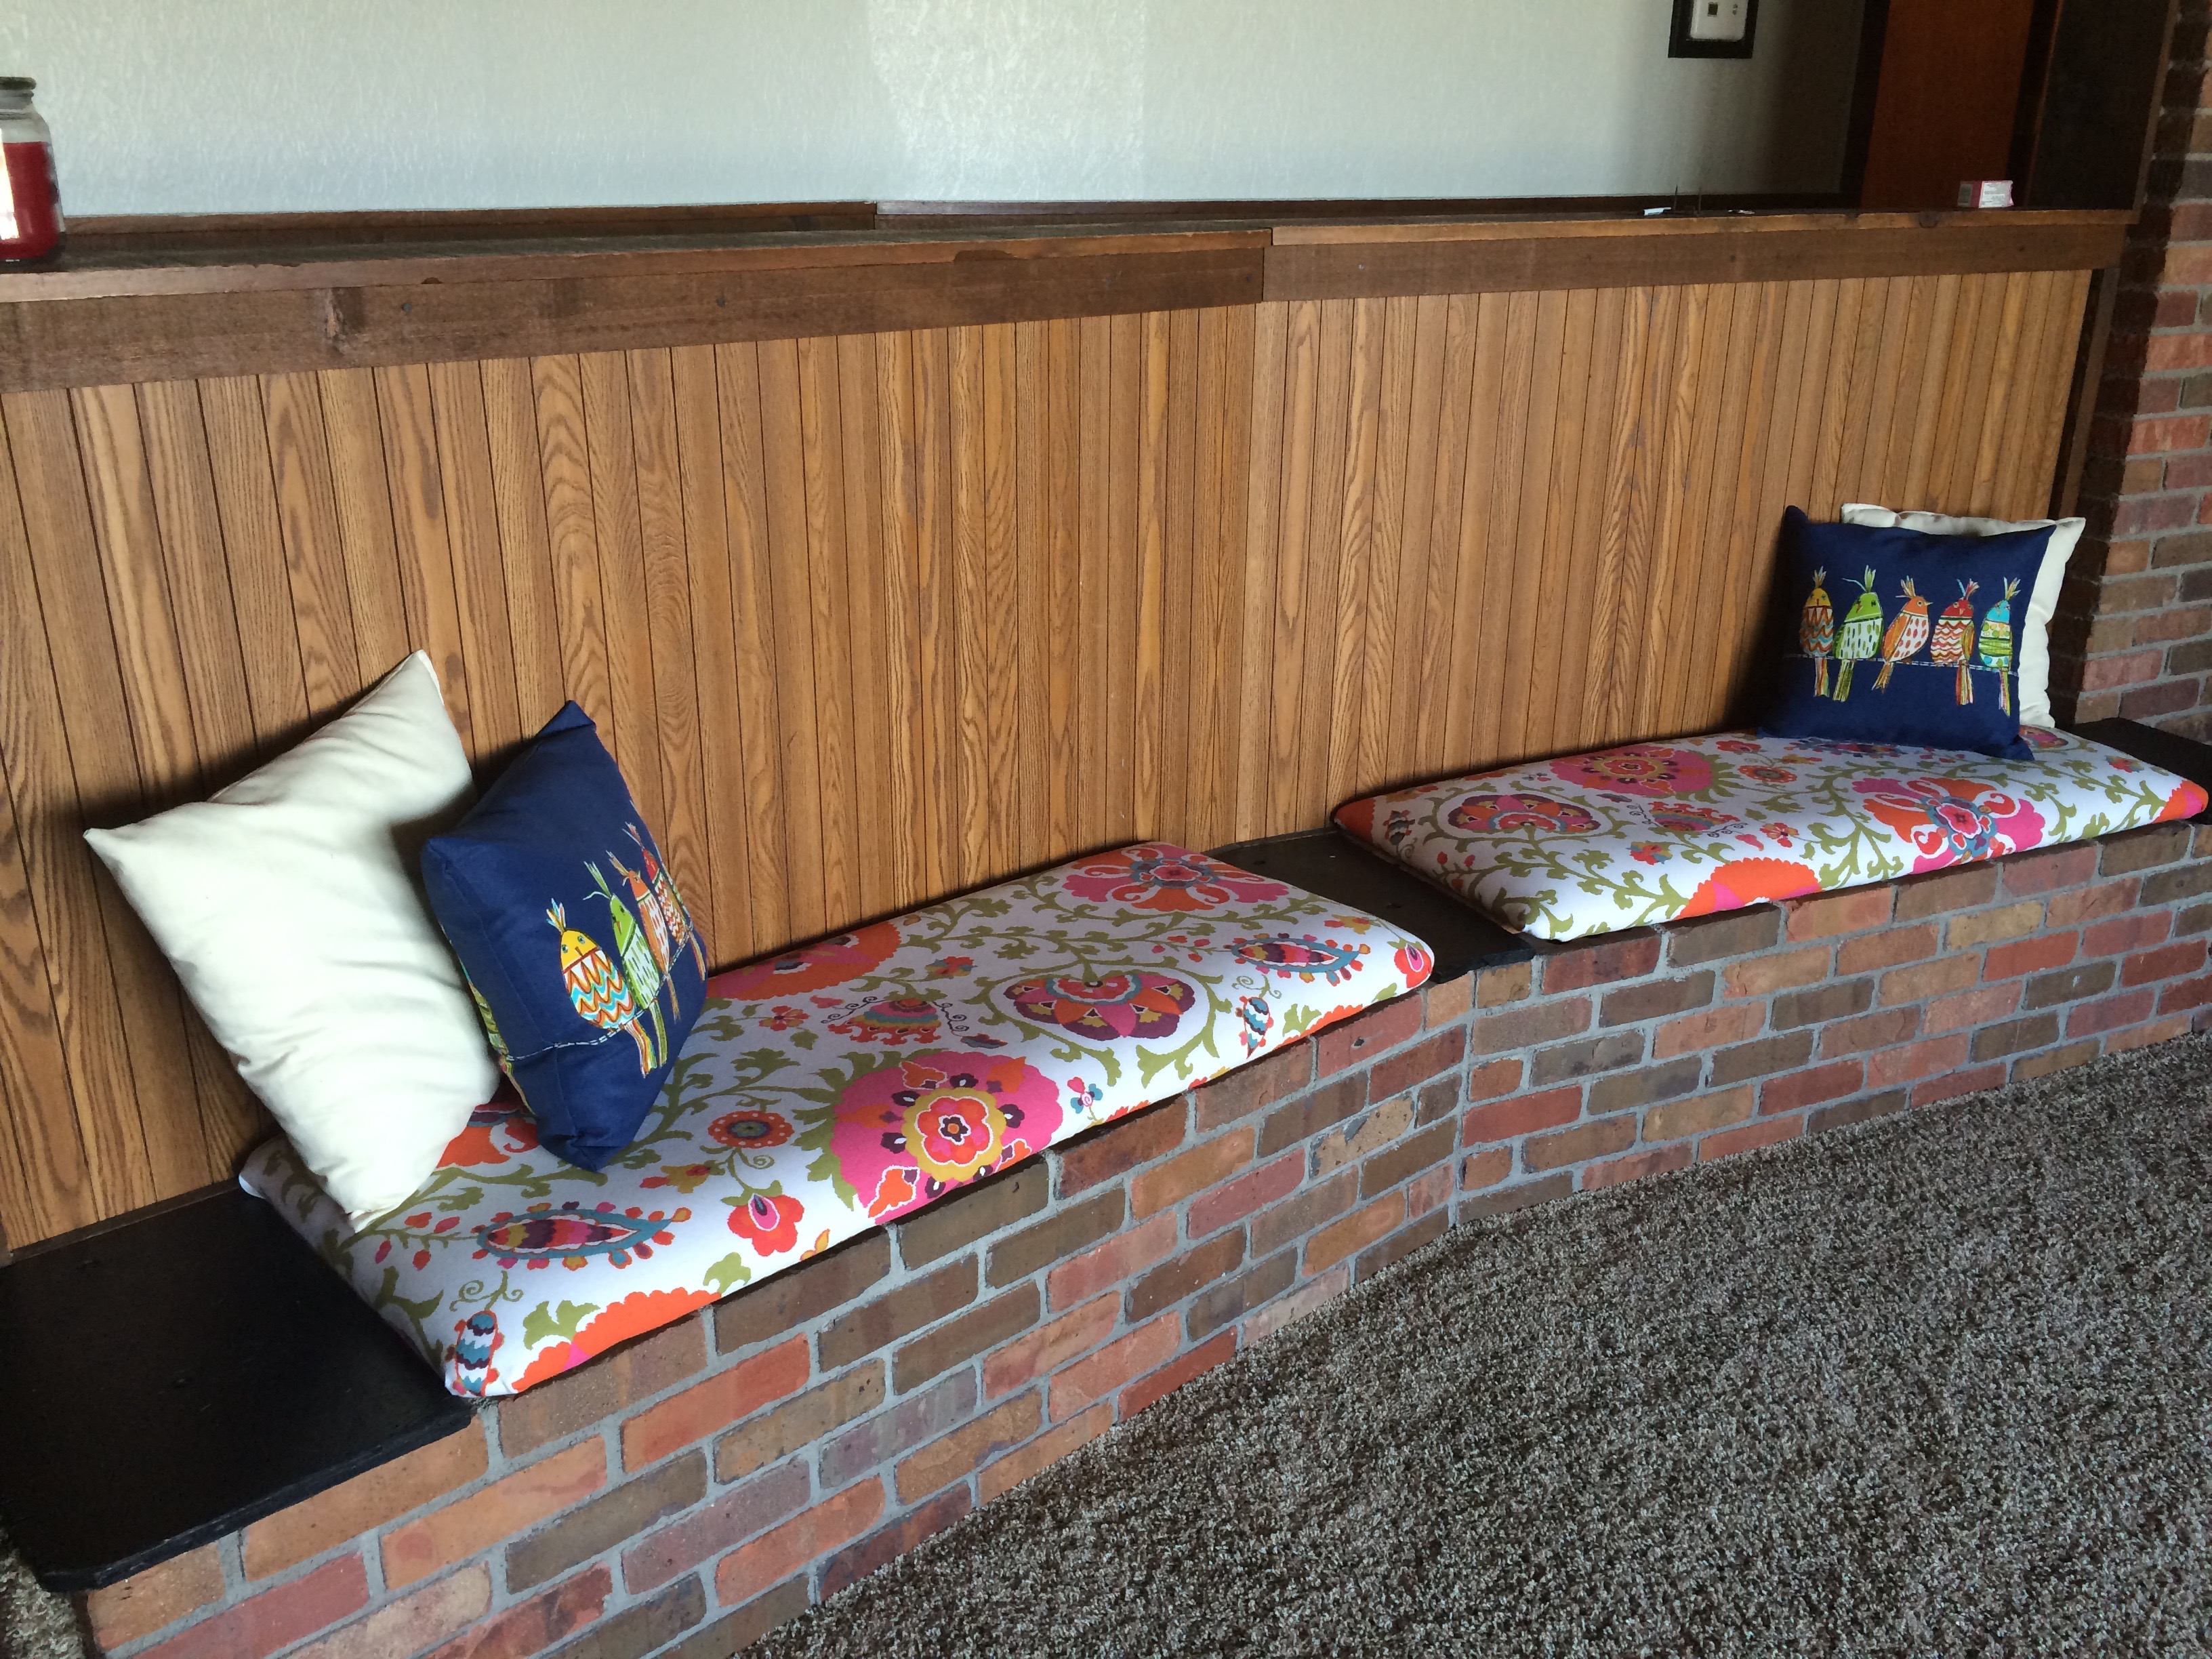
We replaced the cowhide with something a little brighter against all the wood!
Living room afterLiving room before
And in these built ins, we put a pretty paper on the backside to give a little pop of fun…
Living room afterLiving room afterLiving room after
More pretty windows…
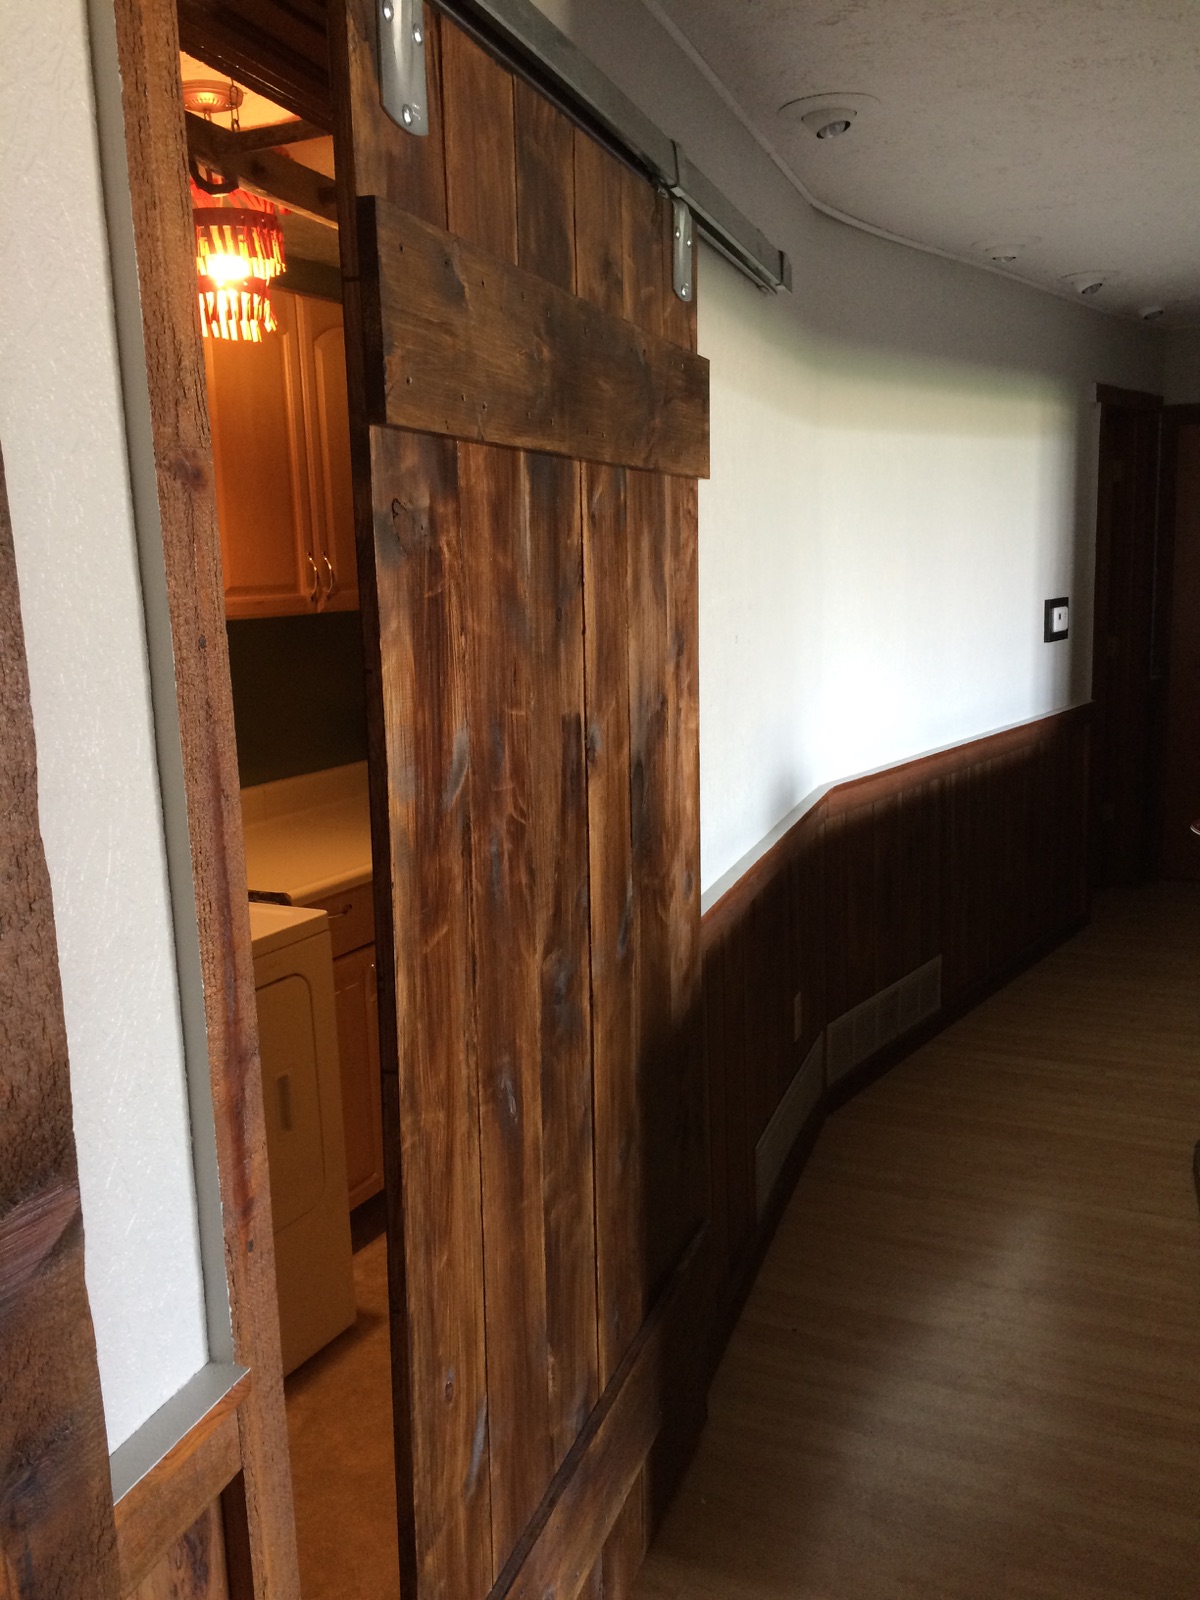
Across from the living room is the laundry room and a half bath/mudroom bathroom.
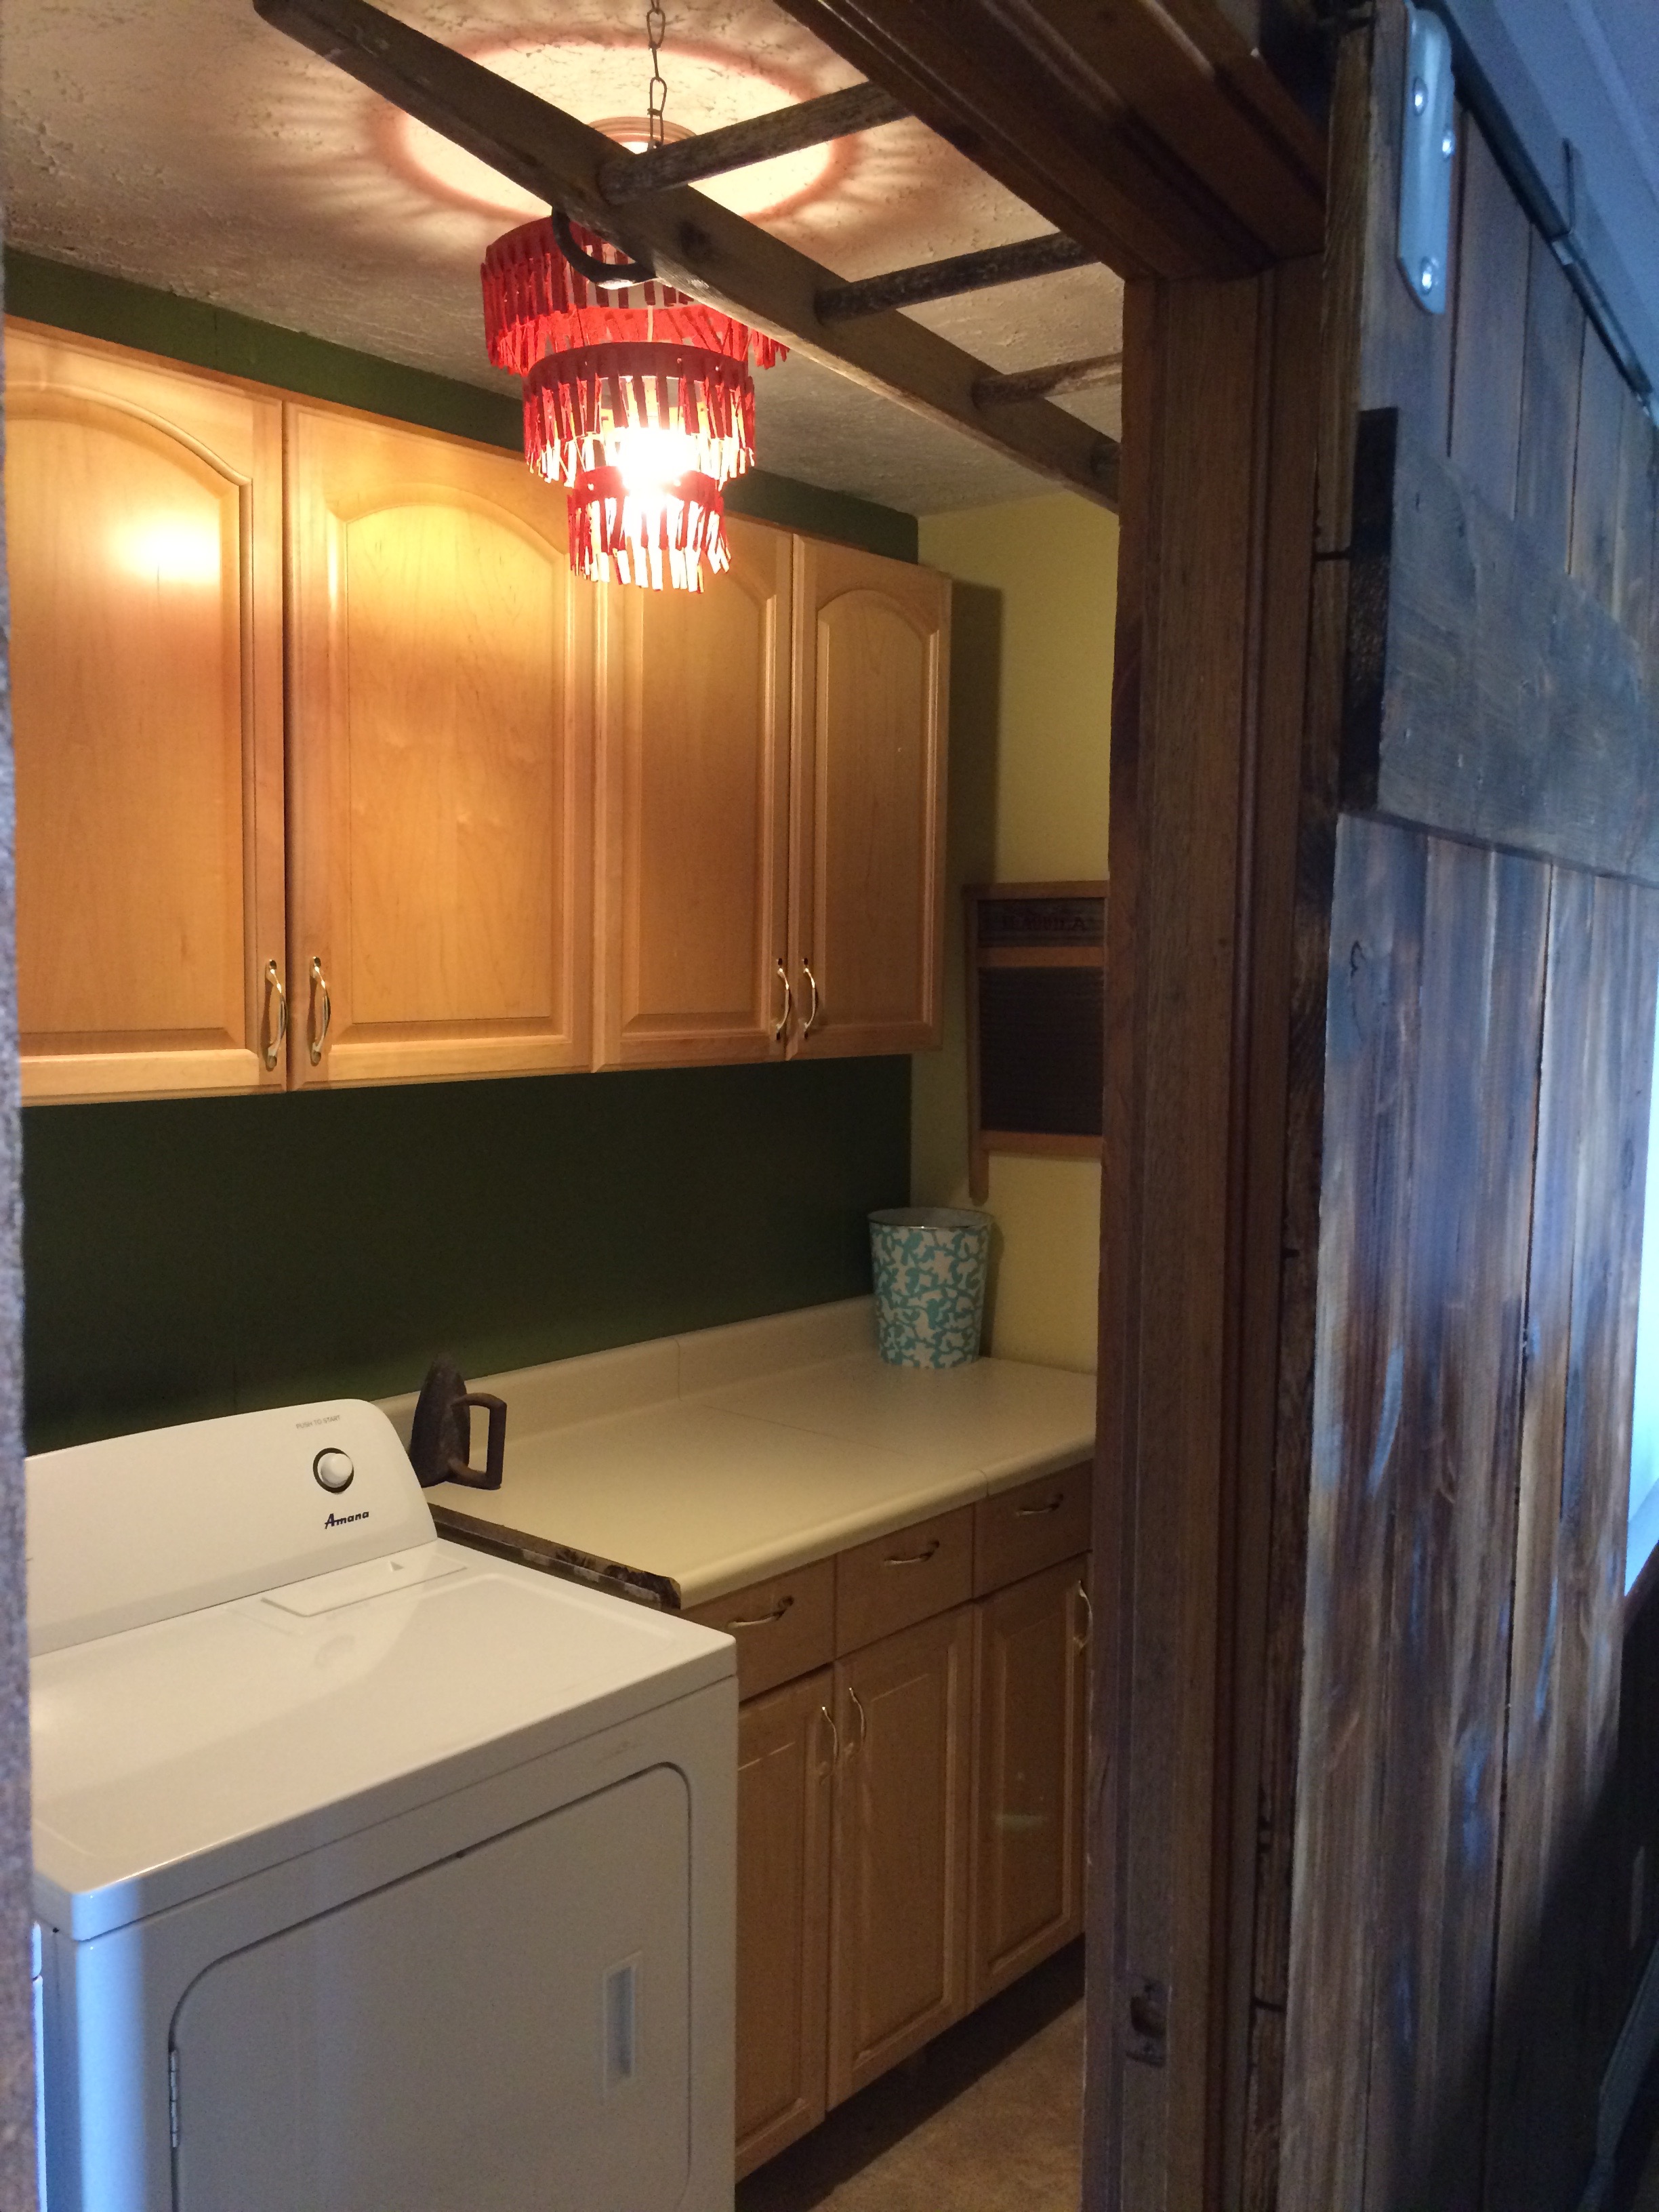
Wrexy built me a sliding barn door for the laundry room and I love it! I wasn’t sure I wanted because it seems EVERYONE has one these days, but it’s really functional and it fits the house well.
Laundry room
The previous laundry room door wanted to whack the washer. If we moved the washer to where it didn’t hit, then I had no room to fold clothes and with as much laundry as we do around here, I NEEEEEEDED a place to fold clothes!
Laundry room
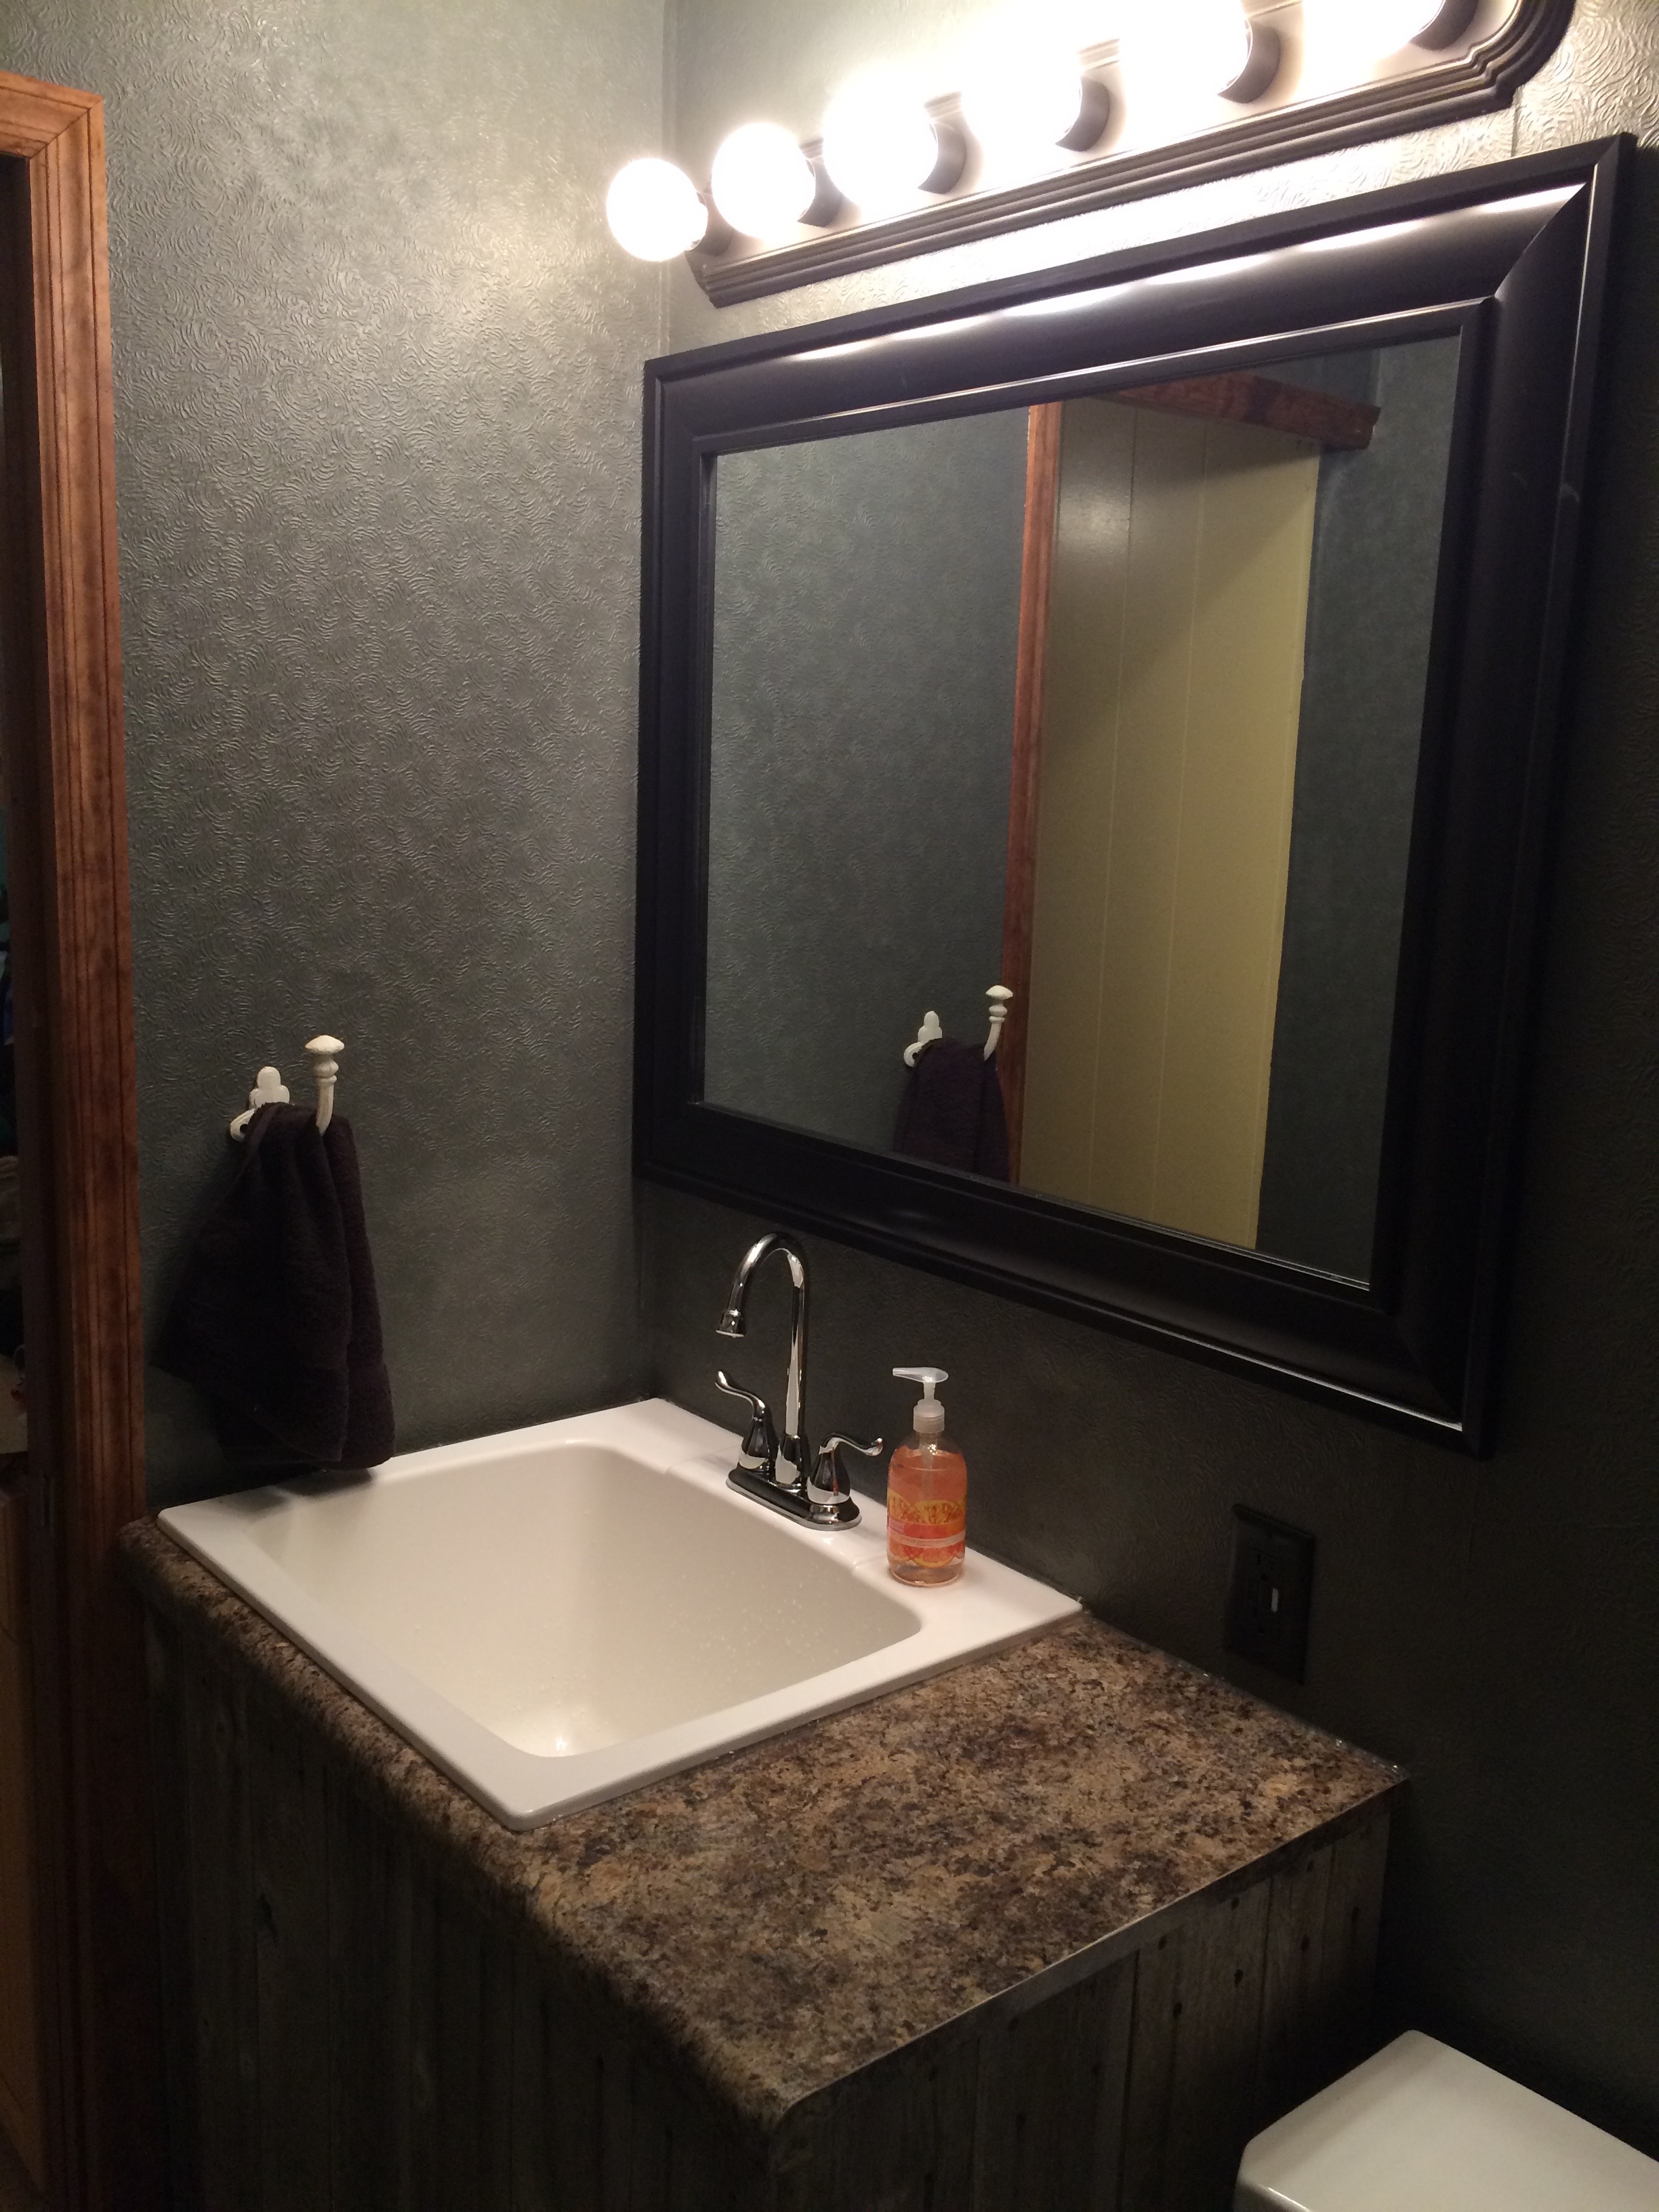
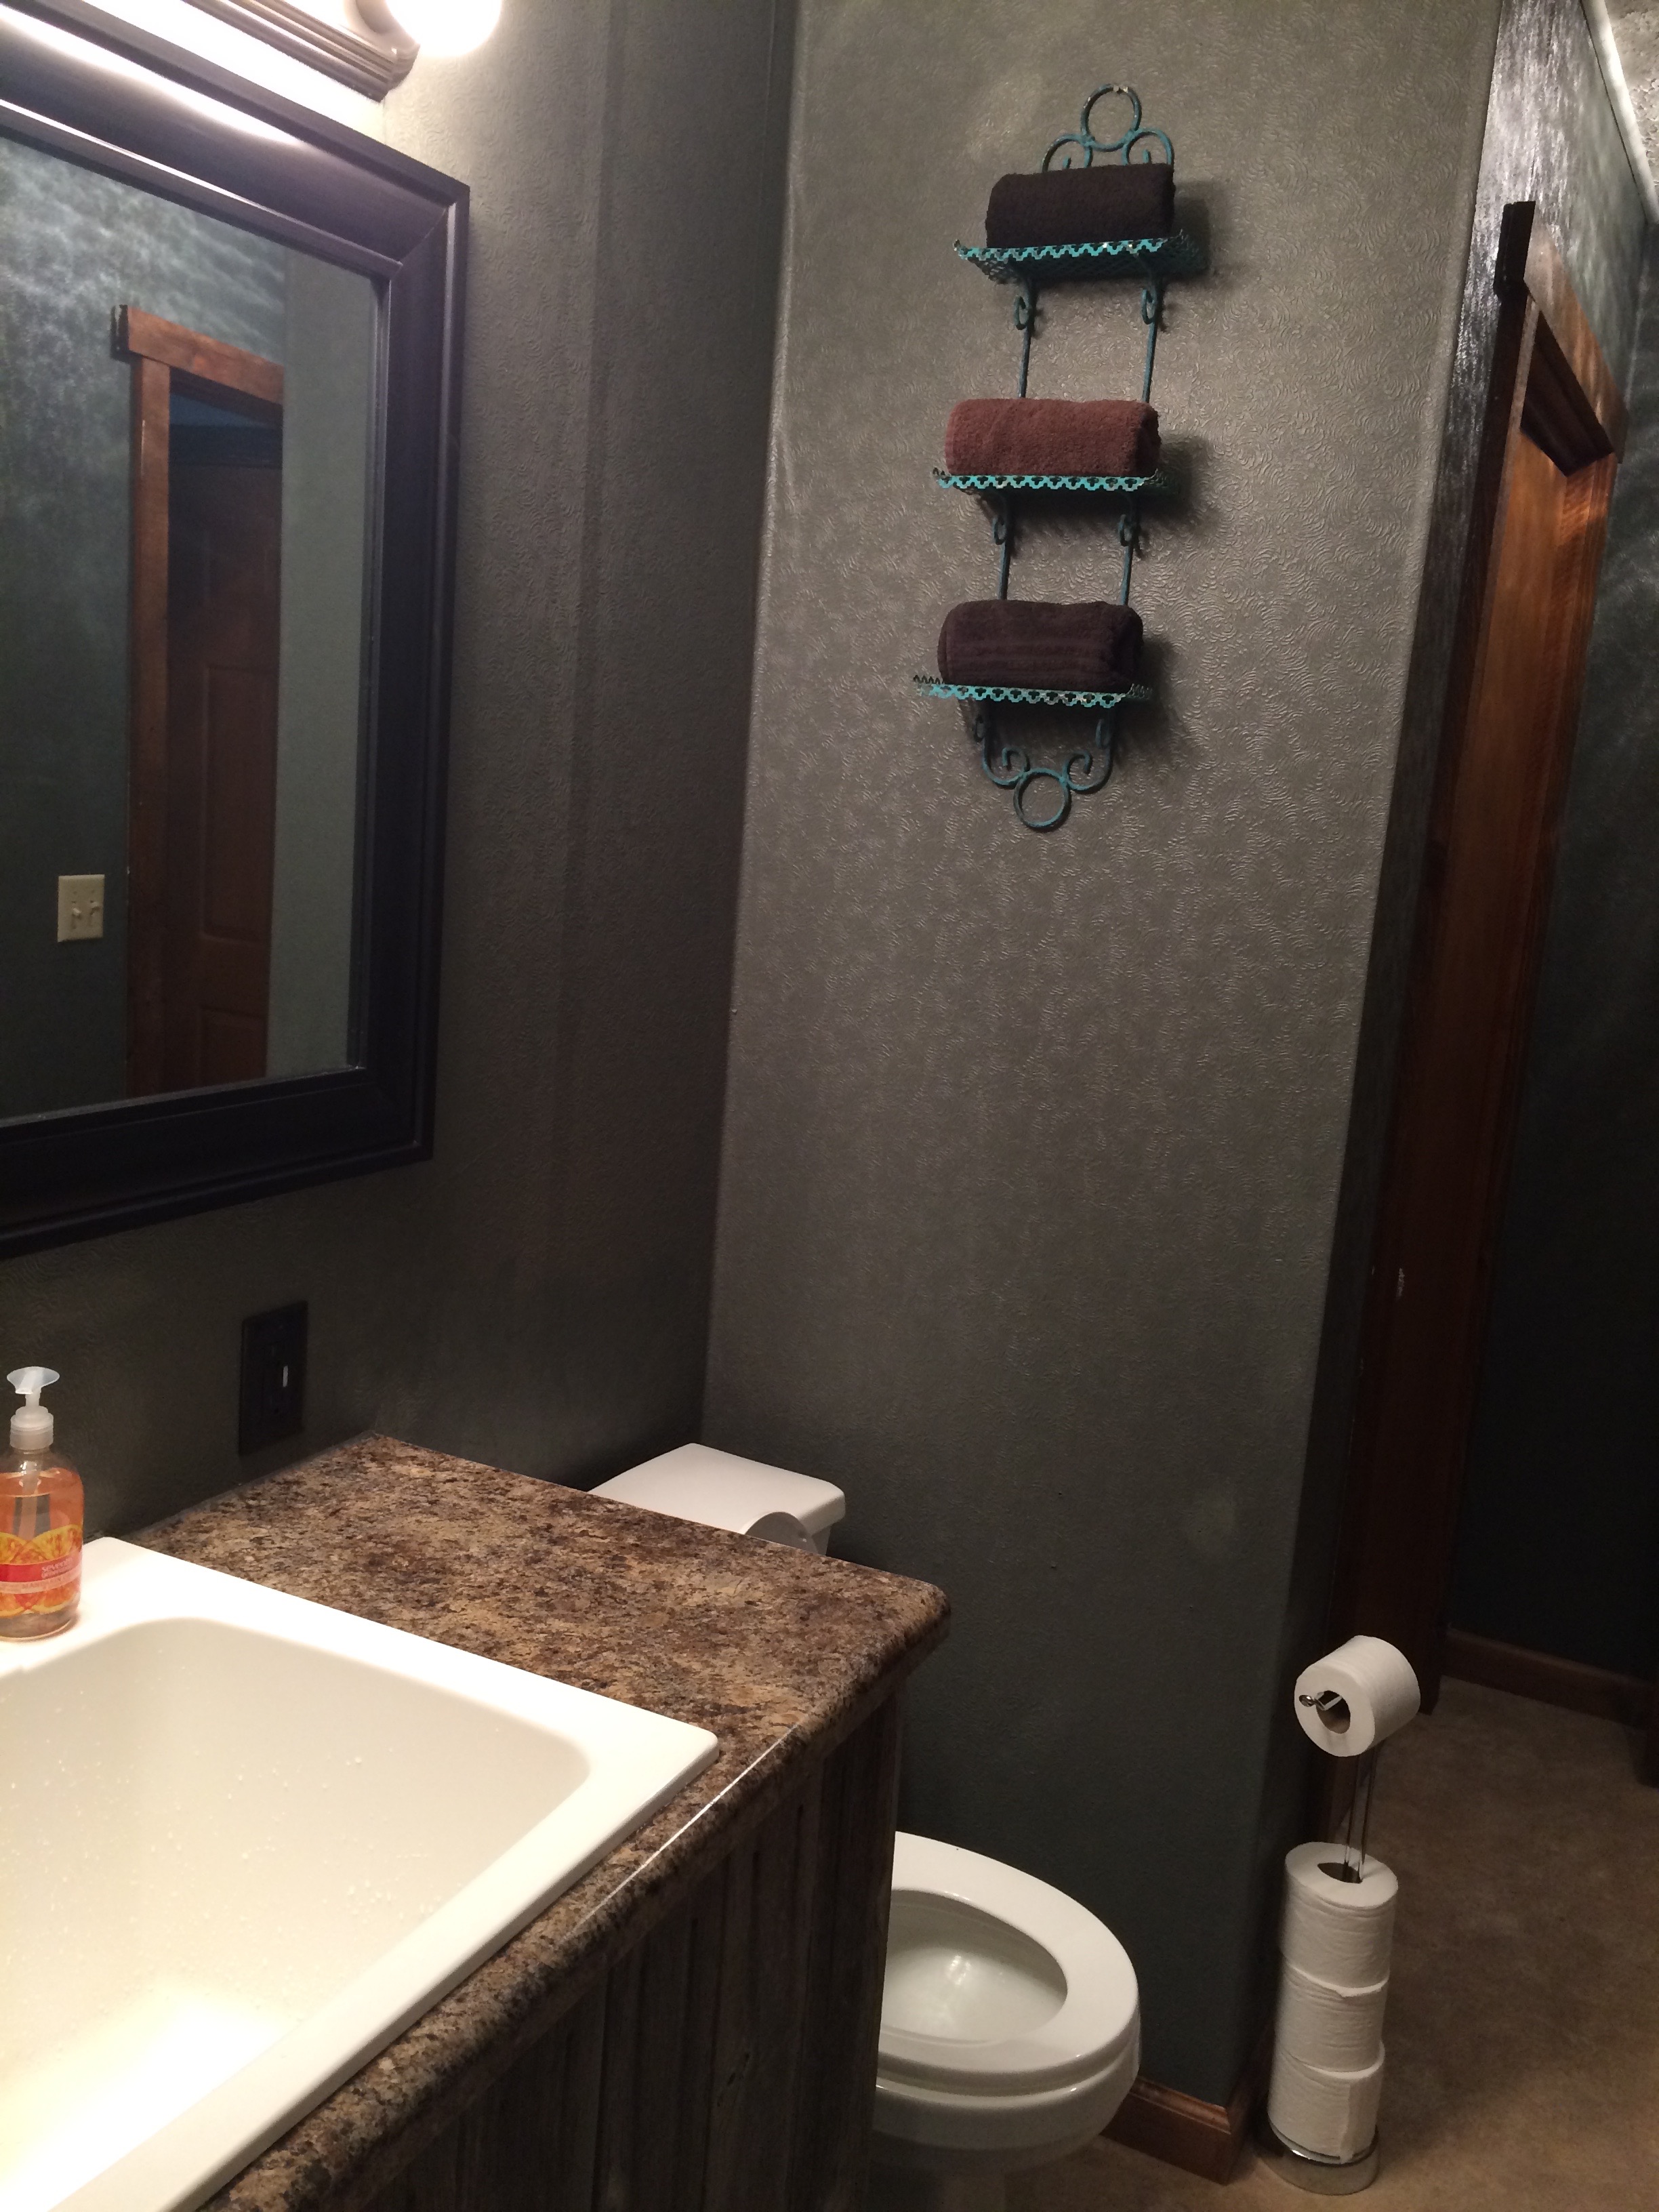
The appearance of the mudroom bathroom was one of the biggest changes in the house. It was wall-papered, but yellowing and peeling. Would you believe I don’t have a single picture of it before?!
Alas, we painted it (and LOVED the texture the wall paper gave), put in a utility sink (so Wrex could make messes here as he mixed milk or whatever instead of the kitchen sink), and gave it an updated, clean look!
Mudroom bath afterMudroom bath afterMudroom bath after
This bathroom comes right off the garage door and is so nice for washing dirty little hands when they come in from outside. 😉
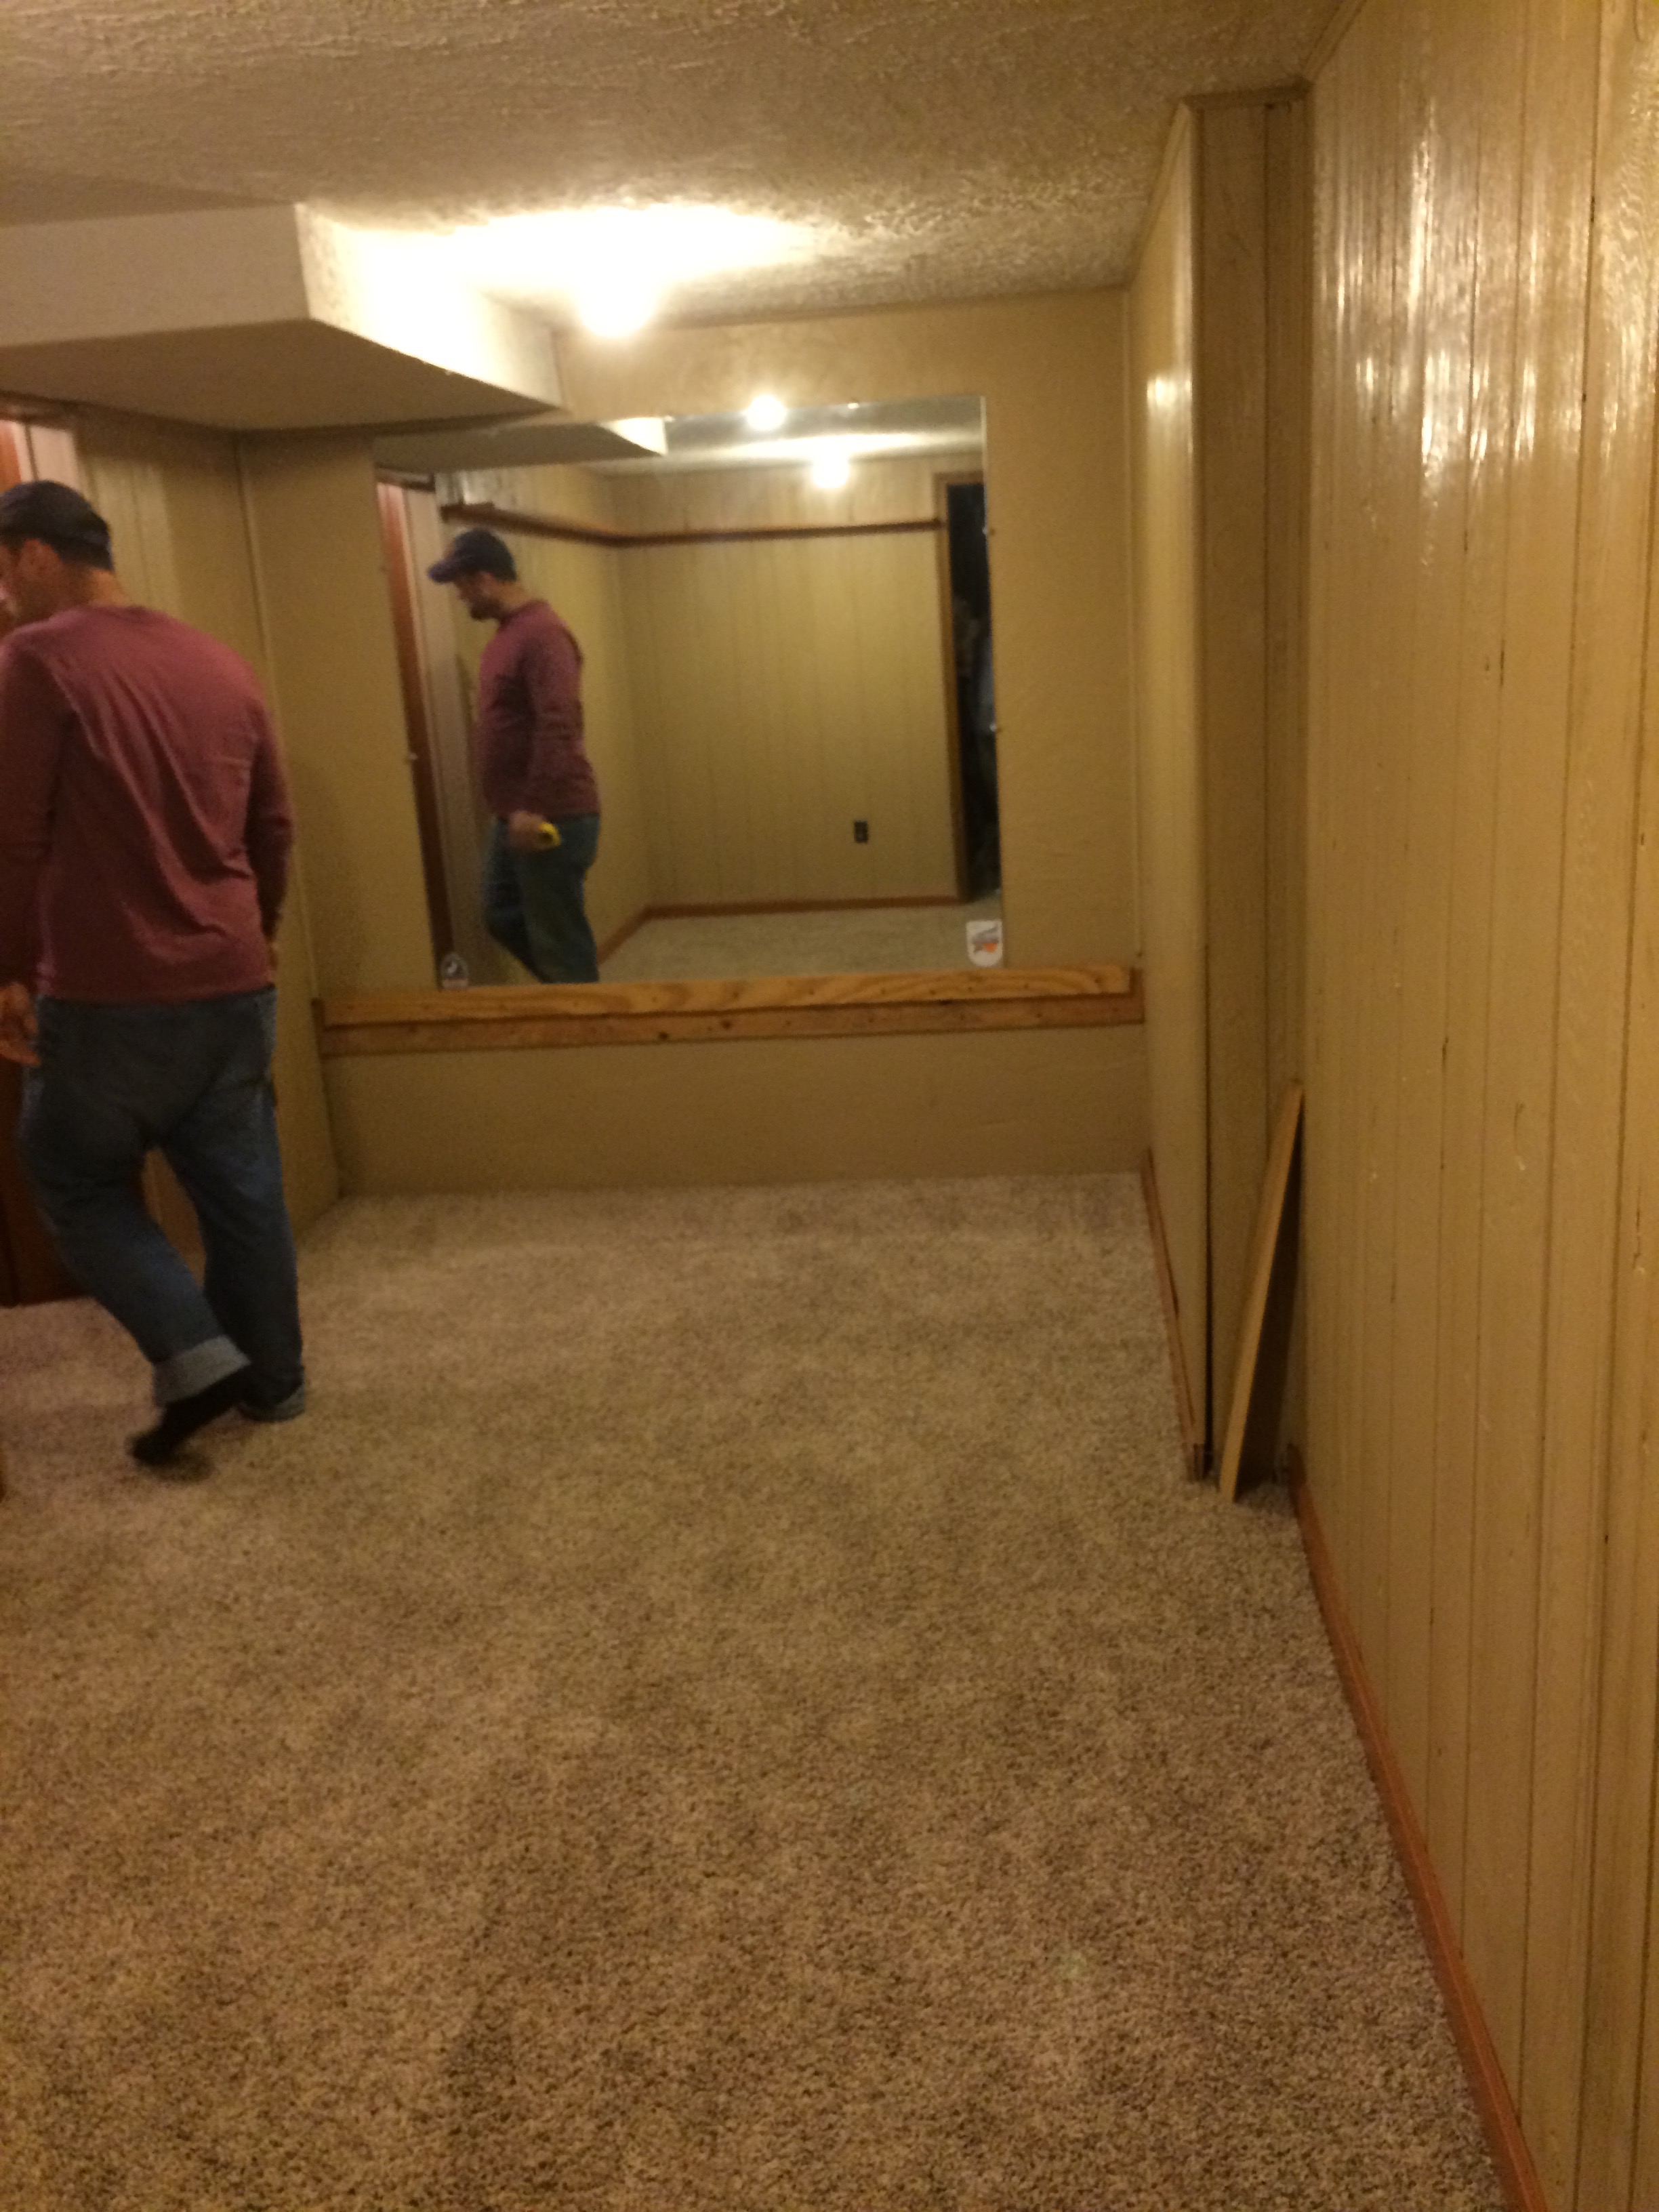
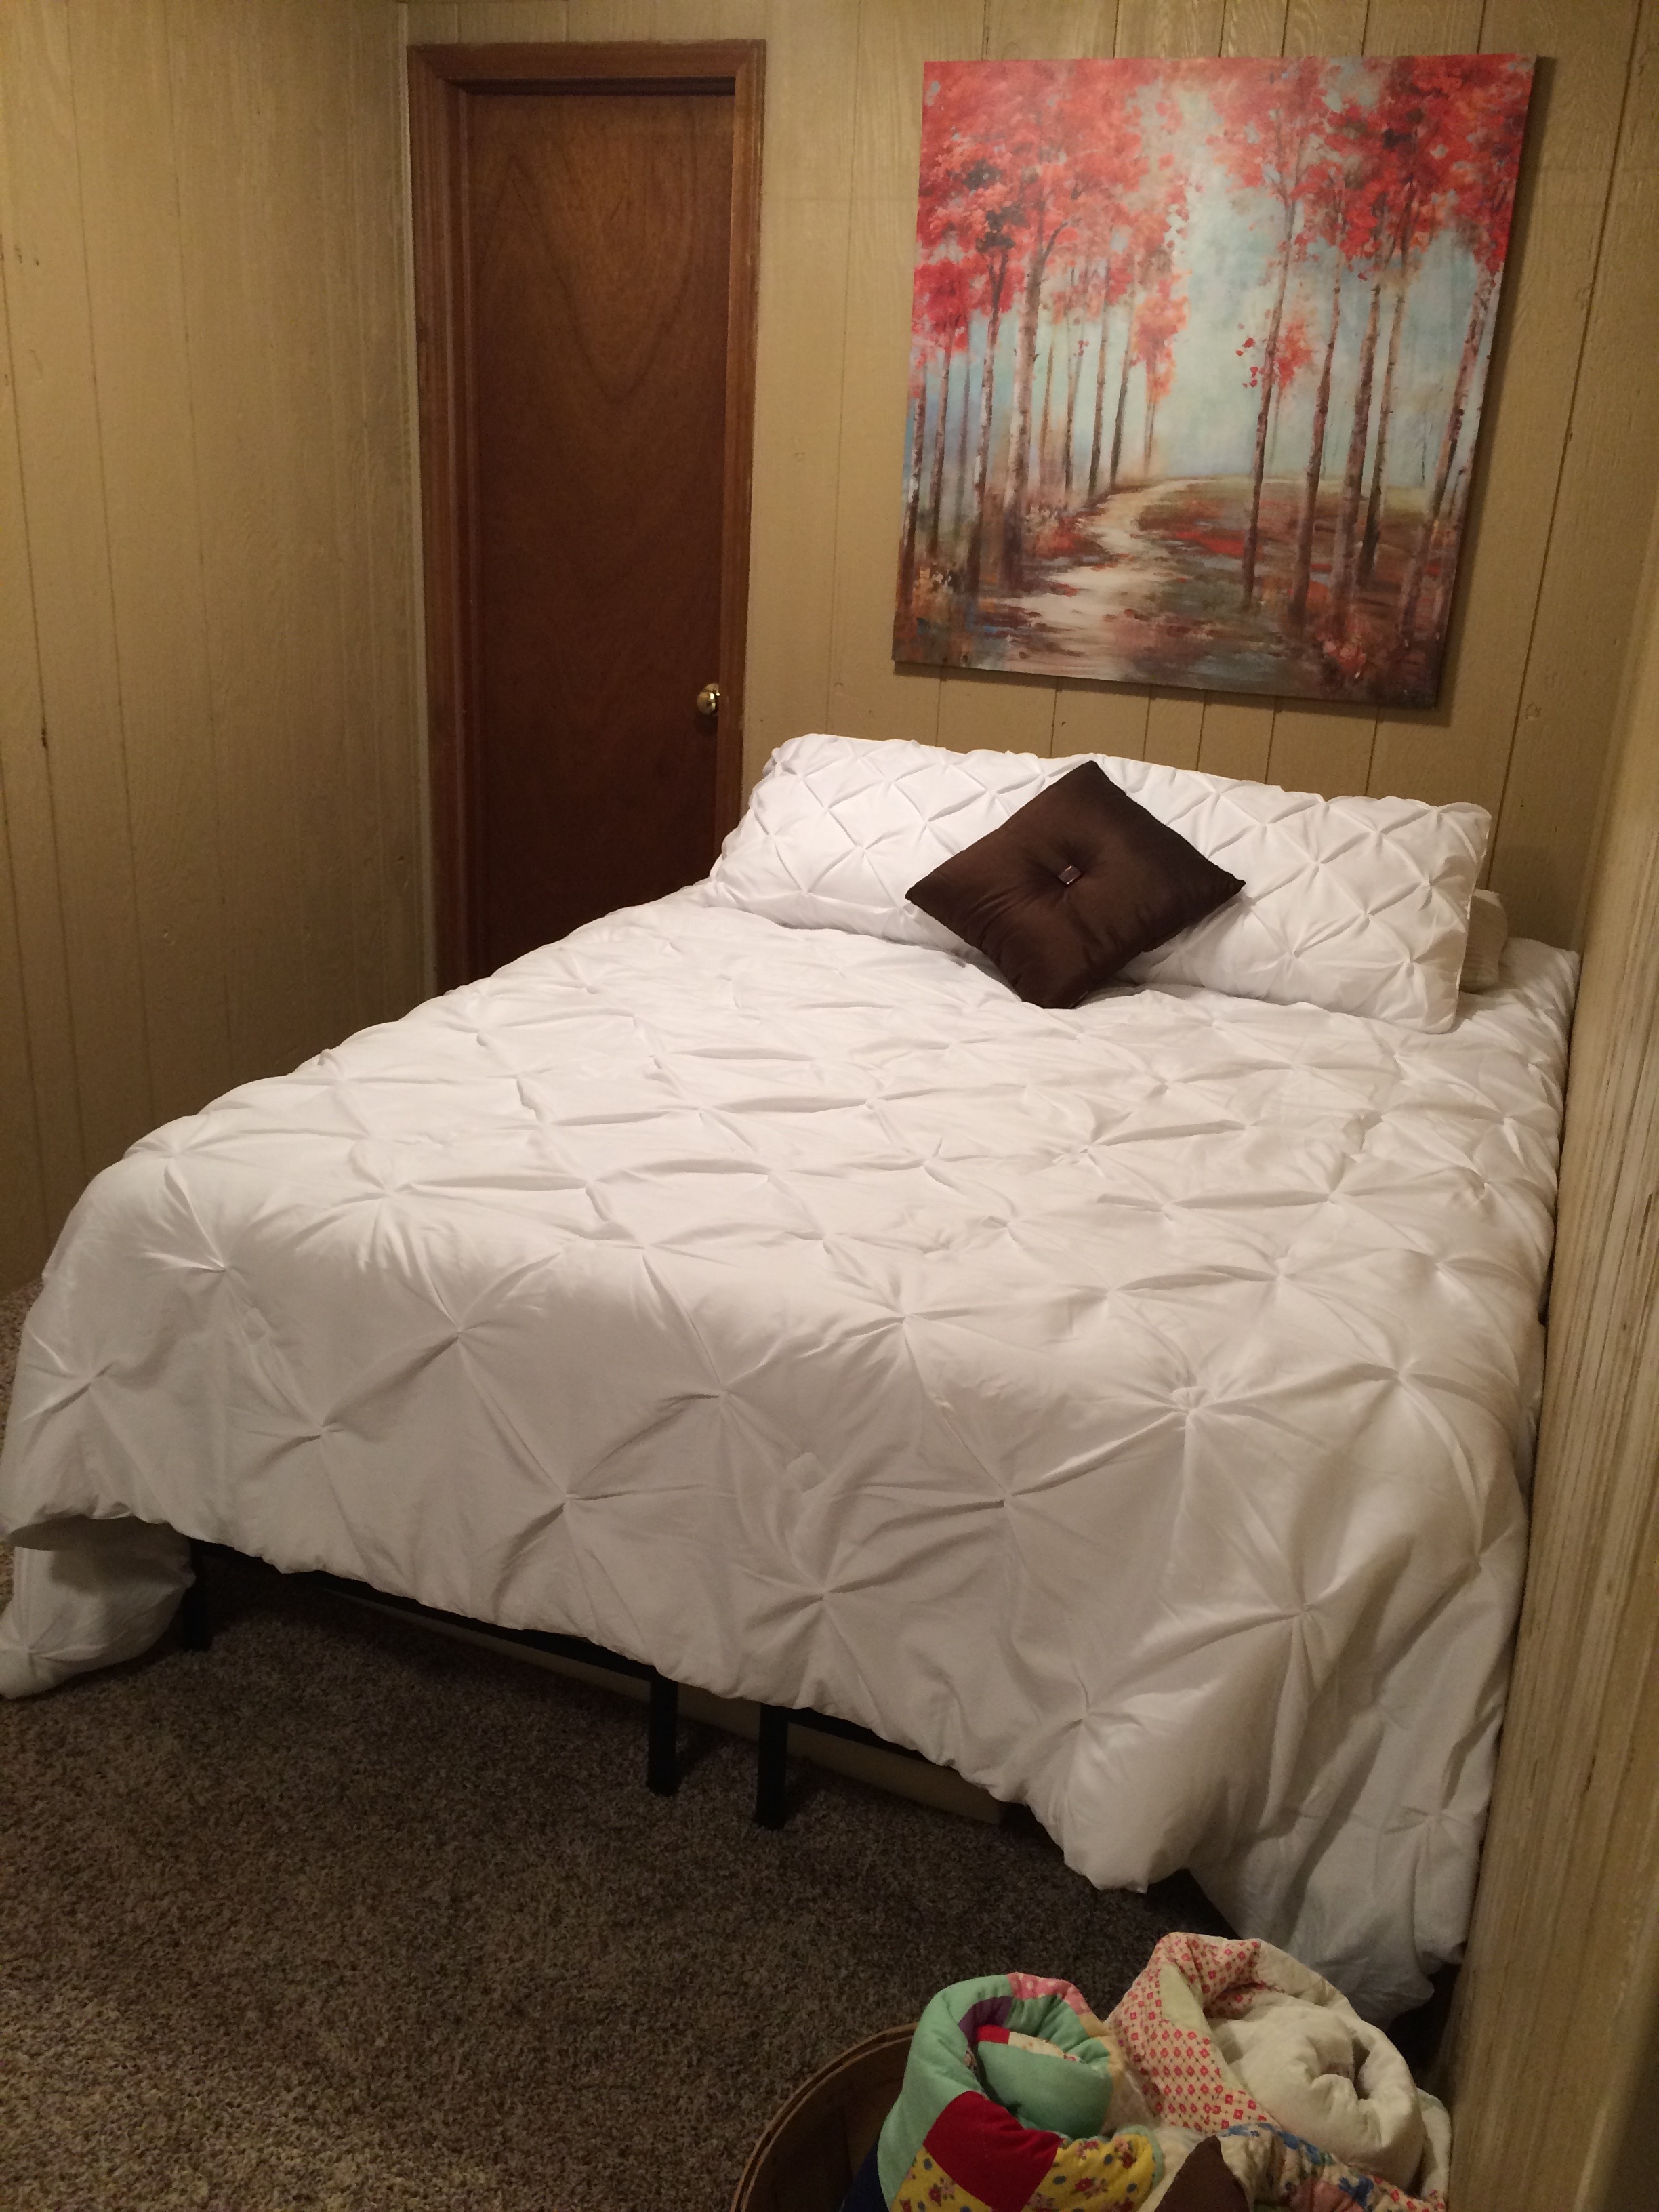
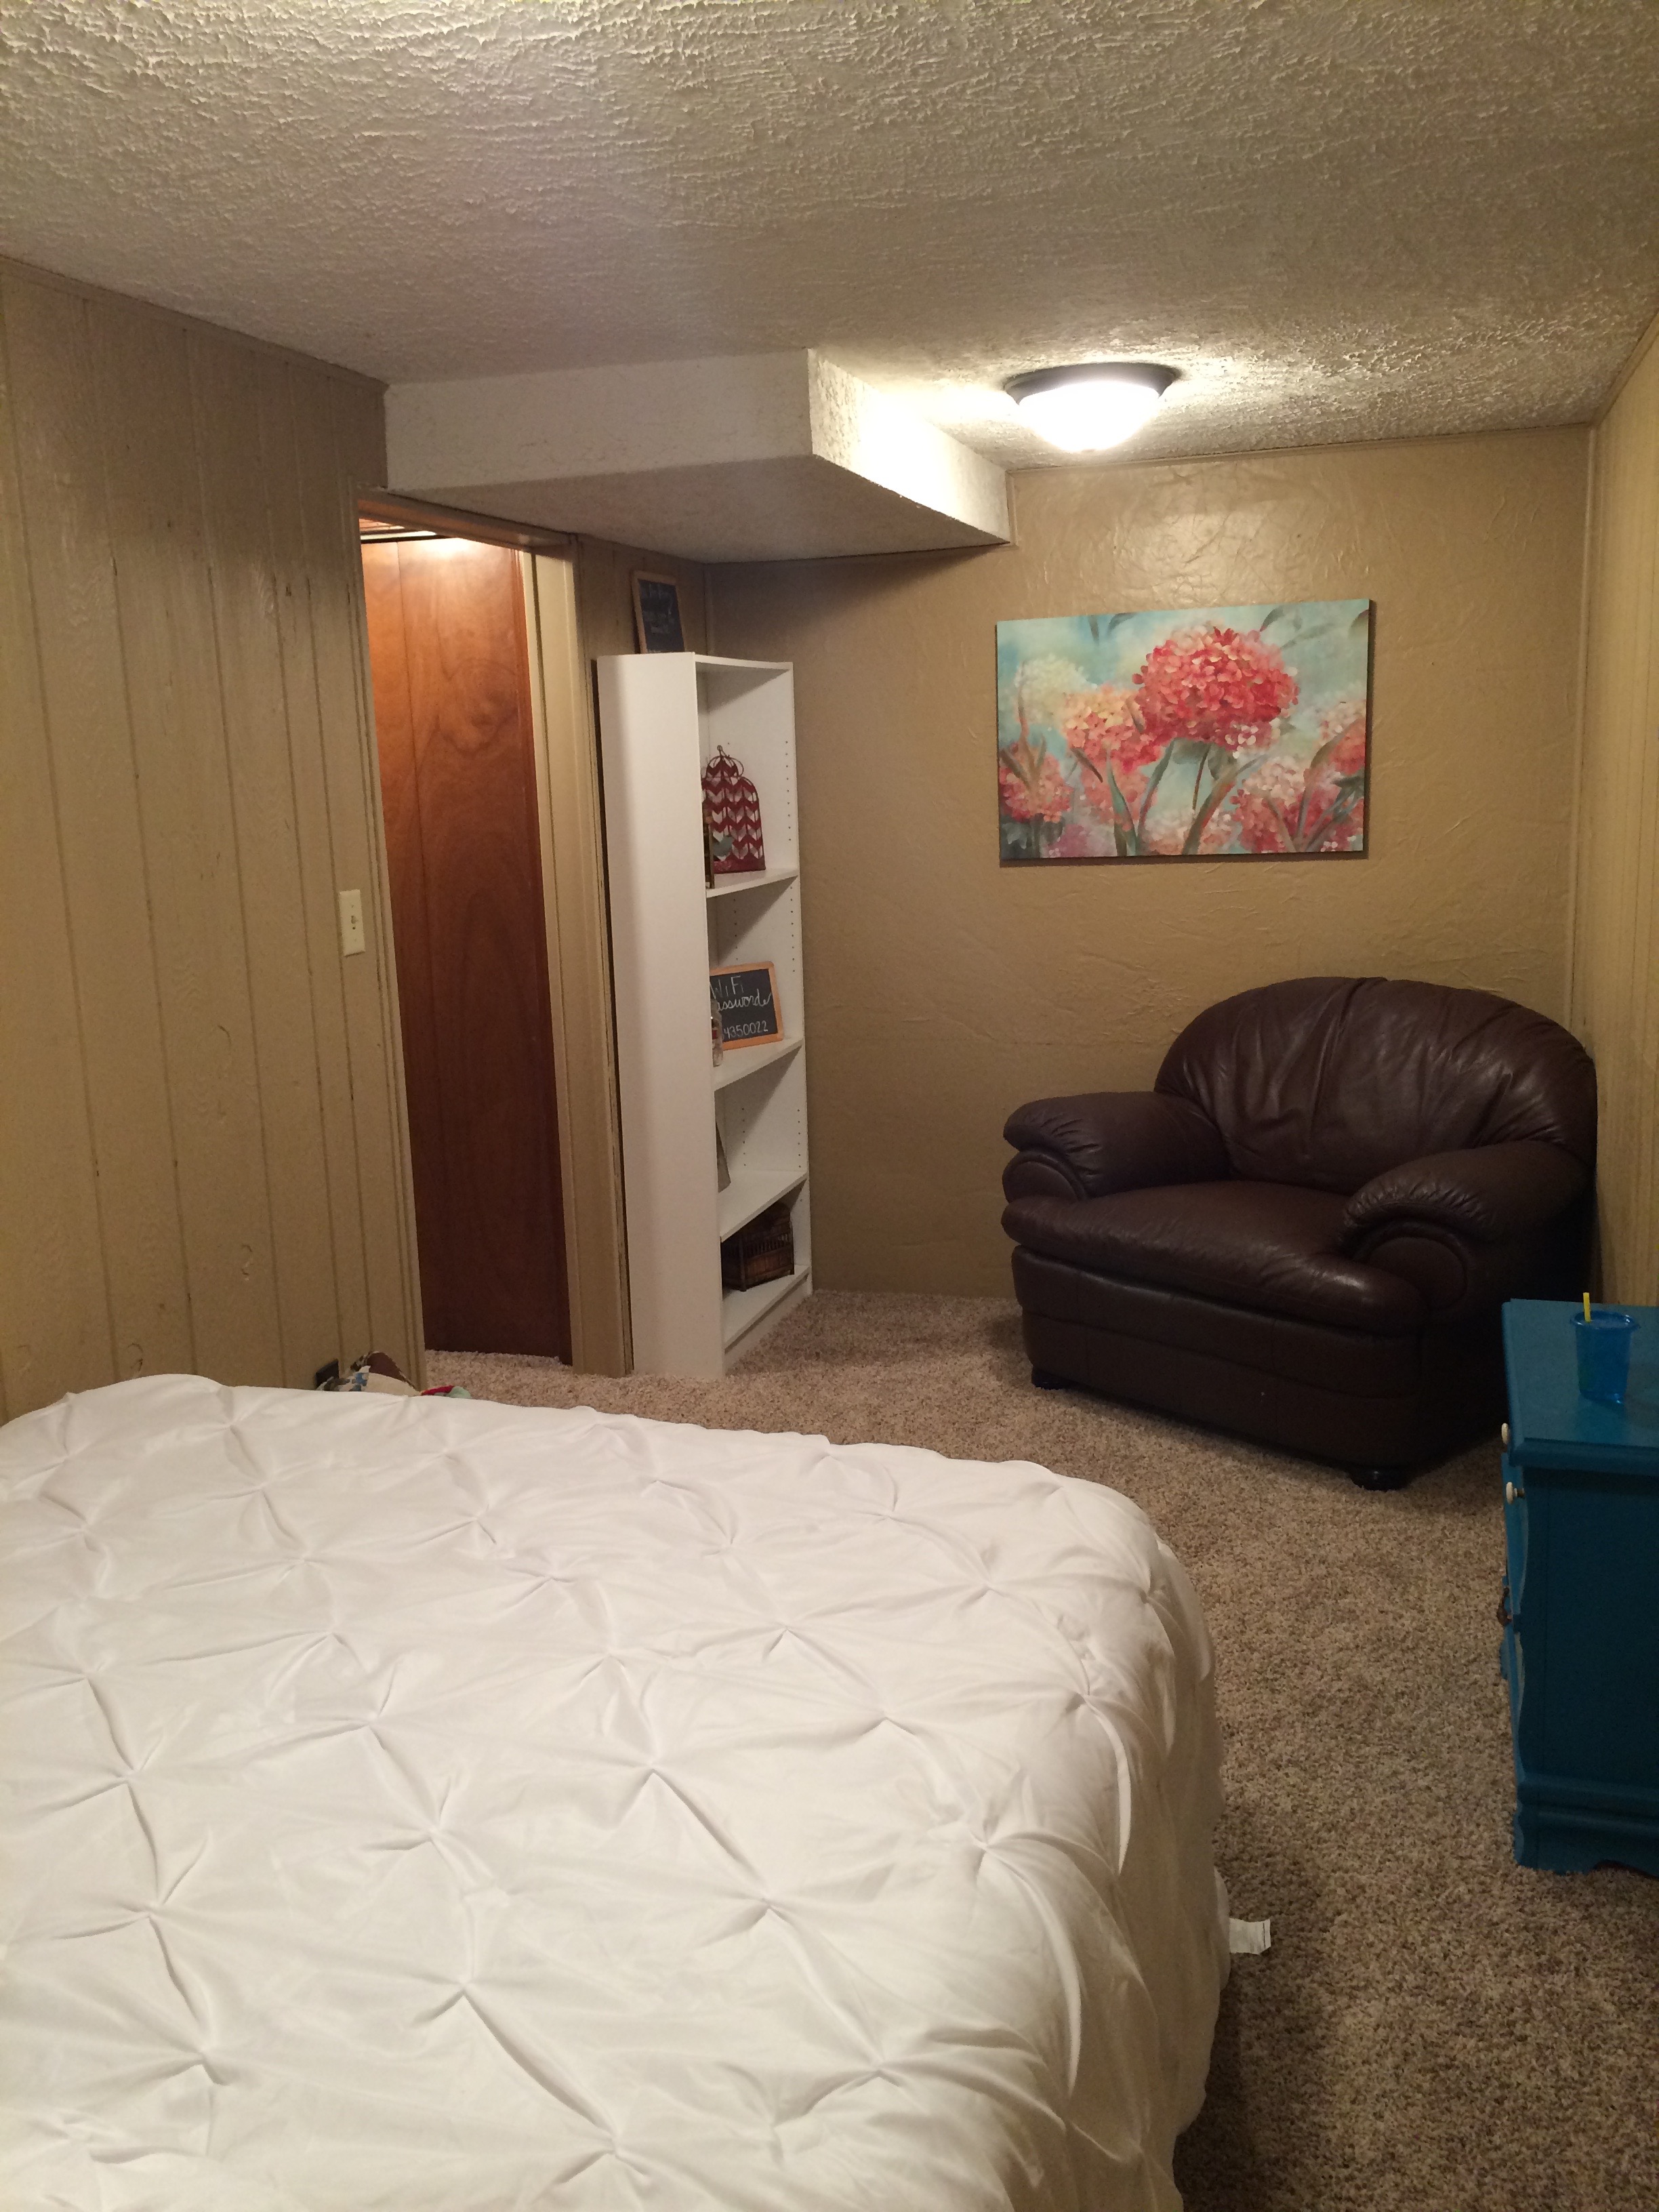
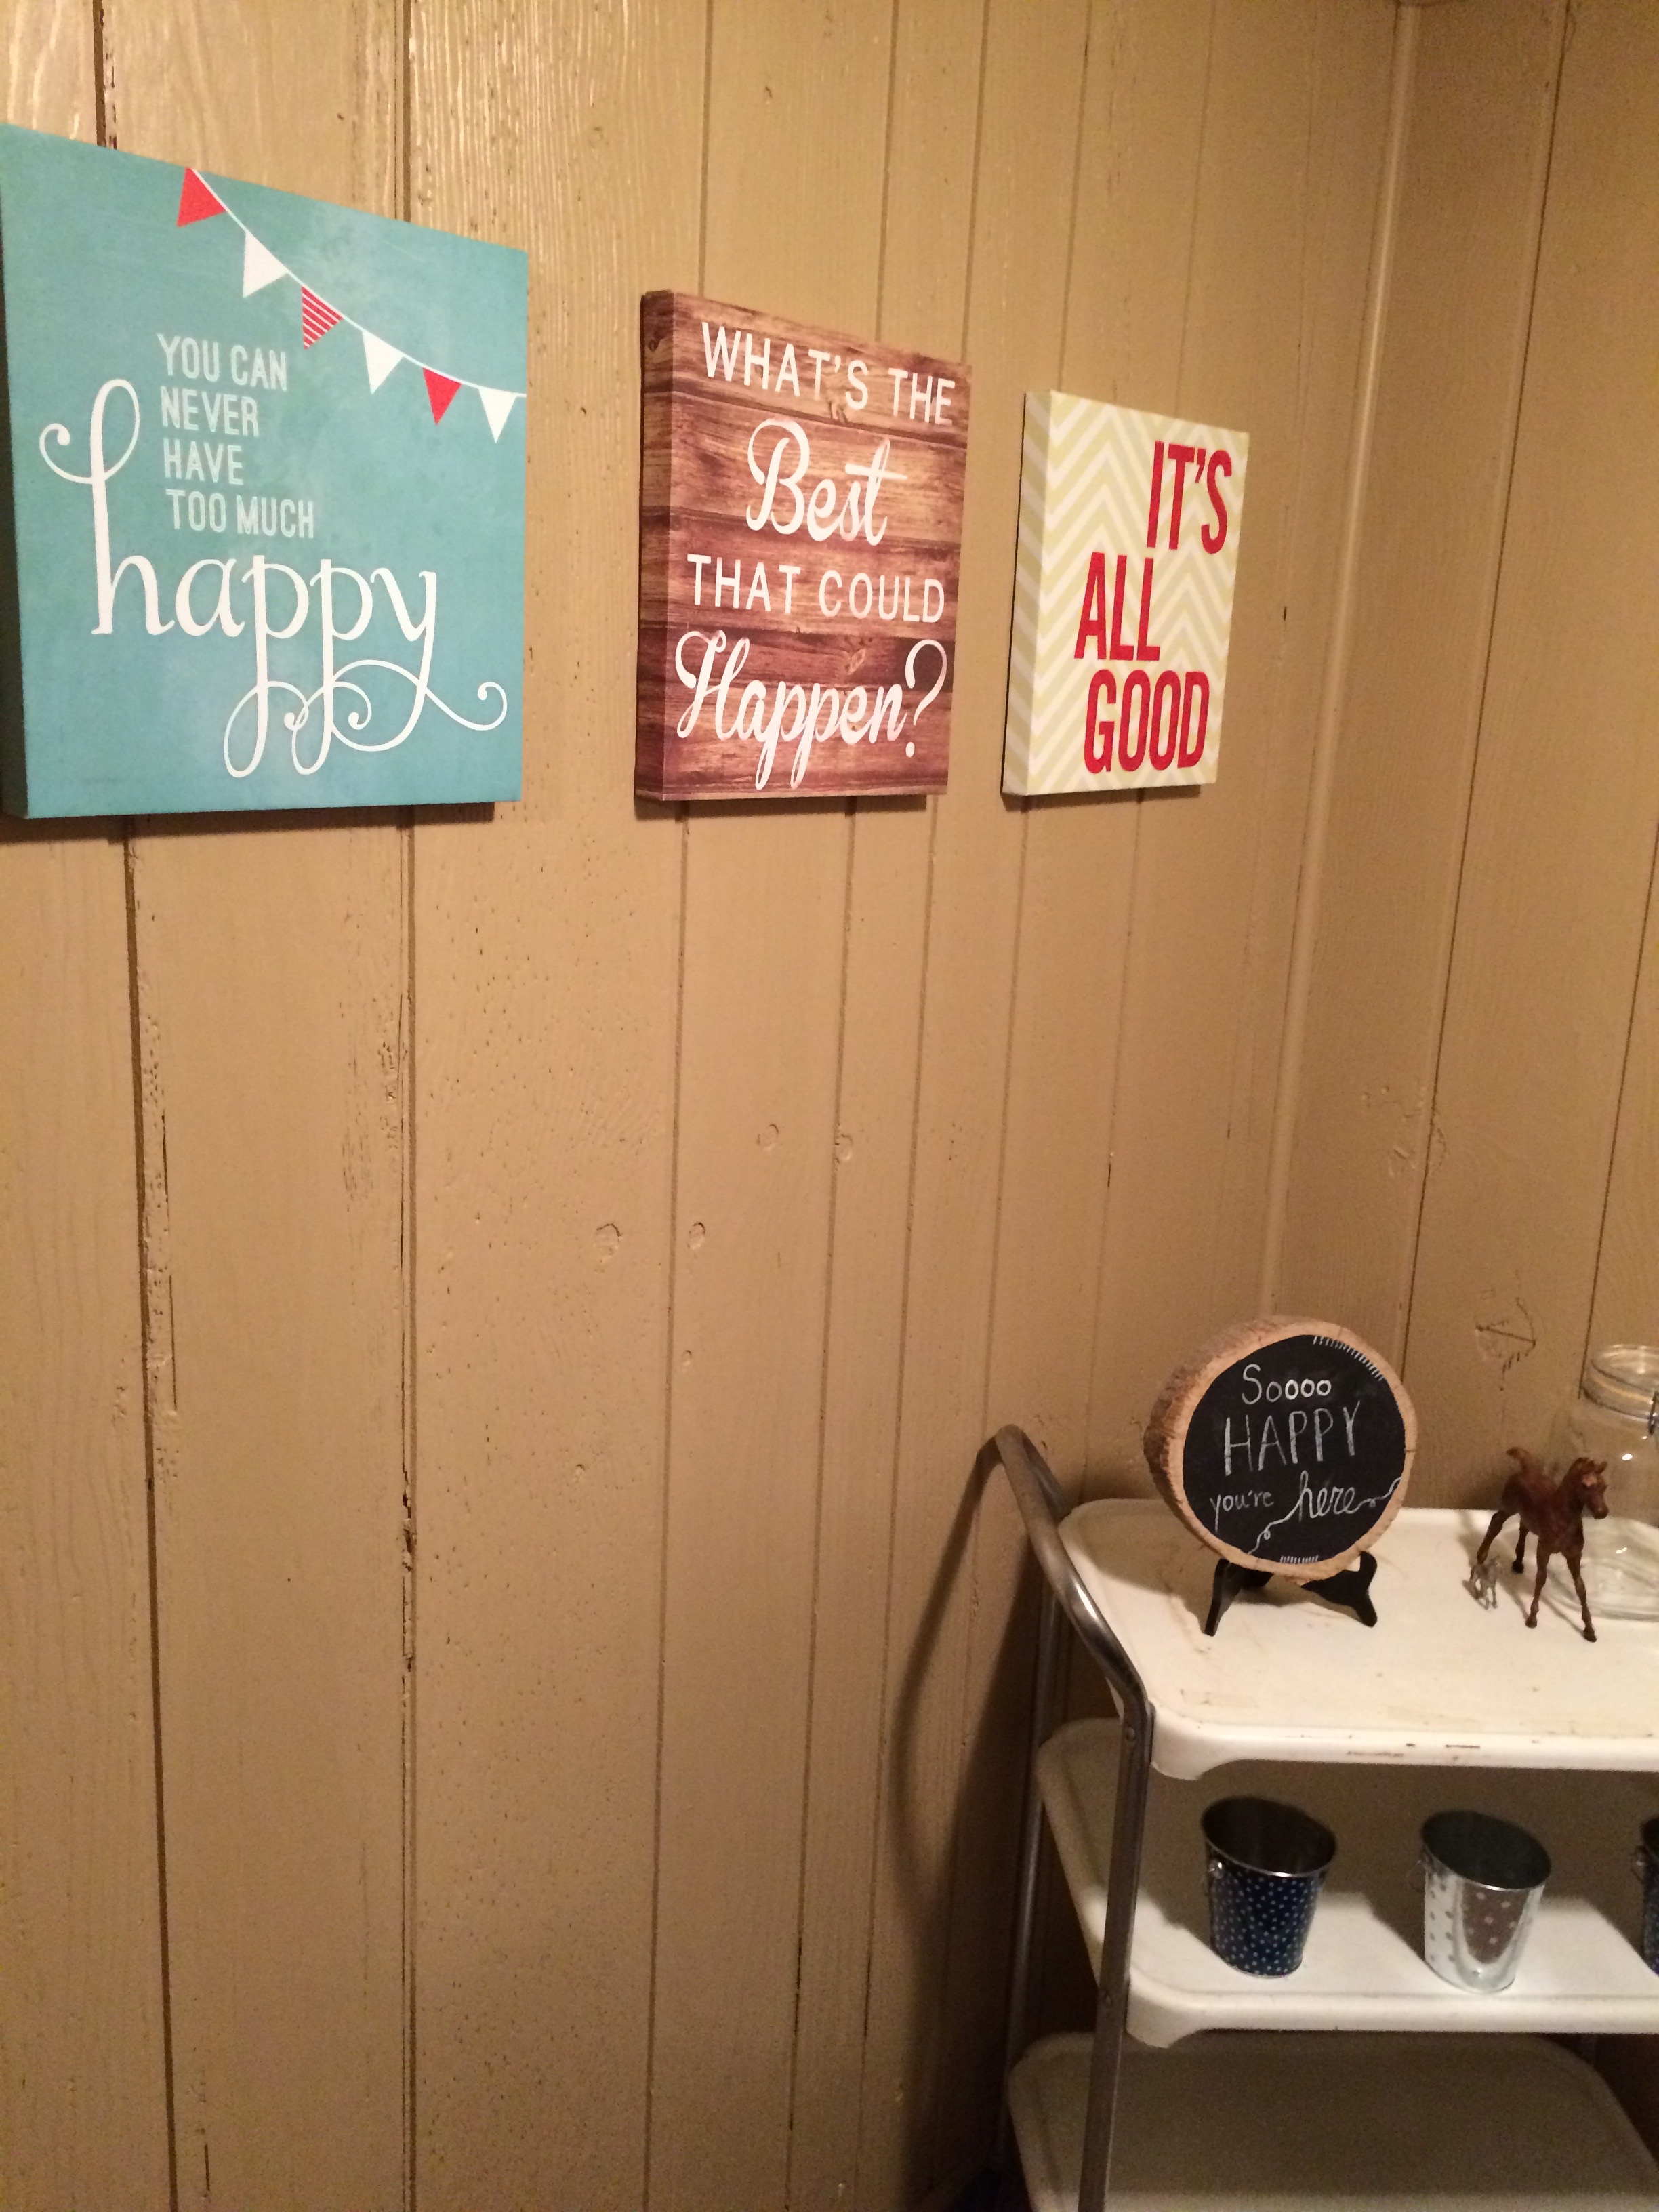
We didn’t do much work in the basement except for some touch up paint. We just used what we could to make it feel a little more homey for guests.
Basement before
And, yes, we took down that HUGE mirror!
Basement afterBasement afterBasement after
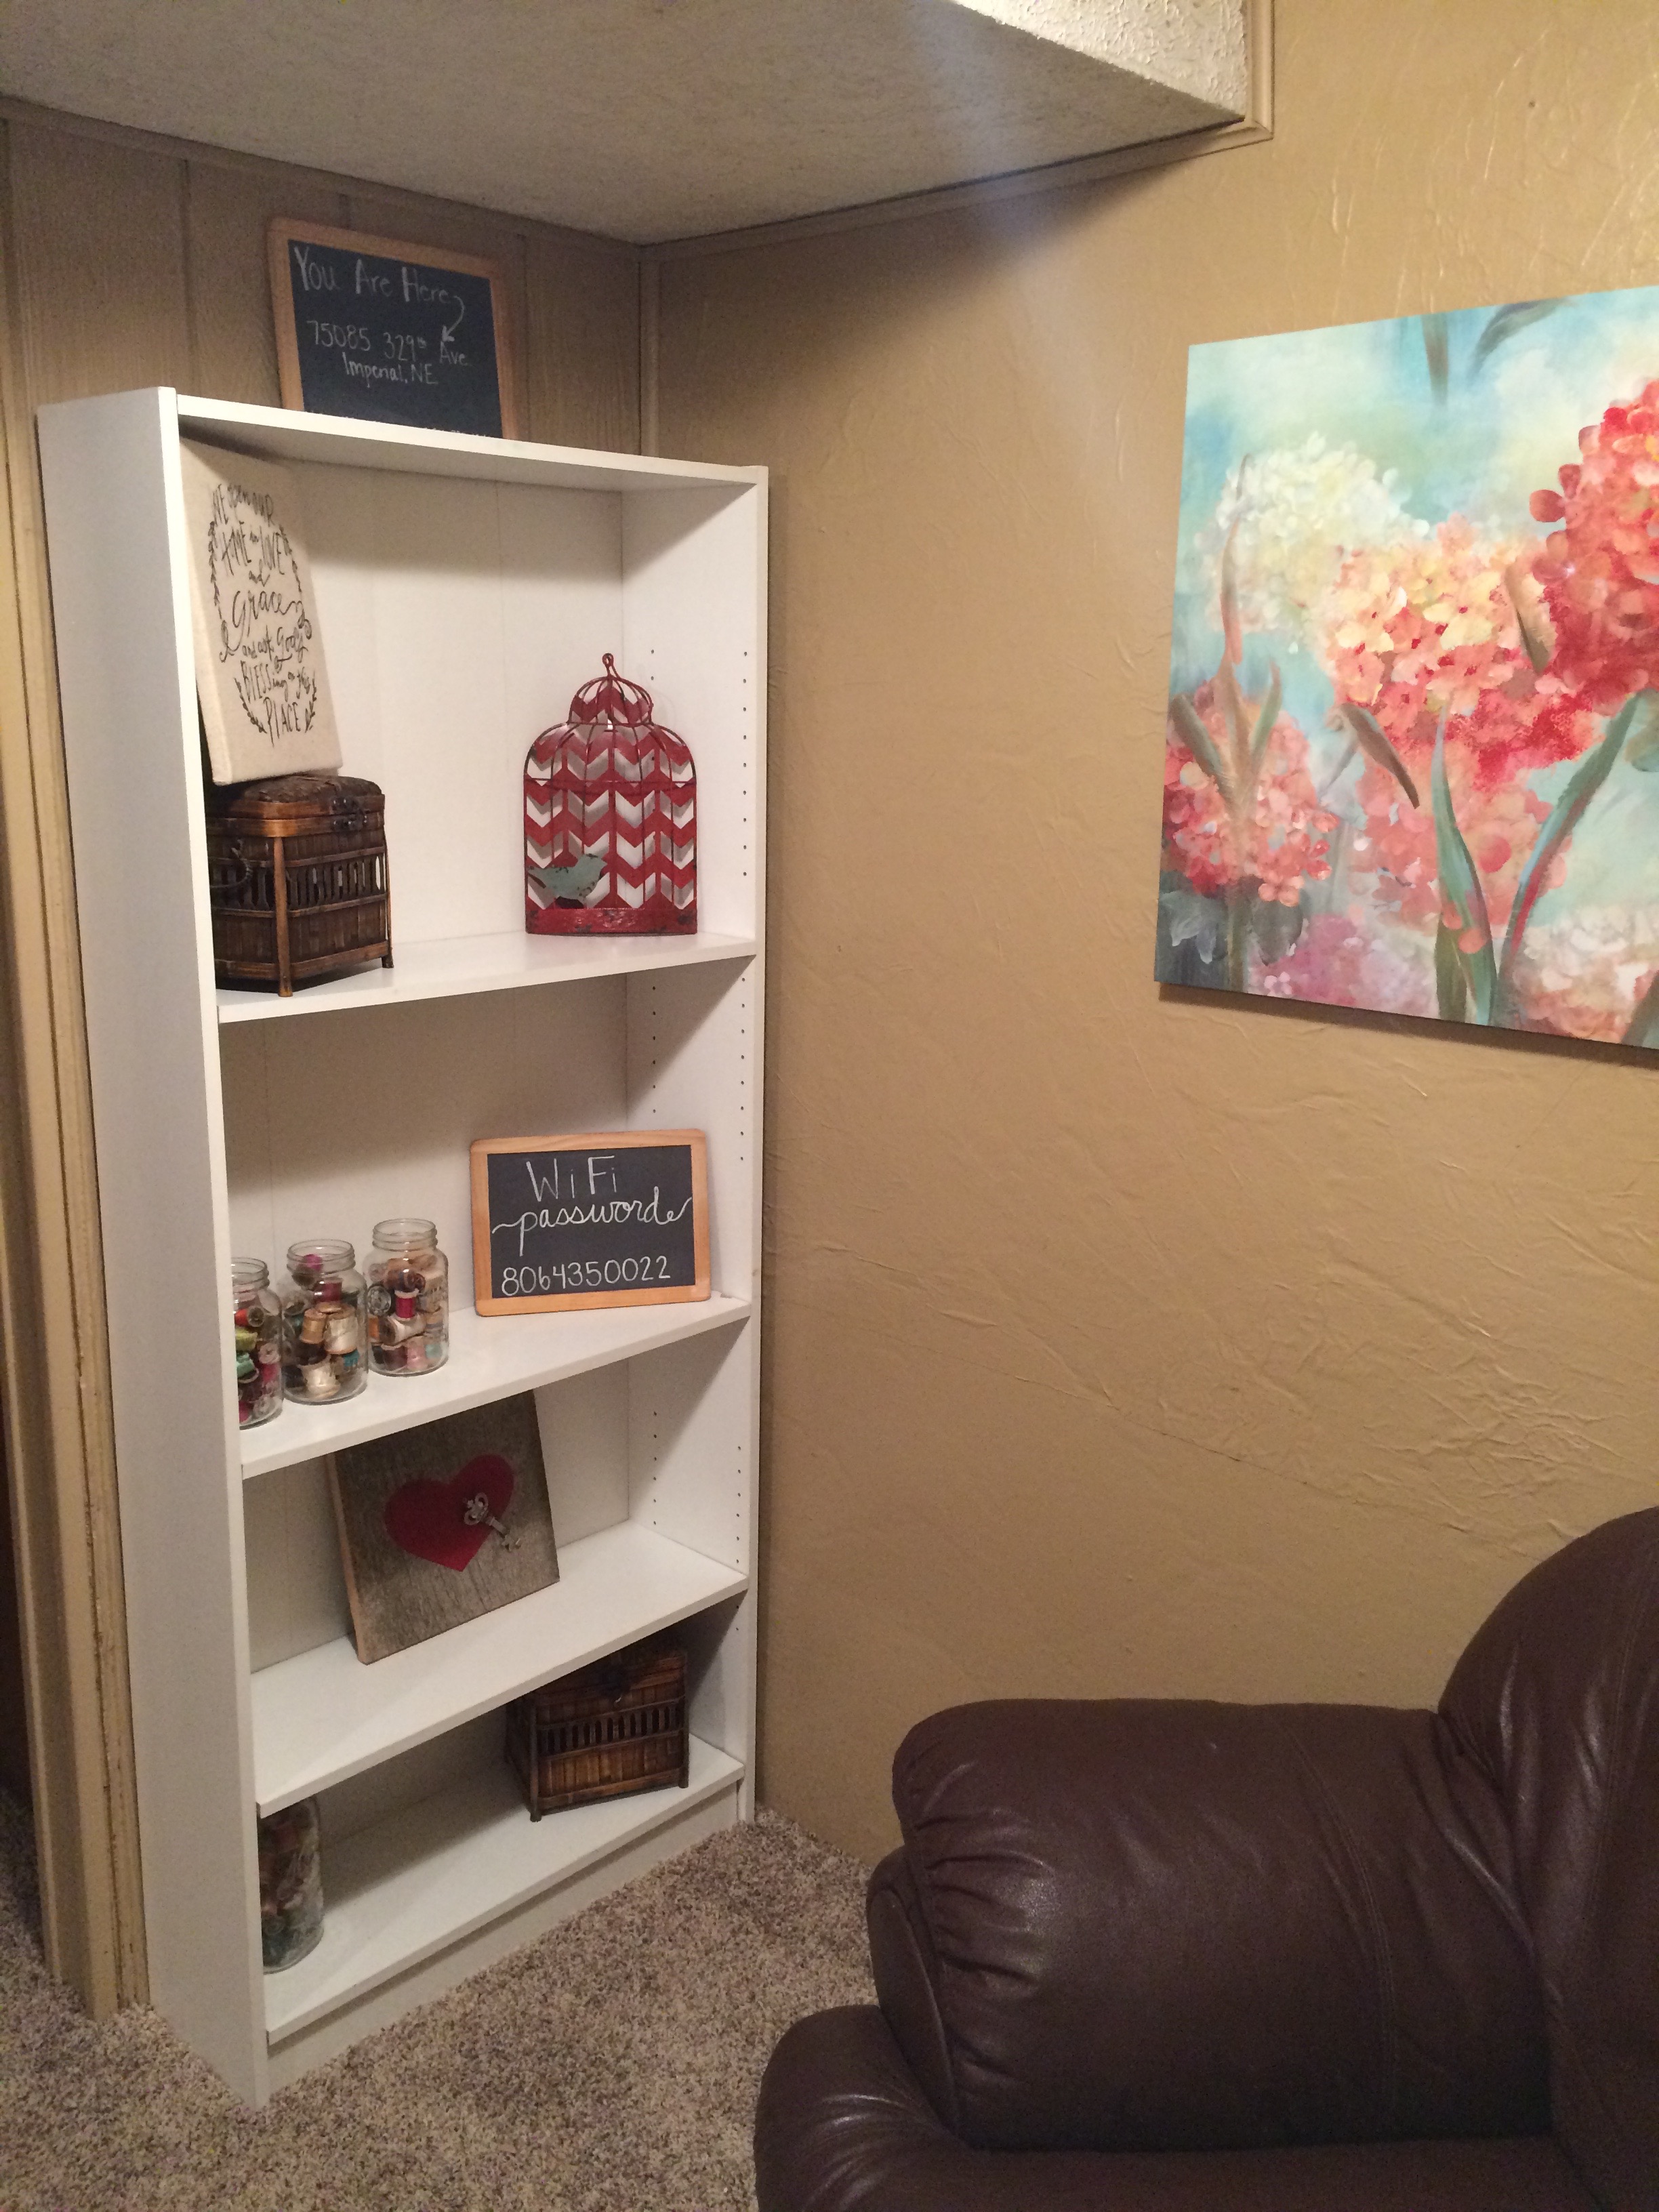
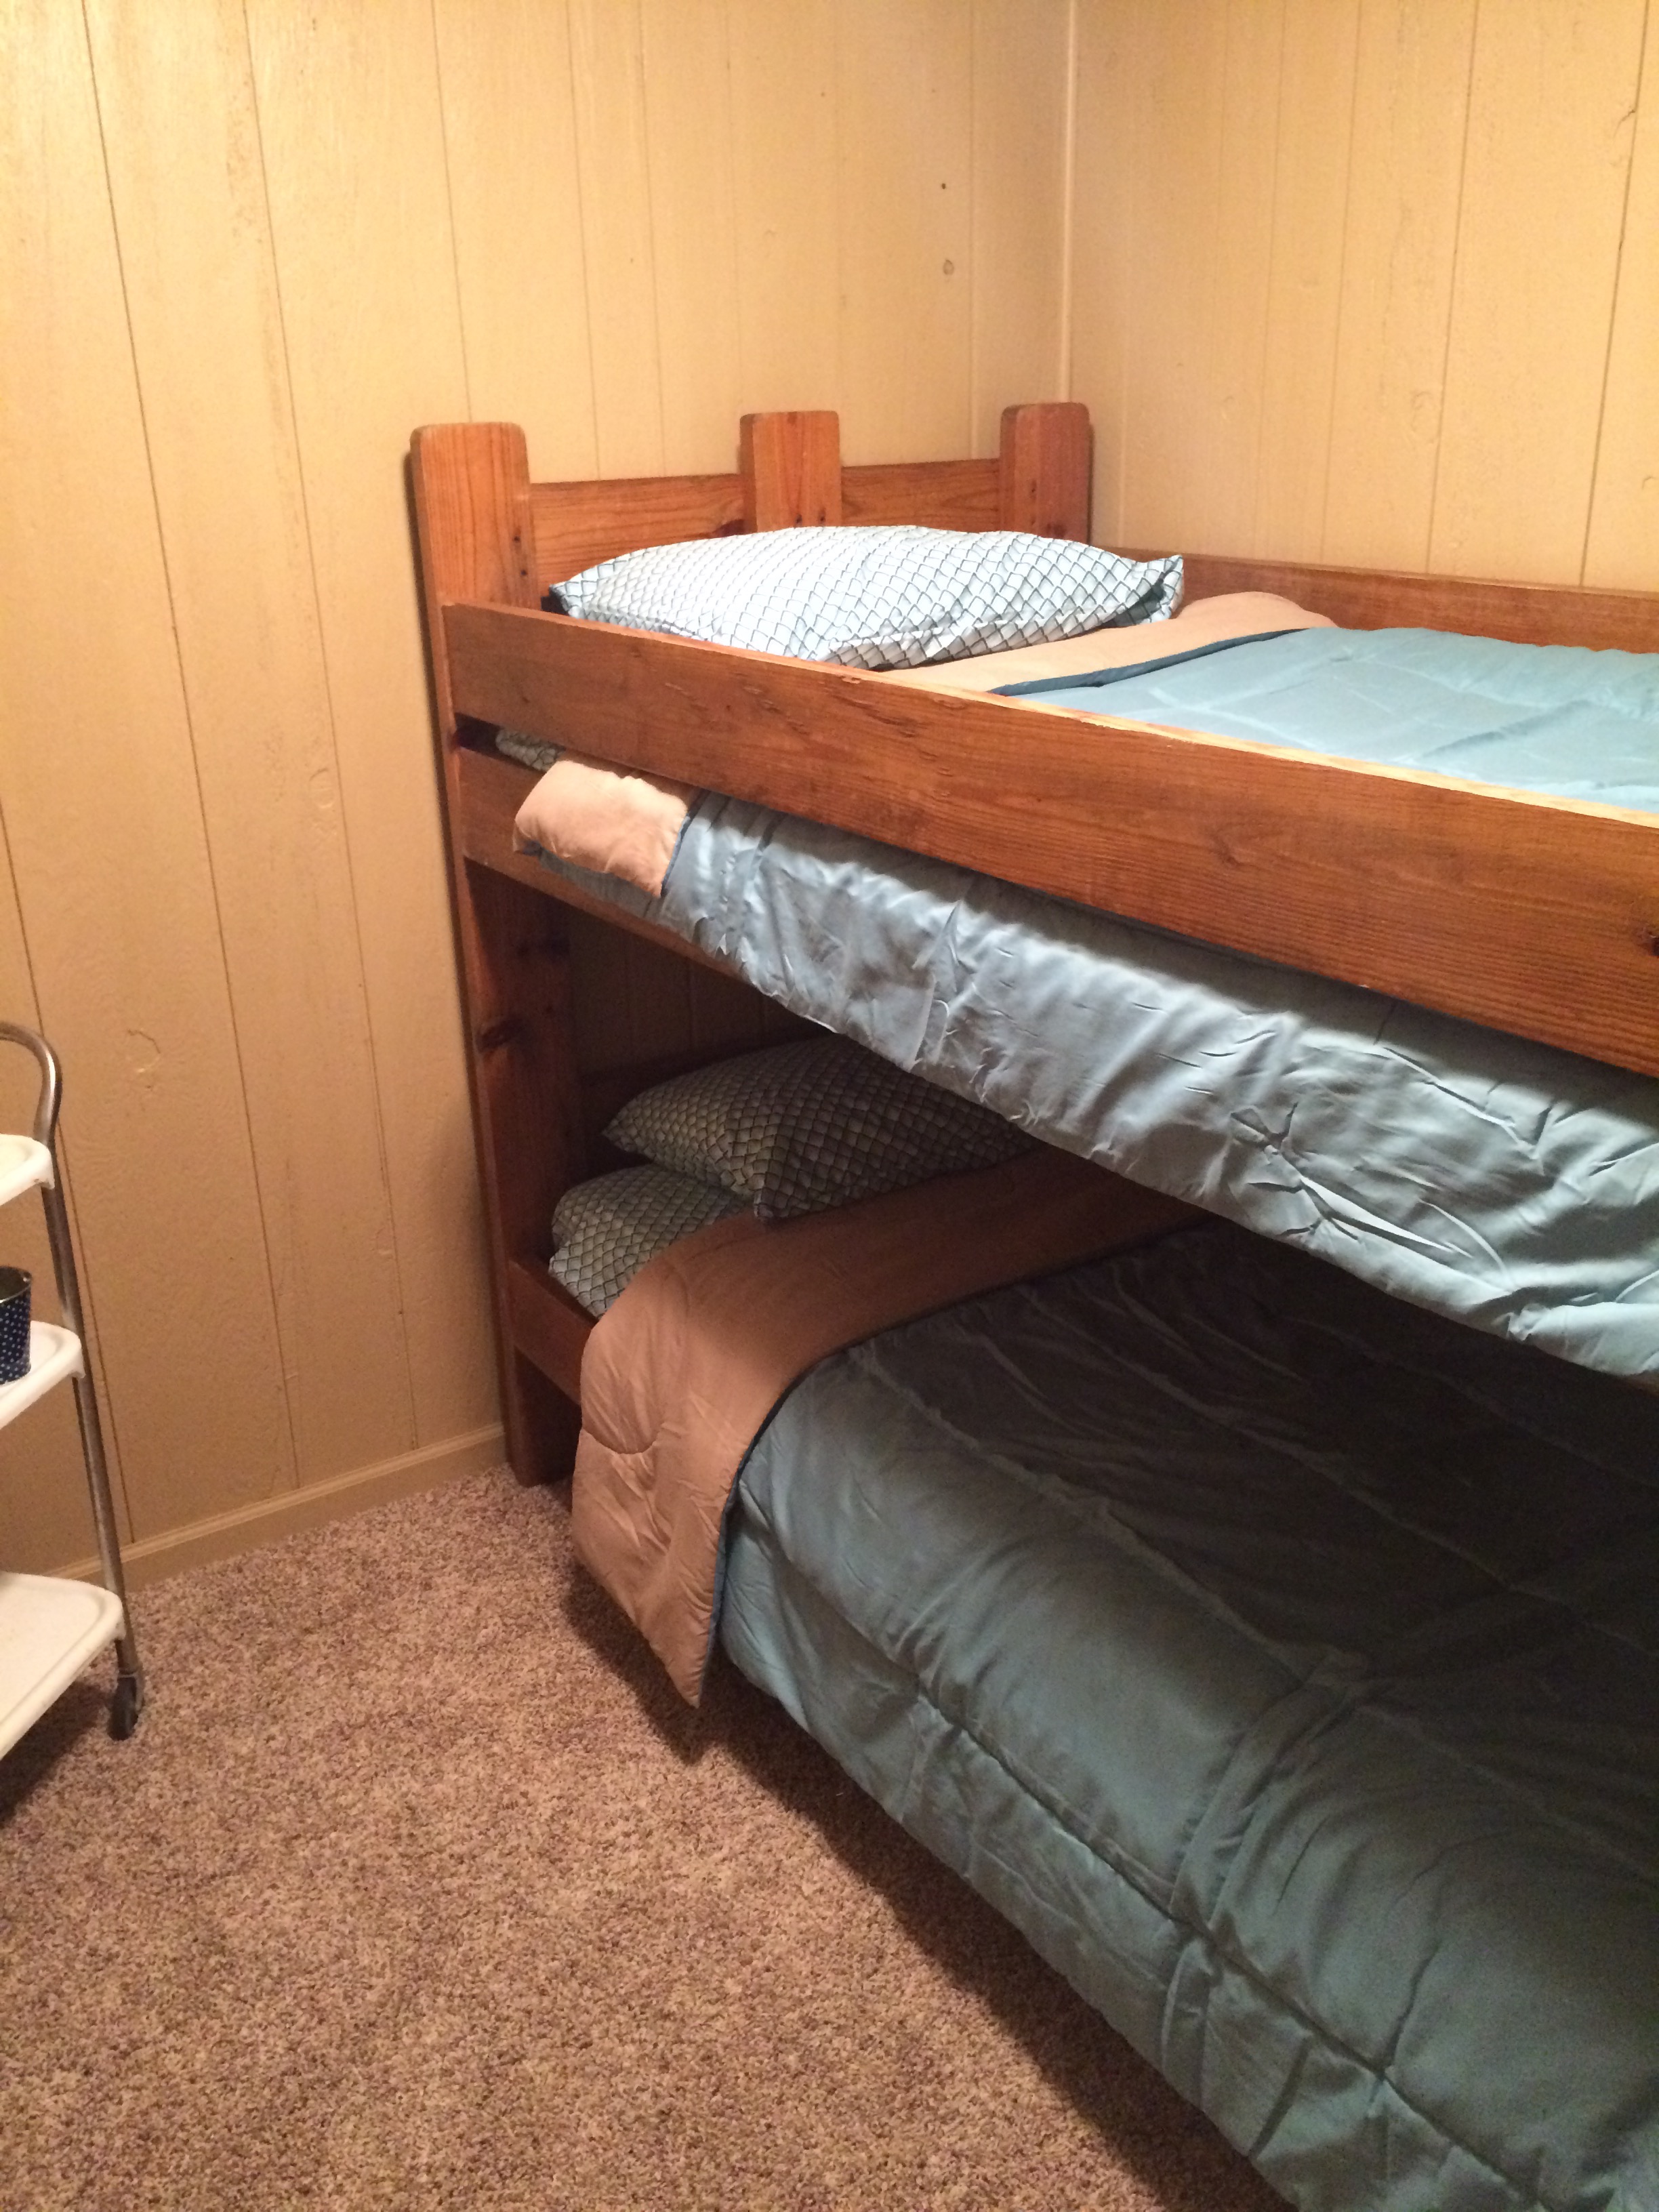
We turned the small room in the basement into the perfect sleeping galley for kid visitors! (This is the kids’ favorite room in the house – ha!)
Basement afterBasement after
There’s also a really good sized storage room that we chocked full of party supplies, winter coats and what not. I LOVE having a basement in case of severe weather – tornadoes and I are not friends – and this one is quite cozy should we ever have to hang out here for a while.
In case I haven’t said it before, we truly do love this home. We feel so grateful to live here and hope to use every square inch for His glory!
Thanks for humoring my little home tour – it’s been fun!
You guys sure know how to make a girl feel loved and appreciated! It was so fun to connect with so many of you yesterday…Facebook is good for something, yes?!
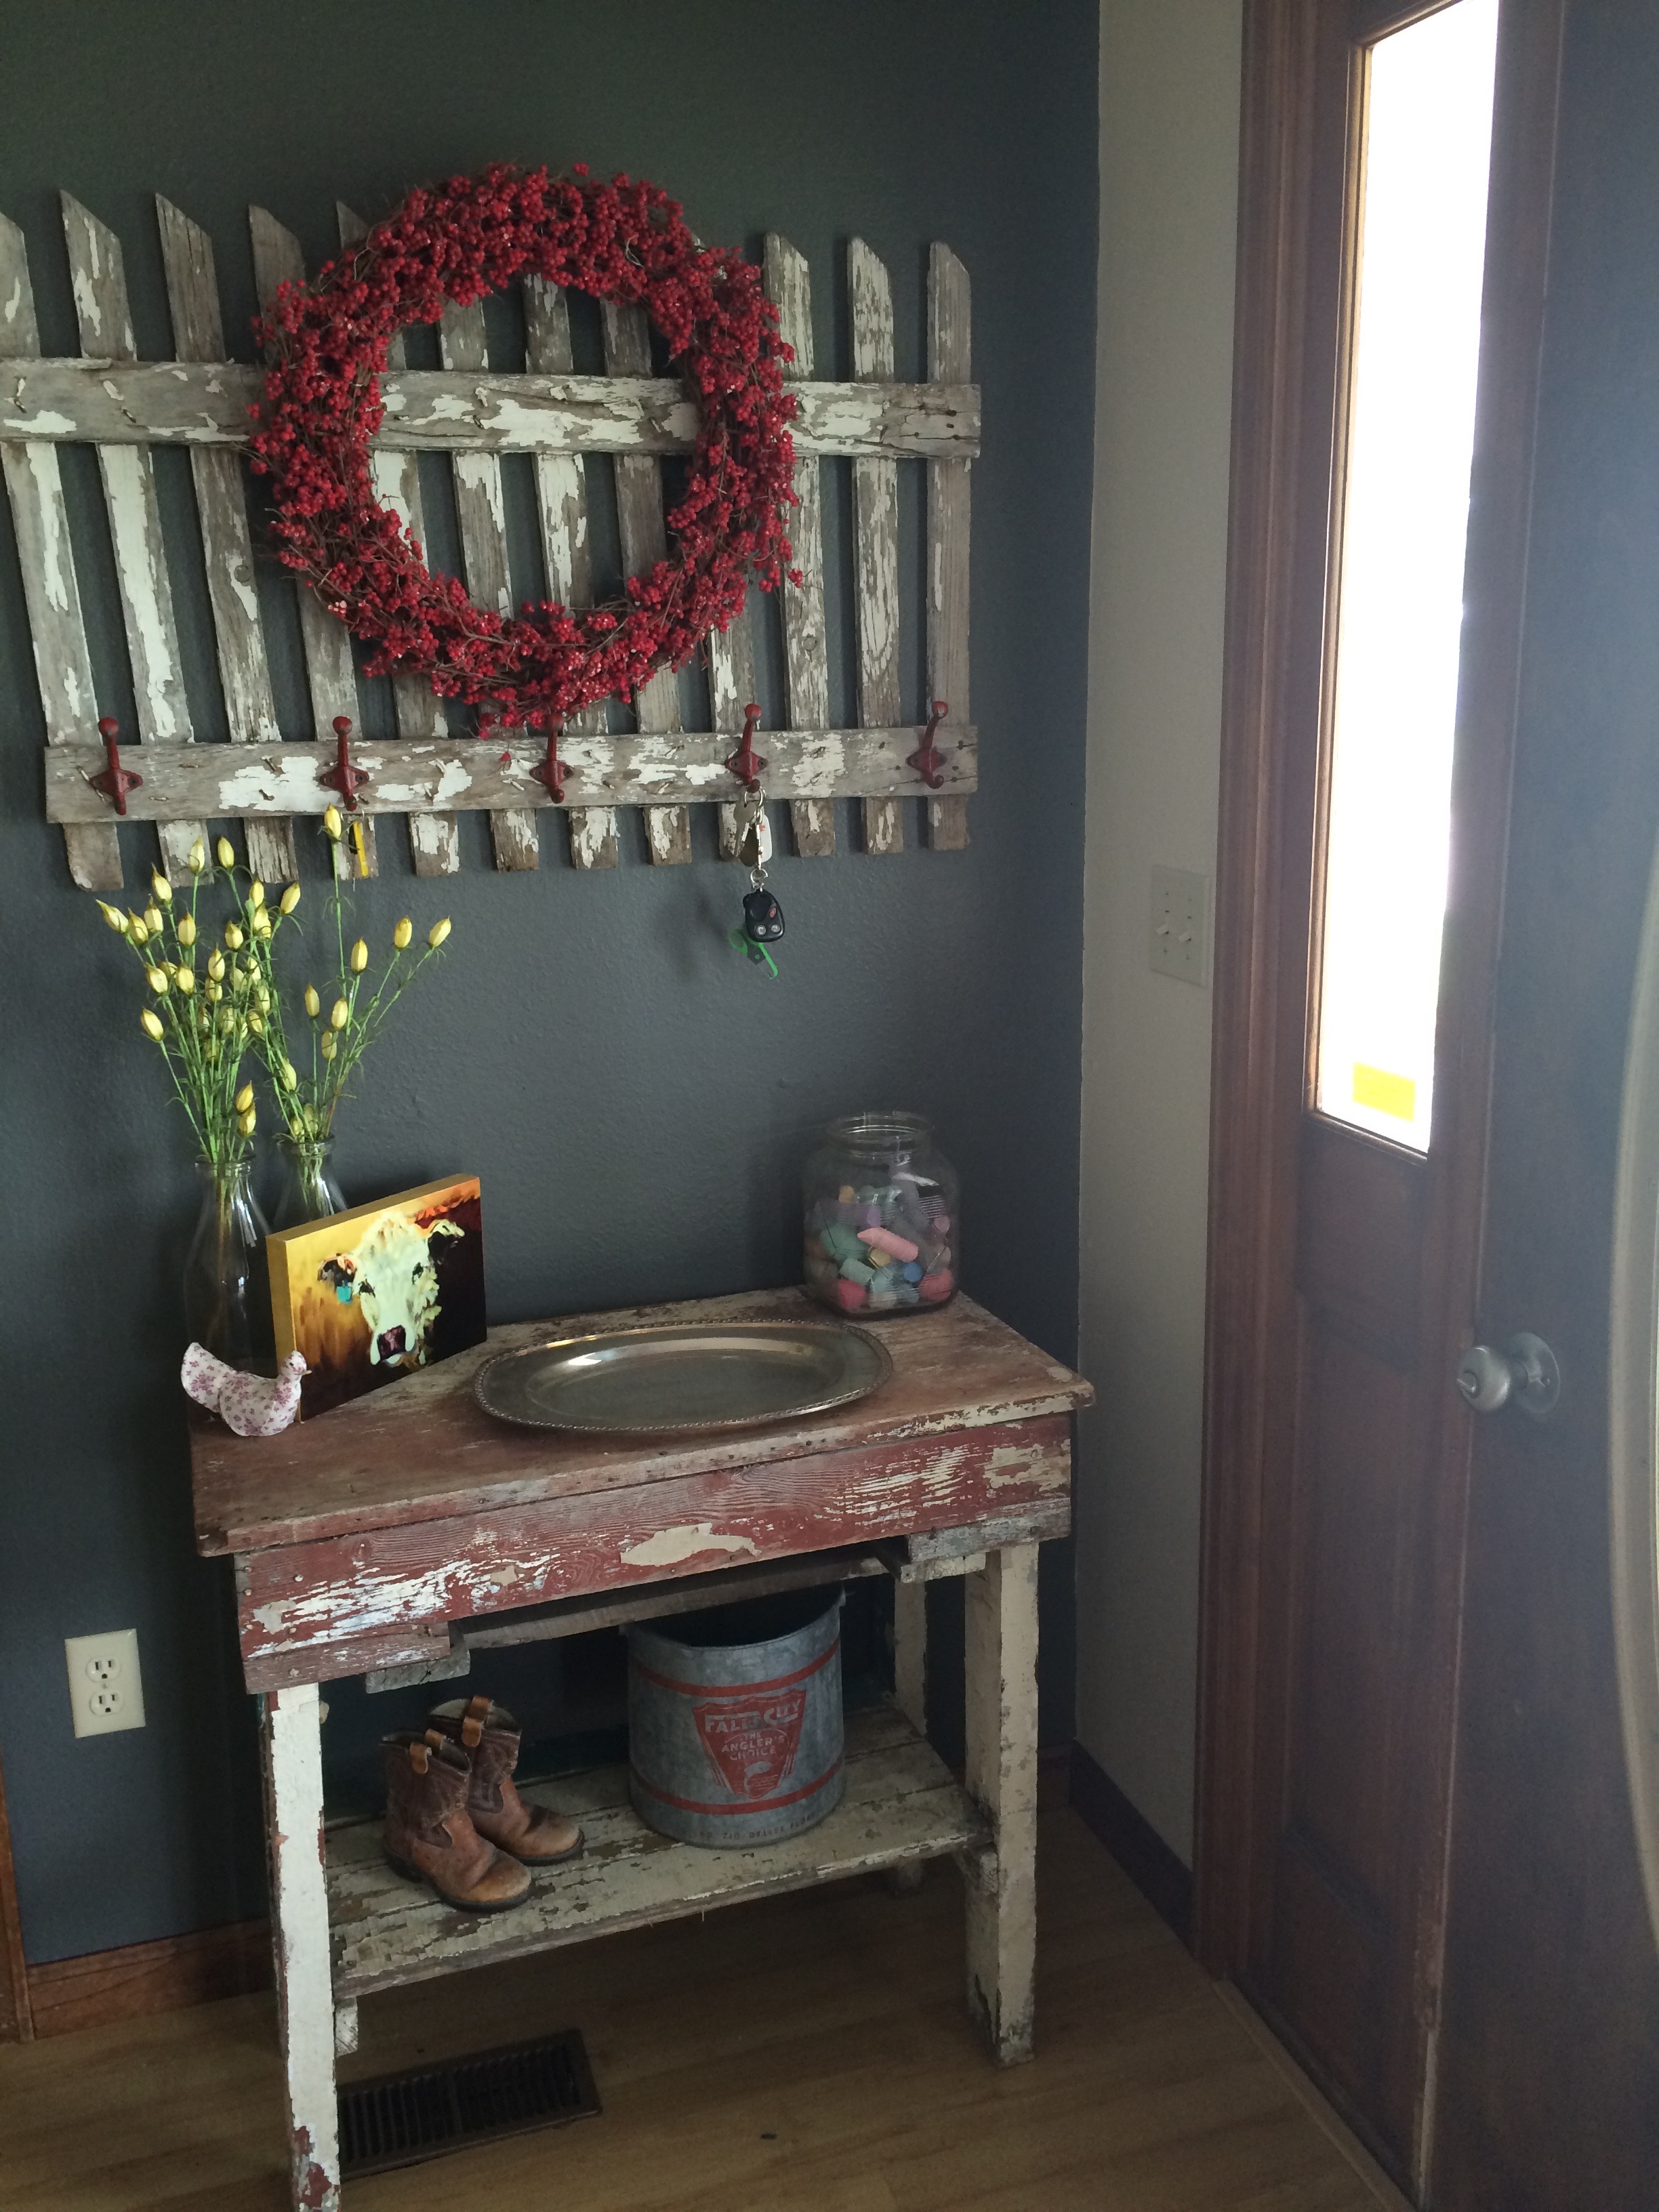
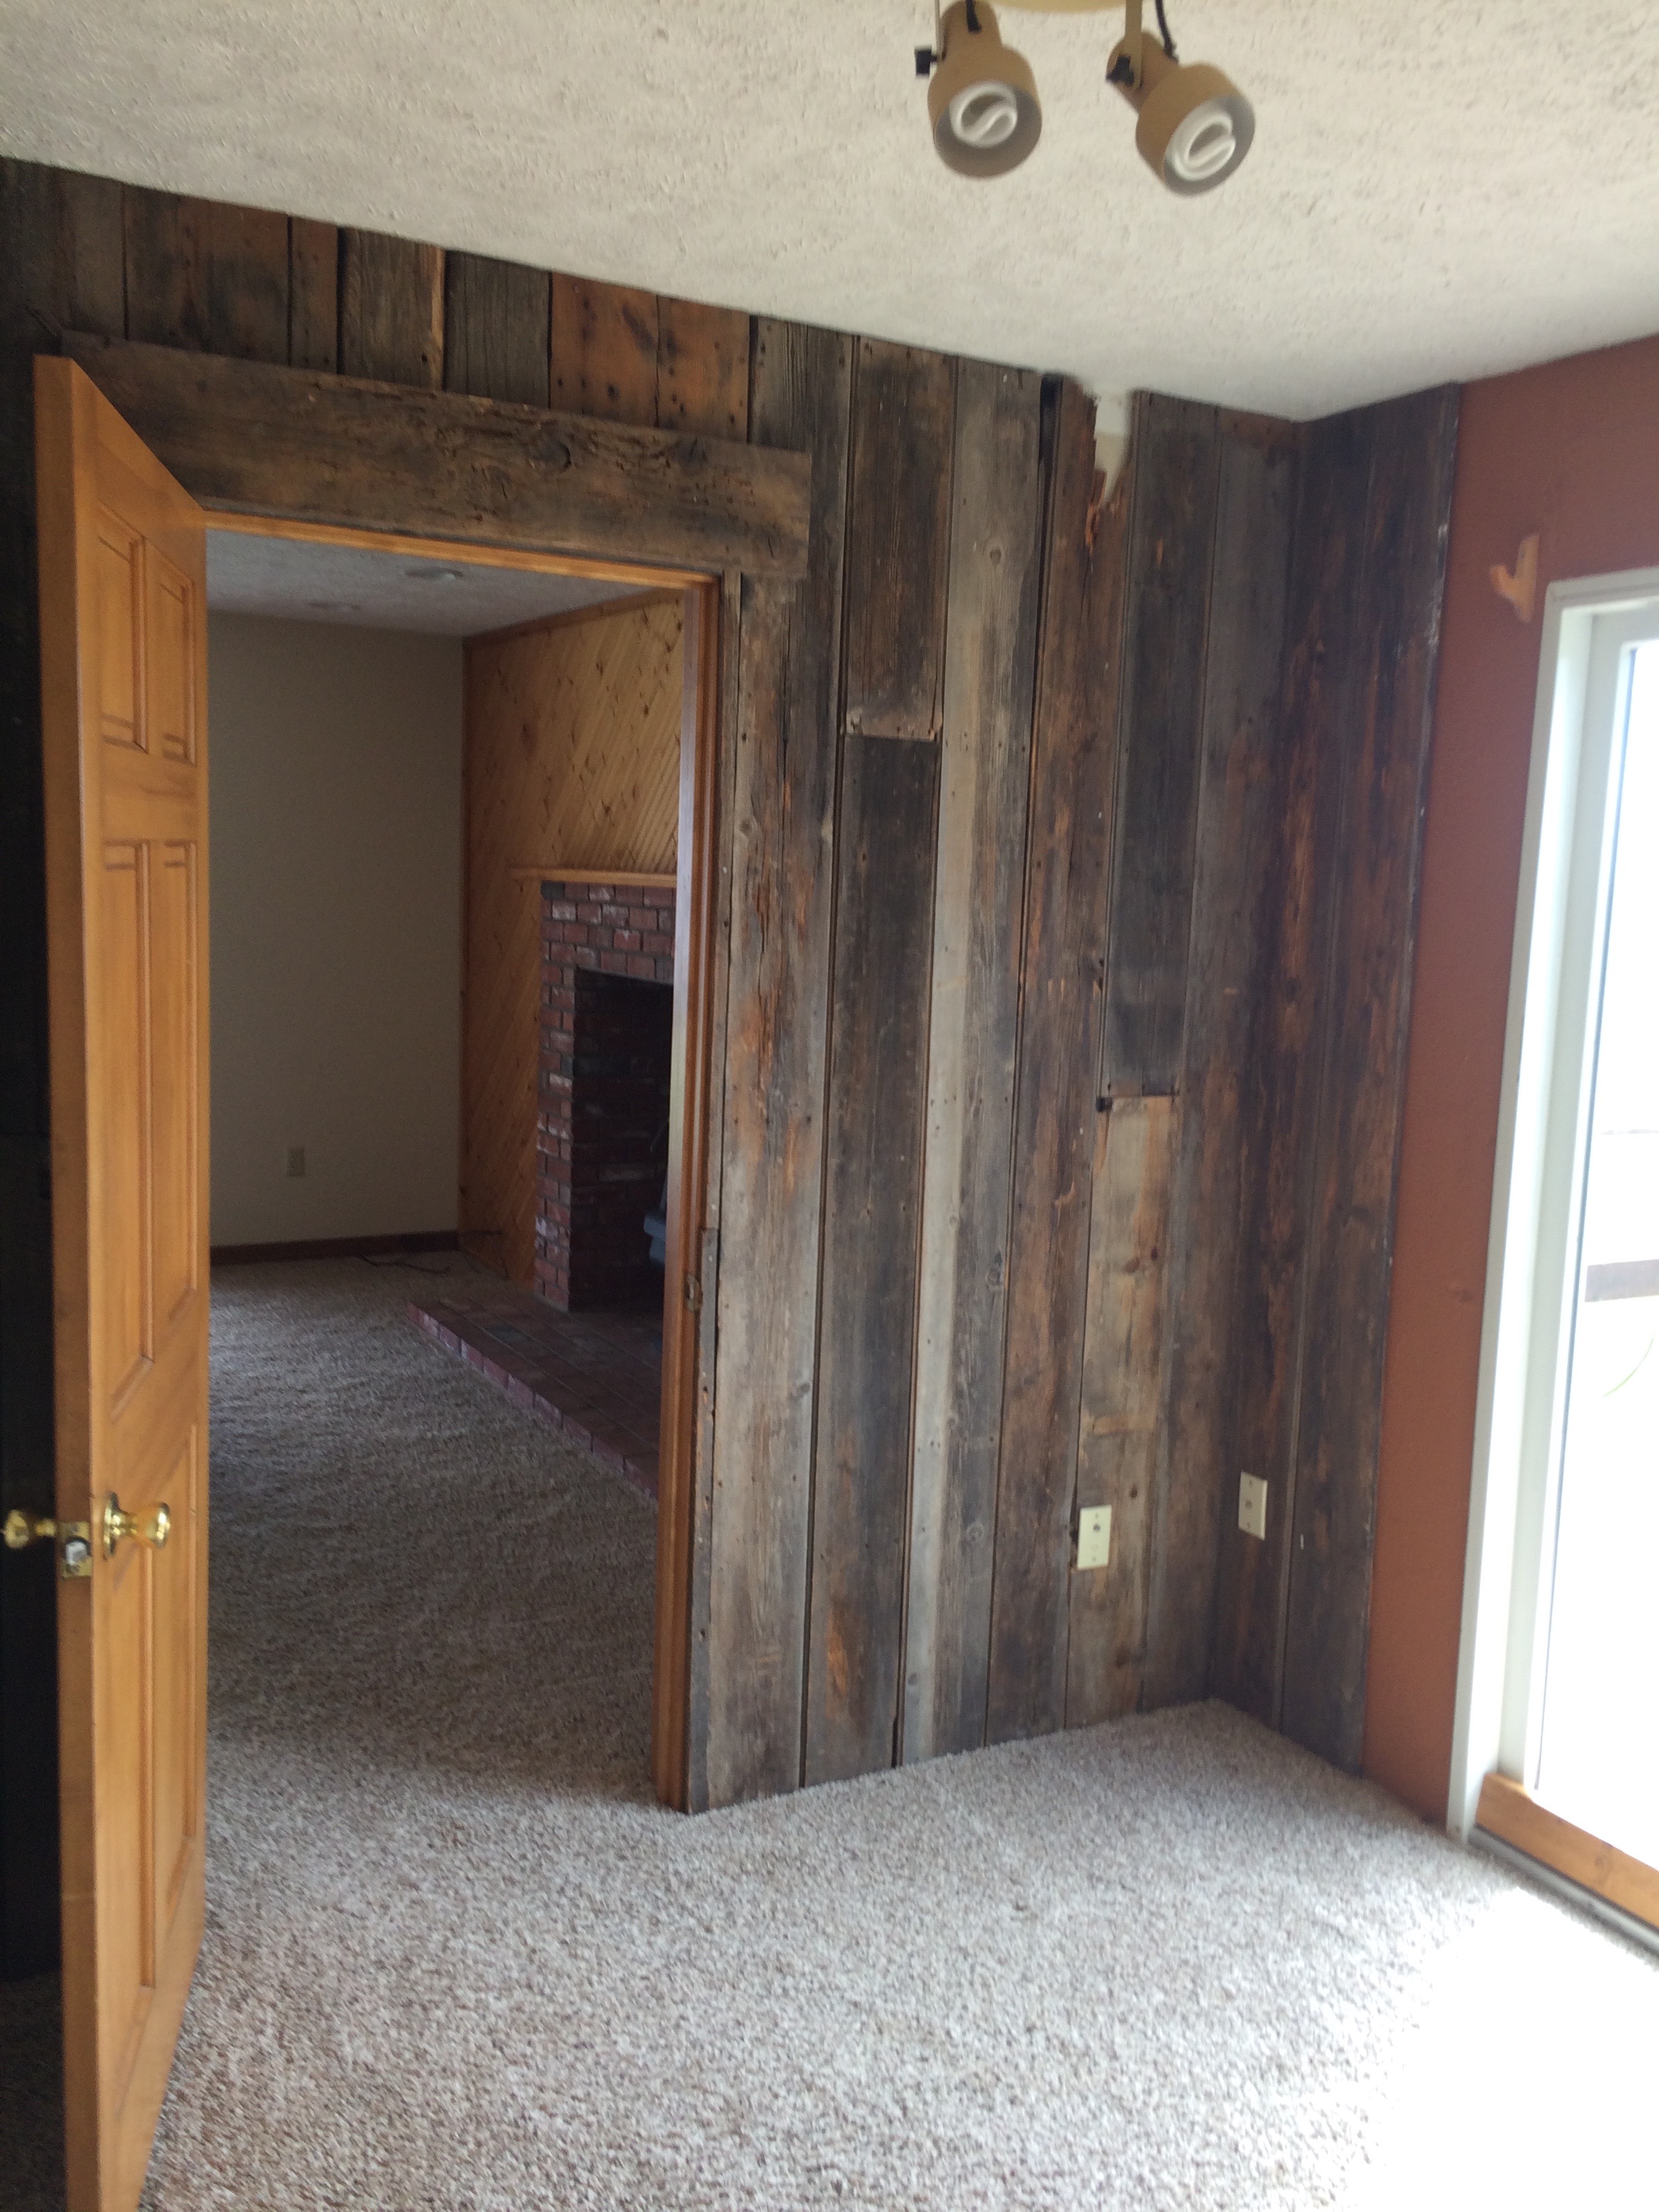
So today, let’s look around downstairs. The entry way of the house was painted a pumpkinish orange. It really just reminded me of the Texas Longhorns and I just. couldn’t. do. it.
Entry before
As you can see, we painted it a dark, dark grey and I like how it toned down all of the other wood in the kitchen and dining area.
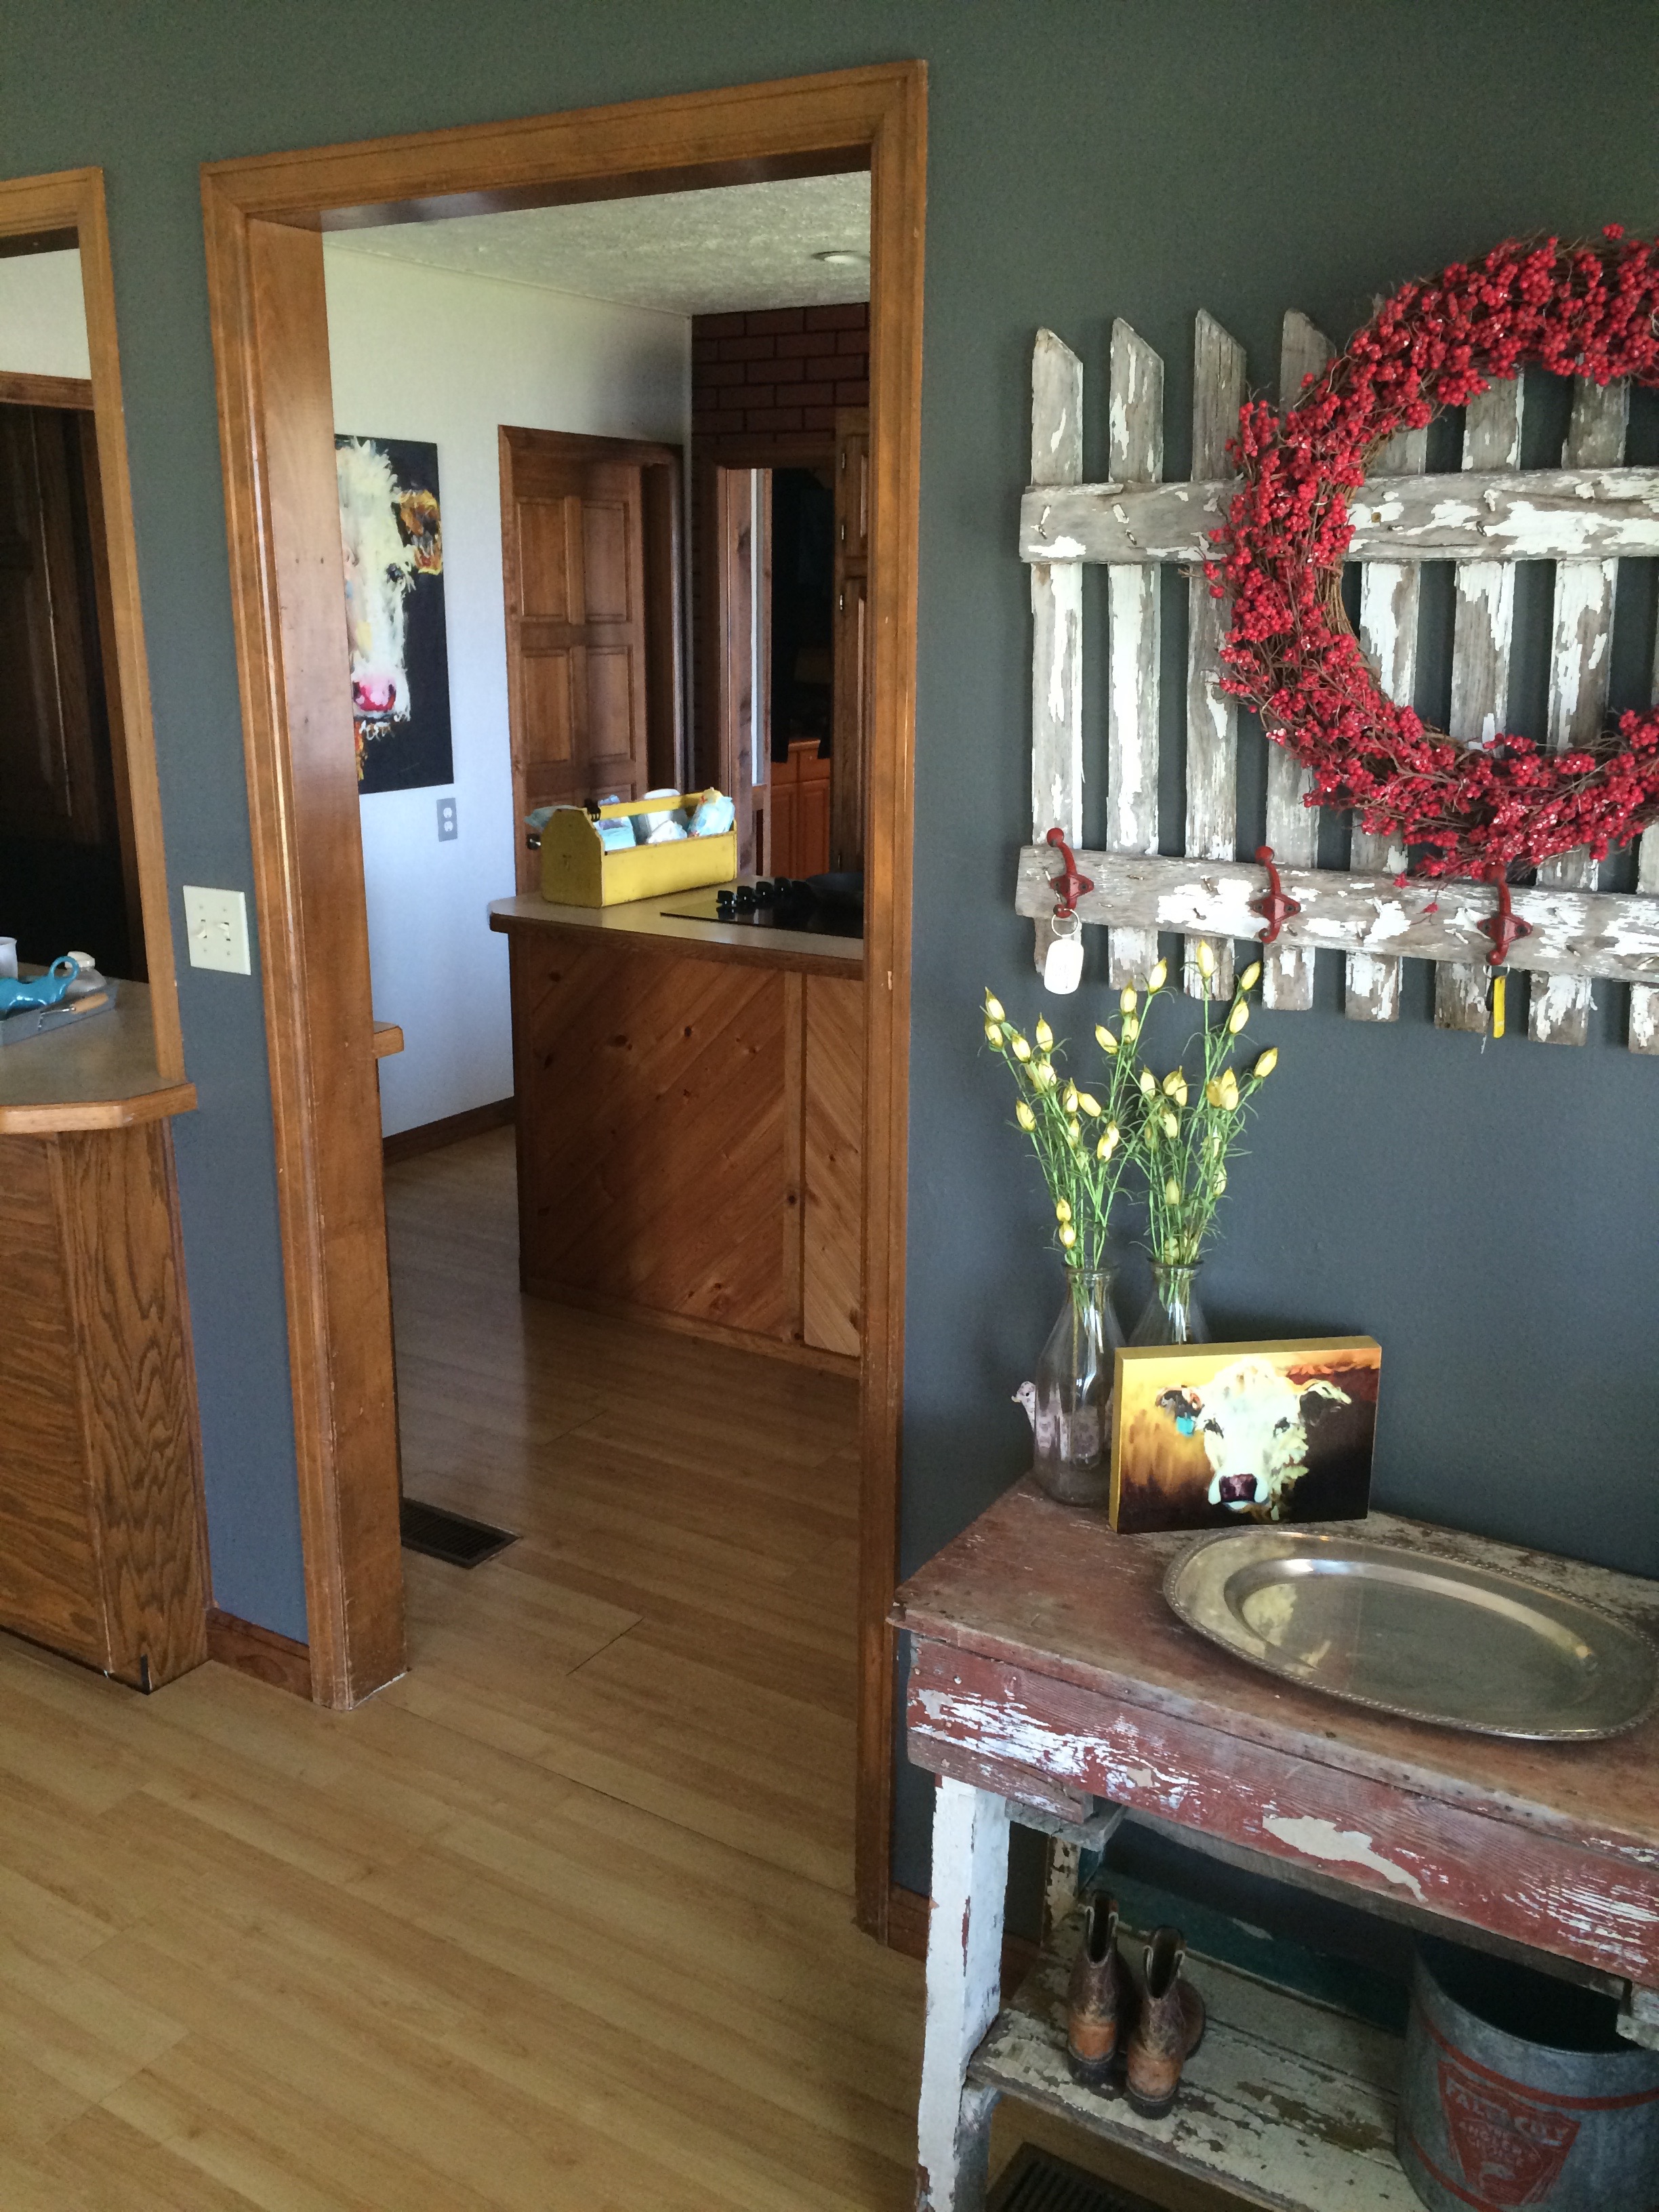
Entry afterEntry afterEntry after
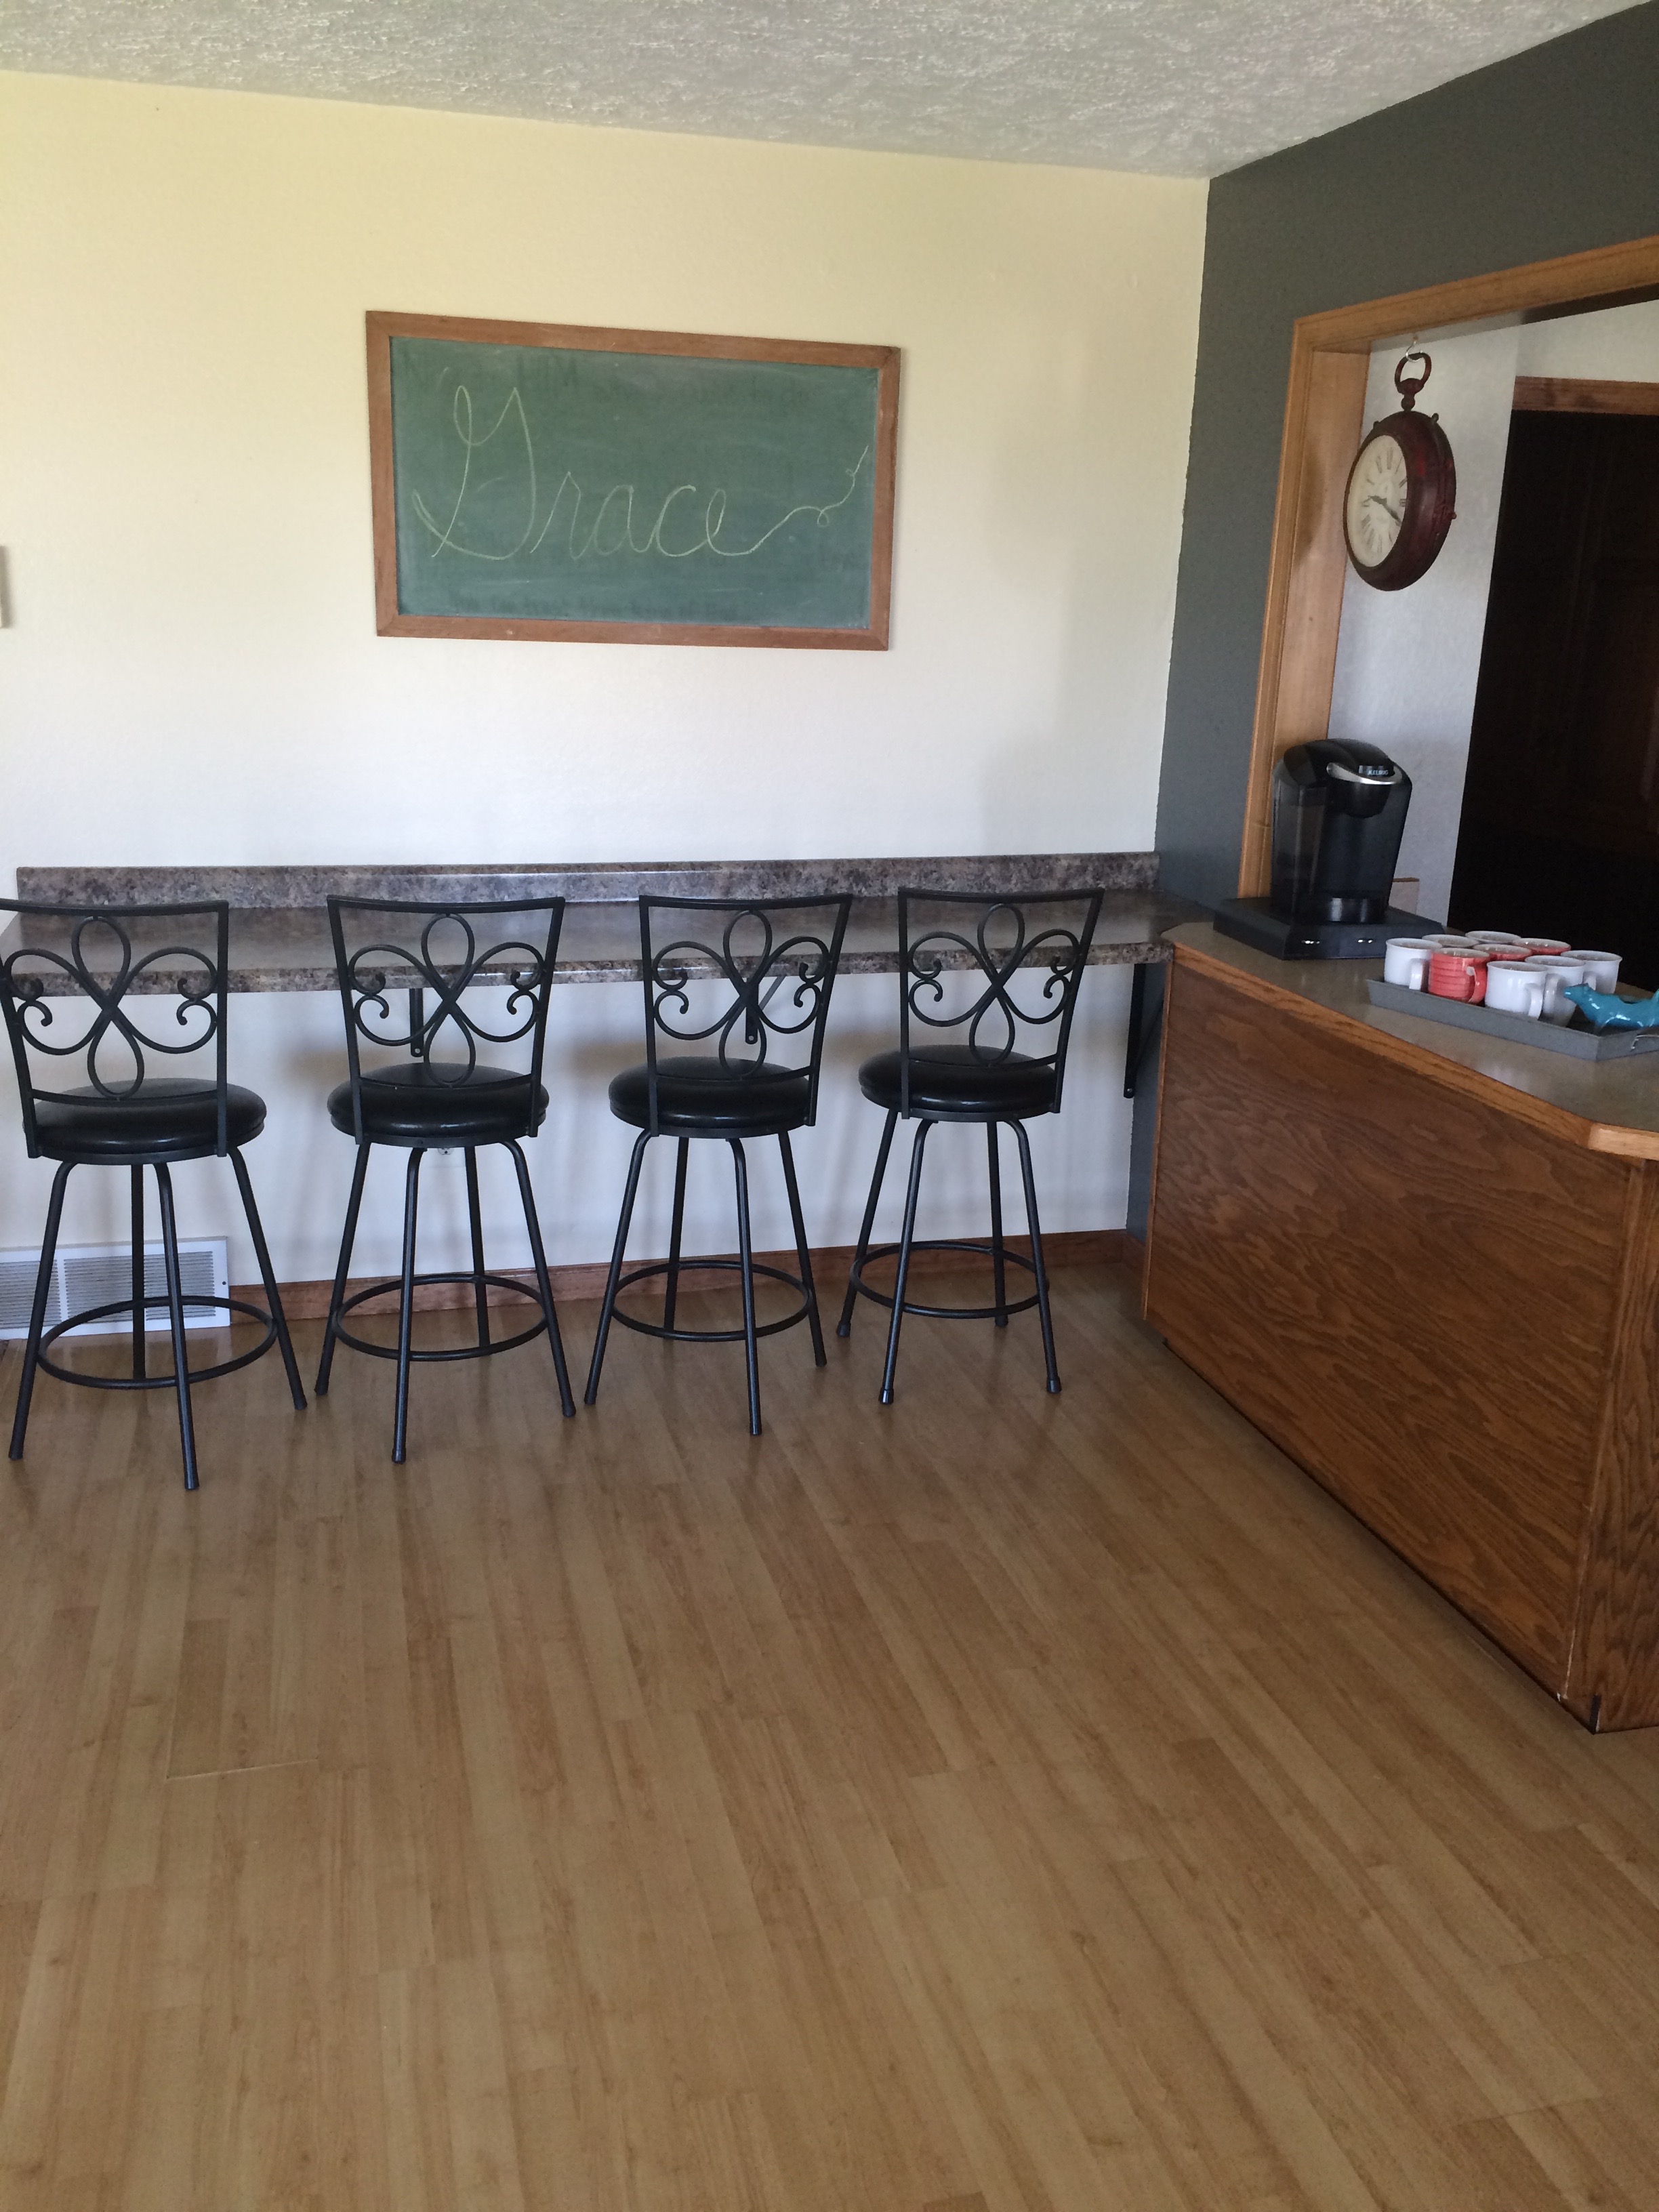
So the right is the kitchen, and right in front of you is the bar we installed.
Entry after
It’s the perfect little space for breakfast and such…and for the kids to sit at because the rest of the official dining room has carpet. When I swept after the first meal, I knew we had made the right choice with the bar!
Our previous home did not have a dining room and I’ve never grown up in a house with one, yet my heart looooonged for one. I love family dinners…I love the breaking of bread and feasting and raucous laughter that comes with sharing something yummy with people you love. This place has a great dining room…
Dining room before
and my sweet husband filled it with the perfect table…
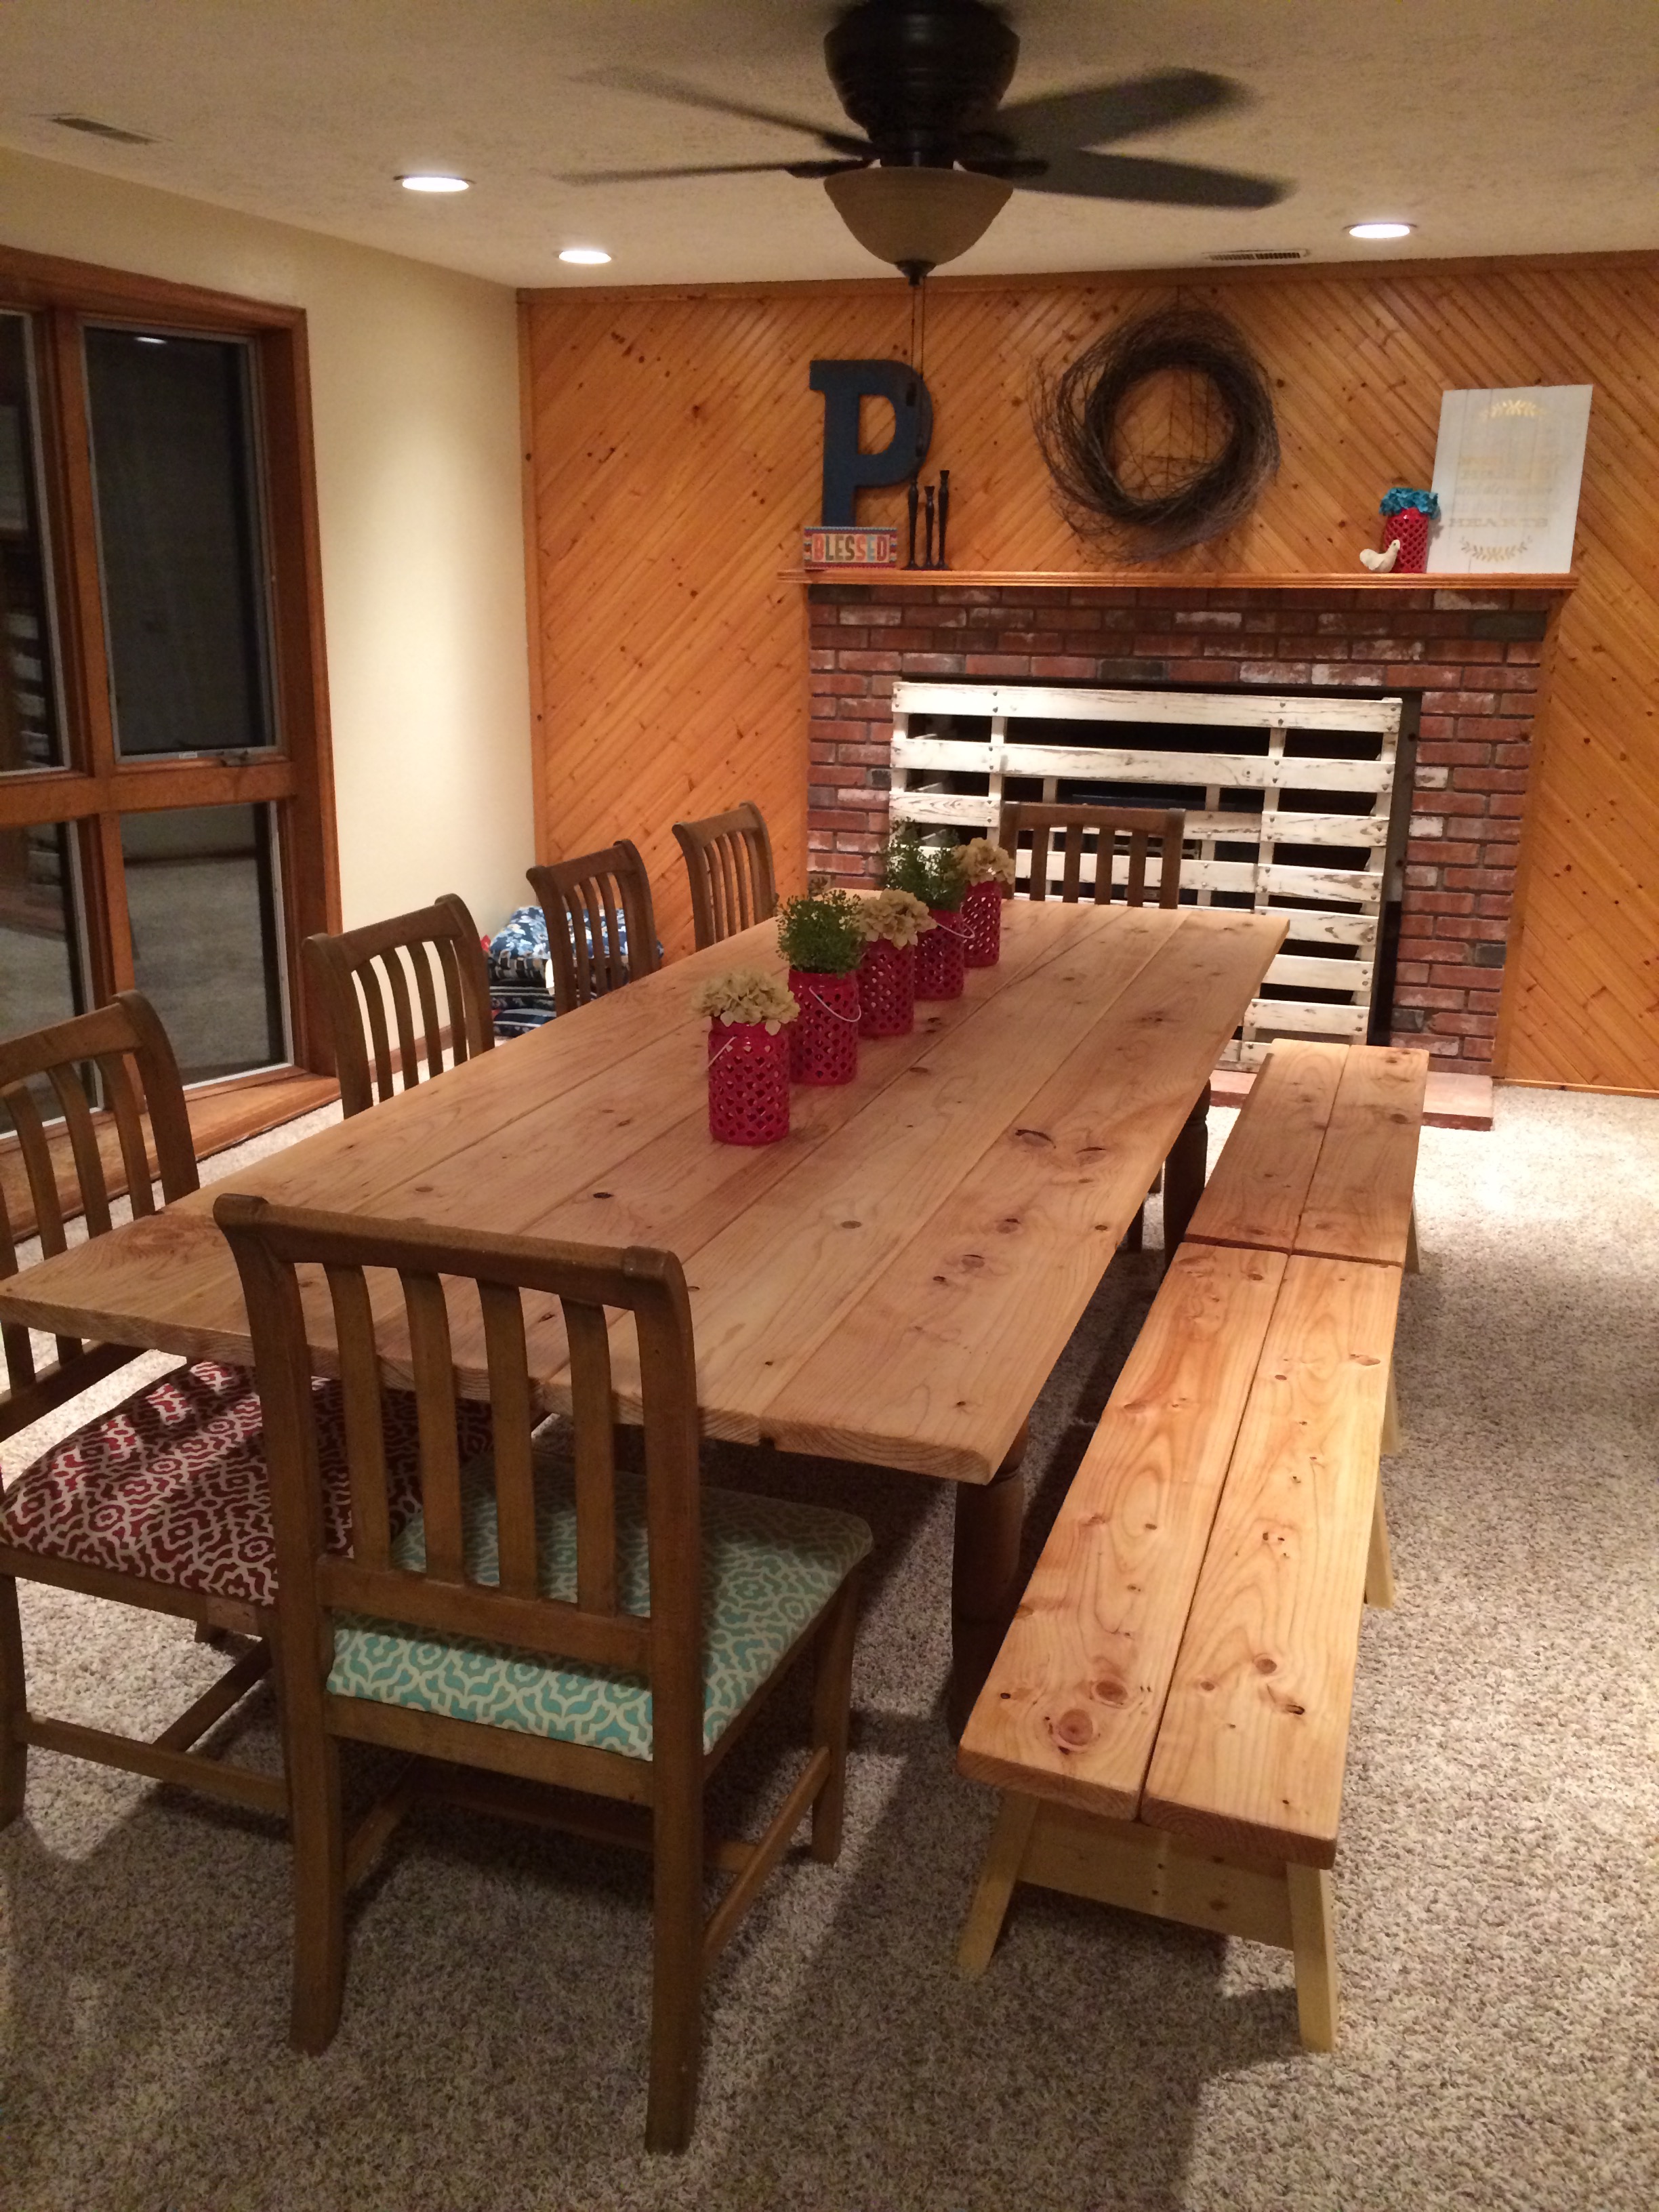
Dining room after
Isn’t he amazing?! We kept our old chairs and used the same table base, but he built the table top and the benches! We can get a solid 12 people around this thing. My heart is racing just thinking about it!
It’s my favorite room in the house, truly, because I love all that it represents. My other favorite thing is the fireplace guard. Another gift from the brother-in-law. It was an old stock rack that you’d sit in the back of a pickup to haul livestock and it fit PERFECTLY in this space – it was made for us!
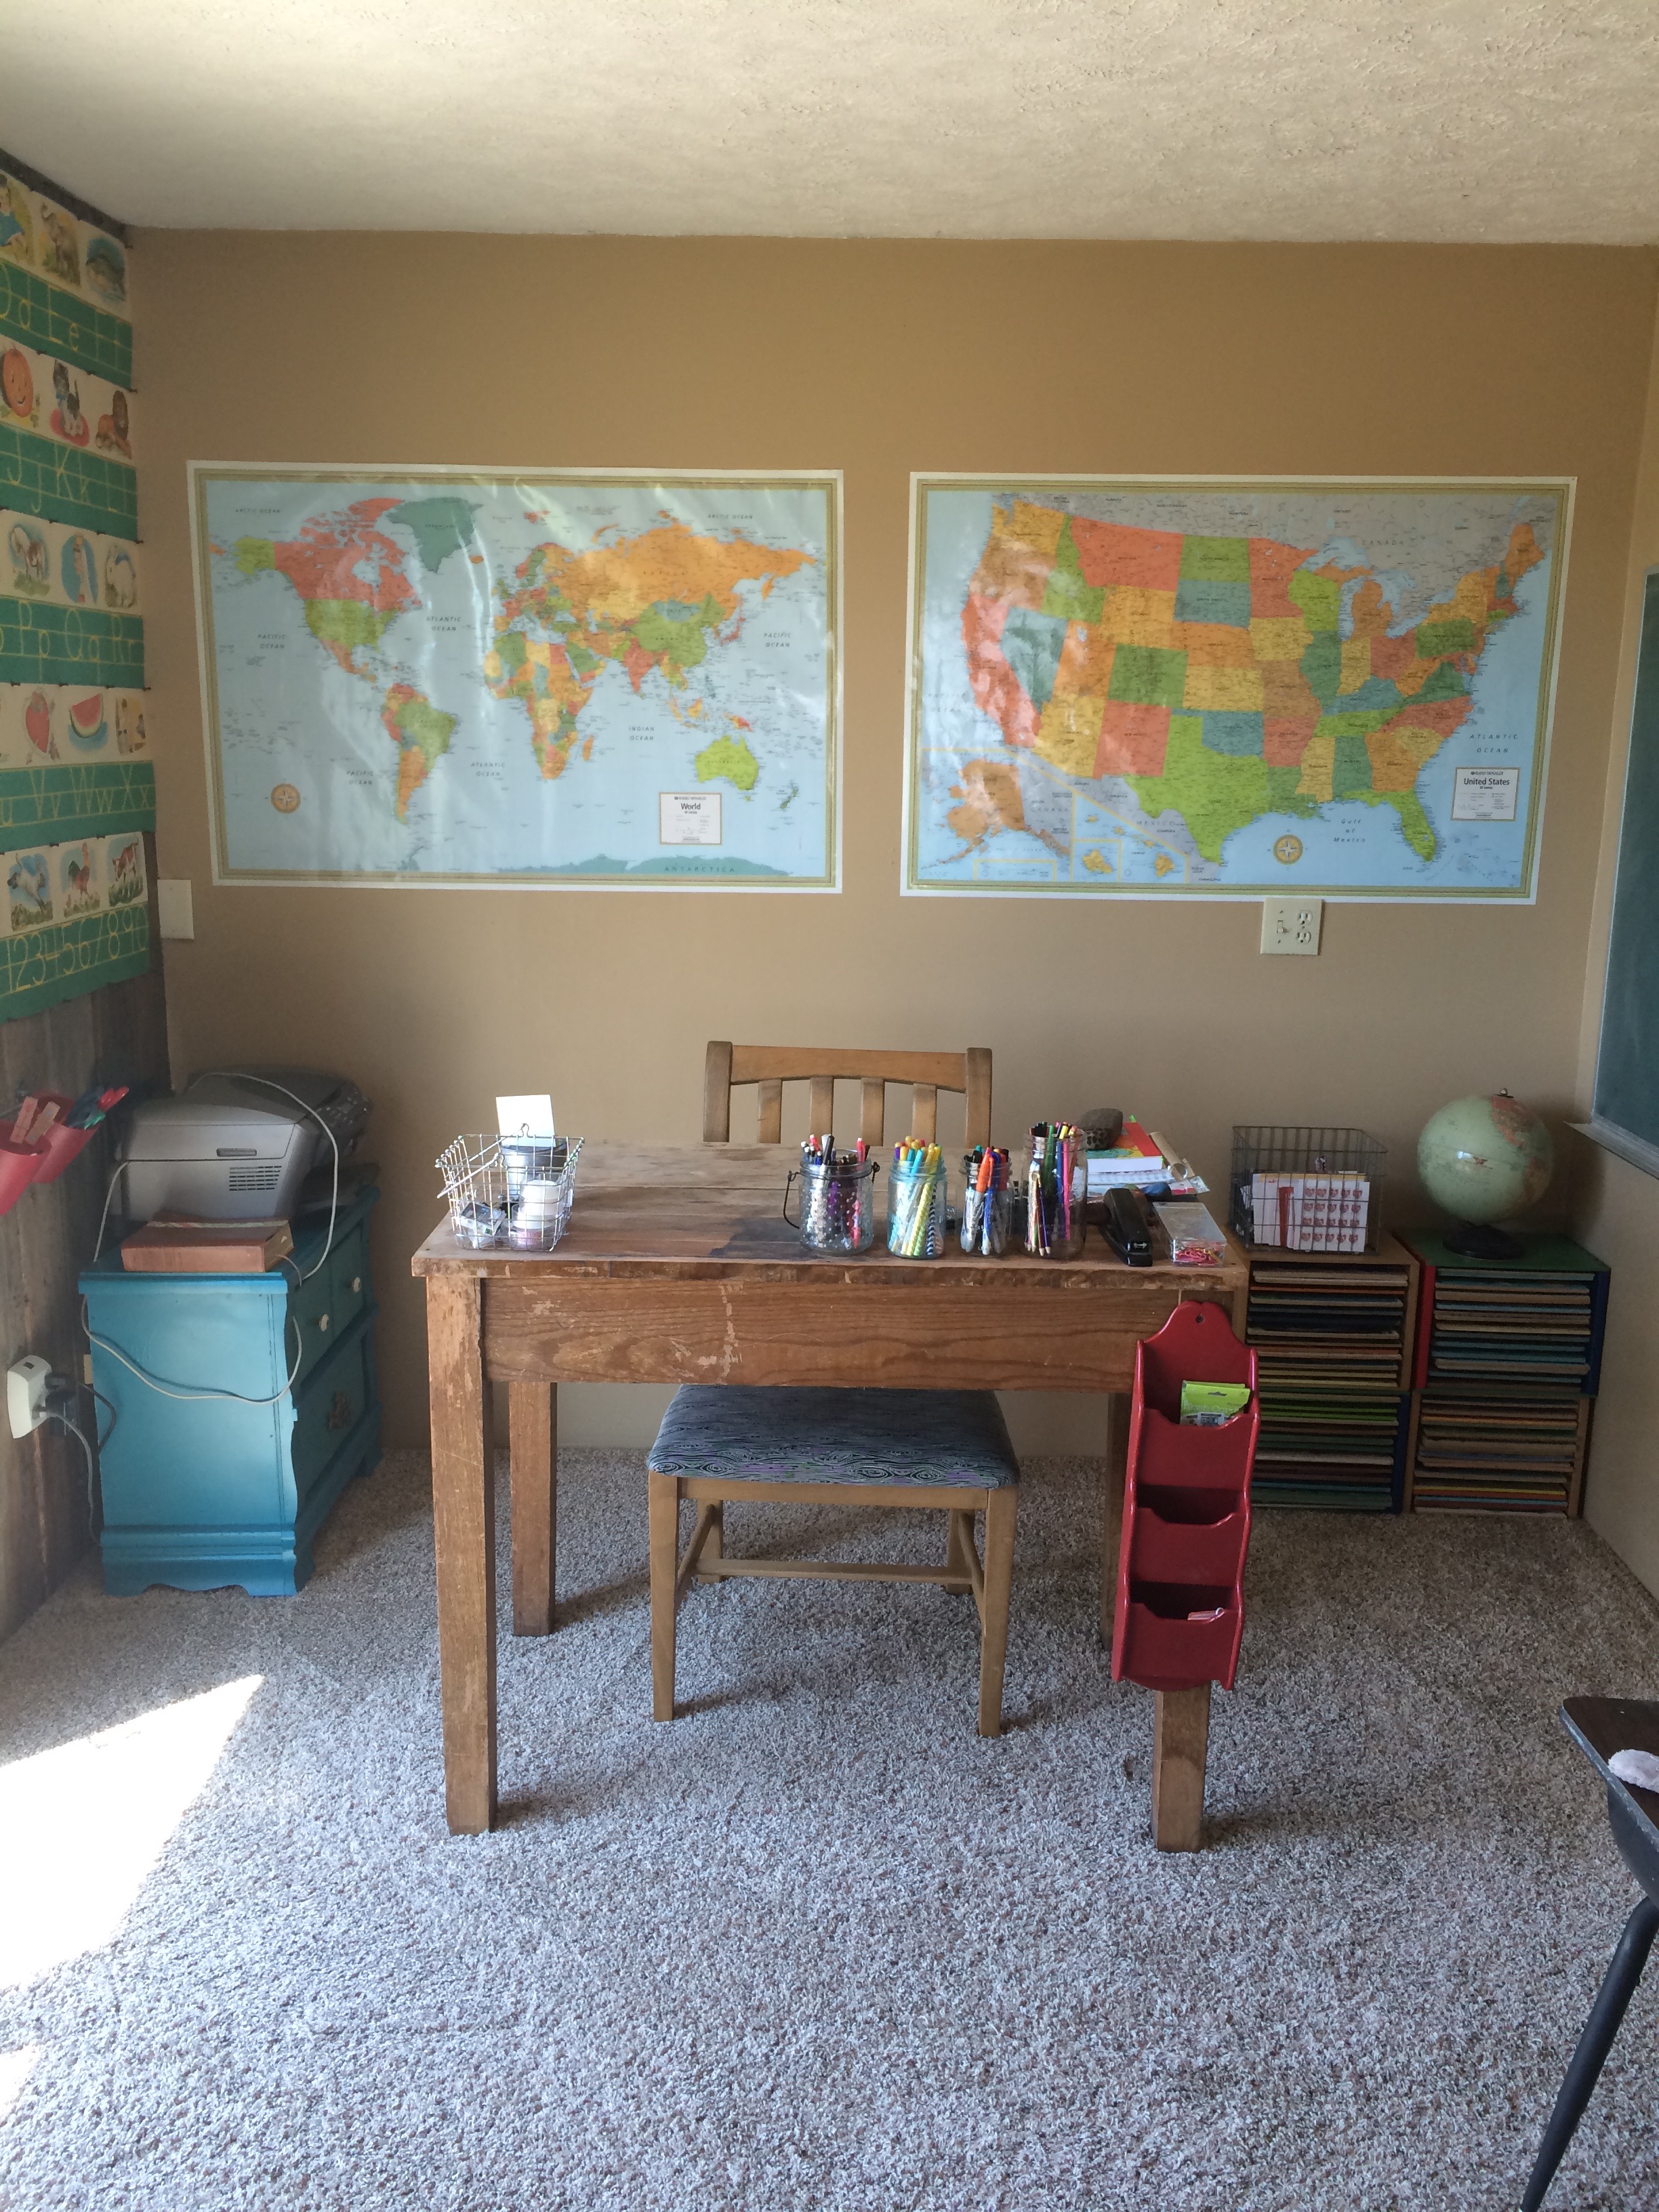
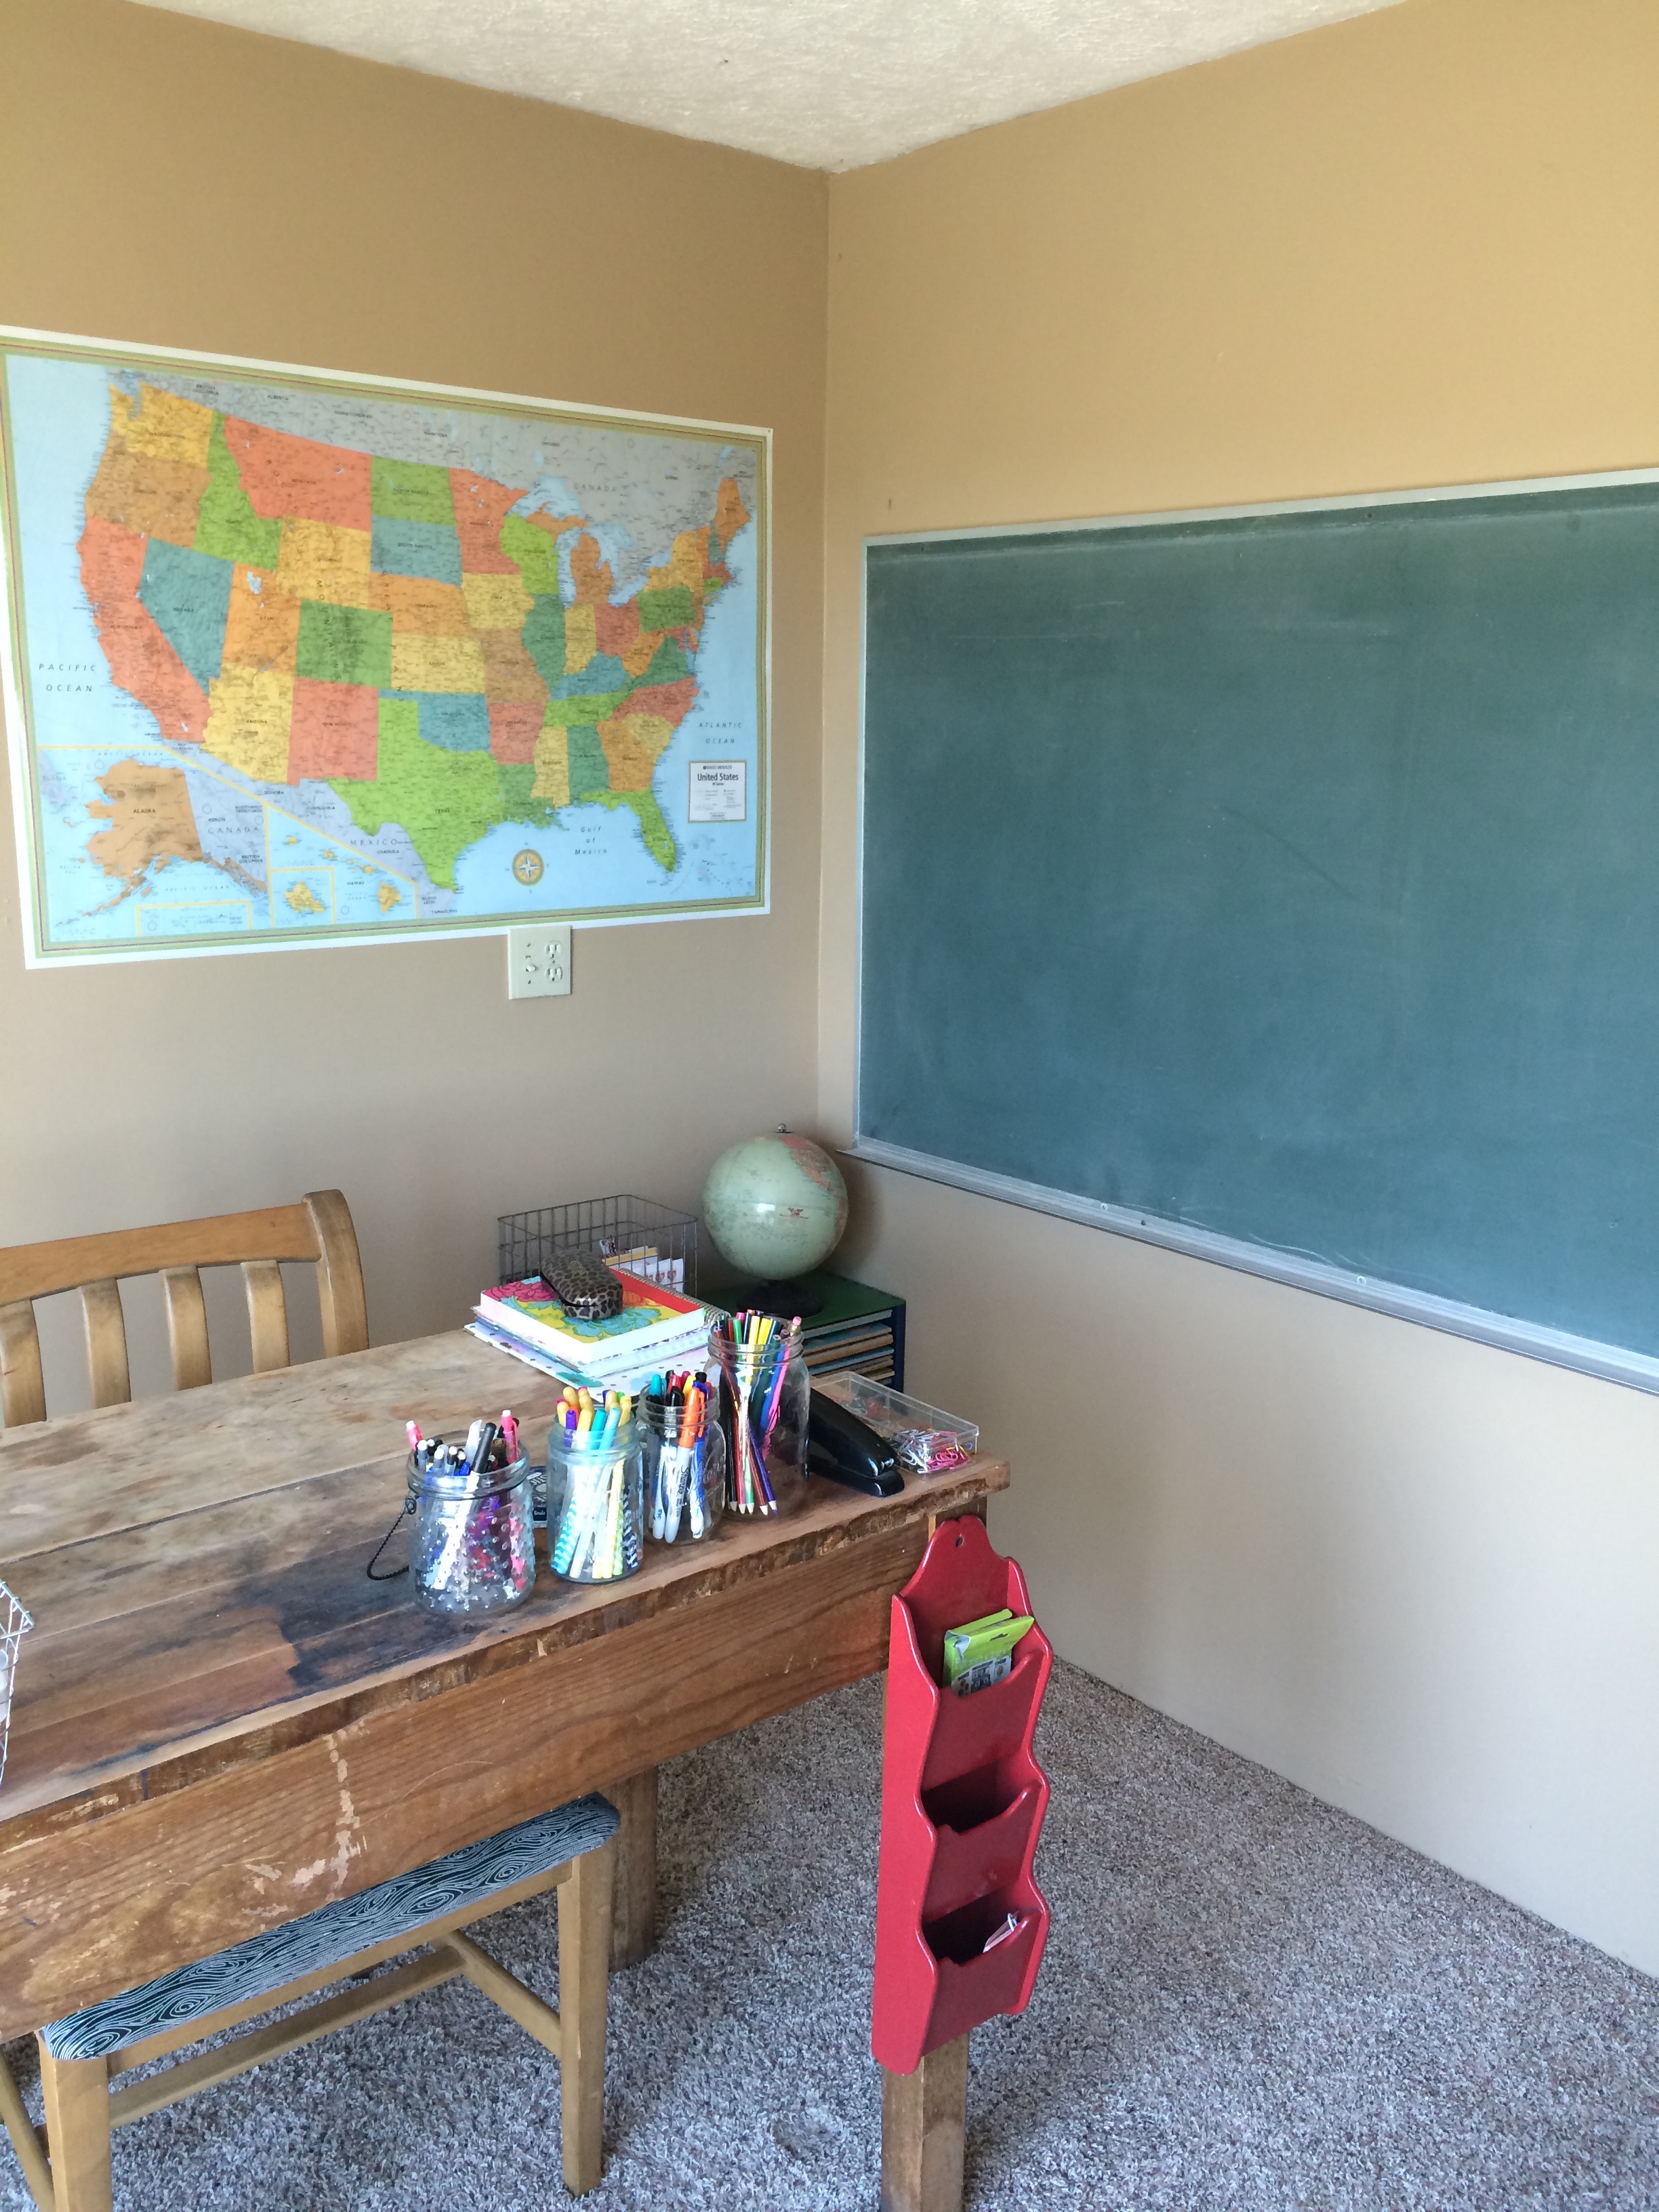
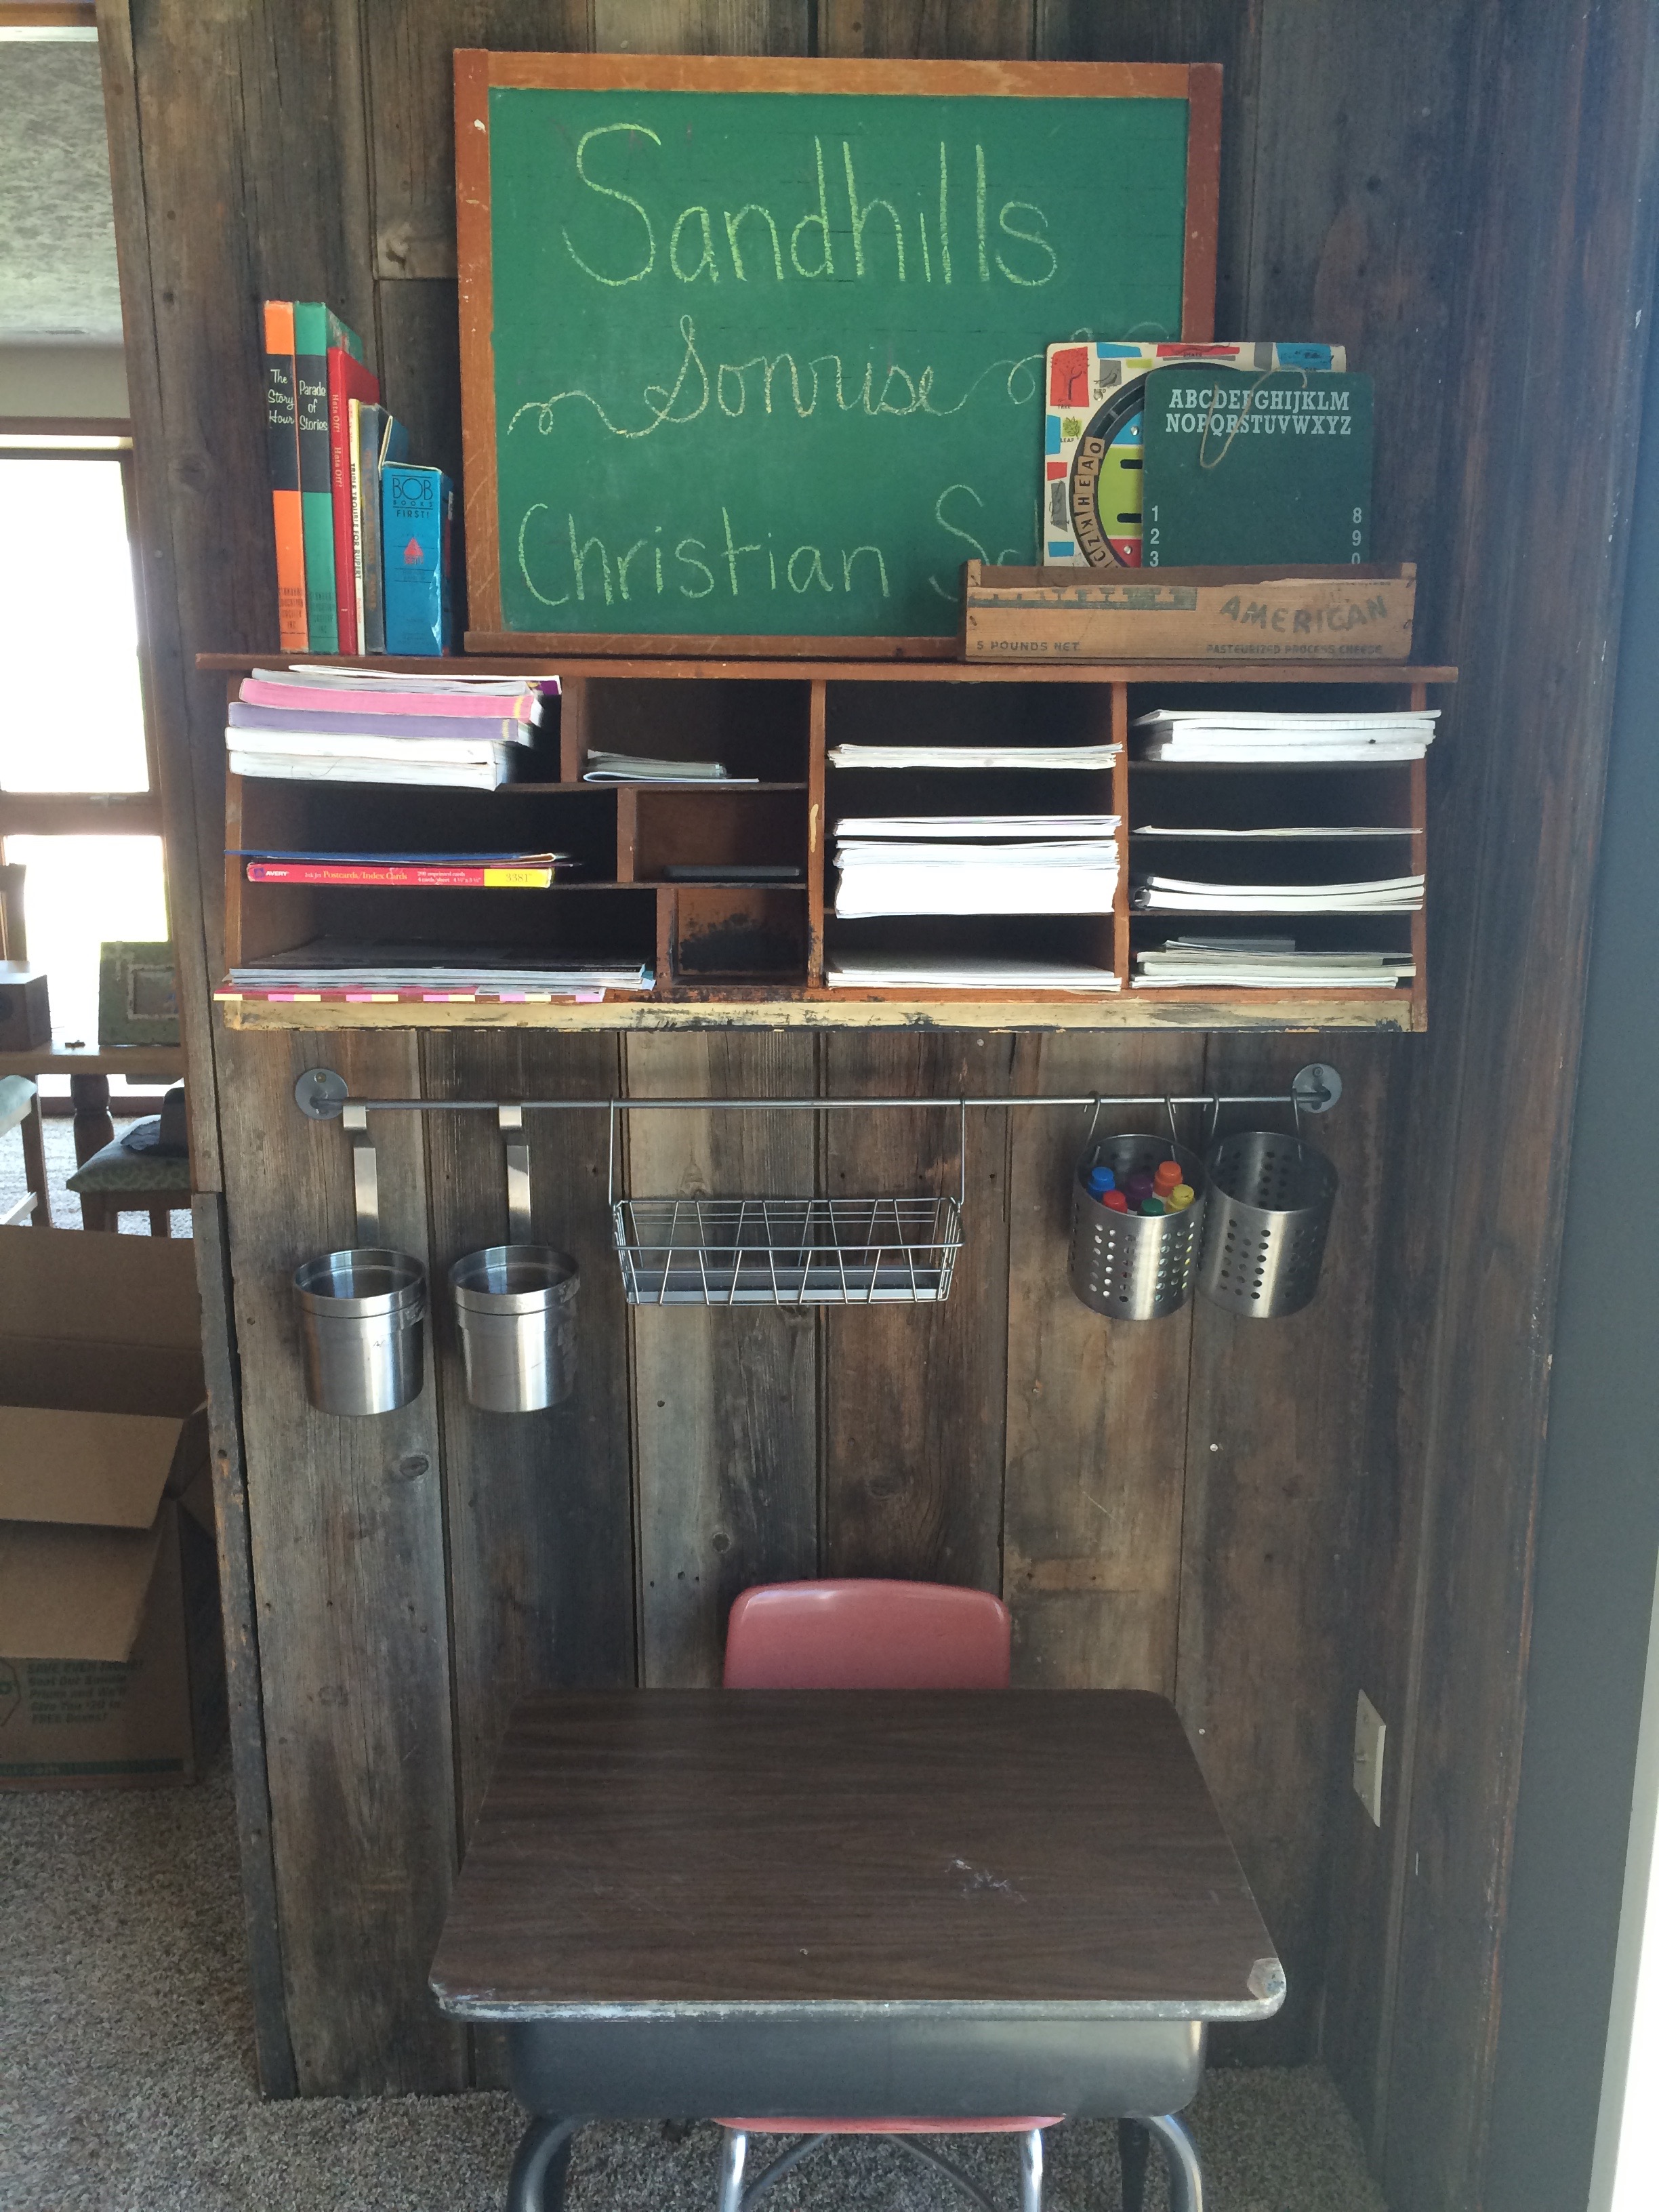
Off of the dining room is the school room – a close second for favorites! We didn’t do much in here except paint the pumpkin the same dark grey as the entry way and replace the light fixture…
School room before
Are you ready? Seriously? It’s divine! We spend so much time in this room and school hasn’t even started yet!
School room afterSchool room afterSchool room after
We ordered our curriculum last week and got our approval letter in the mail and we are ready to REALLY use this room! Off of this room, is sweet little patio area with a good view of the neighboring cows…peaceful and sweet.
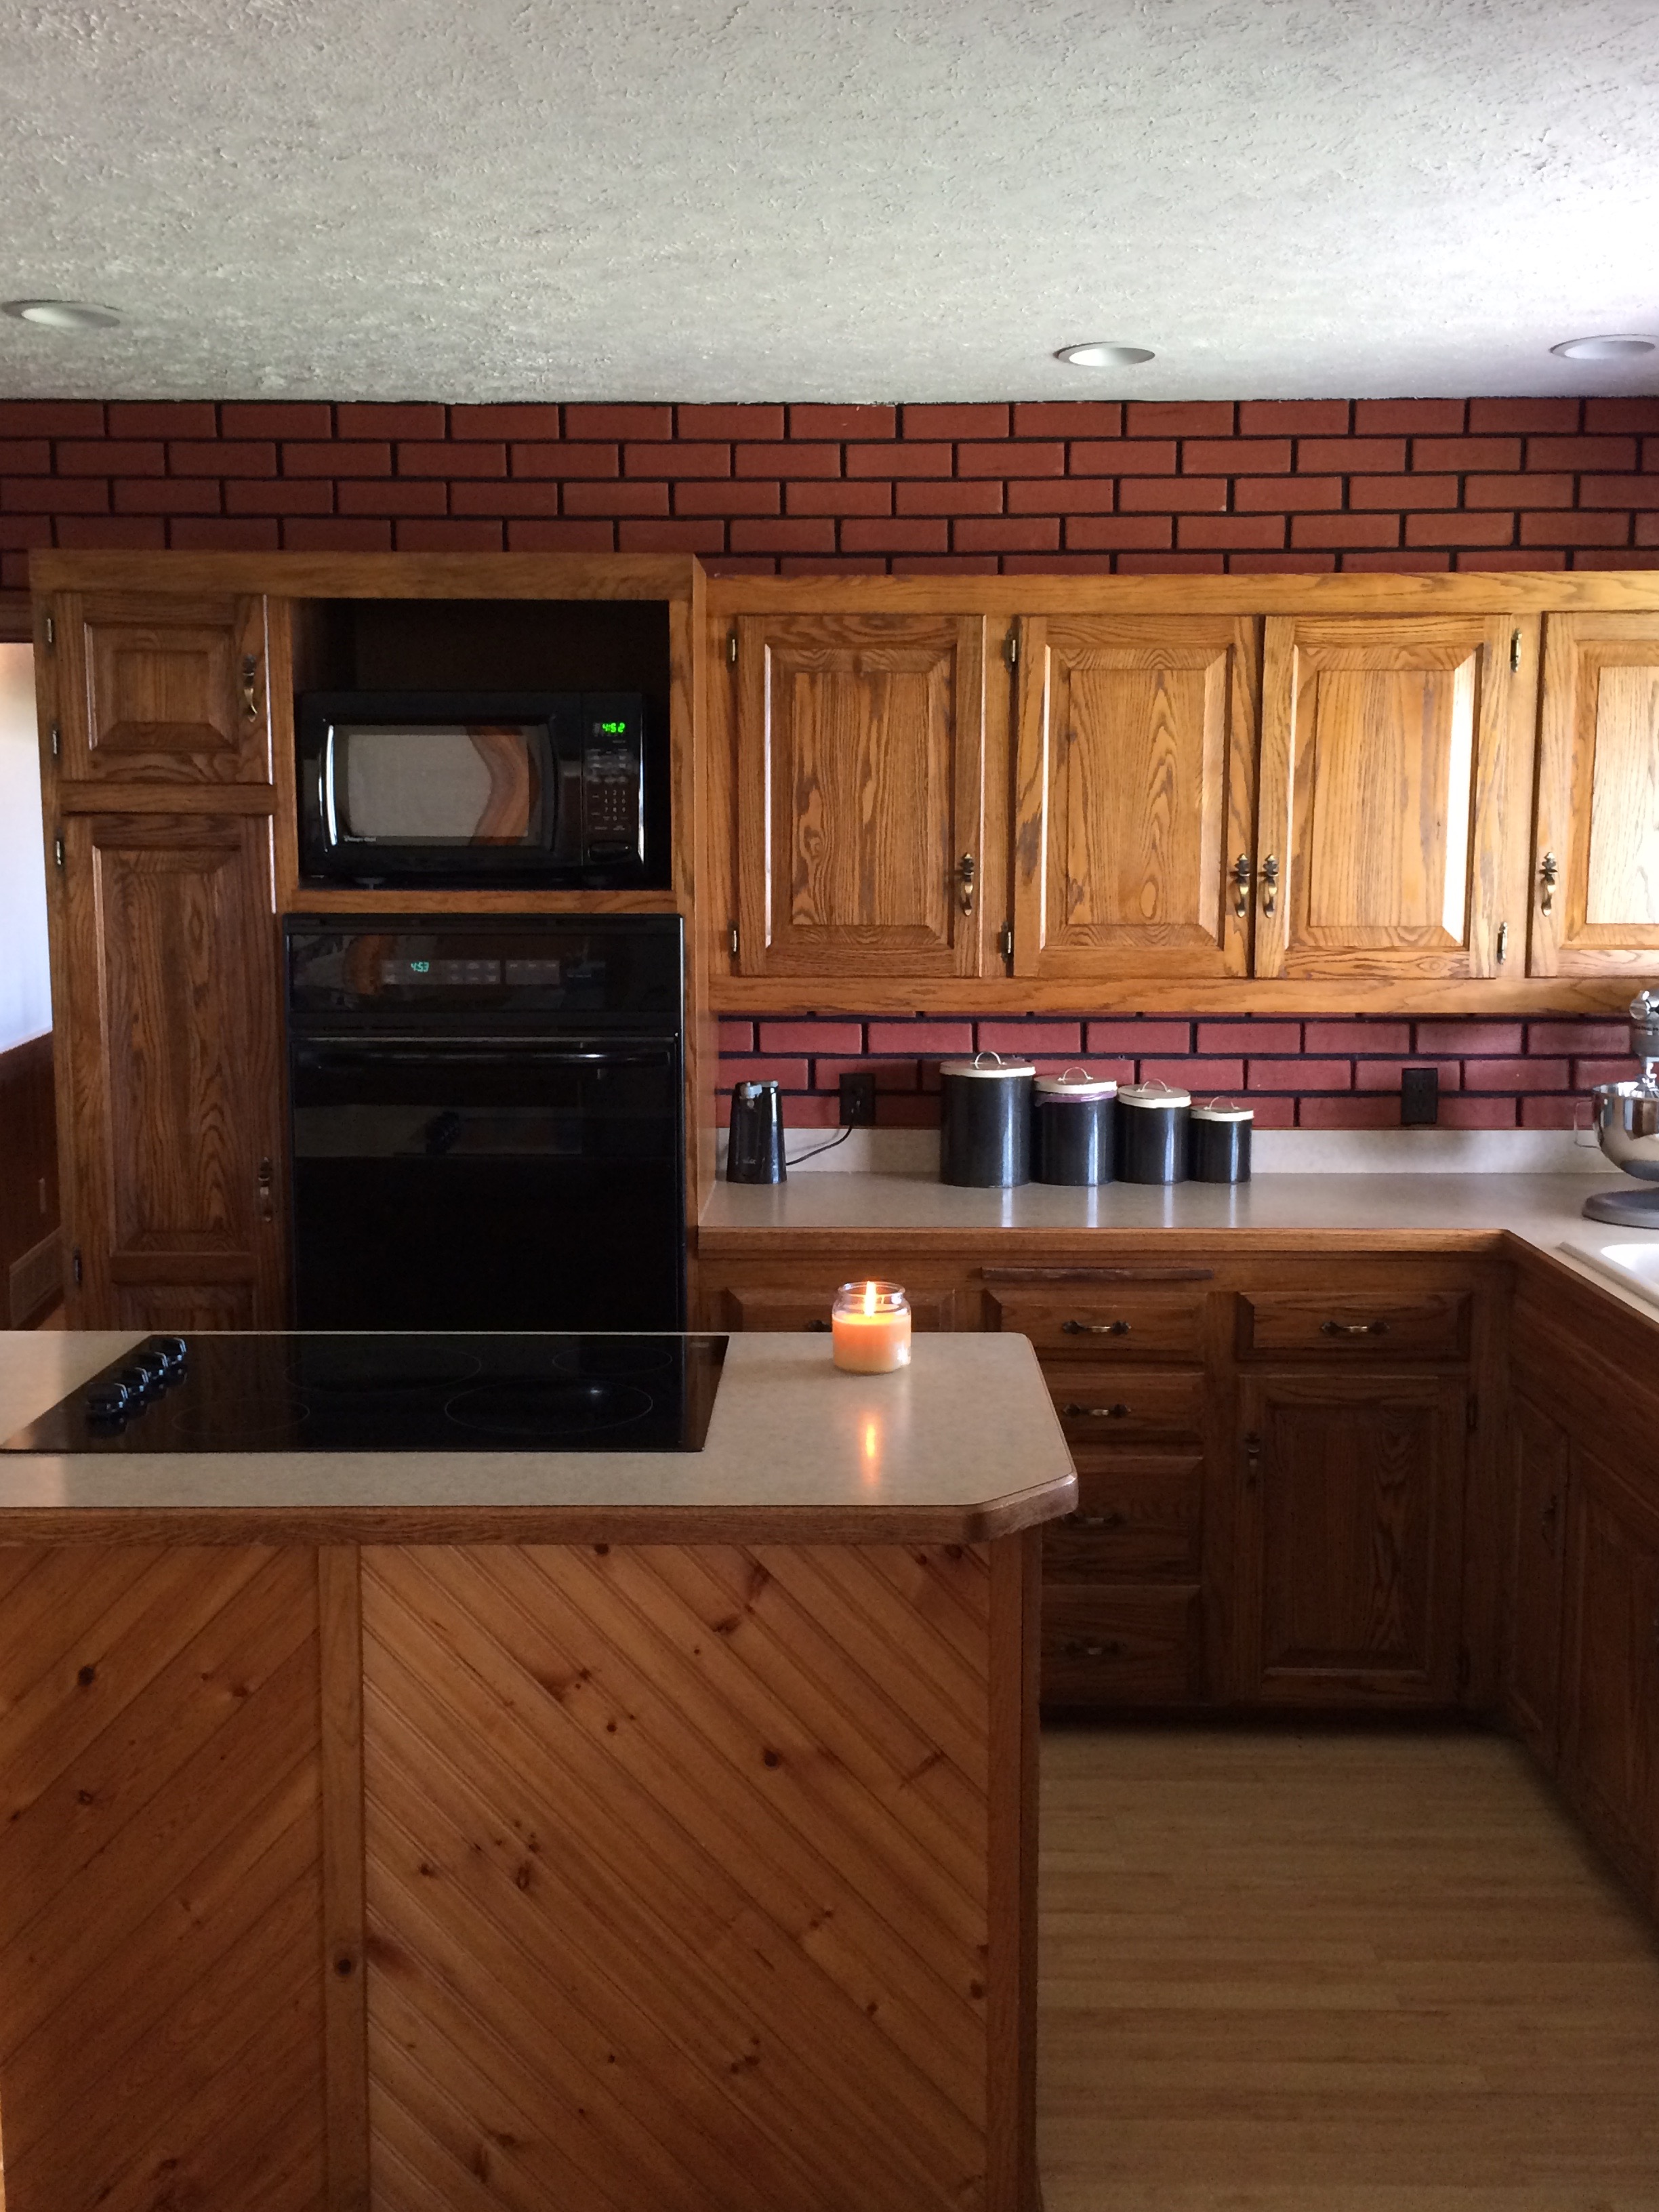
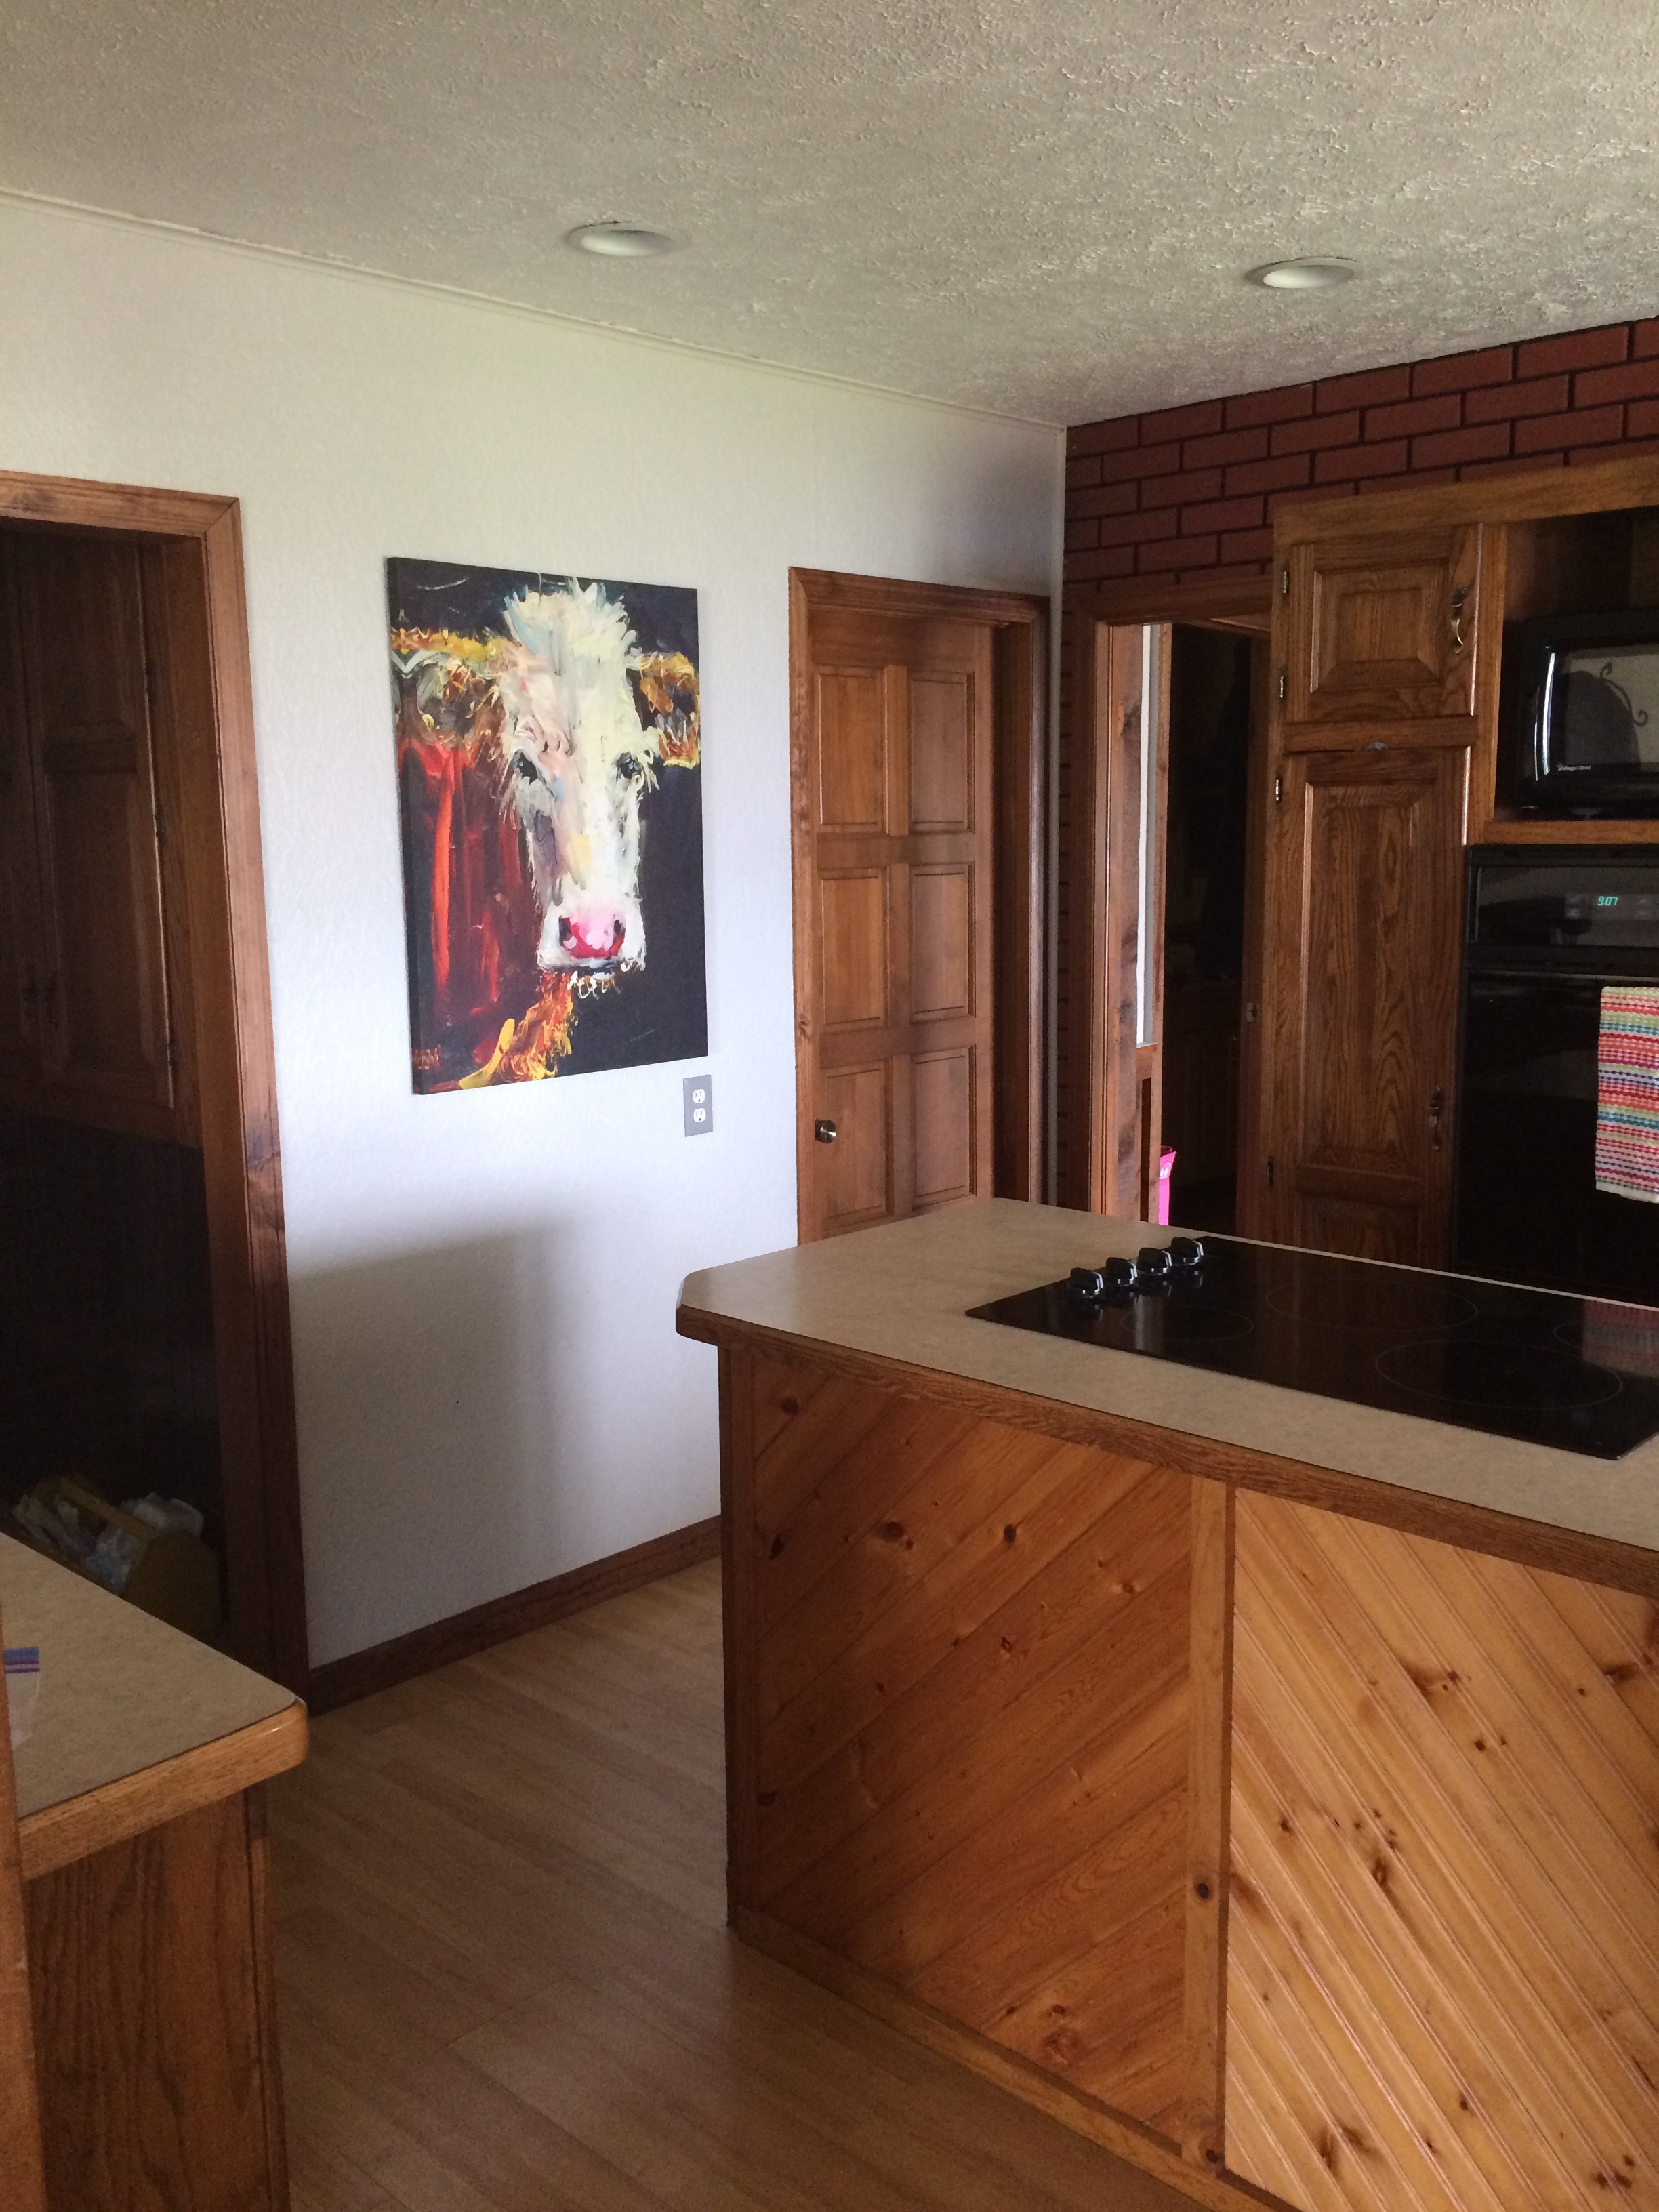
Ok, so back to the kitchen. We didn’t do anything to it besides paint. The walls were a light yellow and, again, we went with a grey just to tone everything down a bit.
Kitchen afterKitchen after
I love the brick, I love all the storage. It doesn’t look huge but it has far more room that our previous kitchen. The only thing I’m missing is my gas stove; electric just isn’t the same!
Off of the kitchen is our room and bathroom; two of the less “wow” rooms of the house. We didn’t do anything in our room except upgrade the ceiling fan that threatened to fall on us in the night.
Master bedroom
It’s sweet and simple and easy to keep clean. And? It has a nice sized closet – something else we’ve never had before!
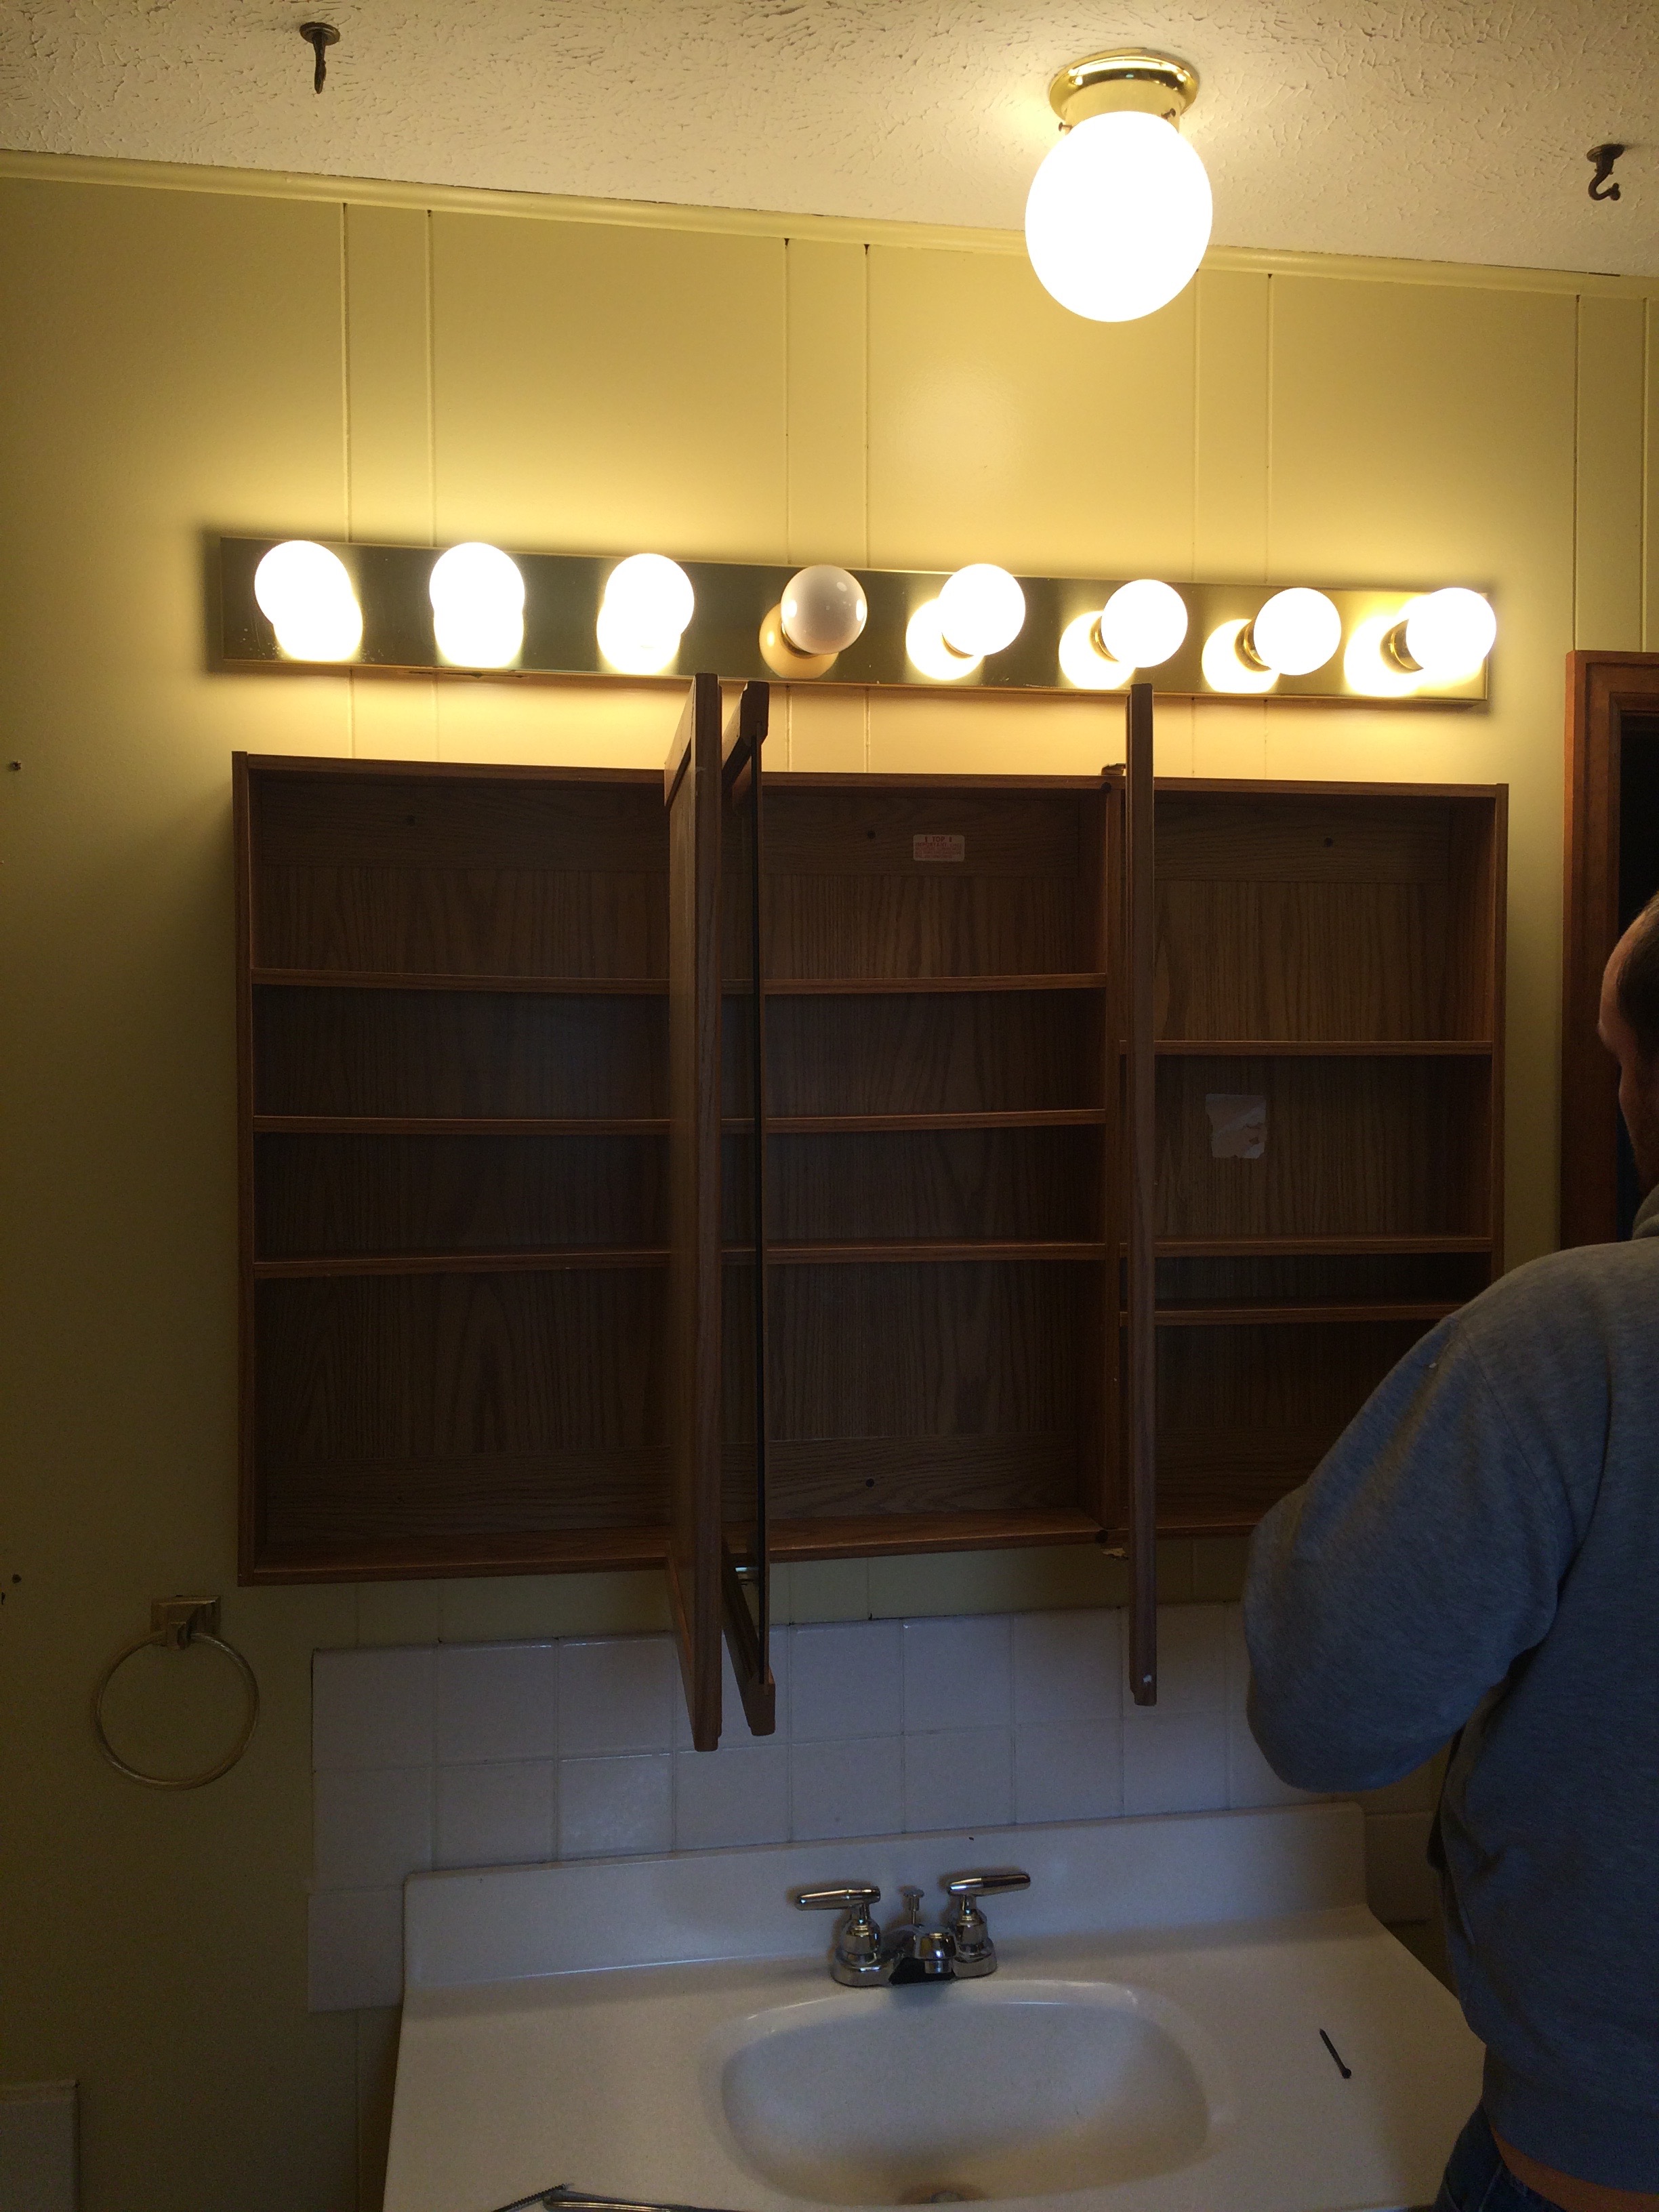
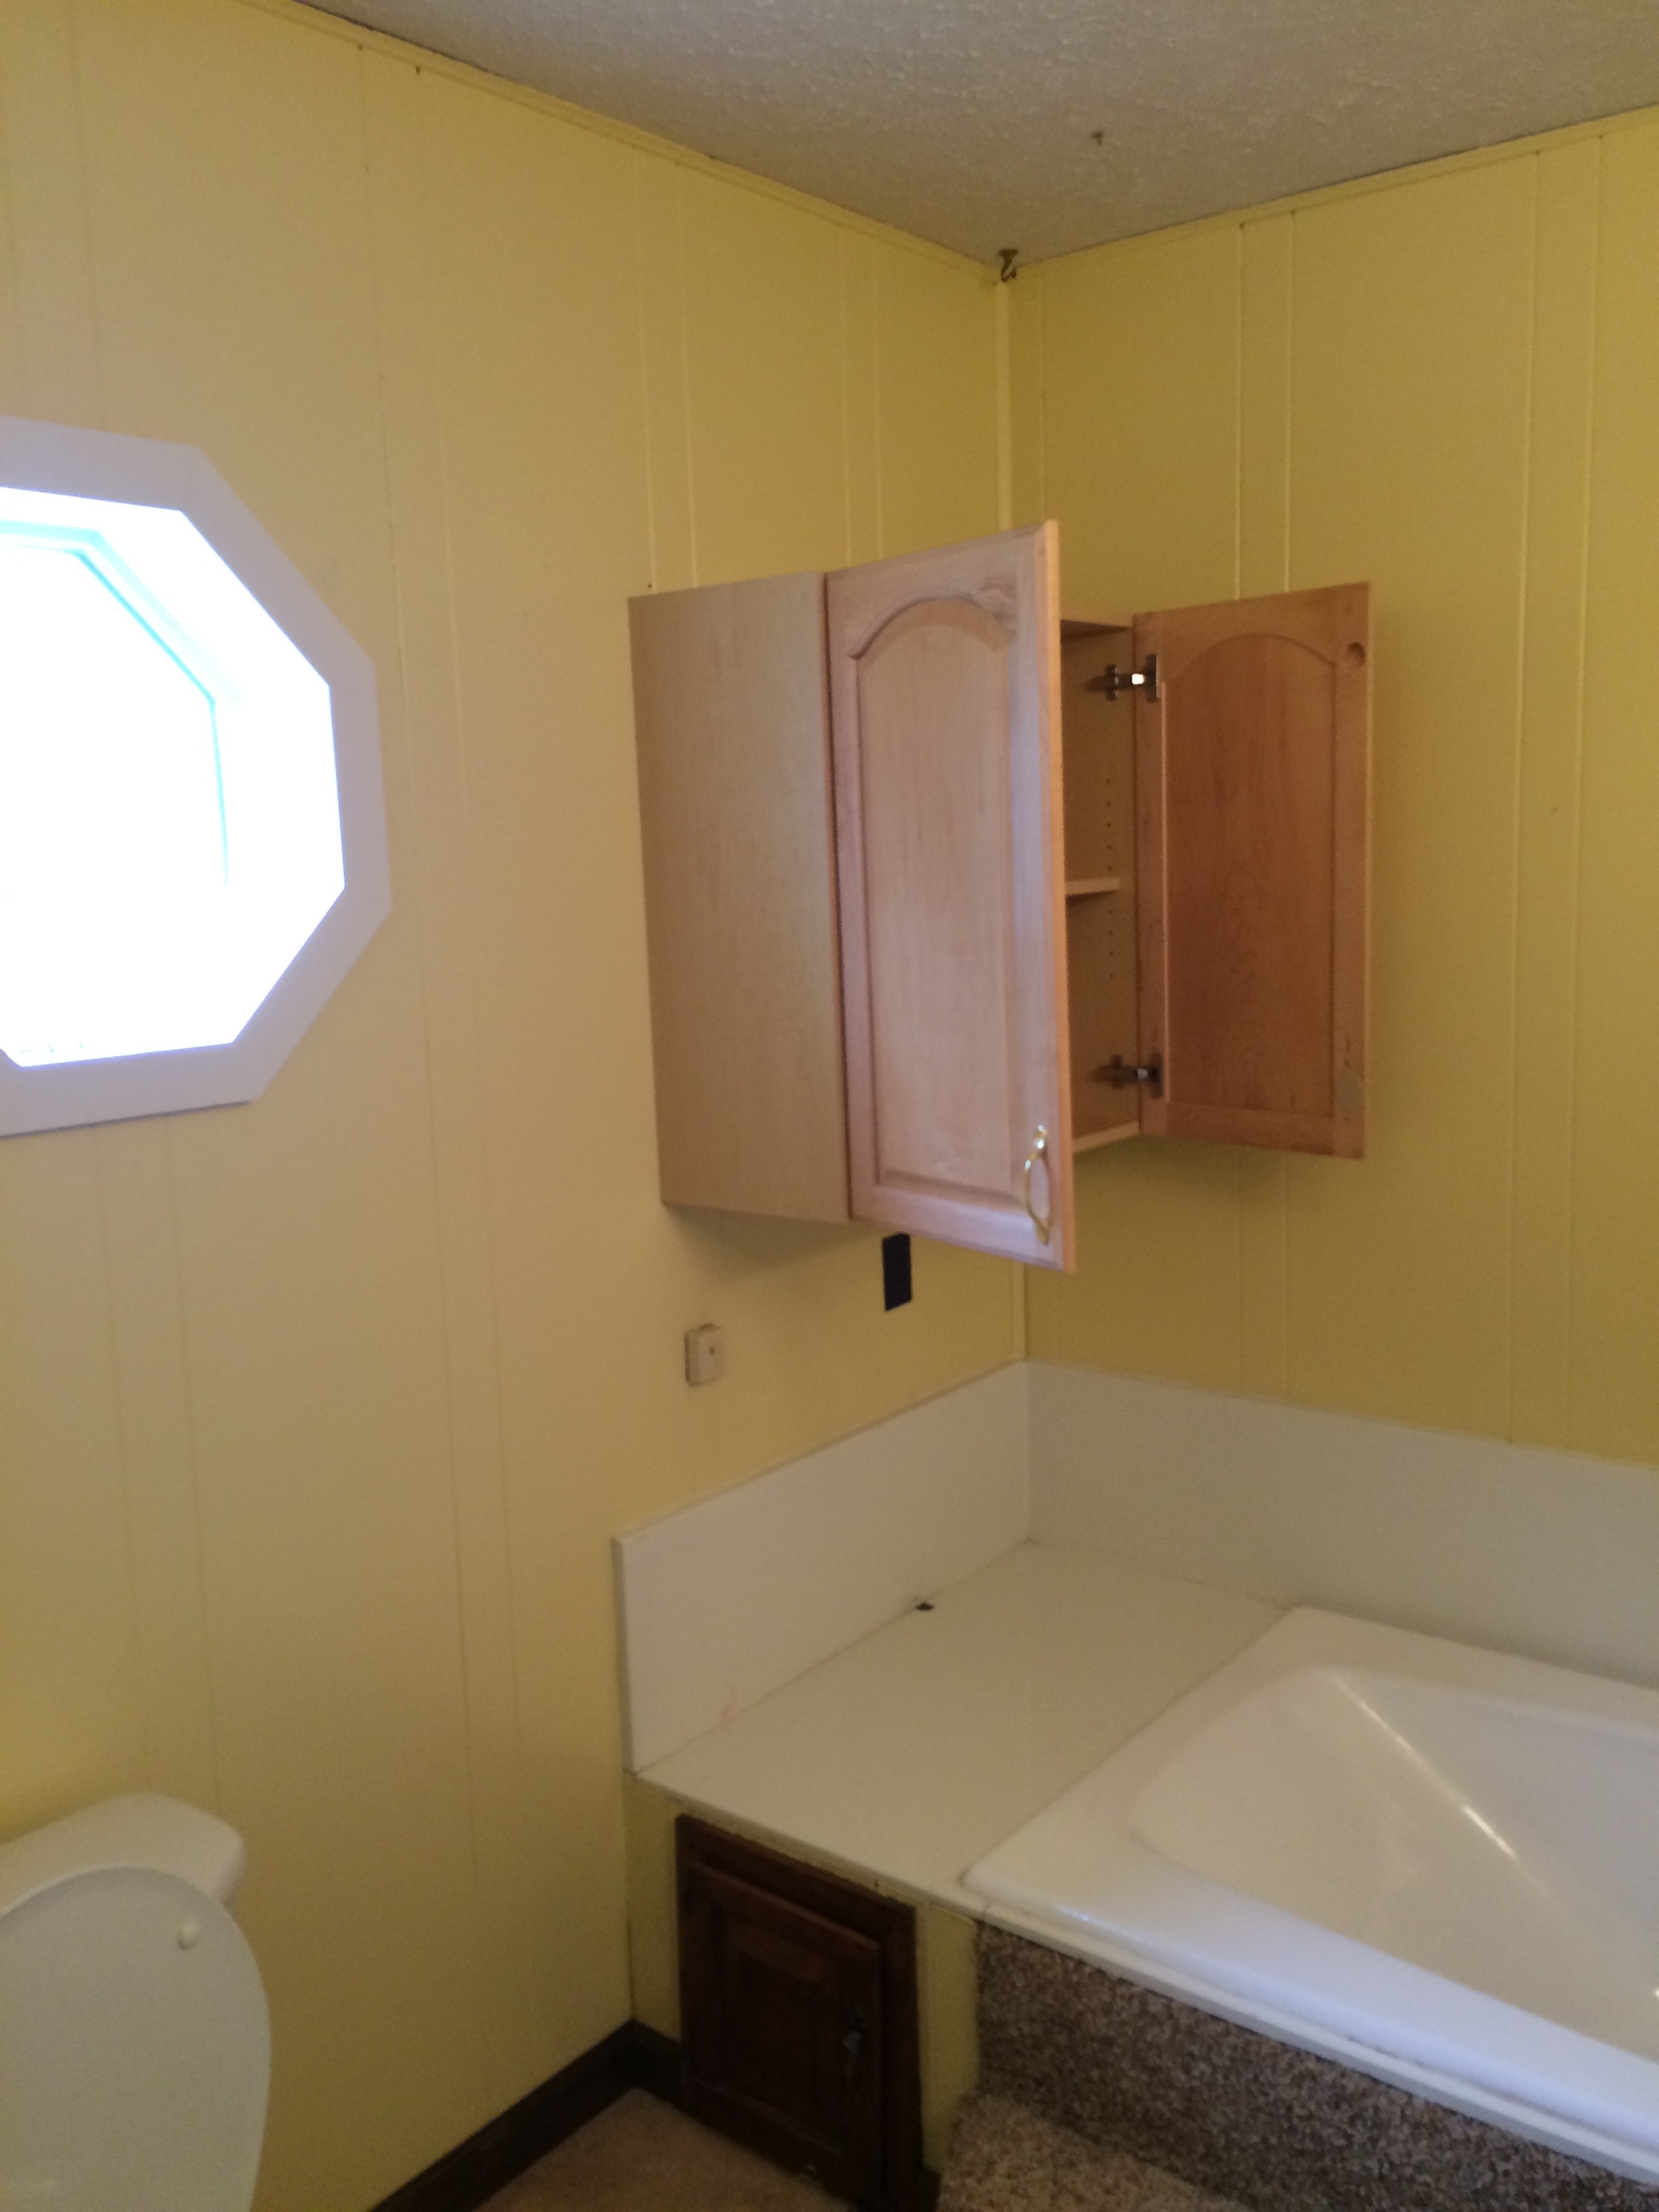
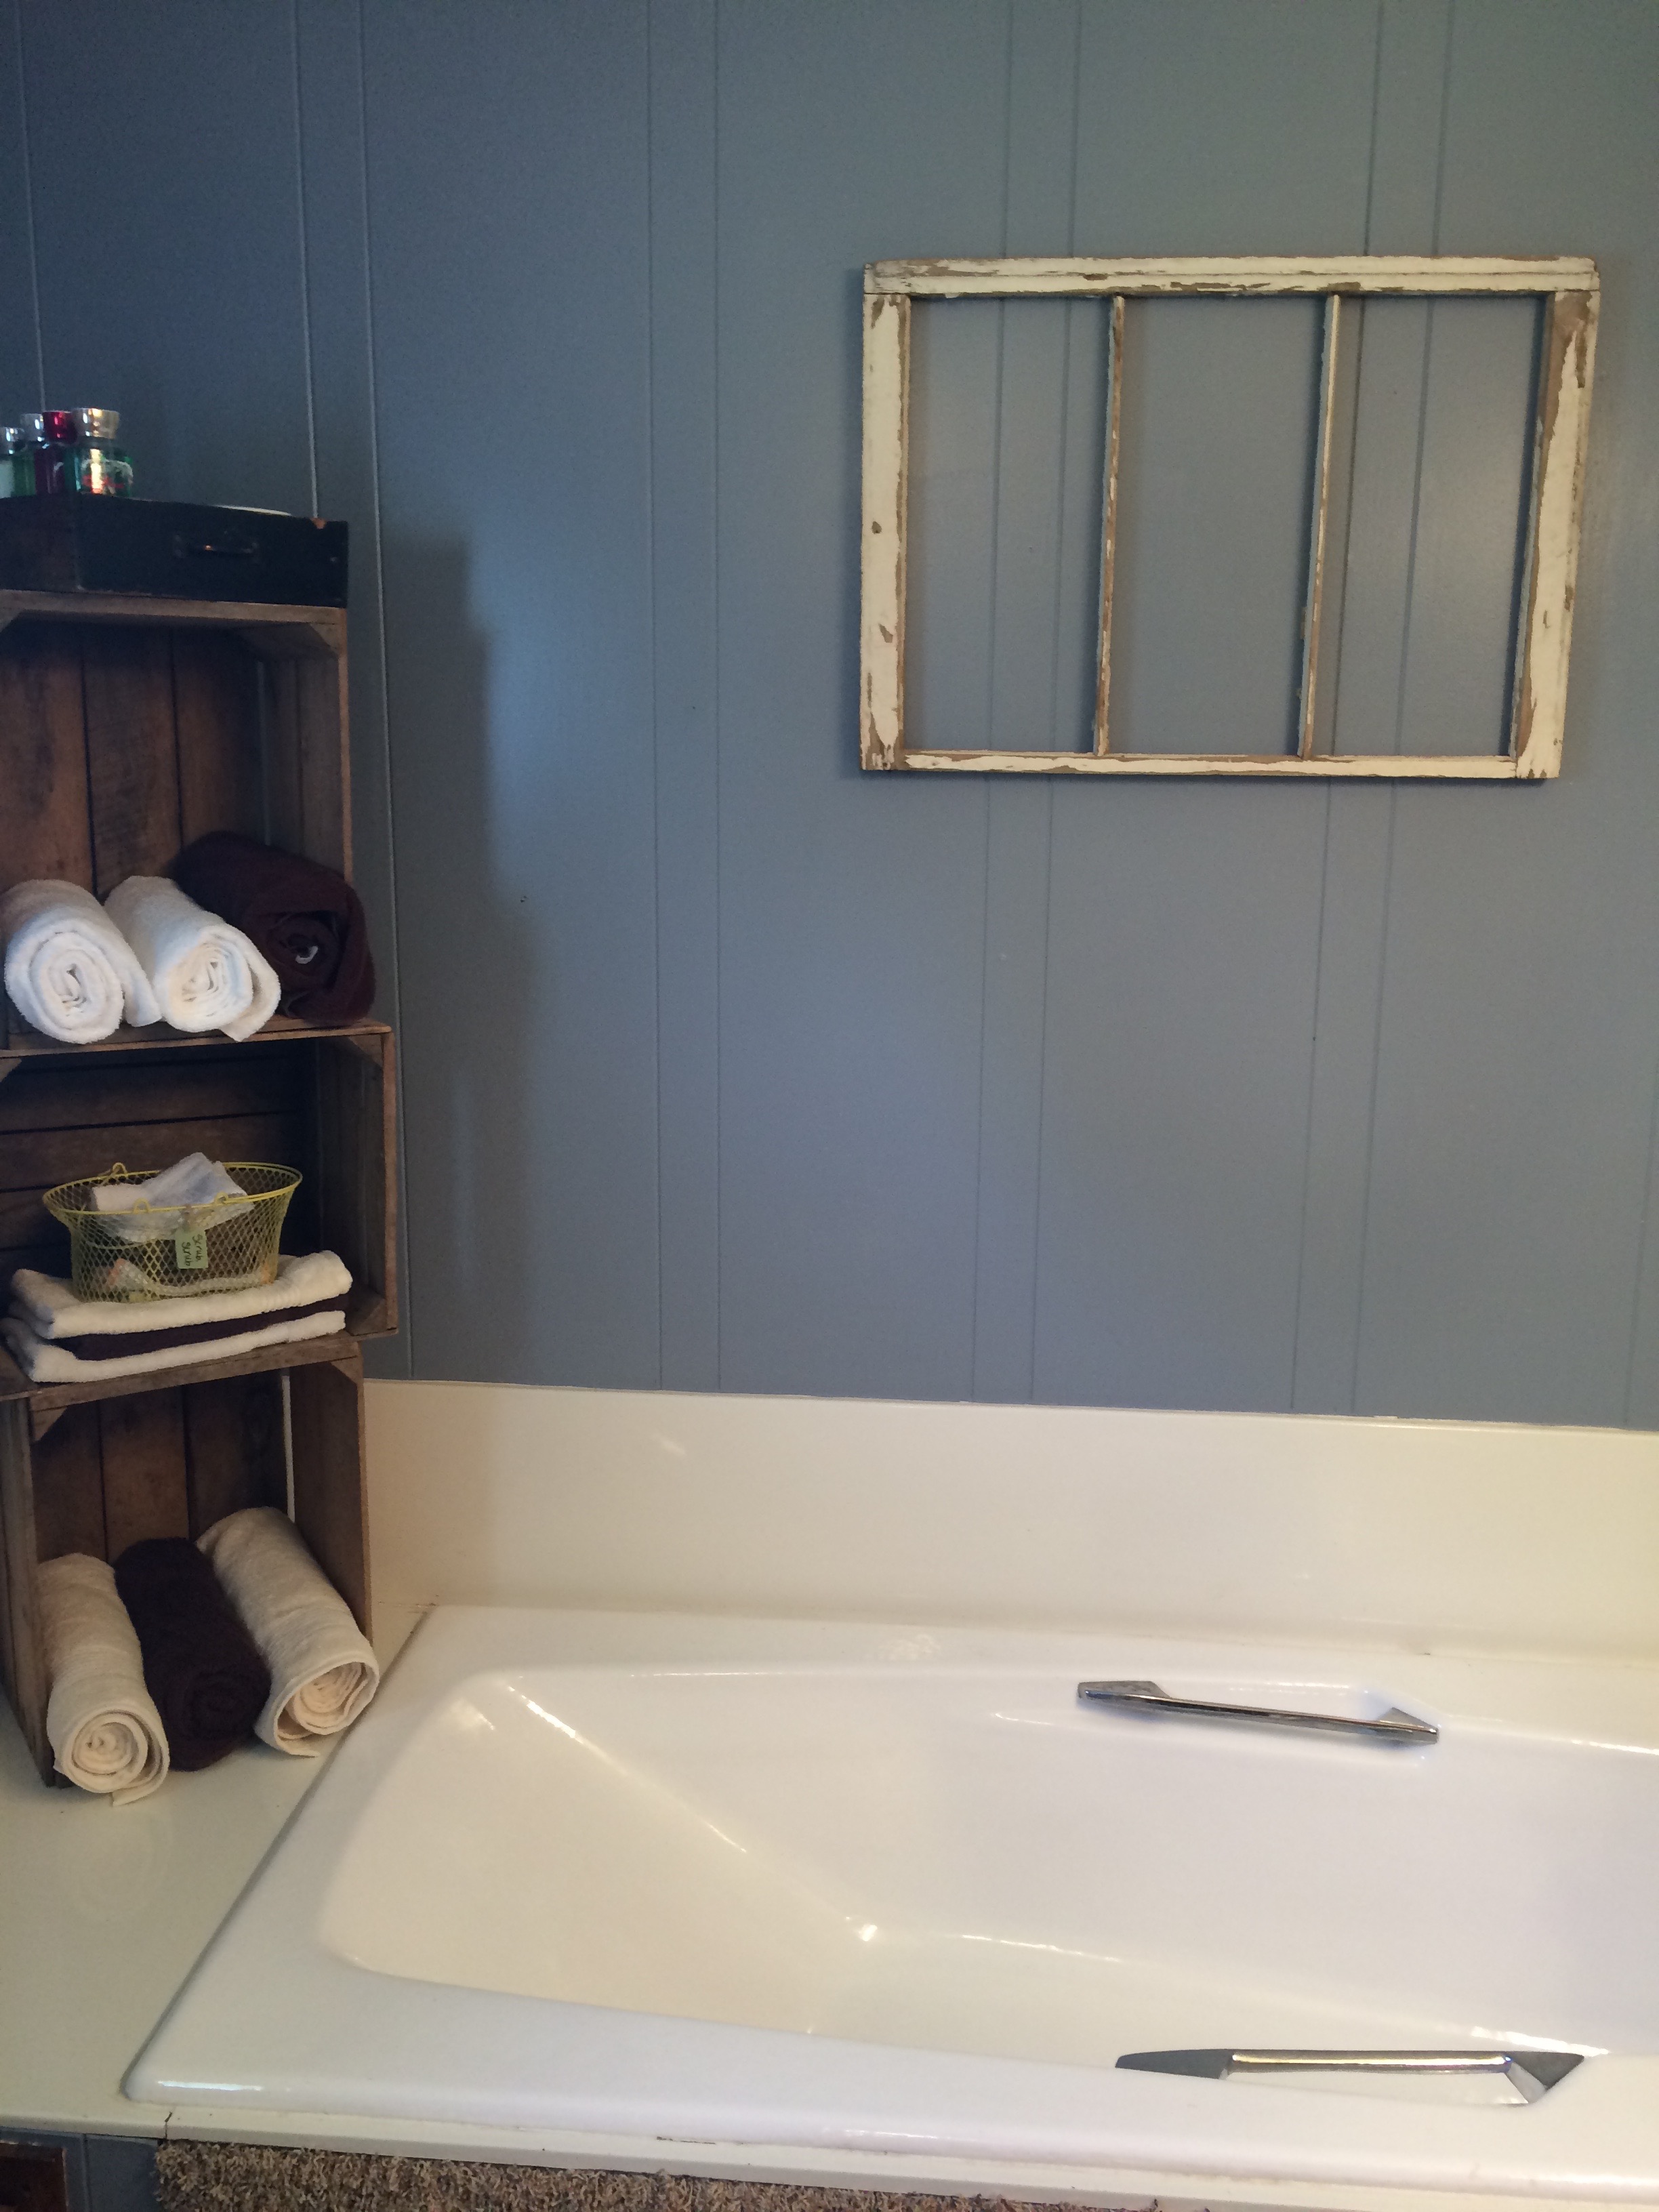
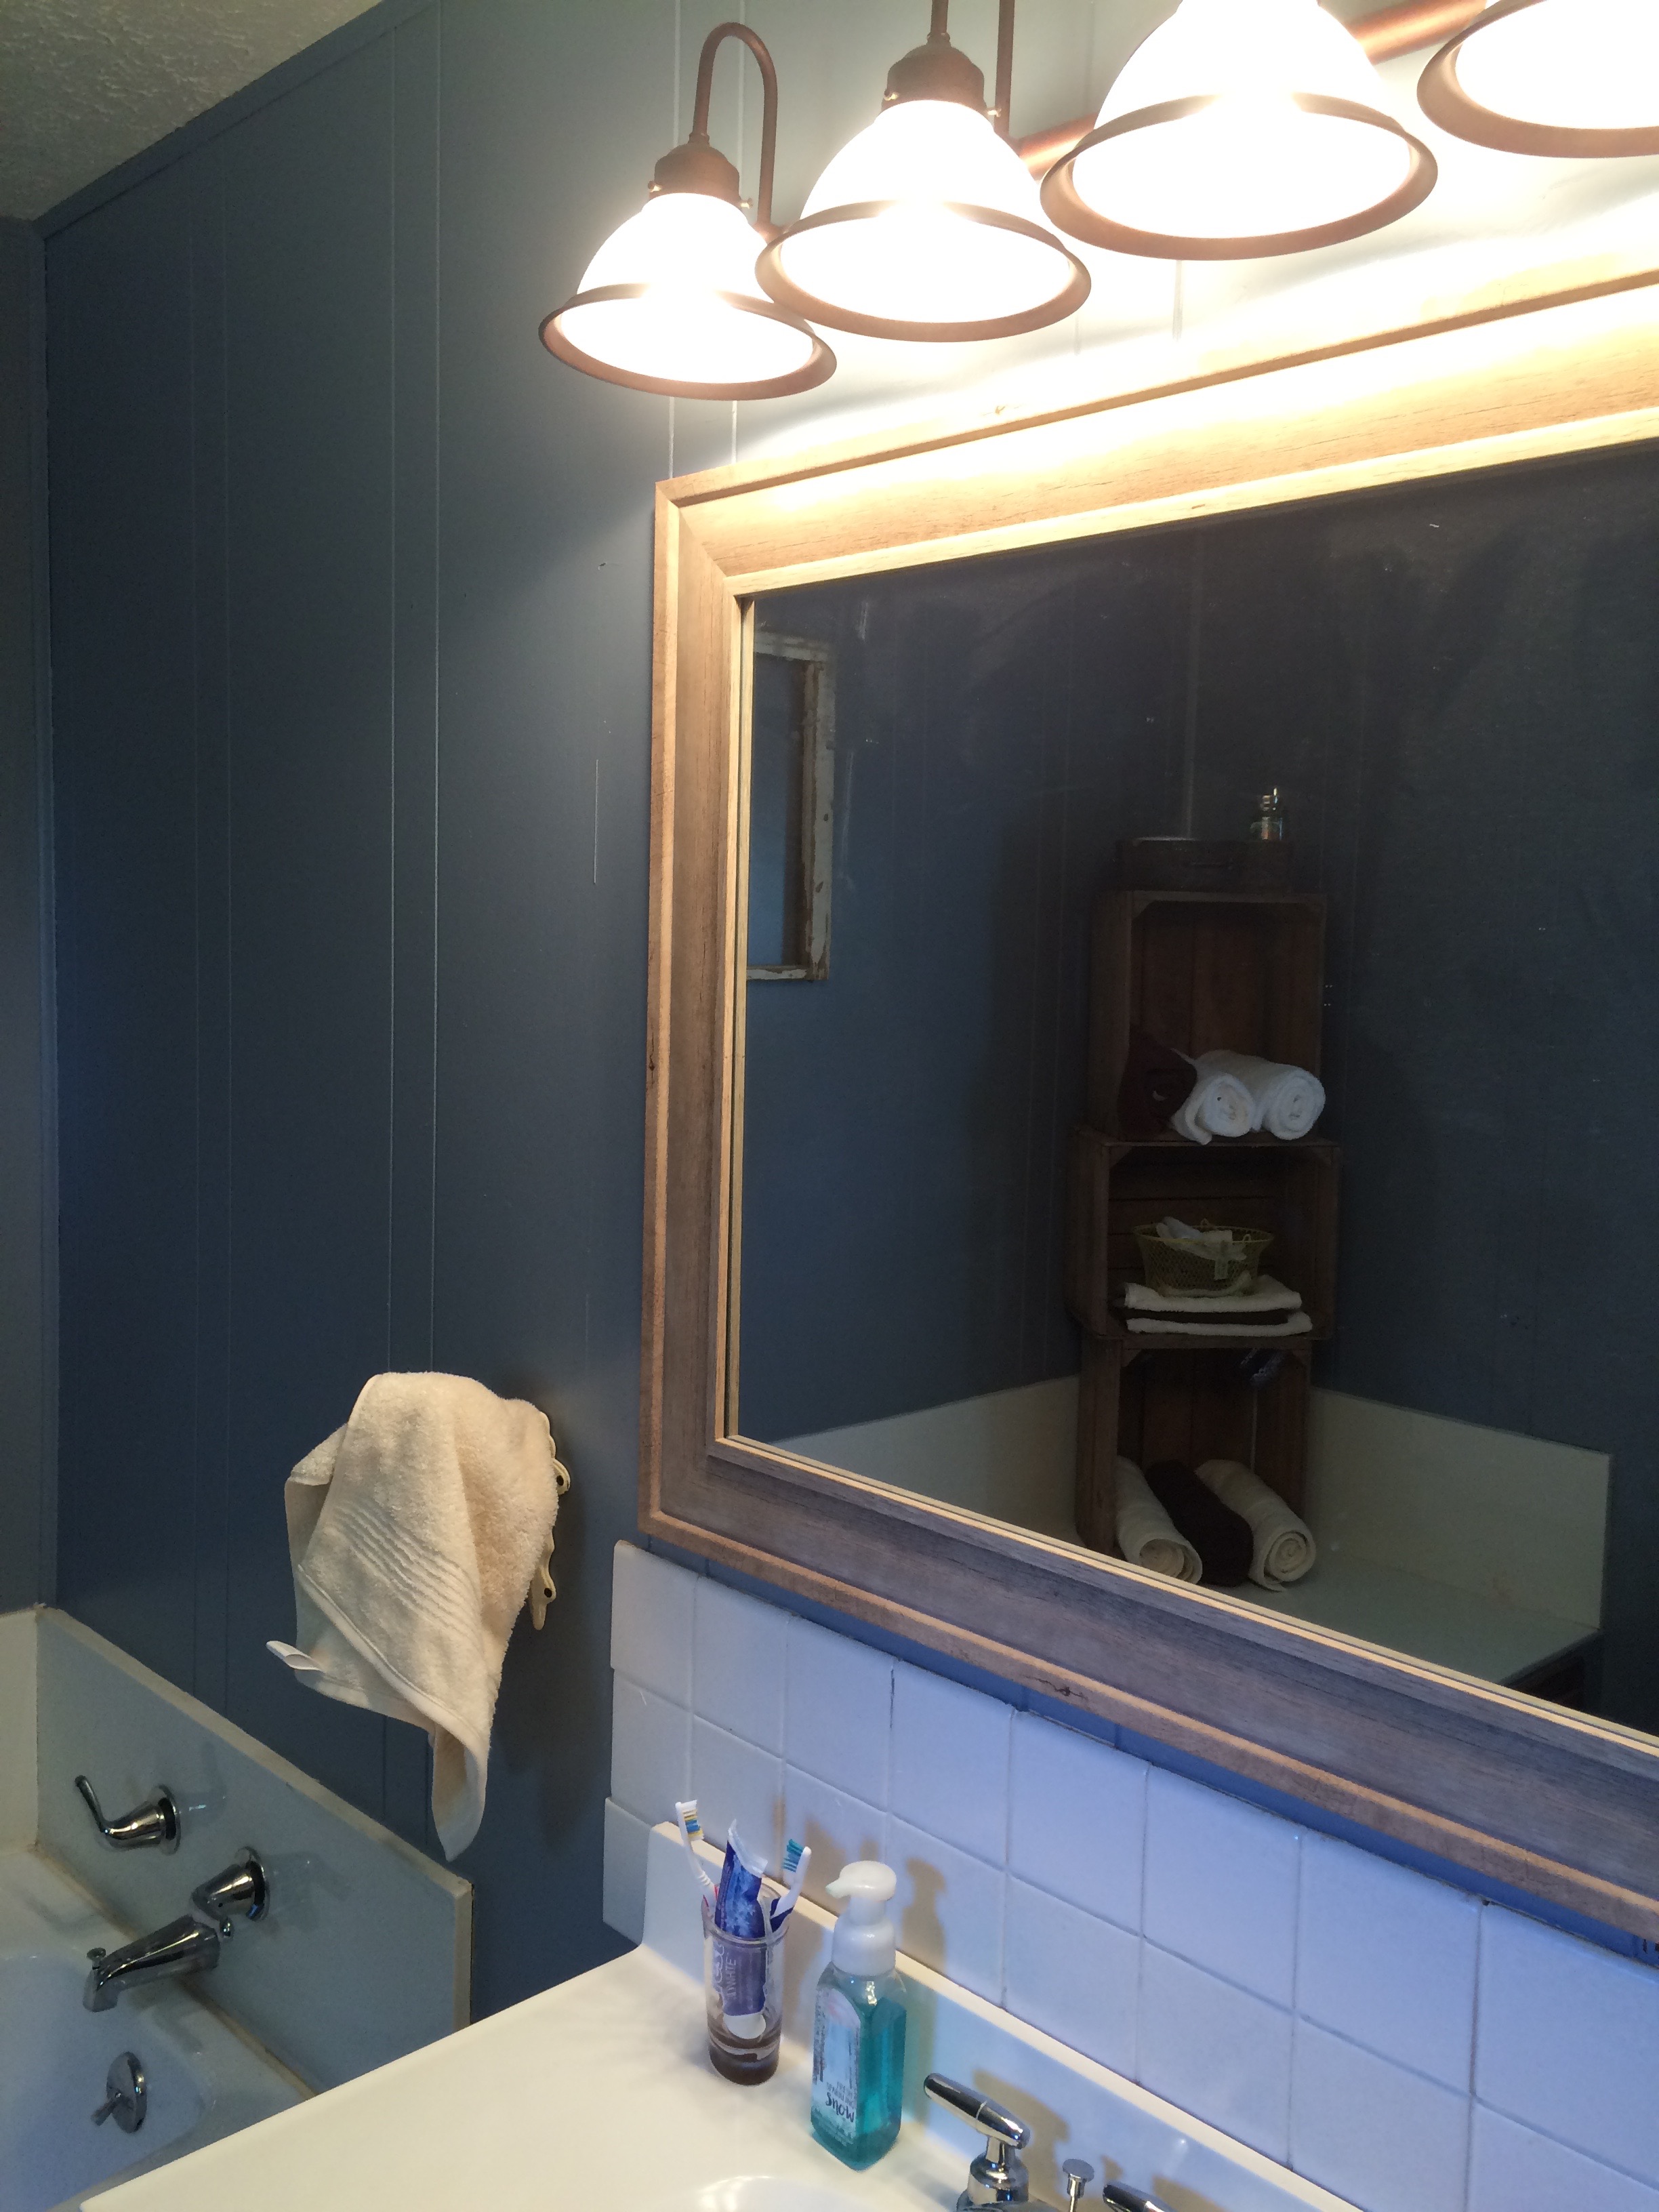
The master bath is one of the more dated rooms, but we did our best at making it look at least nice enough.
Master bath beforeMaster bath before
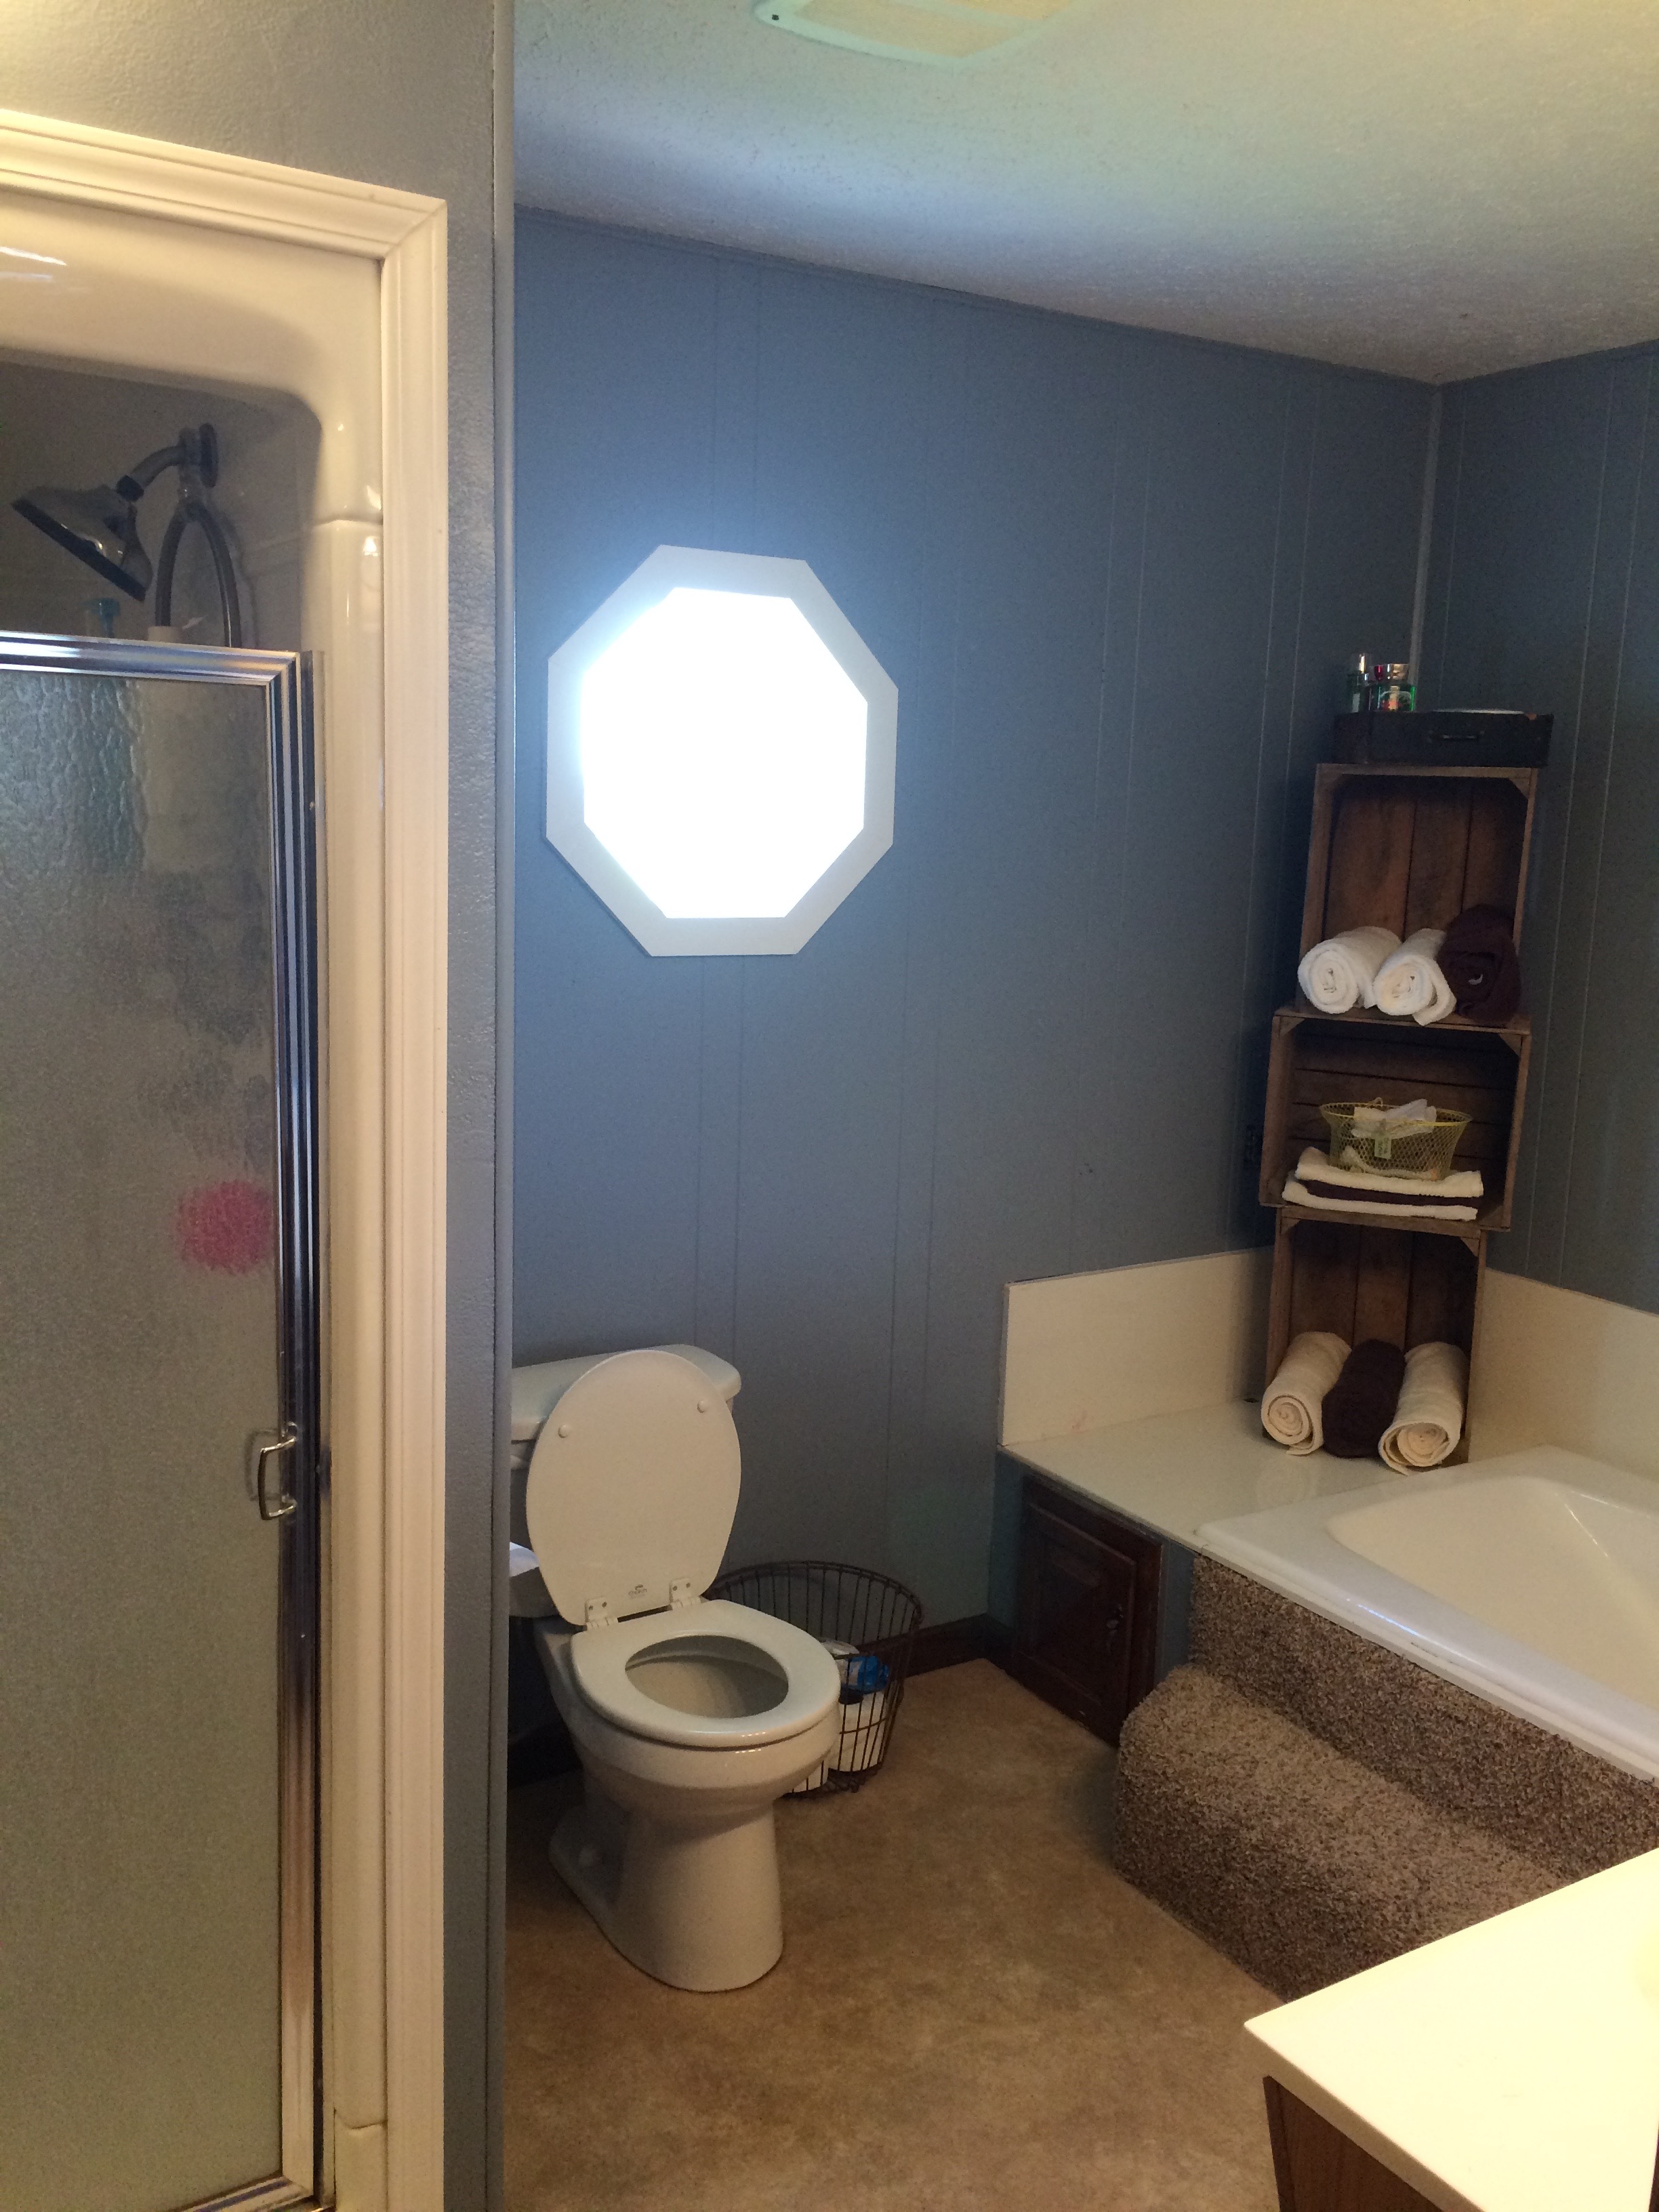
We changed a lot in the room, starting with the color. We put in new lighting, new mirrors, new fixtures…a good head start without ripping the thing to shreds and starting over…
Master bath afterMaster bath afterMaster bath after
It’s better….
Off of the kitchen, is the stairway leading to the basement, the laundry room, a mudroom bathroom and the living room…but I’ll do those another day.
Today, we’re headed to Mullen to see the original WD Phipps and the kids are fired up! Wryder has his “cowboy clothes” on and Sawyer is dressed to the nines…their great-grands are pretty lucky!
Oh, sweet friends! Were you wondering if I’d ever return?! Life has been crazy and GOOD – crazy good!
To catch you up in one, simple run-on sentence, we had the opportunity to sell our house, rent an upgraded (read: bigger, newer, central air having, more-than-one-bathroom-and-an-actual-dining-room) home that answered all of our prayers…so we packed our things and cleaned out barns and buildings and took way longer than we ever imagined to move in because apparently we have a lot of stuff and like things just so…BUT we are in and feeling settled and LOVING. IT. HERE. The Lord blessed our socks off and we feel this is exactly where we are supposed to be for the here and now – not much better than that!
And? Apparently, I have some of the sweetest, most encouraging friends on the planet who want to see pictures of the place so what better day than today to get me back in the saddle of blogging. I’ve missed it so!
Moving had been on our minds for a while for lots of reasons, one being that we had bought our home on what we had called a five-year plan. It suited us well and we loved that sweet, little 100 year old farm house but with the addition of two other children, things started to feel a little tight. (And, I know, that is definitely a first world problem. We have never felt anything but blessed to live there – remember that awesome story!? – but we felt the Lord prompting us towards something different and we were ready to go!)
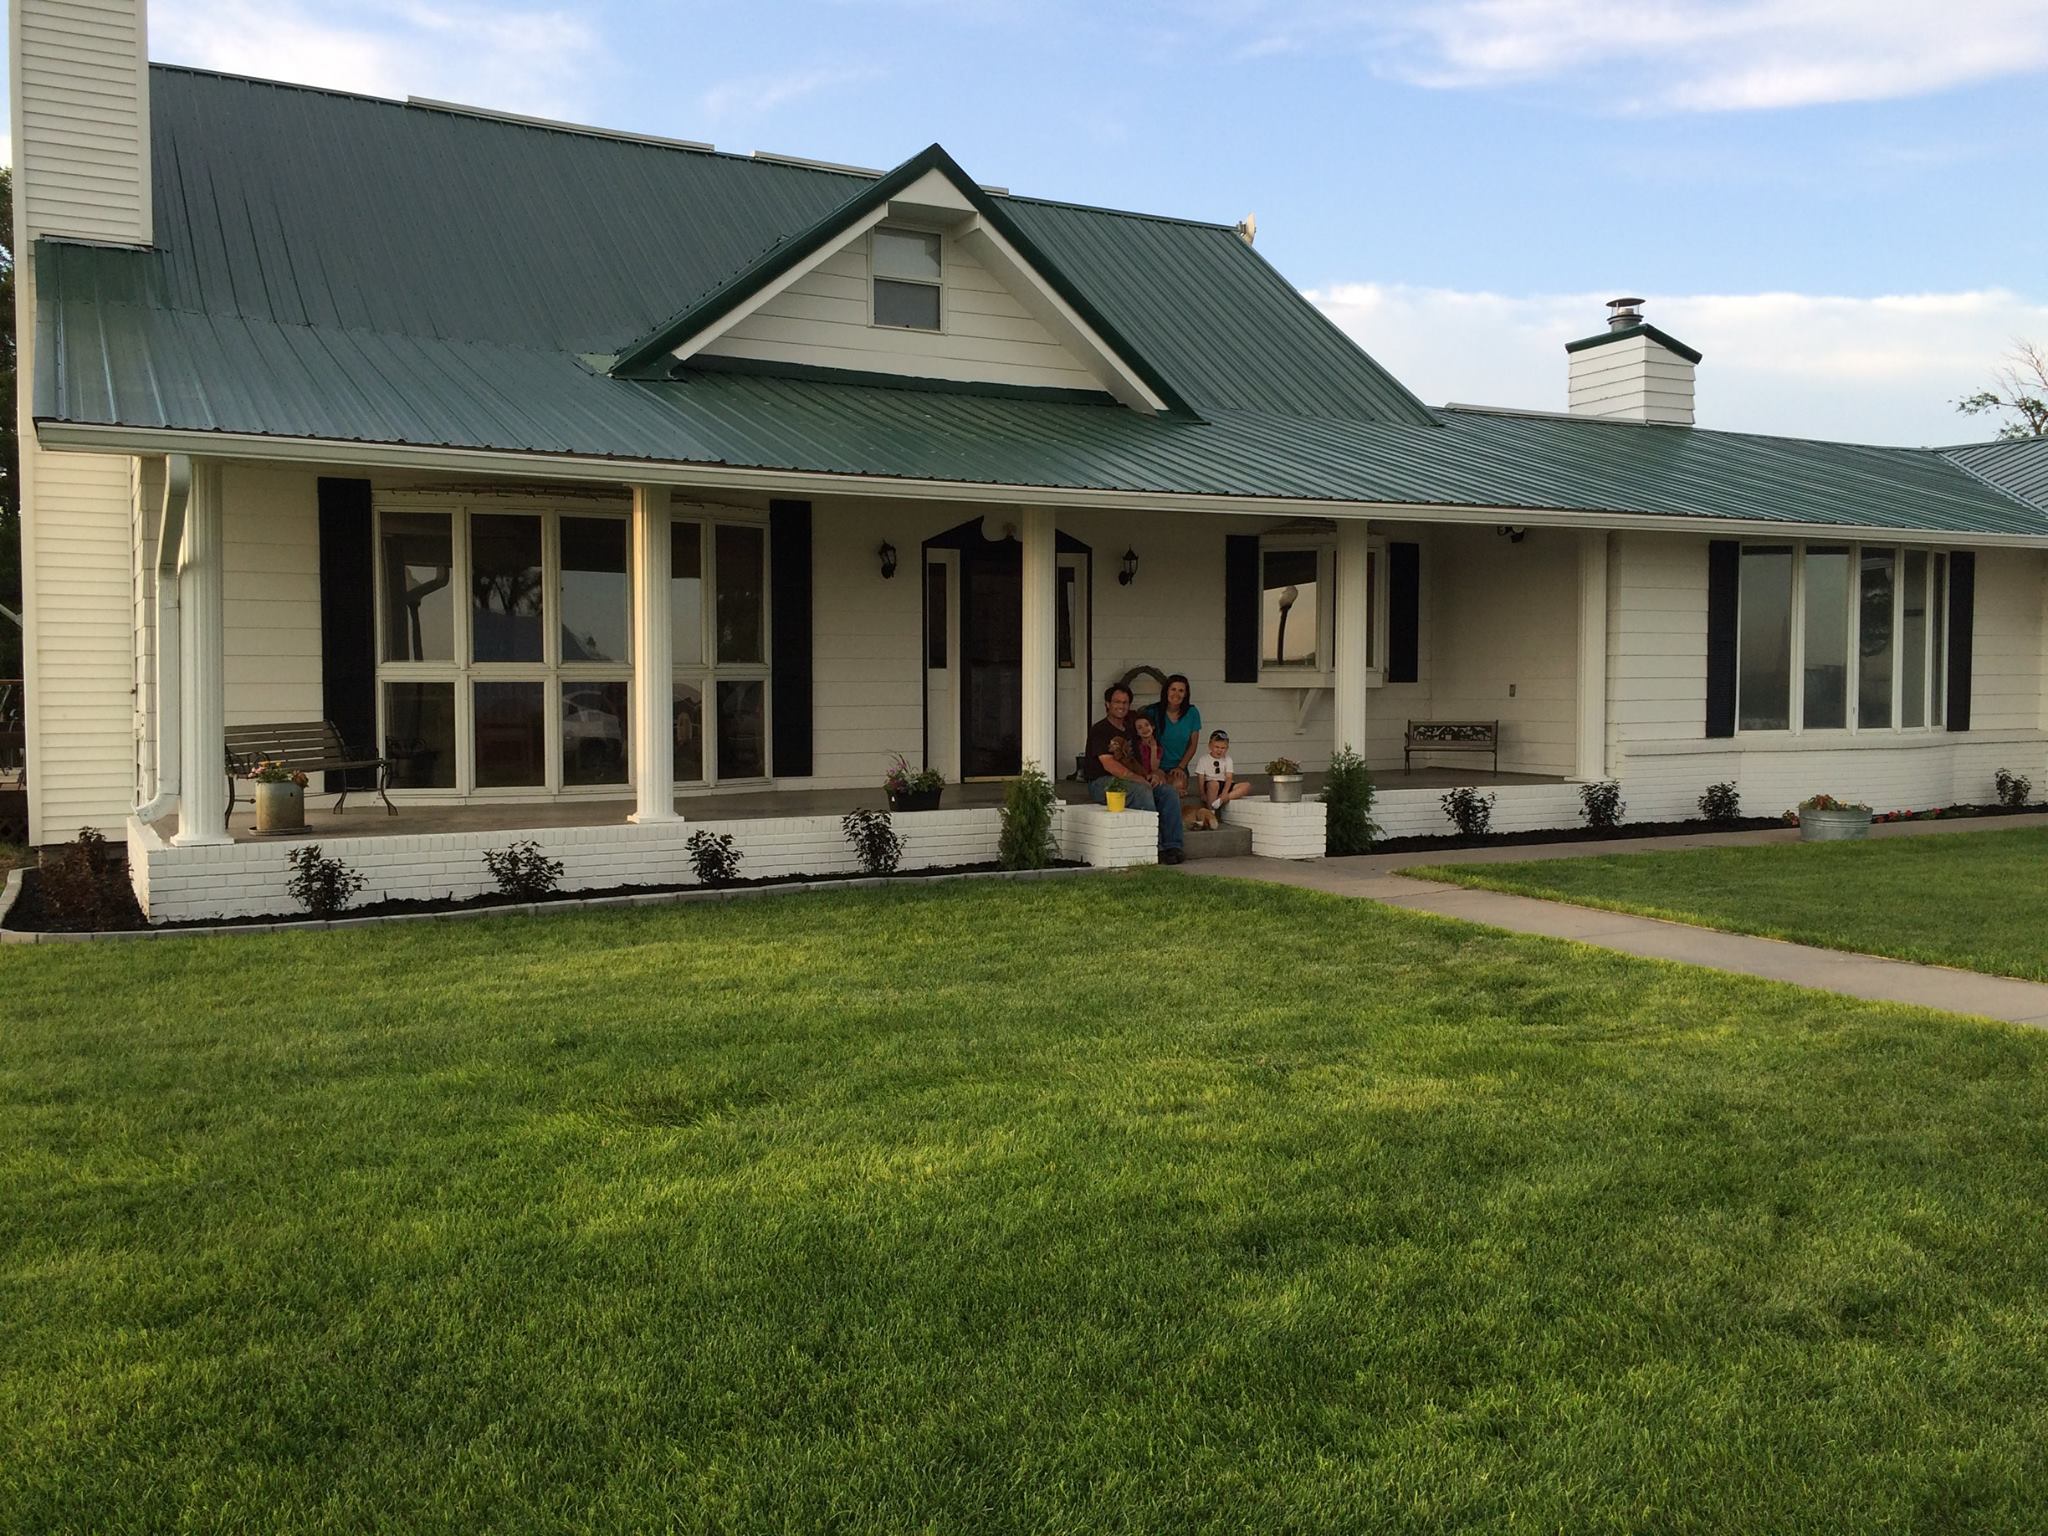
We had heard about the house from friends from church. They told us where it was so we drove by just to see if it was even something was an option for us. Whoa. Nelly. It was like dream-home material!
Yes. Just YES.
A month or so later, we took a tour, prayed our faces off, sold our home and moved in here! We LOVE IT. I’m afraid, no other home will ever compare – truly! Obviously, there are things we might change if we owned the place but for now? It’s perfect for us! The Lord answered all of our requests and desires and then some!
From the moment I walked in, I could SEE us making memories here. I could see myself in the kitchen, cooking with Sayble while looking out the window at the other 2 playing outside. I could see Bible studies and card parties in the big ole family room and loud family dinners in the dining room. I could see kids playing for hours in their big kid rooms and looking out over the pastures from their windows – I could just see us here!
Some people probably think we’re crazy for renting but for us, this was the best option for now, for several reasons. (And just so you know, I don’t feel the NEED to explain myself, but if you don’t know that I’m an open book by now…)
1) We had reached a point with our old home that we felt we had maxed out or profit potential without doing something drastic…and we weren’t up for drastic. 2) Moving is always on the table when you work for a company 3 states away. While we love this area and home we never have to, it’s always an option. 3) Building costs mega $$ these days! I don’t know if we built what we’d like and then had to move, if we’d ever get our money out of the place. 4) There aren’t very many farmsteads in the area that AREN’T either a modular or a 100 year old farmhouse and we’ve been there done that. 5) It was the Lord. All Him. I won’t argue.
So, to recap…moving with 3 small children is hard. Moving with livestock is harder. Moving 112 chickens is hardest. We love our new home and can’t imagine life anywhere else!
Here are some pics of the new digs!
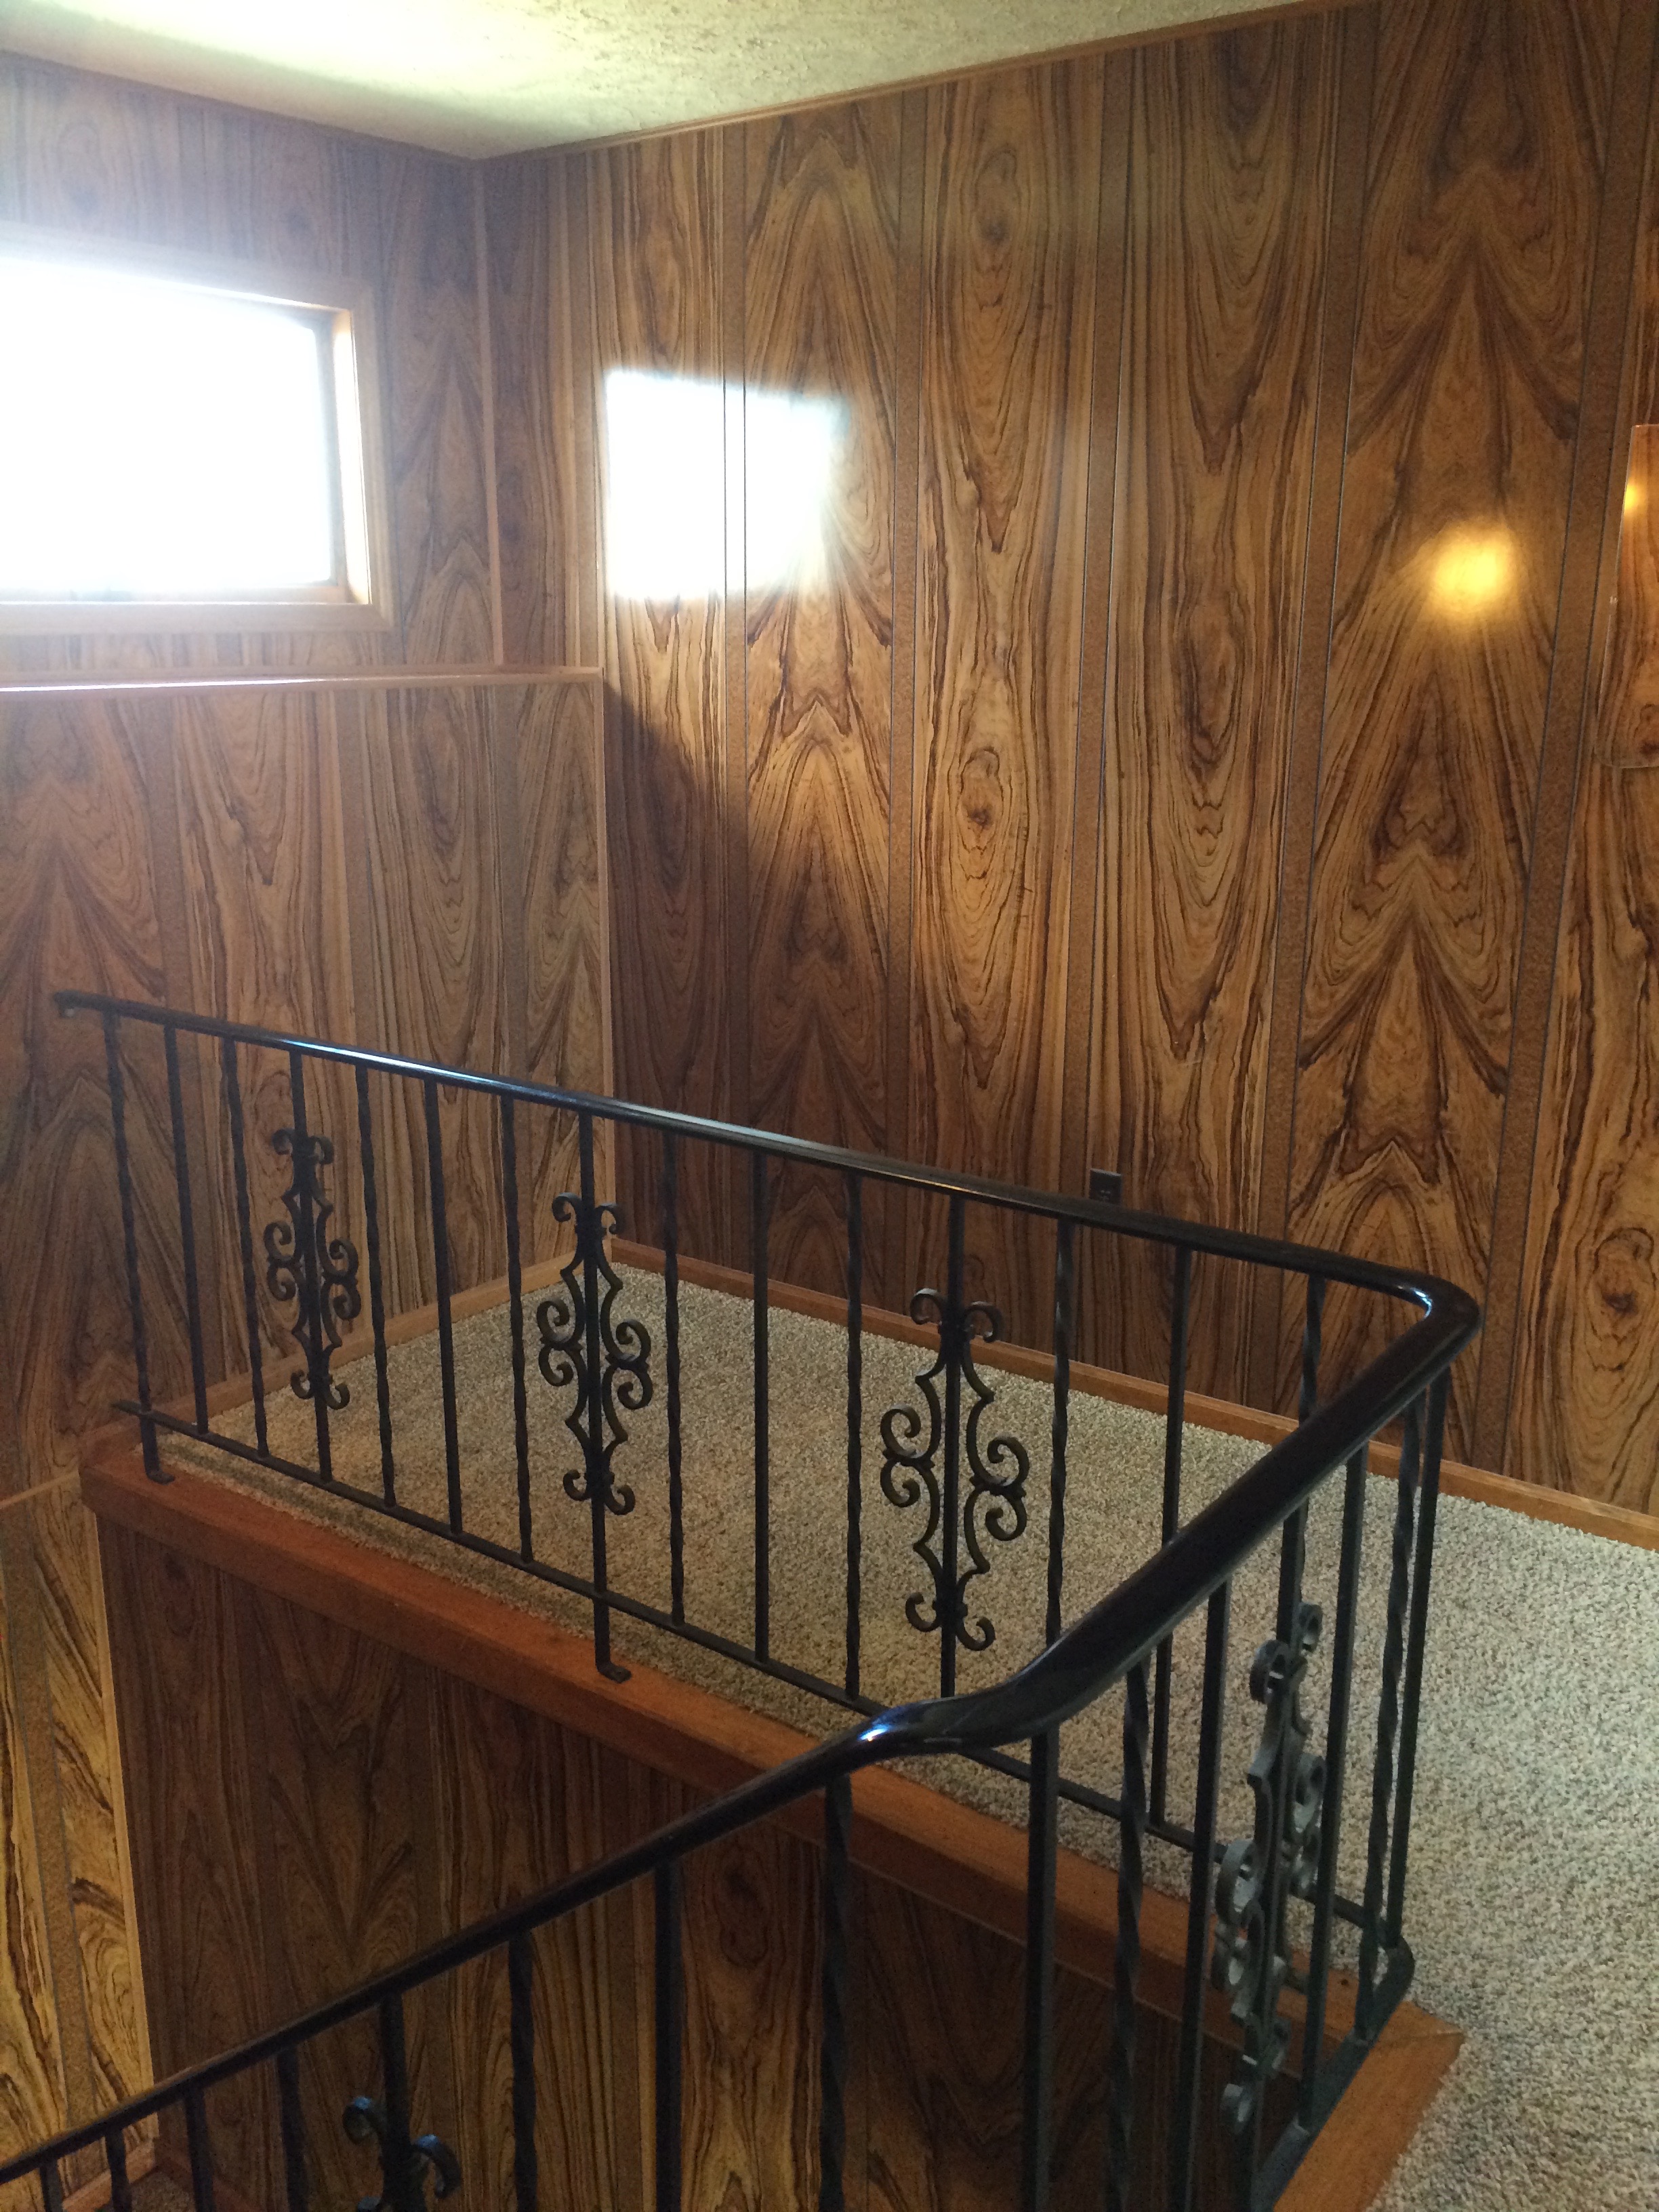
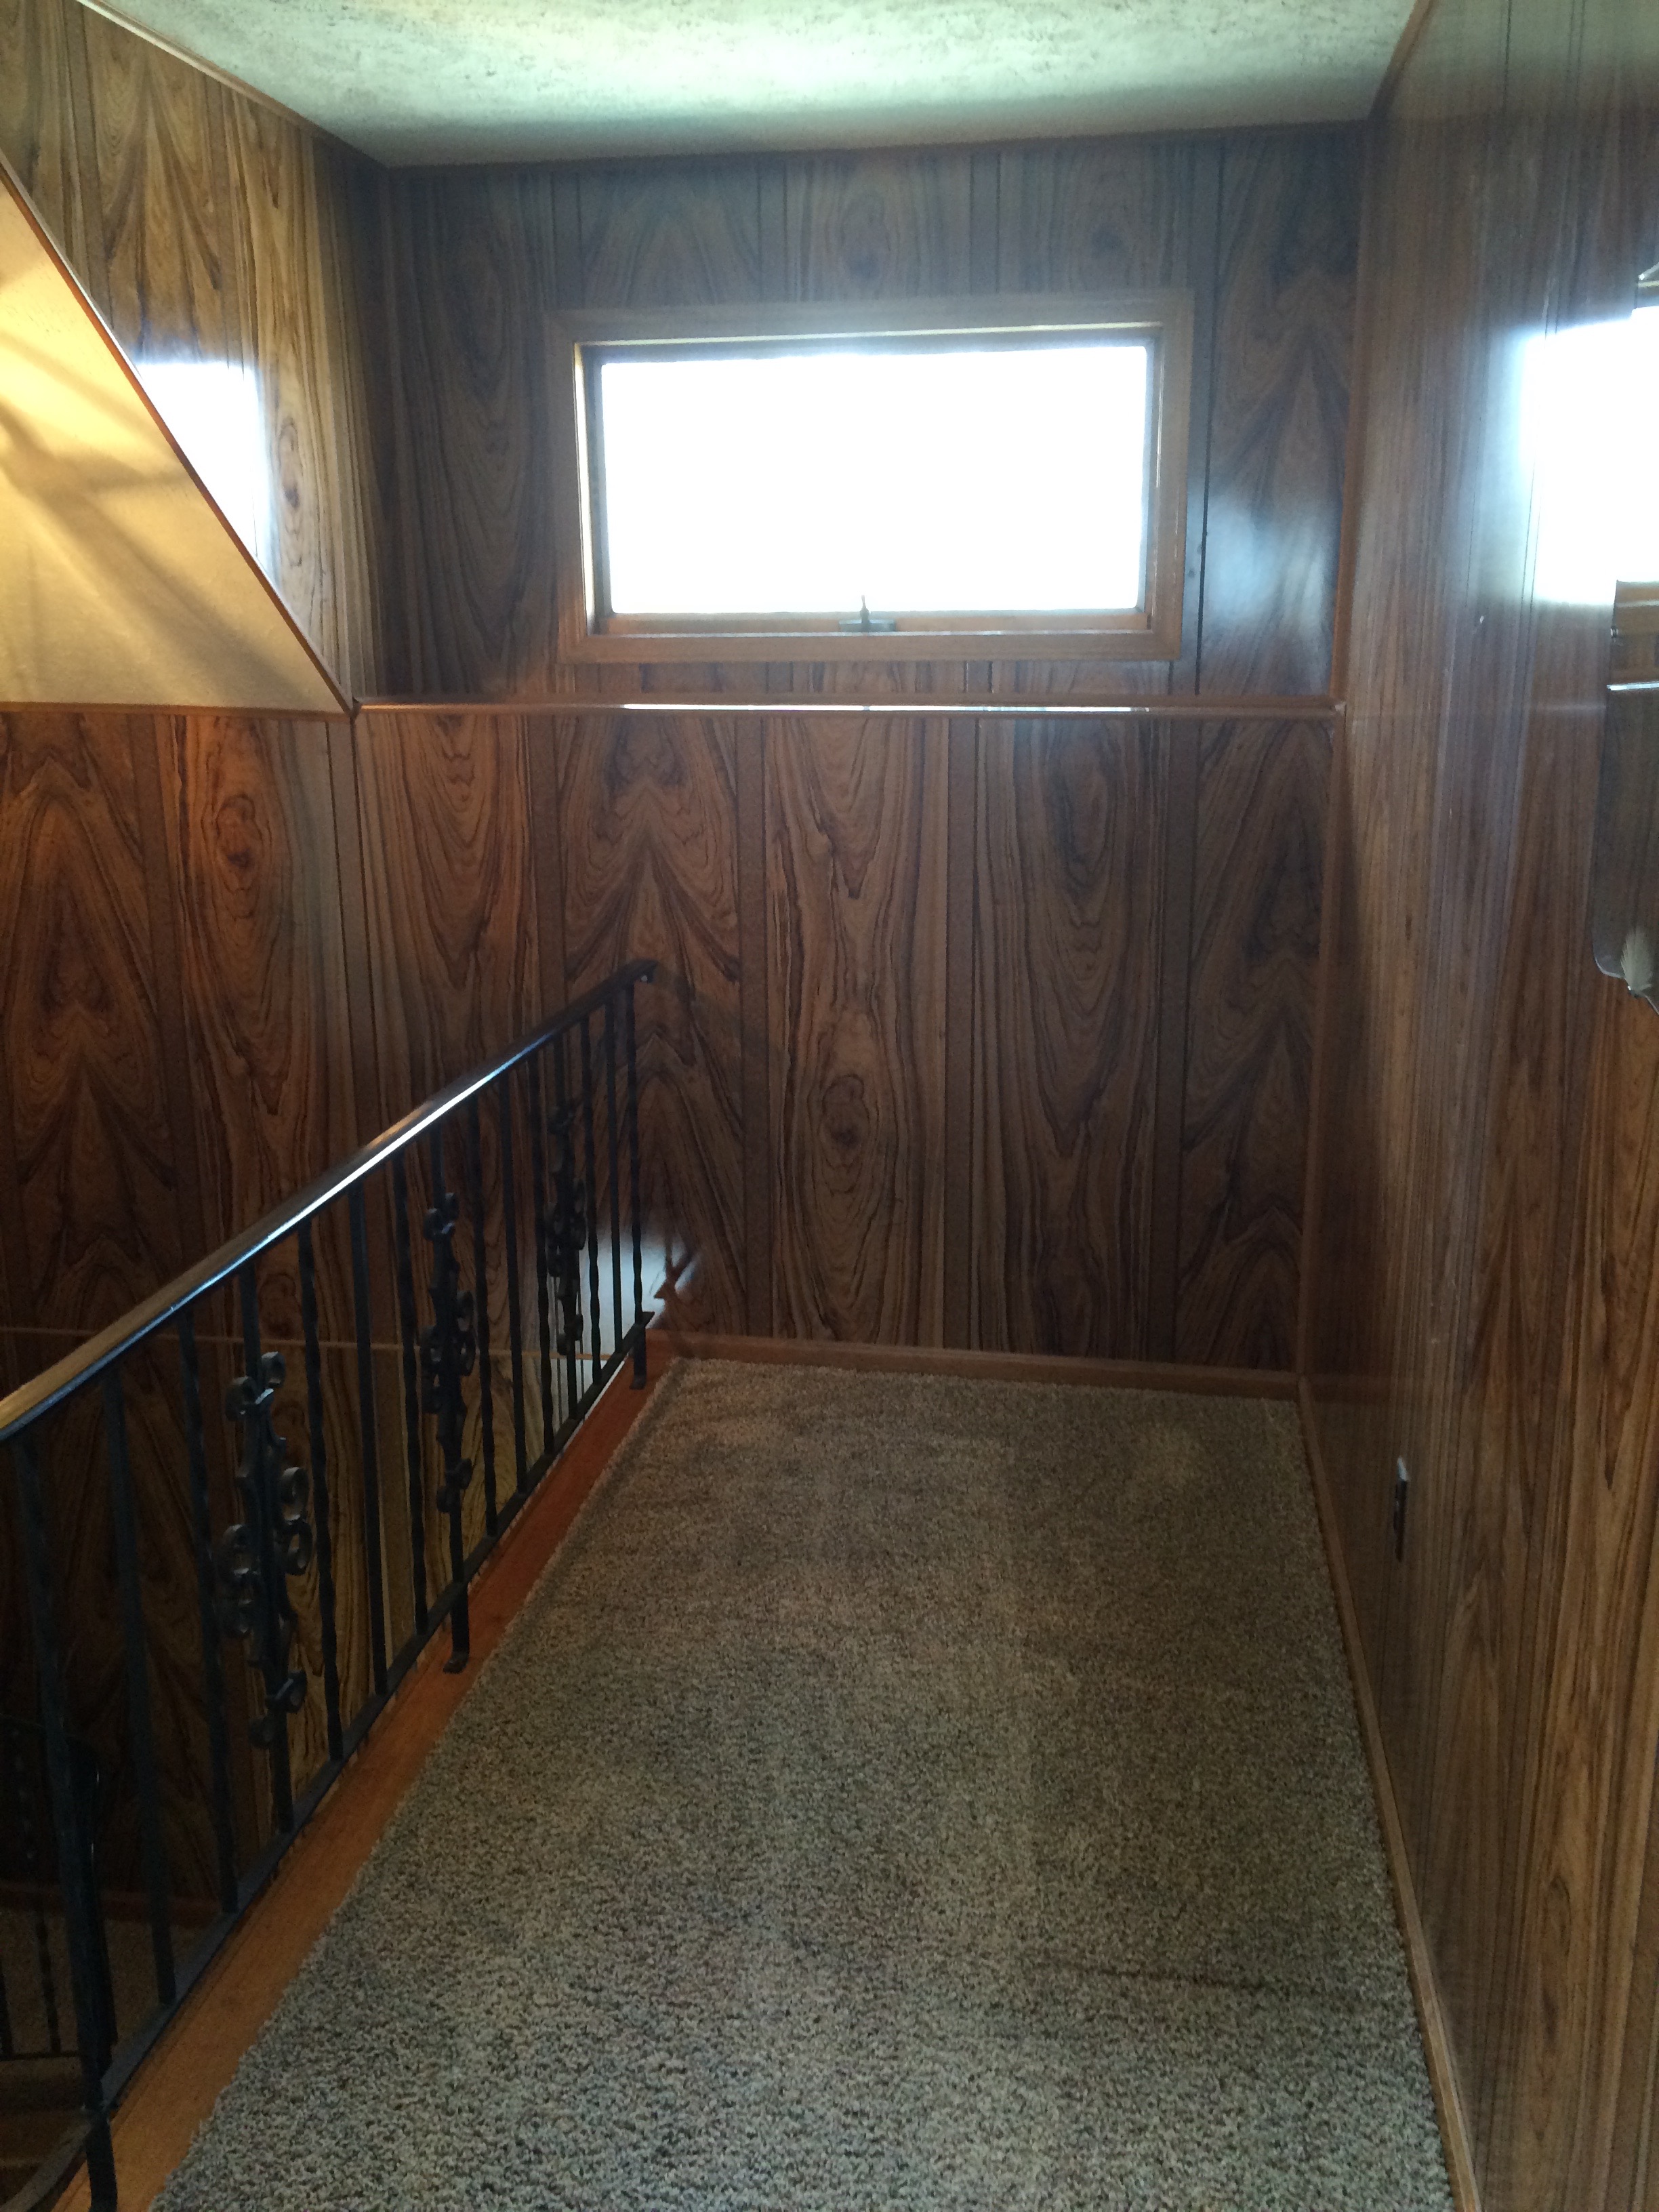
We’ll start upstairs. The stairs come up out of the dining room, up to the kids’ floor. All three of their bedrooms and their bathroom is up here, which is so nice! They’re all together and it’s REALLY quiet for them…which means good sleep for them, so good sleep for mom and dad!
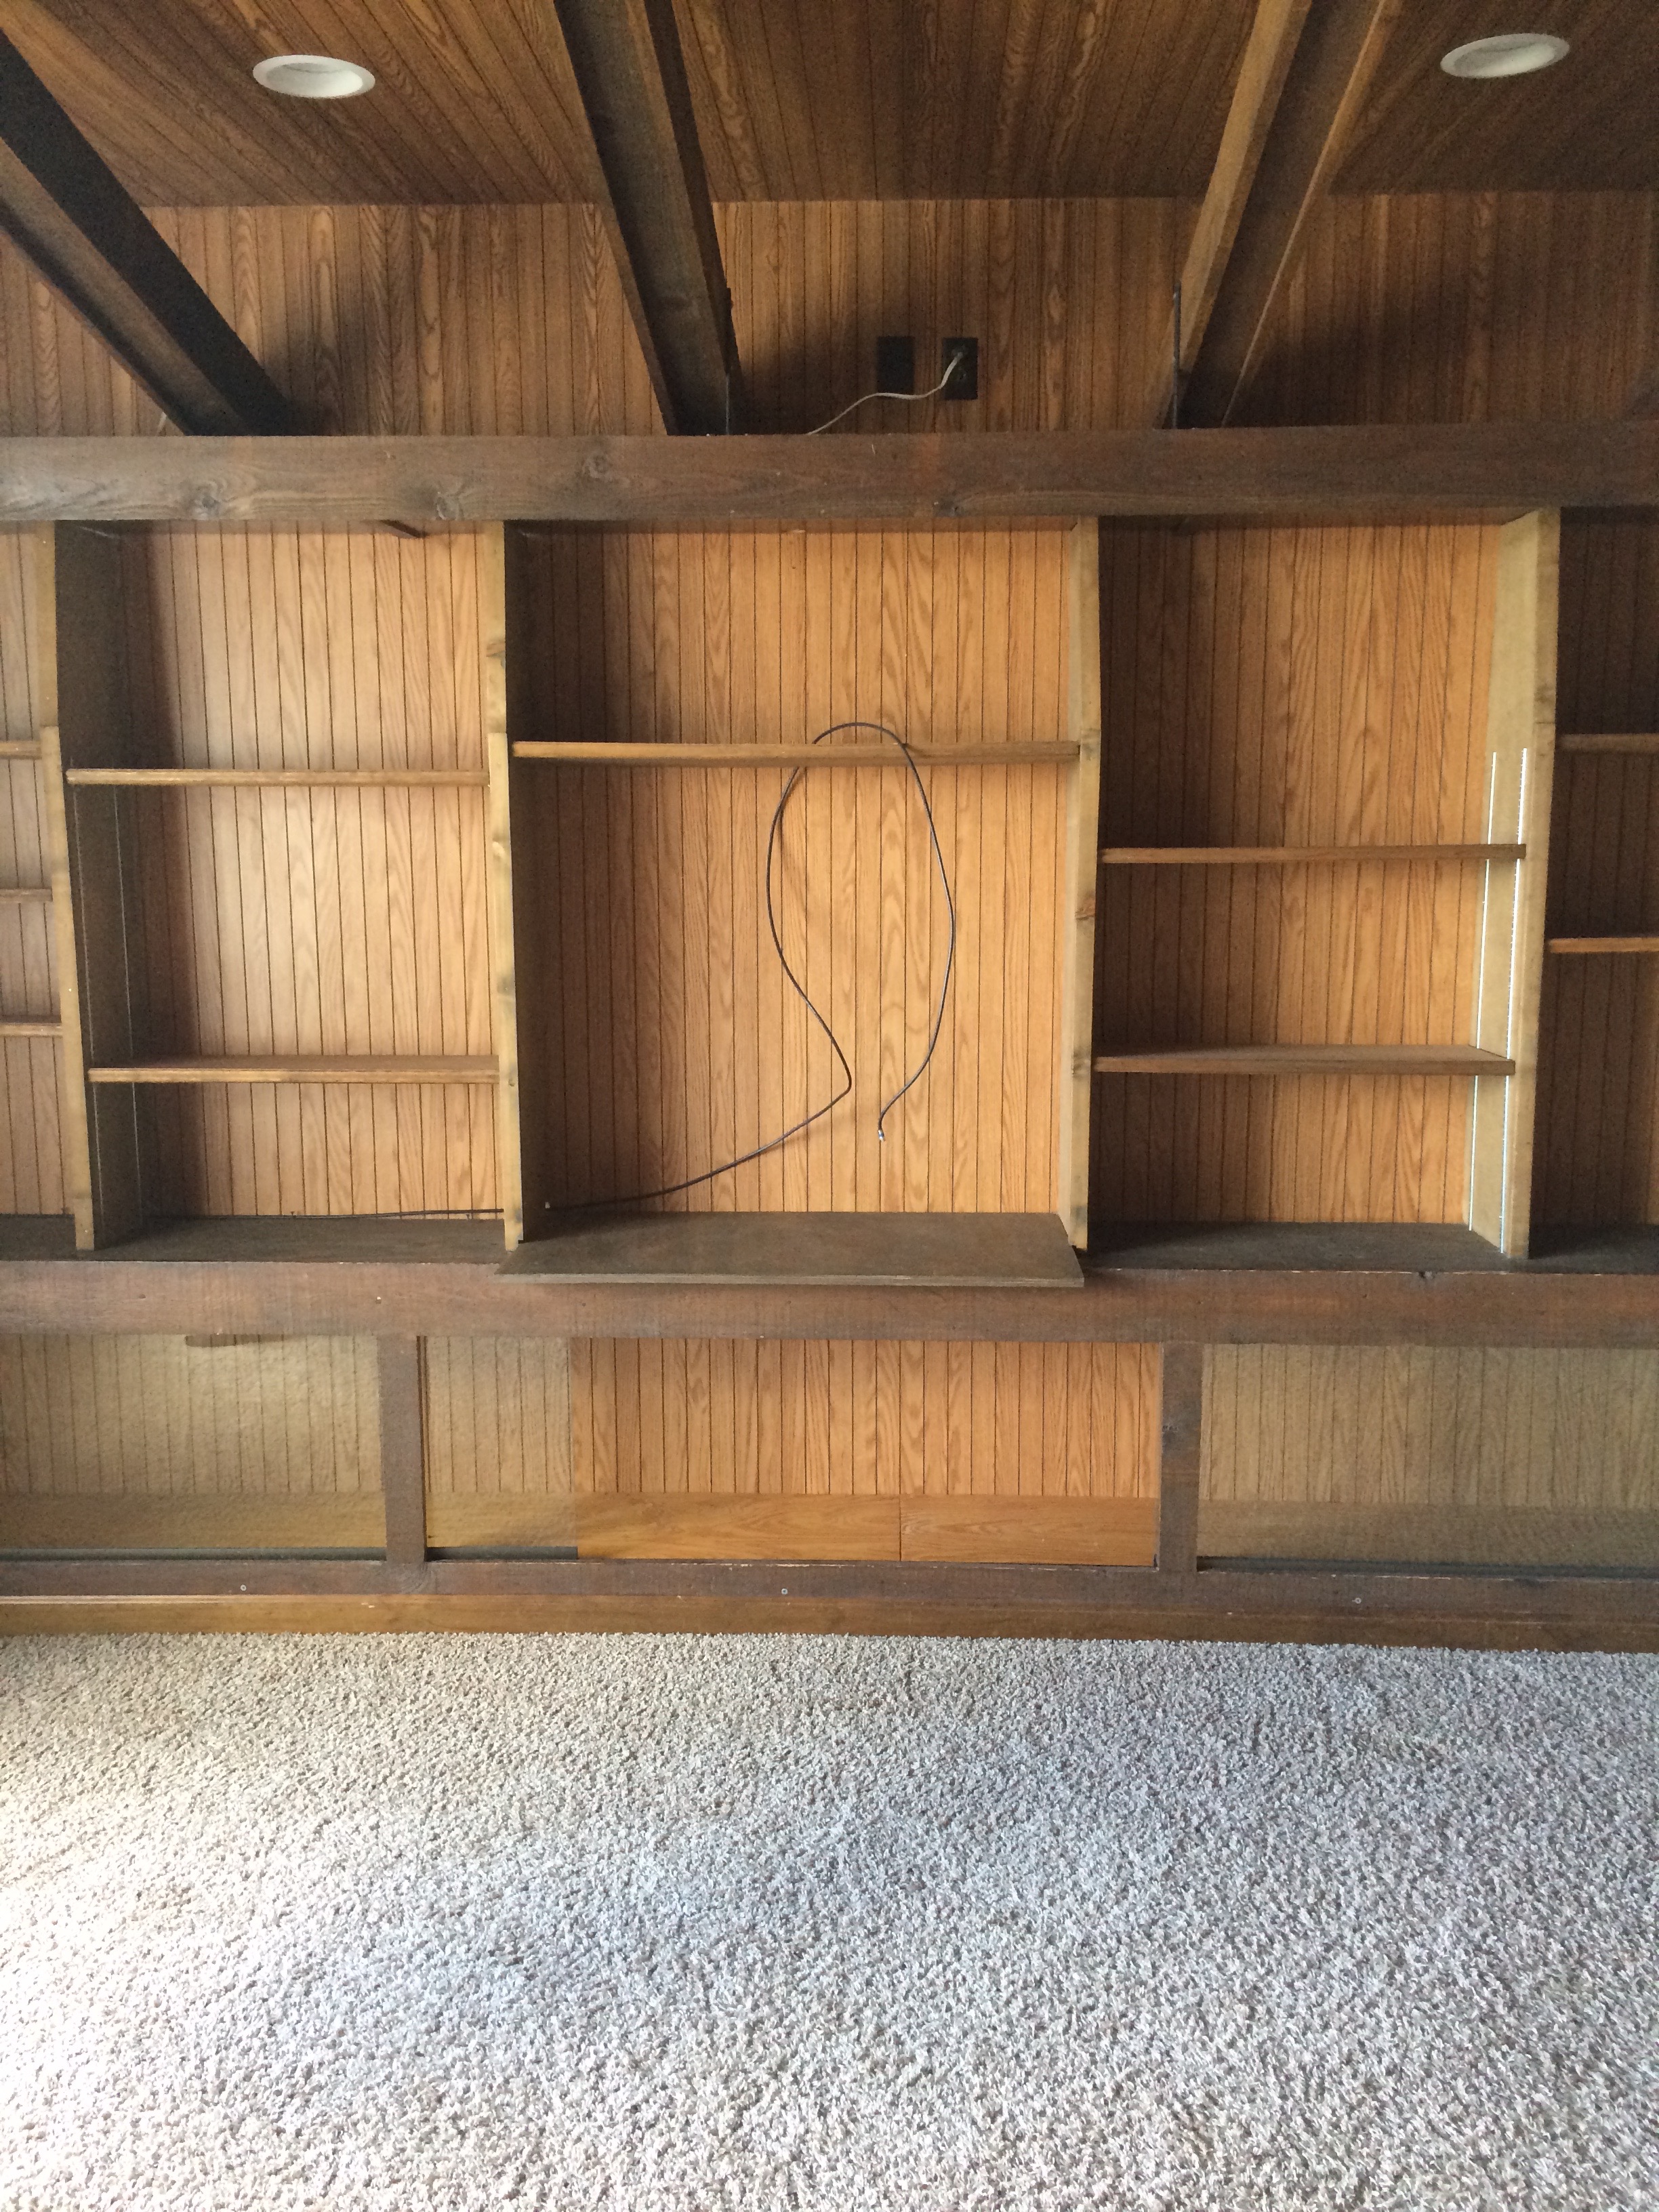
Don’t knock the paneling – ha! We weren’t gonna mess with that!
Upstairs – emptyUpstairs – emptyUpstairs after; top of the stairs
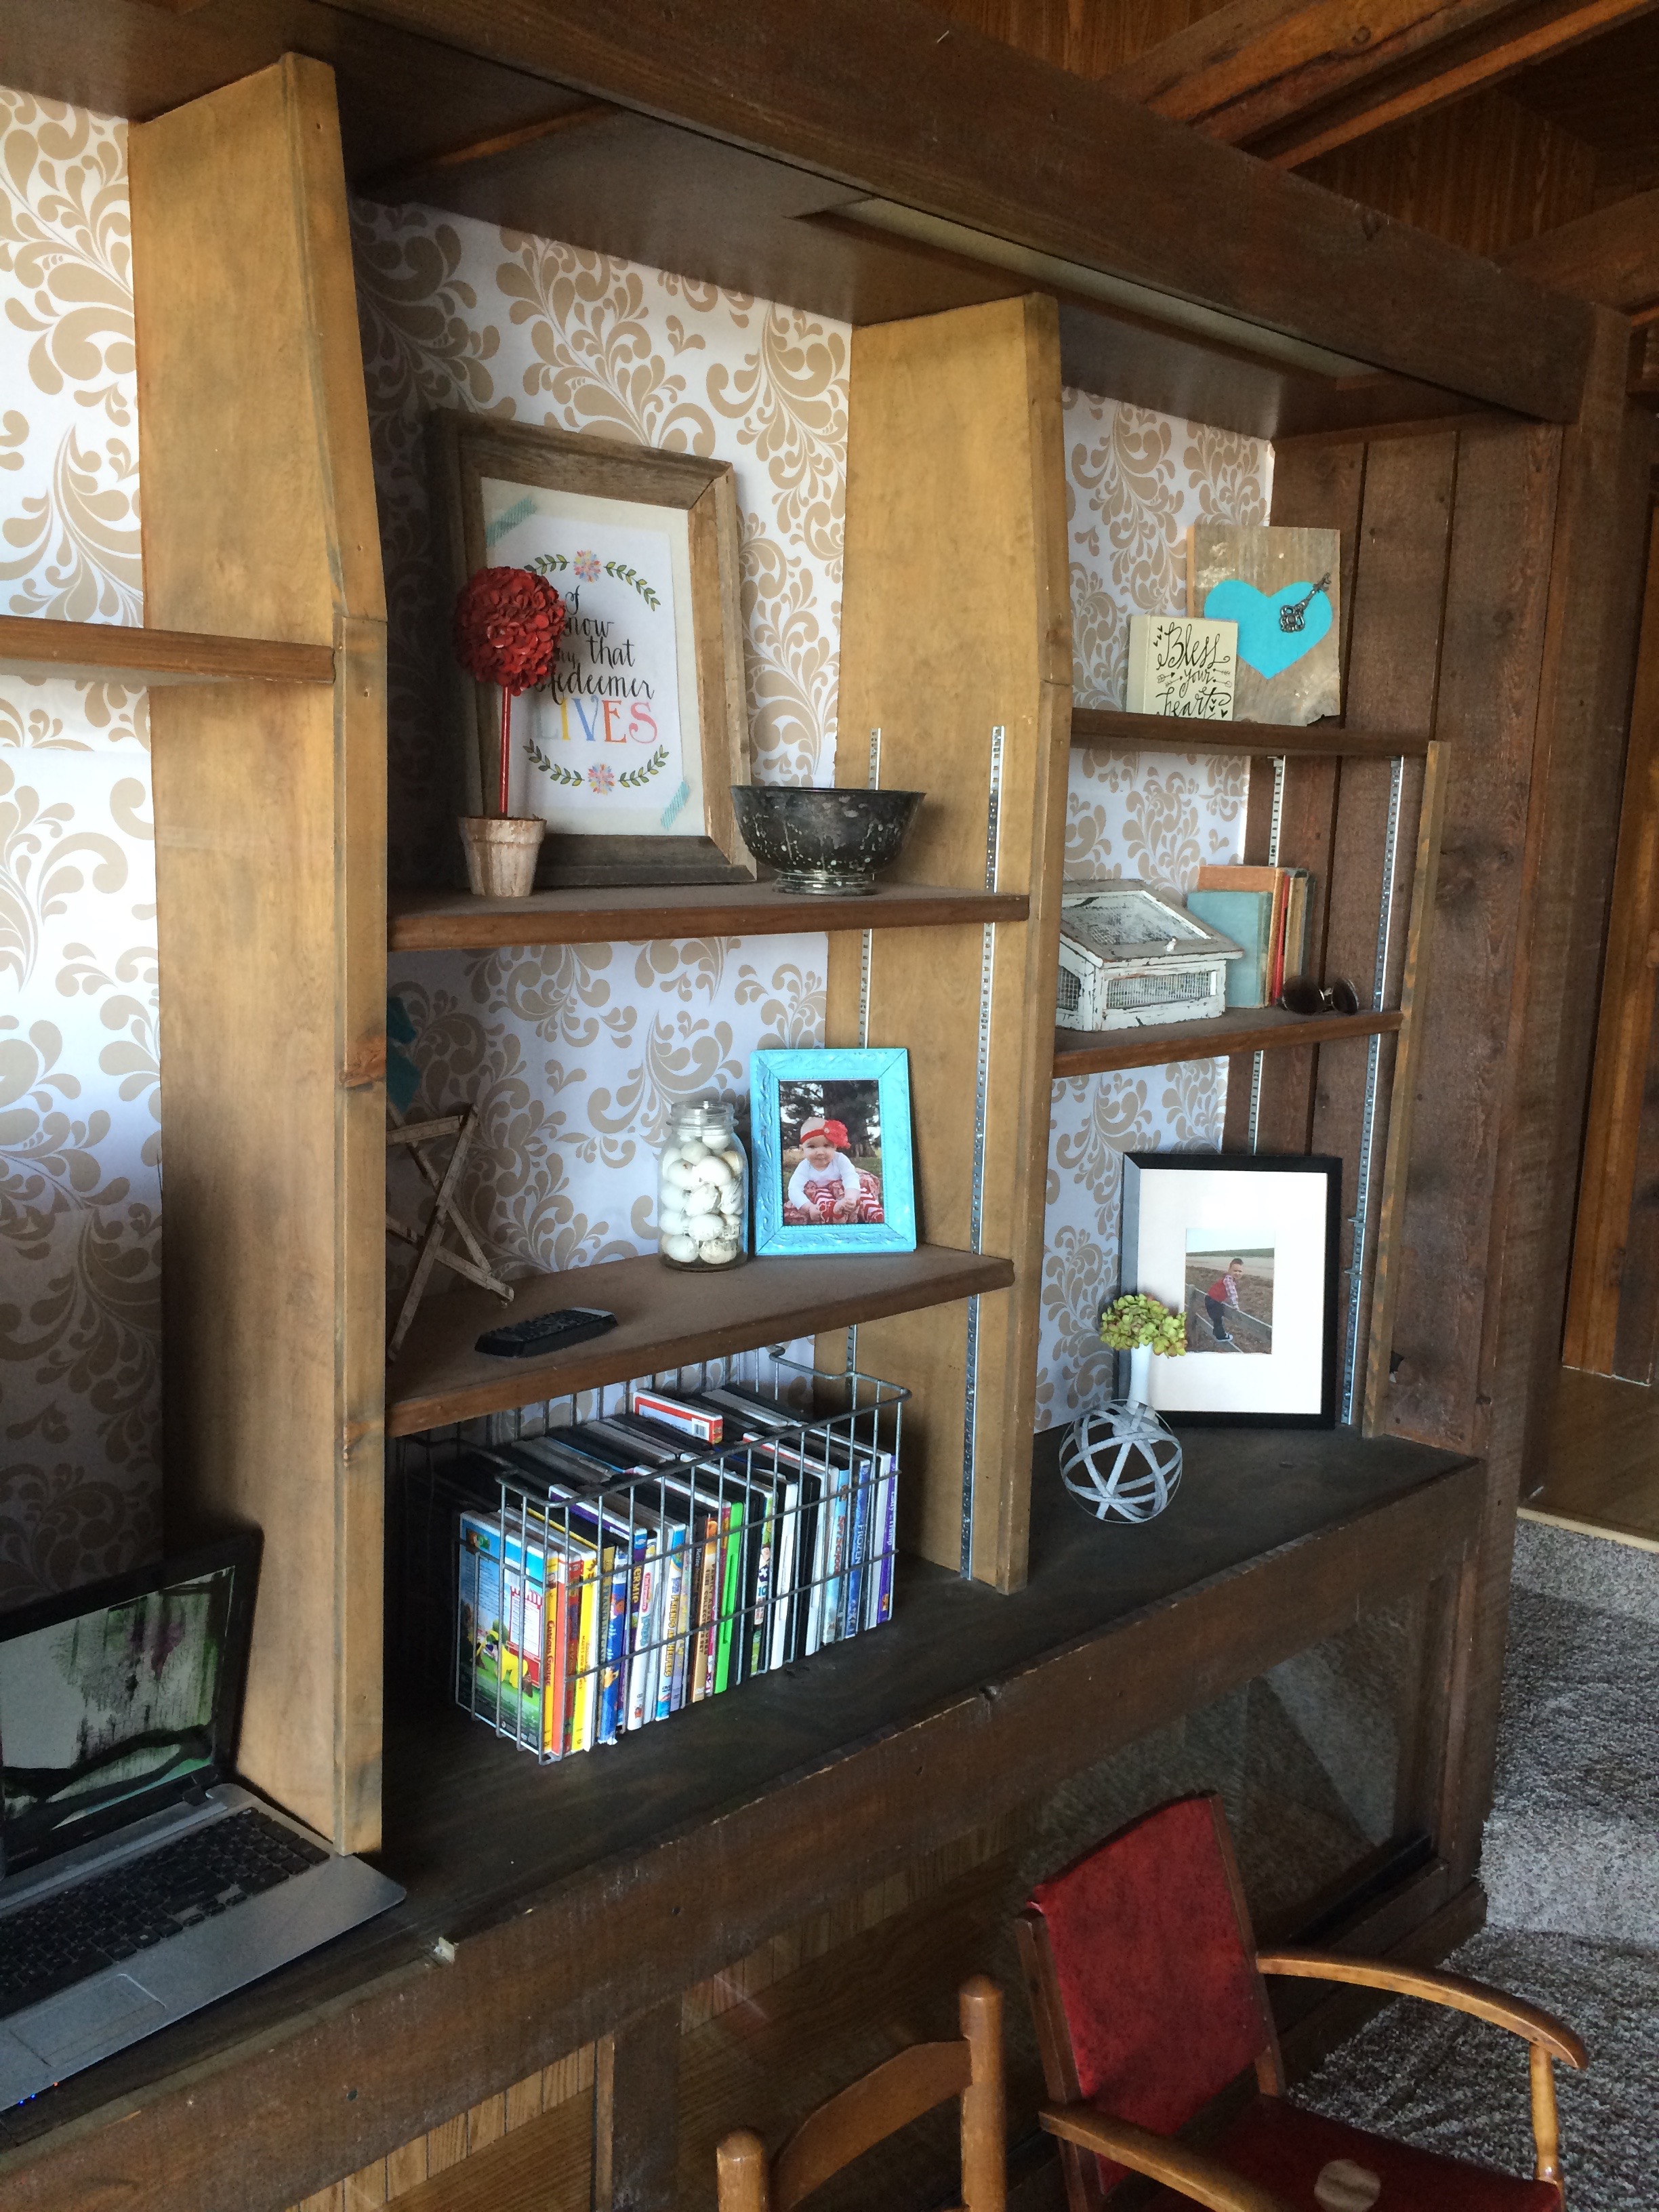
Now, why did I start with that picture?! The bookshelf. Sigh. I have visions of it being artfully arranged…but then I remember that I have 3 small children who I want to LOVE to read so I’ve given up the fight on the perfect bookshelf and have gone with the “we use it all the dang time so it’s always disheveled look.” You should try it, too!
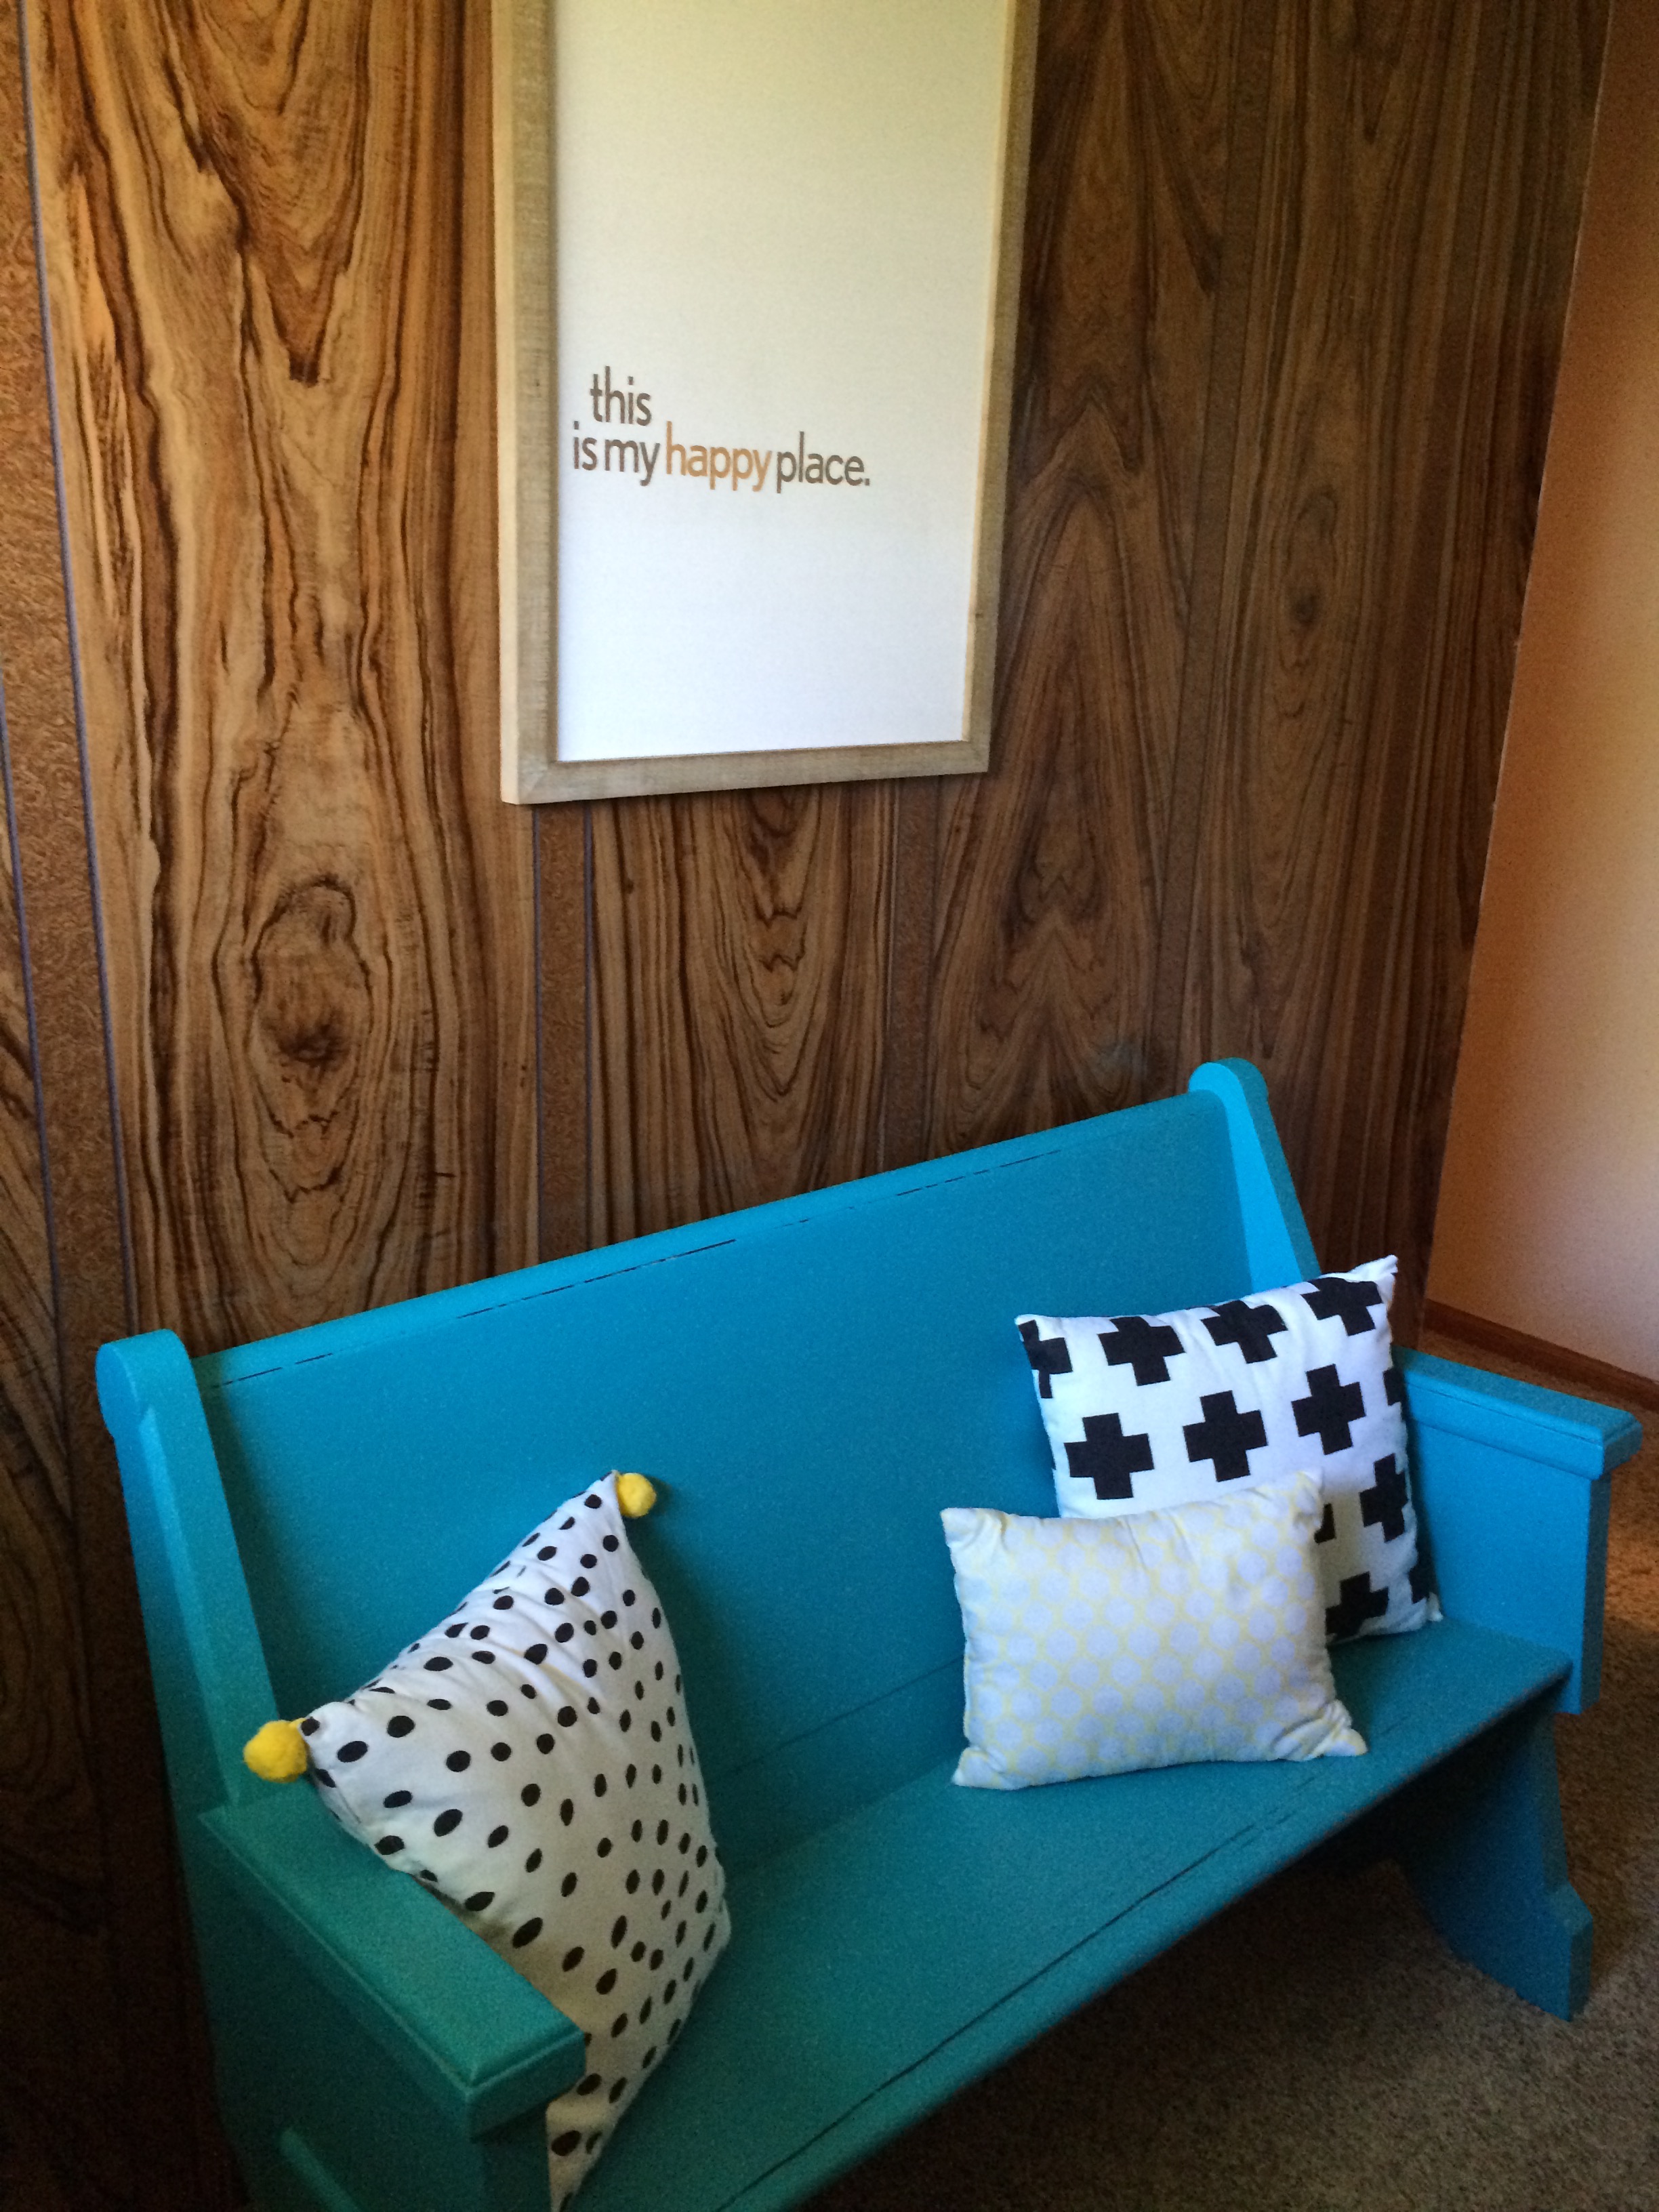
Upstairs after; truly a happy place!
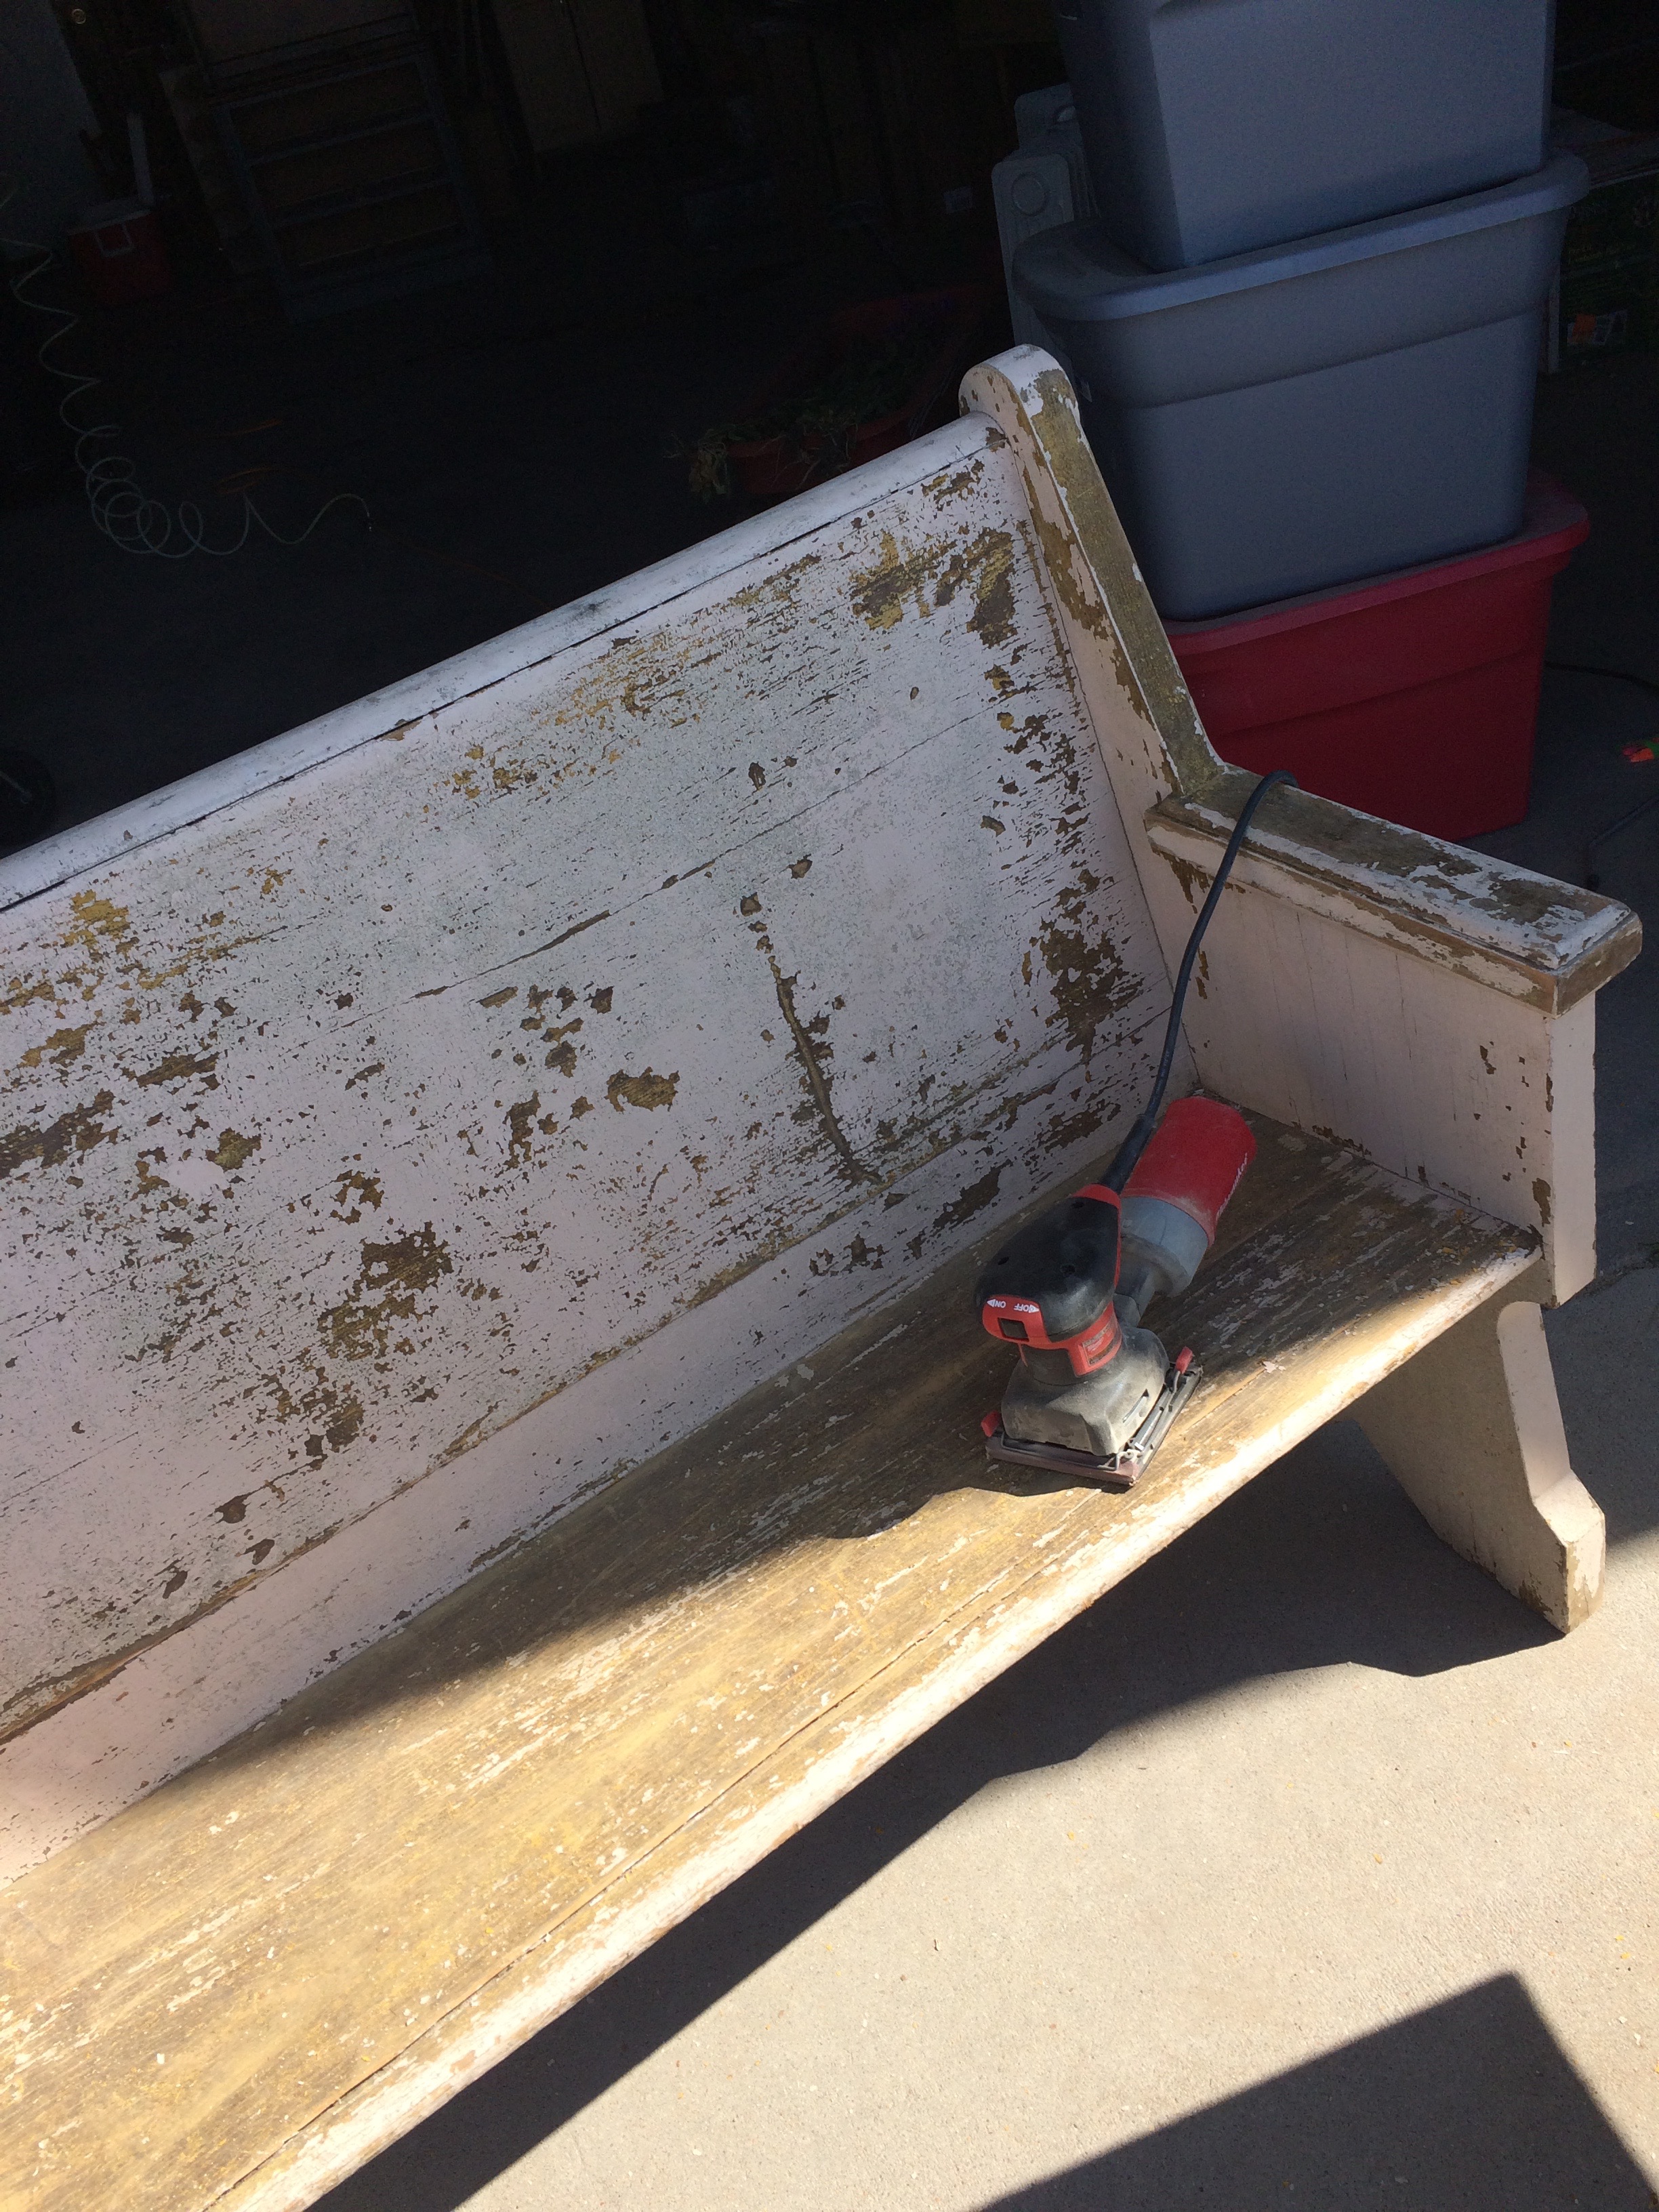
My brother-in-law got me that dreamy pew last year and I was so happy to have a place for it in our new home! I started out like this:
Pew before
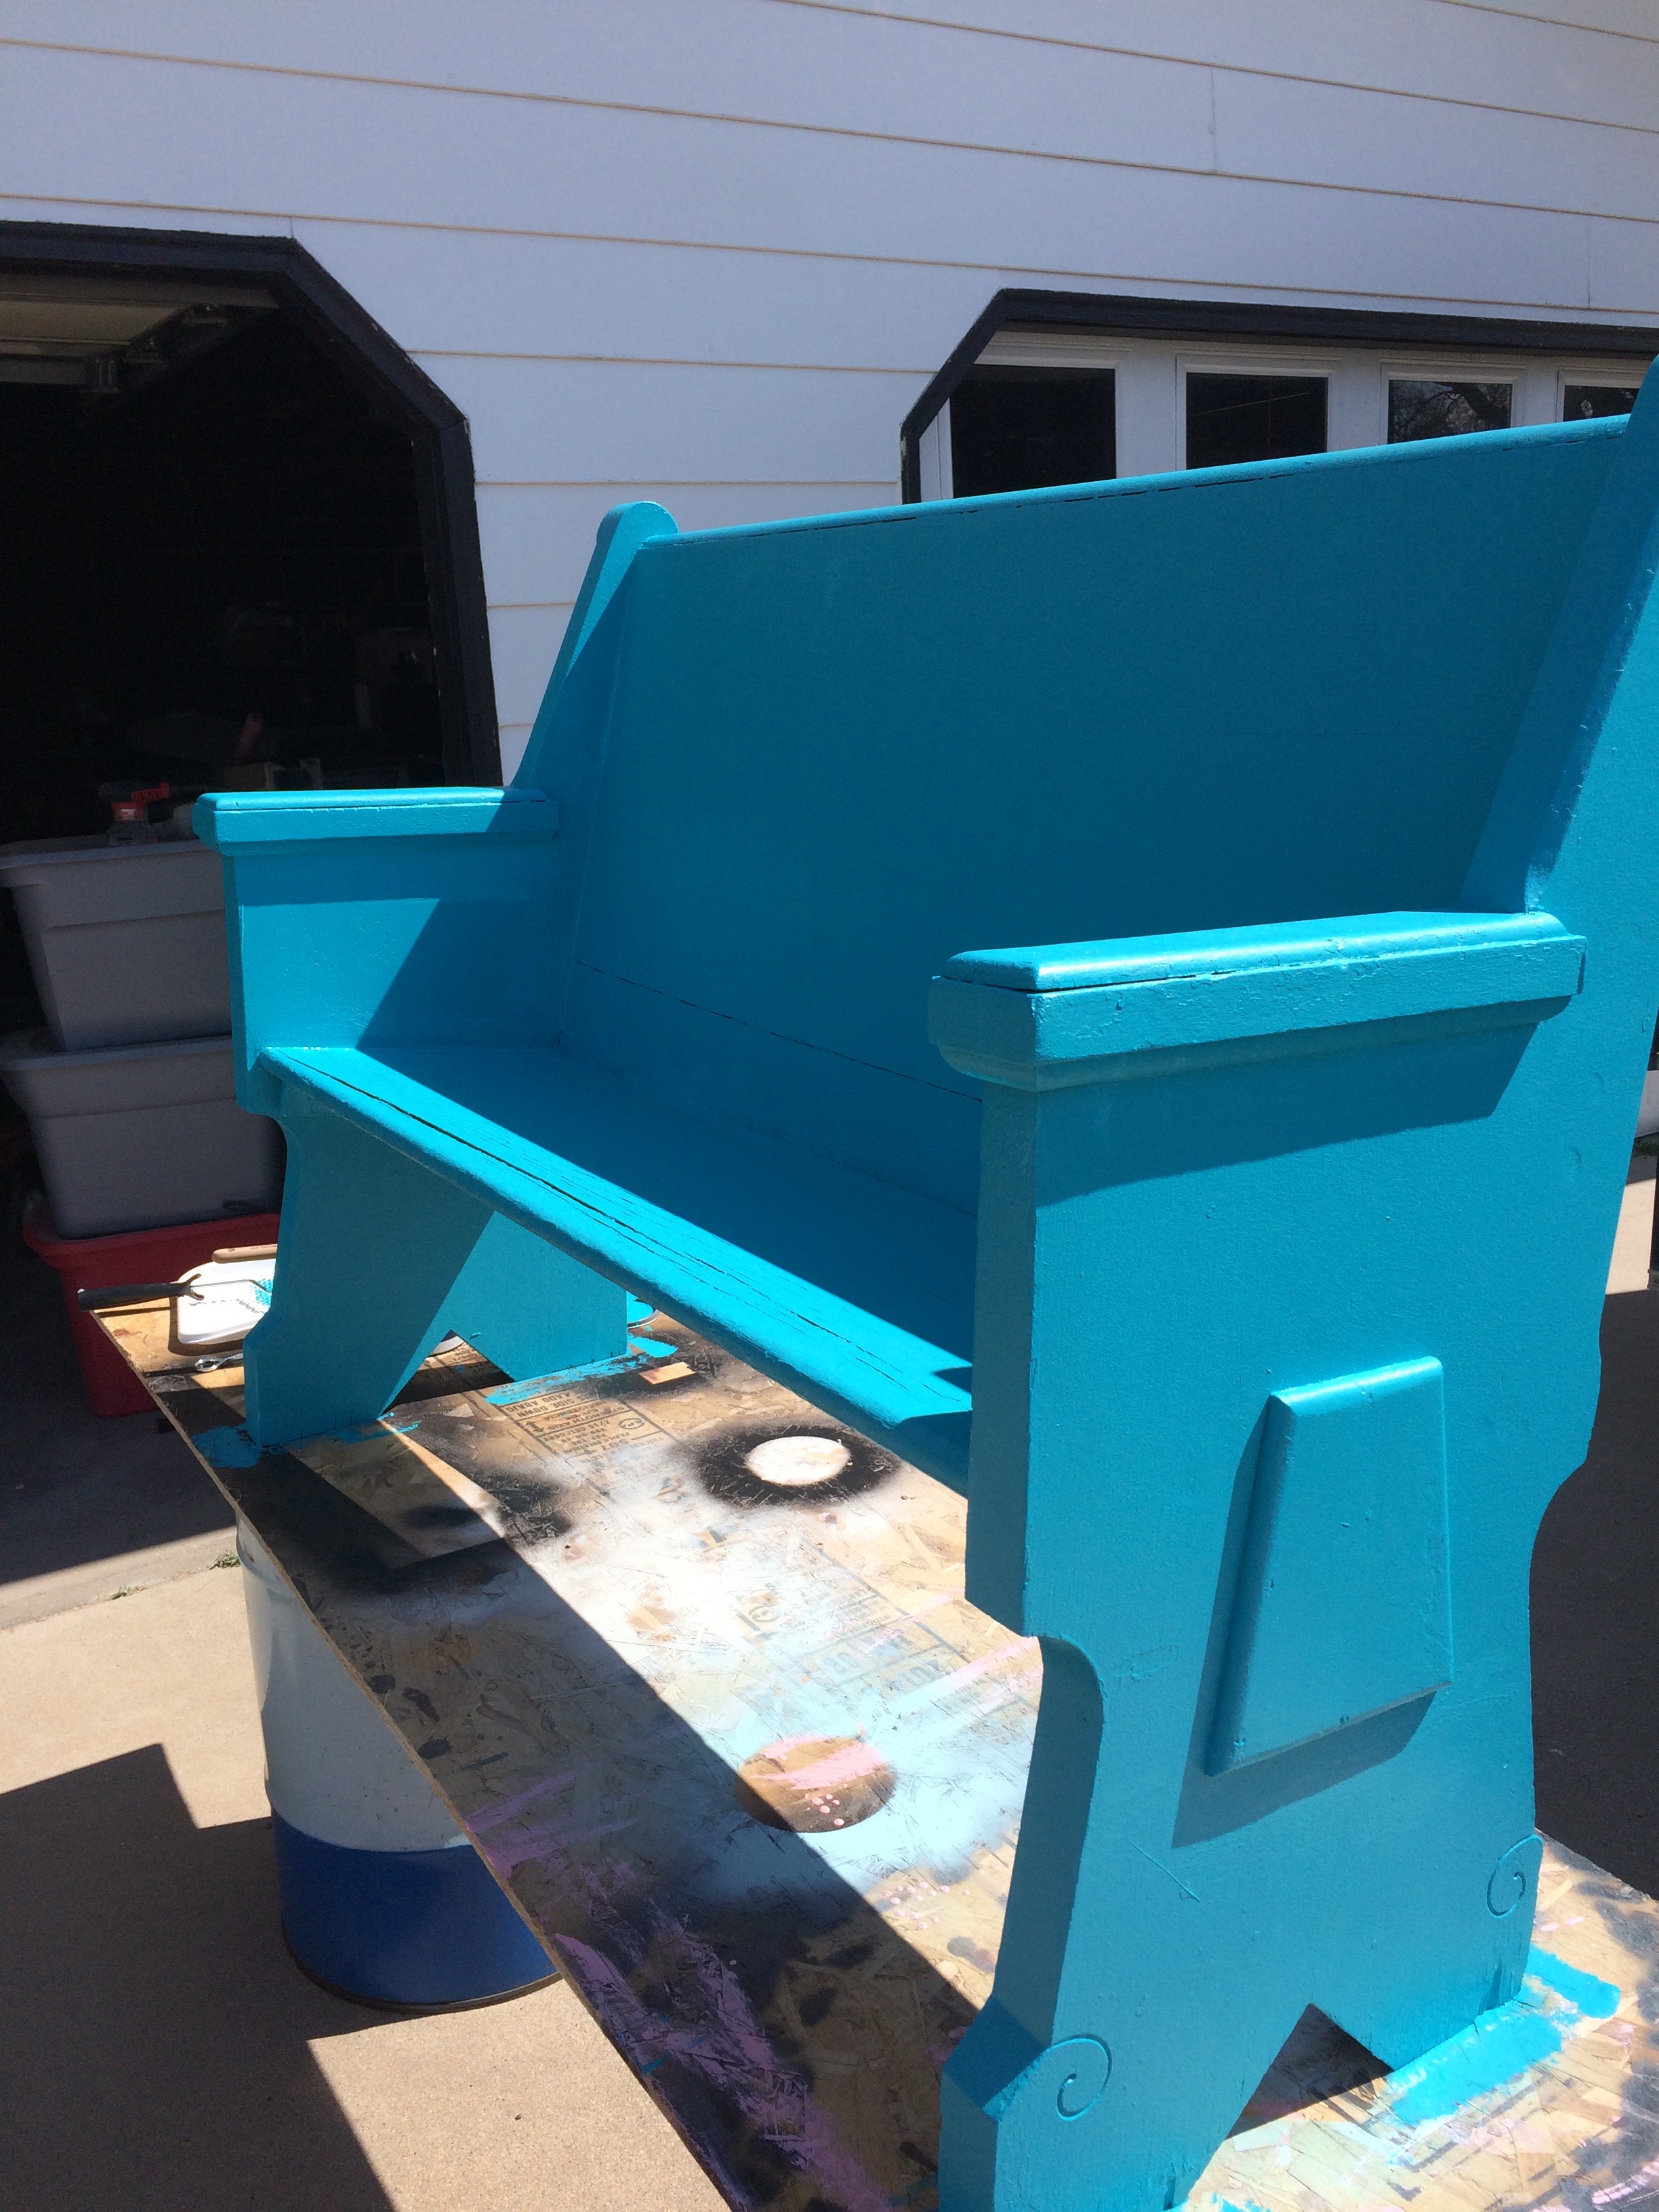
and after a good sanding and a fun color, it’s one of my favorite things in the house!
Pew after
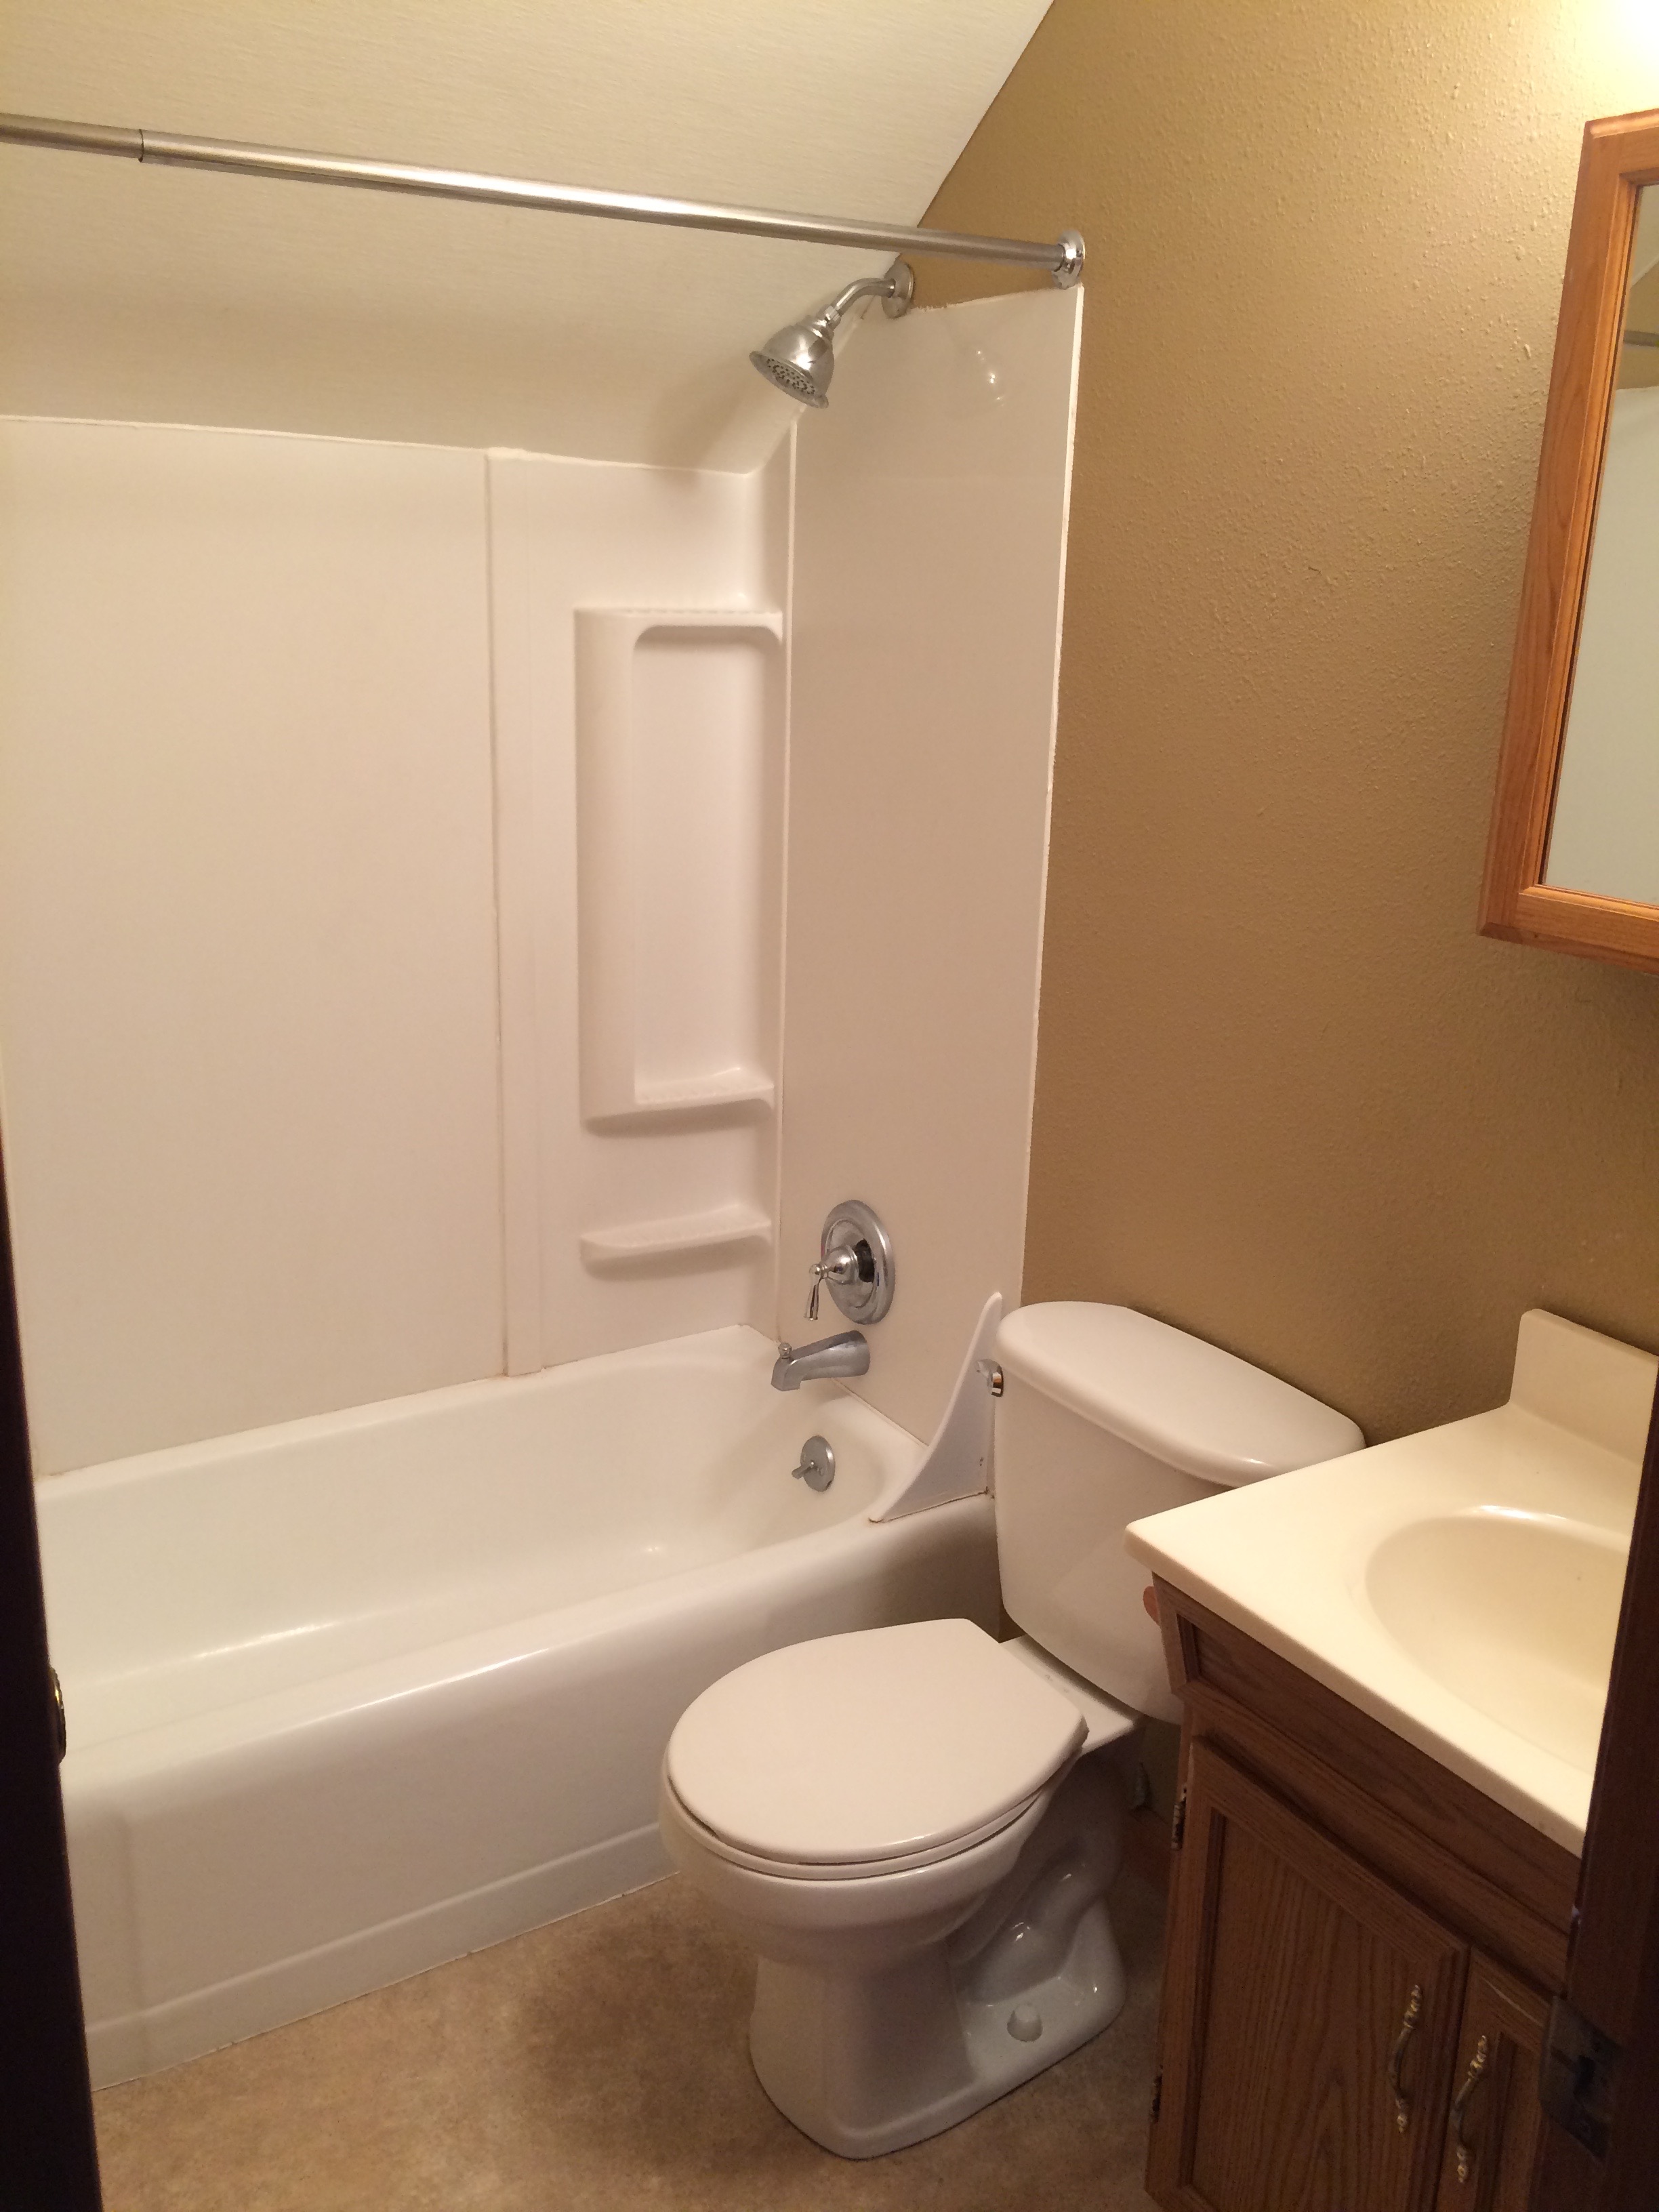
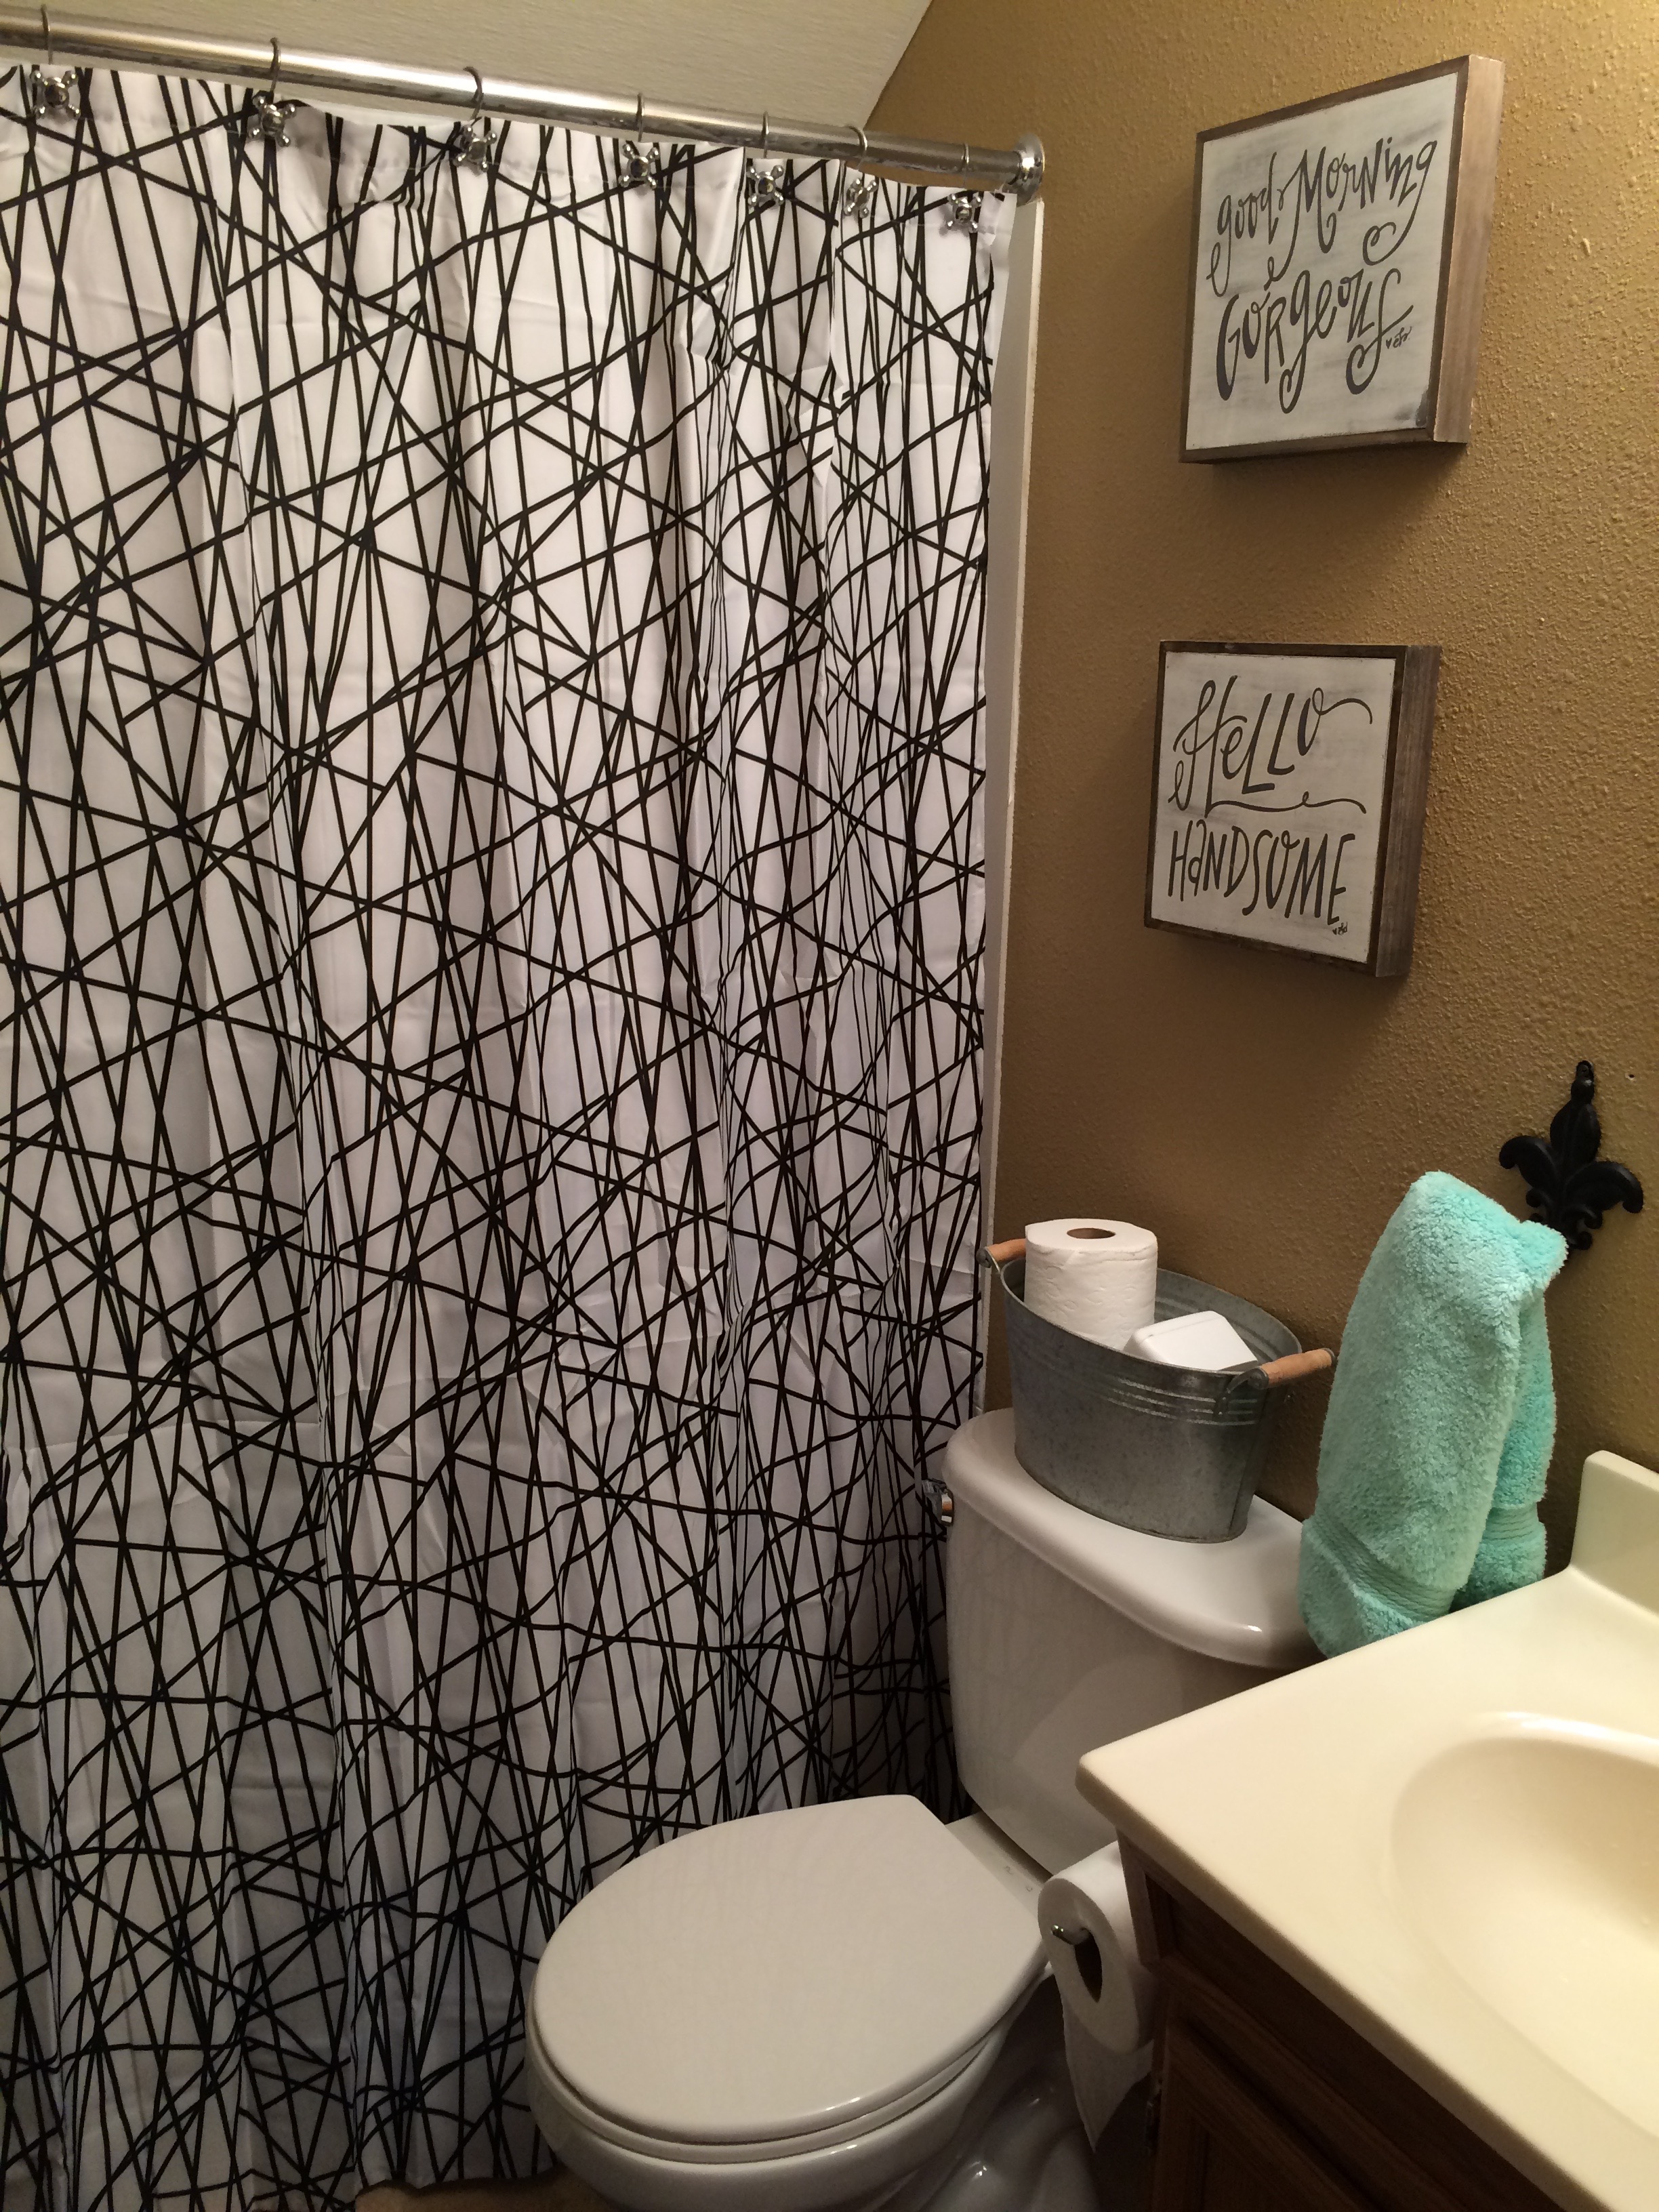
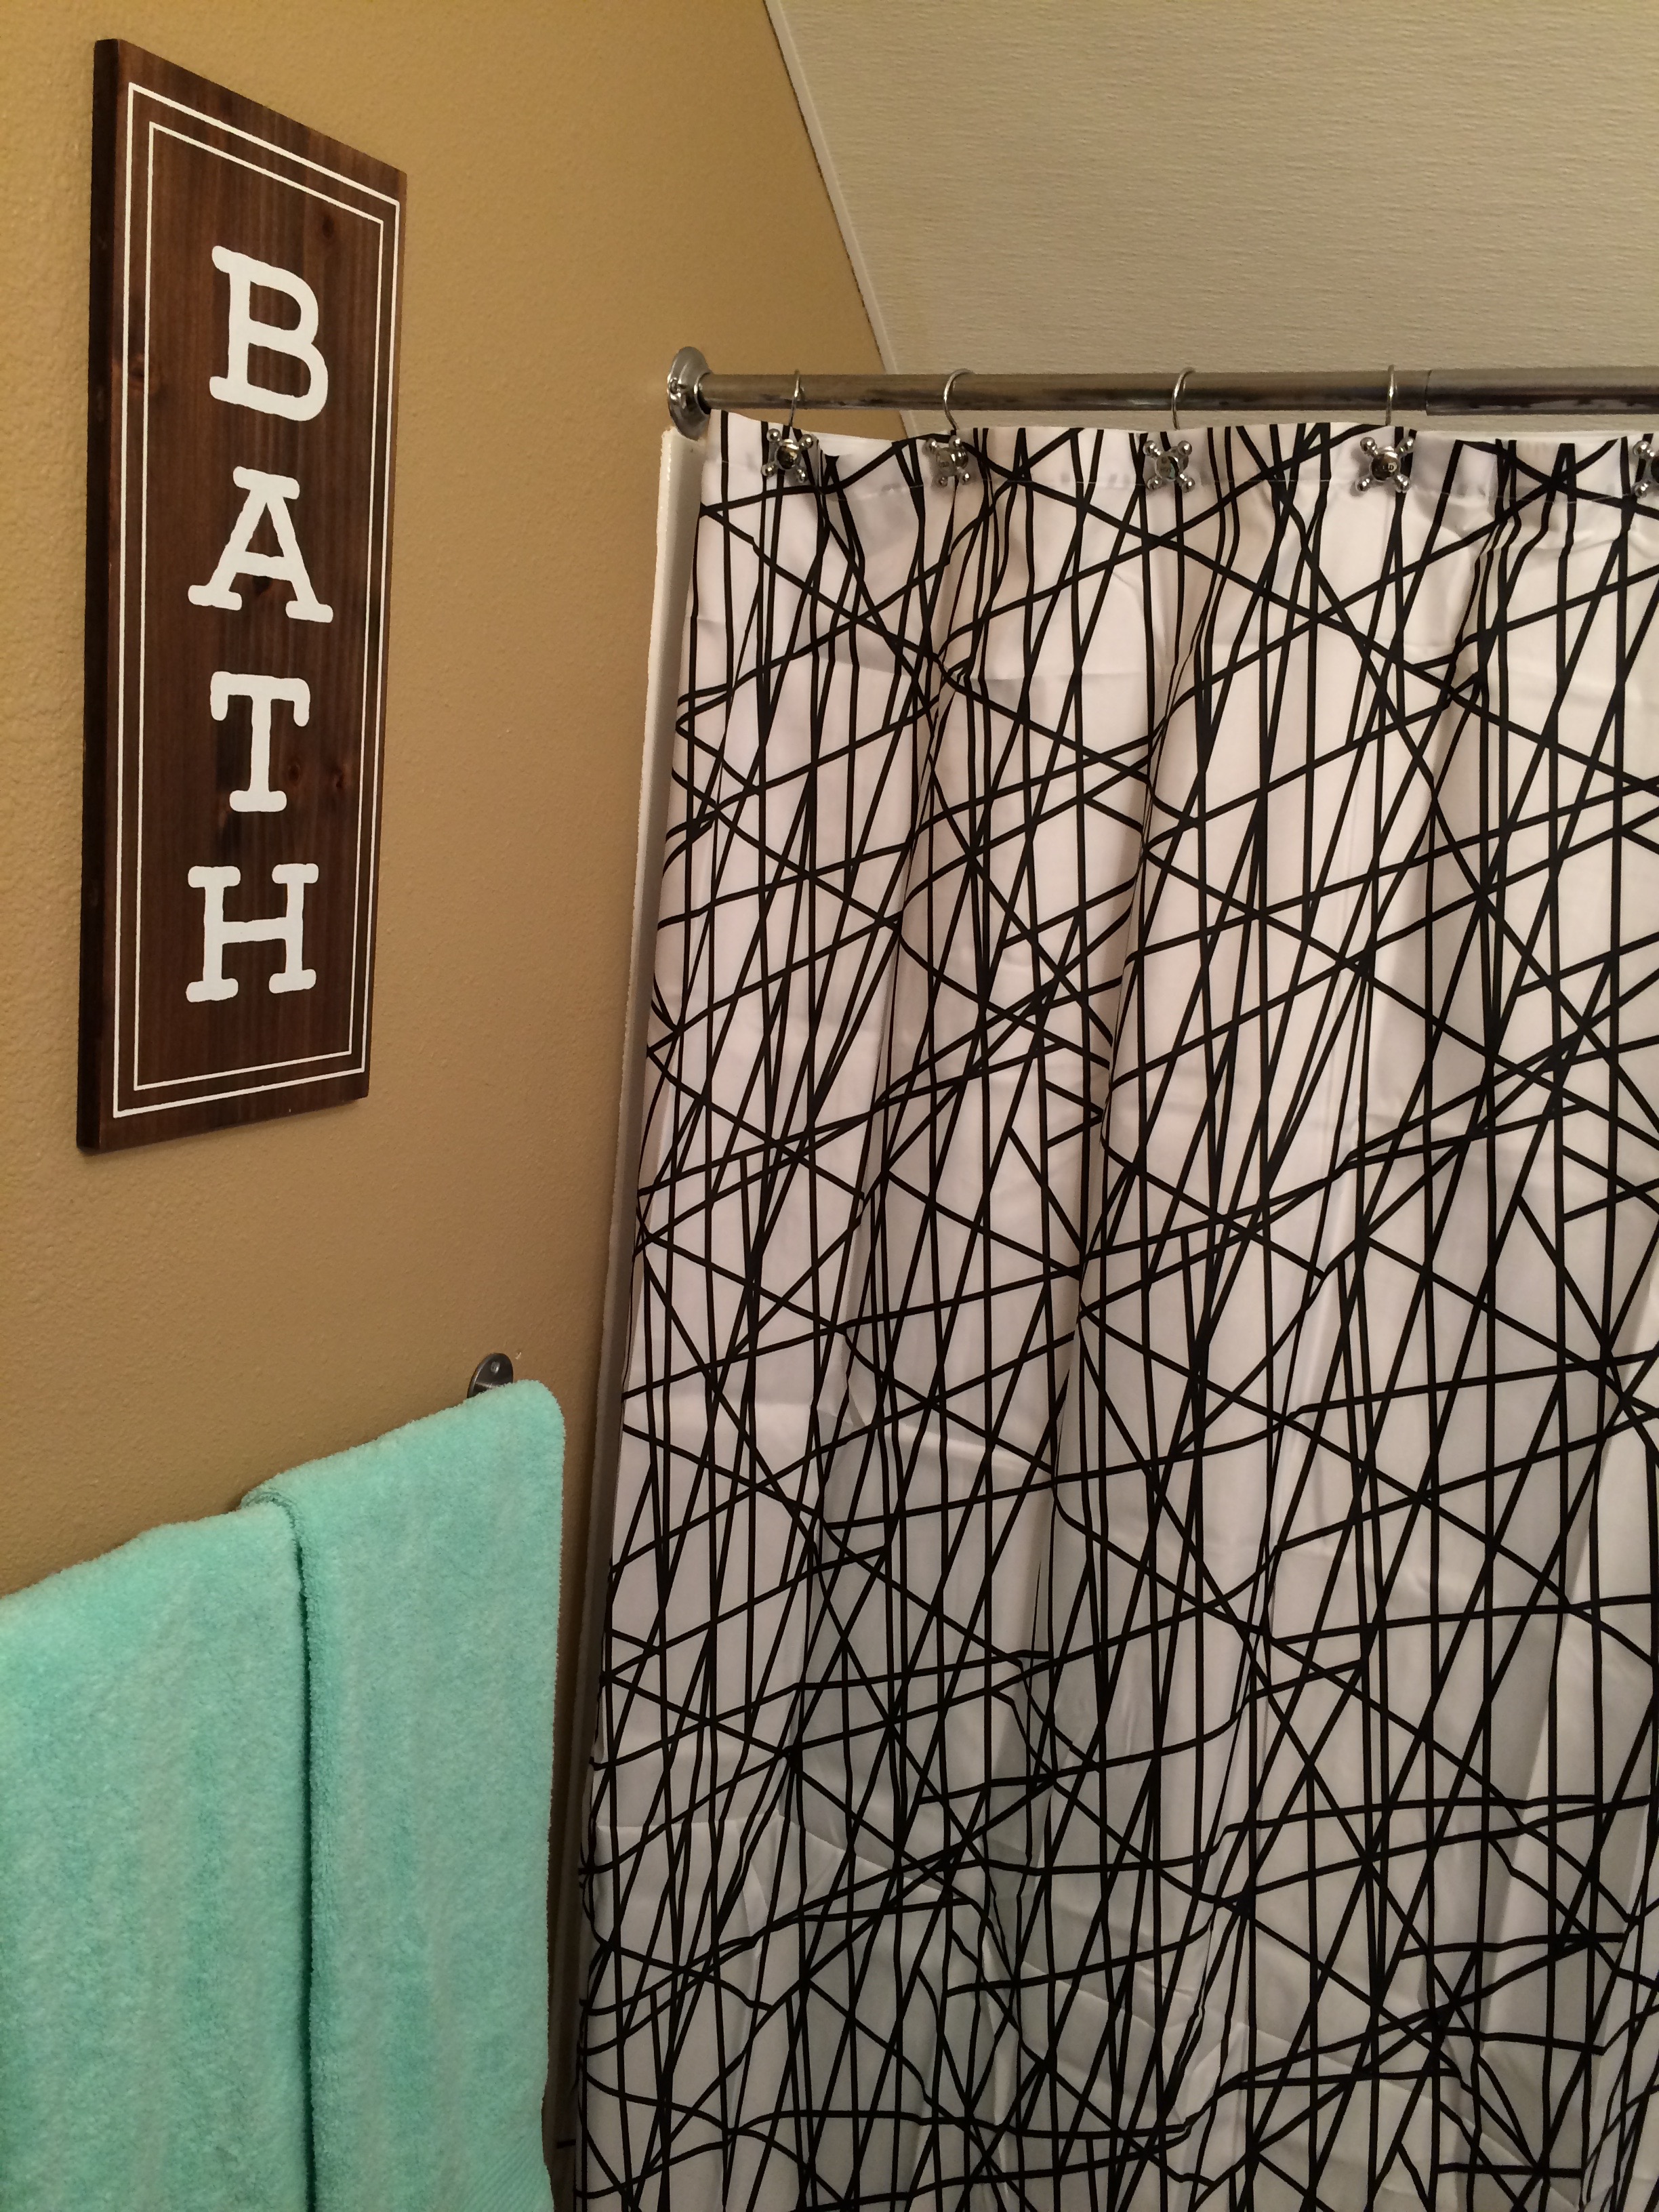
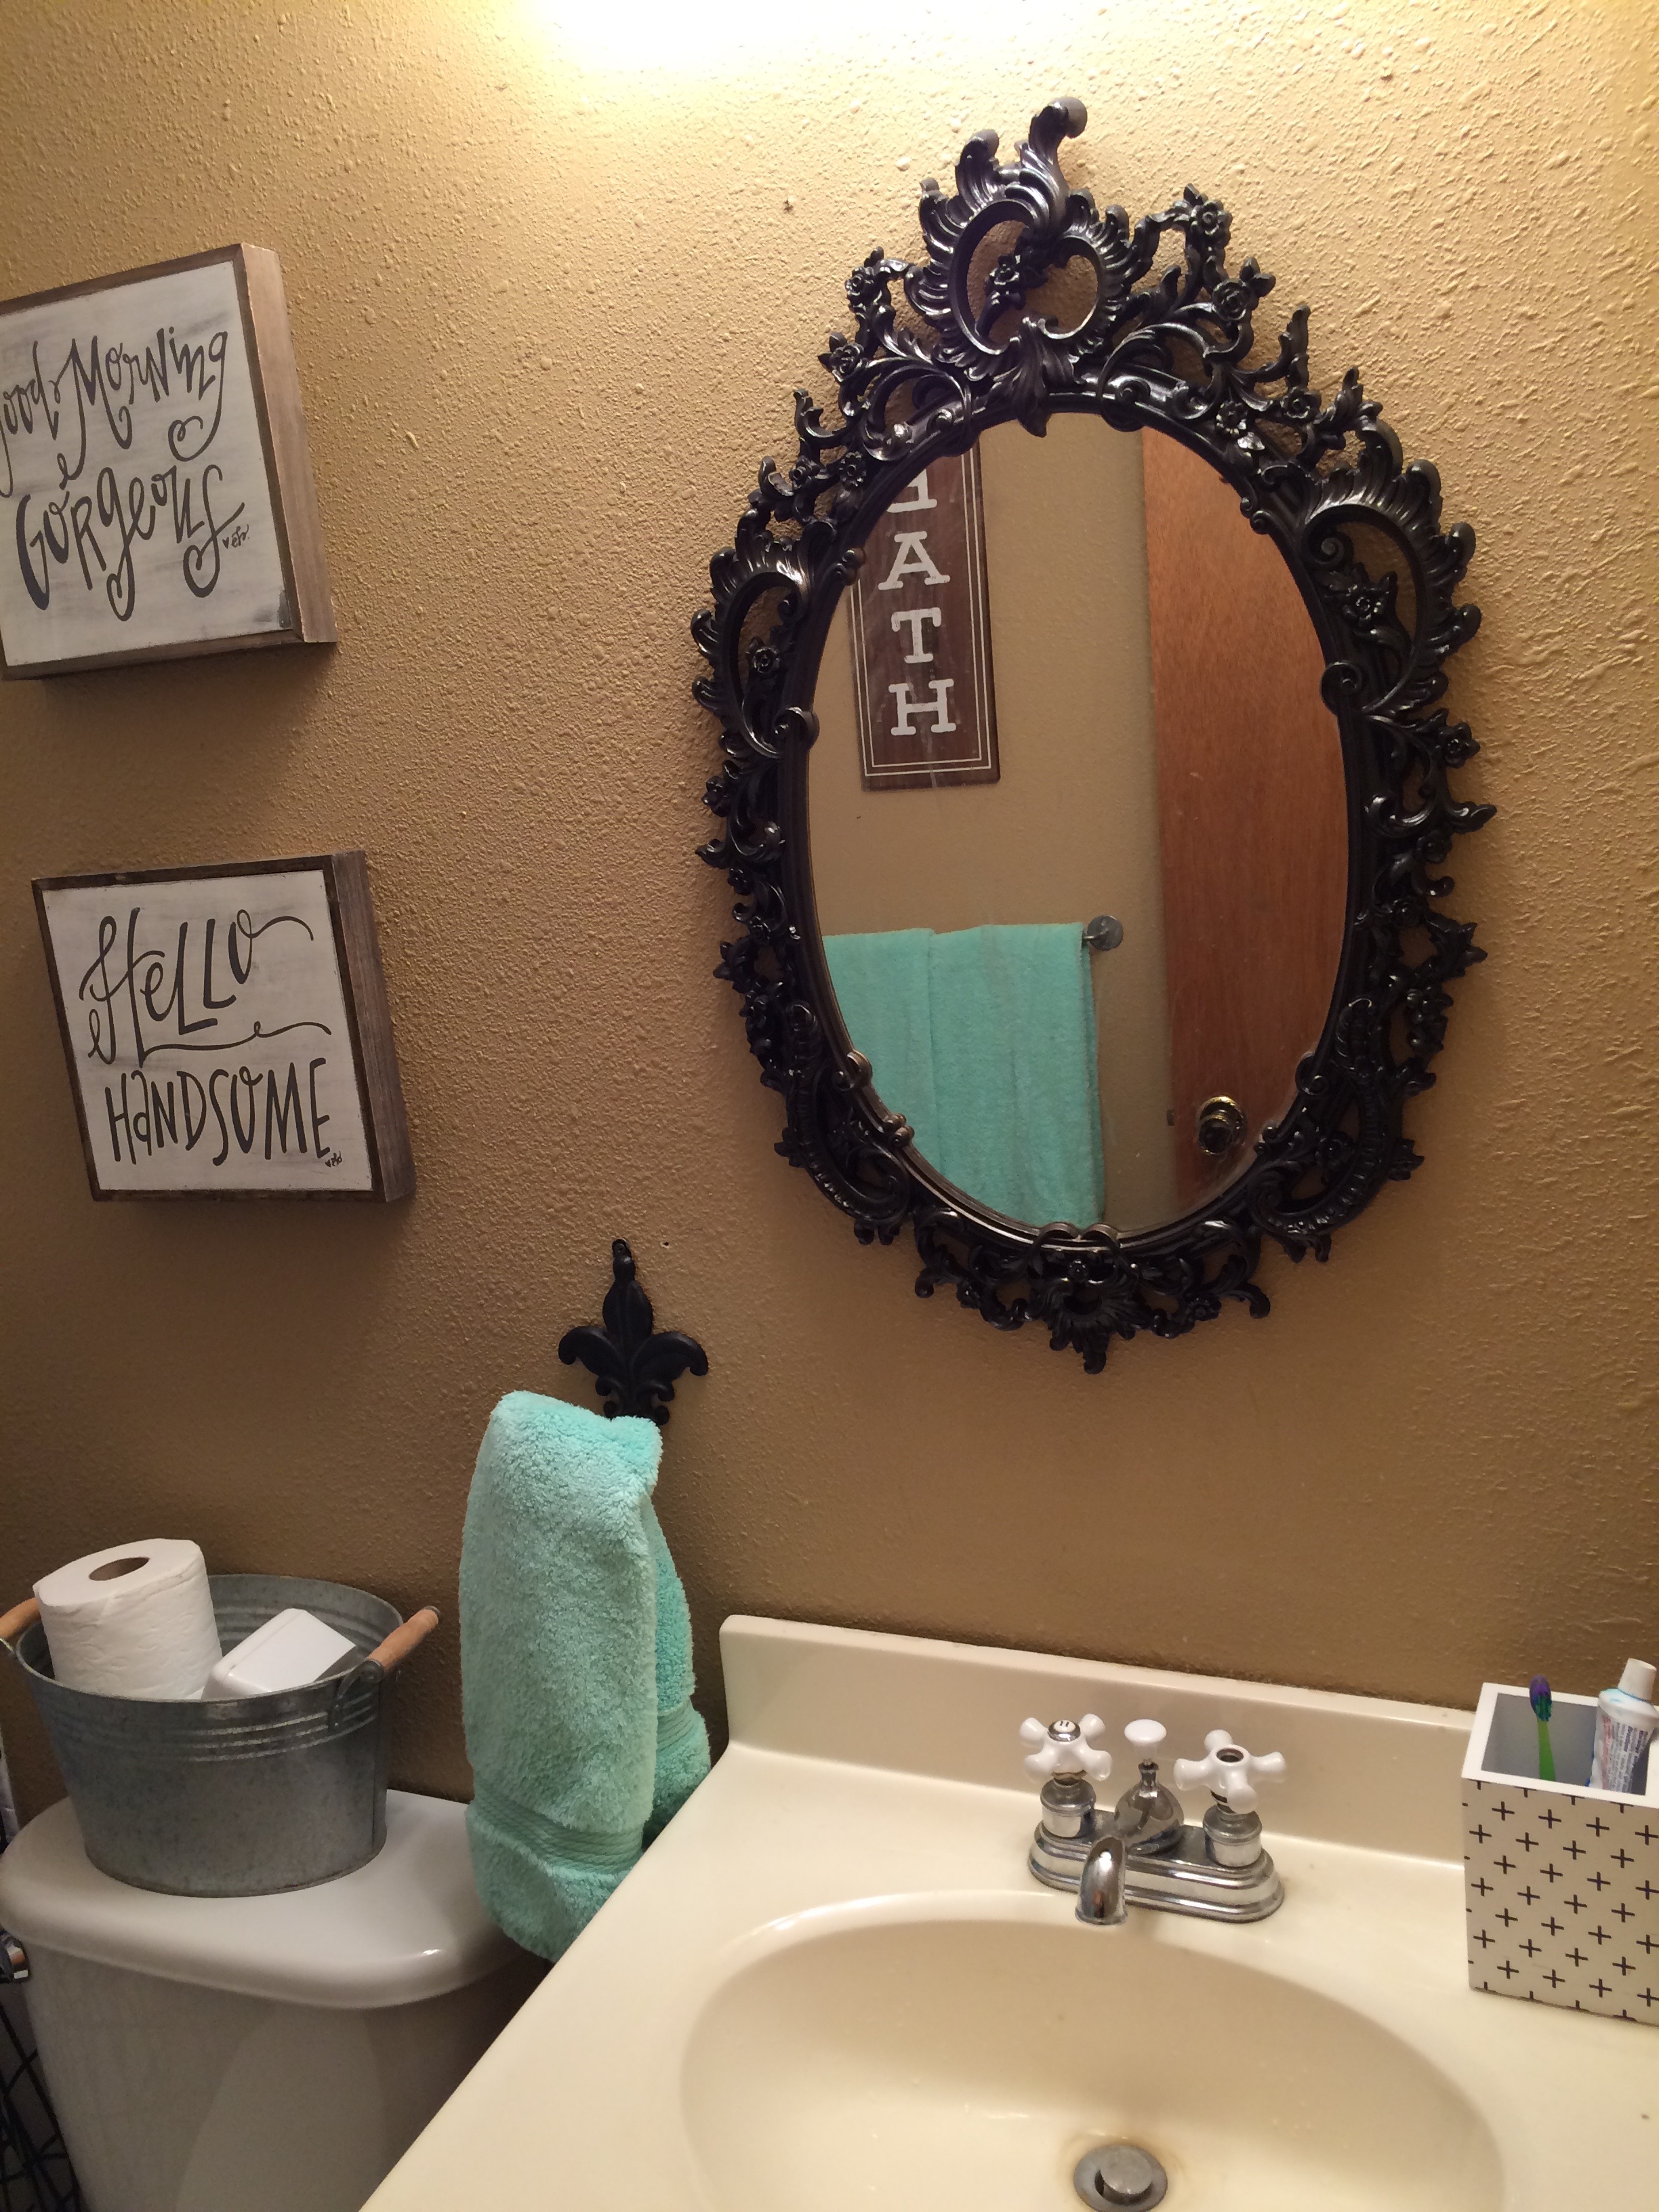
The kids’ bathroom isn’t huge but I think it’s perfect for them! I’ve been so impressed with how clean they have kept it!
Since then, they’ve gotten a new faucet, as this one bit the dust about 2 weeks in, but it’s just a fun, sweet little bathroom – I love it! (It was the first room that was completely finished in the whole house! Gotta love small rooms that didn’t need paint – ha!)
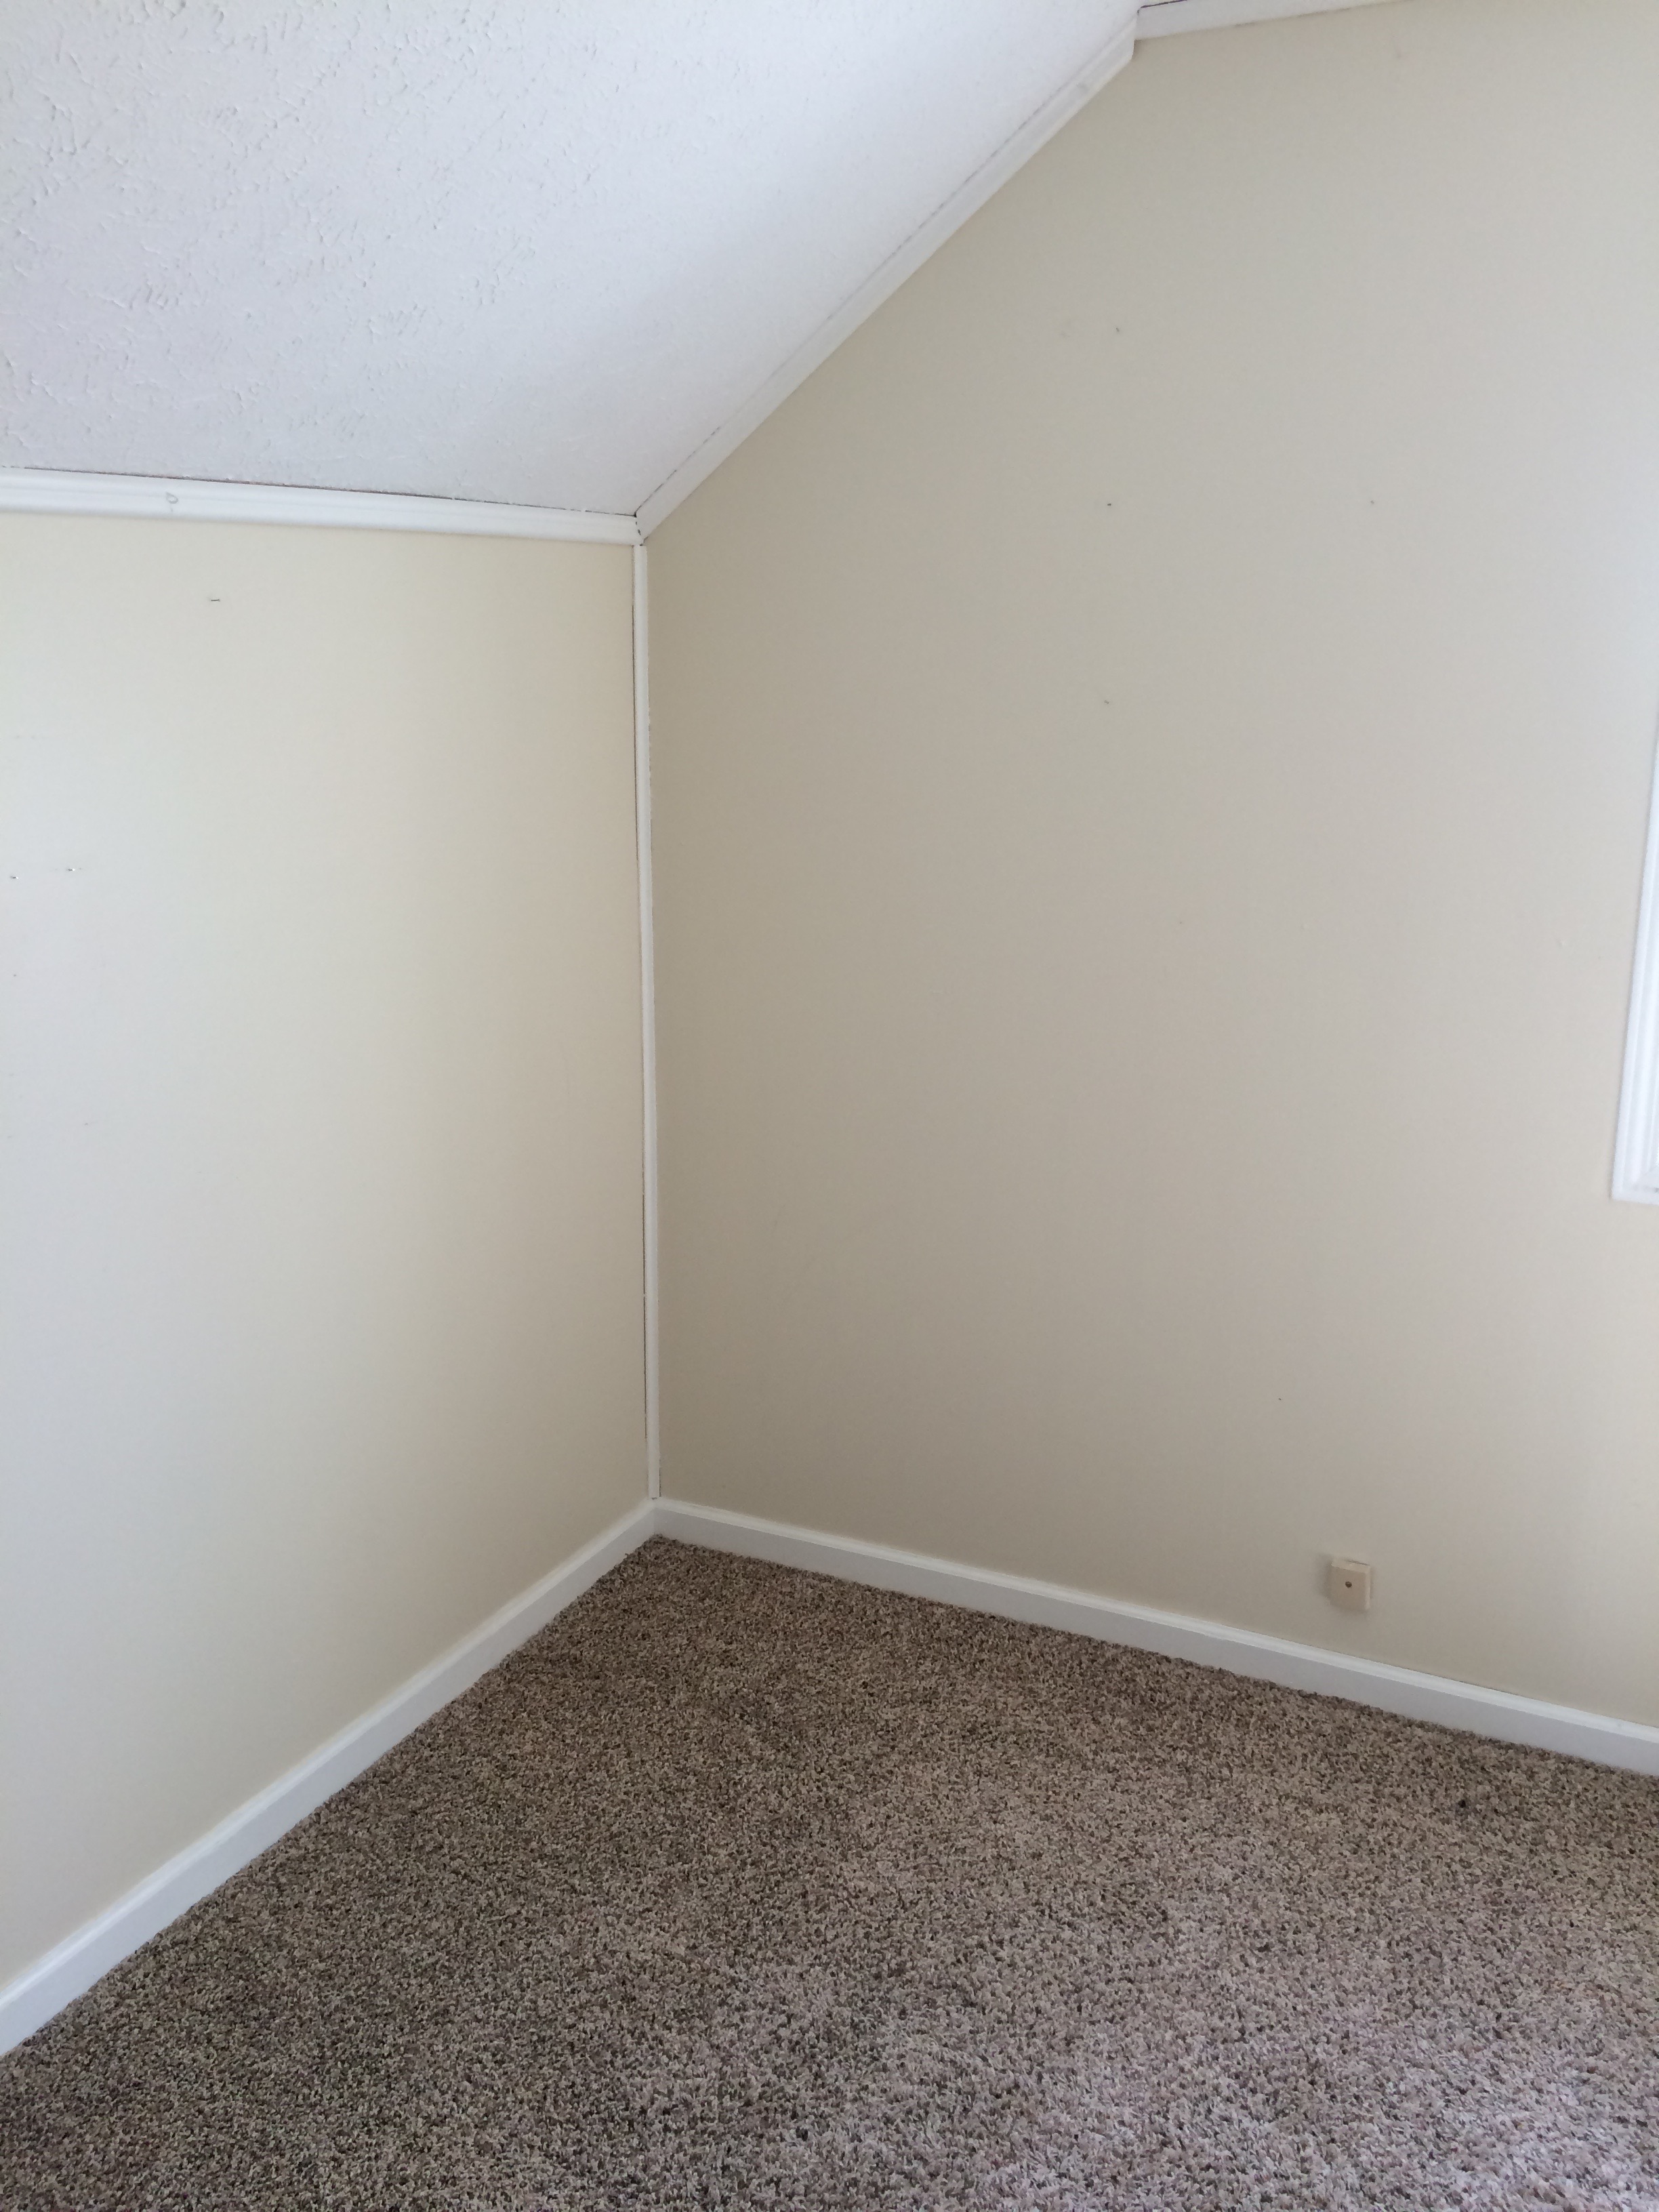
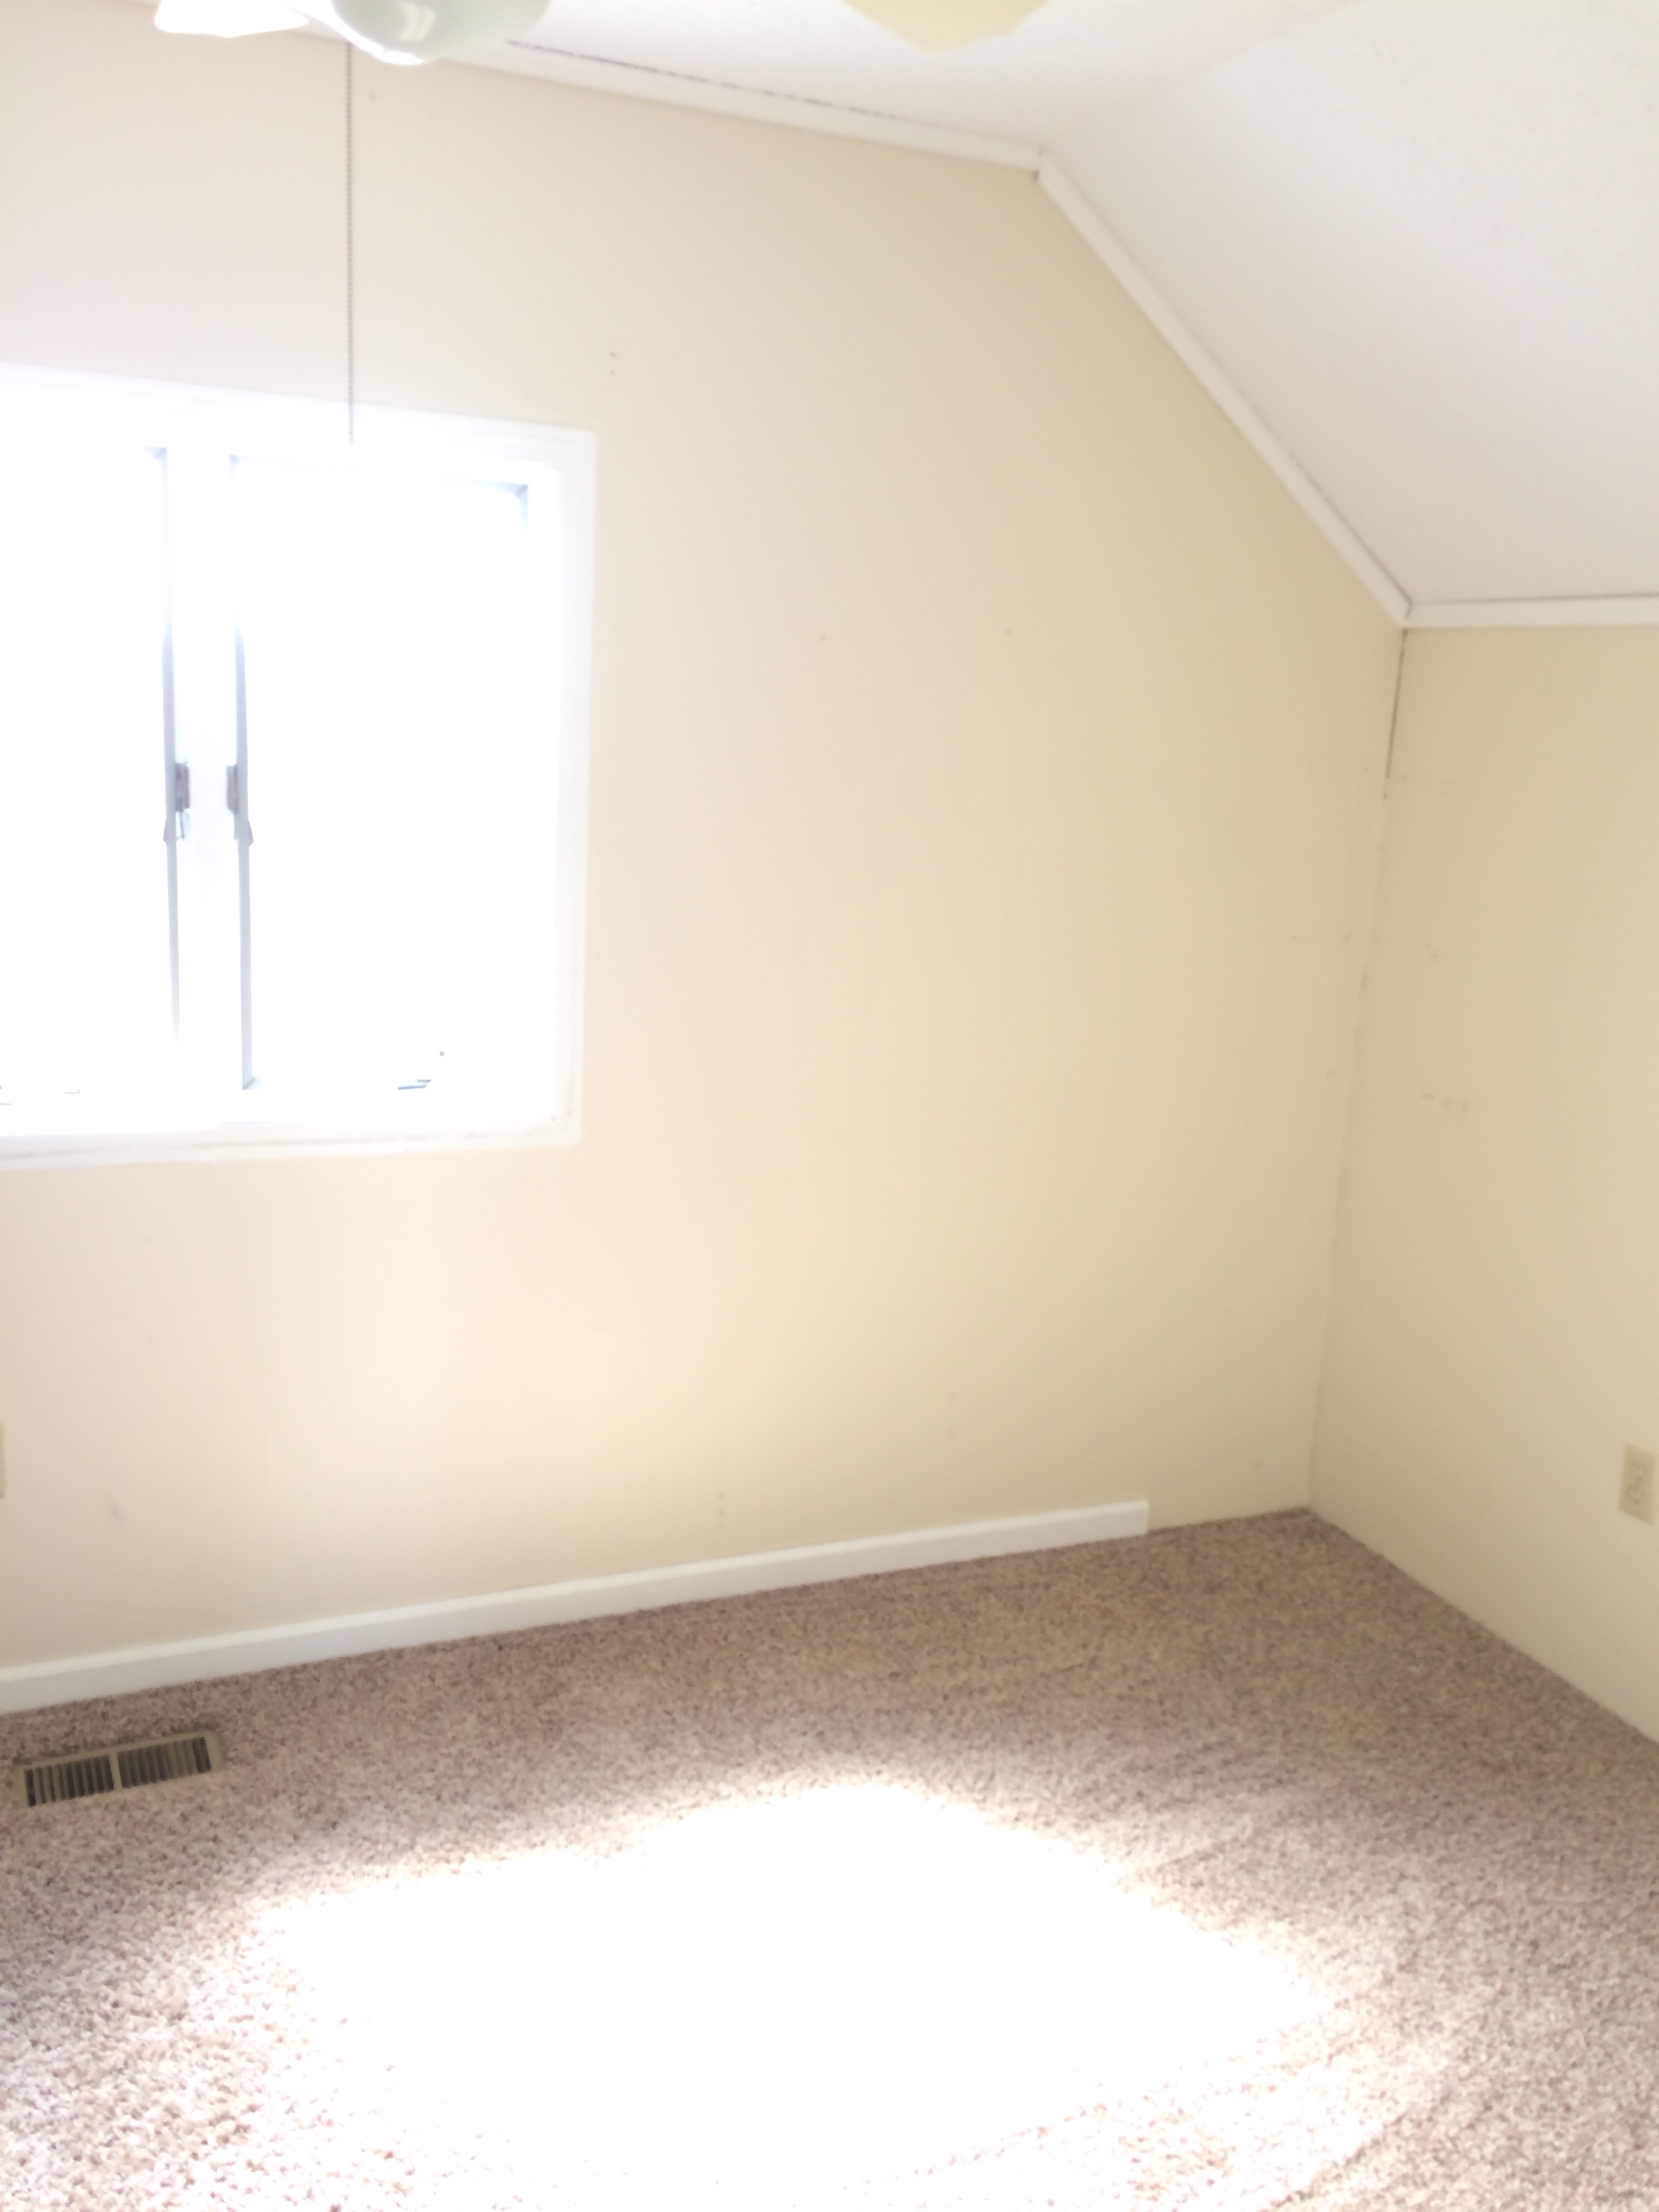
Wryder’s room DEFINITELY needed paint. It’s hard to see in the pictures but the walls were in pretty bad shape as far as scratches and dings.
Wryder’s room beforeWryder’s room beforeWryder’s room before
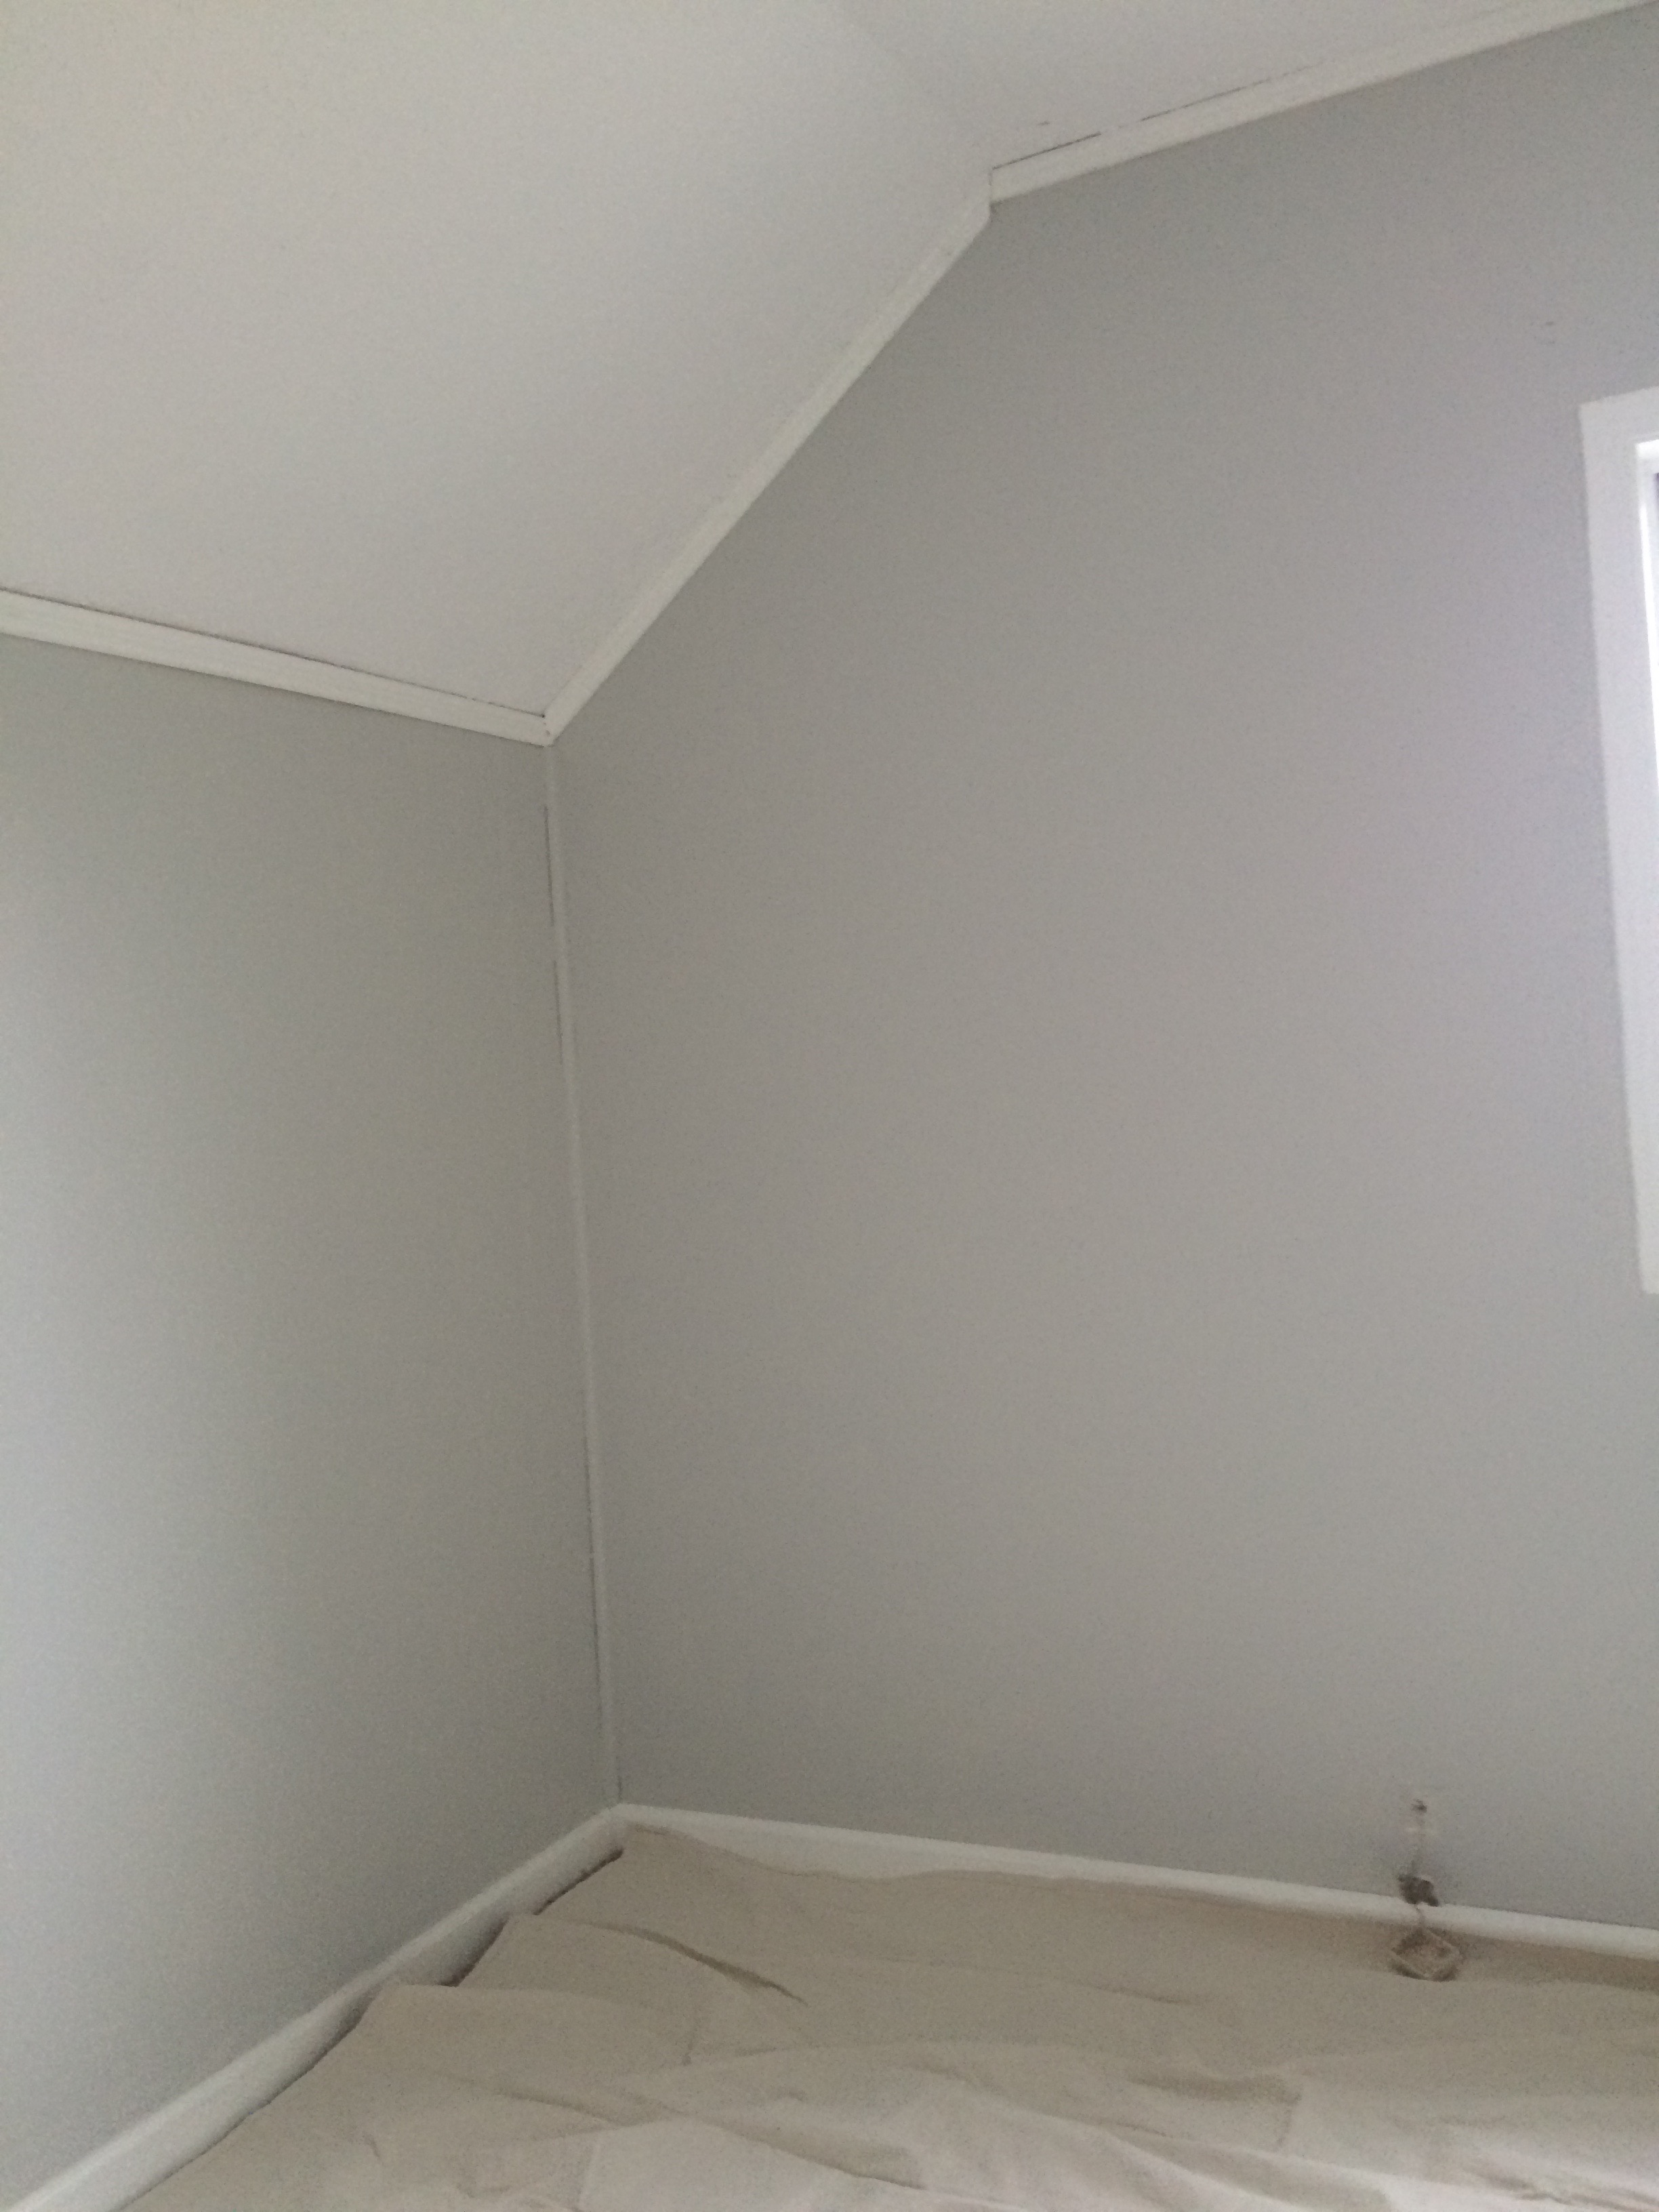
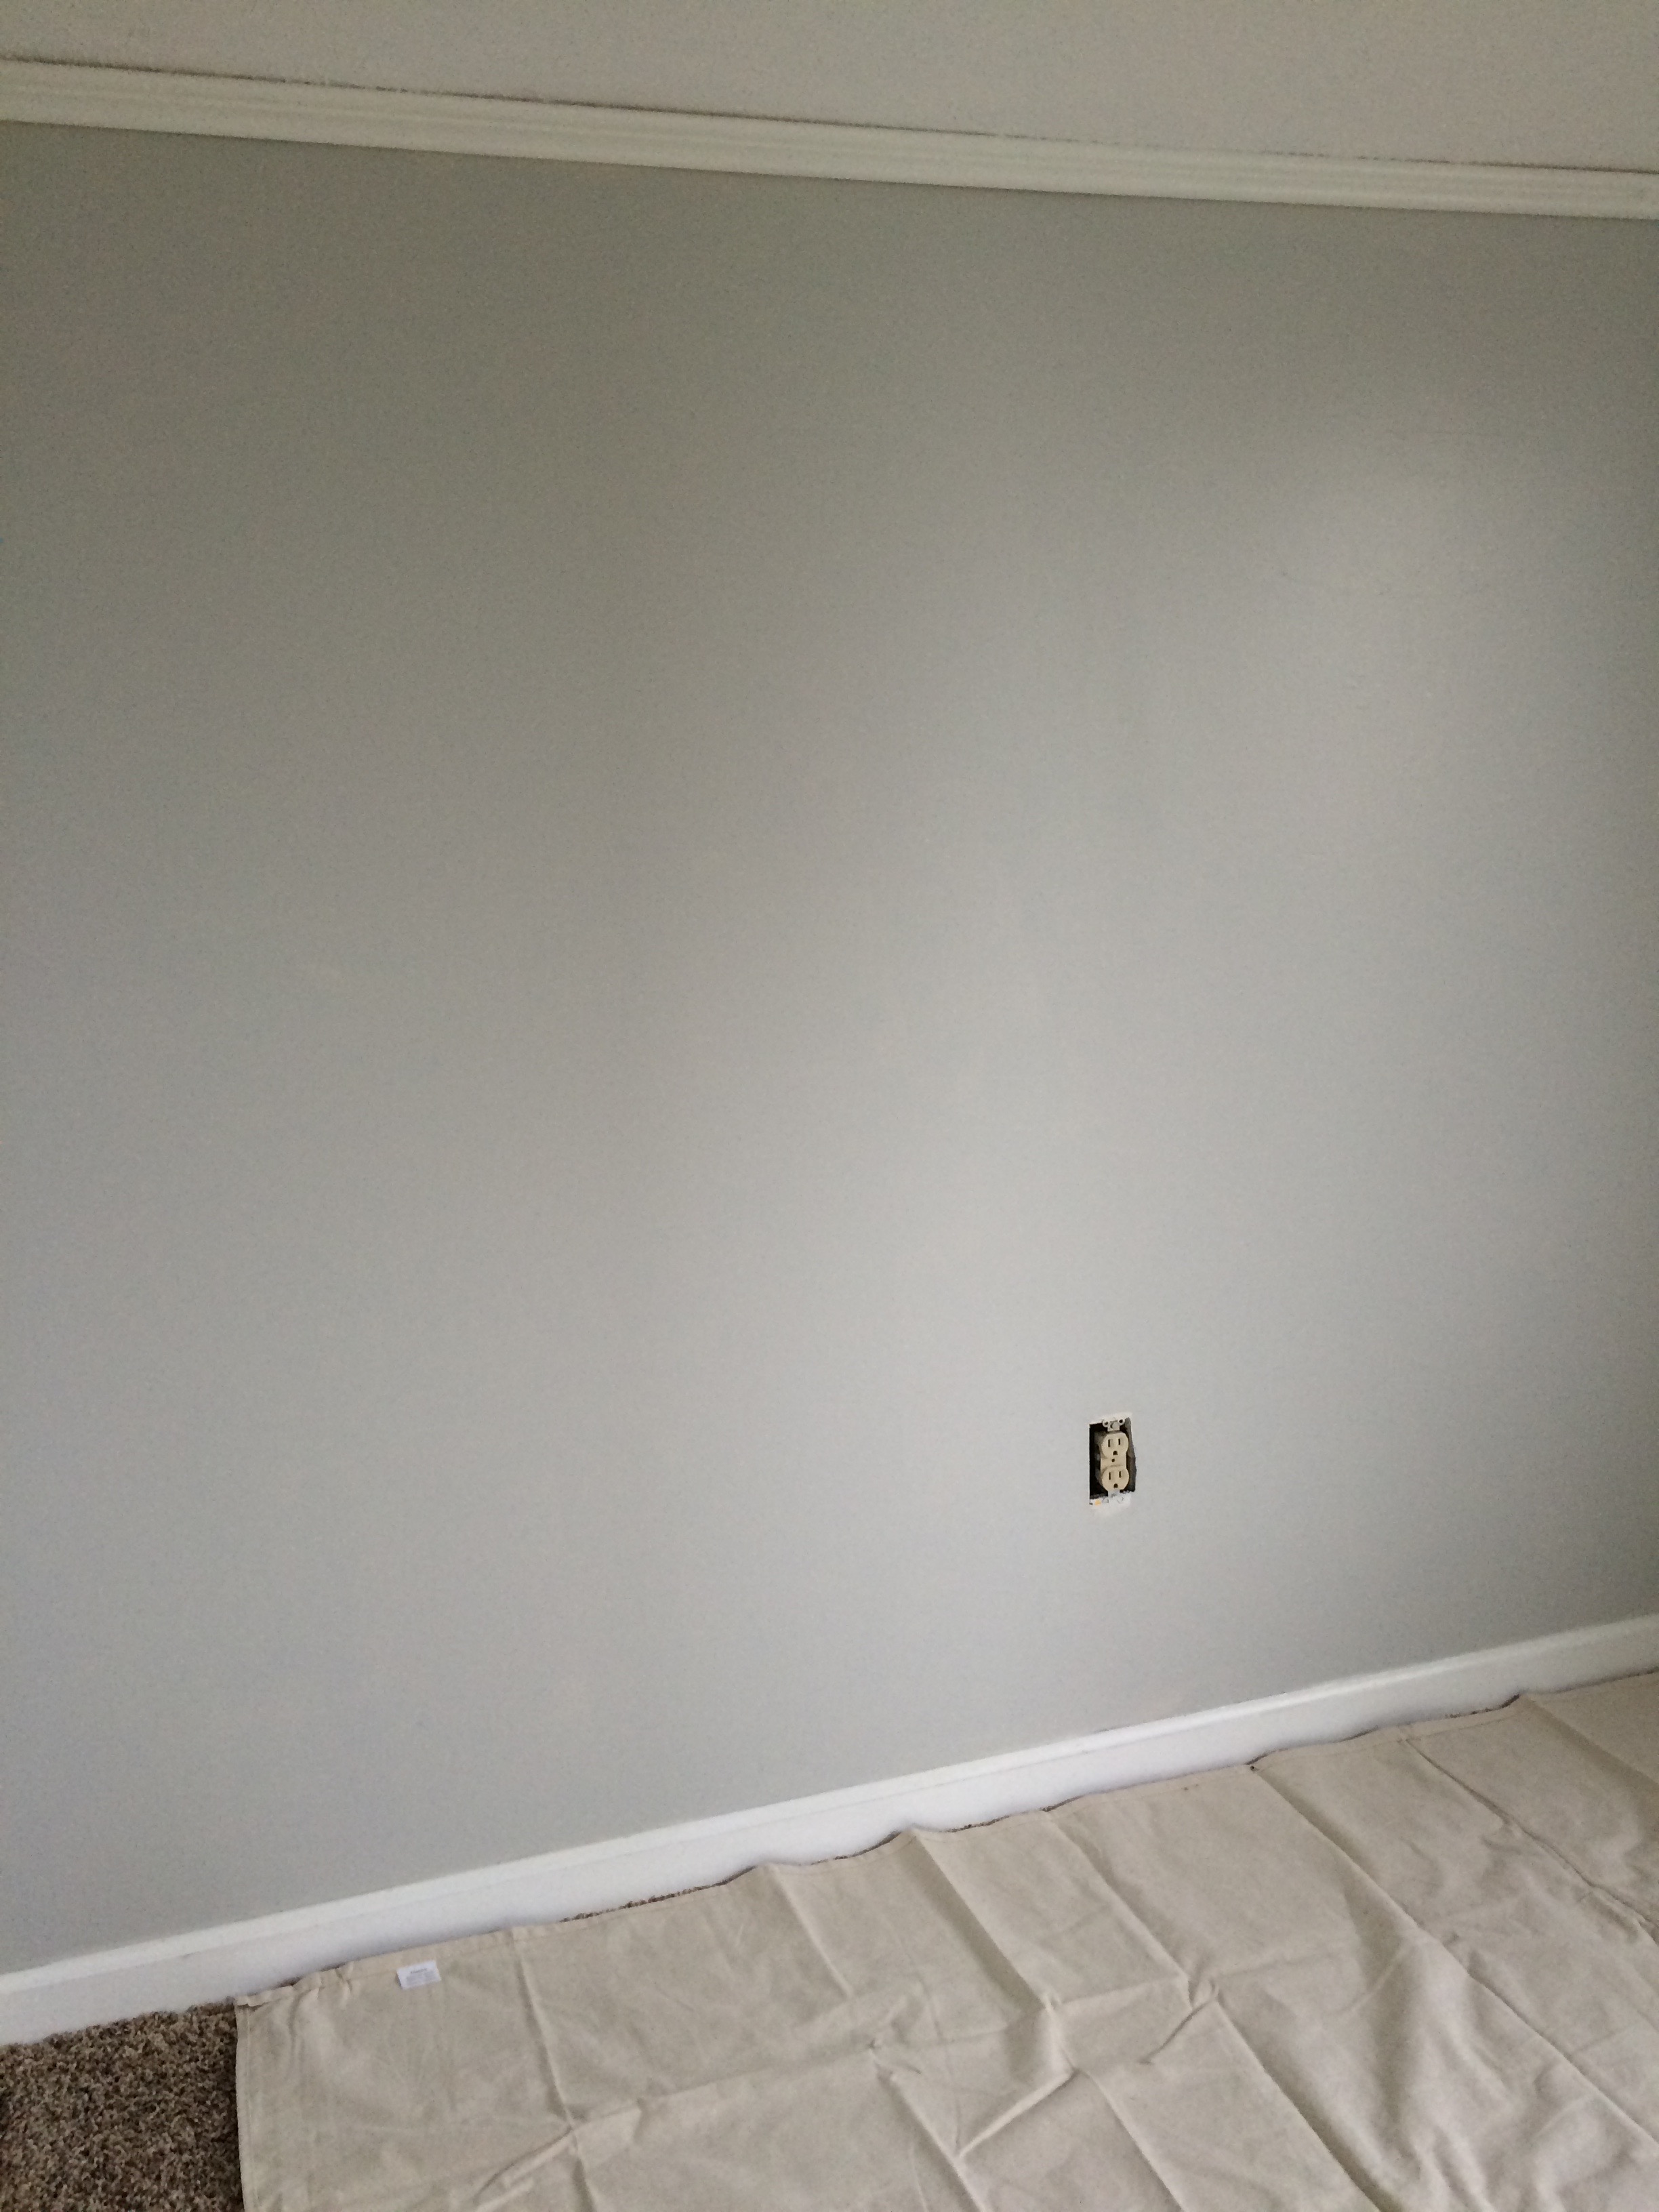
We painted it a pretty, neutral grey and I love how it turned out!
Wryder’s room after paintWryder’s room after paintWryder’s room afterWryder’s room afterWryder’s room afterWryder’s big closet!
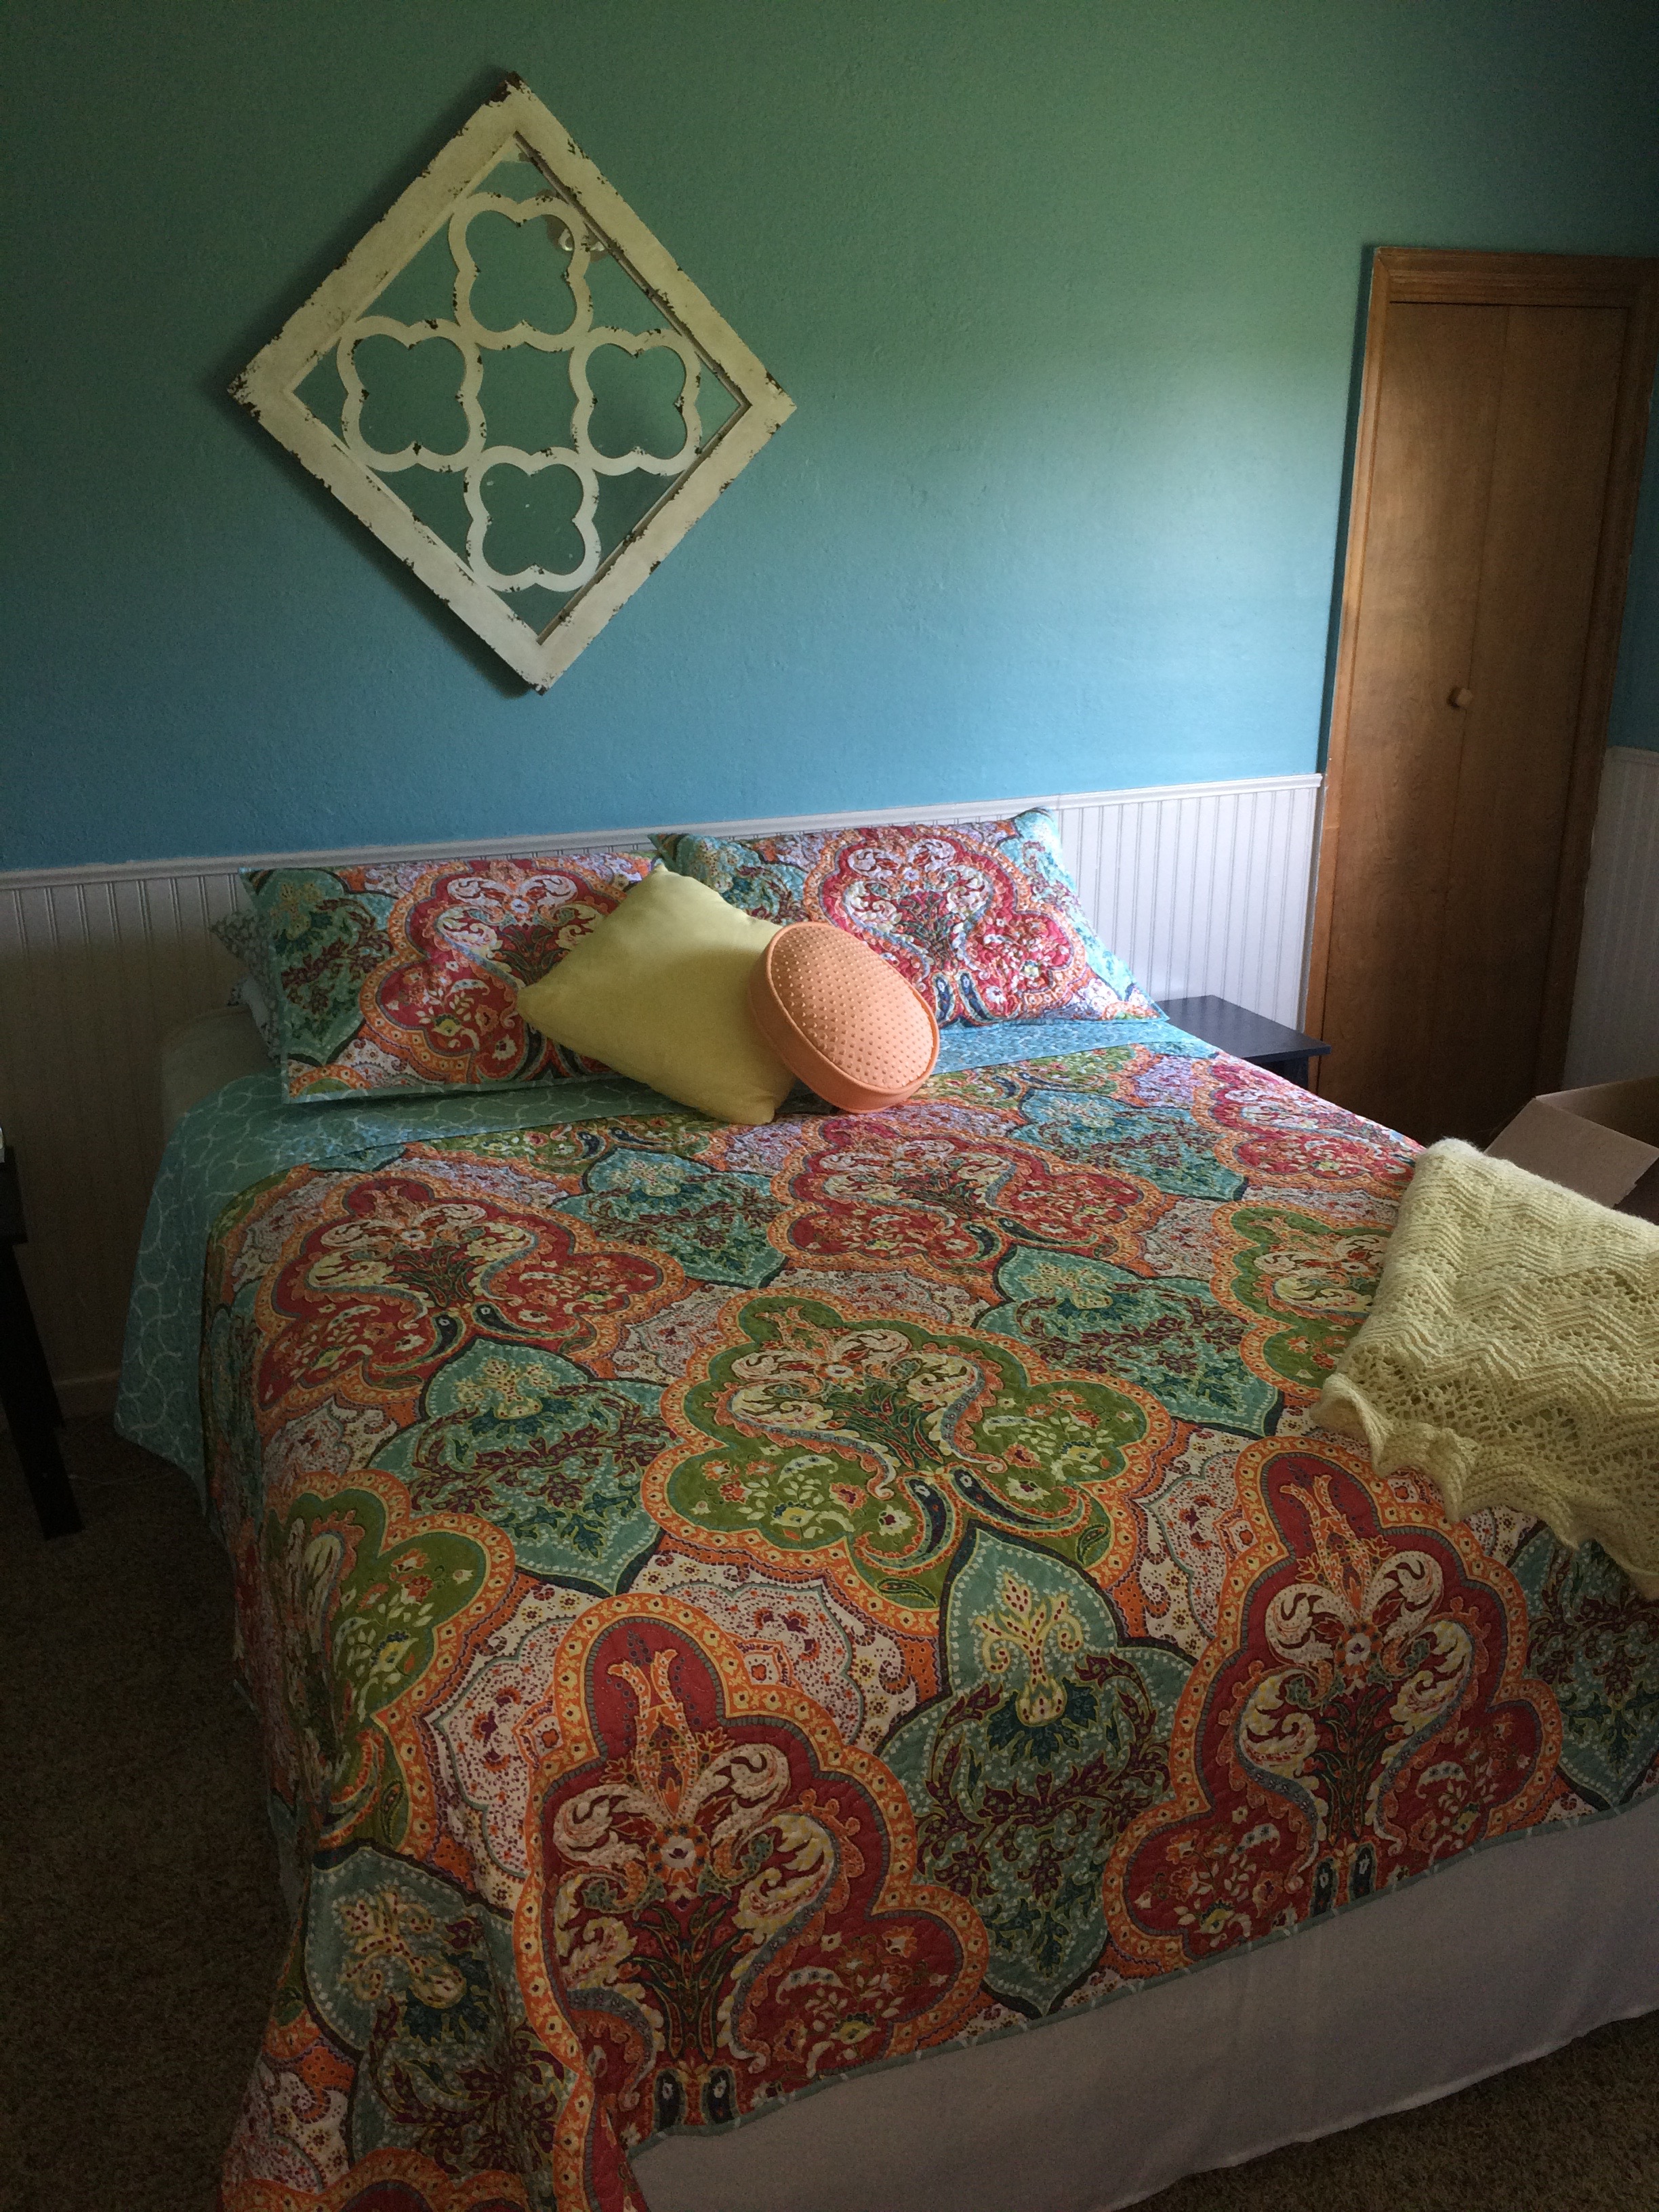
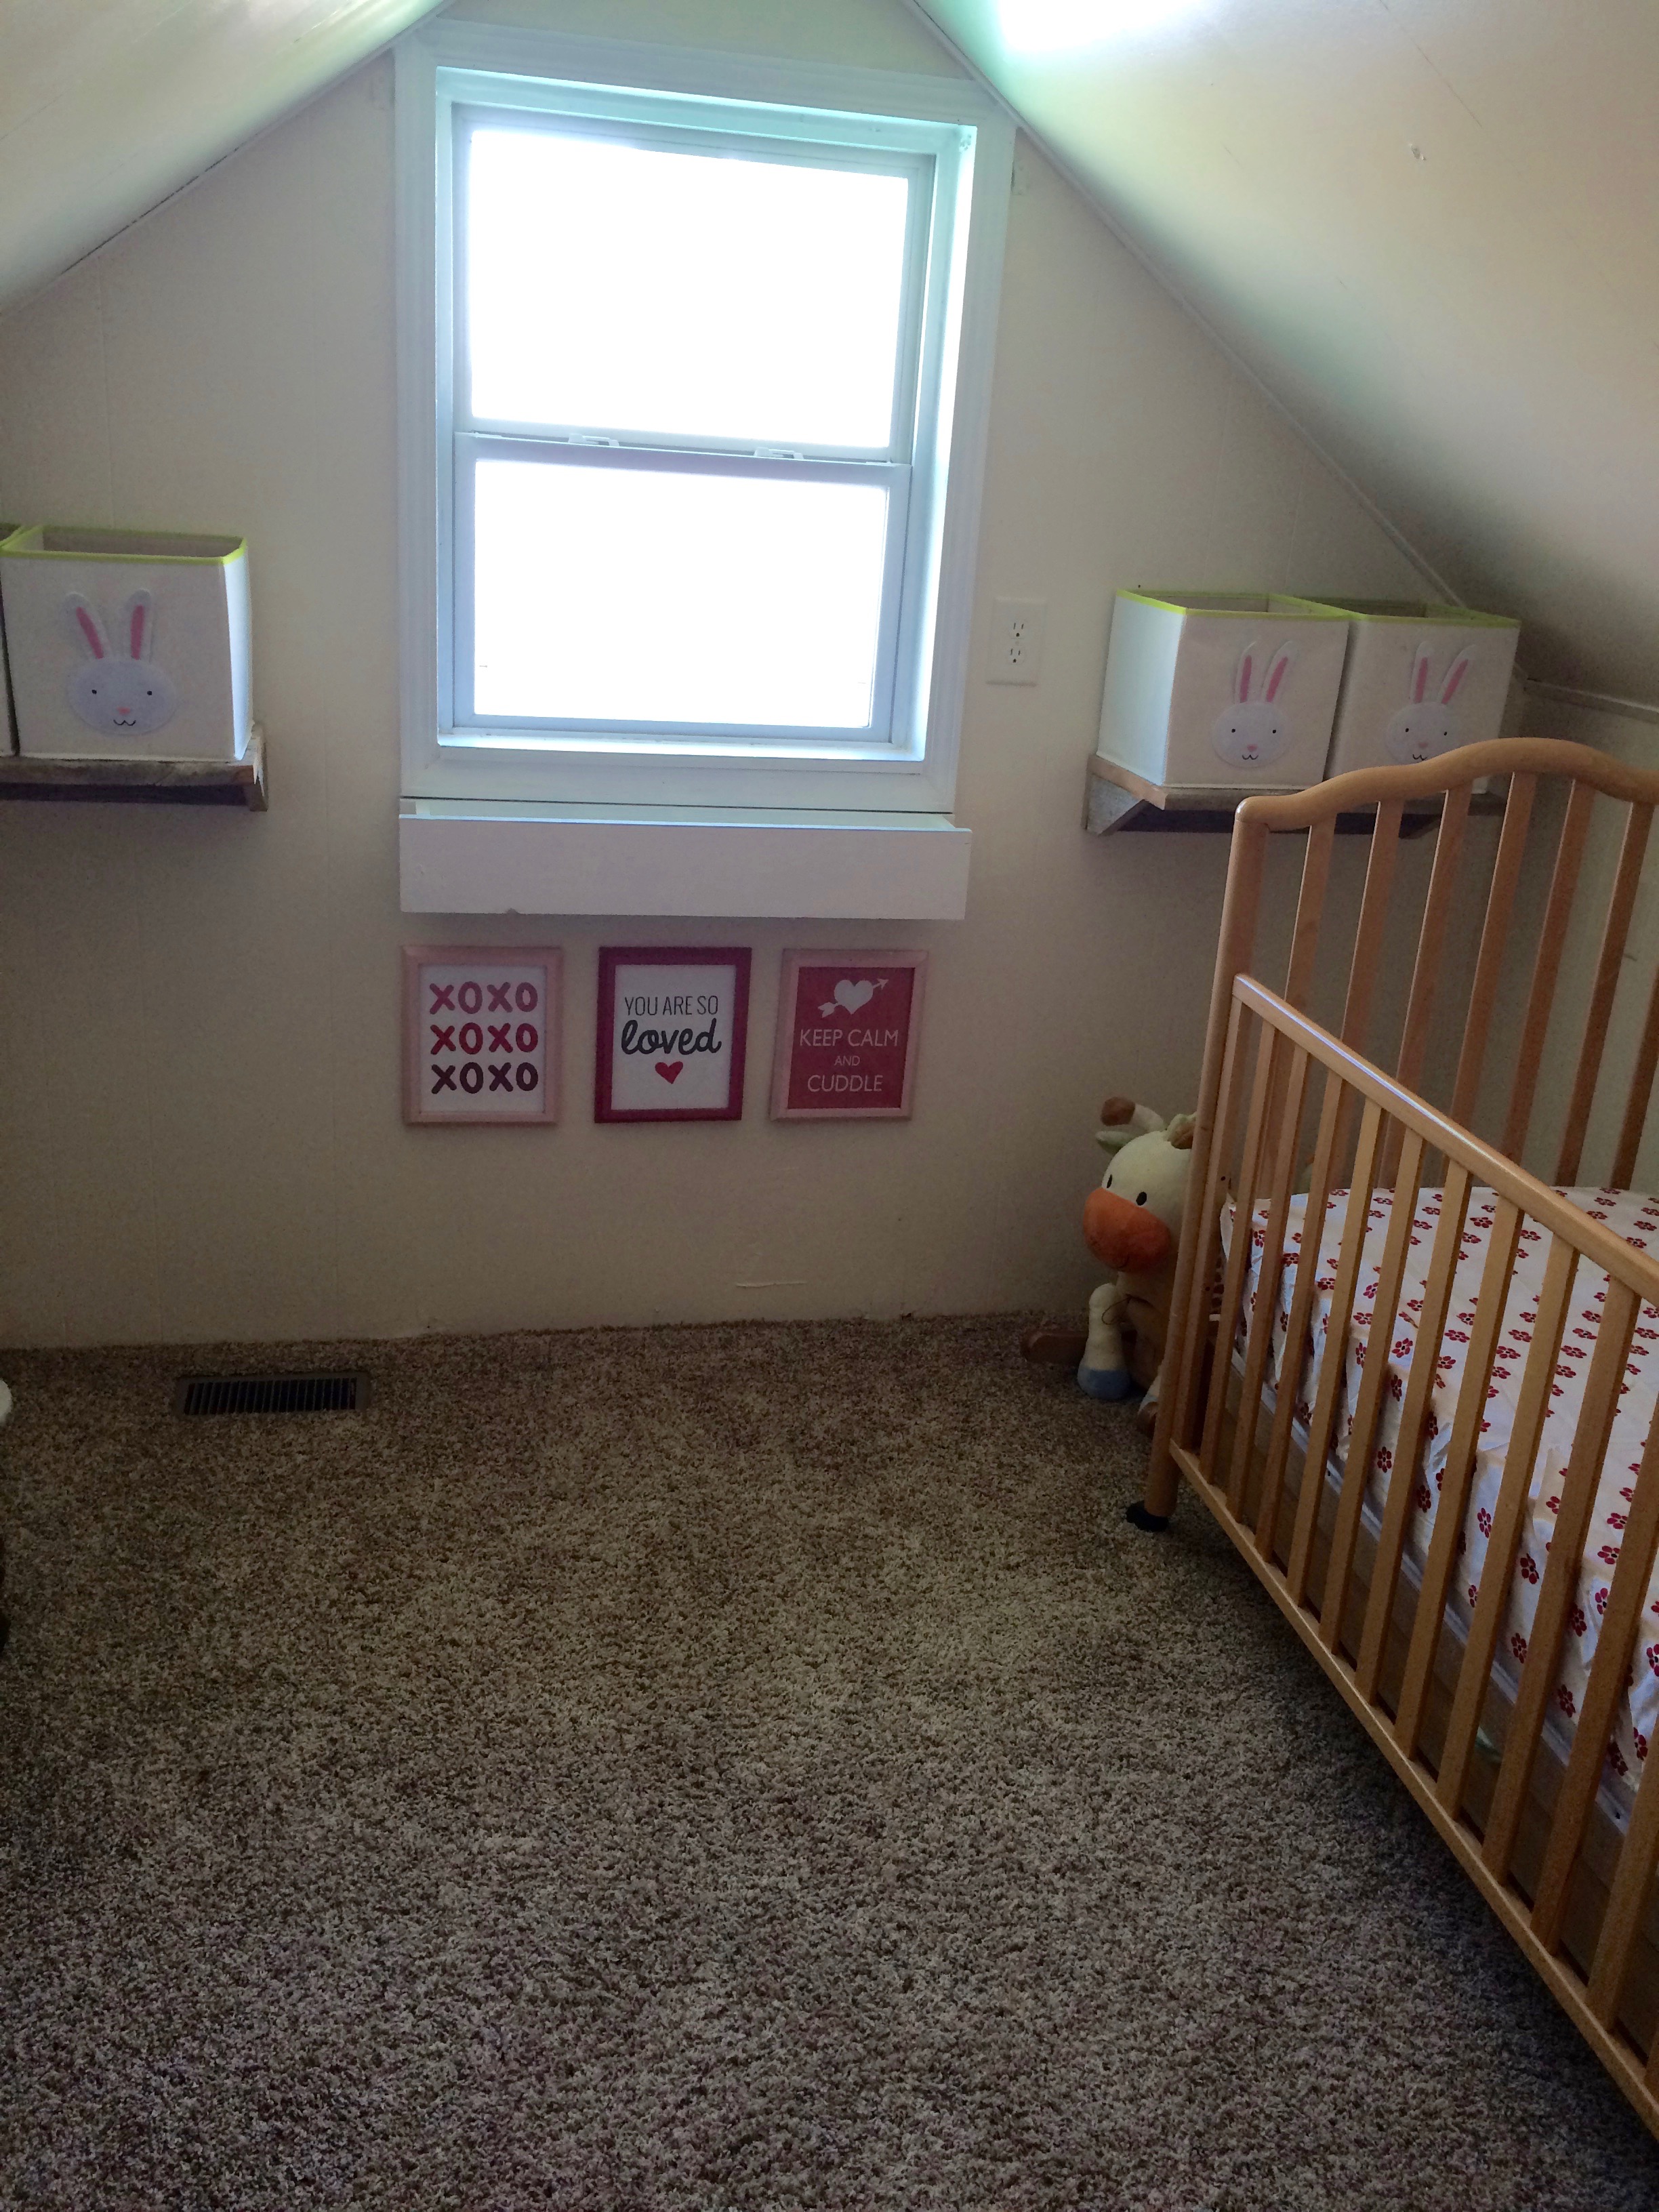
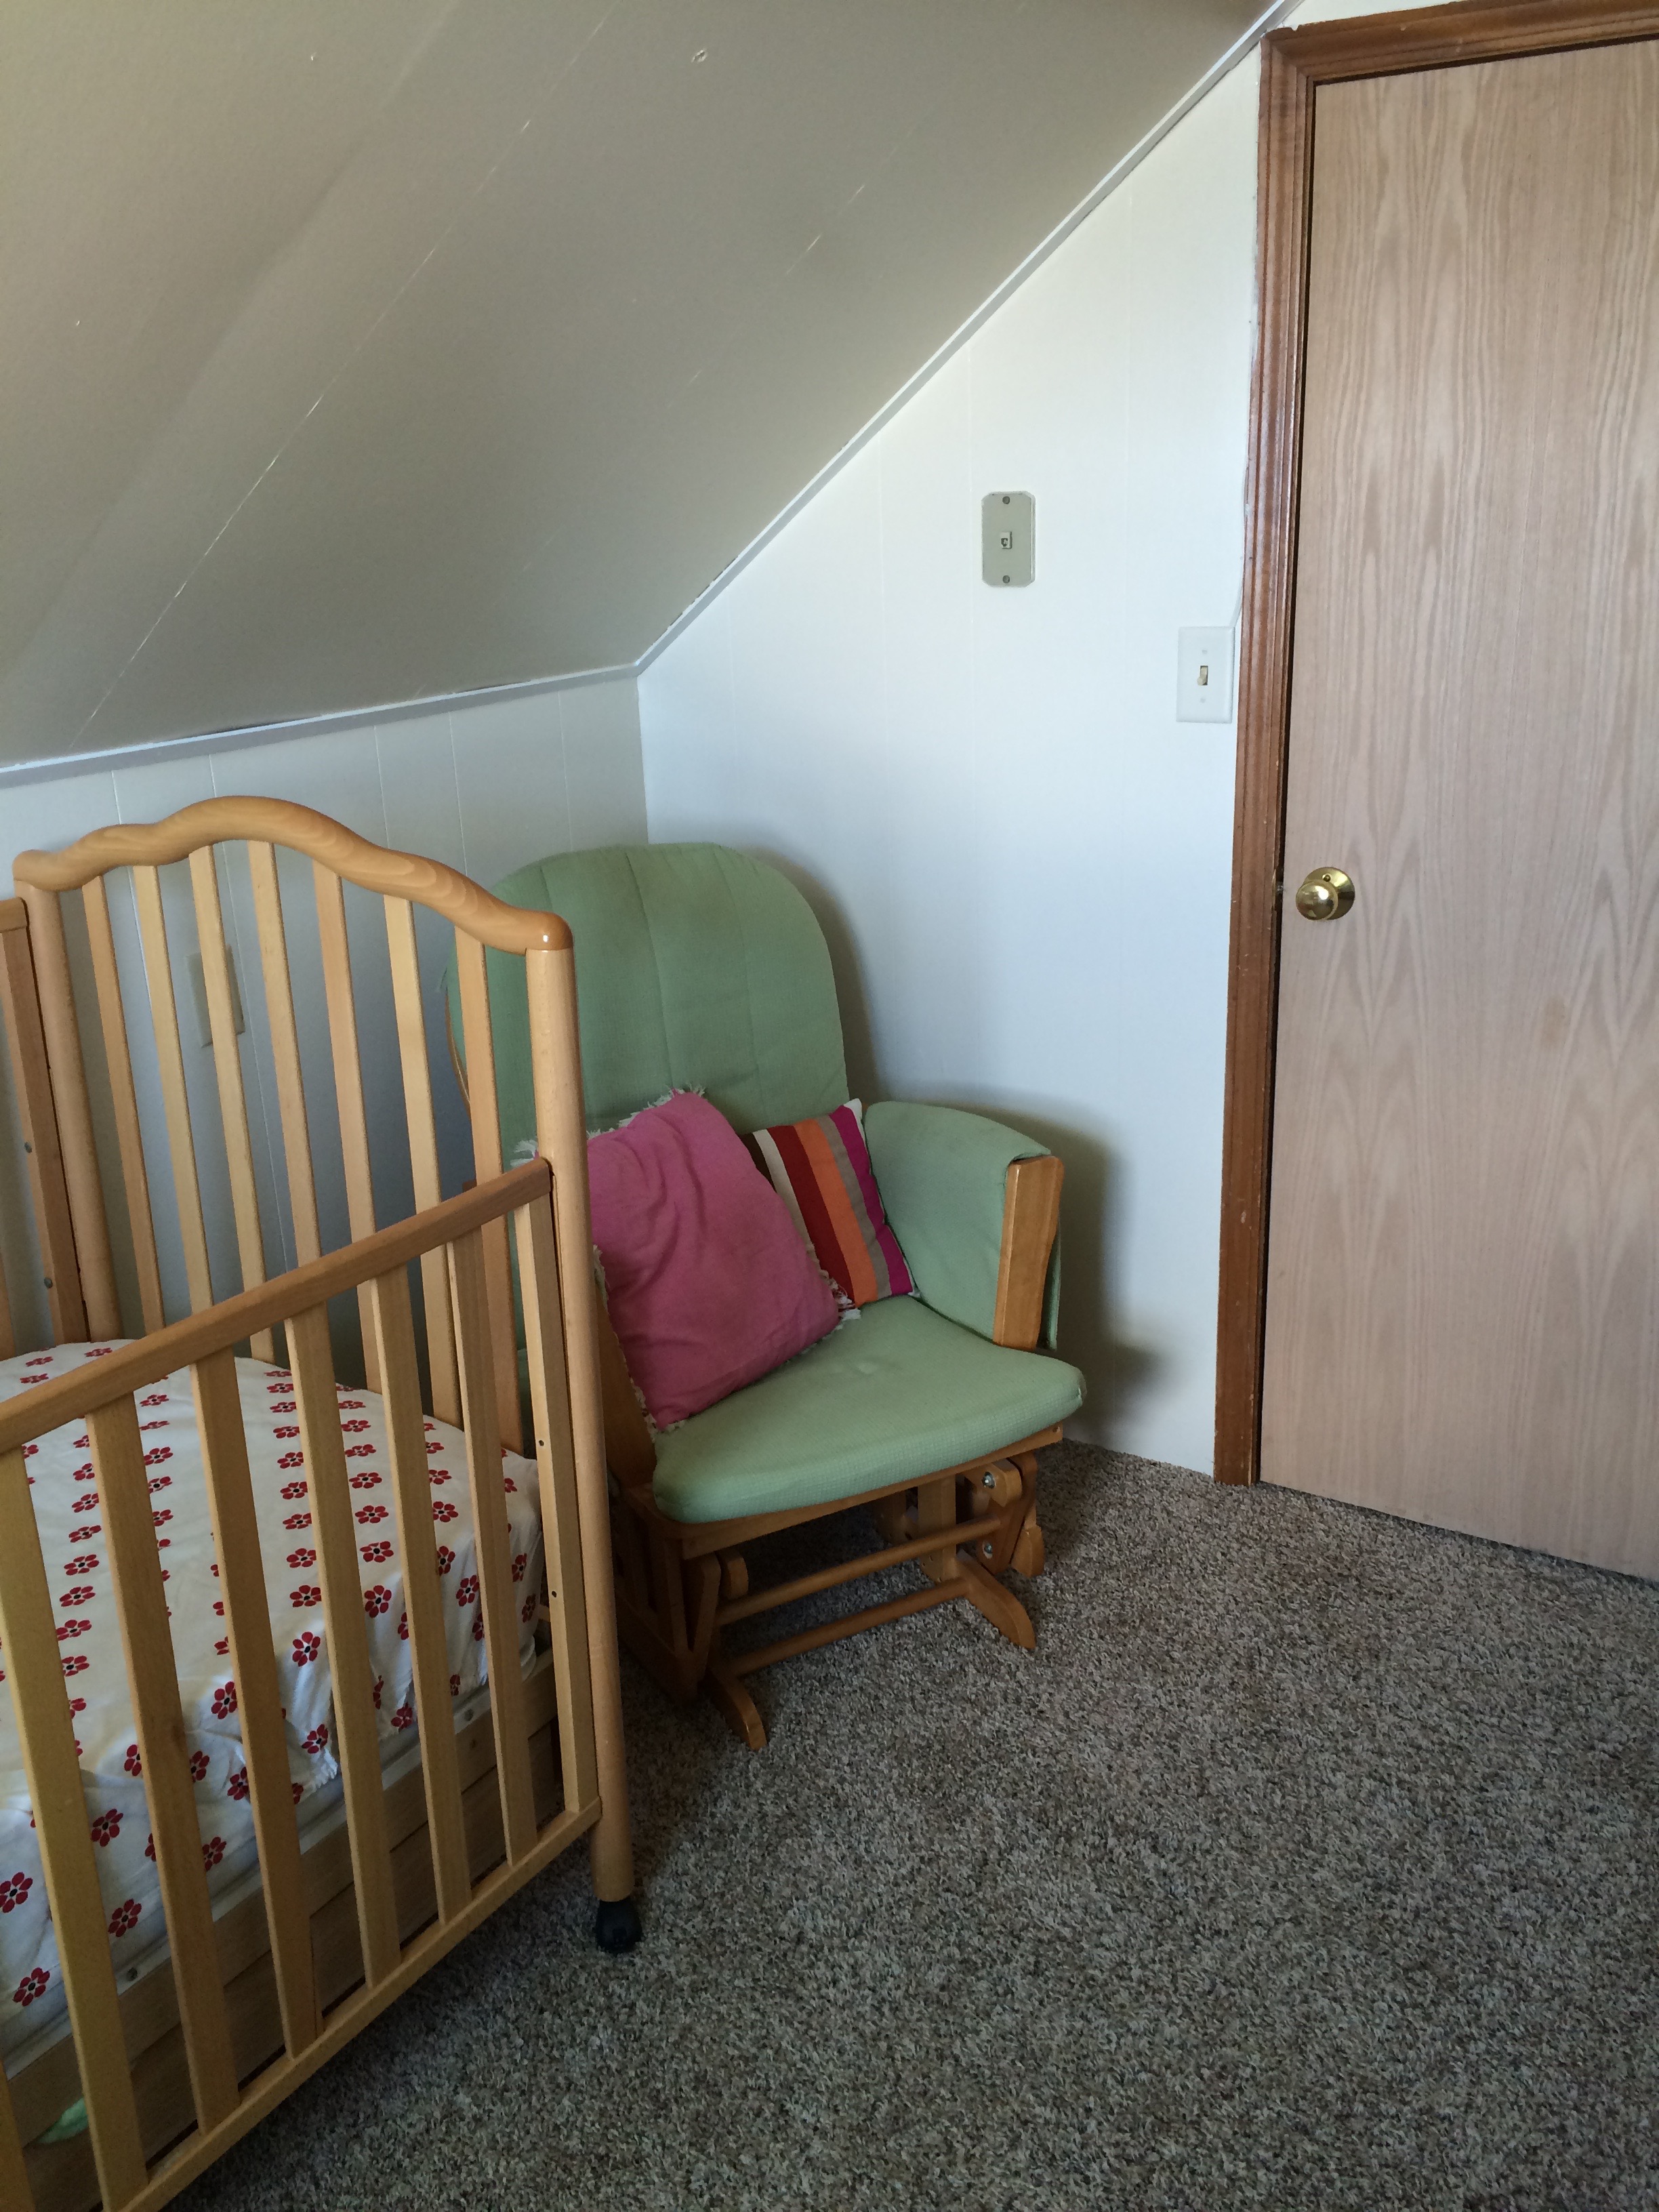
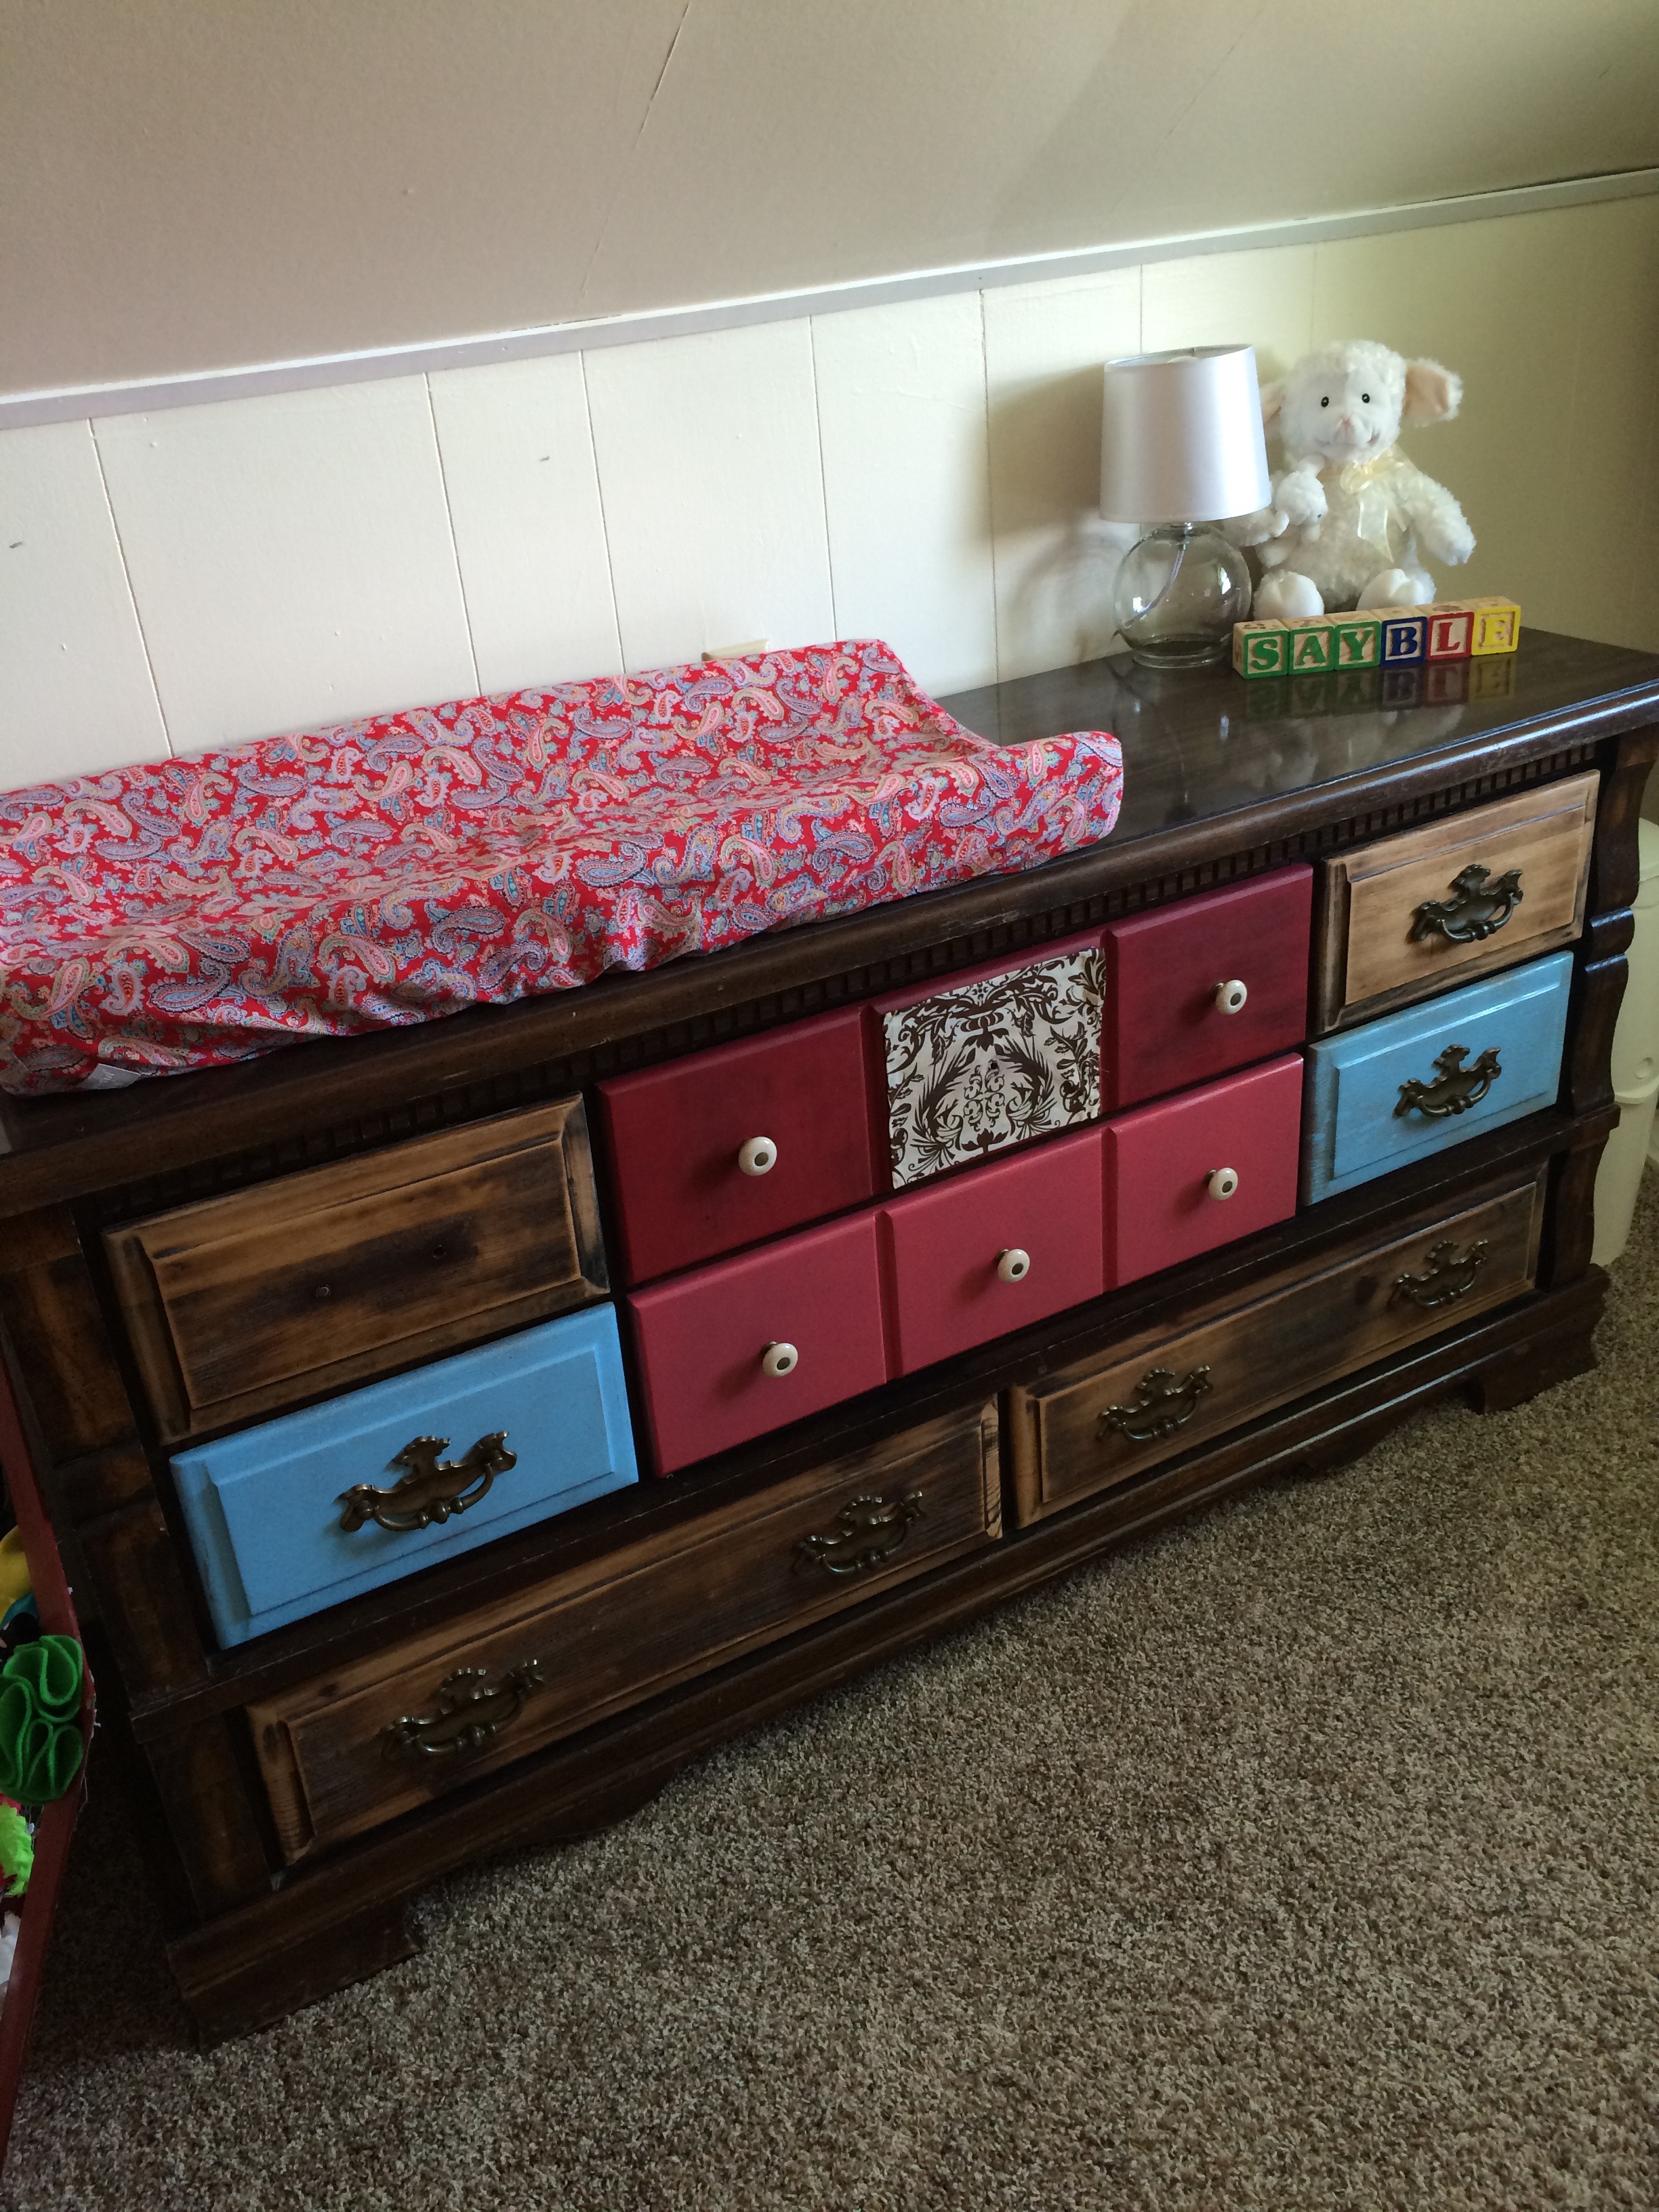
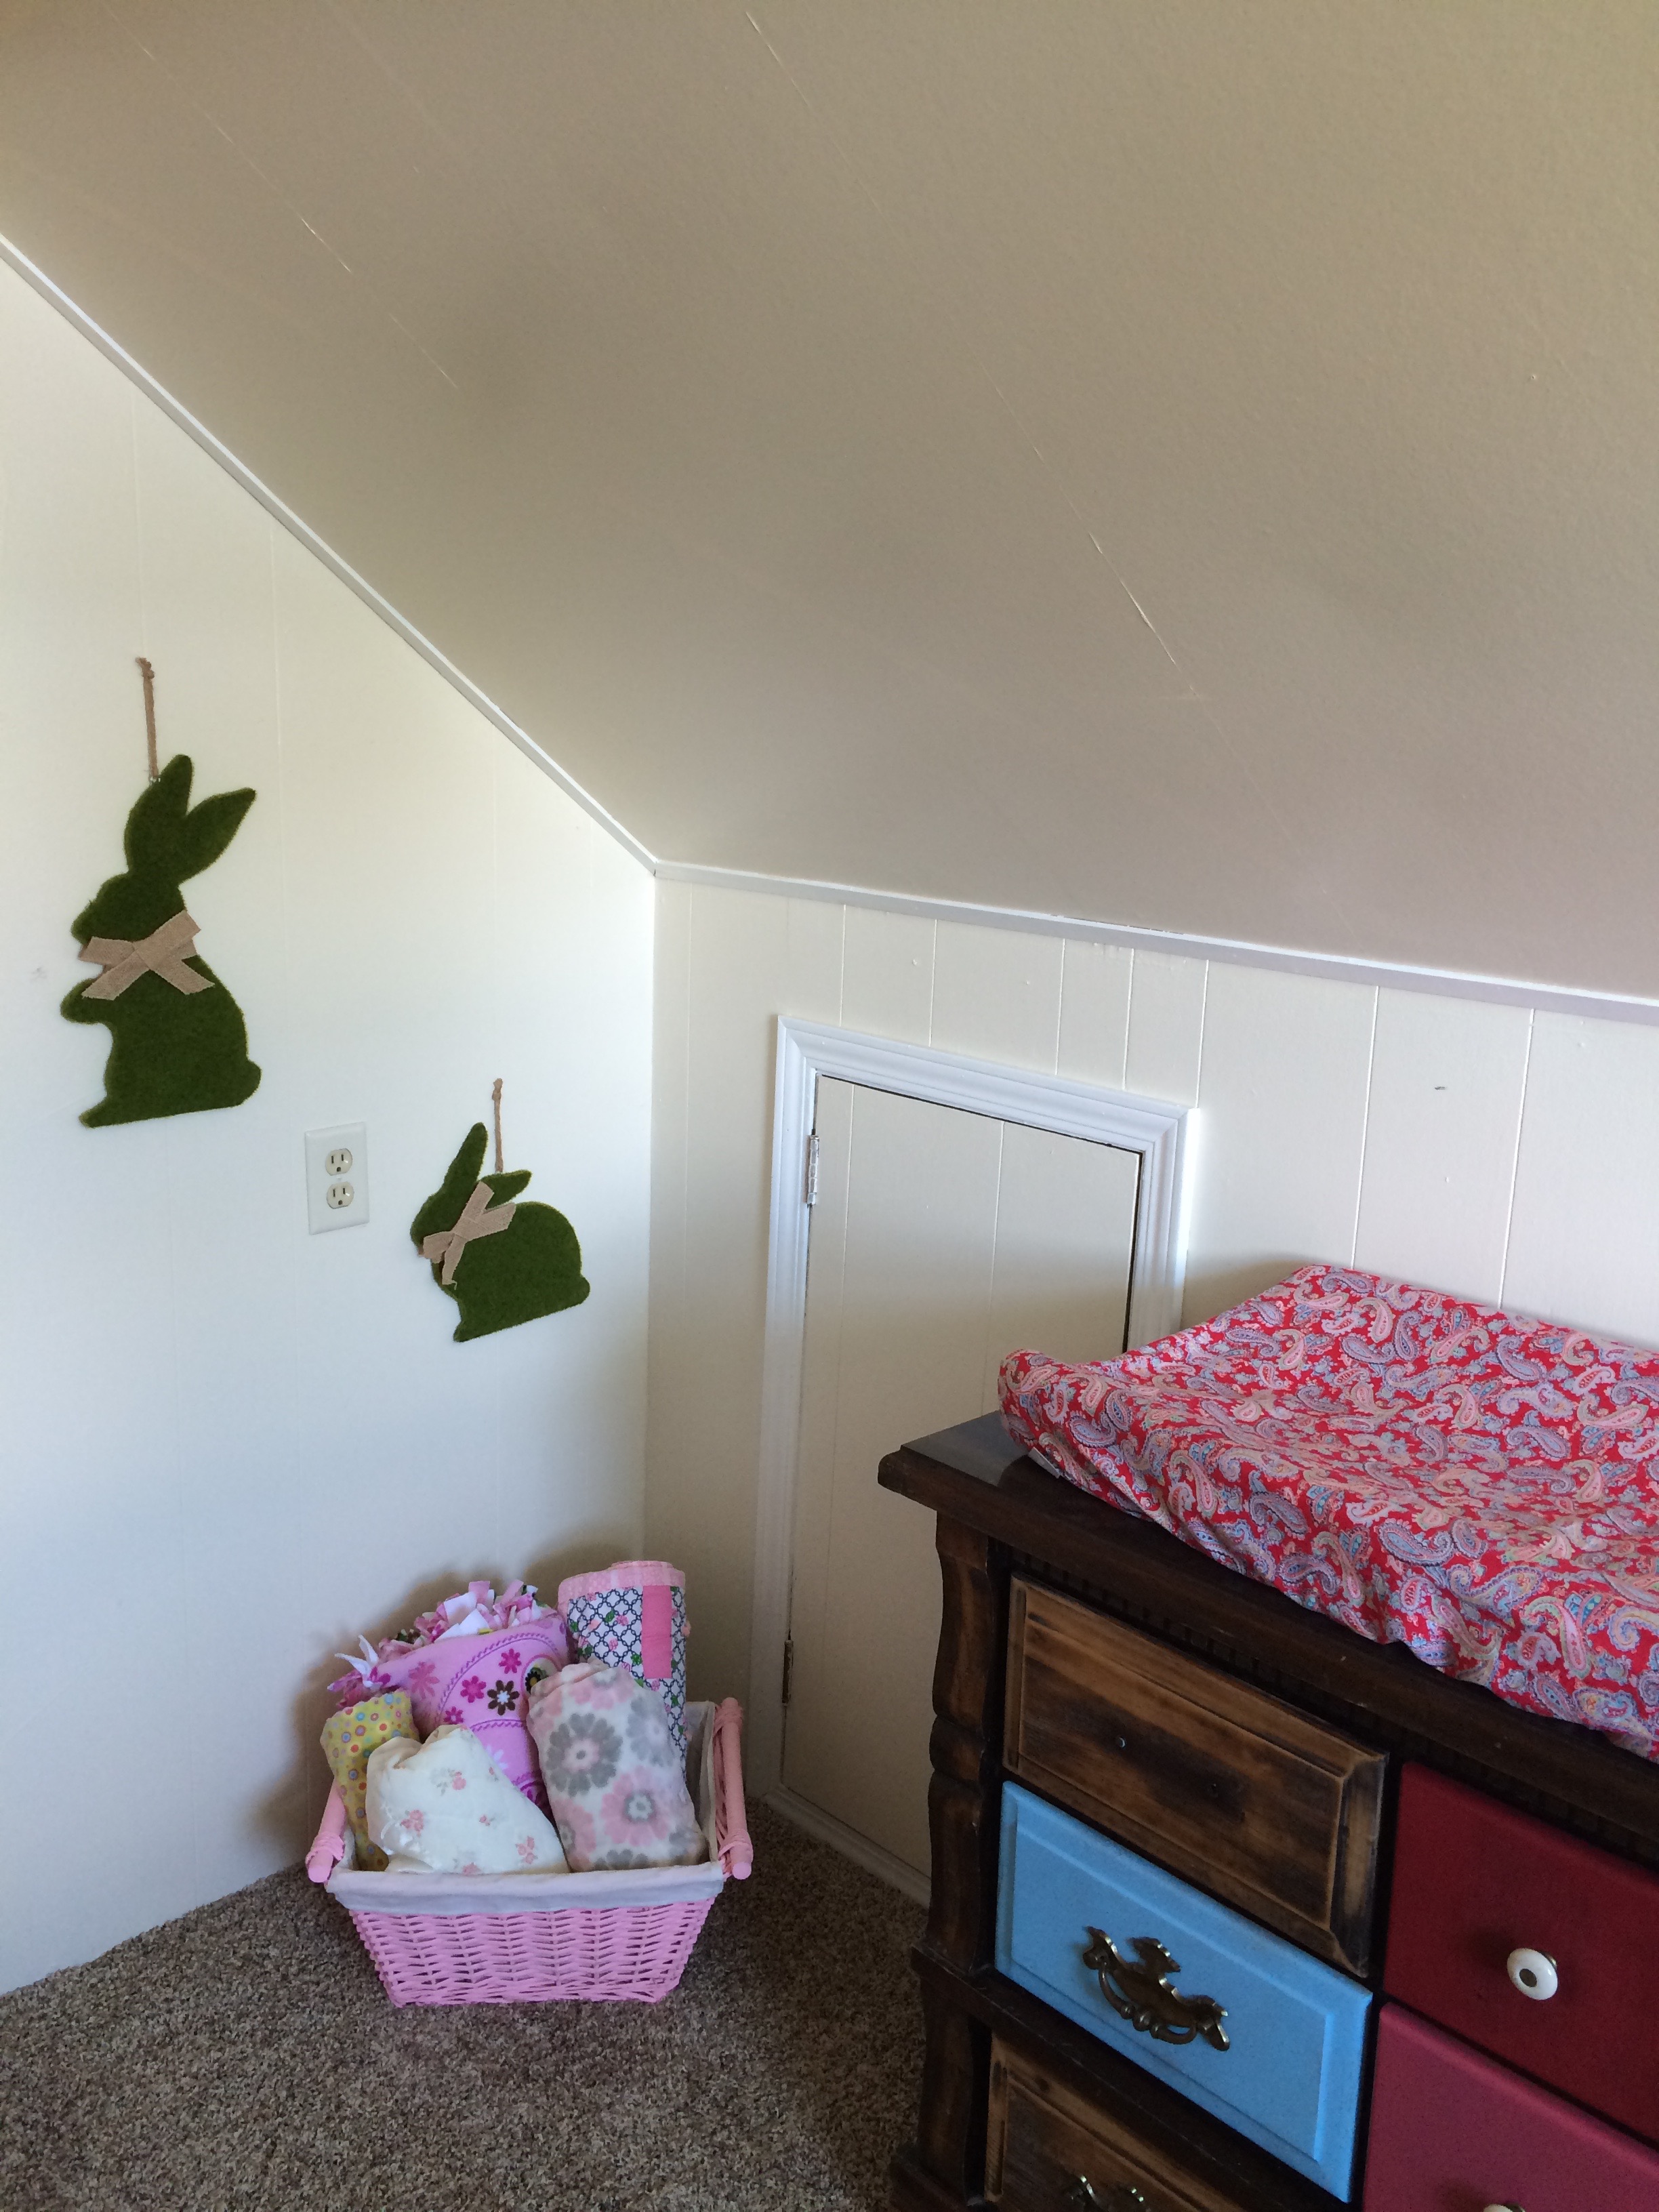
Sayble’s room is the smallest, but it suits her needs just fine for now! I love how it turned out…so sweet and cute – like her!
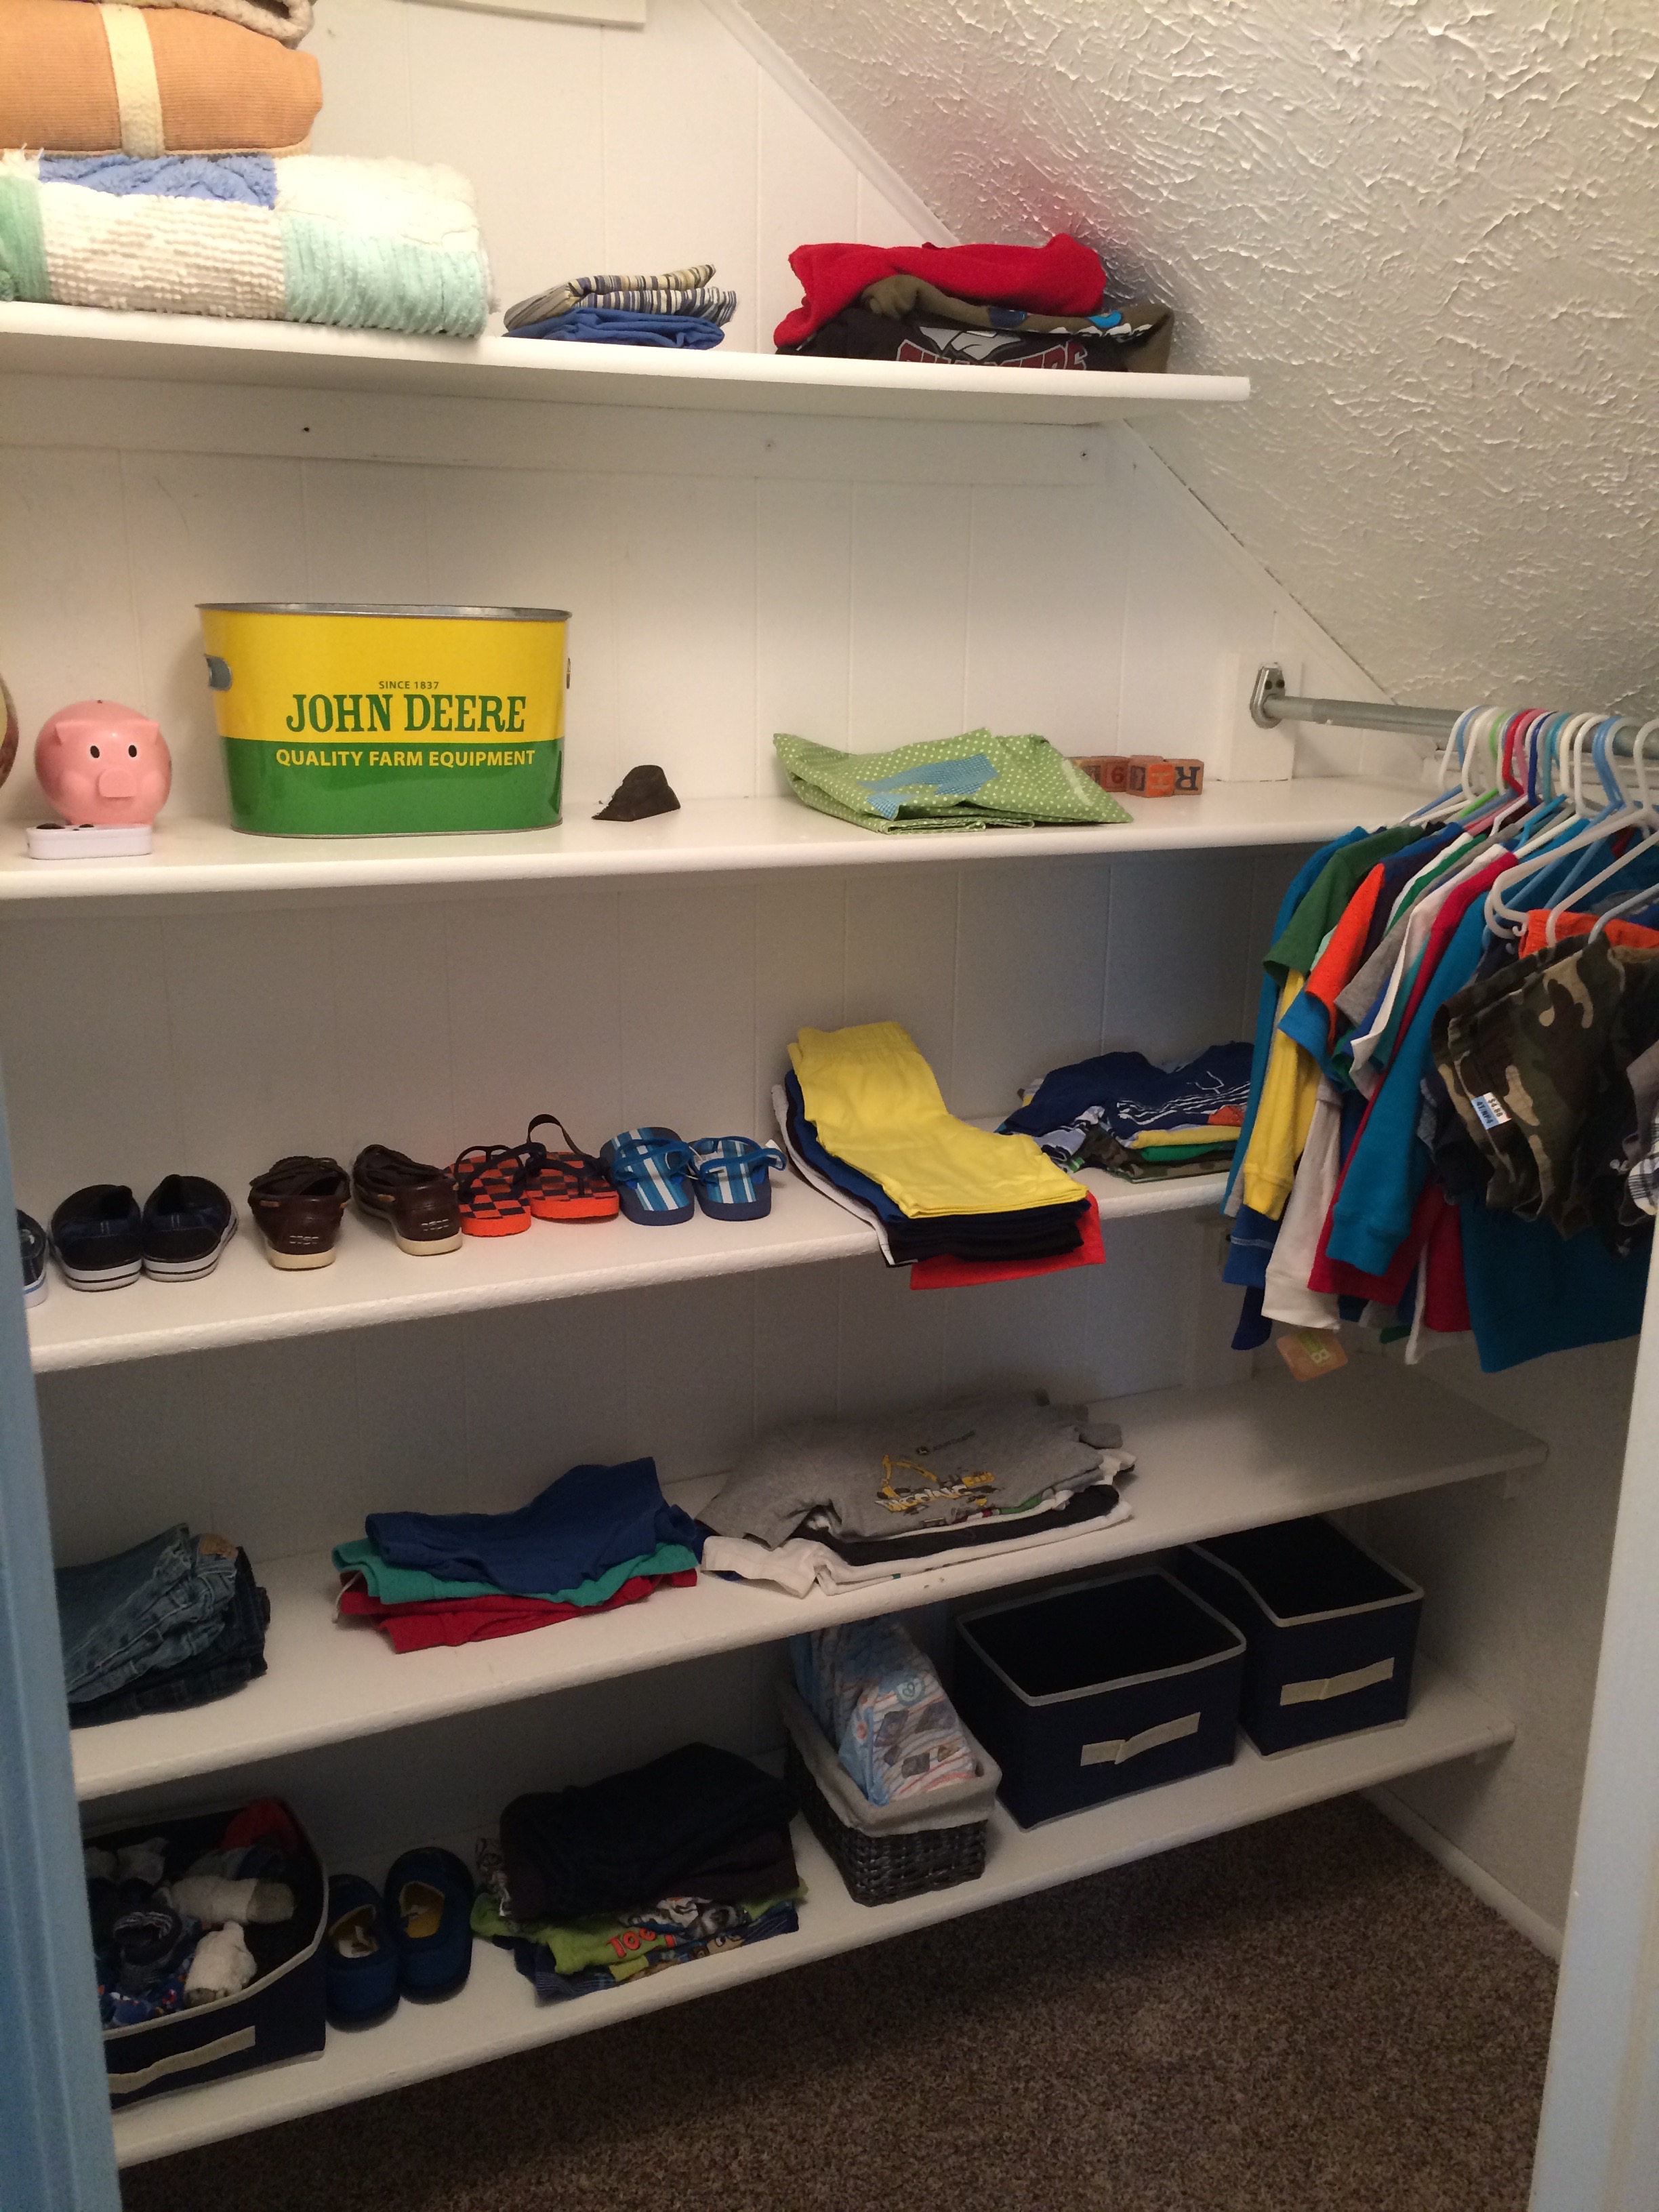
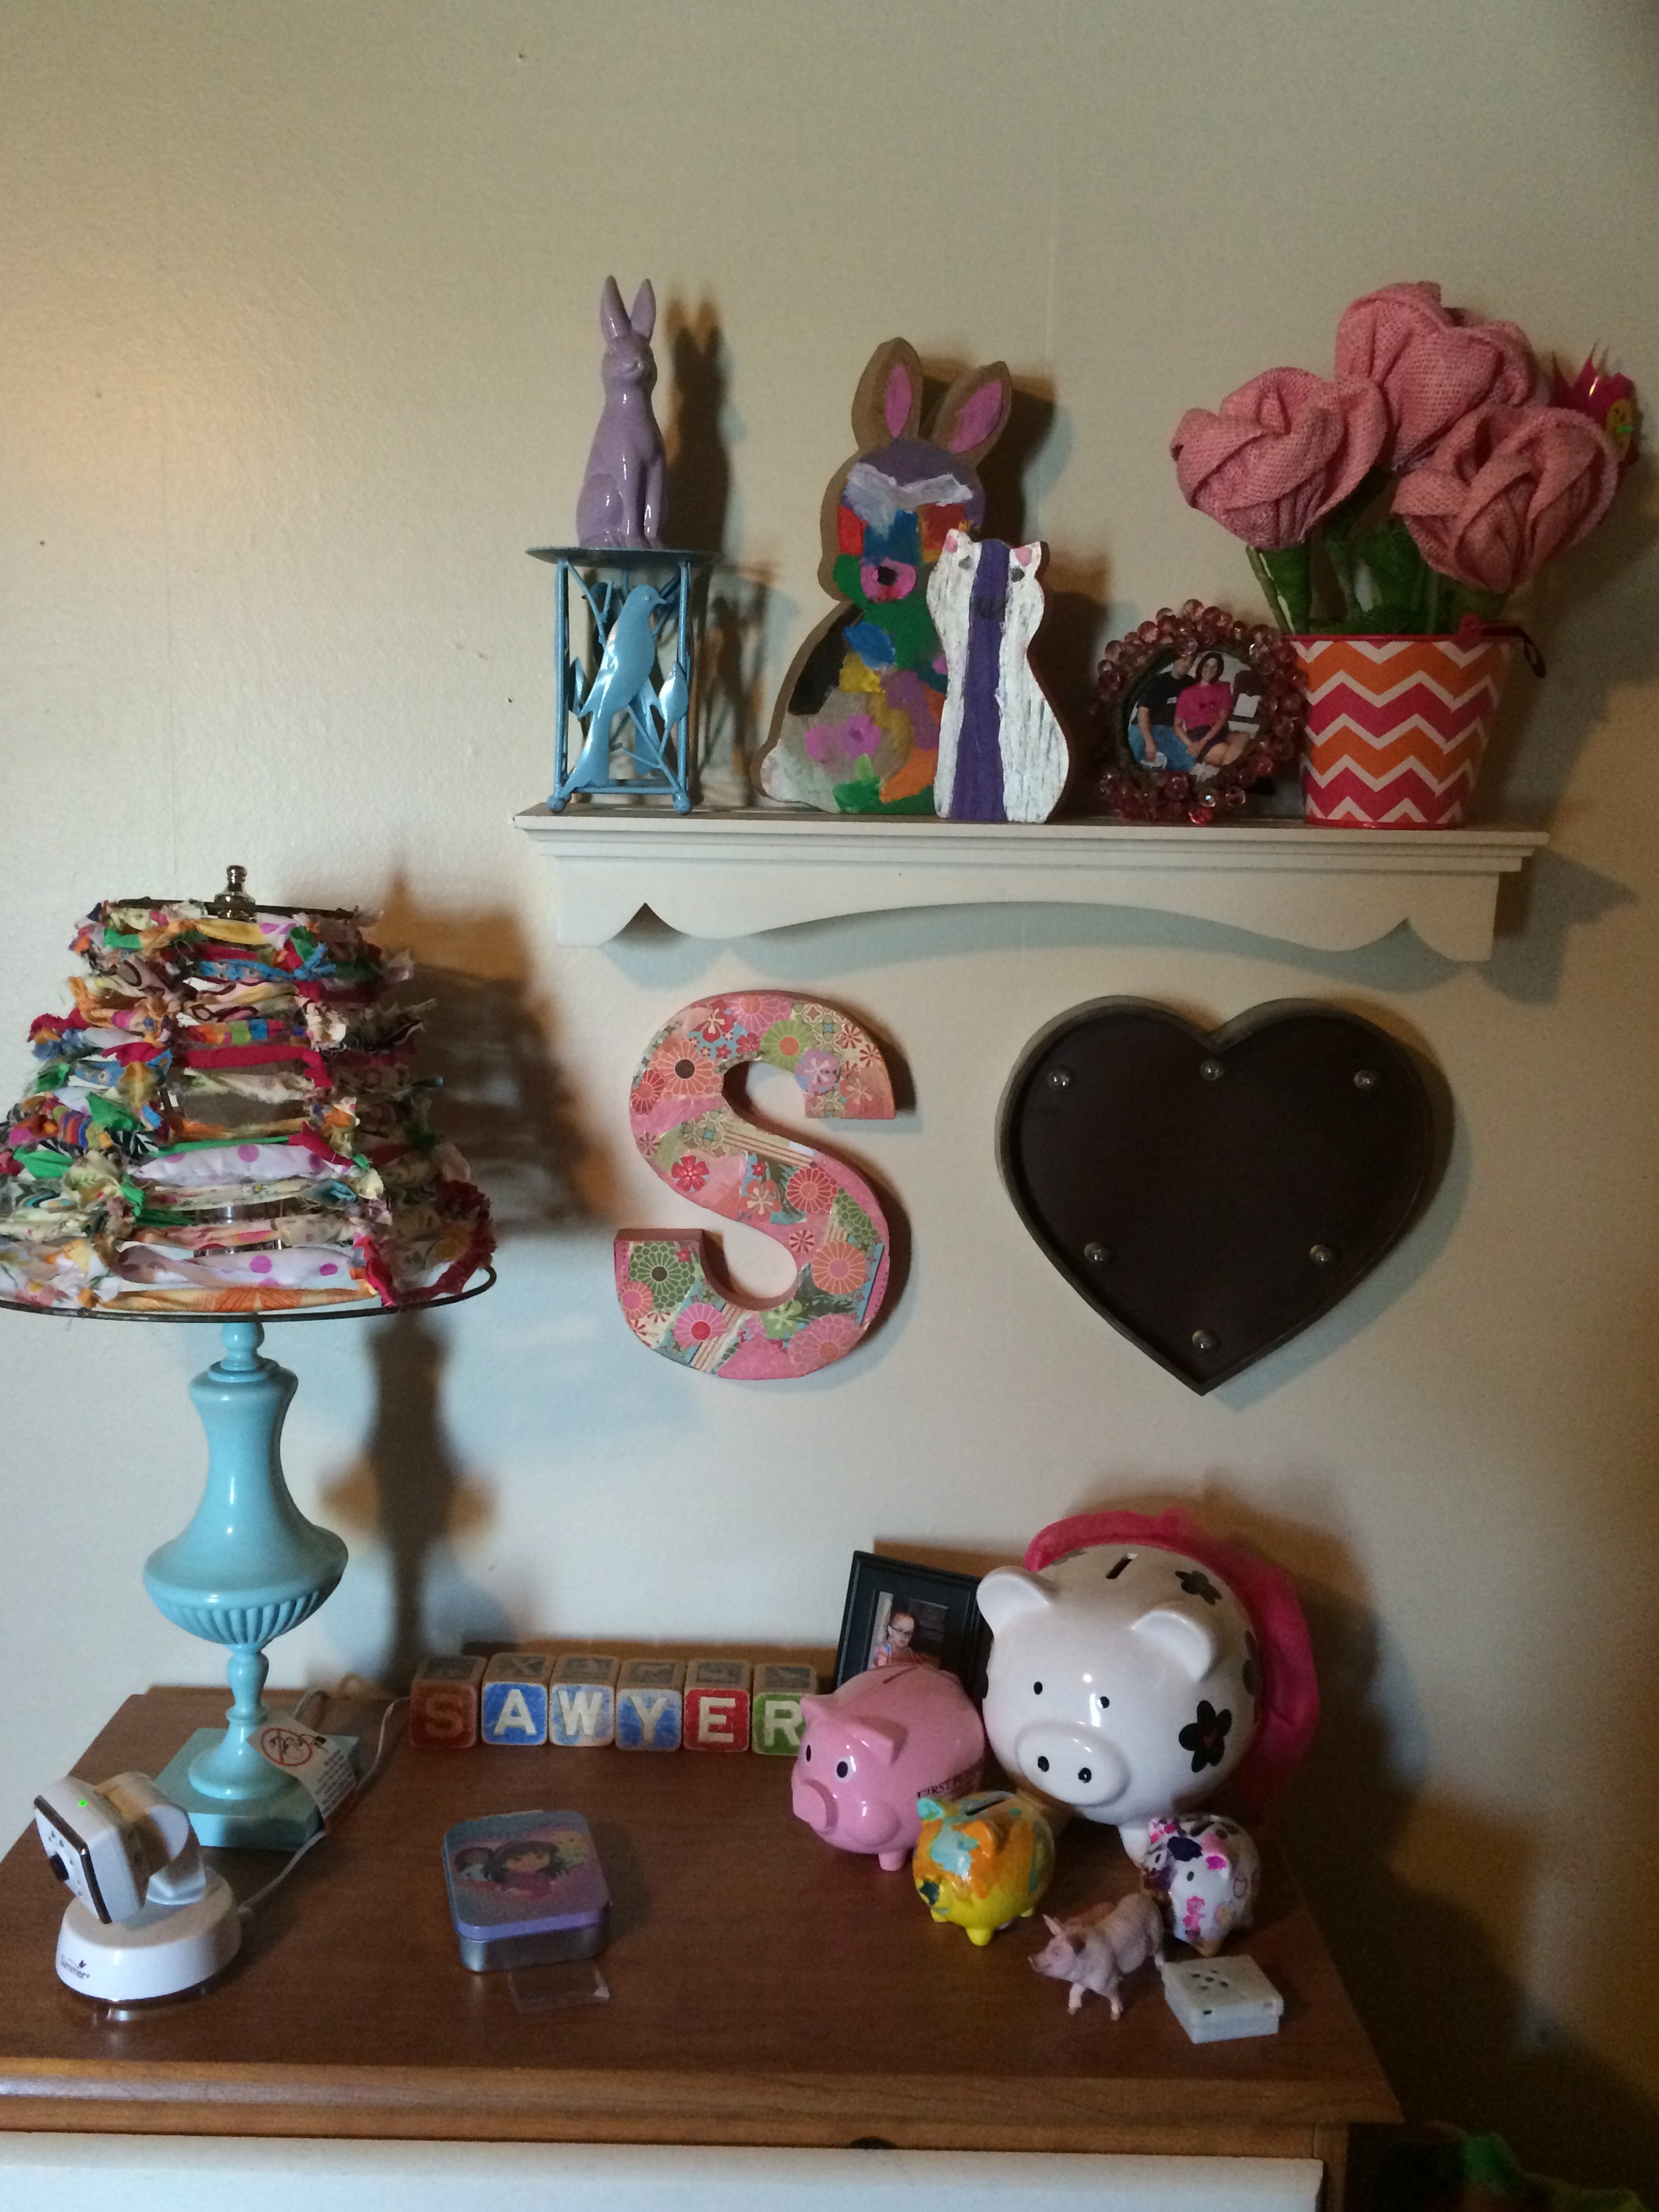
Sawyer got the biggest room. It was an easy choice for us as far as layout goes…and? The girl’s got a lot of stuff. There’s a hoarder gene on the Phipps side and by golly, the girl’s got it!
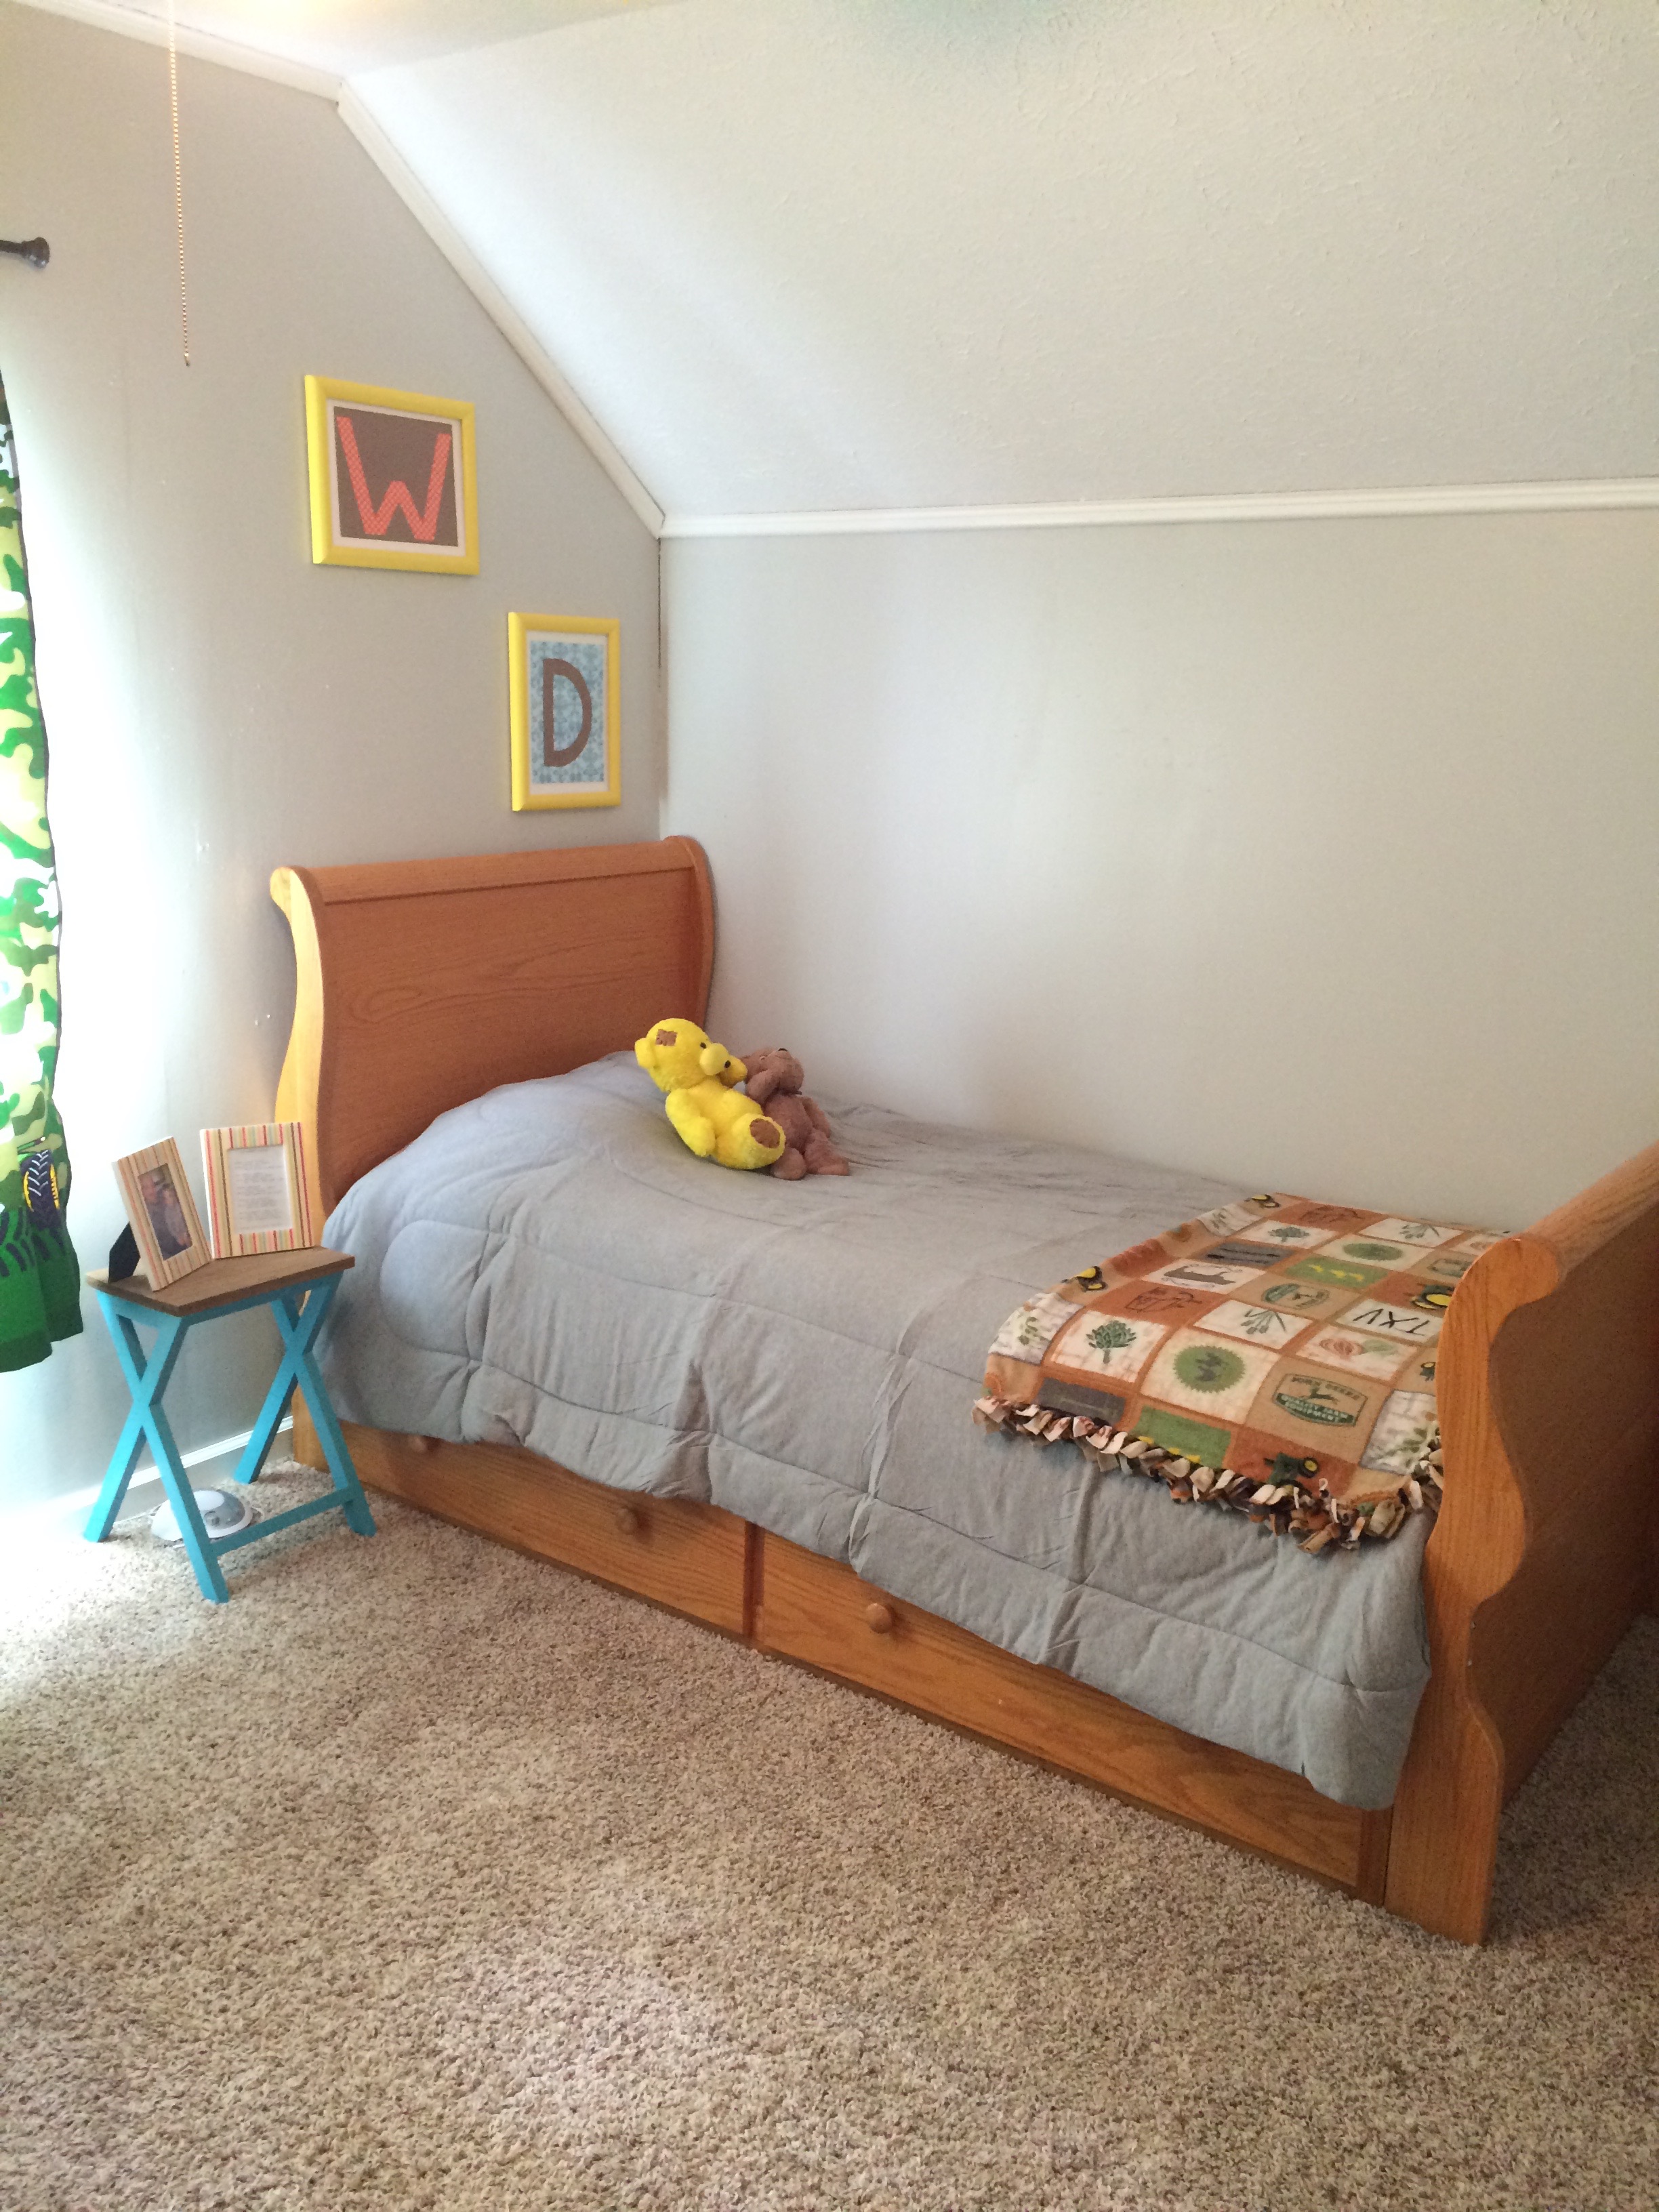
Part of why she needed the big room was for this:
LOVE LOVE LOVE
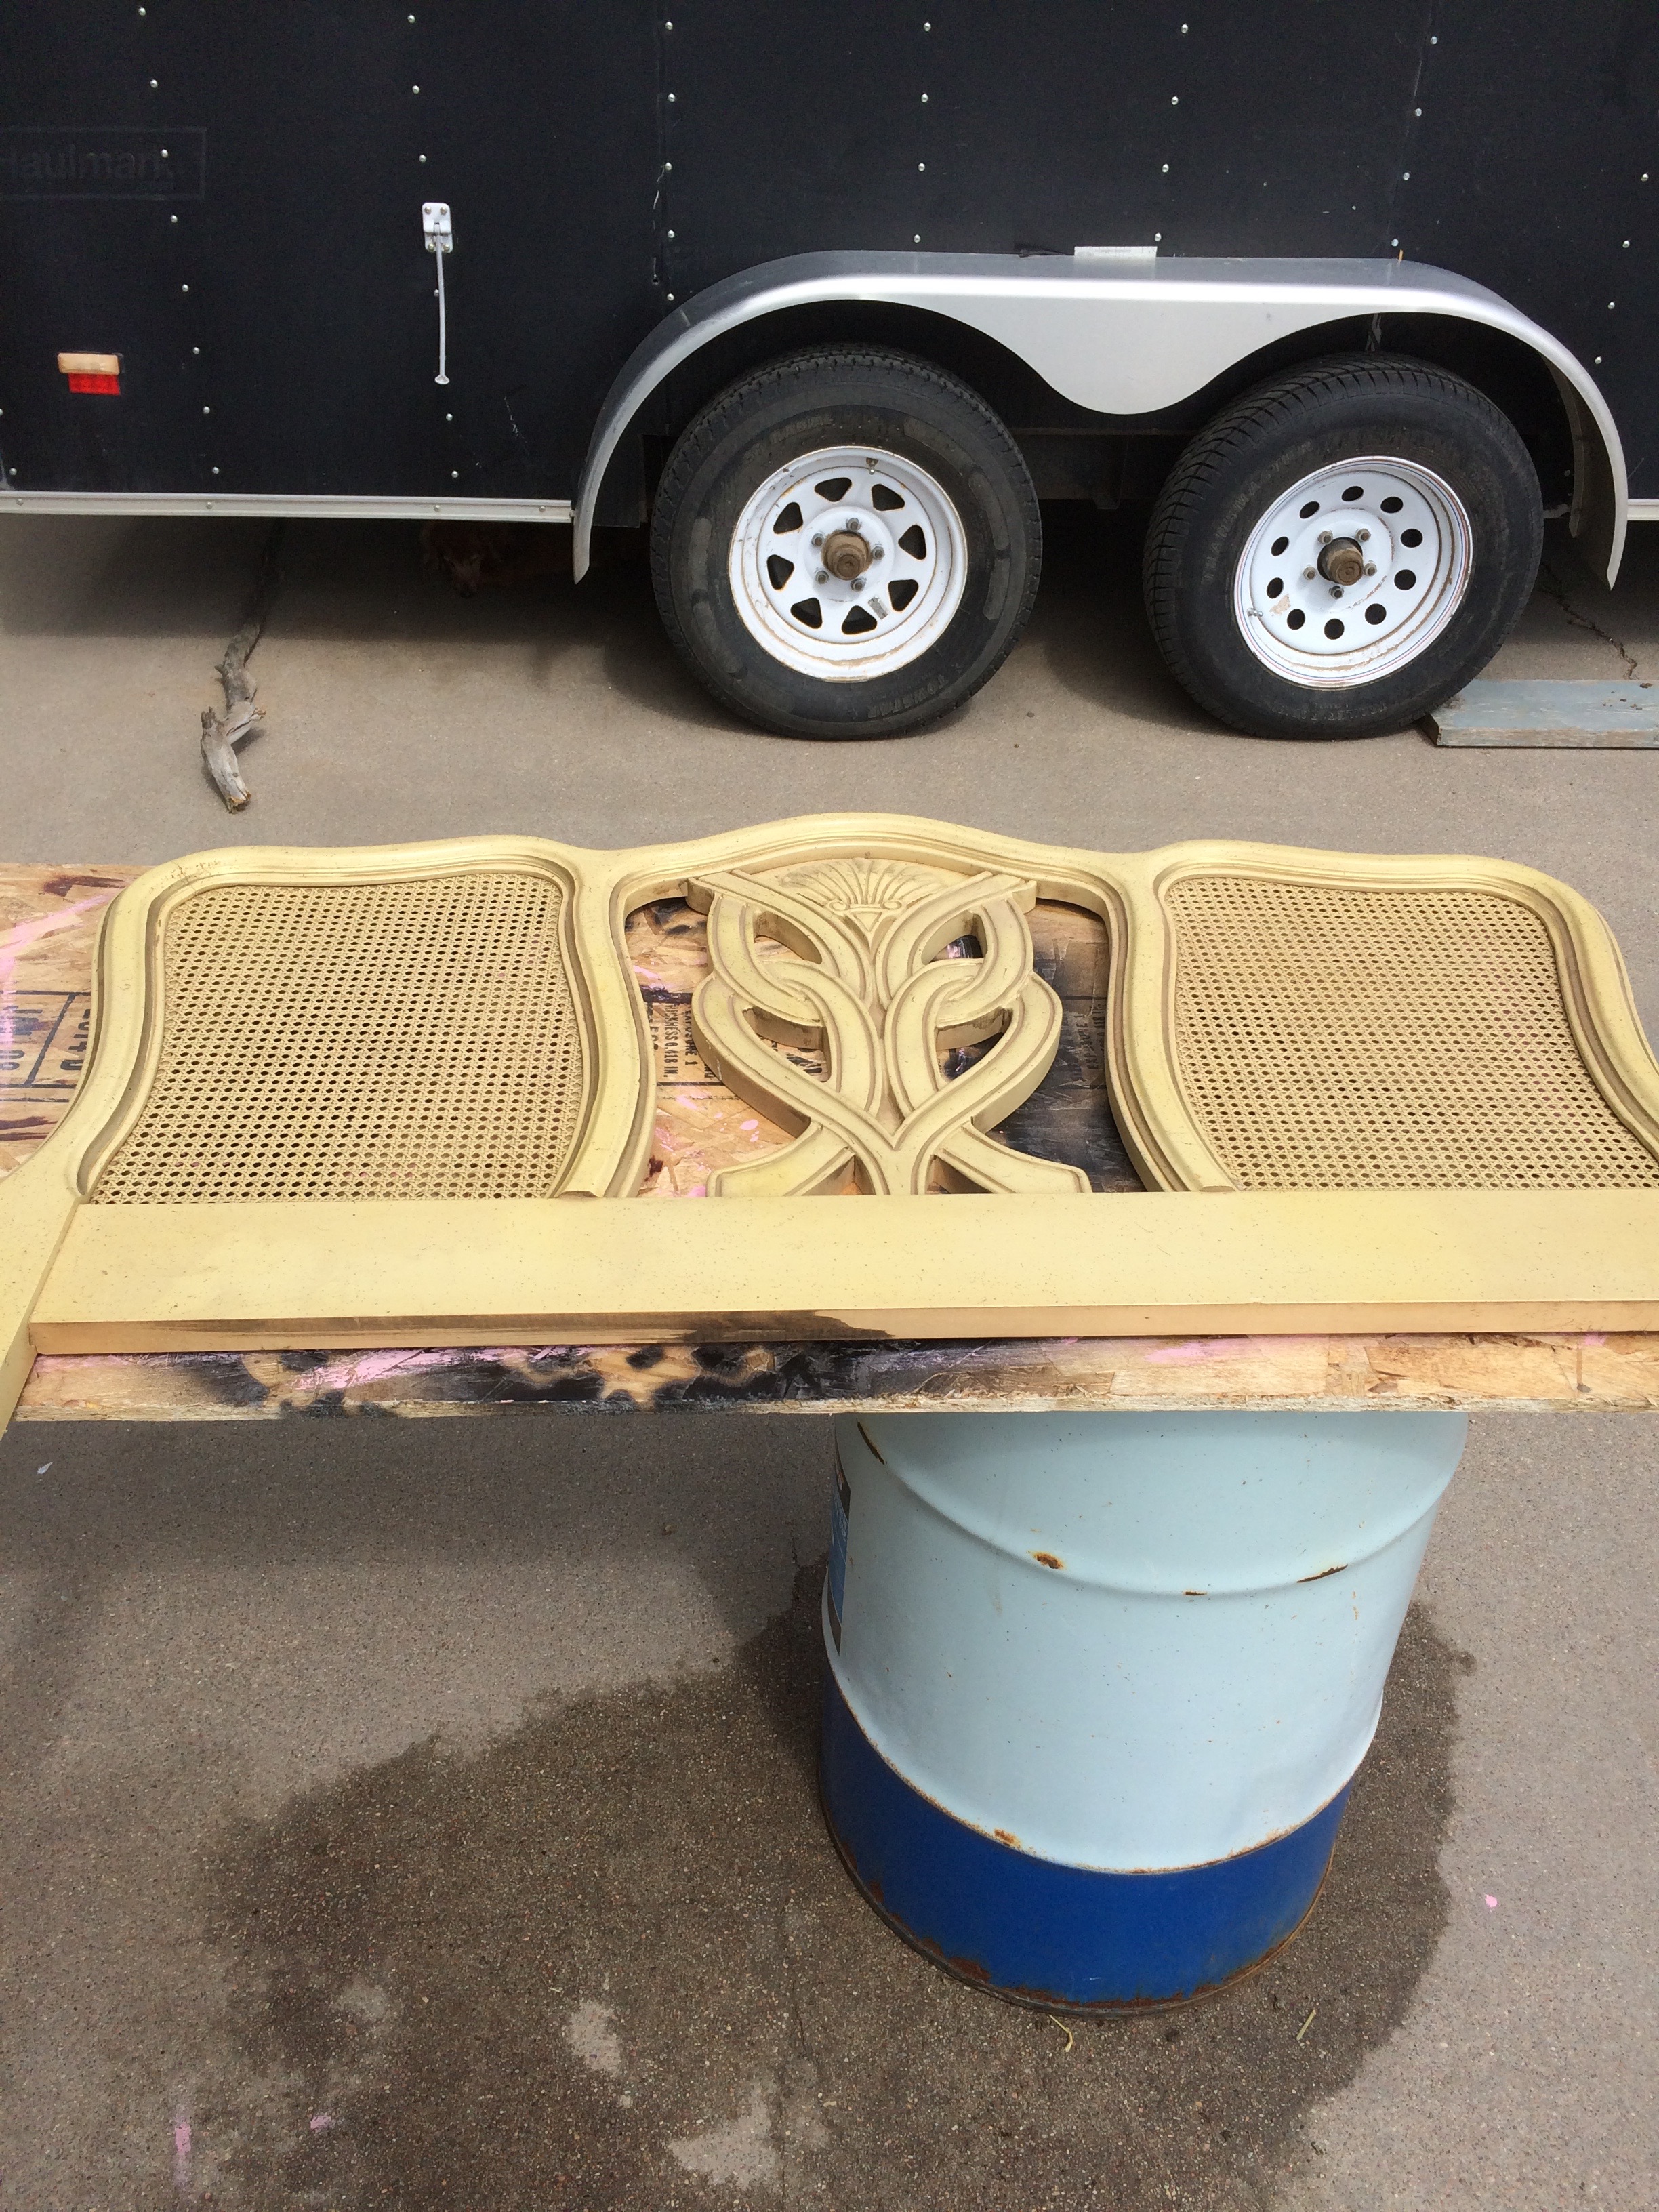
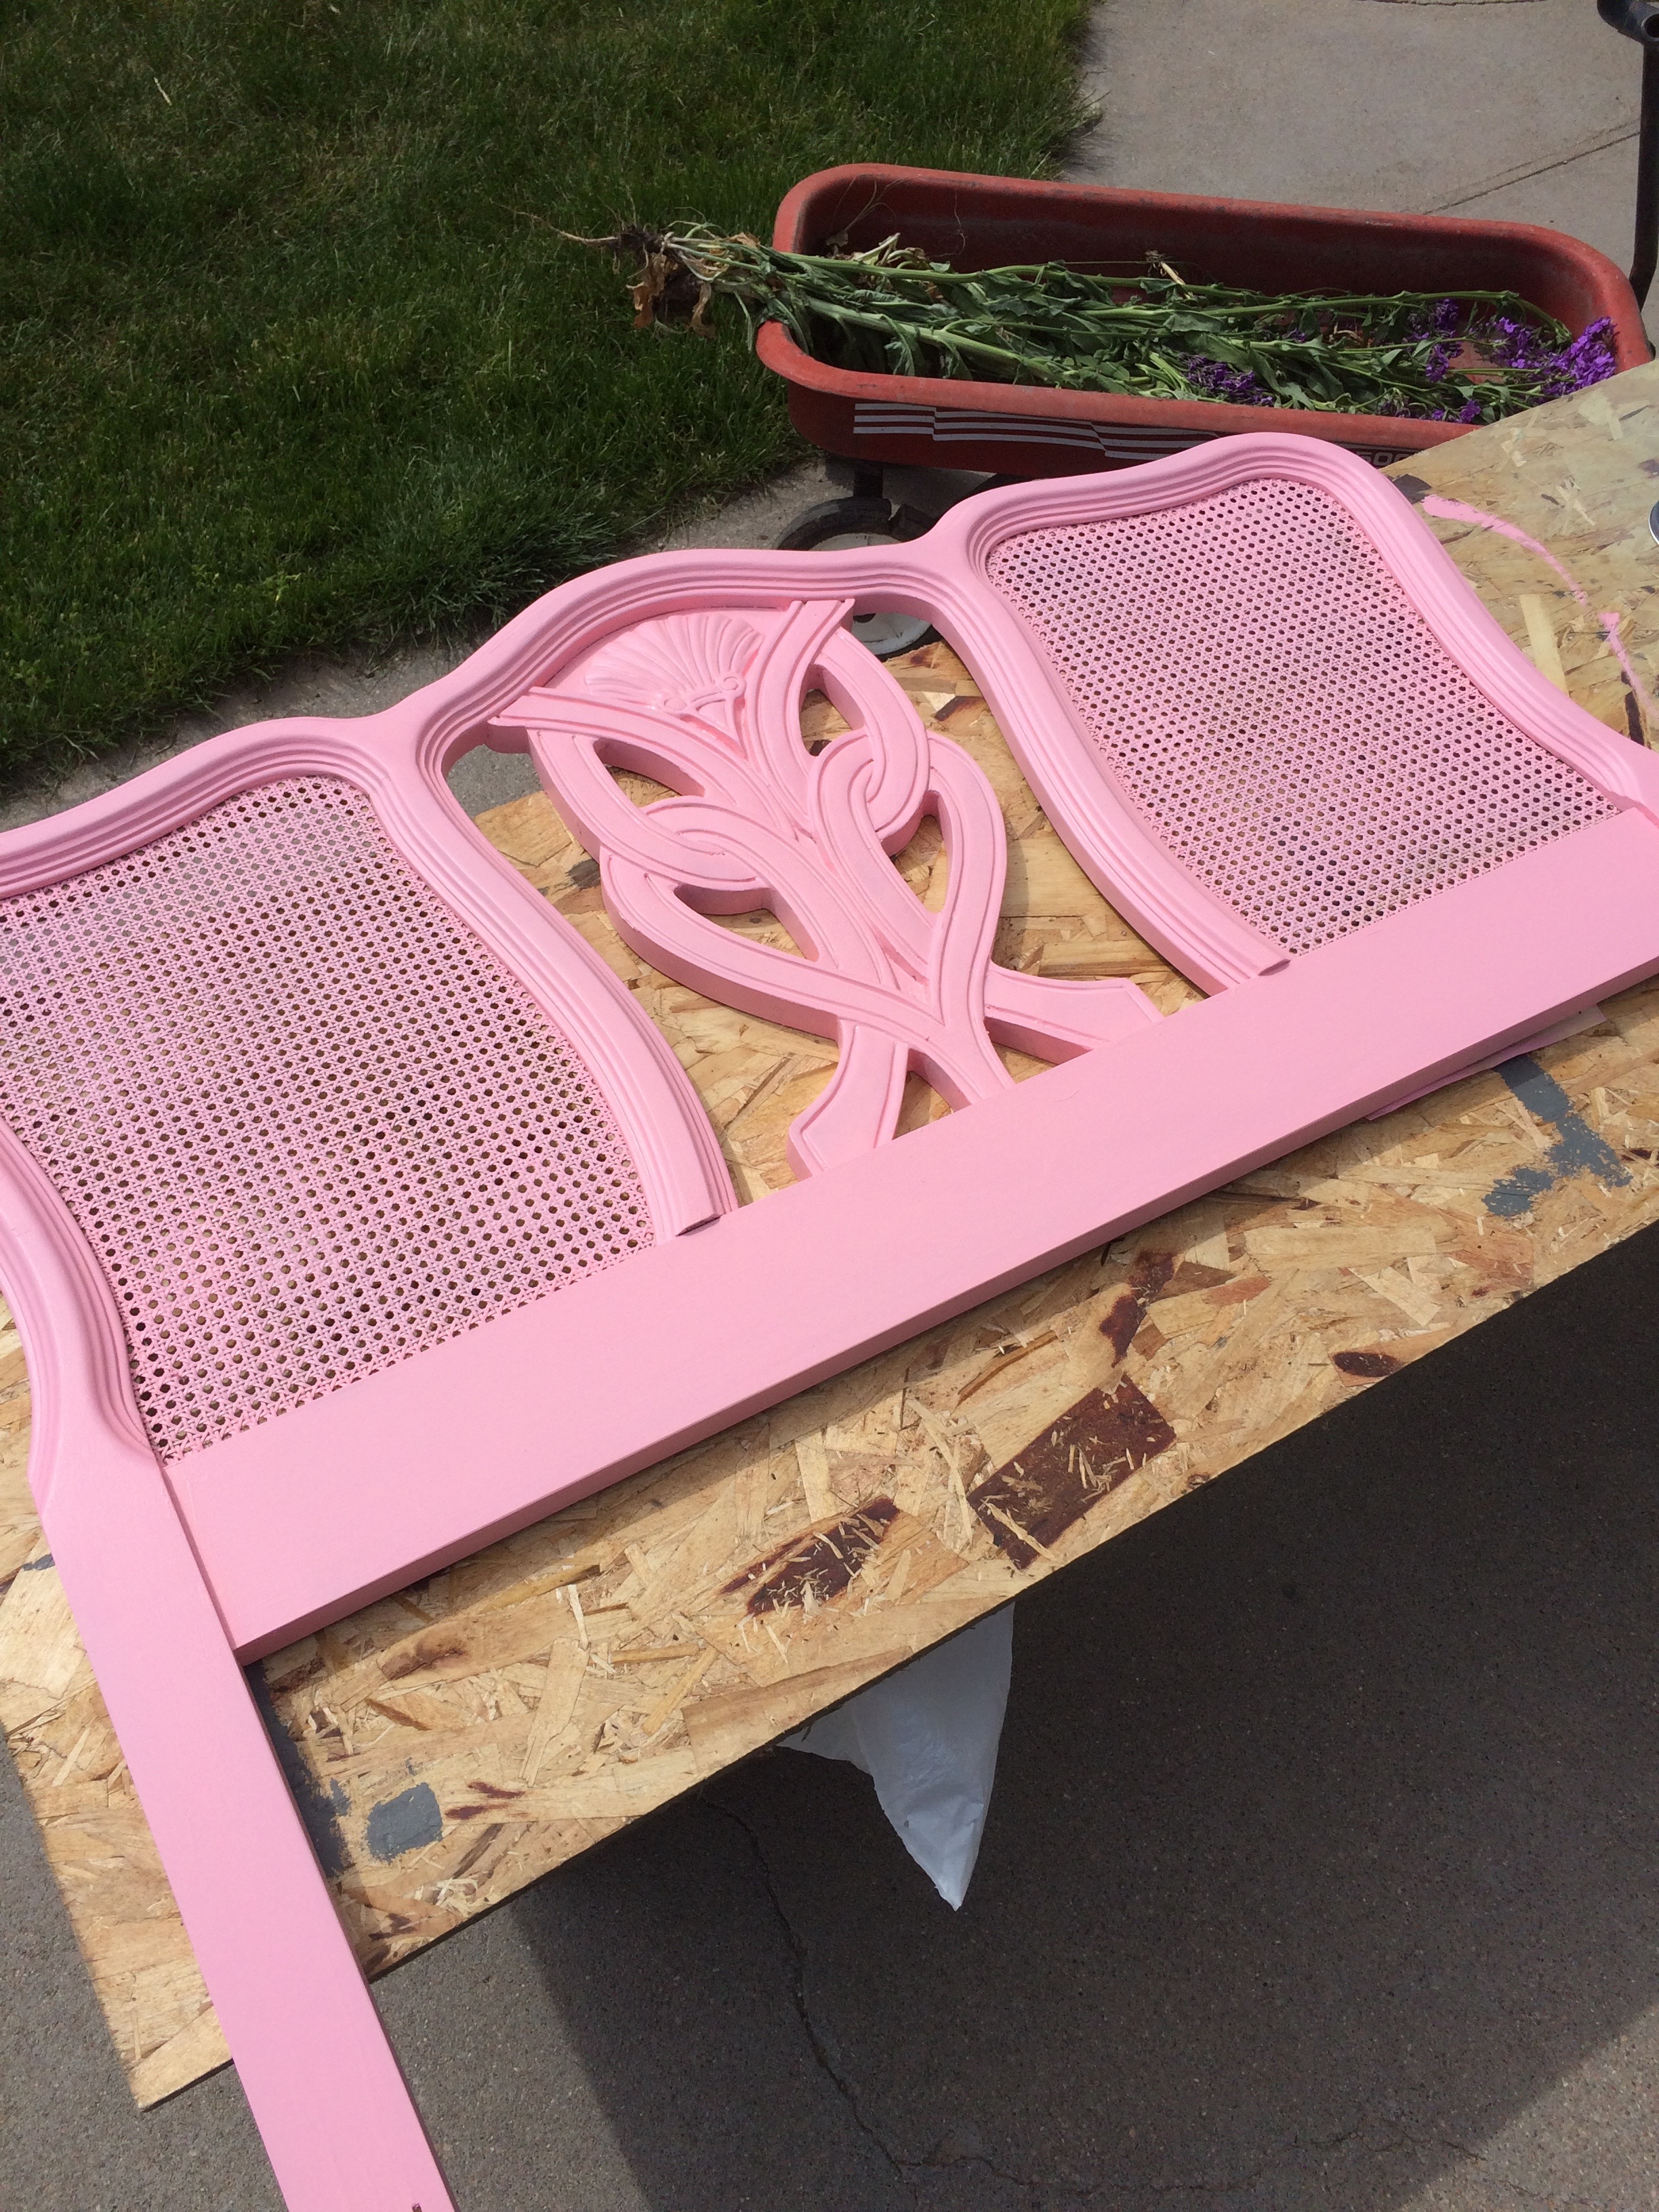
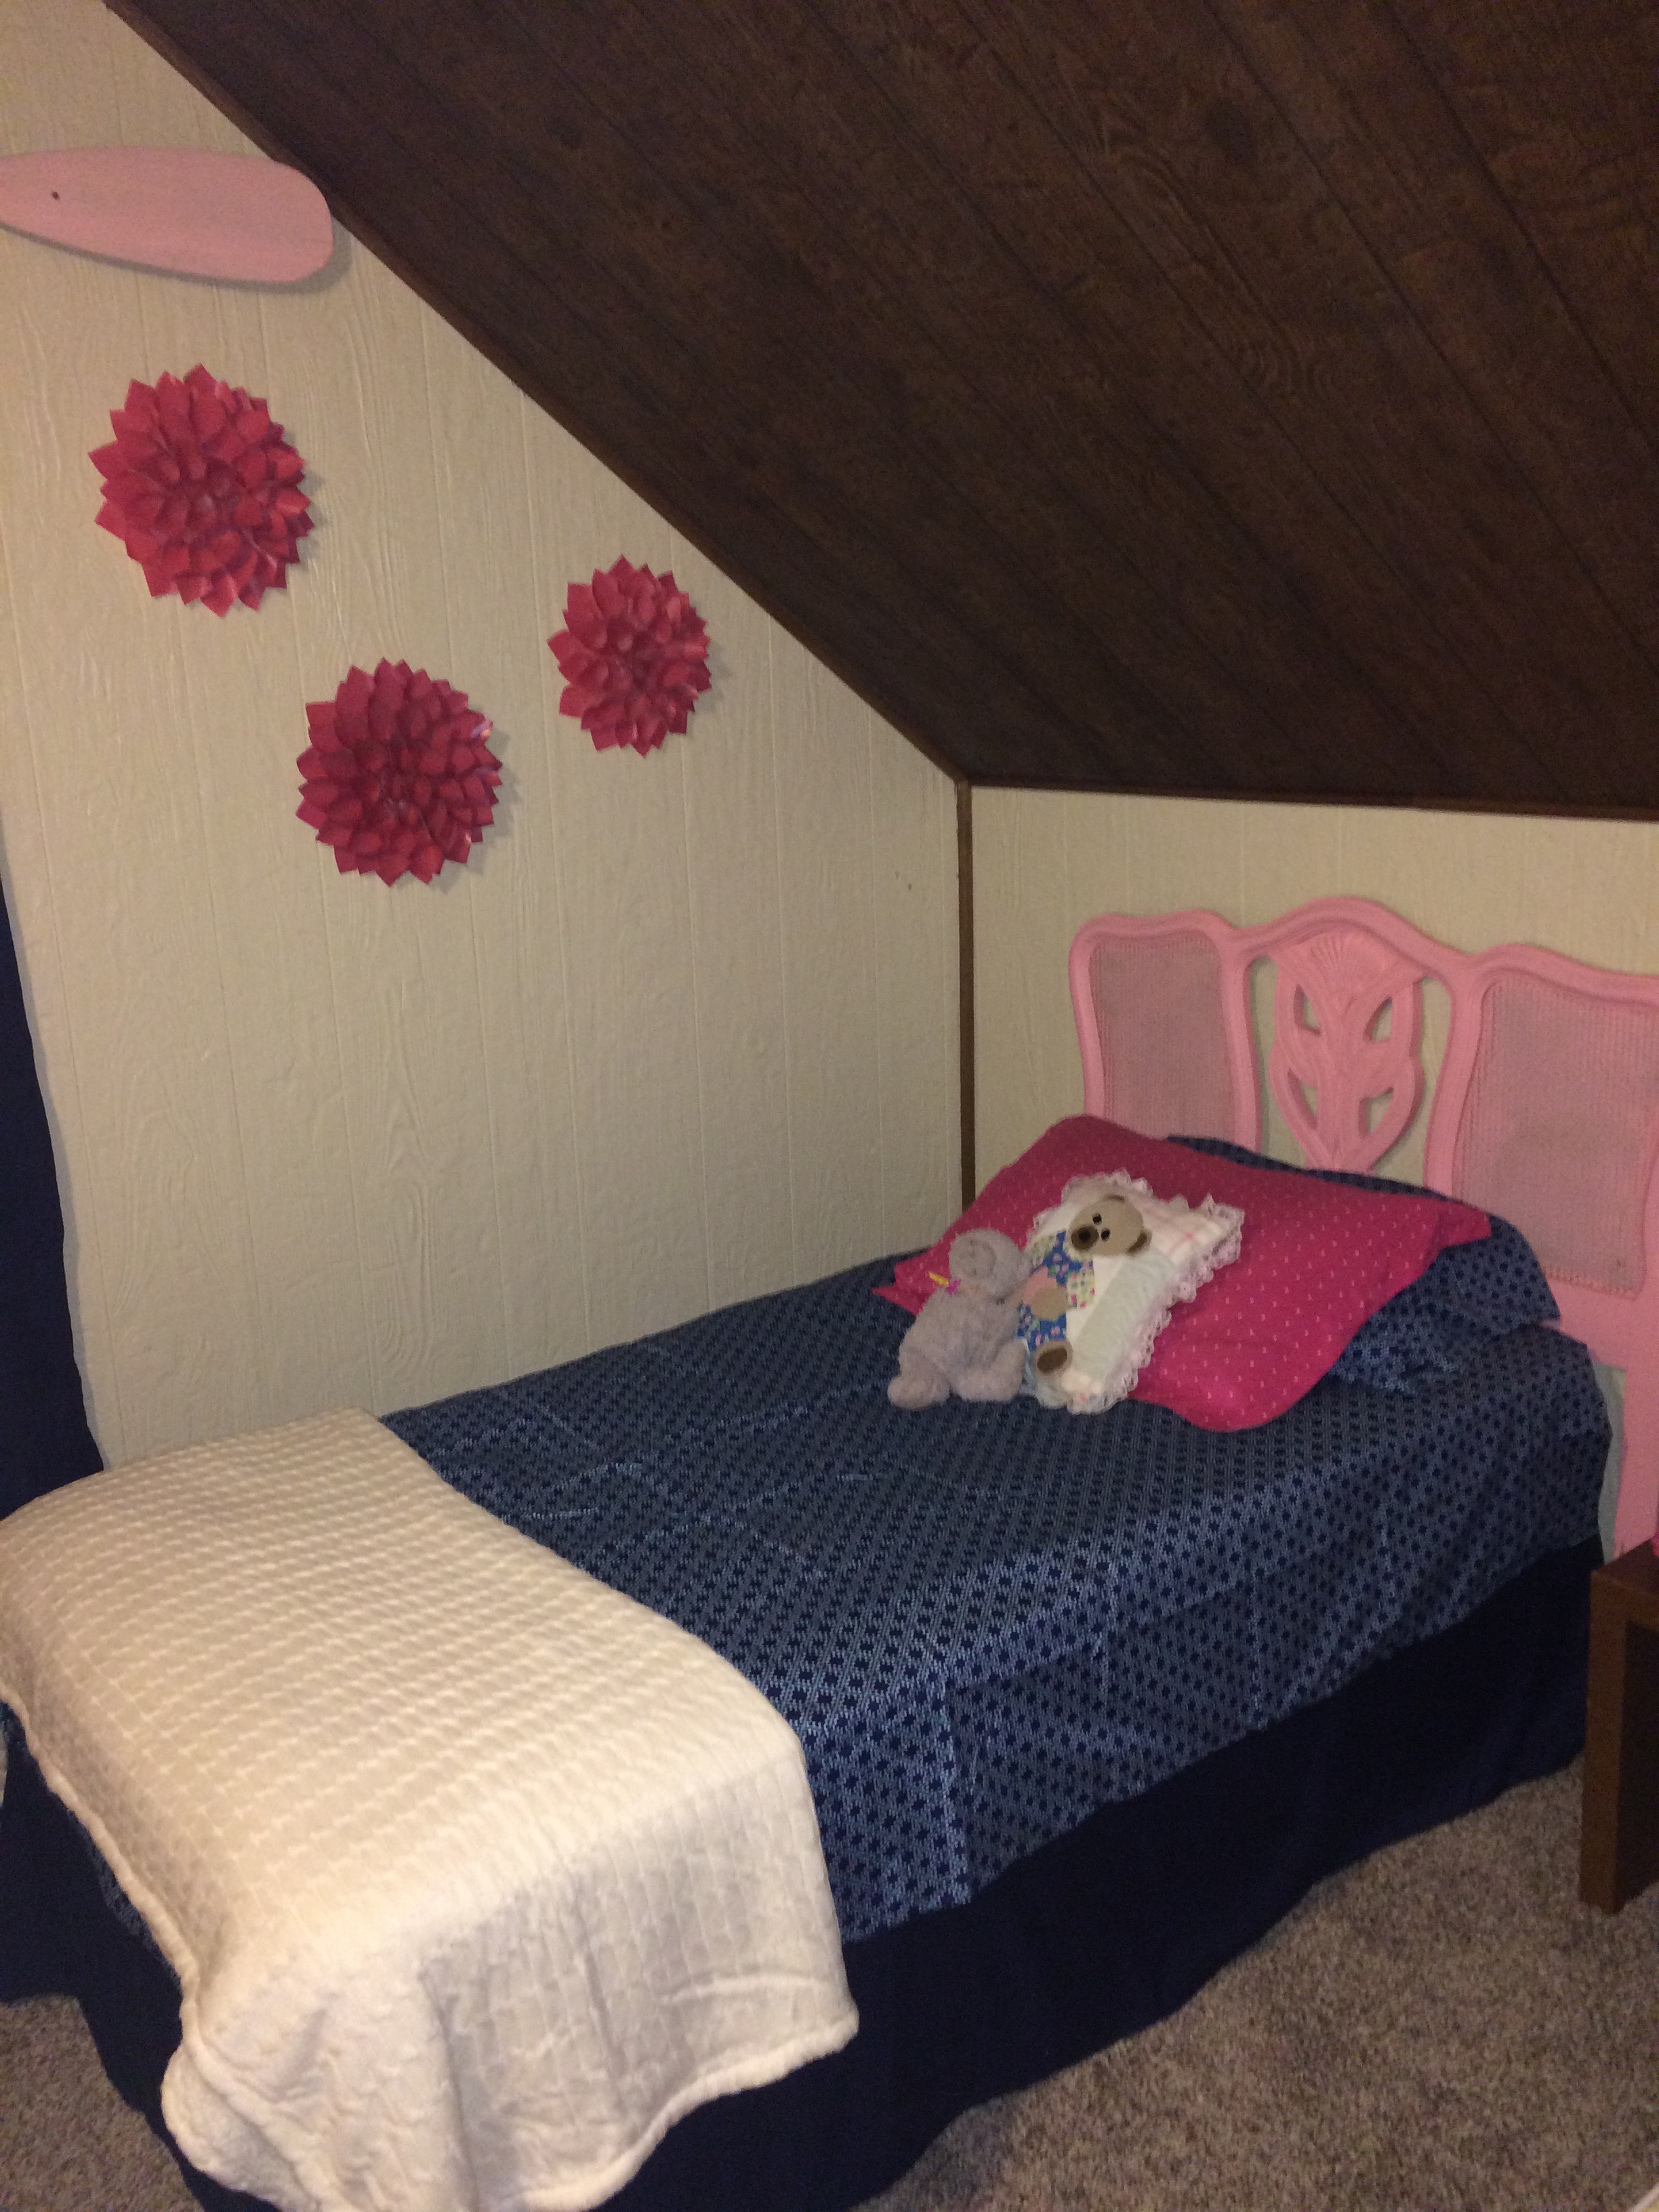
There’s just something about a cute farm house with two twin beds in a room! I bought those headboards at an auction one day for $5 each. They are vintage 20’s and just cute as a button and I’ve been storing them for this room!
Headboard beforeHeadboard after paint – Sweet Caroline, to be exact!Sawyer’s roomSawyer’s room
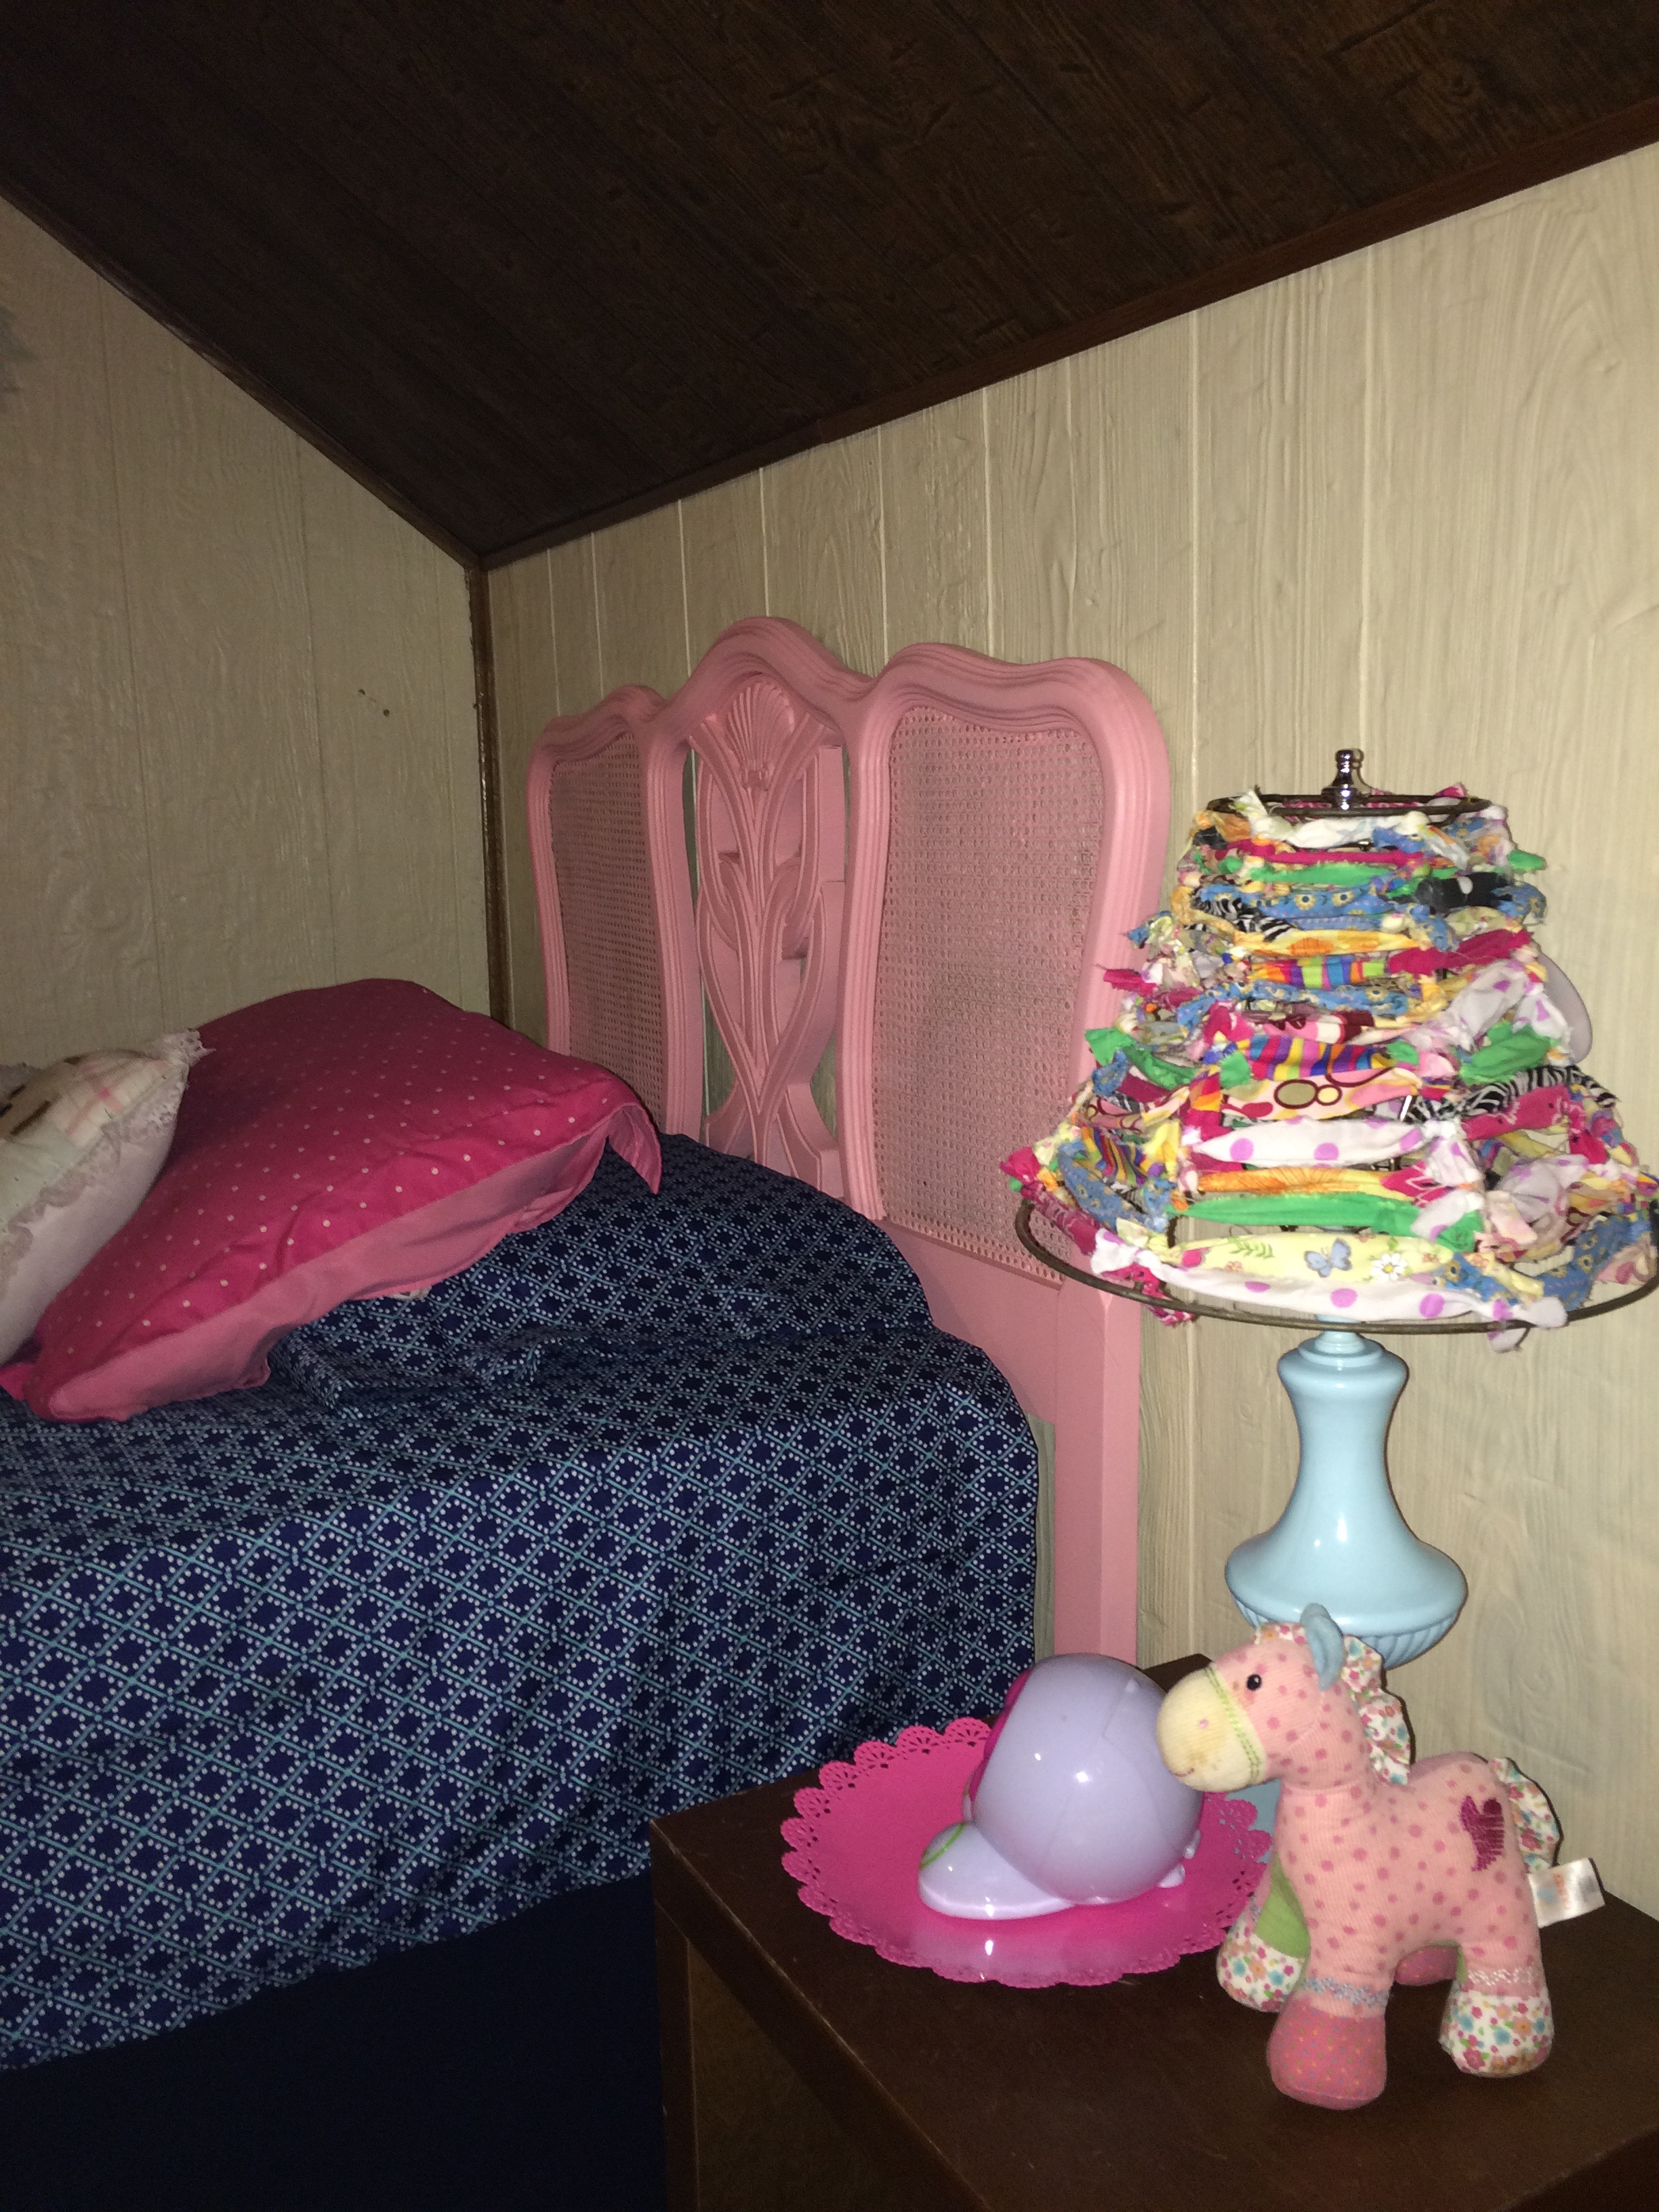
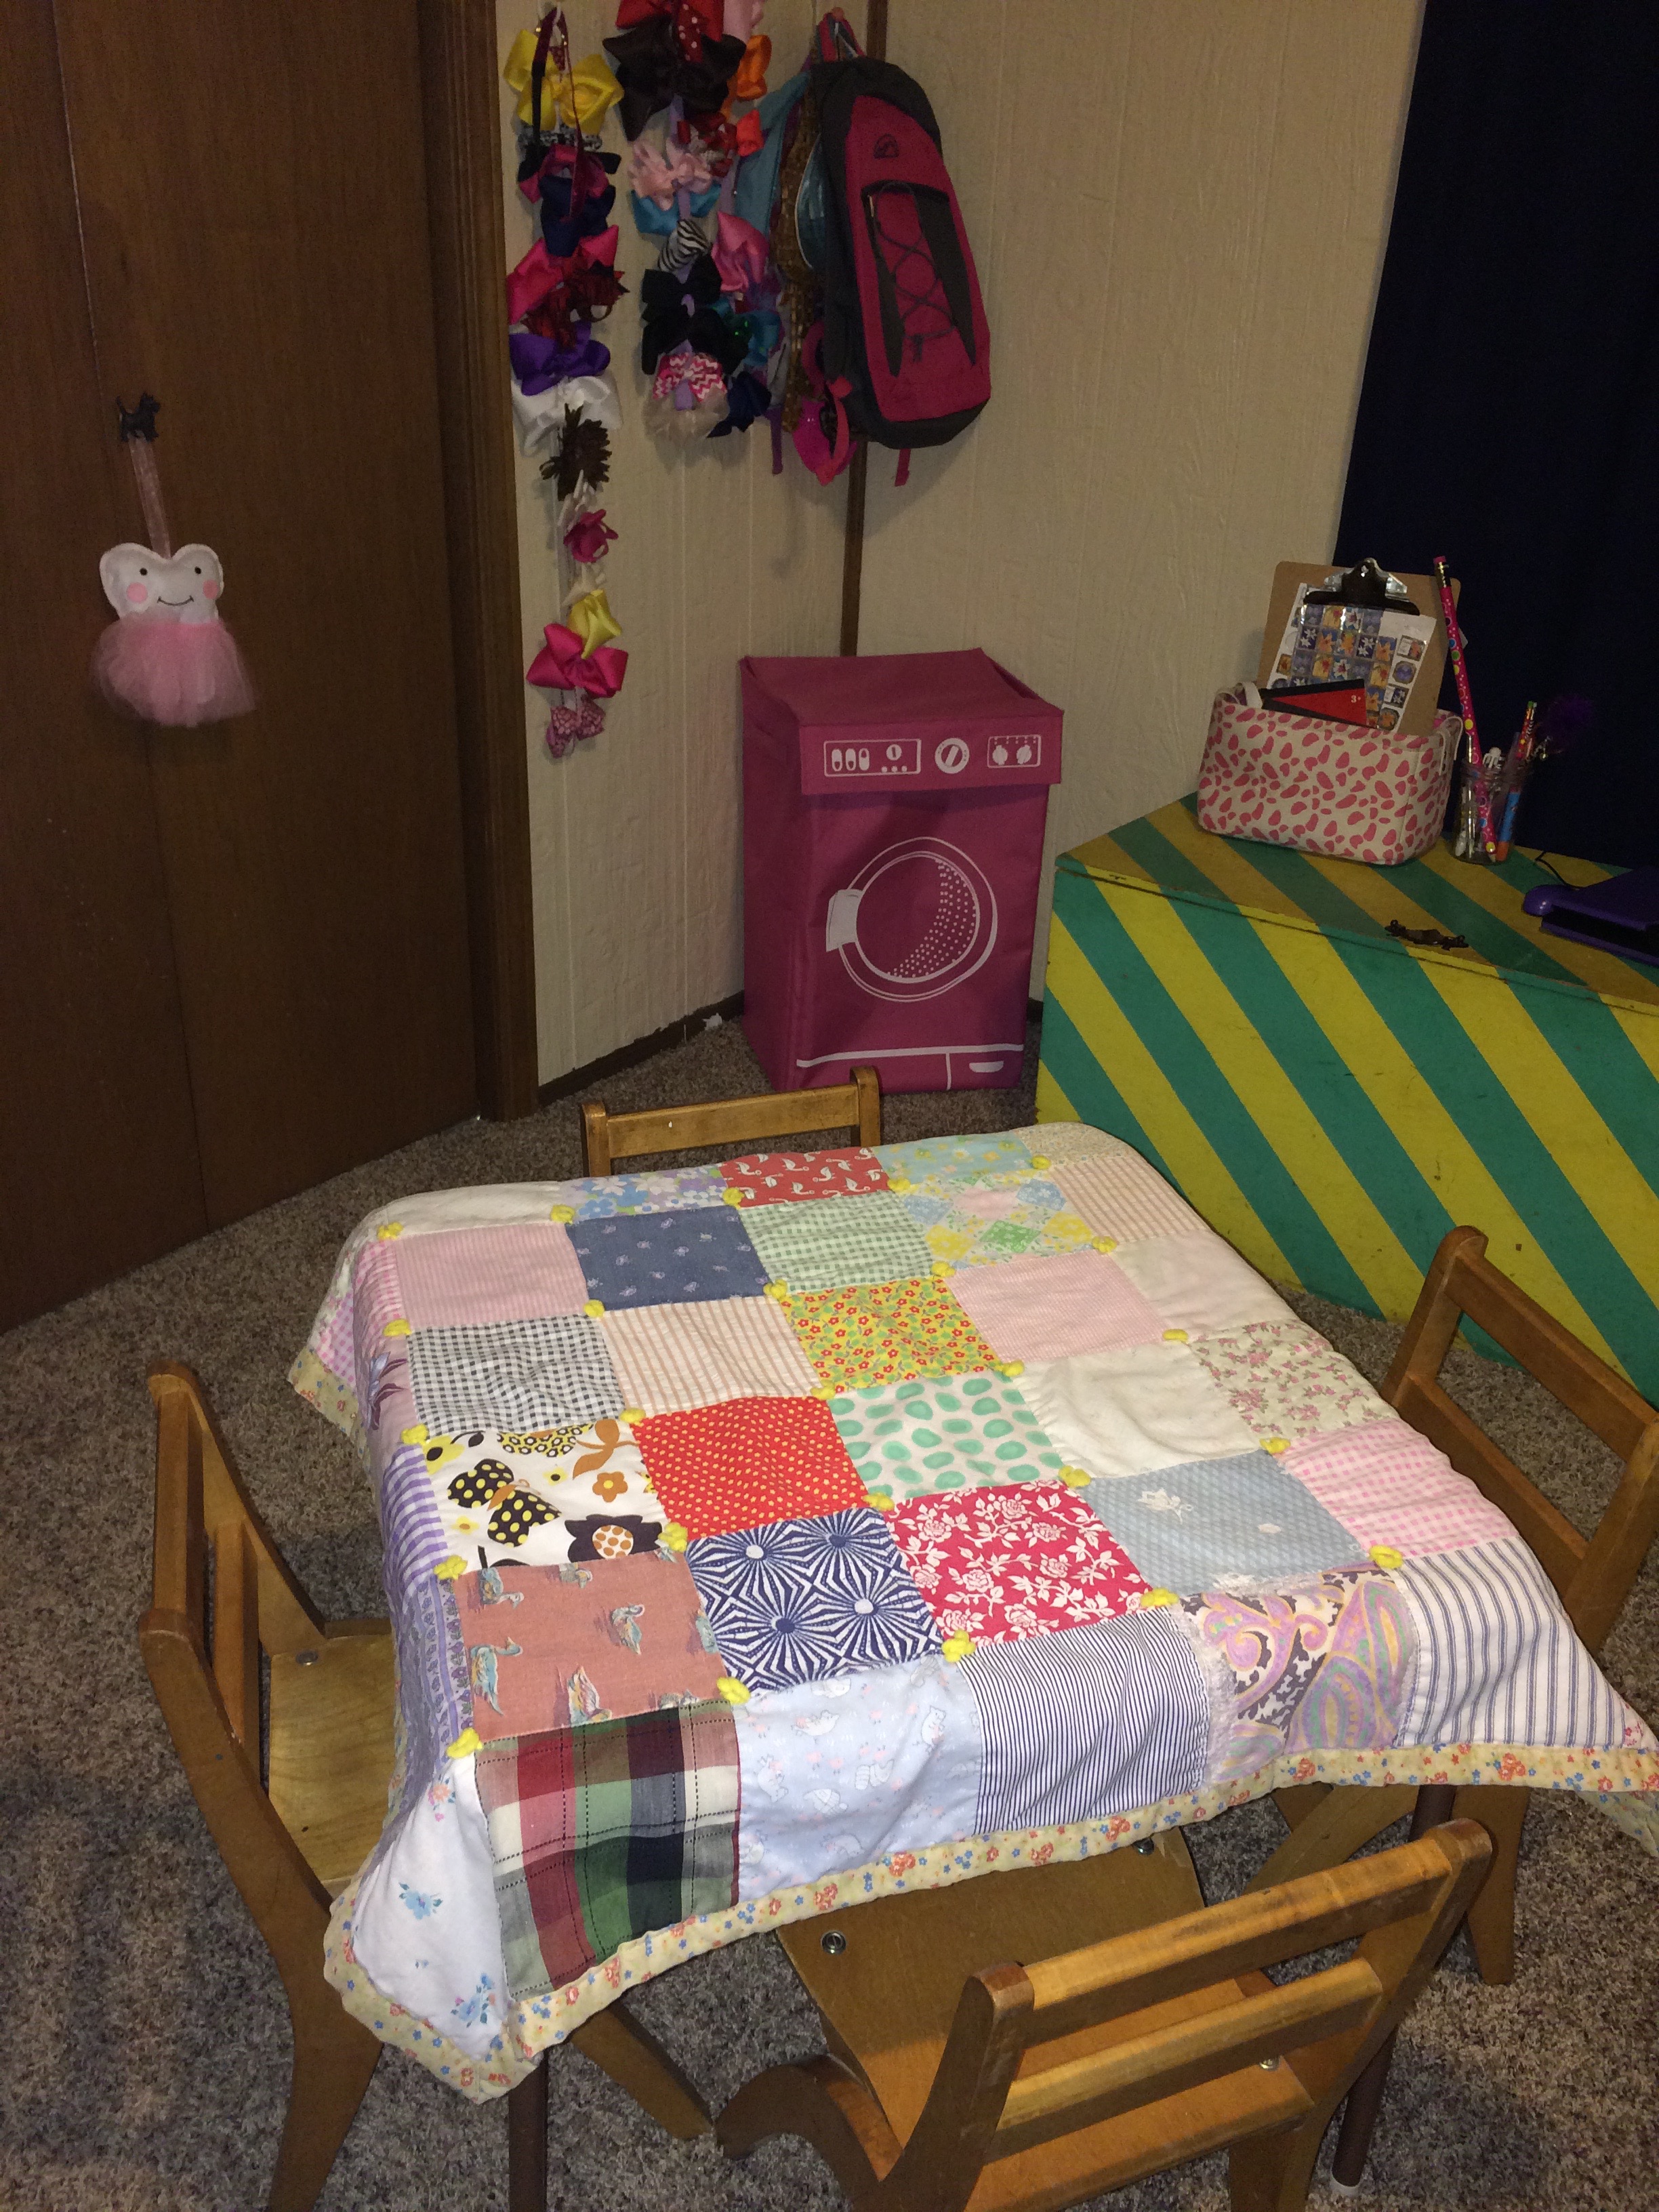
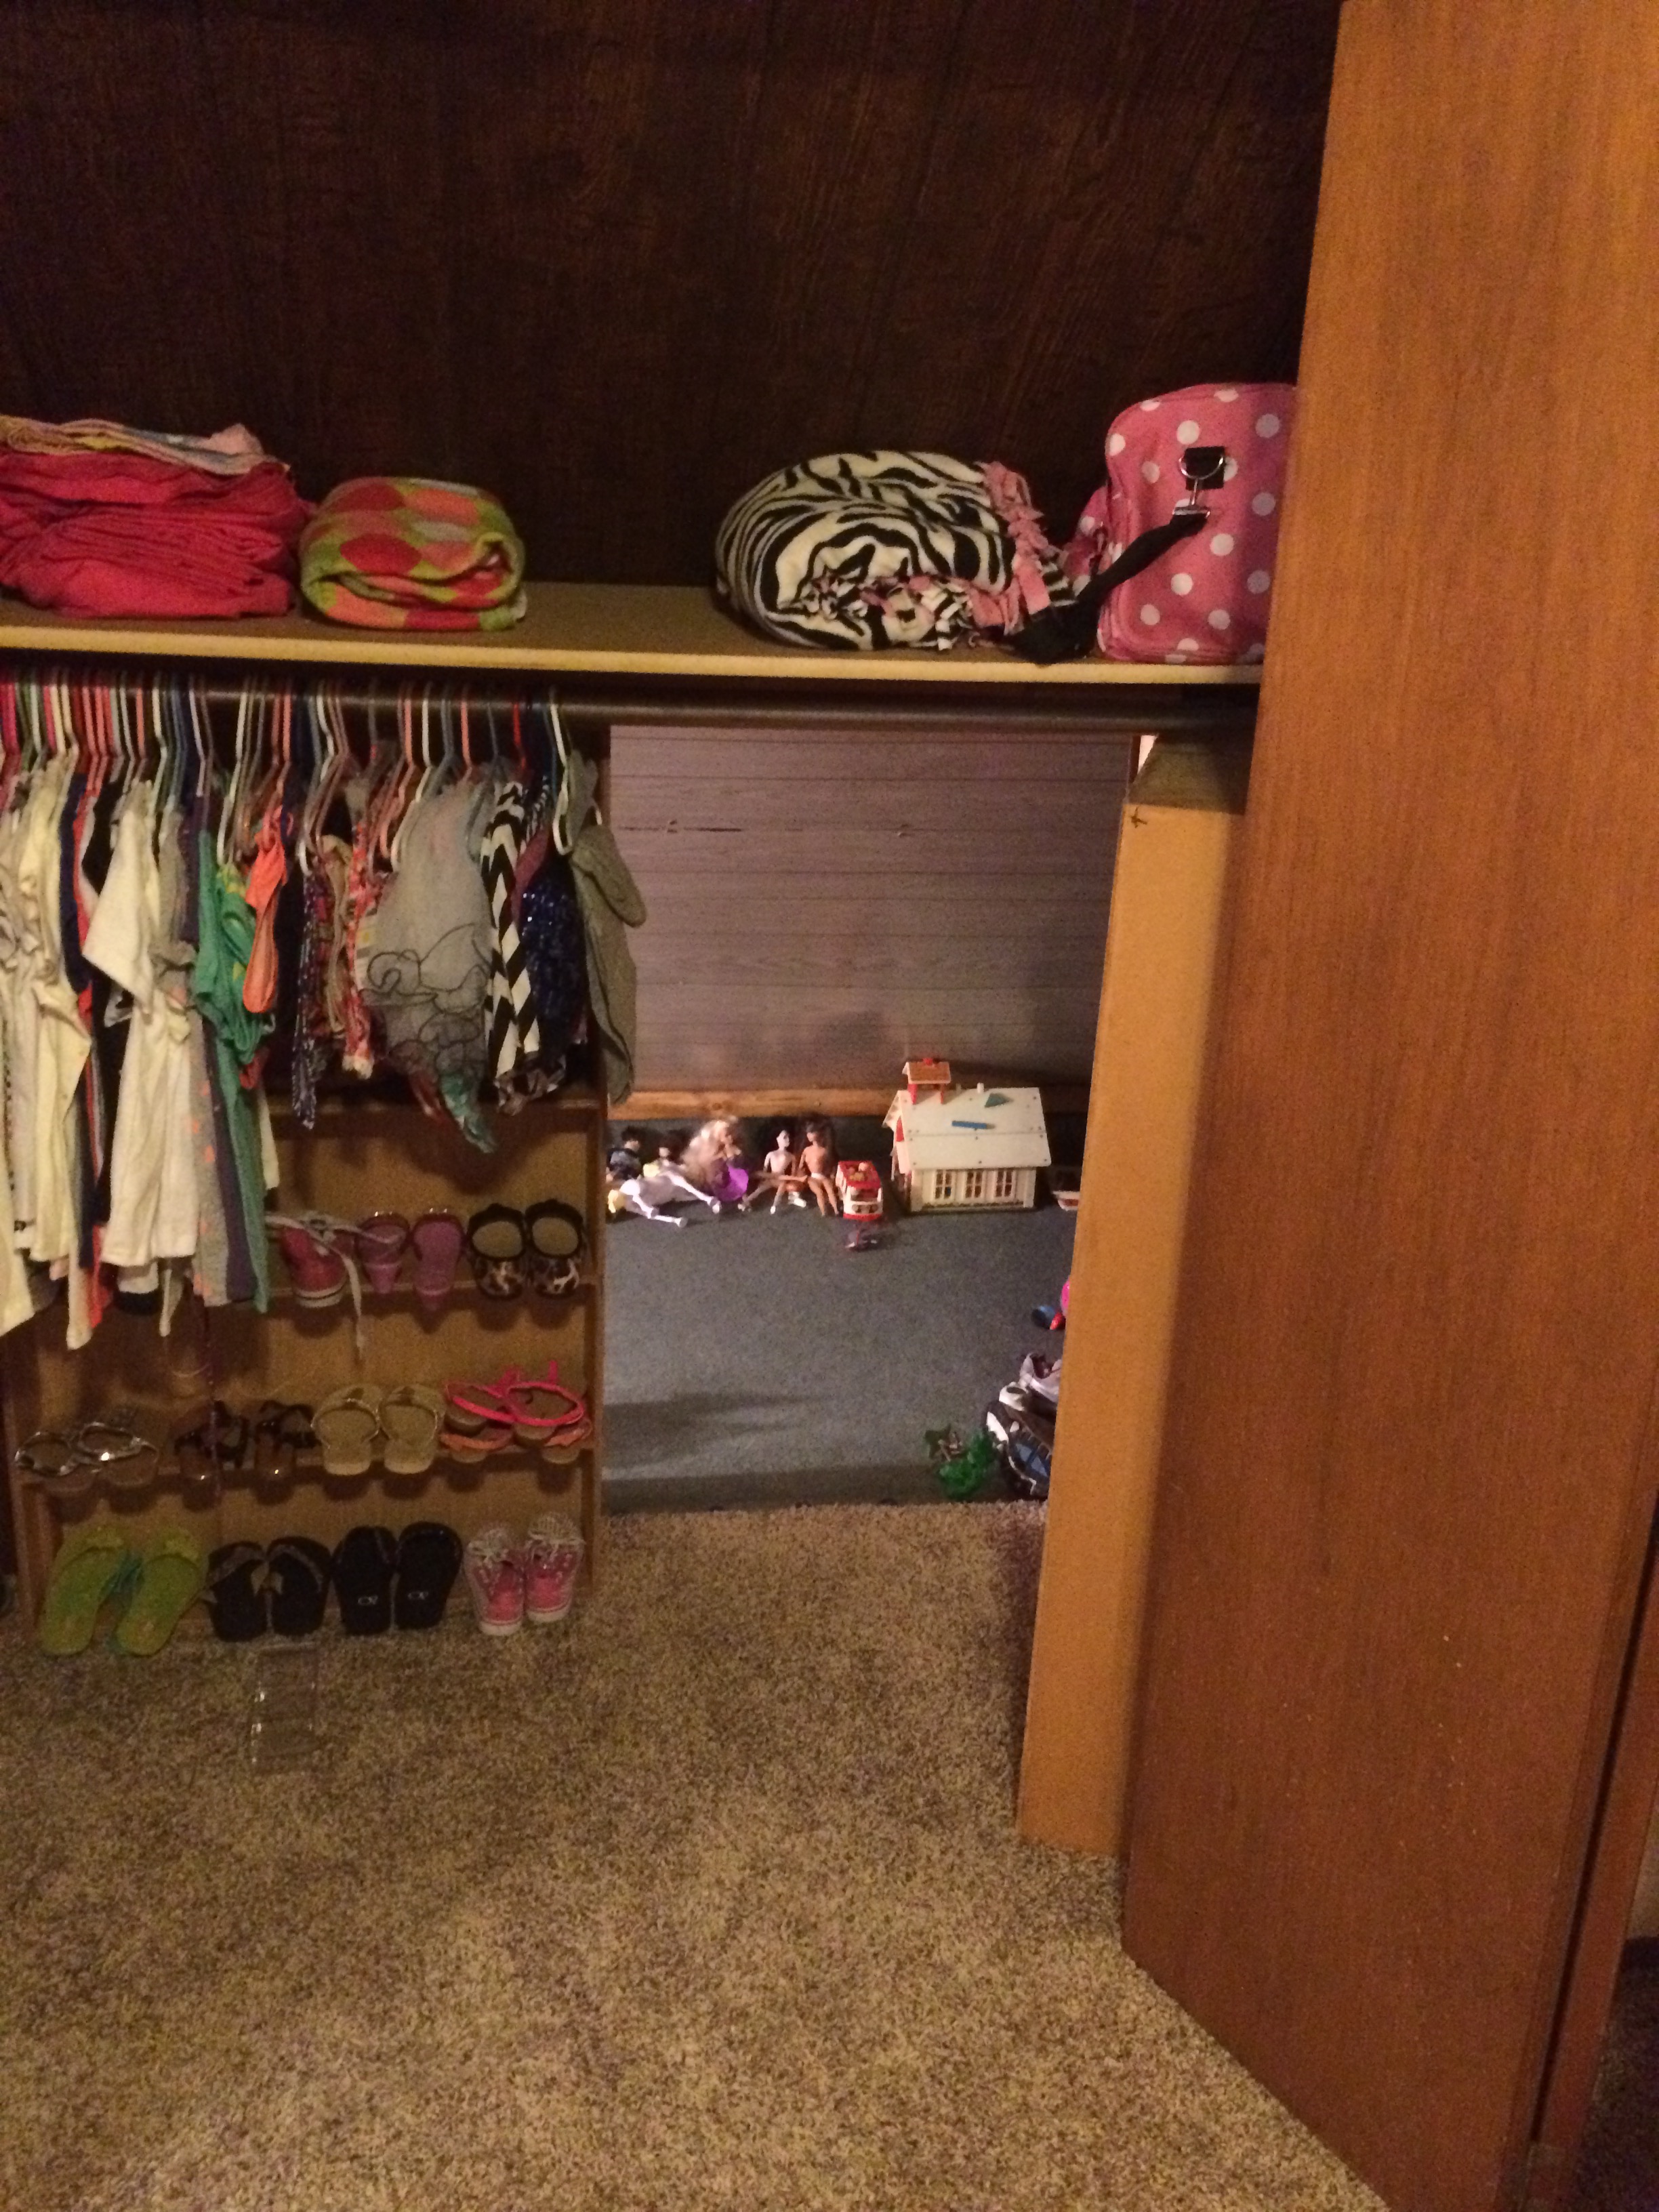
Her room is so sweet and so totally her. She loves her double beds; she loves the little table for tea parties and such and she loves using the toybox as her desk/office. And? She has a huge closet – a must for a girl with a penchant for cute things!
Sawyer’s room and a few of her fun things!Sawyer’s roomSawyer’s closet
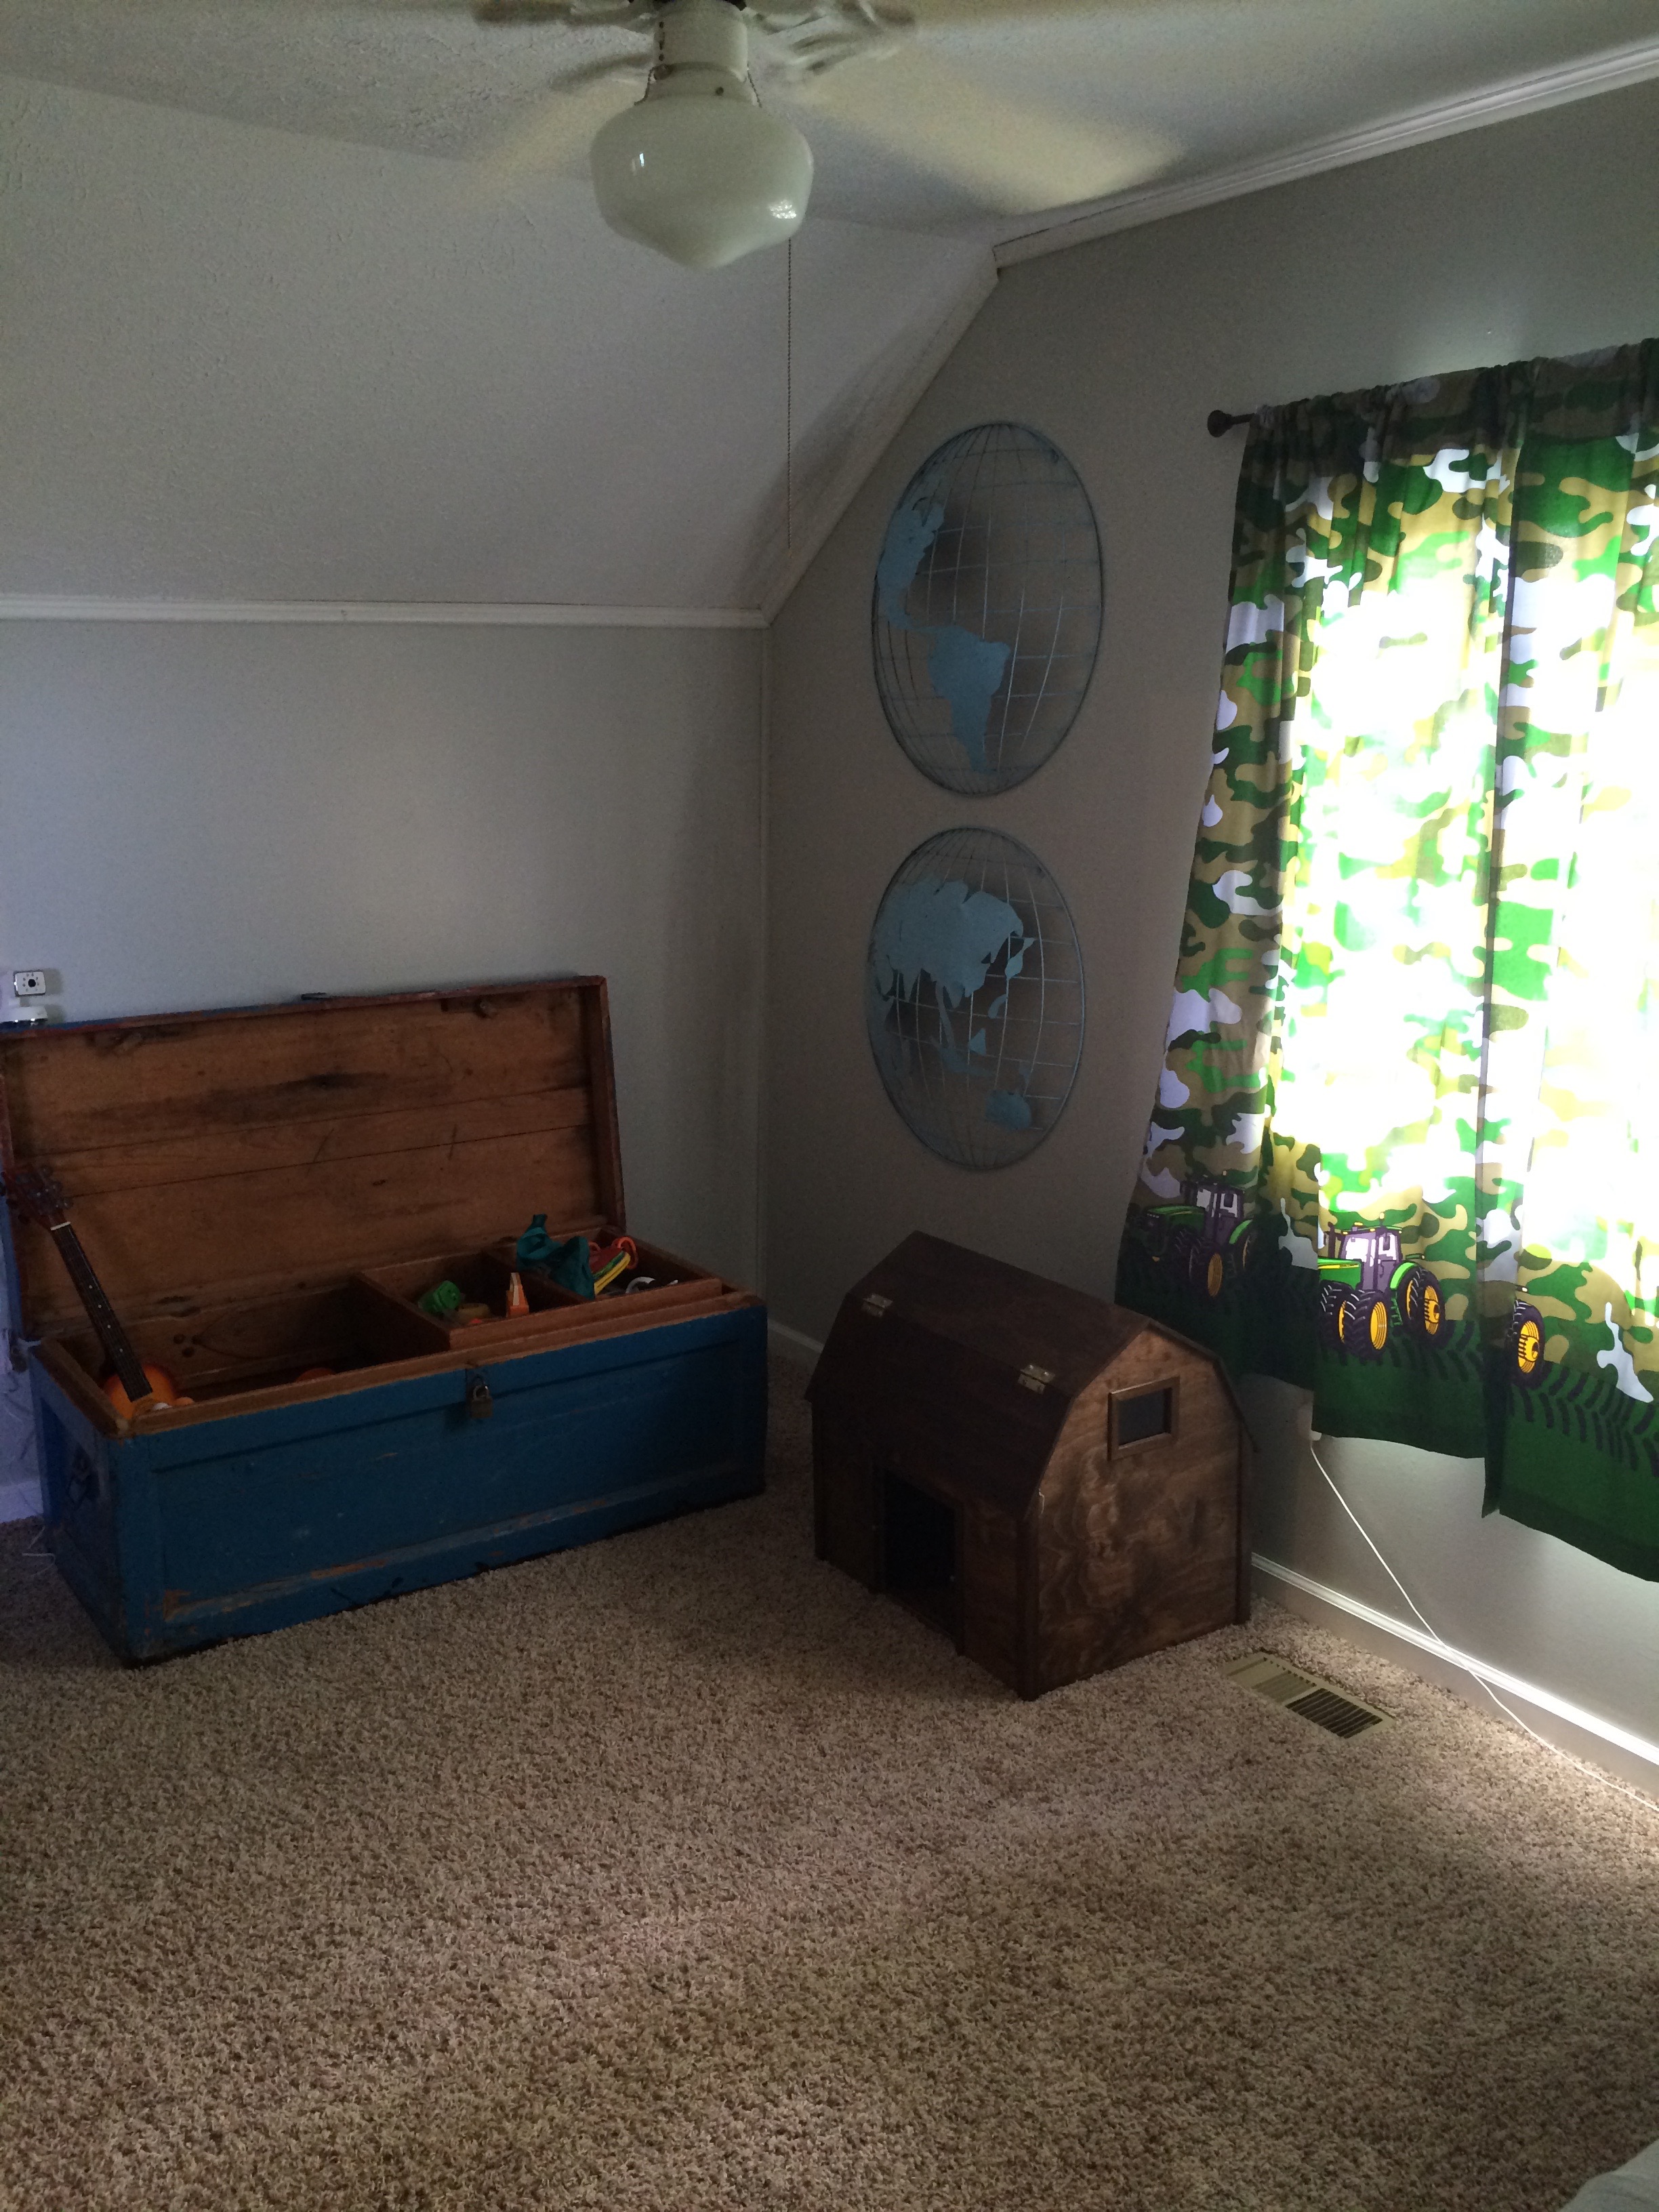
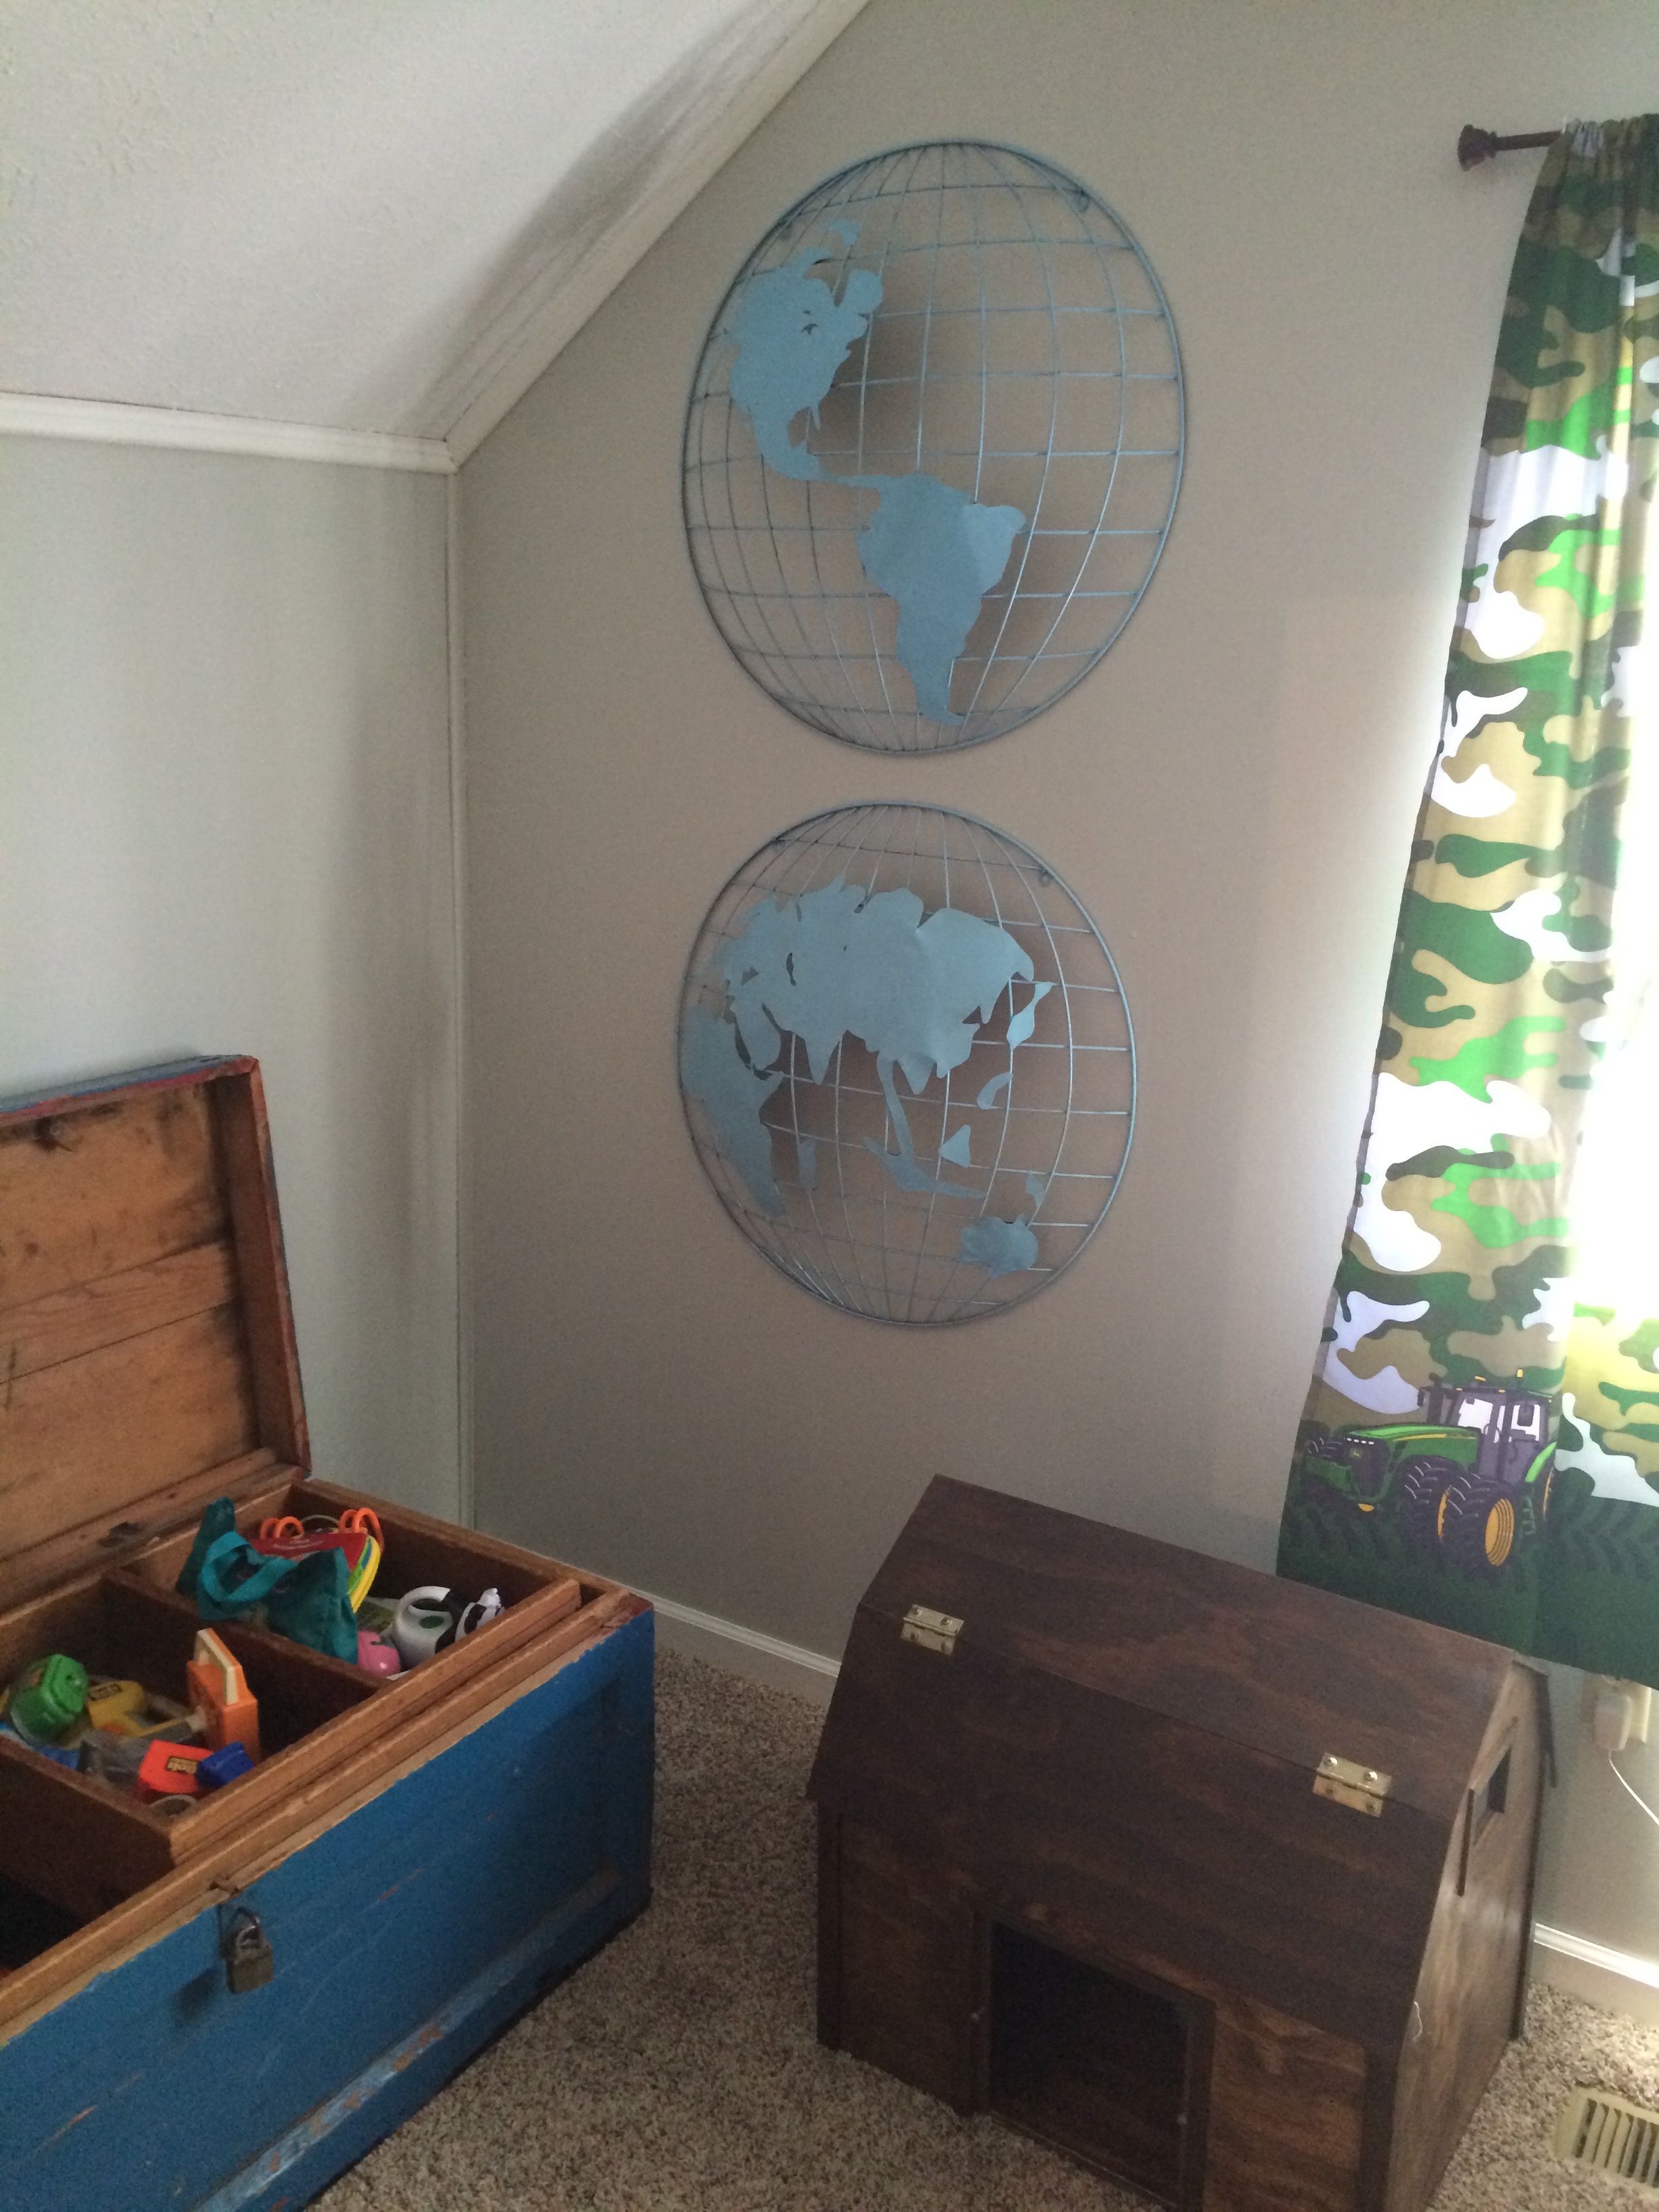
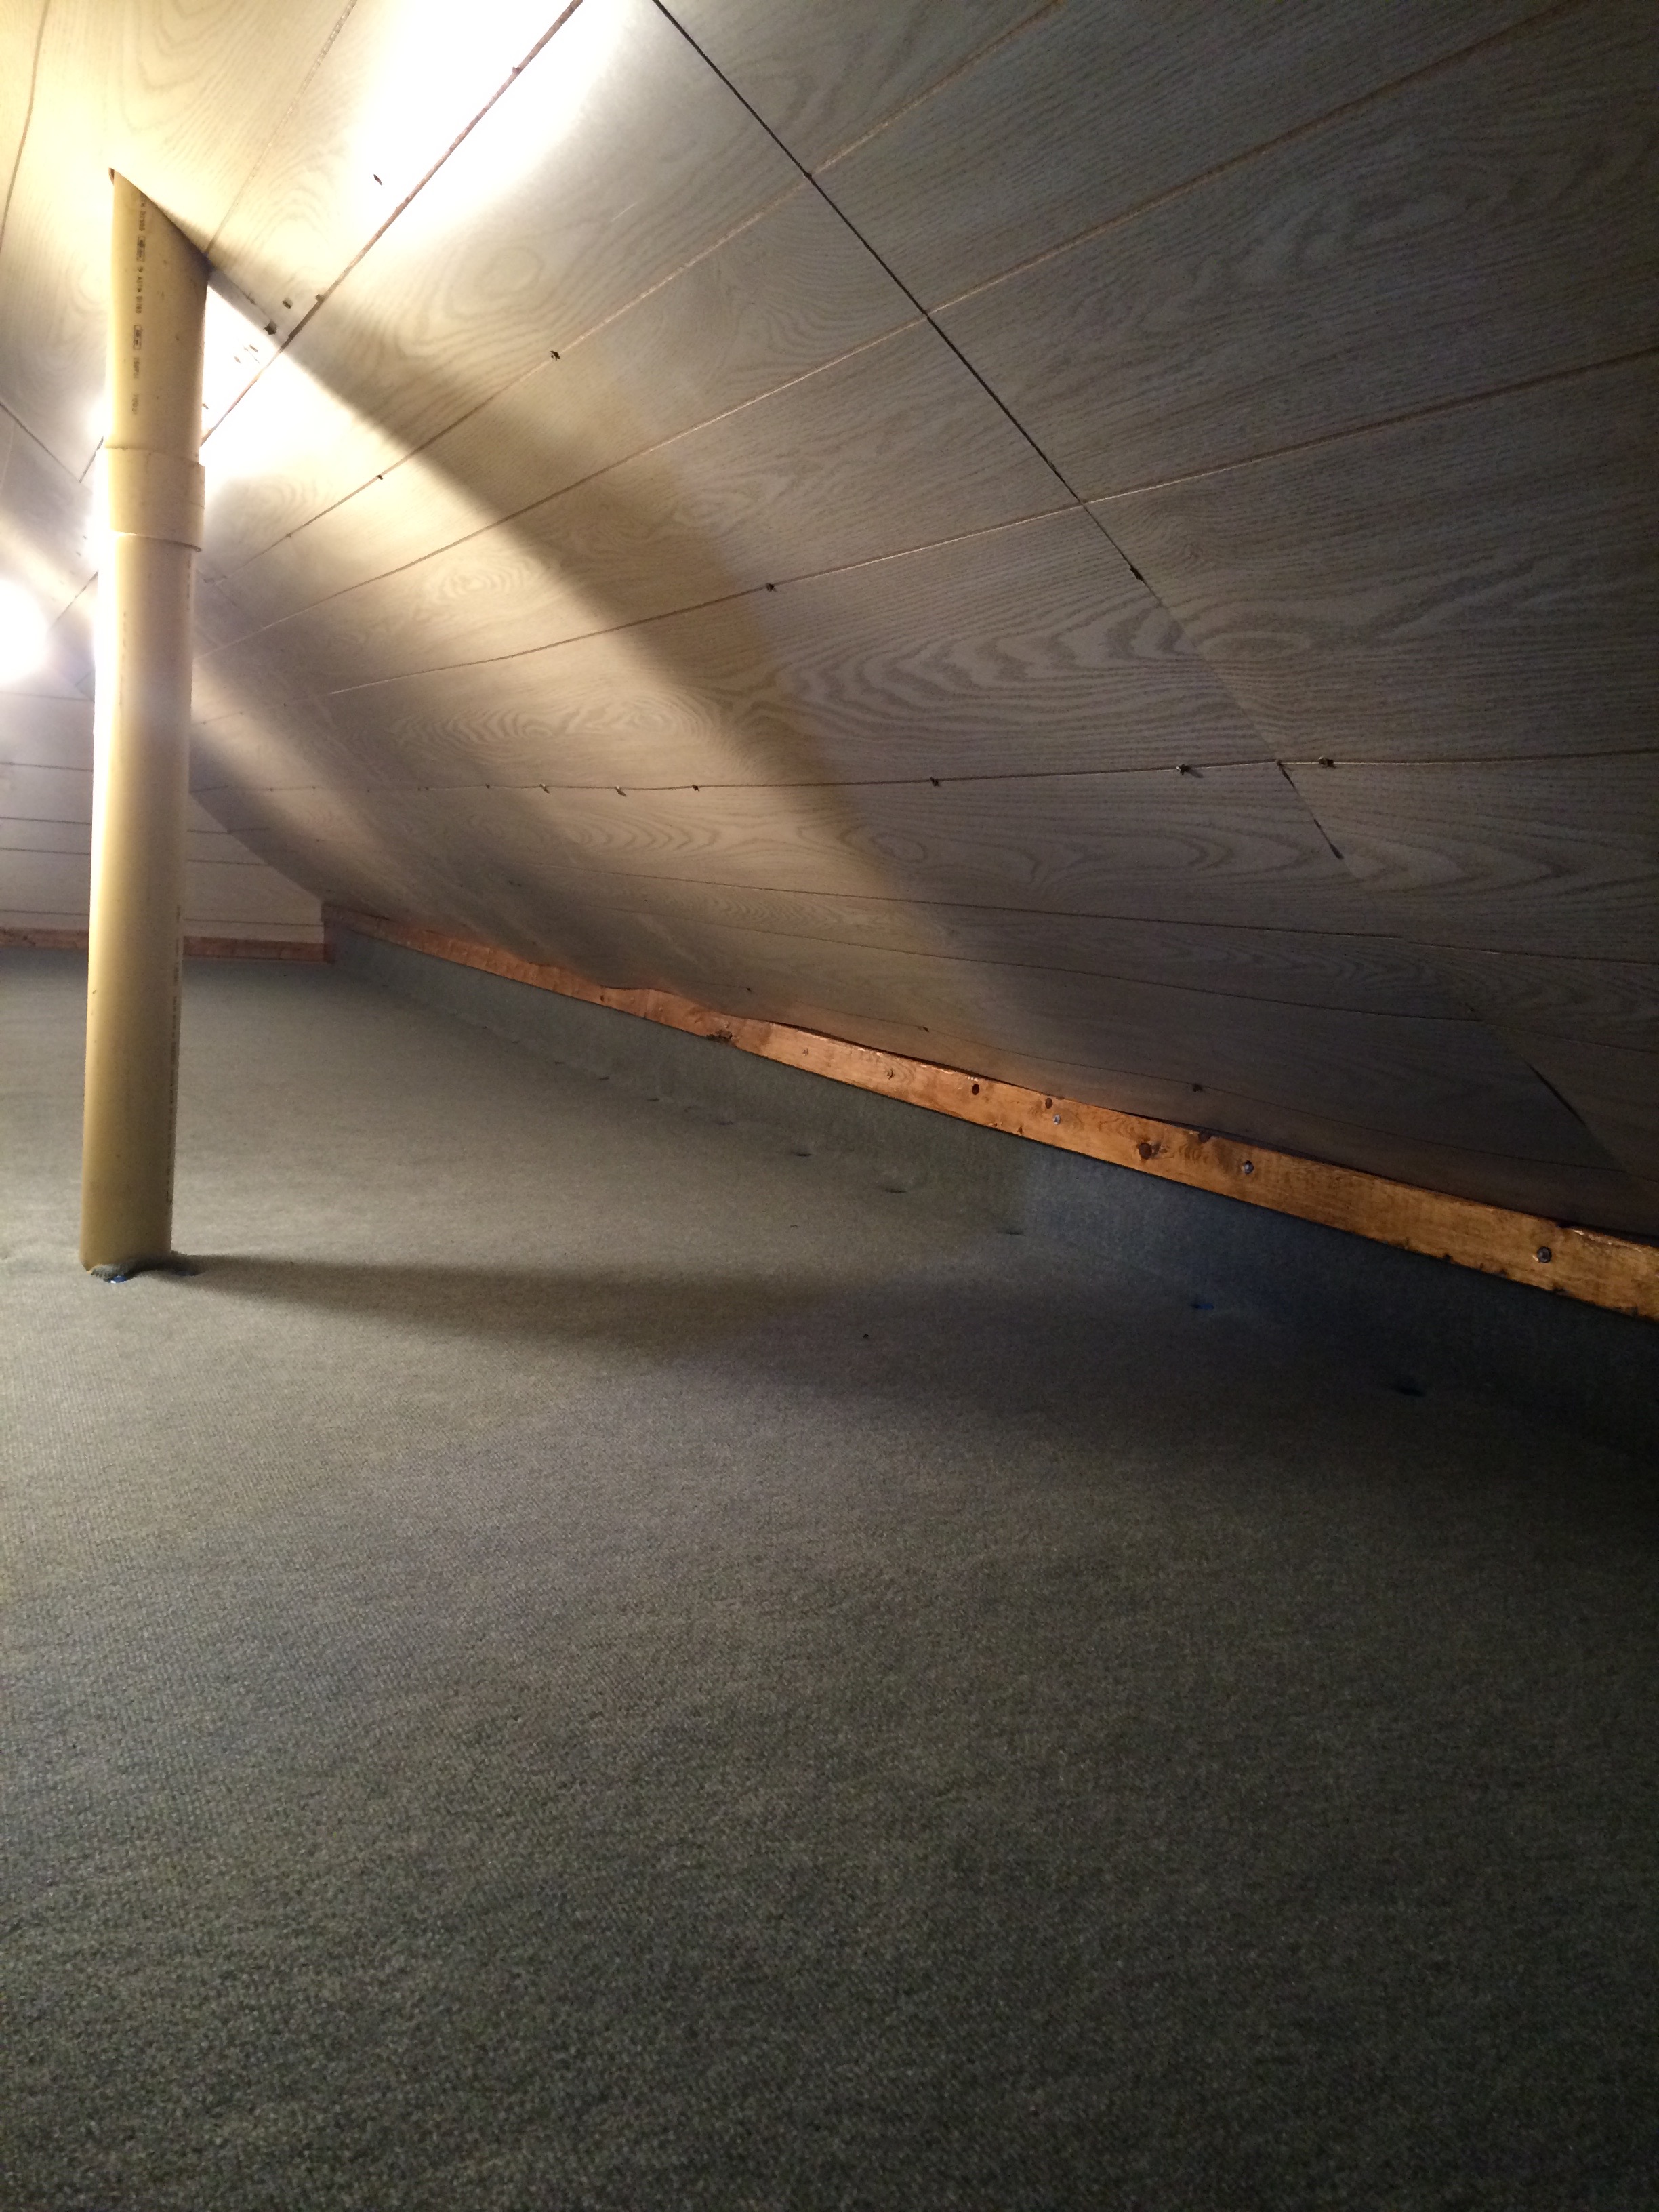
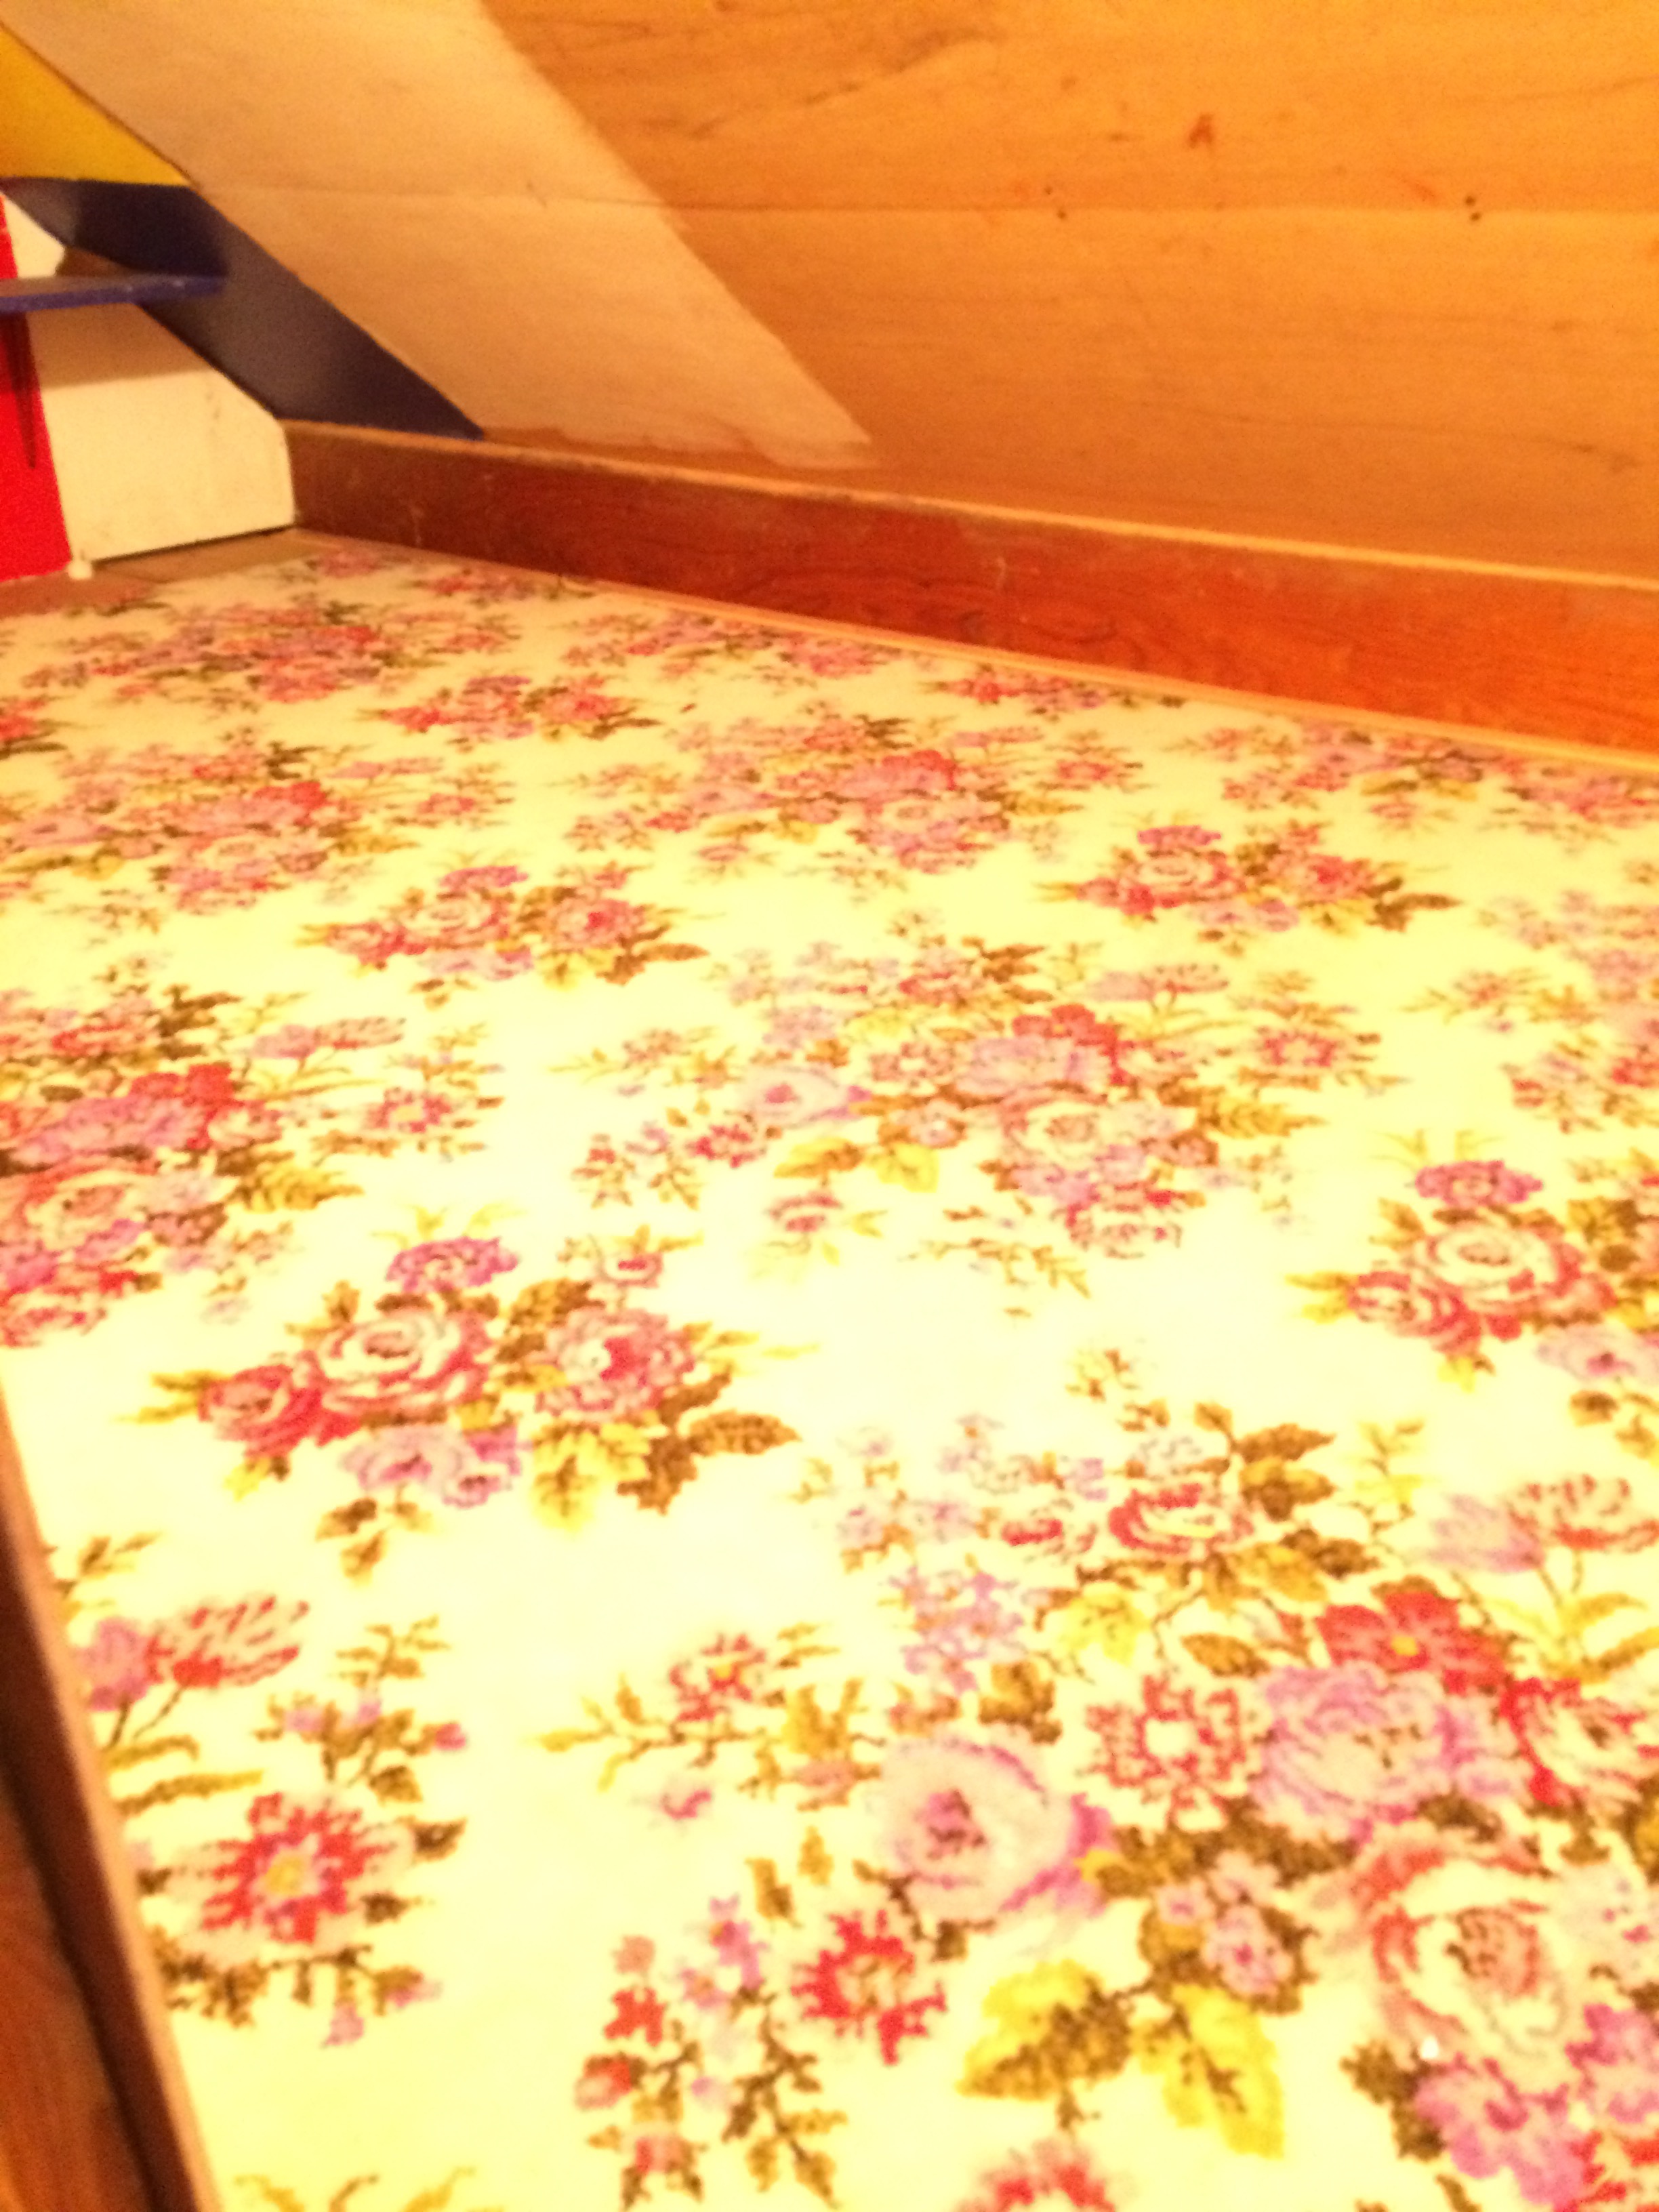
And, yes…that is exactly what you think it is! She has a “secret room” behind the bookshelf in her closet! We turned it into a toy room for her and all of us love spending time in there.
I wish I had taken before and after pictures of it because we did the works in there! New carpet, new lighting, boarded the walls…
Sawyer’s toy room after
It is so fun and the perfect place to store all of her Barbies and babies and doll house things. And? Wryder has one, too. How did we luck out like that?!
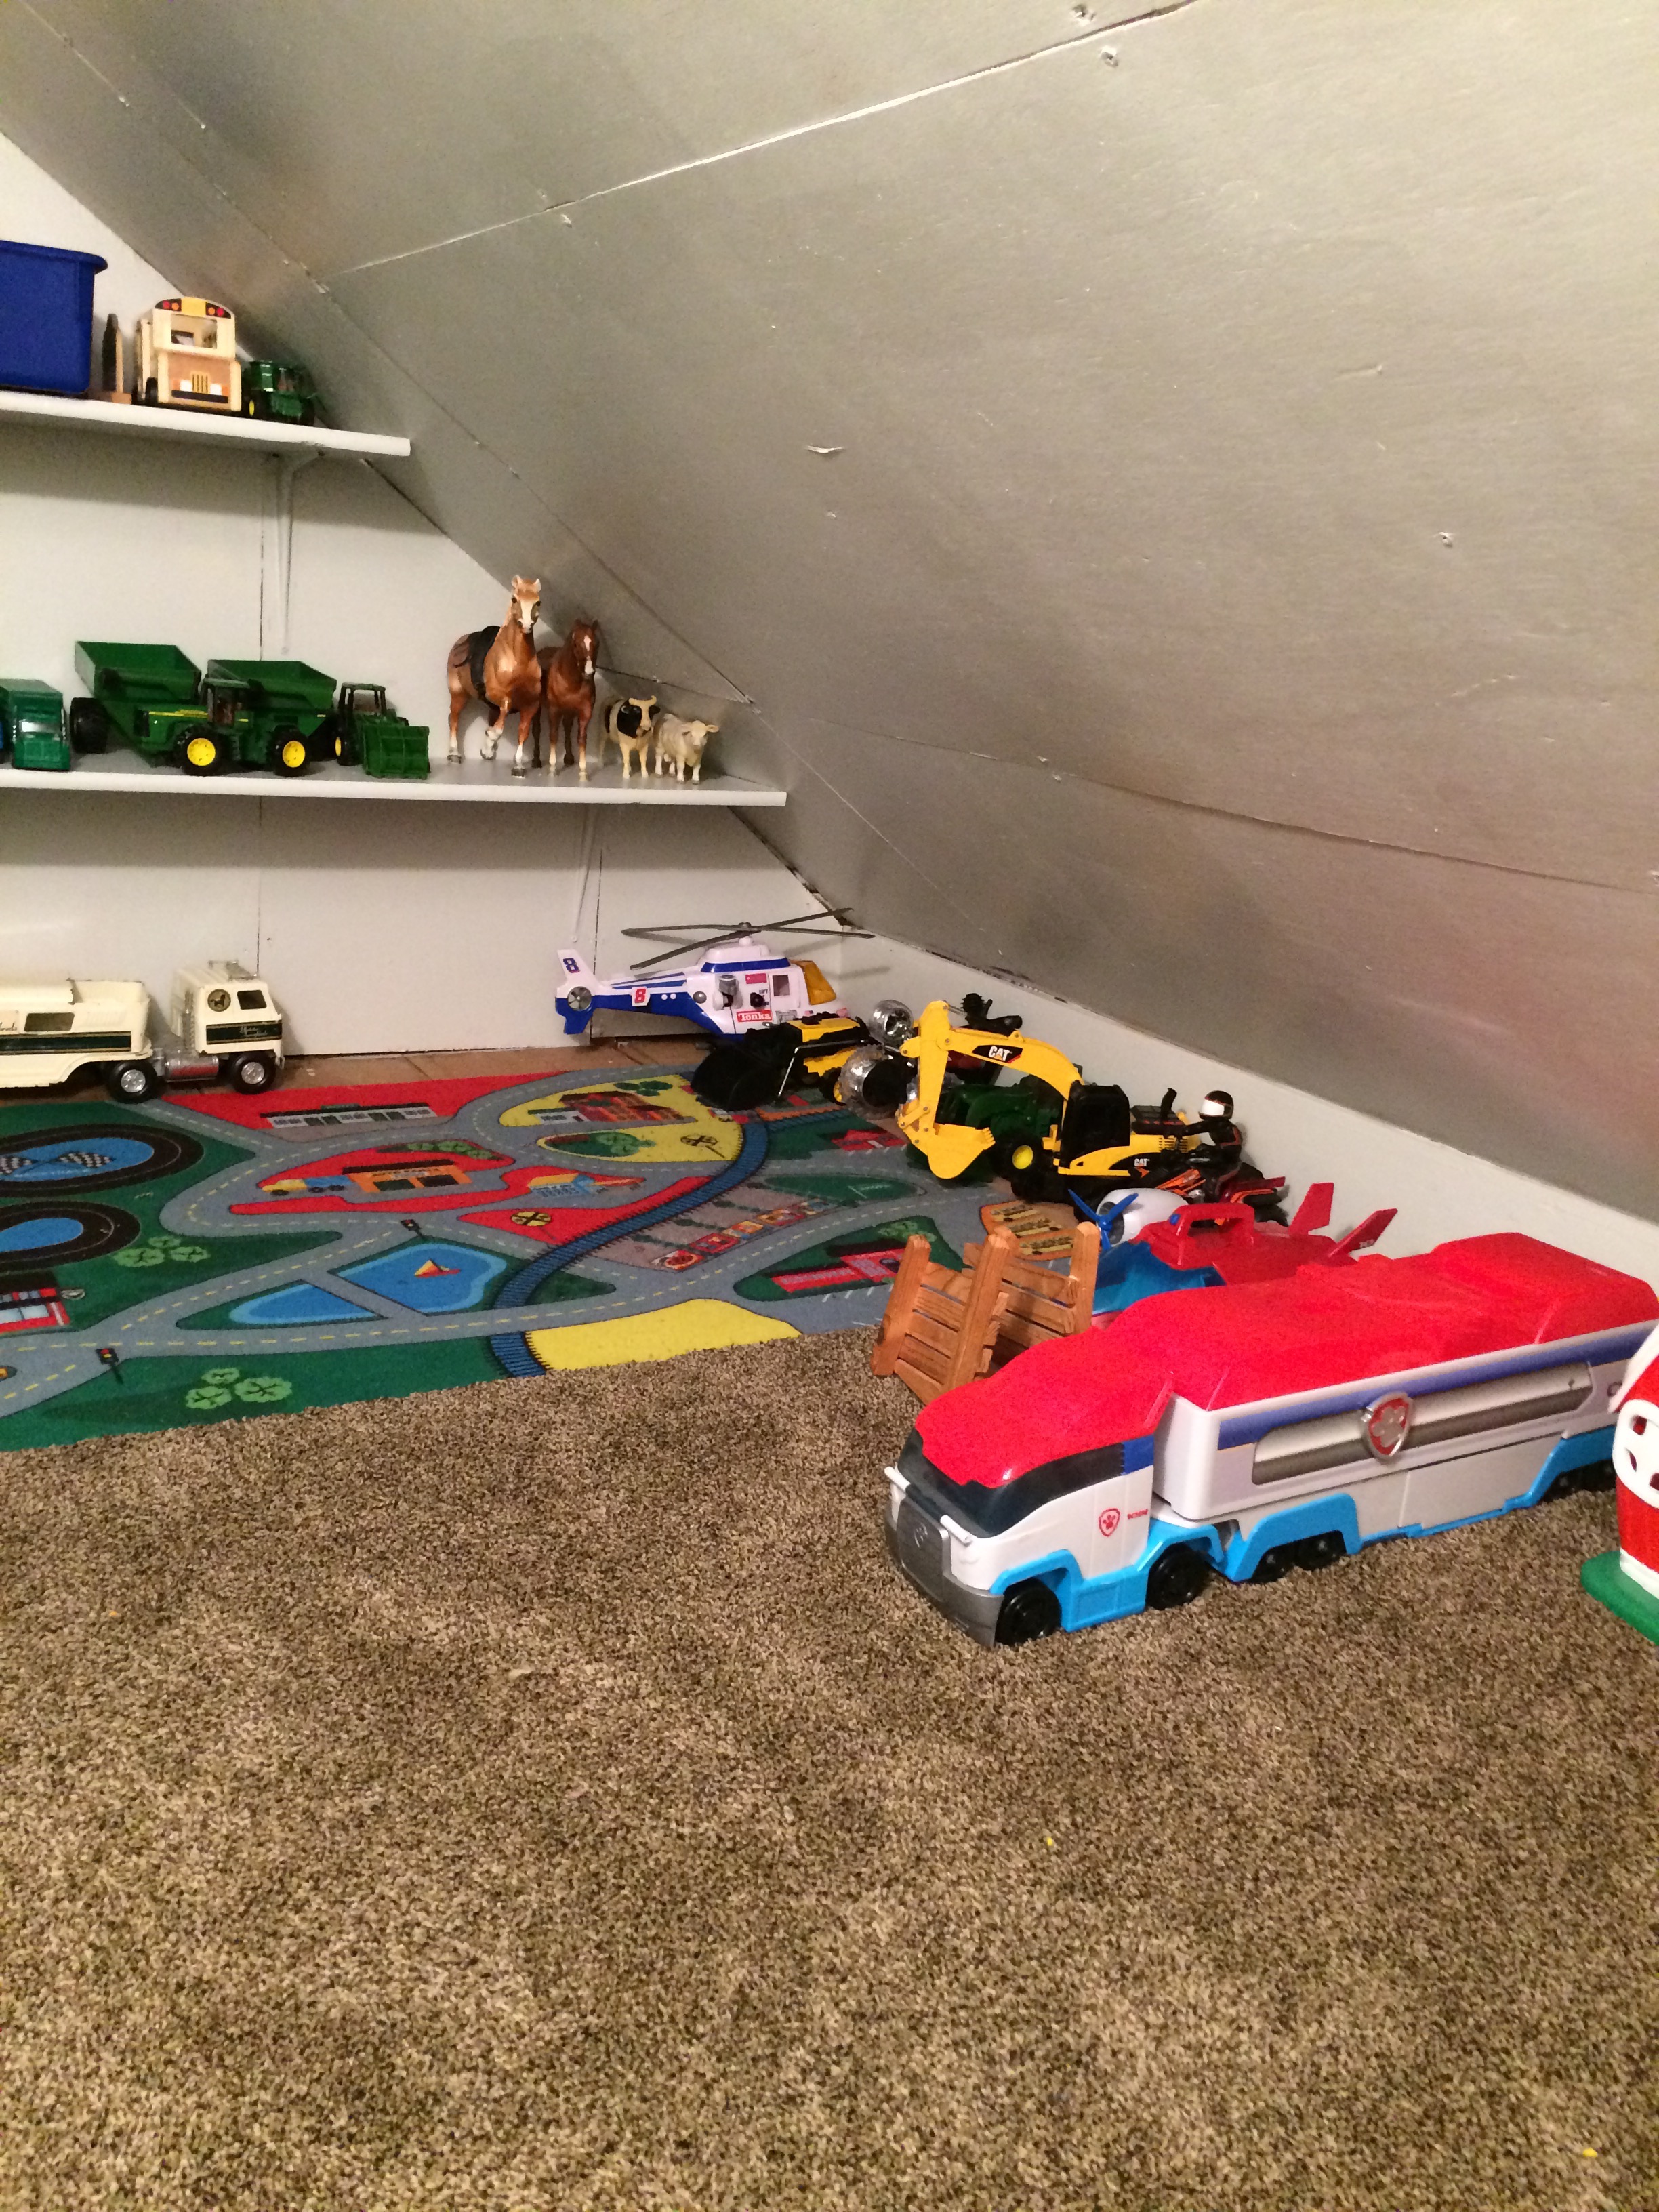
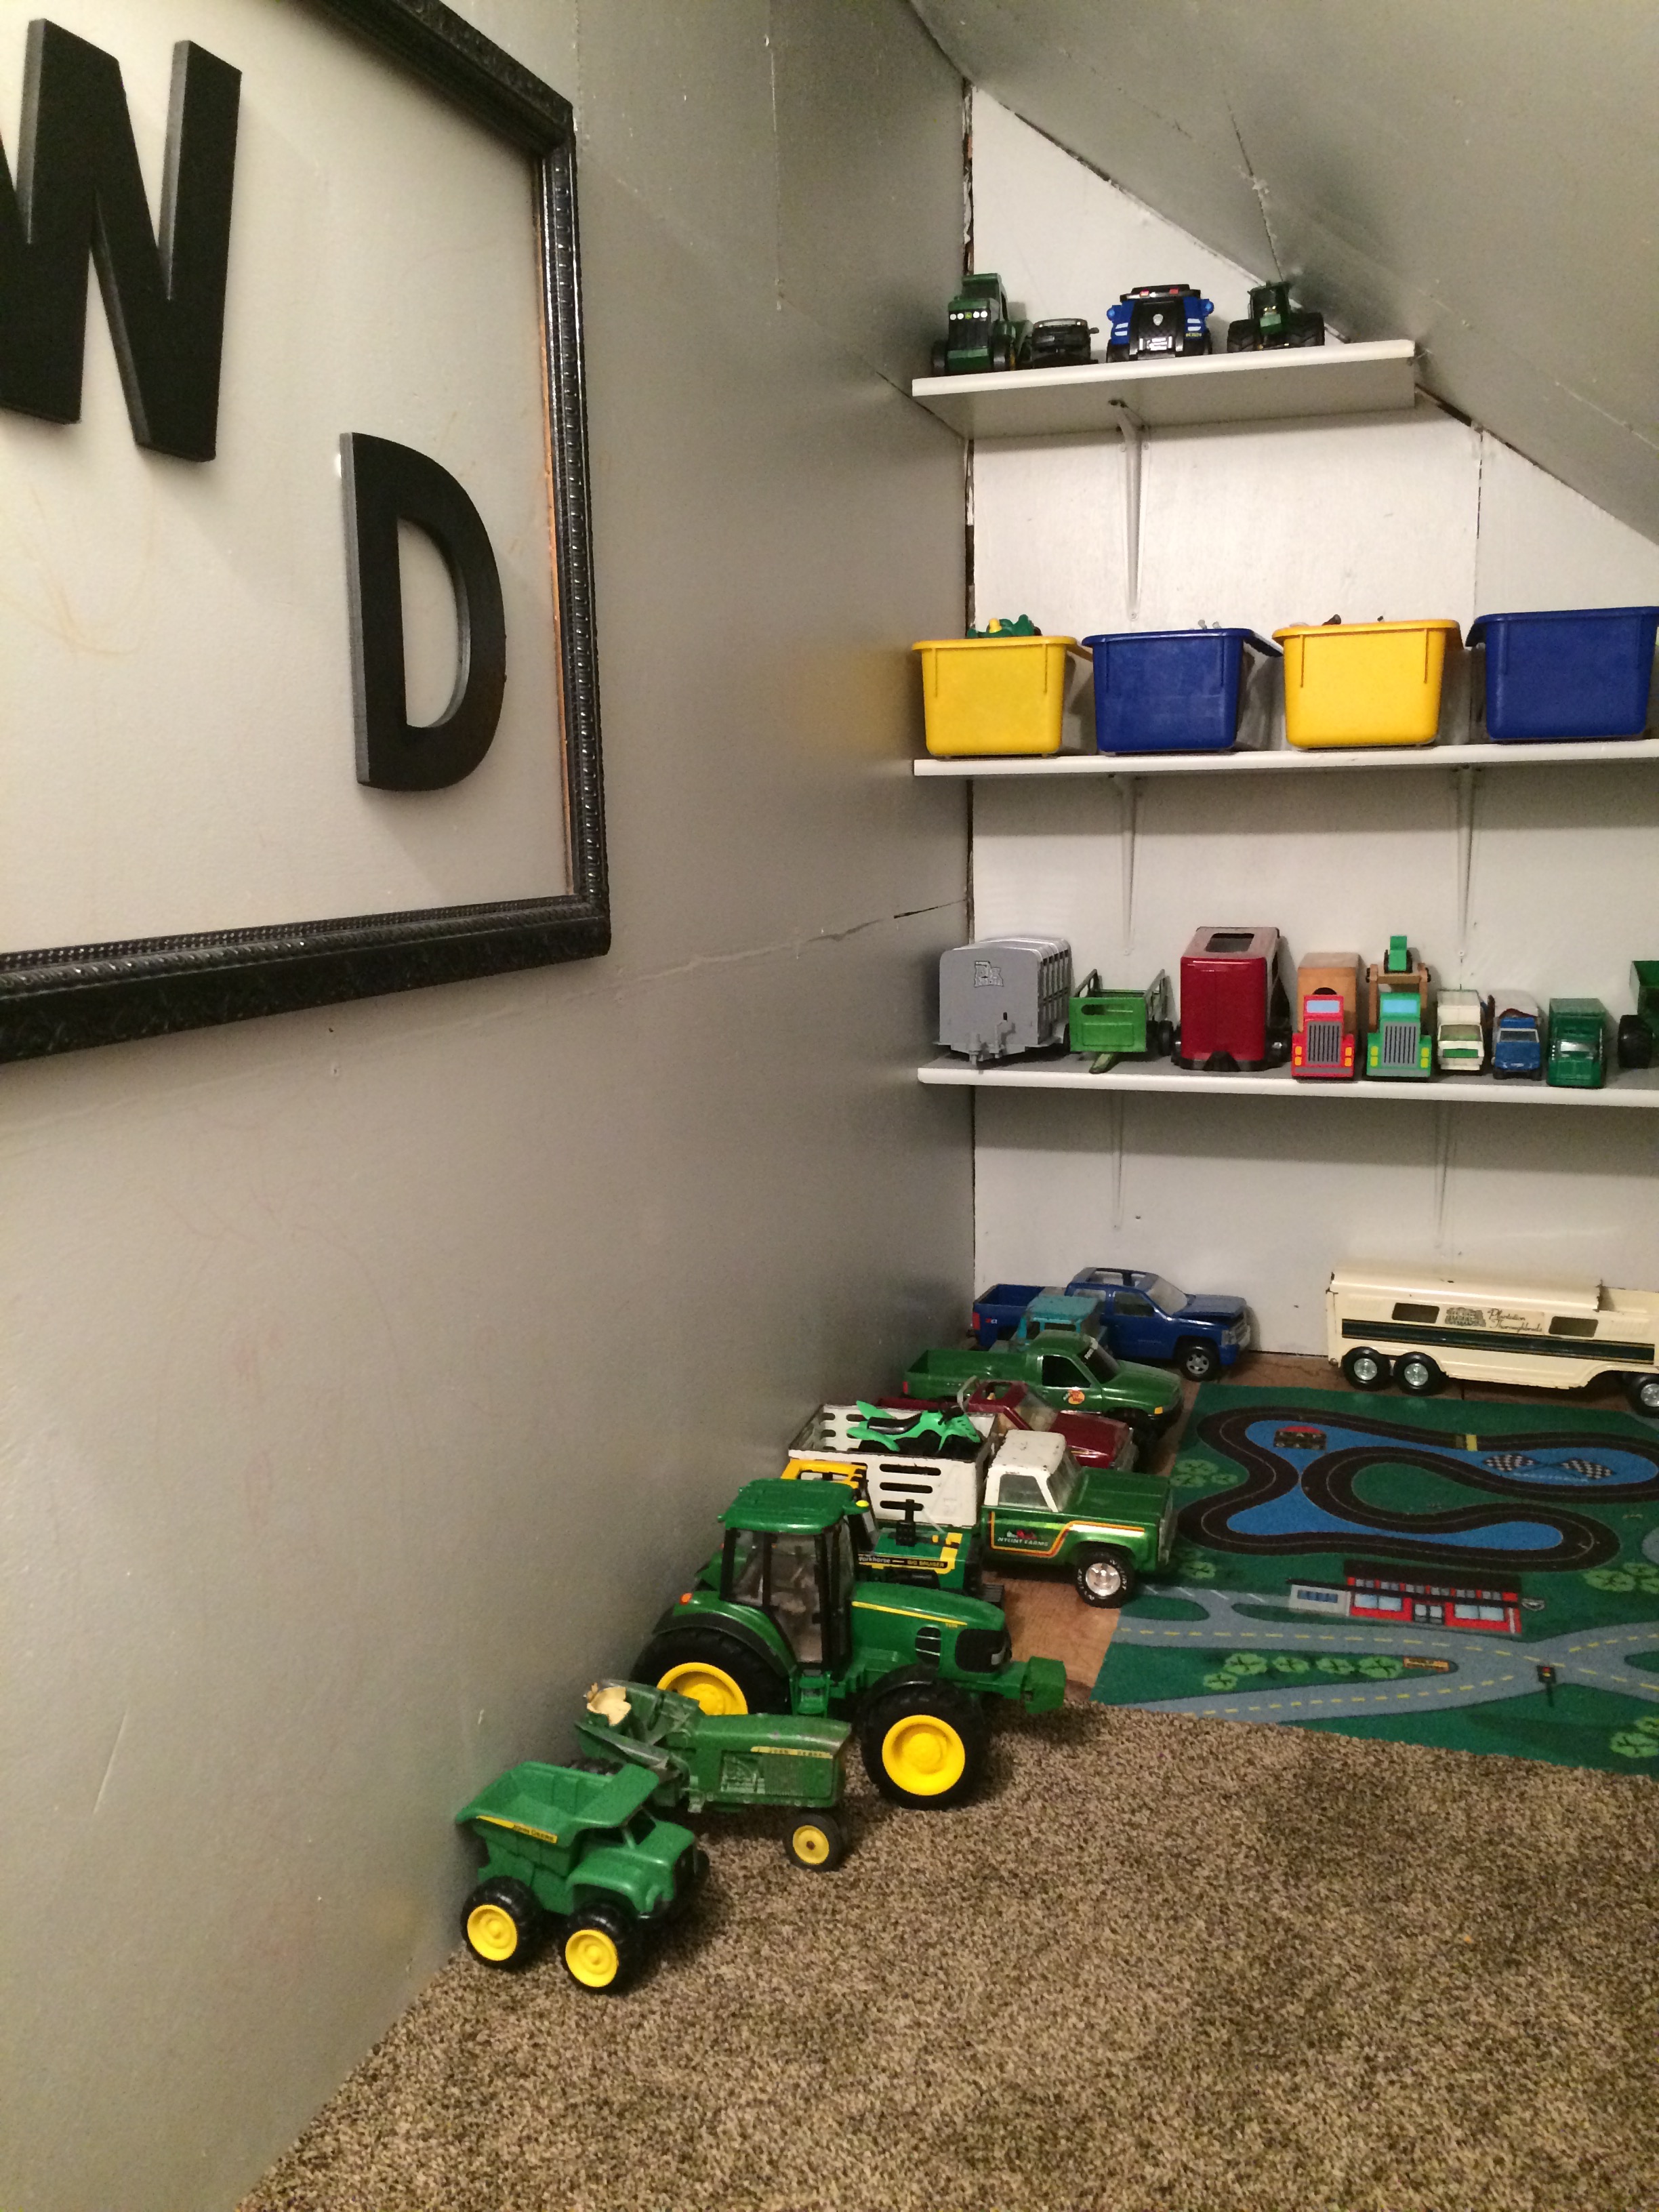
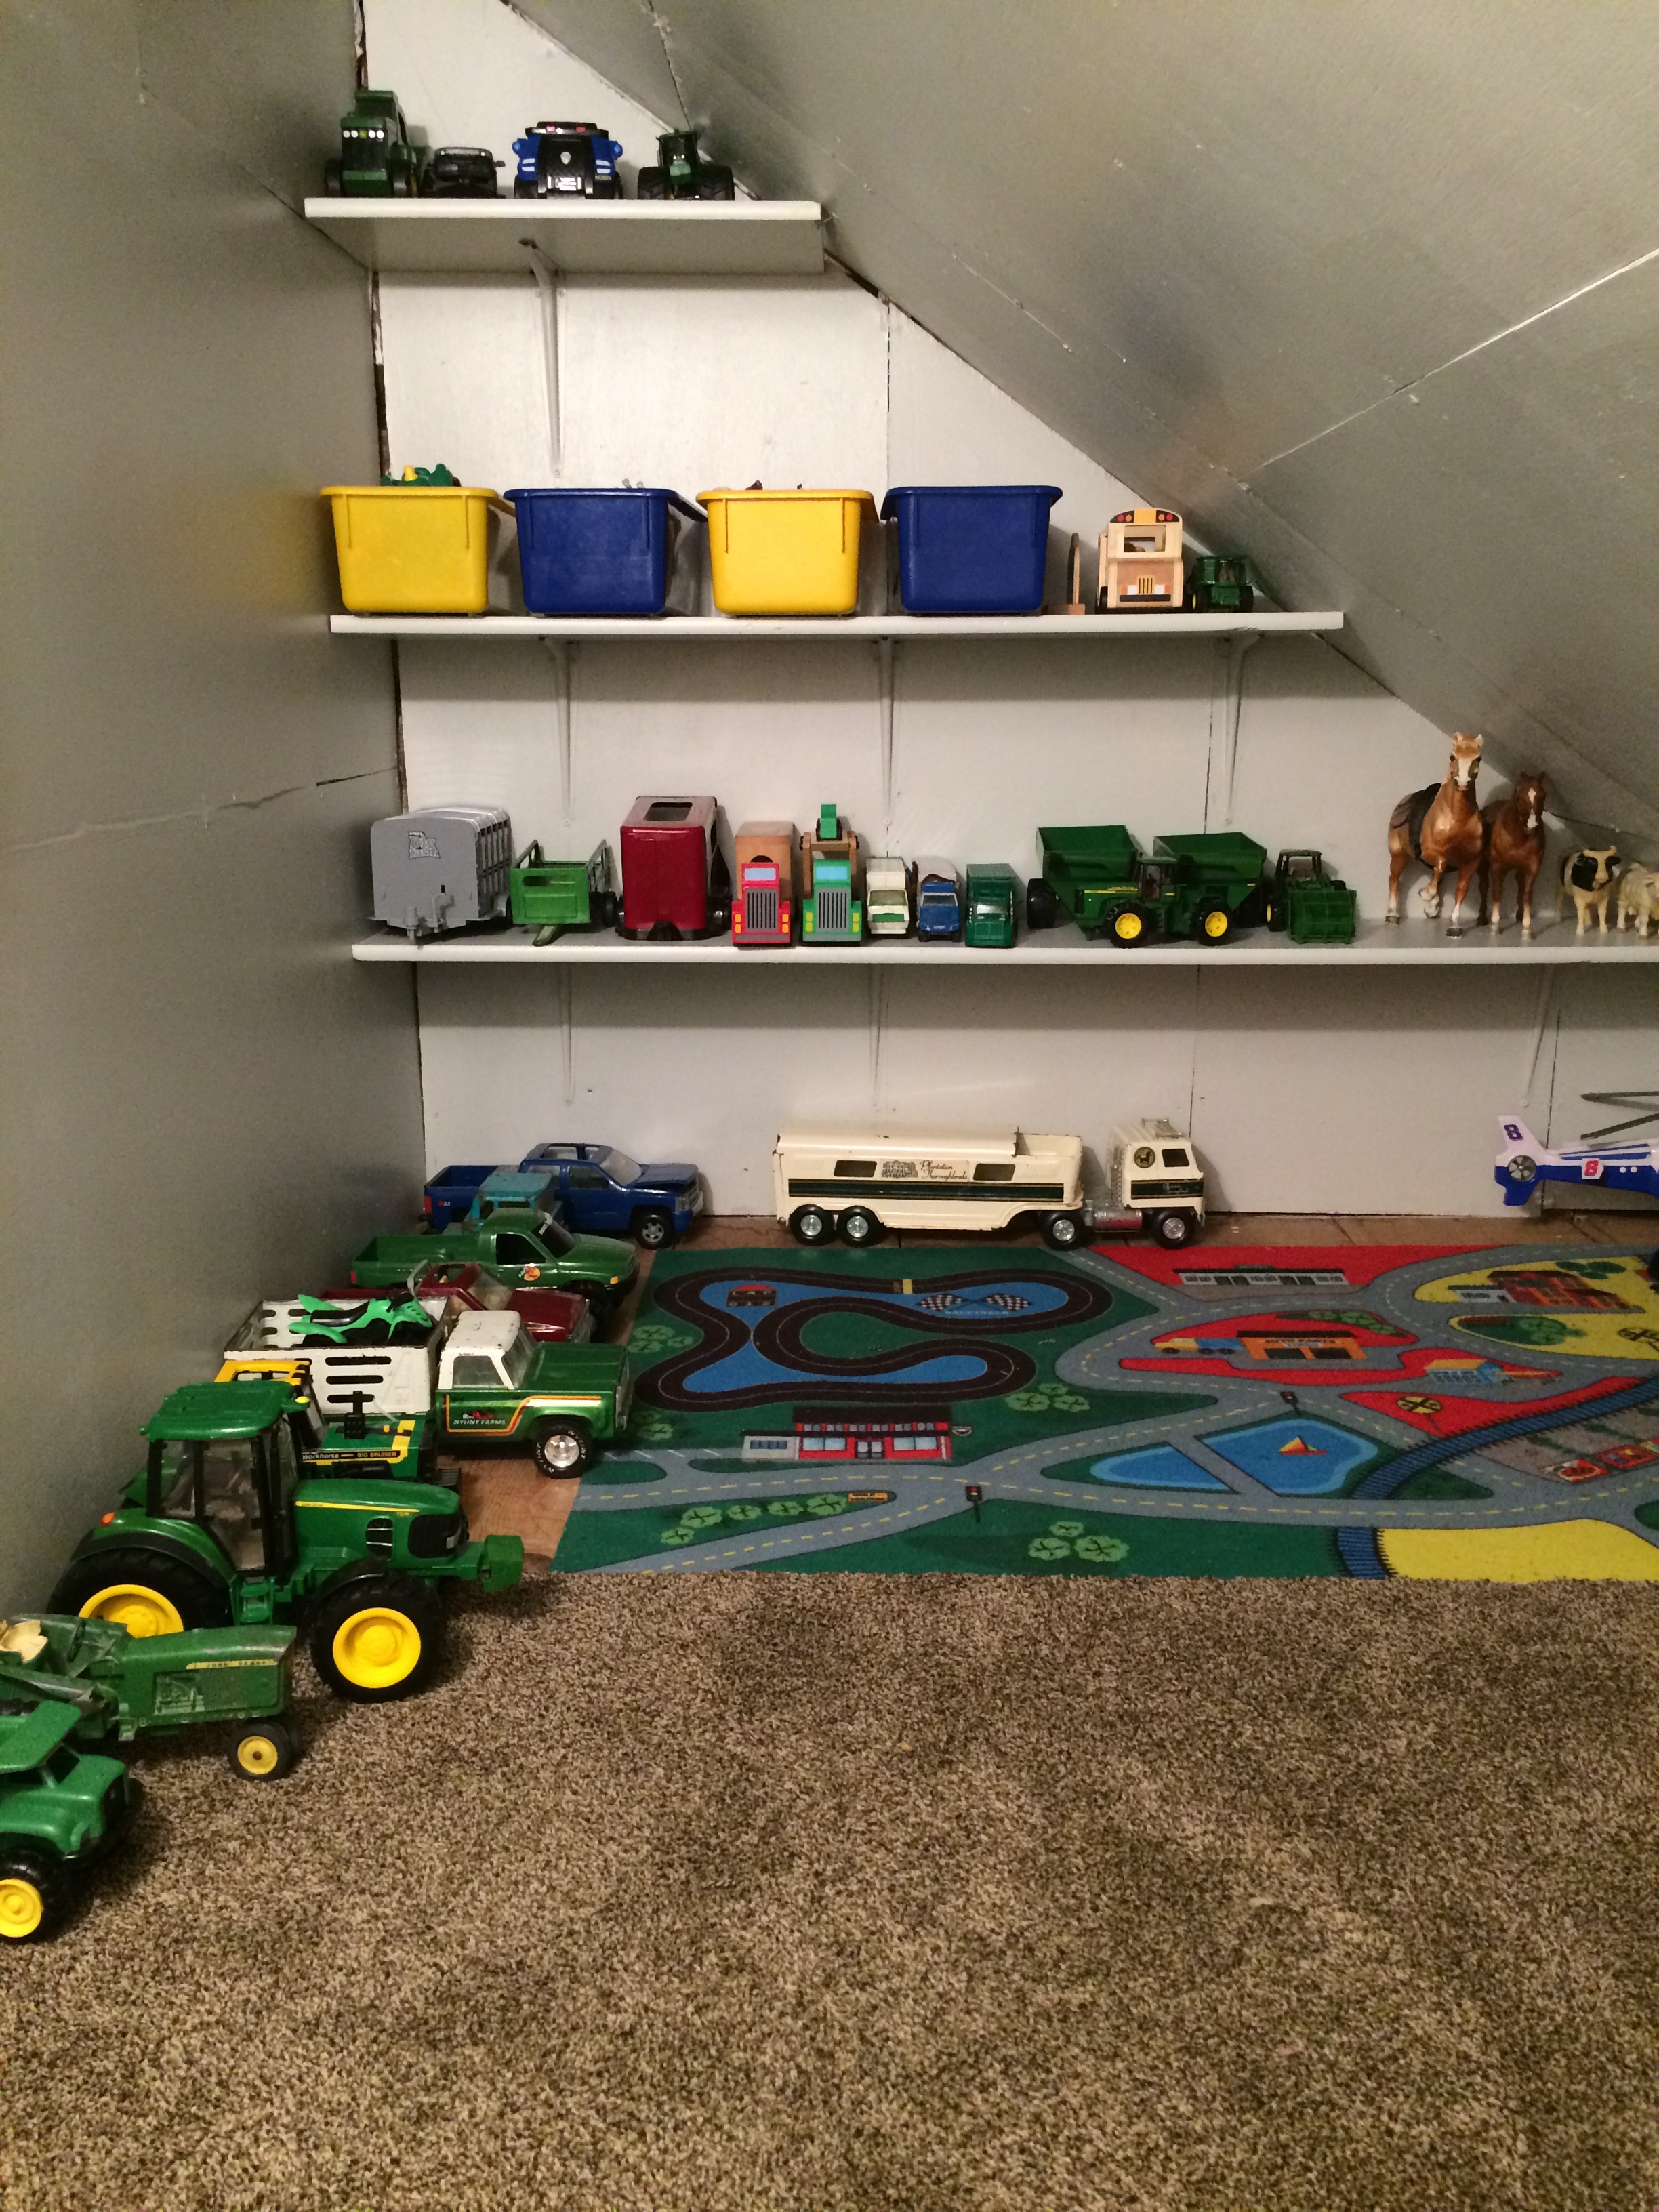
Wryder’s playroom beforeWryder’s toy room after
We put in new carpet, painted everything and put in new lighting. I LOVE this space and he does, too! I love having the toys out of sight, too, I won’t lie!
Wryder’s toy room afterWryder’s toy room after
And? Sayble has a little crawl space in her room that we can turn into a playroom for her one day. But we’re tired. And she’s still a baby. So we’ll wait.
Thank you for humoring my little house tour with my awful iPhone pictures. 😉 We’ll hit downstairs tomorrow. Maybe, all of my pictures will have uploaded by then. Oh, how we miss our good internet service!
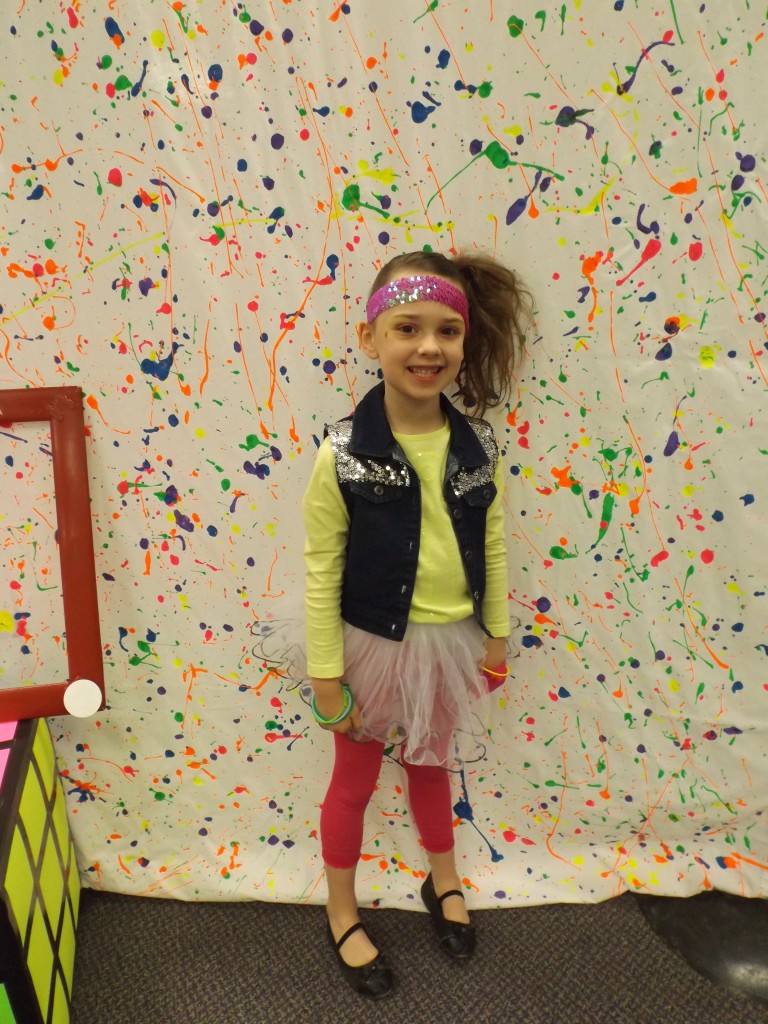
Our church turned 30 years old yesterday! Their very first church service was on March 2, 1986 so we celebrated with an 80s theme party – totally rad!
Wrex and I got to come up with a photo booth for the event and since we had a 3 piece backdrop system, we decided to do three different backdrops for people to choose from.
Didn’t they turn out cute?!
We, of course, had to do a splatter paint background. I didn’t know how easy it would be to do but let me tell ya – it was easy. We didn’t even end up using brushes, we just kinda dabbled our paint containers and it worked out so well!
Cutest little 80’s girl I know!
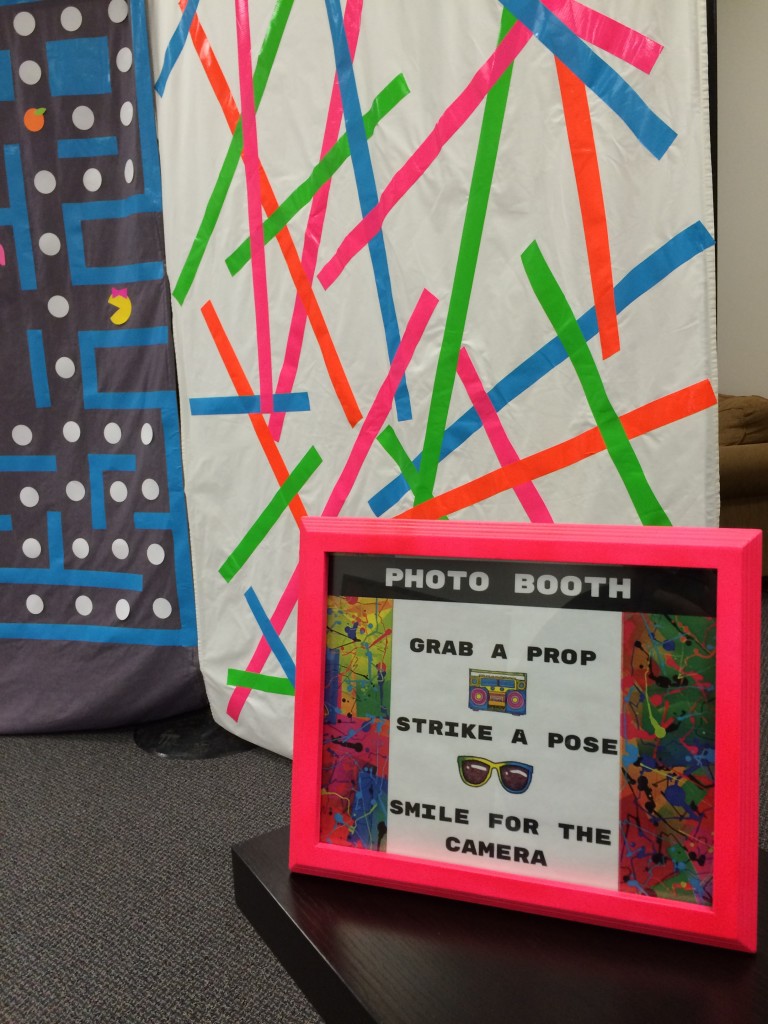
The other easier one we did was the one with bright colored lines. We just used neon duct tape and went to town laying down strips of color. I really liked how it turned out, especially for the photo booth.
Simple and fun!
The favorite of the night was the PacMan backdrop! It is pretty cool, isn’t it?! I dyed the sheet black (and got it grey -ha!) and then my mathematician husband took the photo I found online and scaled it and we got to work. We used duct tape for the game board and then I just used cardstock for all of the characters and circles. It really turned out great for not a lot of cost, just time.
Pacman!
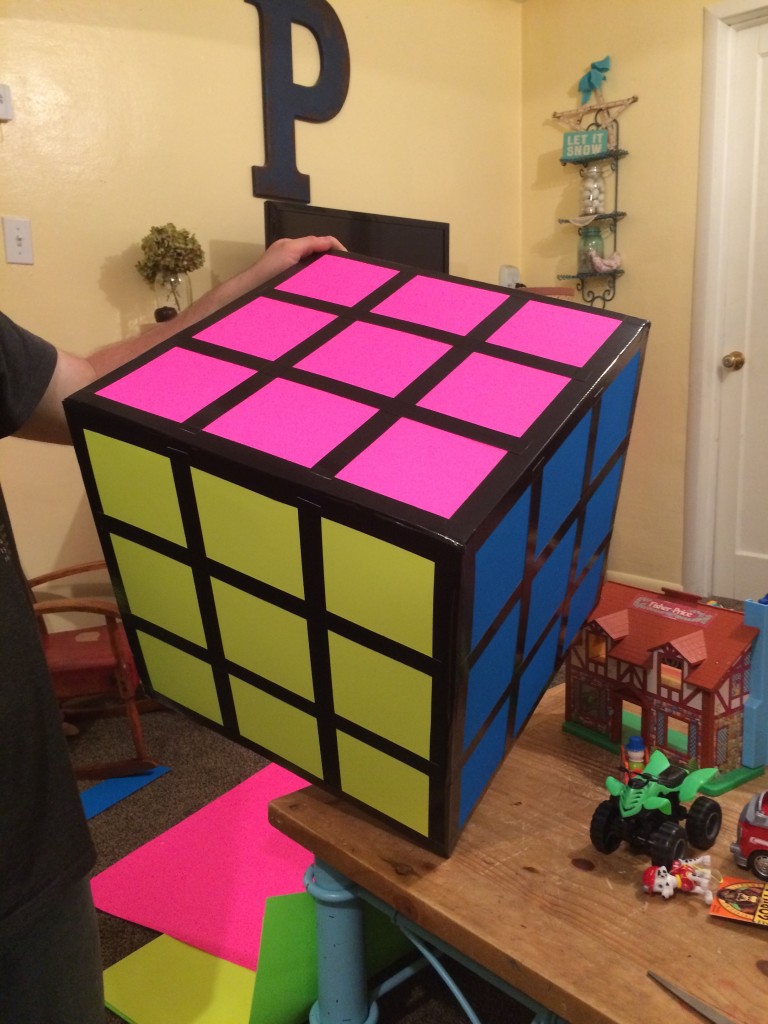
We wanted a few bigger props so we made a giant rubix cube using a cardboard box, poster board and a LOT of black tape…
Awesomeness…
a giant Etch-a-Sketch out of an old red frame we had…
Oh man, he’s cute!
and no 80’s party is complete without a boombox, courtesy of a Pampers box, some duct tape and some cardstock!
Boom.
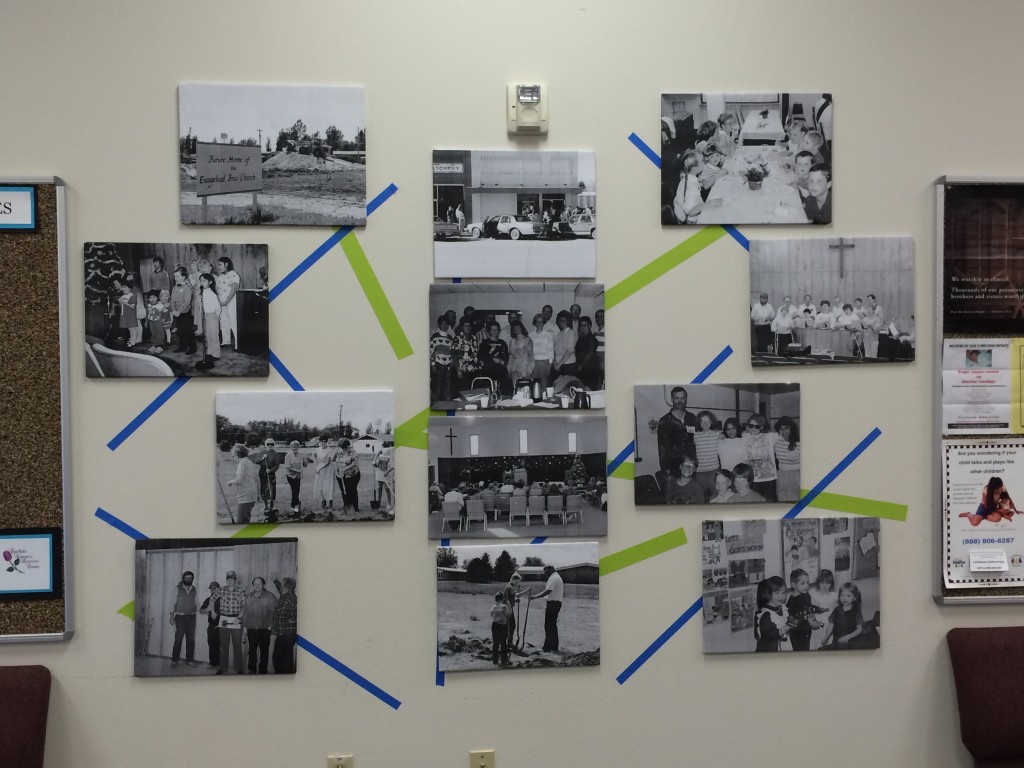
We blew up some pictures at Staples and did our faux canvas work and hung those up for everyone to giggle at…
Back in the day…
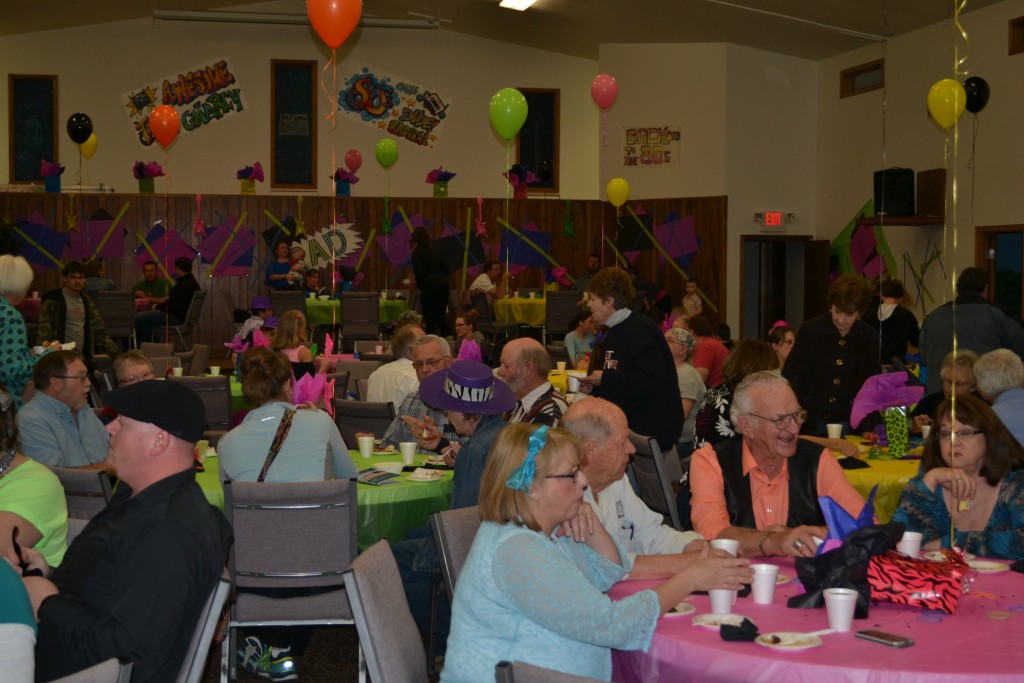
A fellow church goer decorated the fellowship hall and turned it into a totally bodacious space!
Fun!
There was cake and live music – just a lot of fun!
Yum!
It was just a REALLY fun night! It was easy and laid back and people totally got into the 80s spirit…it was just a really nice night to fellowship and be thankful for such a wonderful church family.
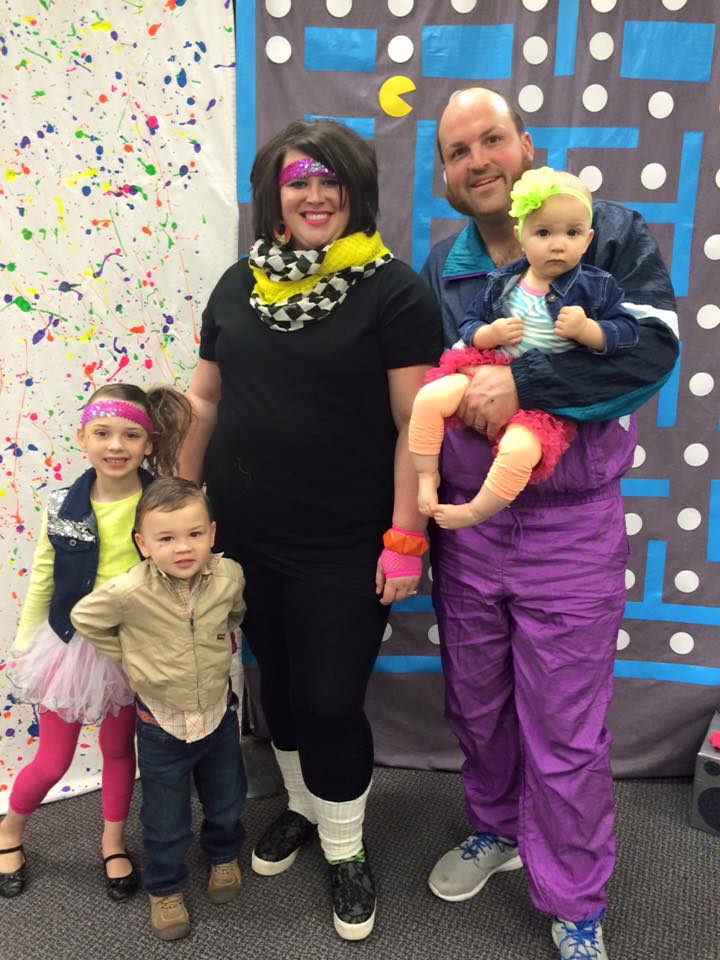
My crew got all dressed up for the event, of course.
It’s 80s night!
Sawyer looked so cute, she could be in style no matter what the decade…
So cute!
Same for Sayble…
🙂
and Wryder, too! His outfit was hard for me to come up with…but then I remembered that I had some of Wrex’s clothes FROM 1986ish and so Wryder wore Wrex’s old shirt and jacket and looked CUTE.AS.A.BUTTON!
Oh man, he’s cute!
I was the last to get dressed of course and did the best I could! I’m pretty sure the 80s color palette is not my favorite, but I worked it!
One of every color…
The winner…hands down…was Wrex!
He’s all mine, ladies….
I found this windsuit at the local thrift for $3!!! The tag said it had been there since September. THANKFULLY, I snatched it just in time!
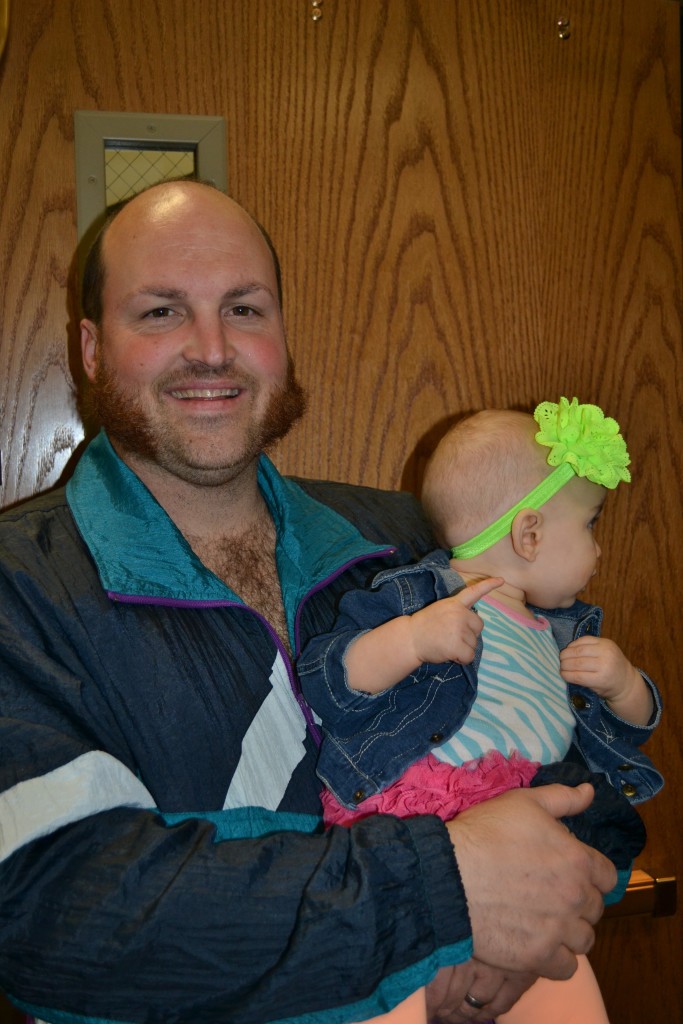
His beard had been bothering him for a while now but we all really like it. He decided last night was a good night to shave it off…and leave mutton chops. *ahem*
Yeeeeaaaahhh…
I’m pretty sure some people will never be the same after seeing all that…
Oh. My. Goodness.
It was a ton of fun, despite the facial hair madness that he STILL hasn’t fixed yet.
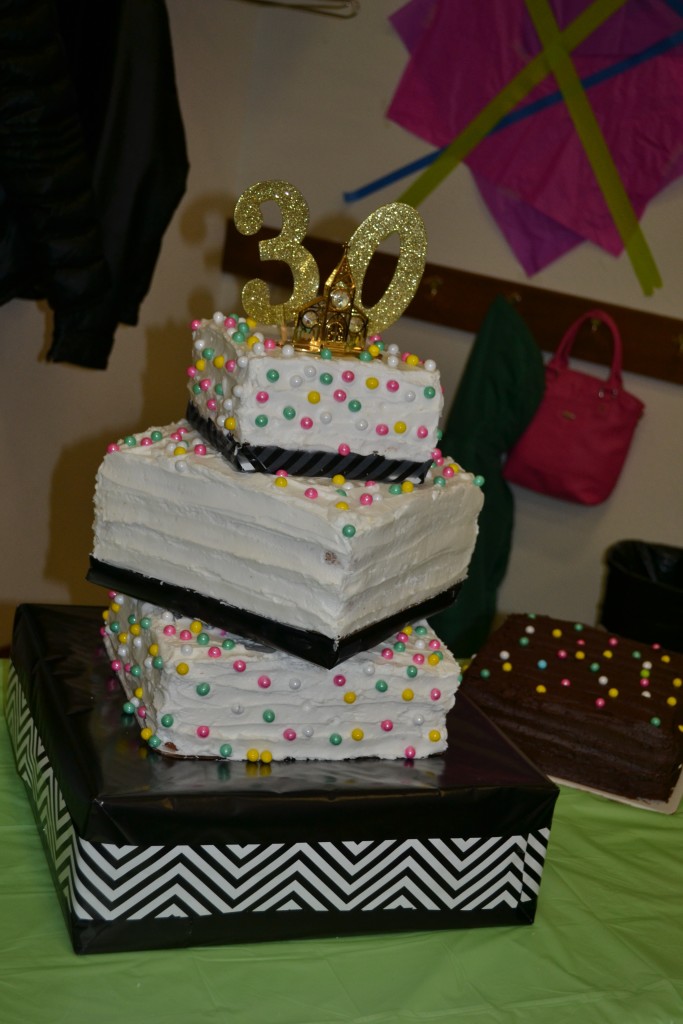
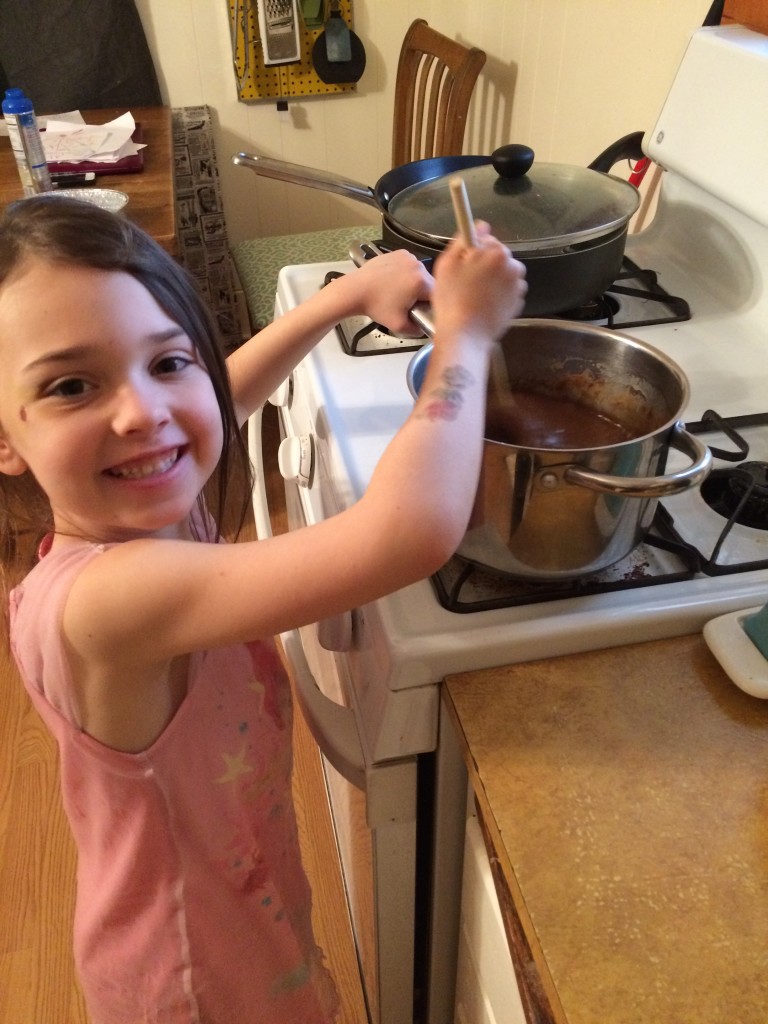
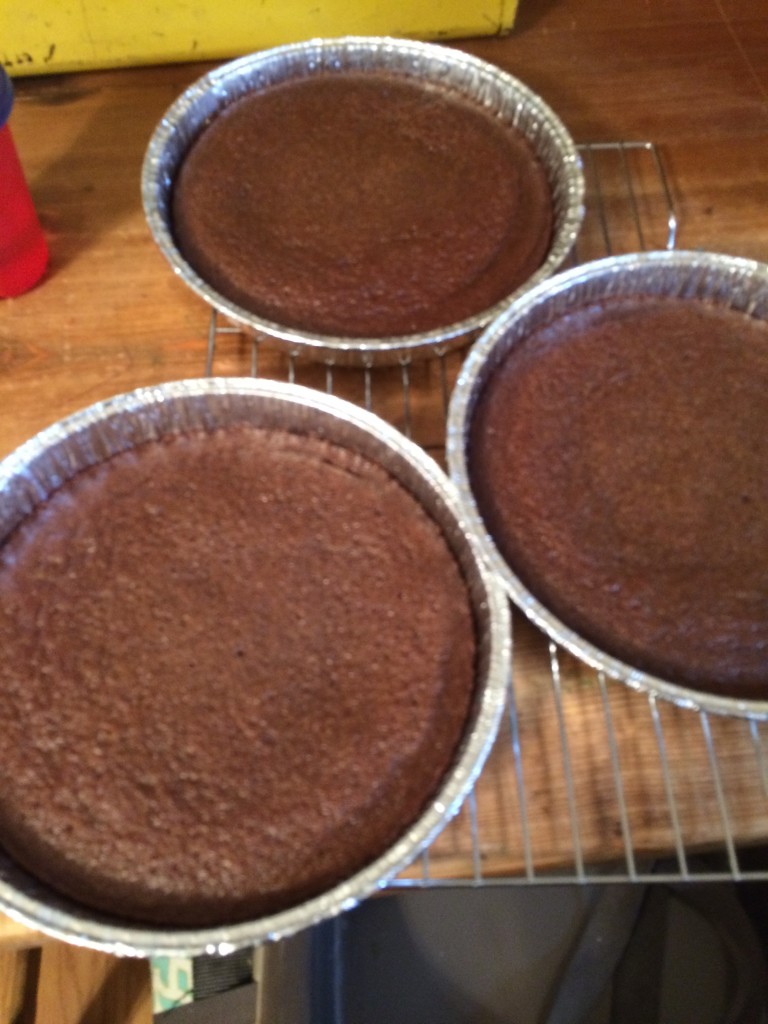
Yesterday was also a special guy’s birthday! One of our favorite friends and pastors had a birthday yesterday and Sawyer wanted to make him a cake, so we did! She did 98% of the work herself! He wanted chocolate cake so we turned Grandma’s delicious chocolate sheet cake into a layer cake…
Making the batter…Letting them cool…
She REALLY to do sprinkles and candy hearts so we tried to limit them to just a few 🙂 and then she made a birthday banner for the birthday boy and delivered it with balloons, to boot!
Happy Birthday, Mr. Bill!
Today, we’re all recuperating. I did the math and Sayble’s about 6 hours of sleep behind schedule – ha! Don’t call us between 1-4…we’ll all be napping!
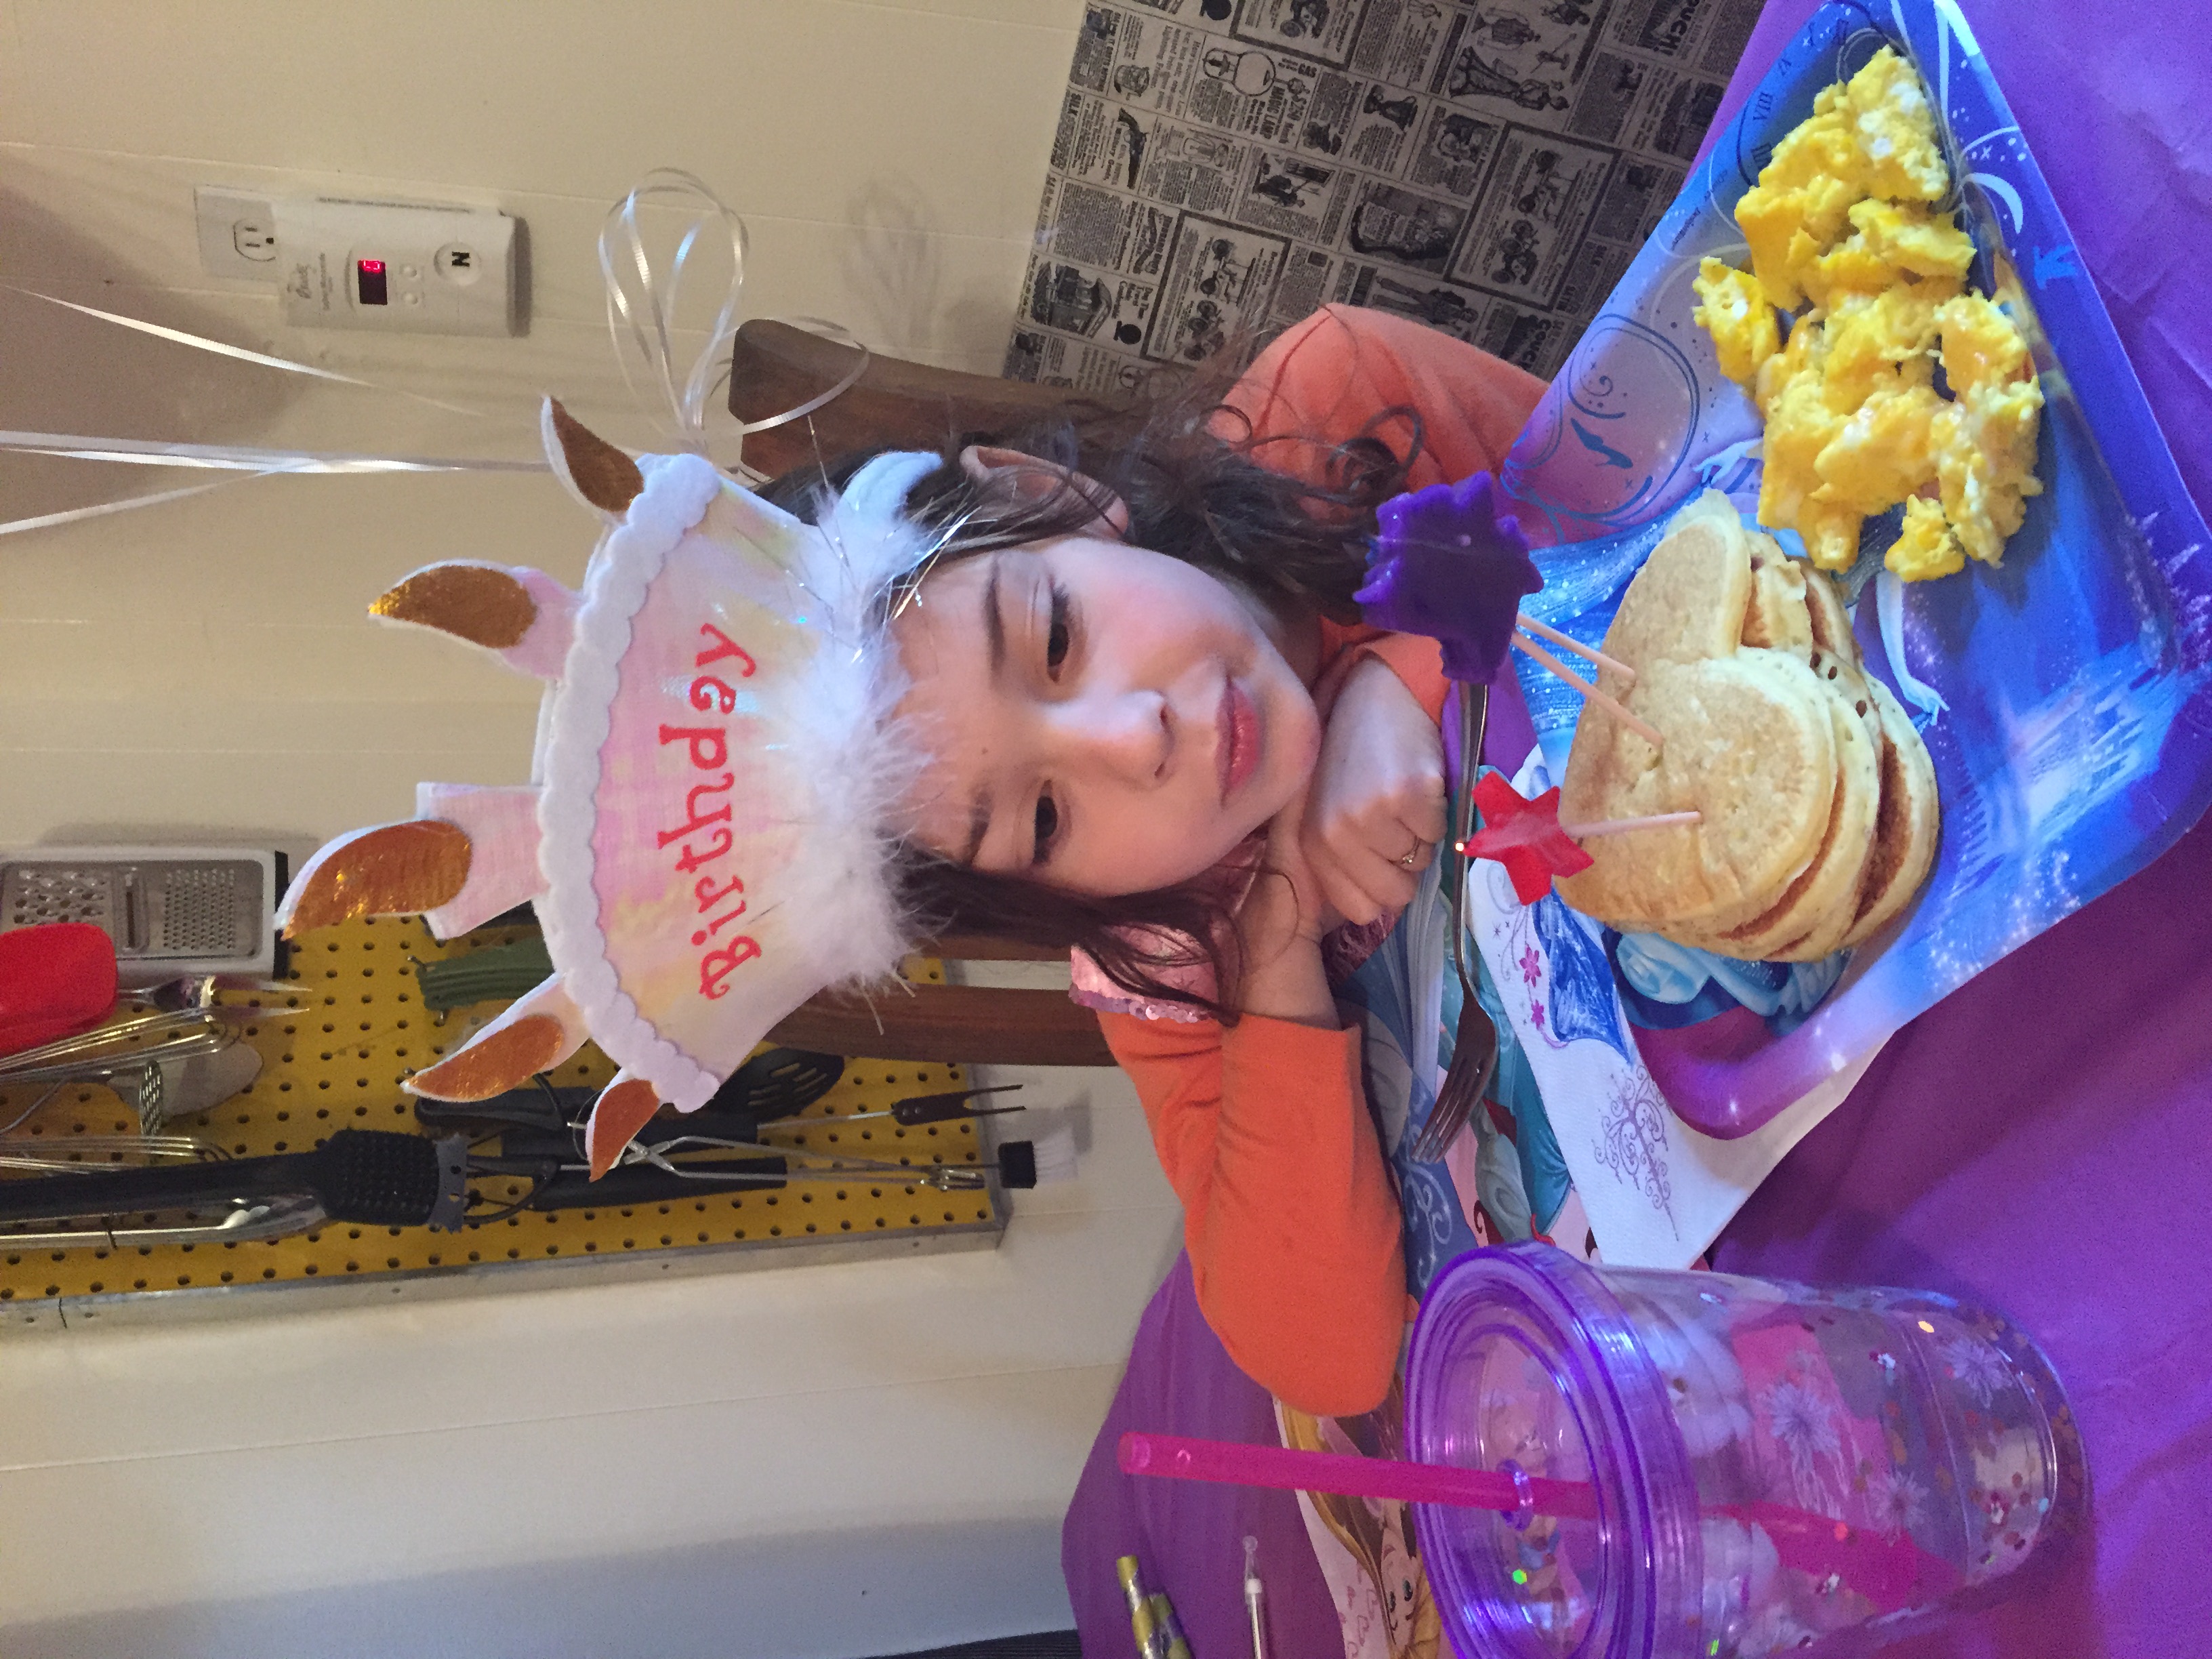
My first born is officially FIVE! Five has always been a big birthday number for her. She made a list about a year or so ago of all the things she felt like she could do once she was five…use a knife to cut her food, climb a tree, go underwater, etc. (Now that one has been moved to when she’s 10. Darn that bad swimming lesson…)
She had a really fun birth-week (and we did, too!) She got to get a pedicure…
Sweet Sawyer
and have heart pancakes for breakfast…
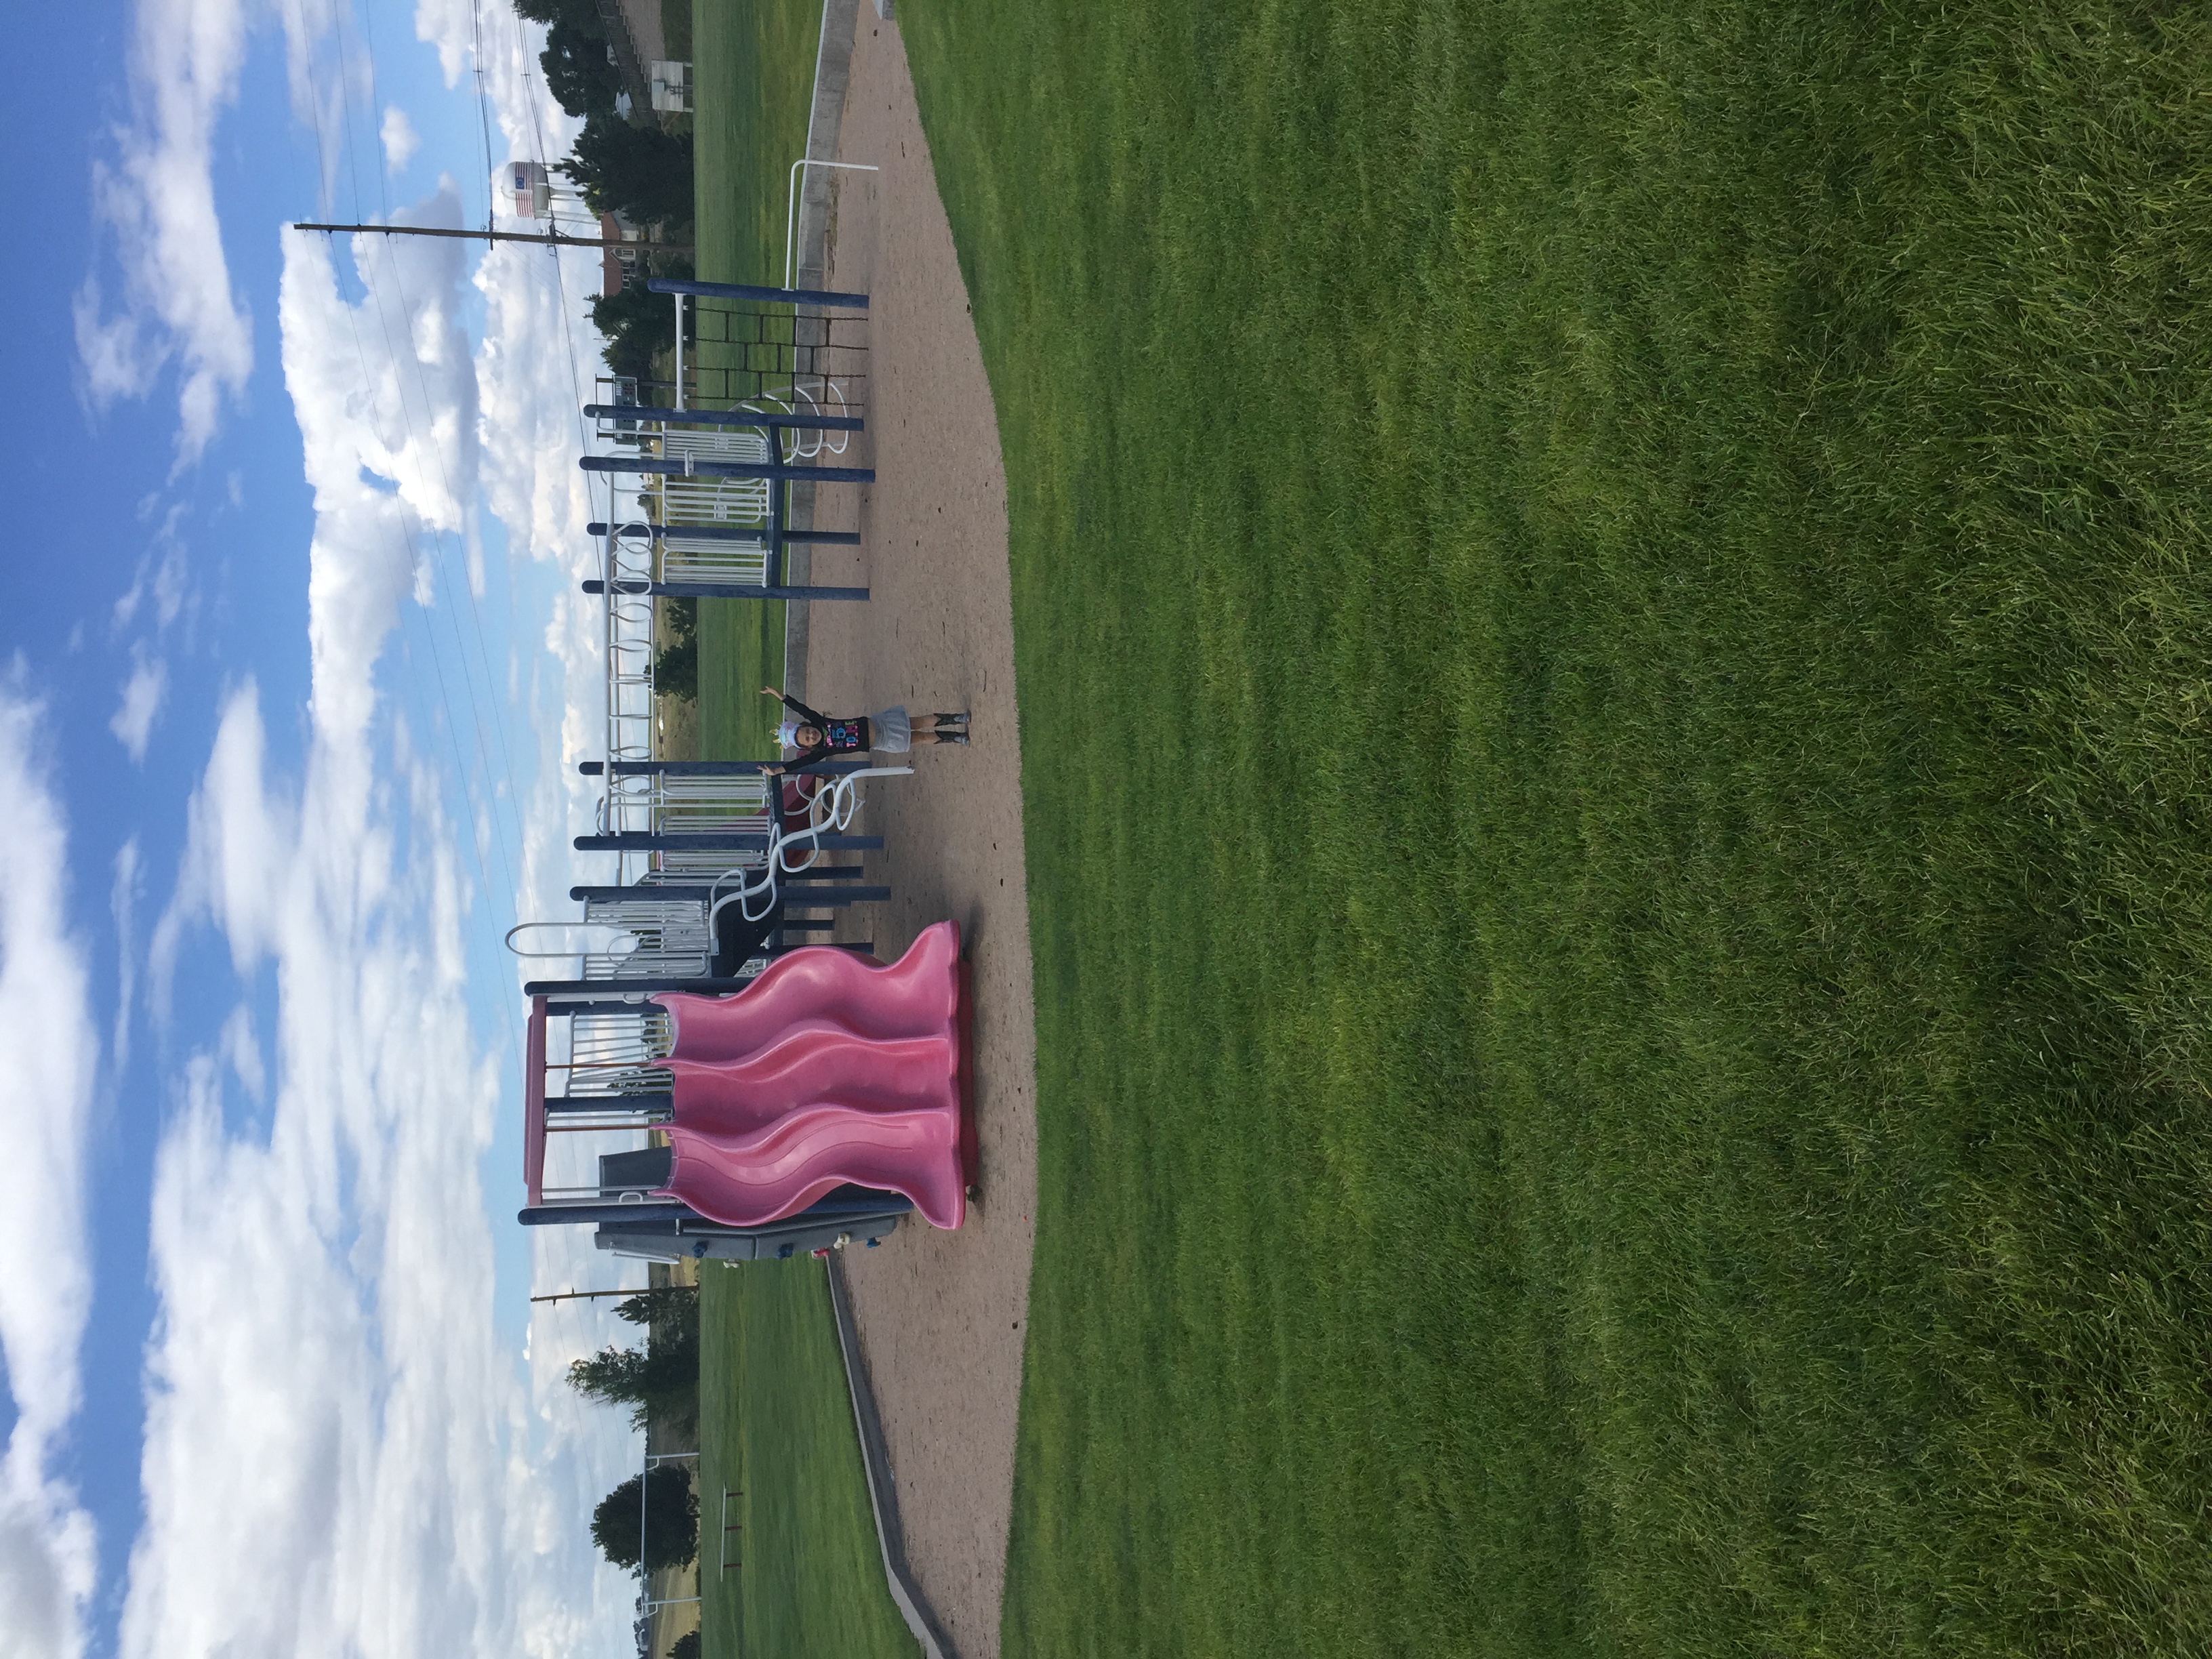
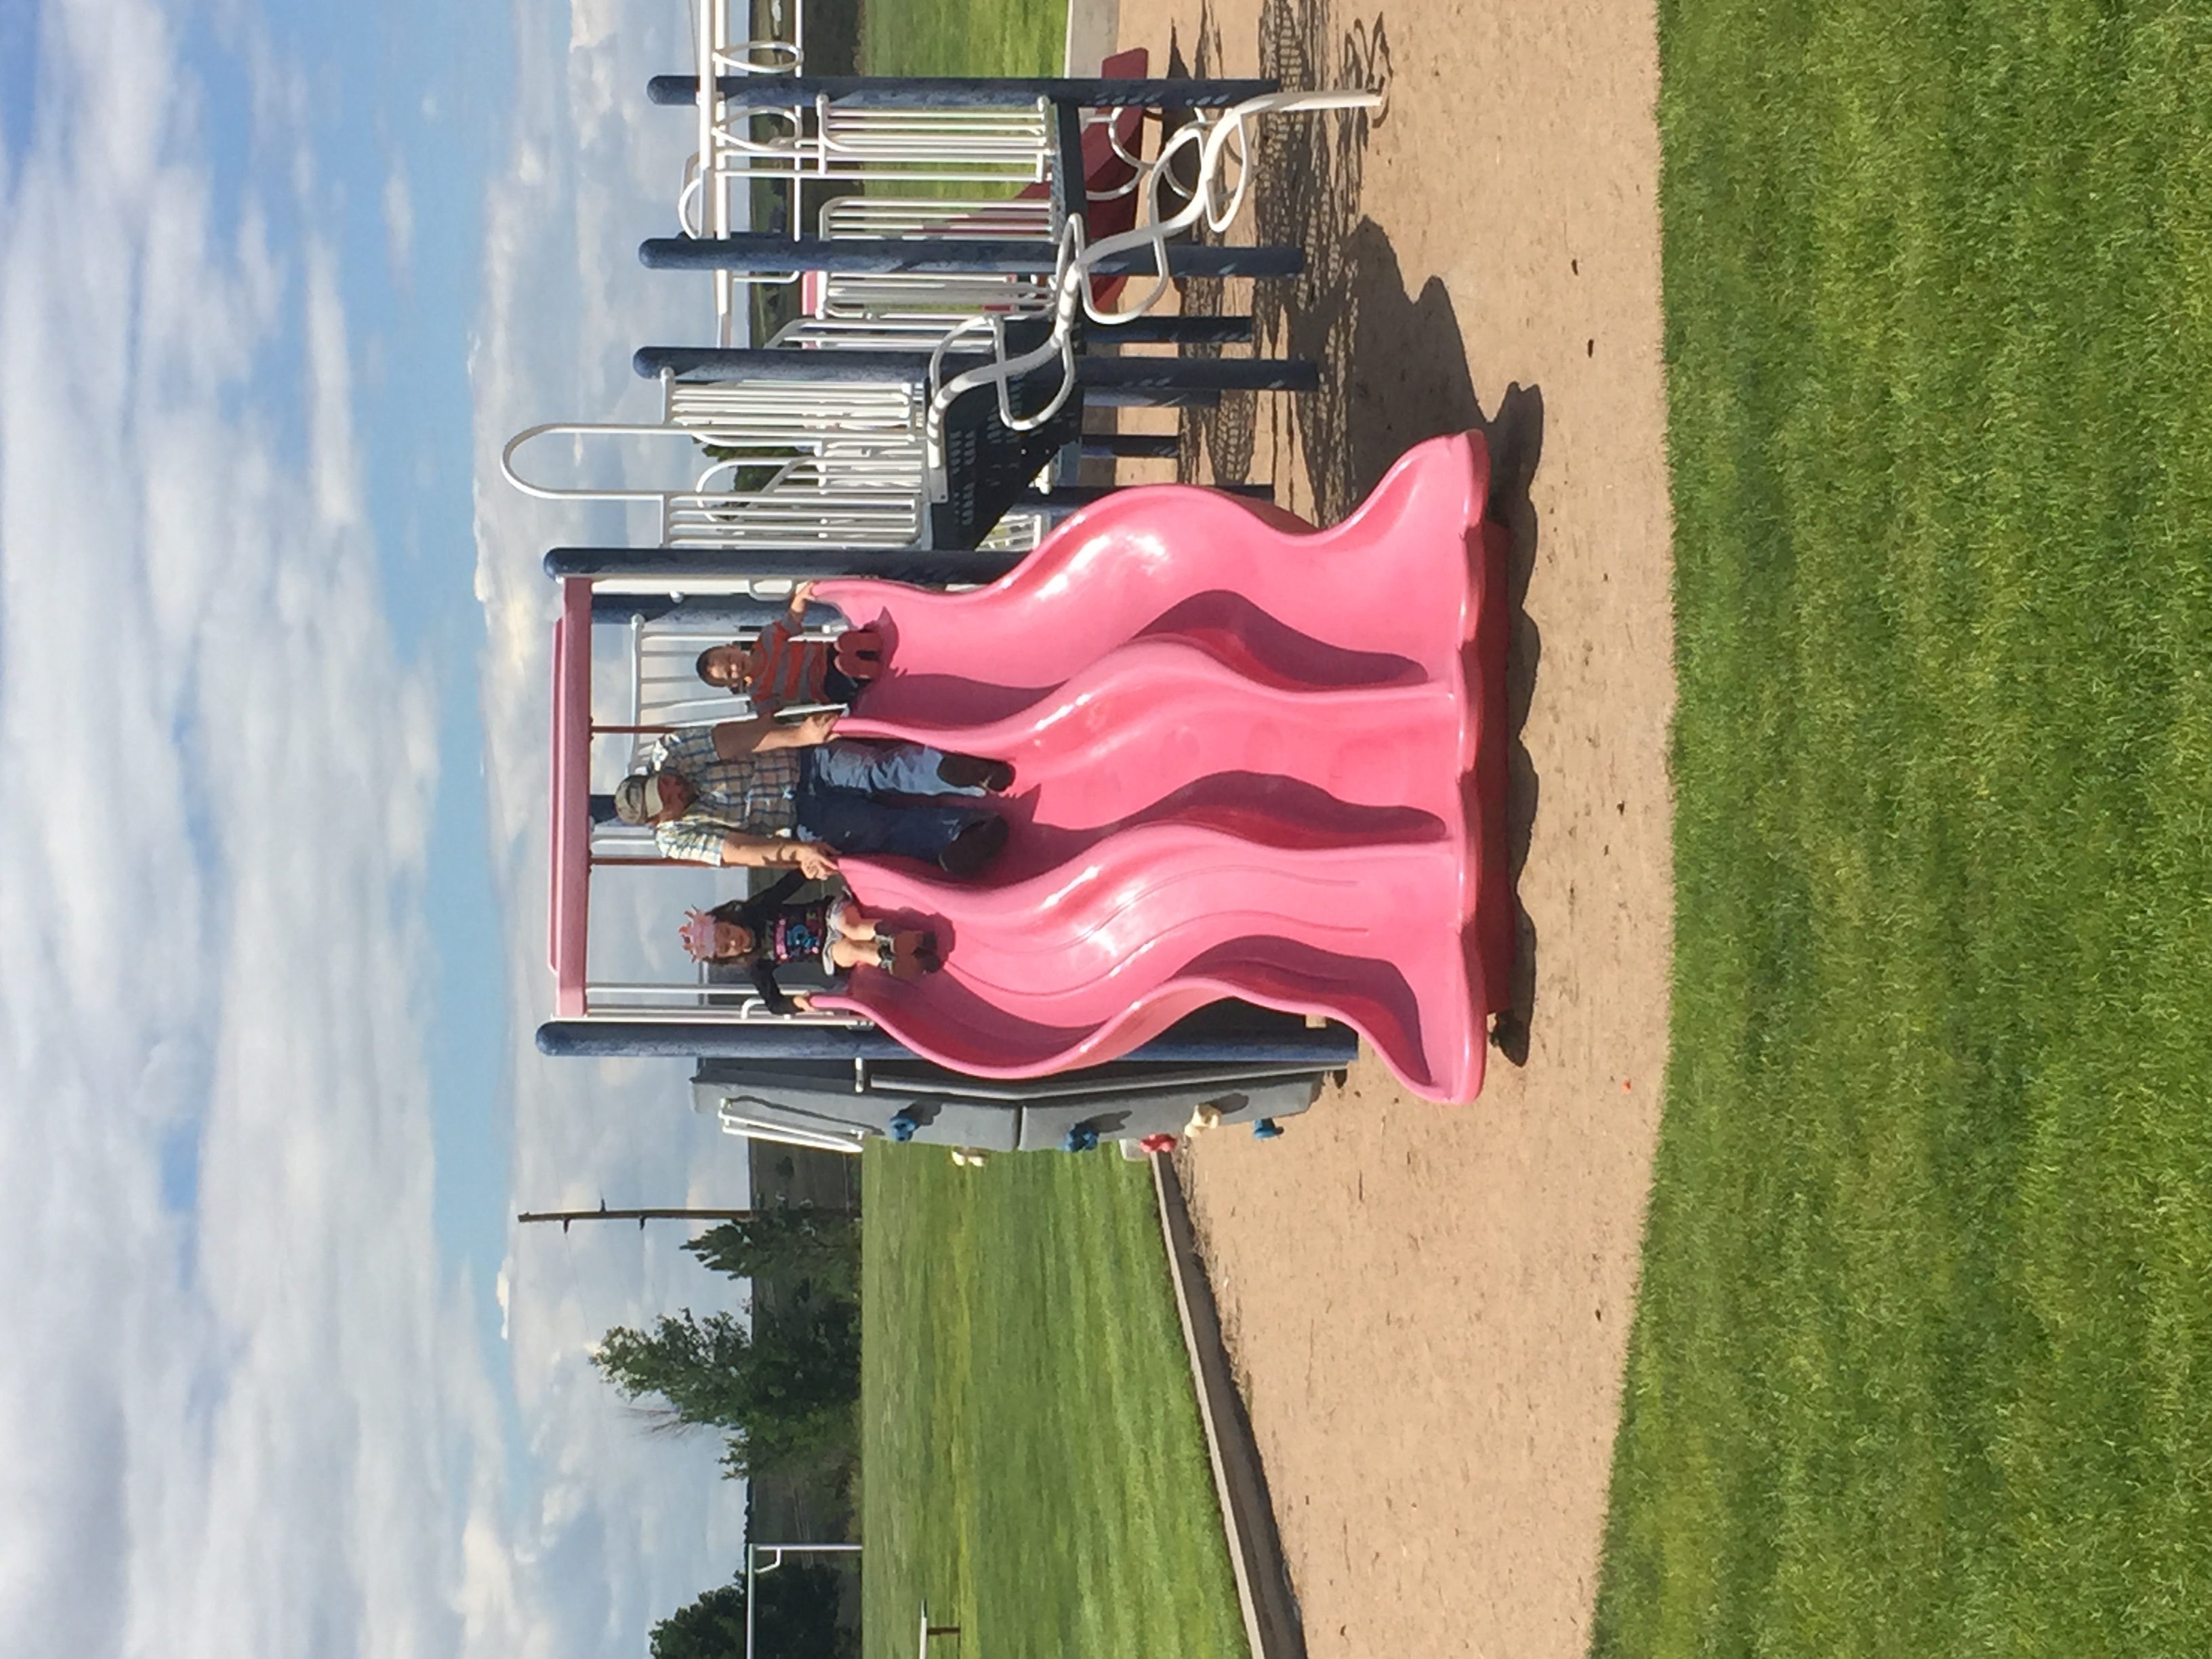
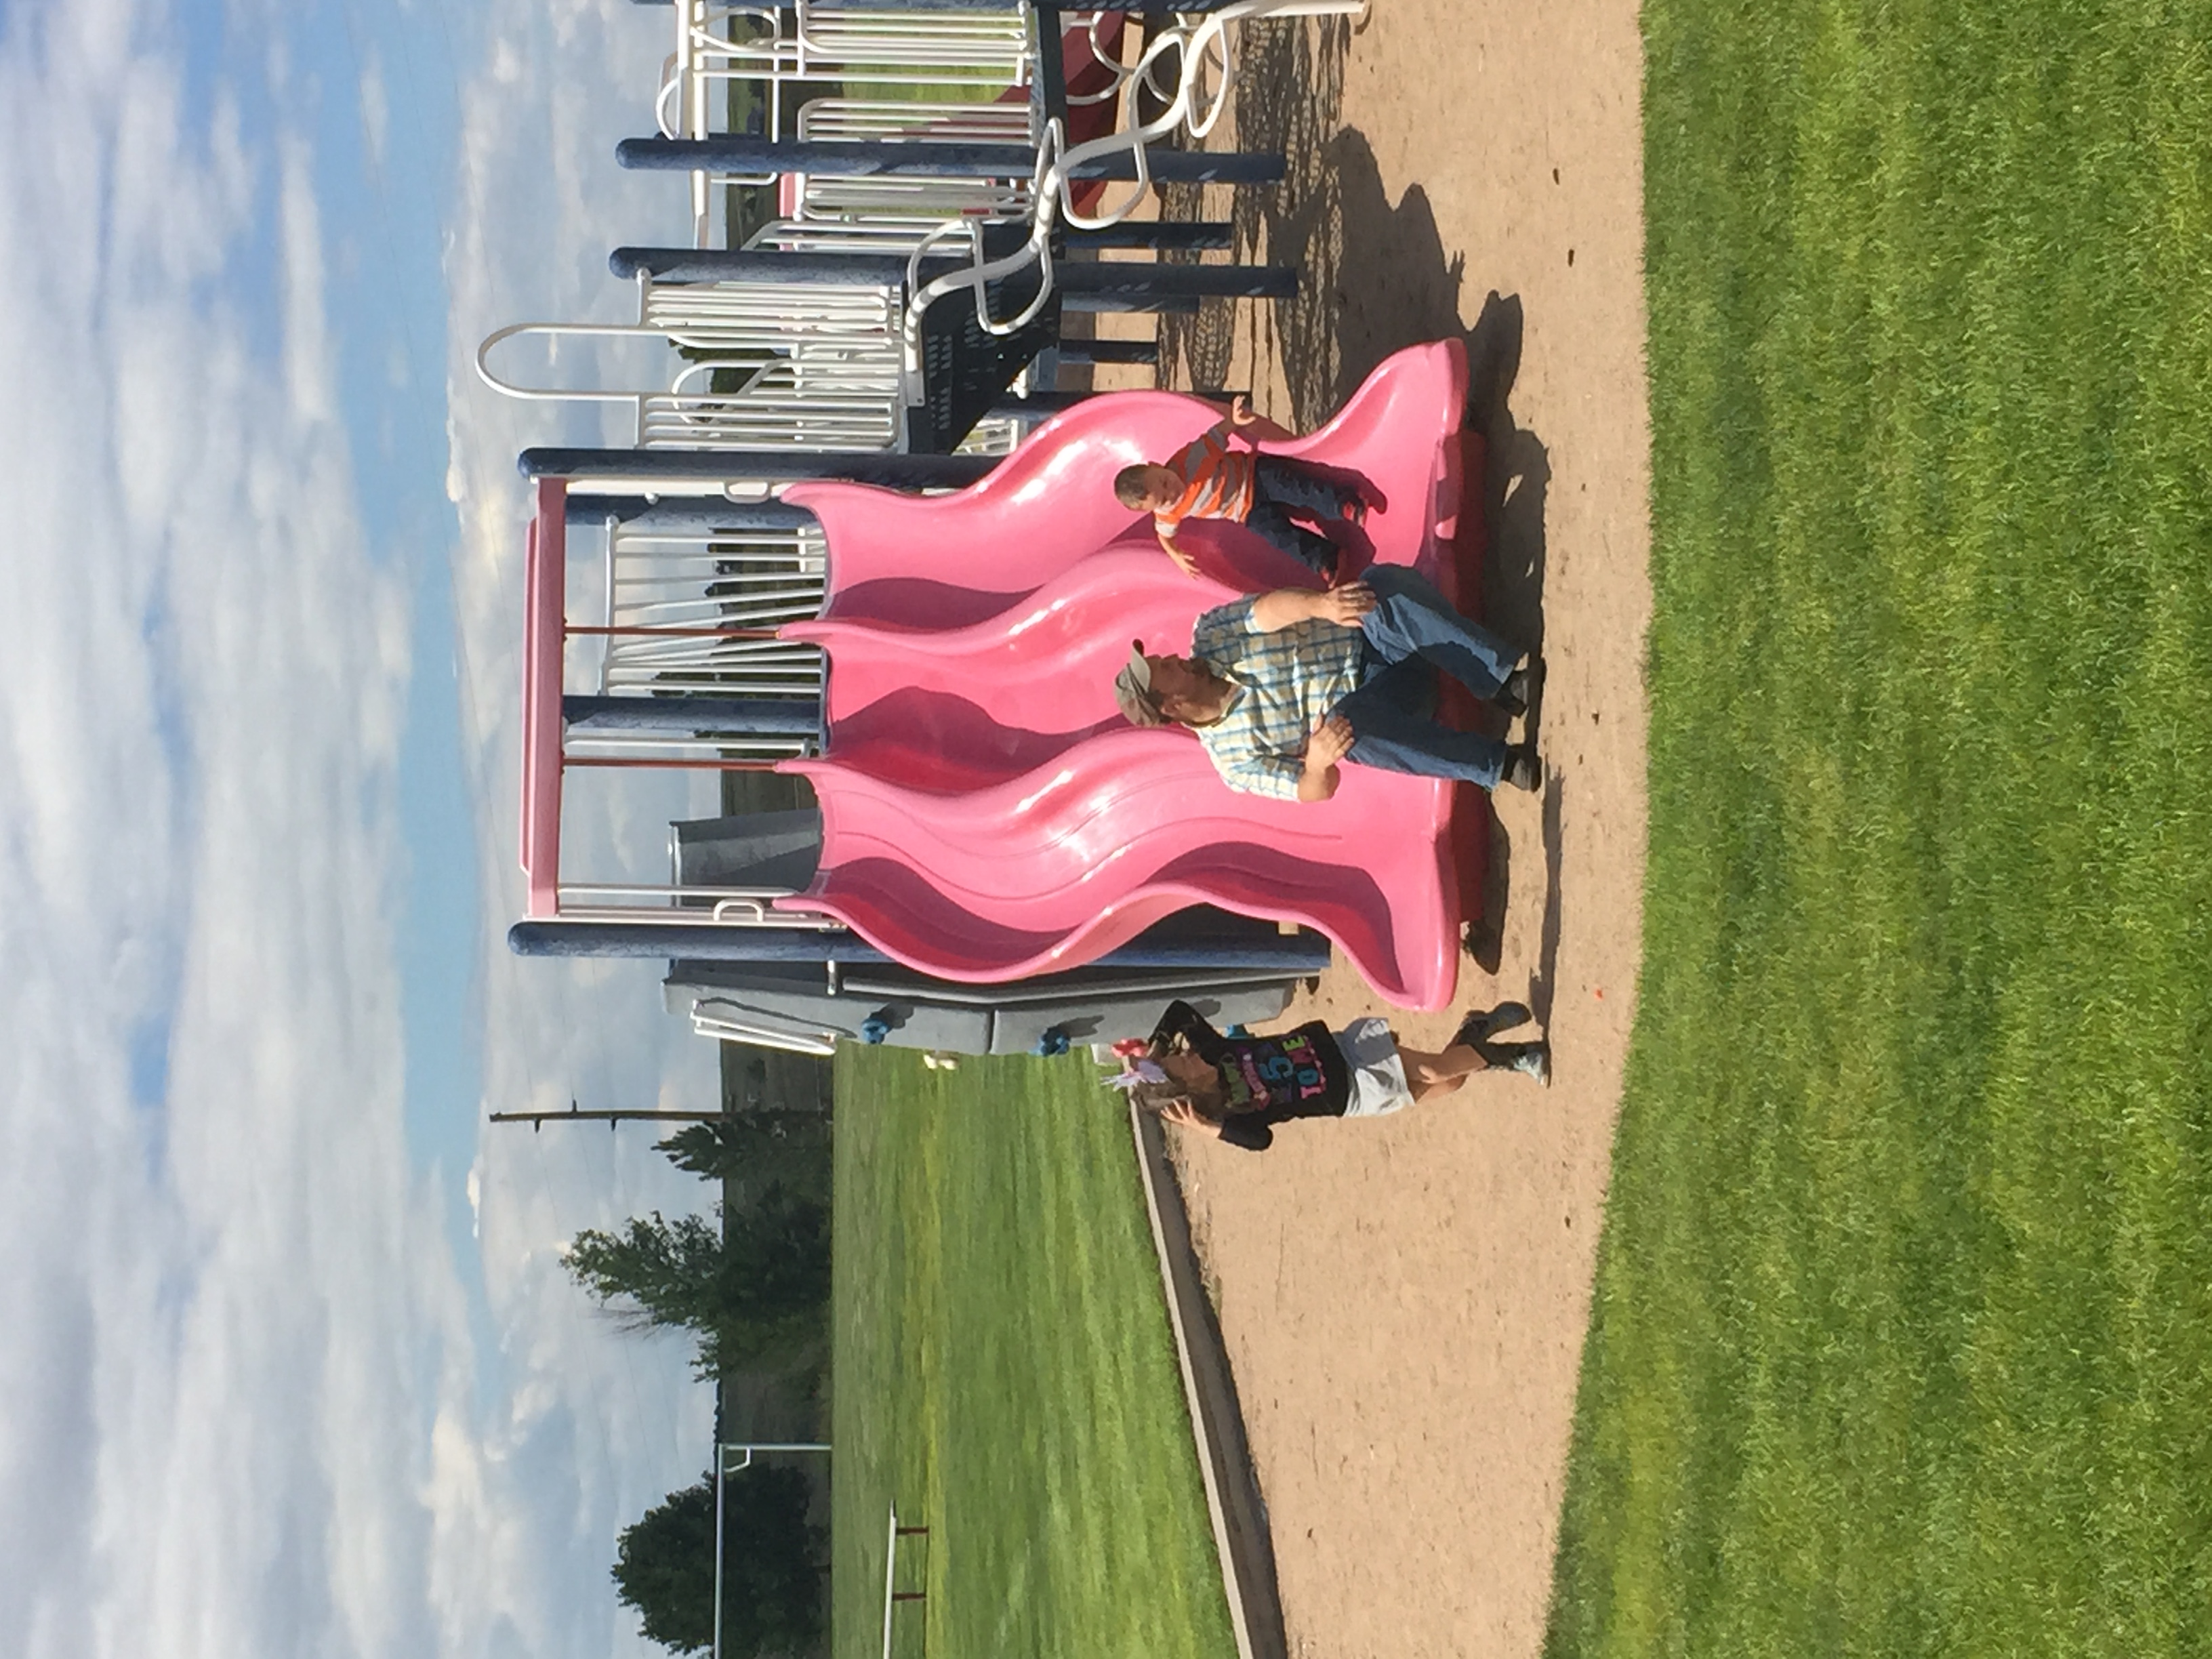
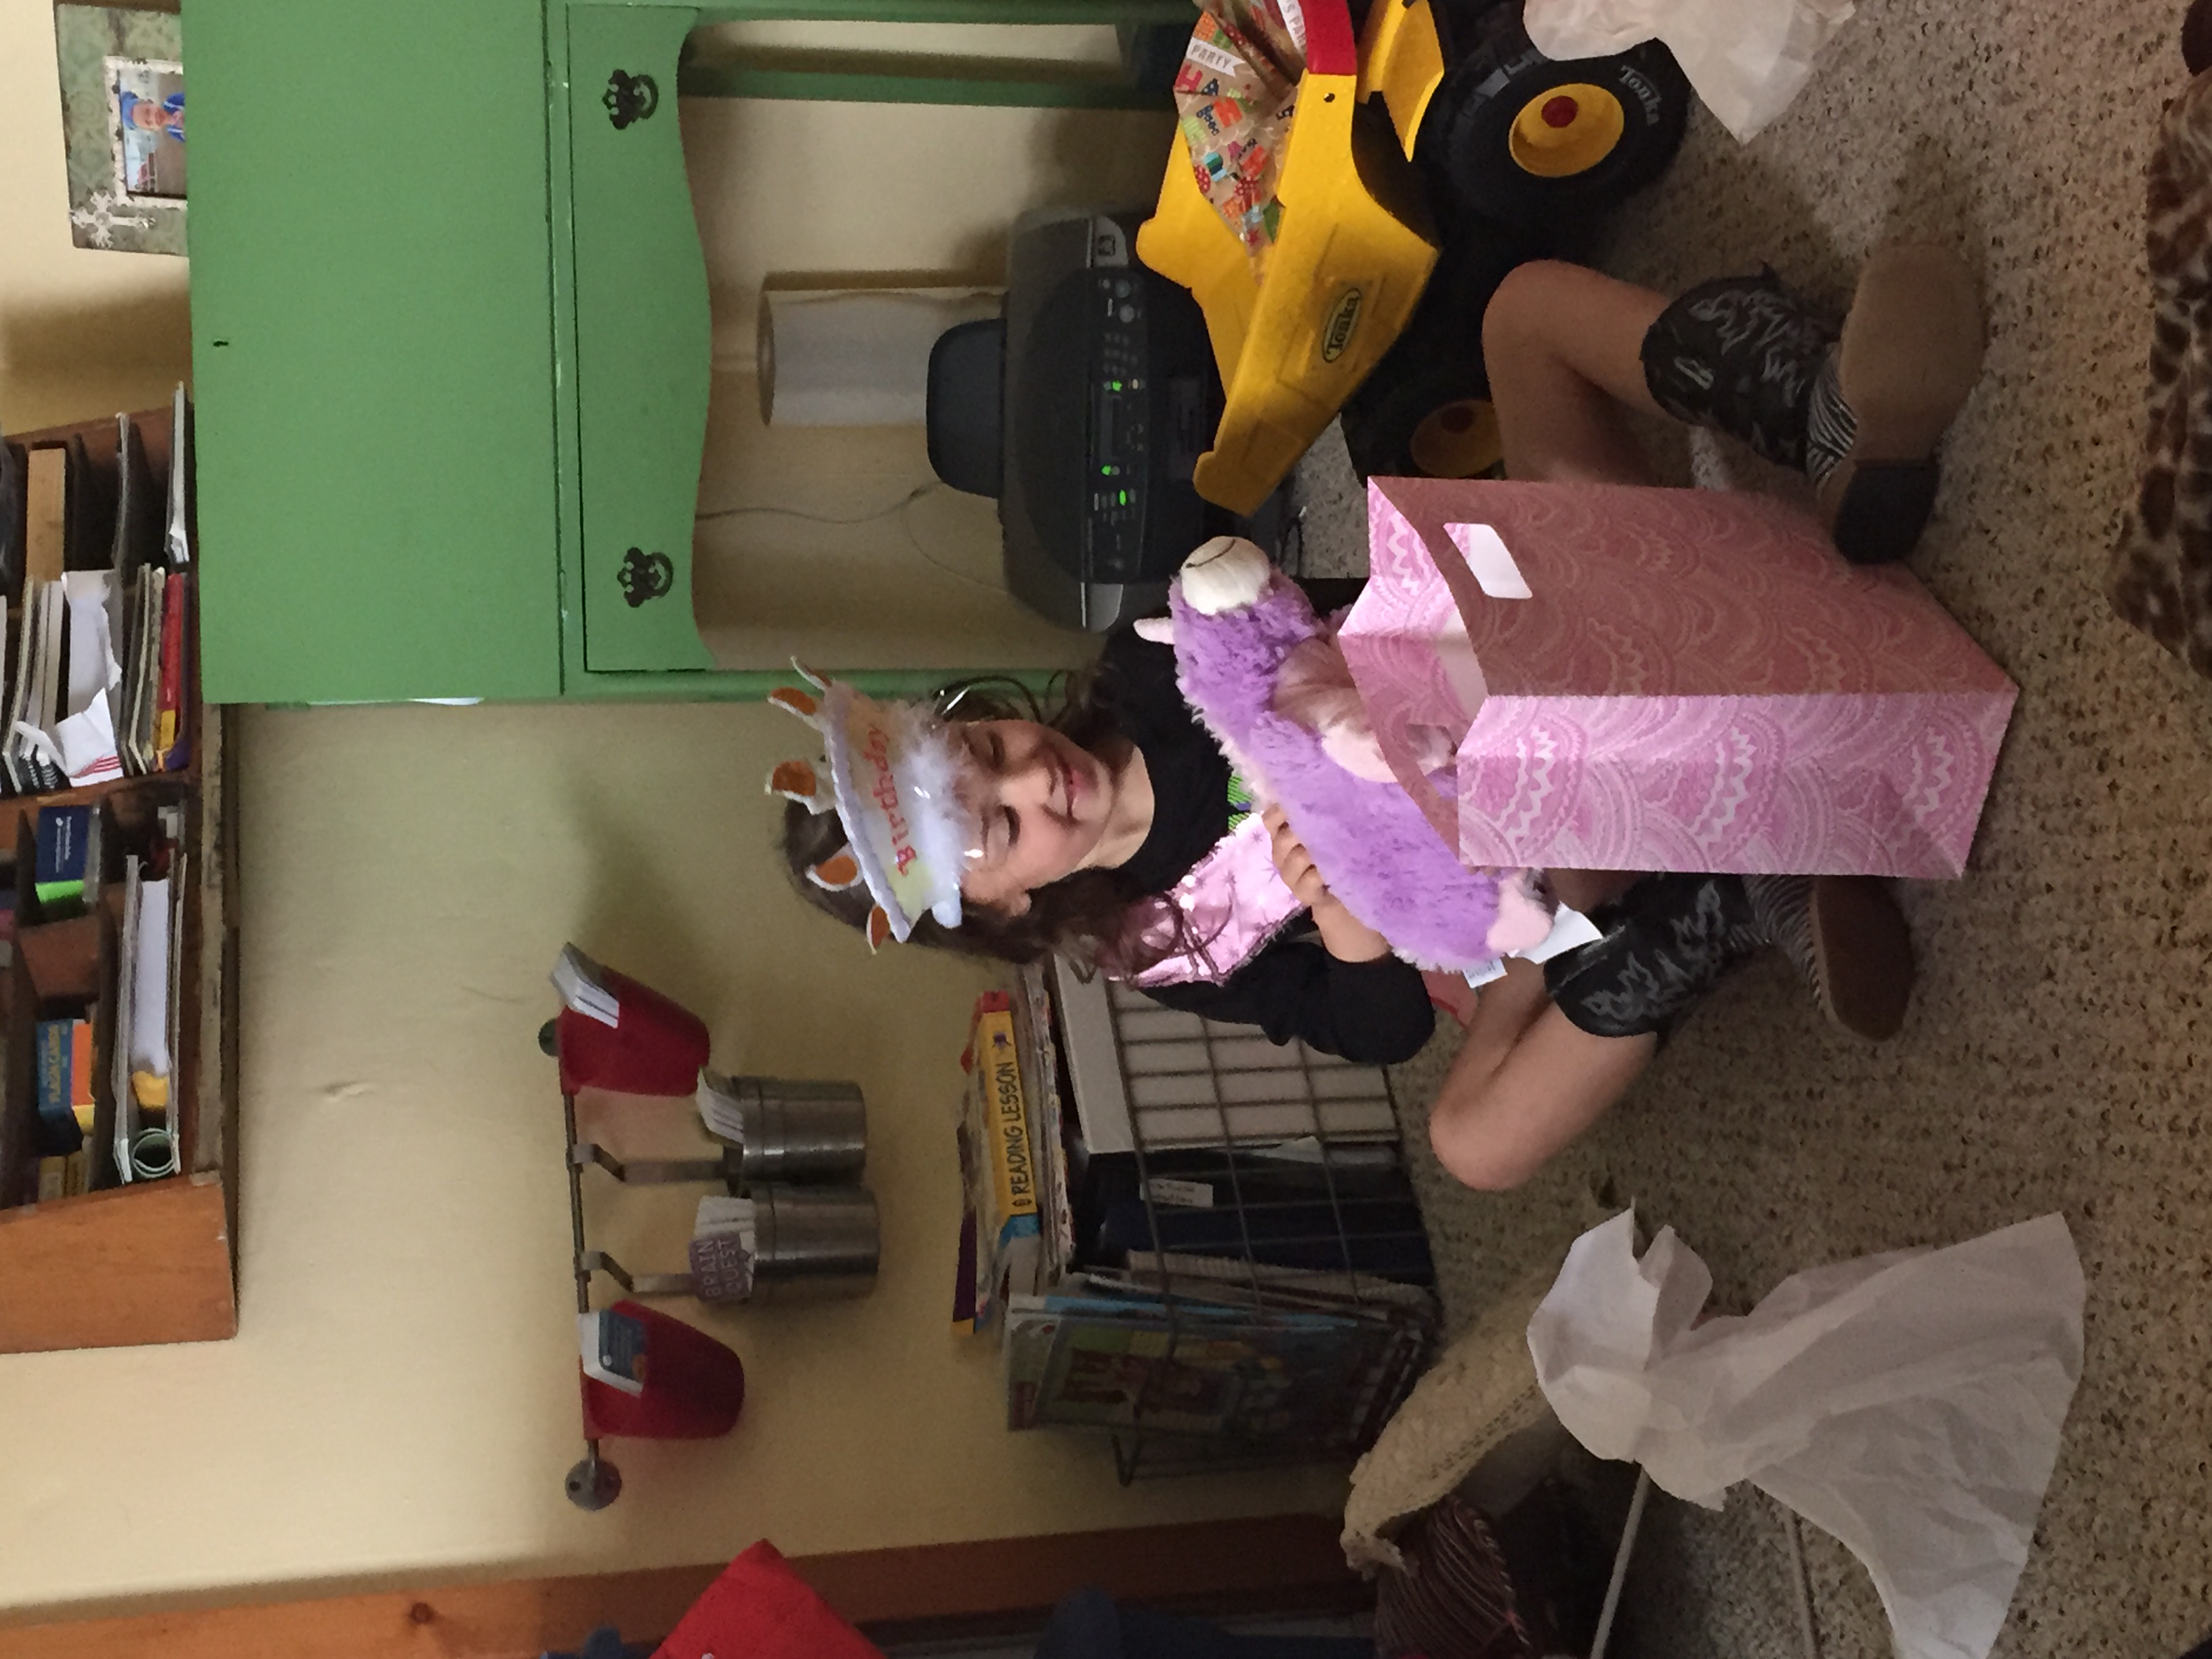
She got sang to at the sale barn and someone gave her a dollar and her special friend Mr. Rod gave her some roller skates! She was THRILLED! She picked A&W for her birthday lunch (girl loves her some root beer floats) and then we headed home to open presents. But first, a little birthday park play…
And yes, she wore that silly little birthday crown all day. 🙂
That night, we surprised her with a birthday slumber party! She’s been dying for one of us to sleep in her room with her in her new trundle bed so that’s what we did…for part of the night anyways. Bum feet and babies make an all nighter a little hard but we did our best! She’s been telling people we stayed up “alllllllll night.” It was 9:00, but good enough for me!
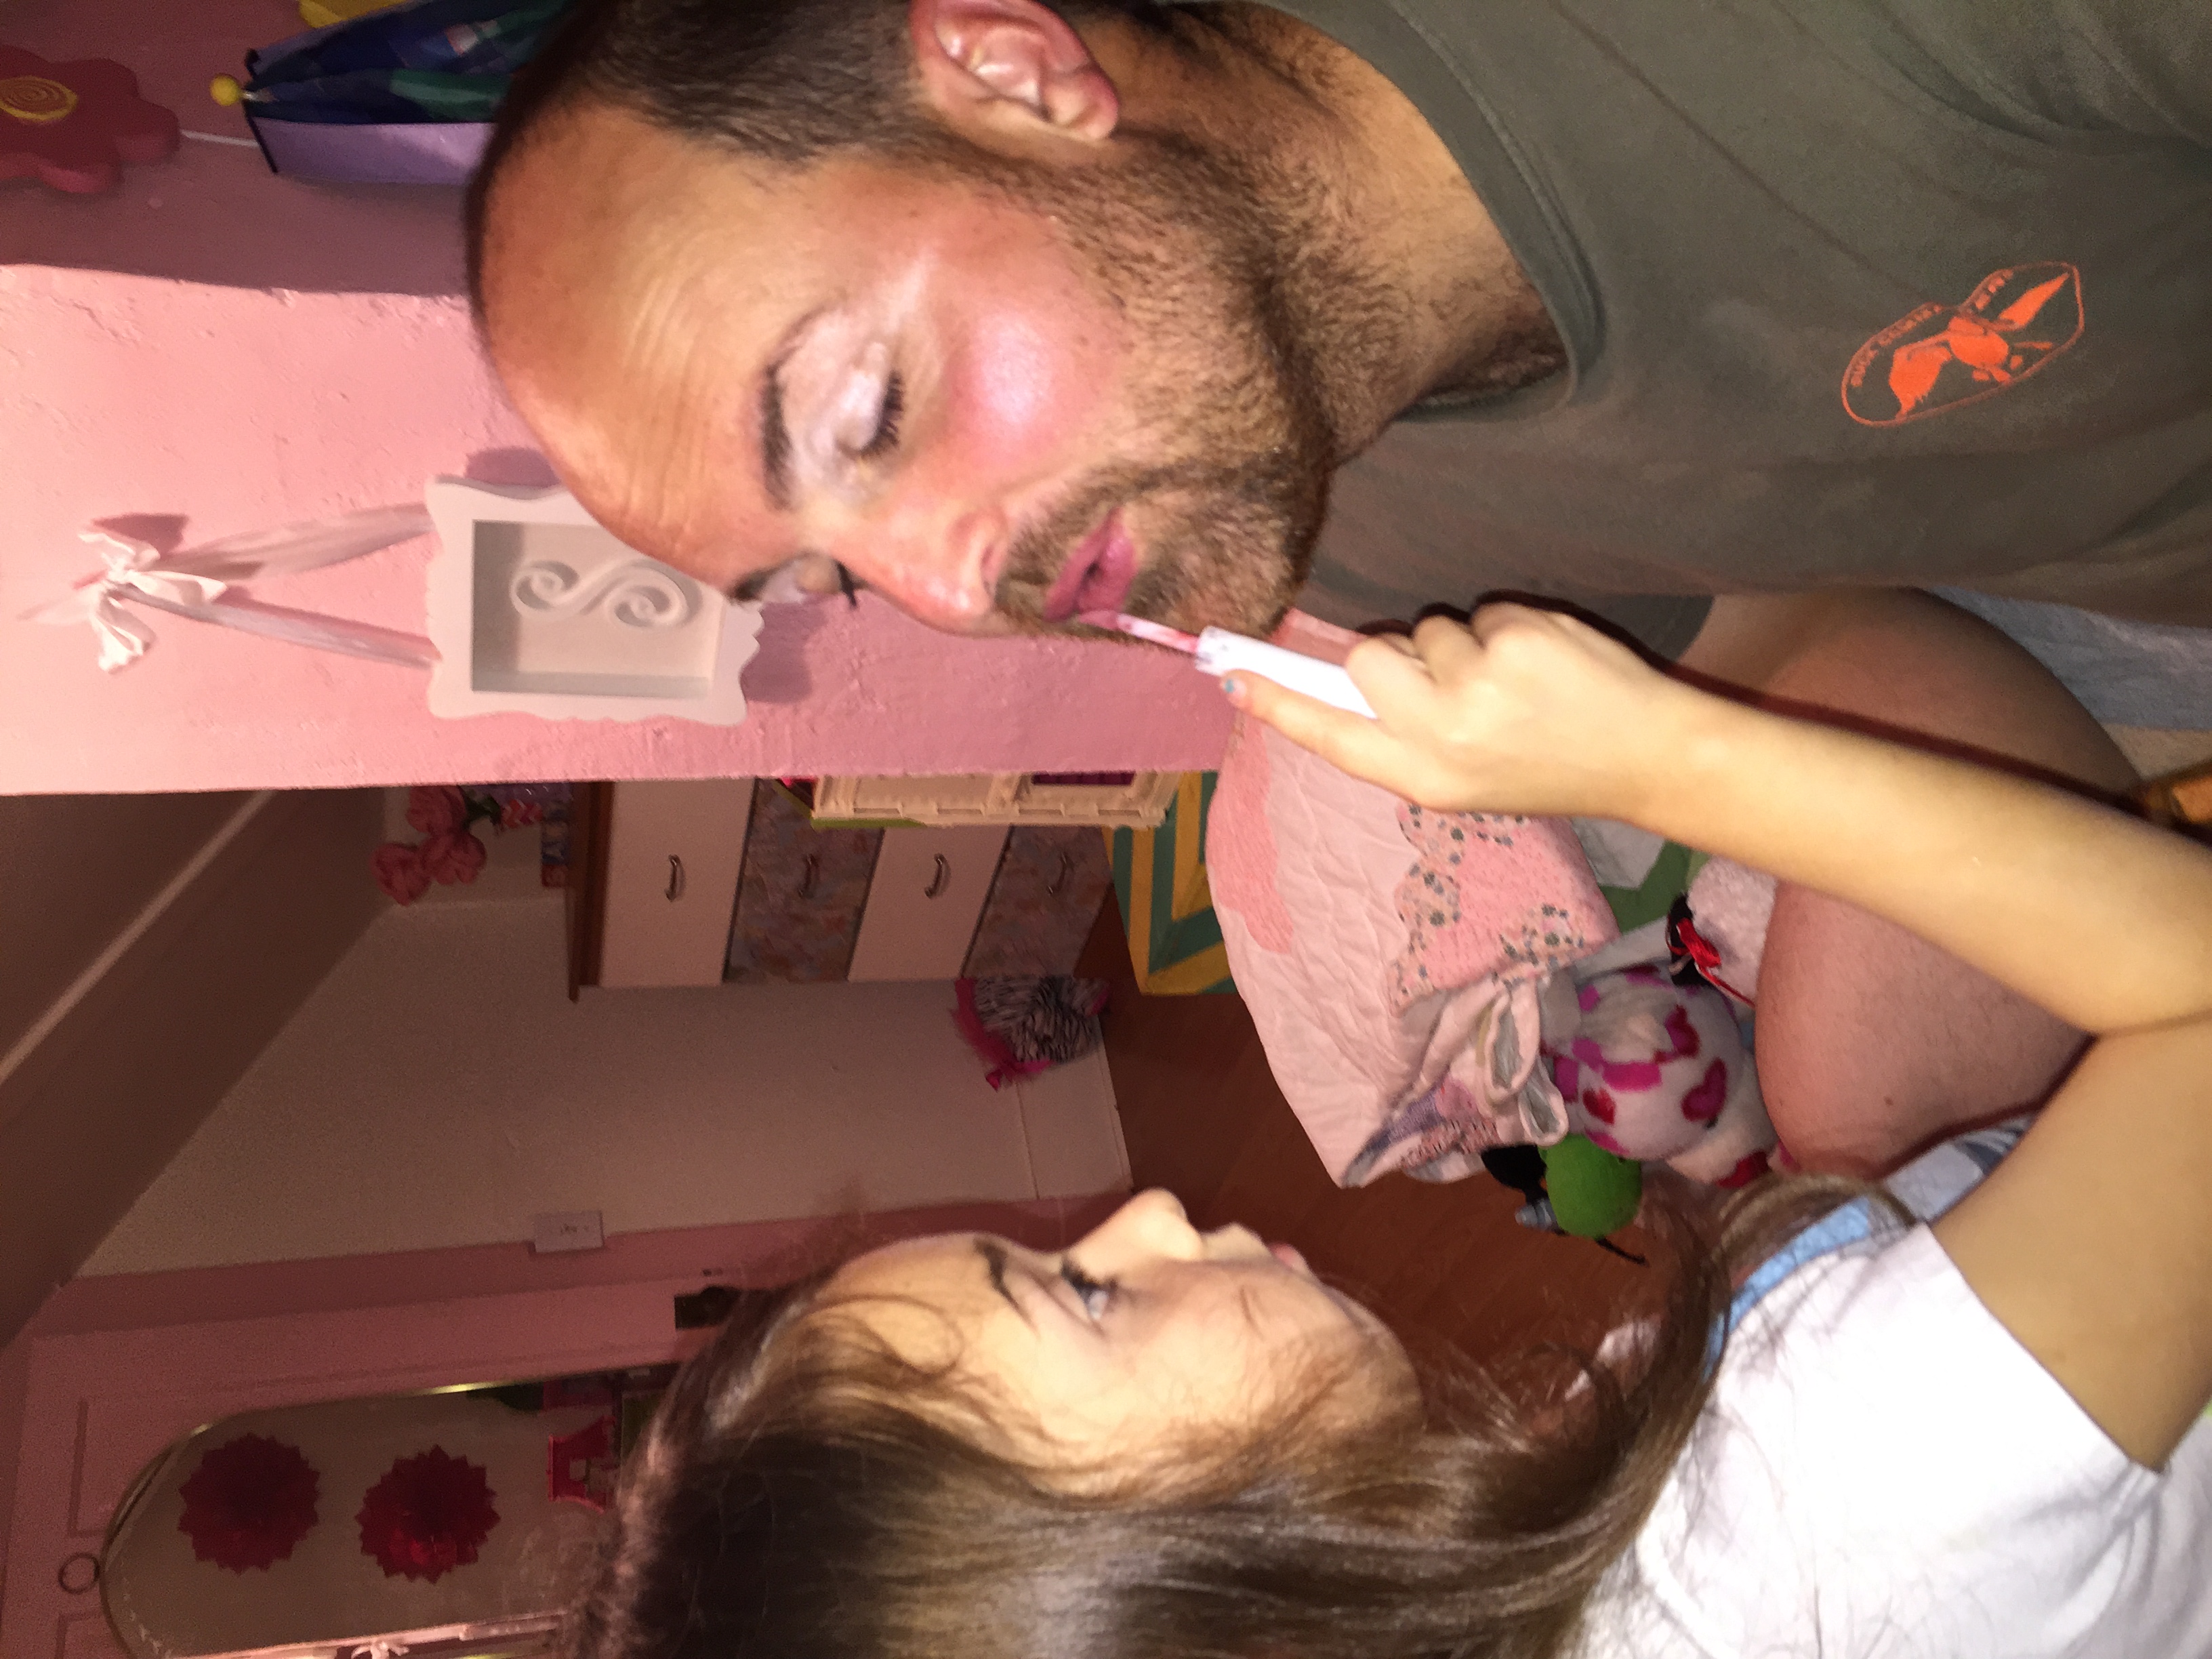
We fixed each other’s hair and did each other’s makeup – daddy, too!
(Yes, he IS the best dad on the planet!) We played flashlight tag and restaurant, read stories and played with sister…it really was a fun night. One on one times with her have gotten fewer with the addition of our other little blessings so it was fun for us to be immersed in her world for a little while.
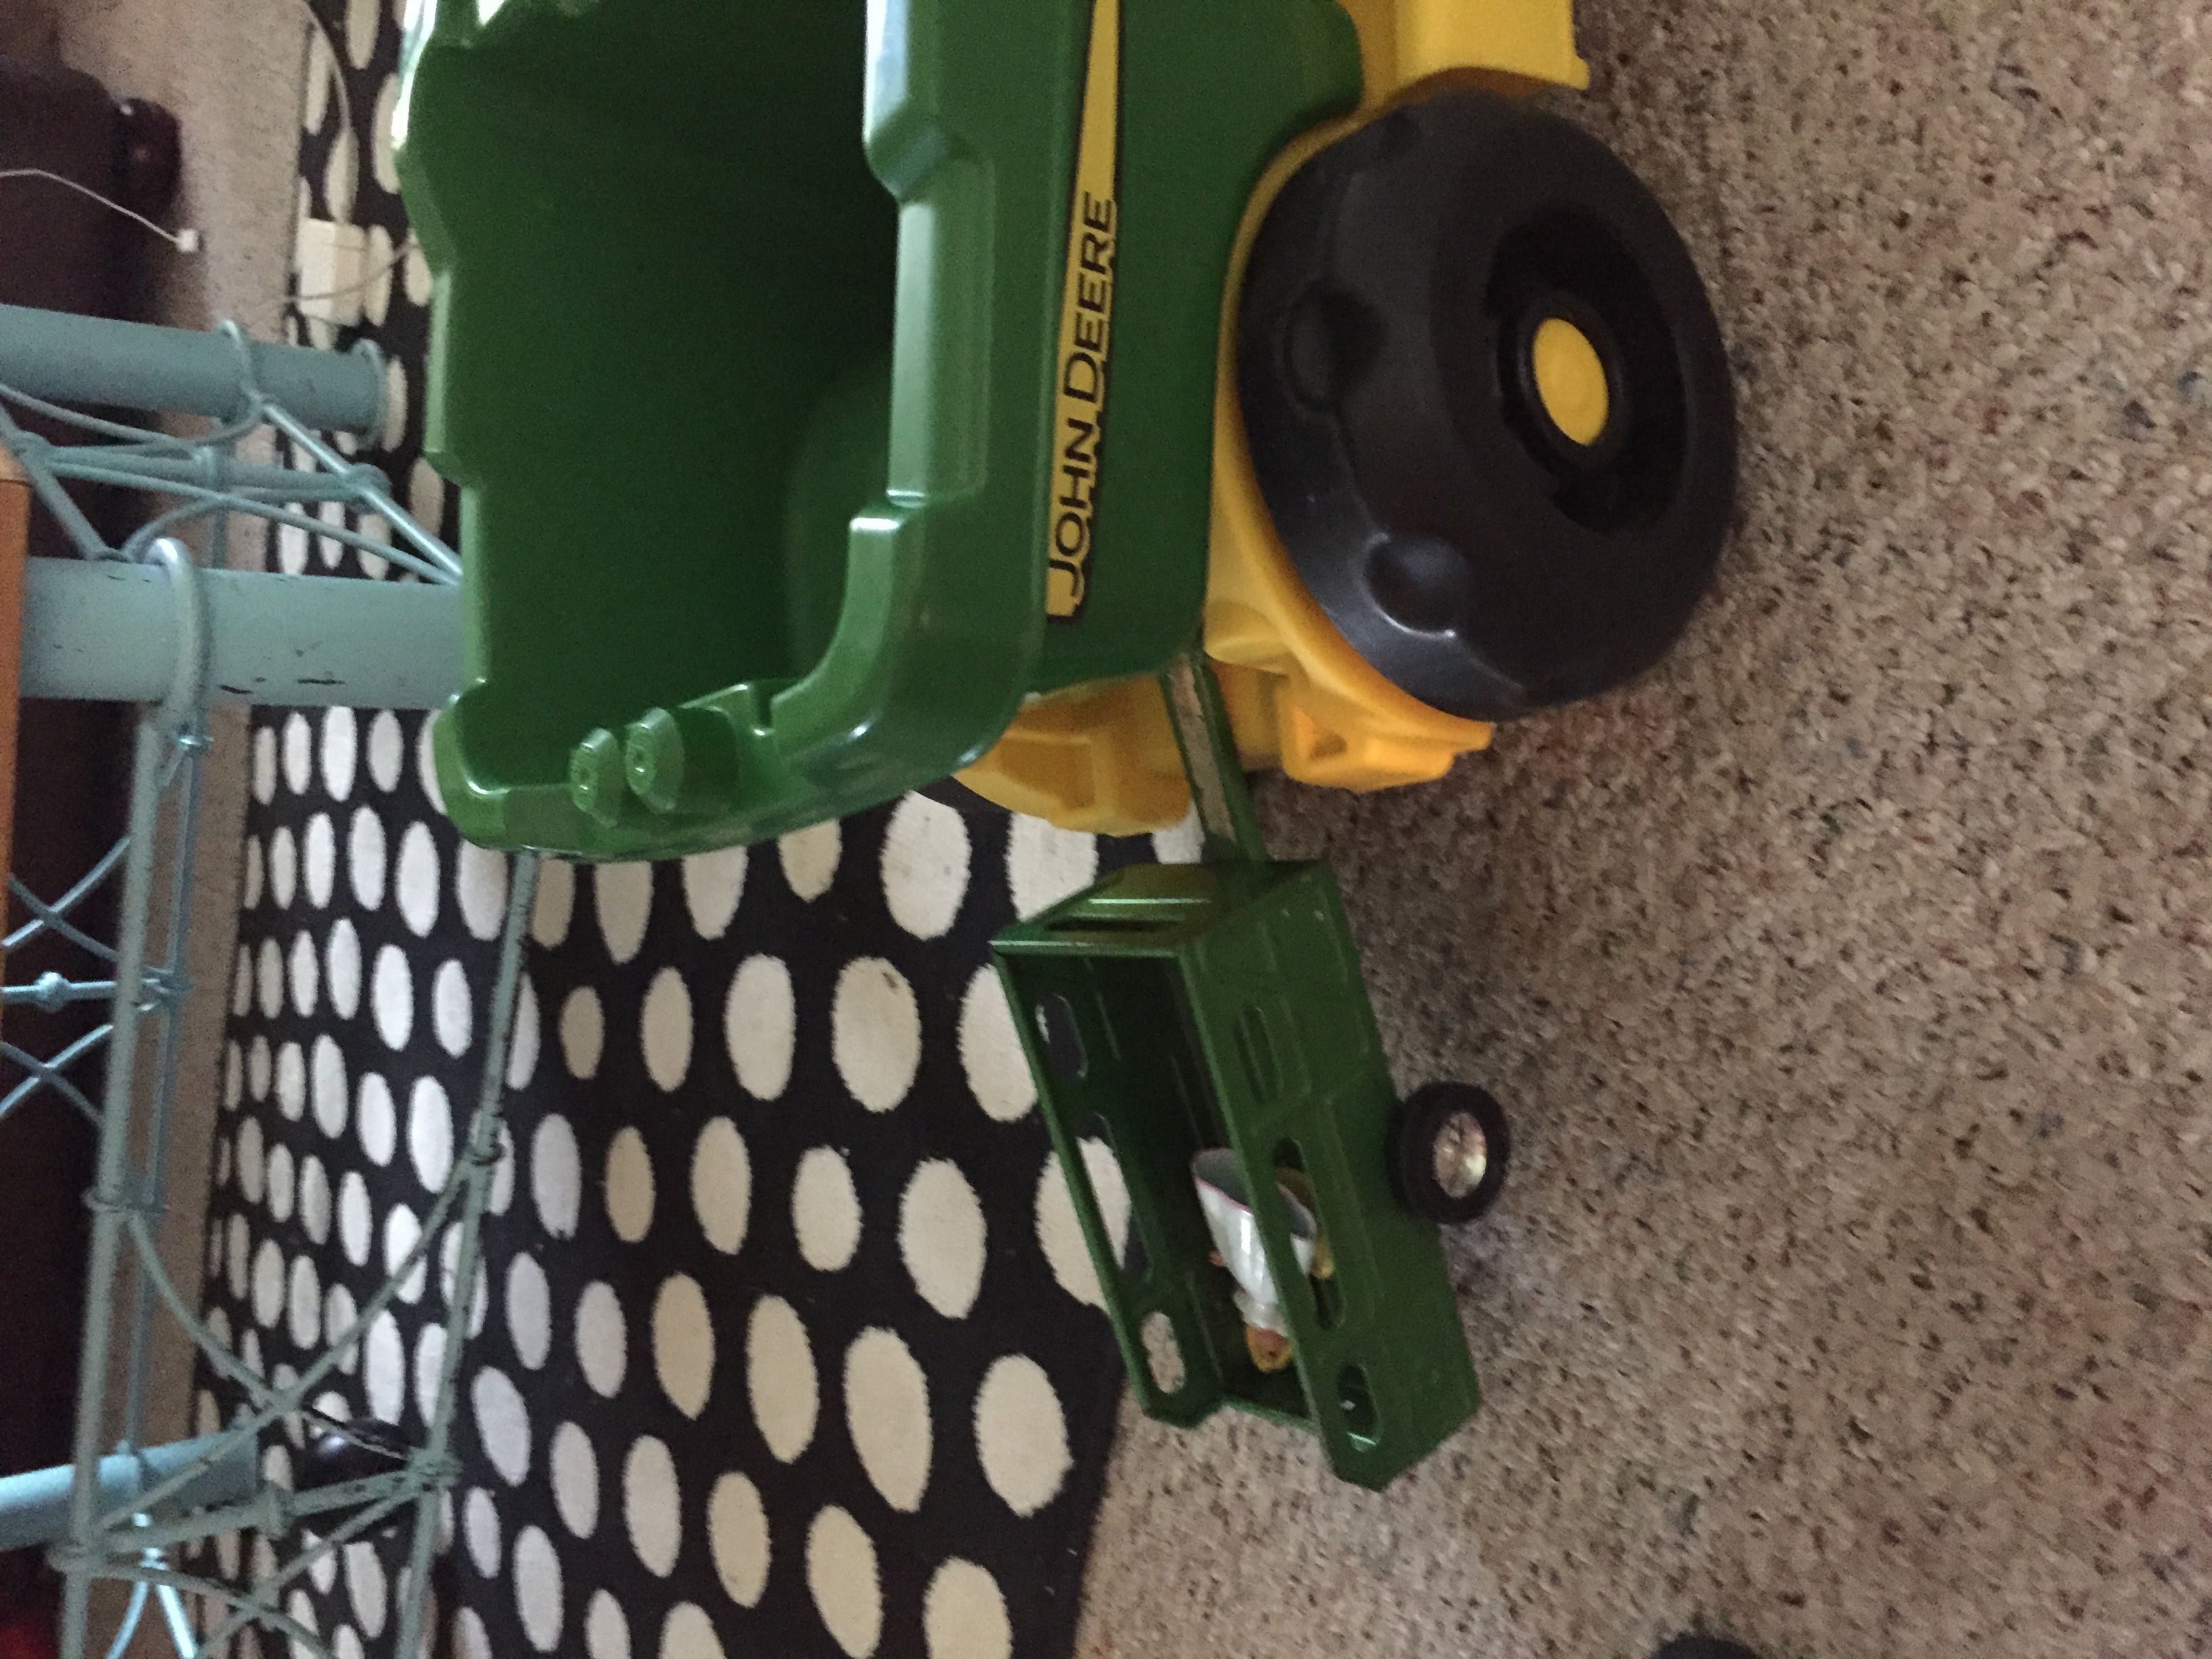
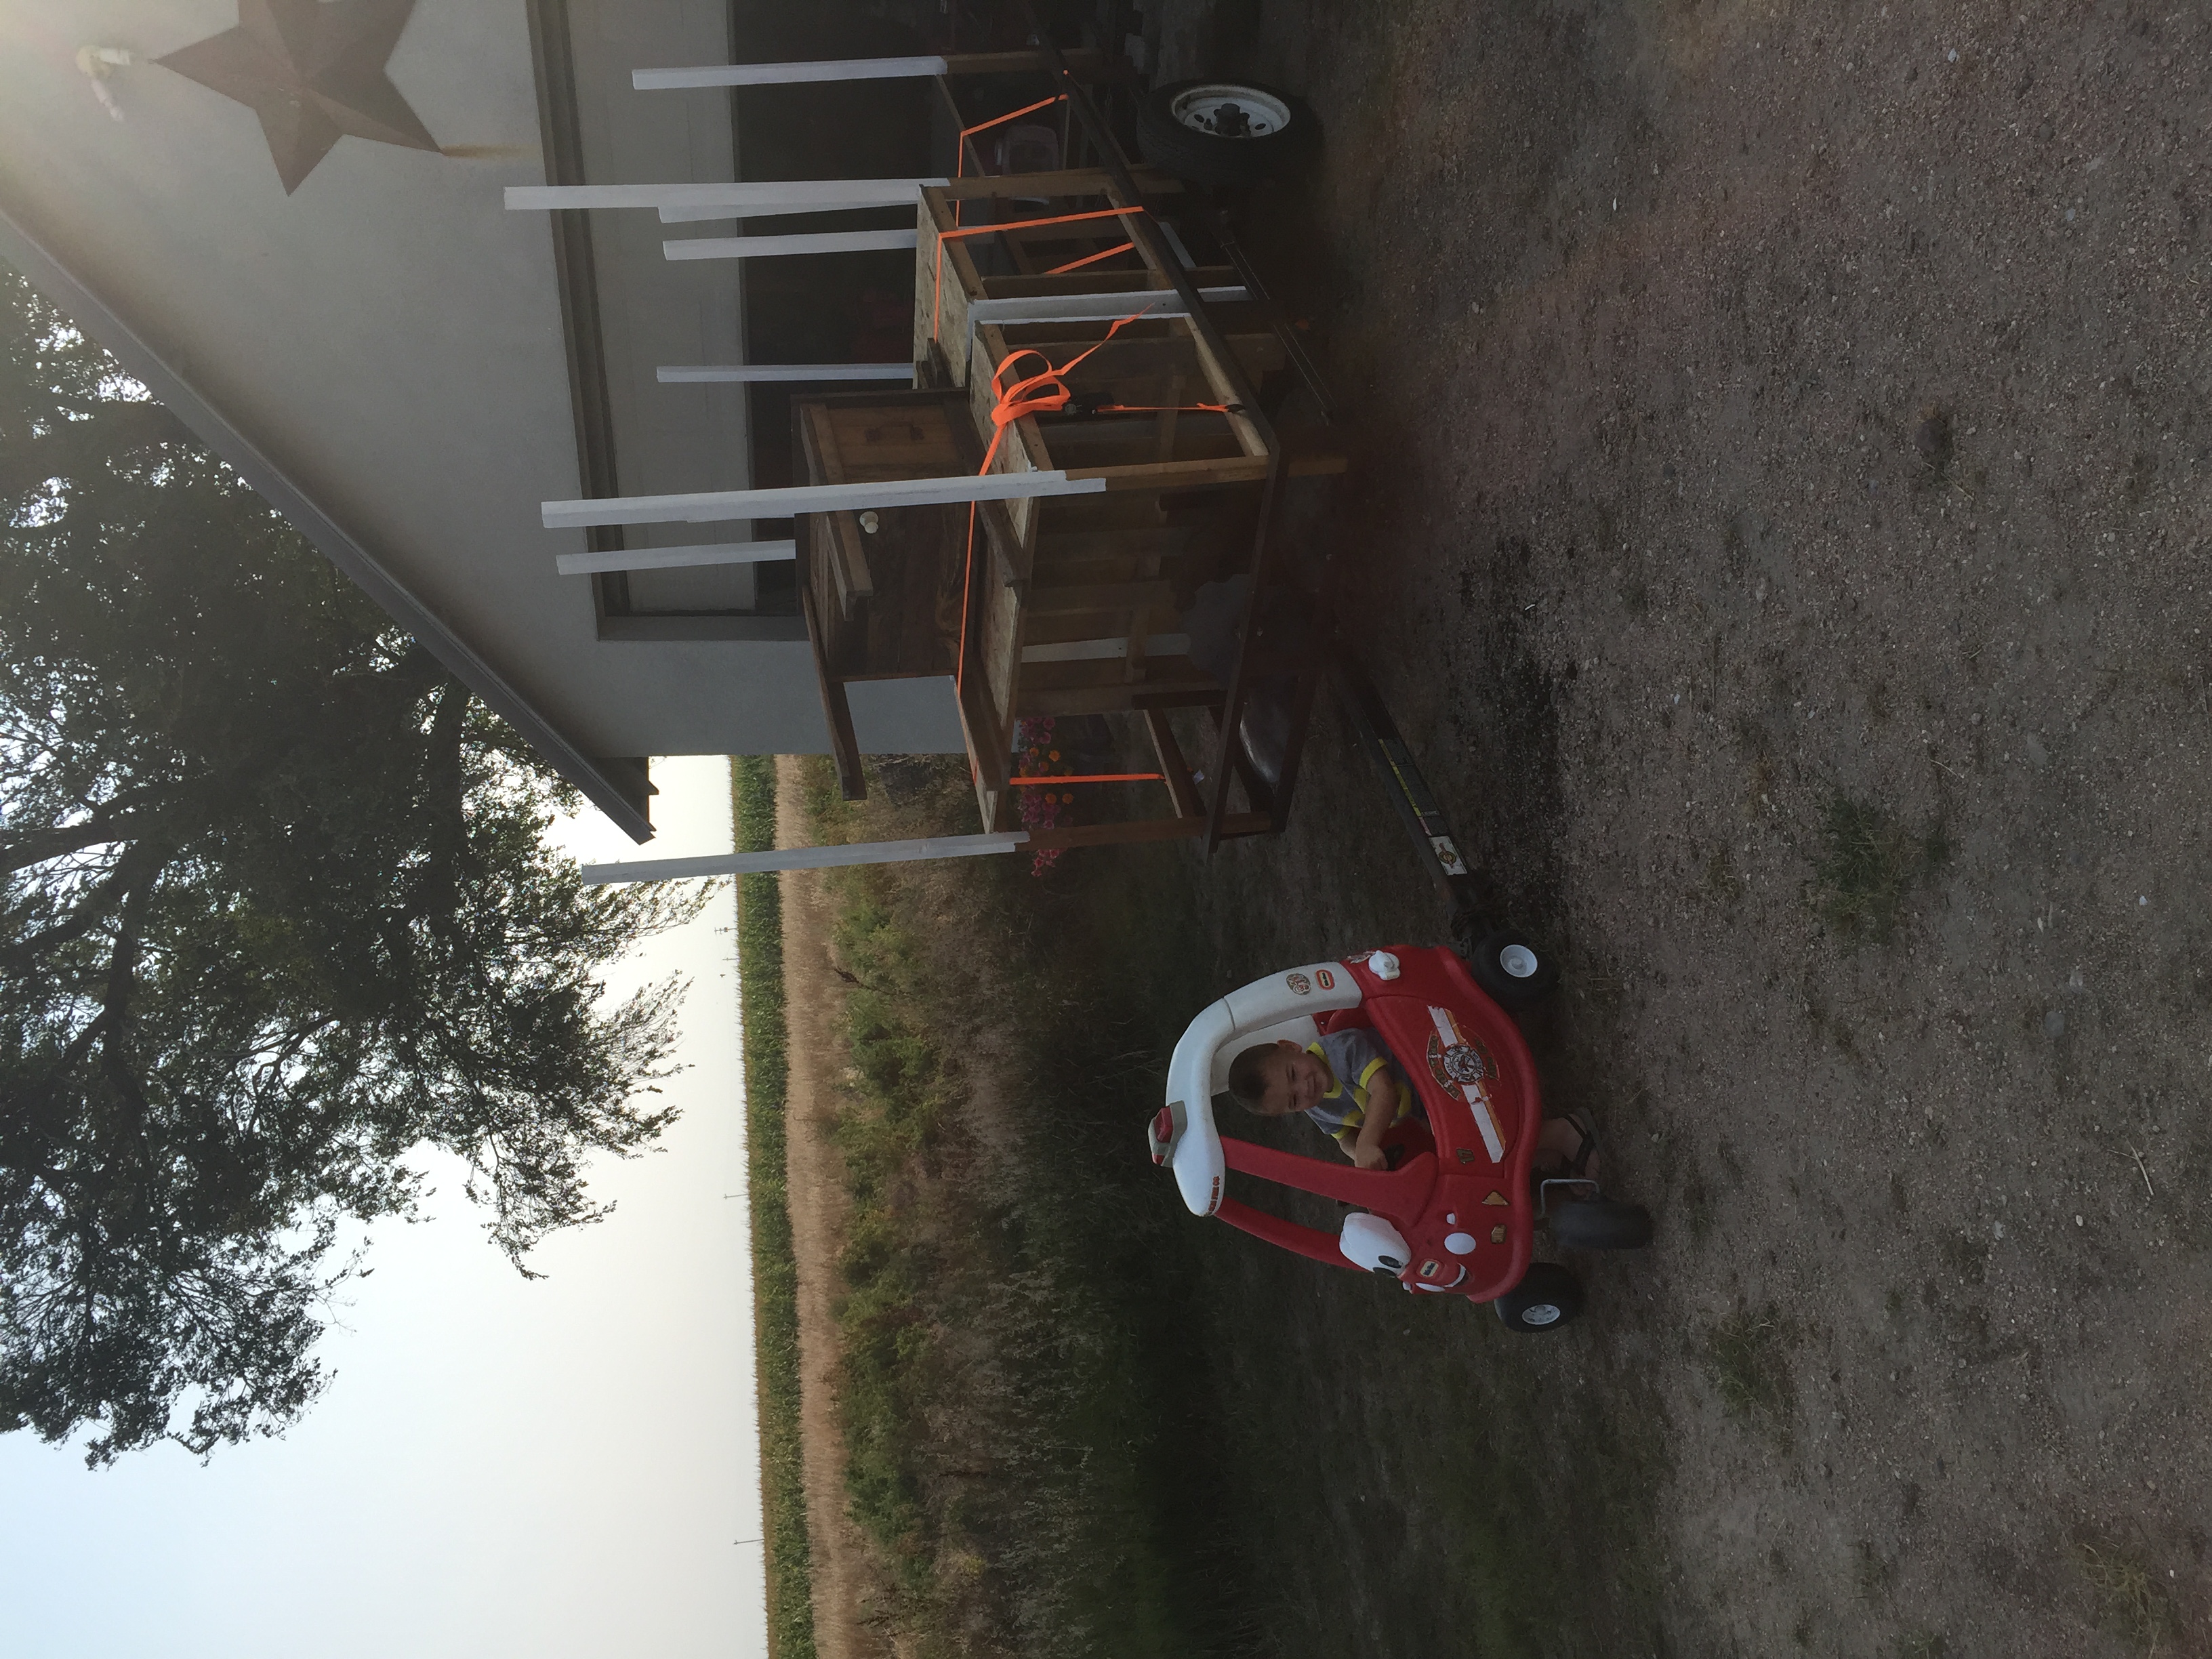
We spent the rest of the week finishing up the details for her official birthday party. Little Wryder has been all about trailers lately…
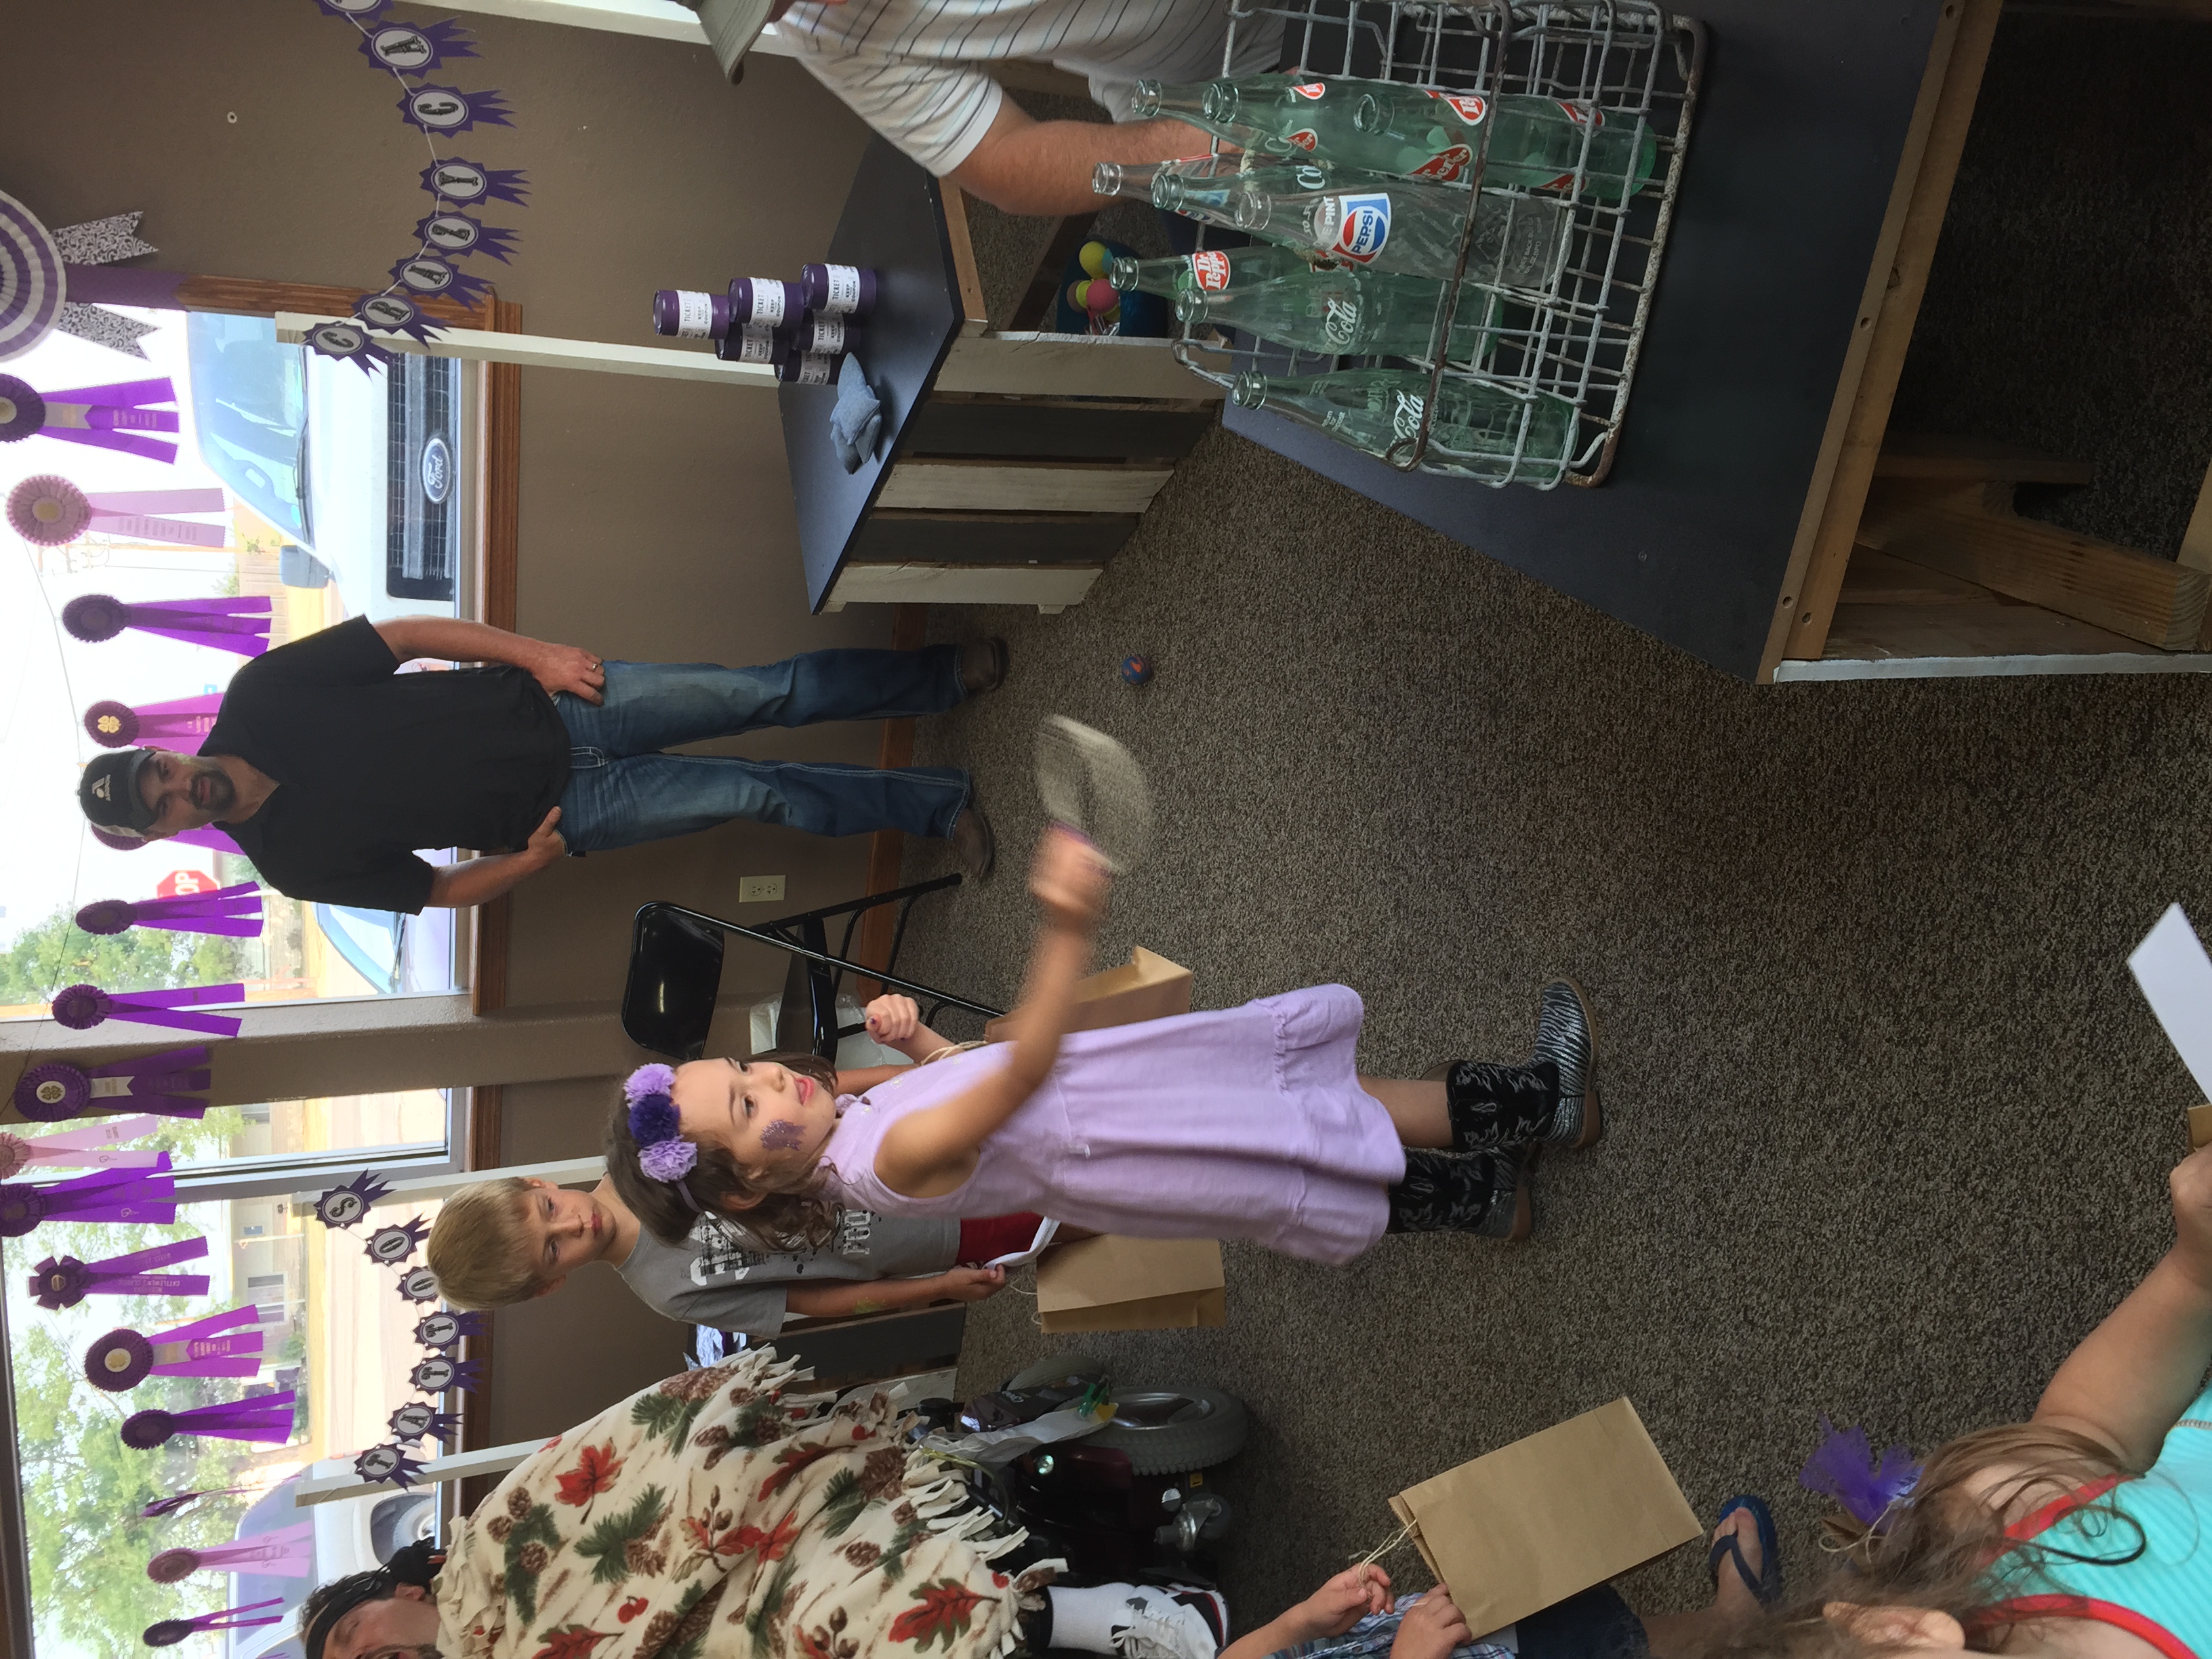
So when Wrexy loaded up our little fair booths on Thursday evening, Wryder pulled his little car over and was ready to go. It was the cutest thing….EVER.
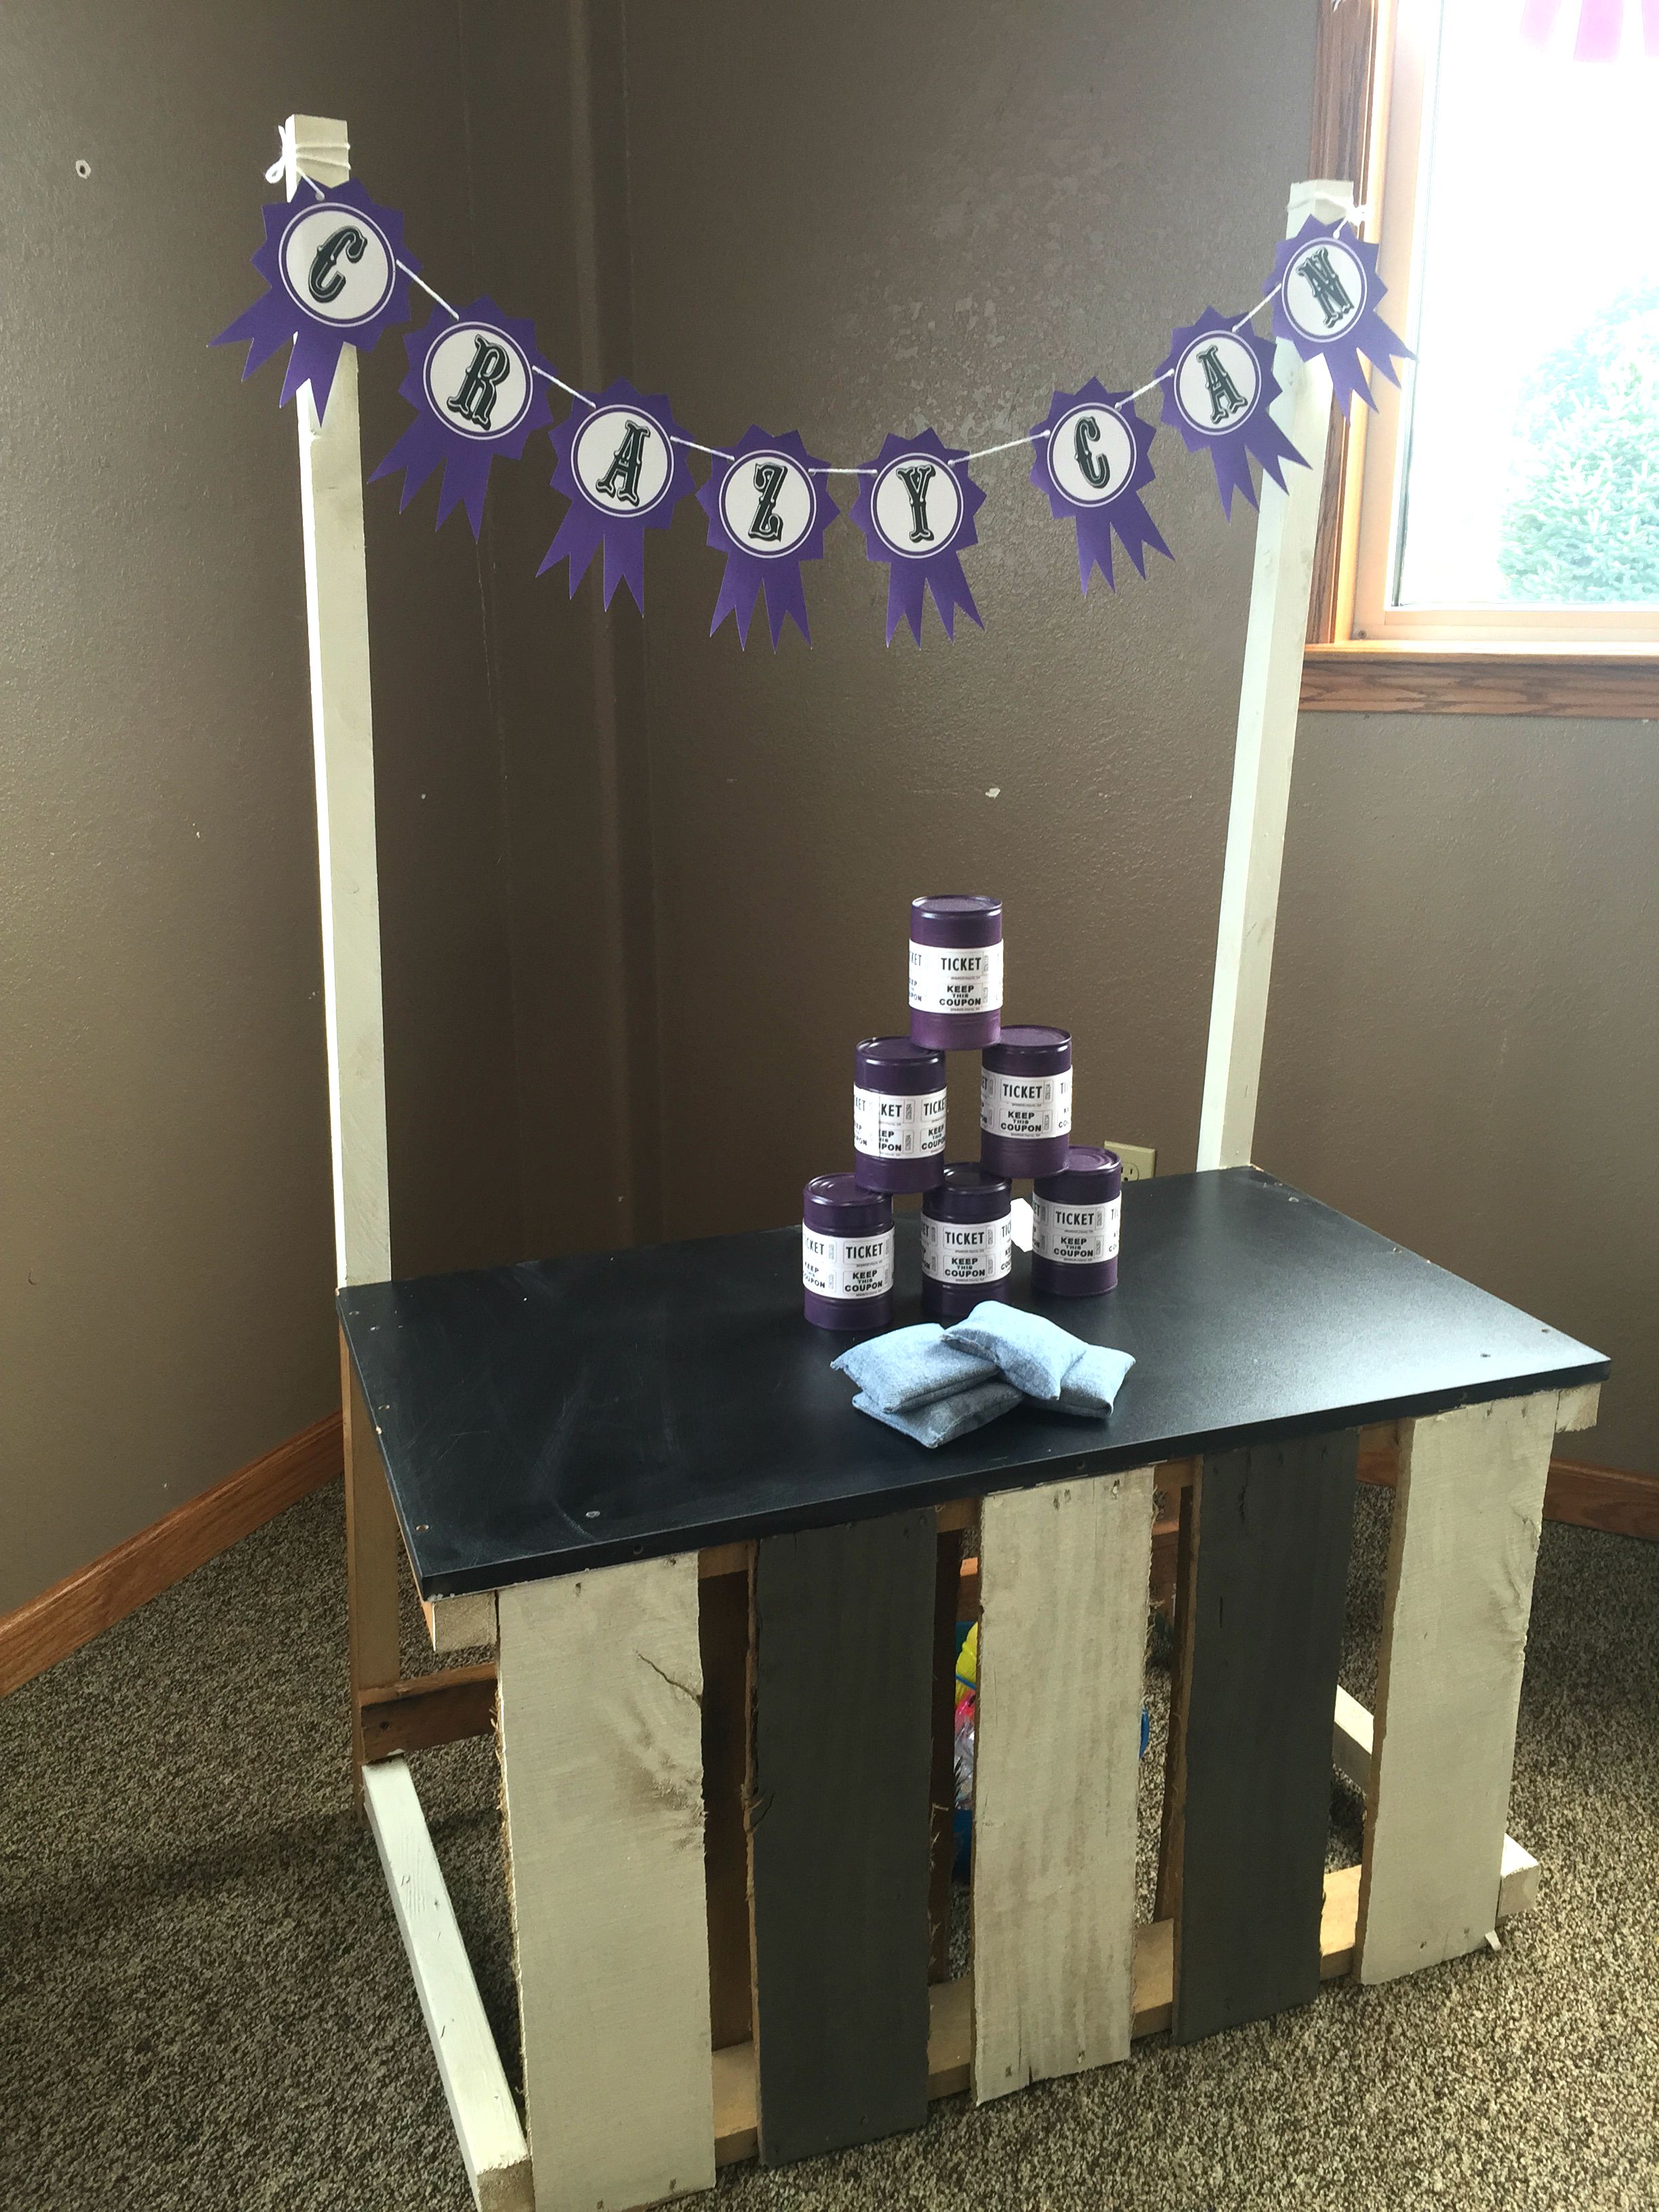
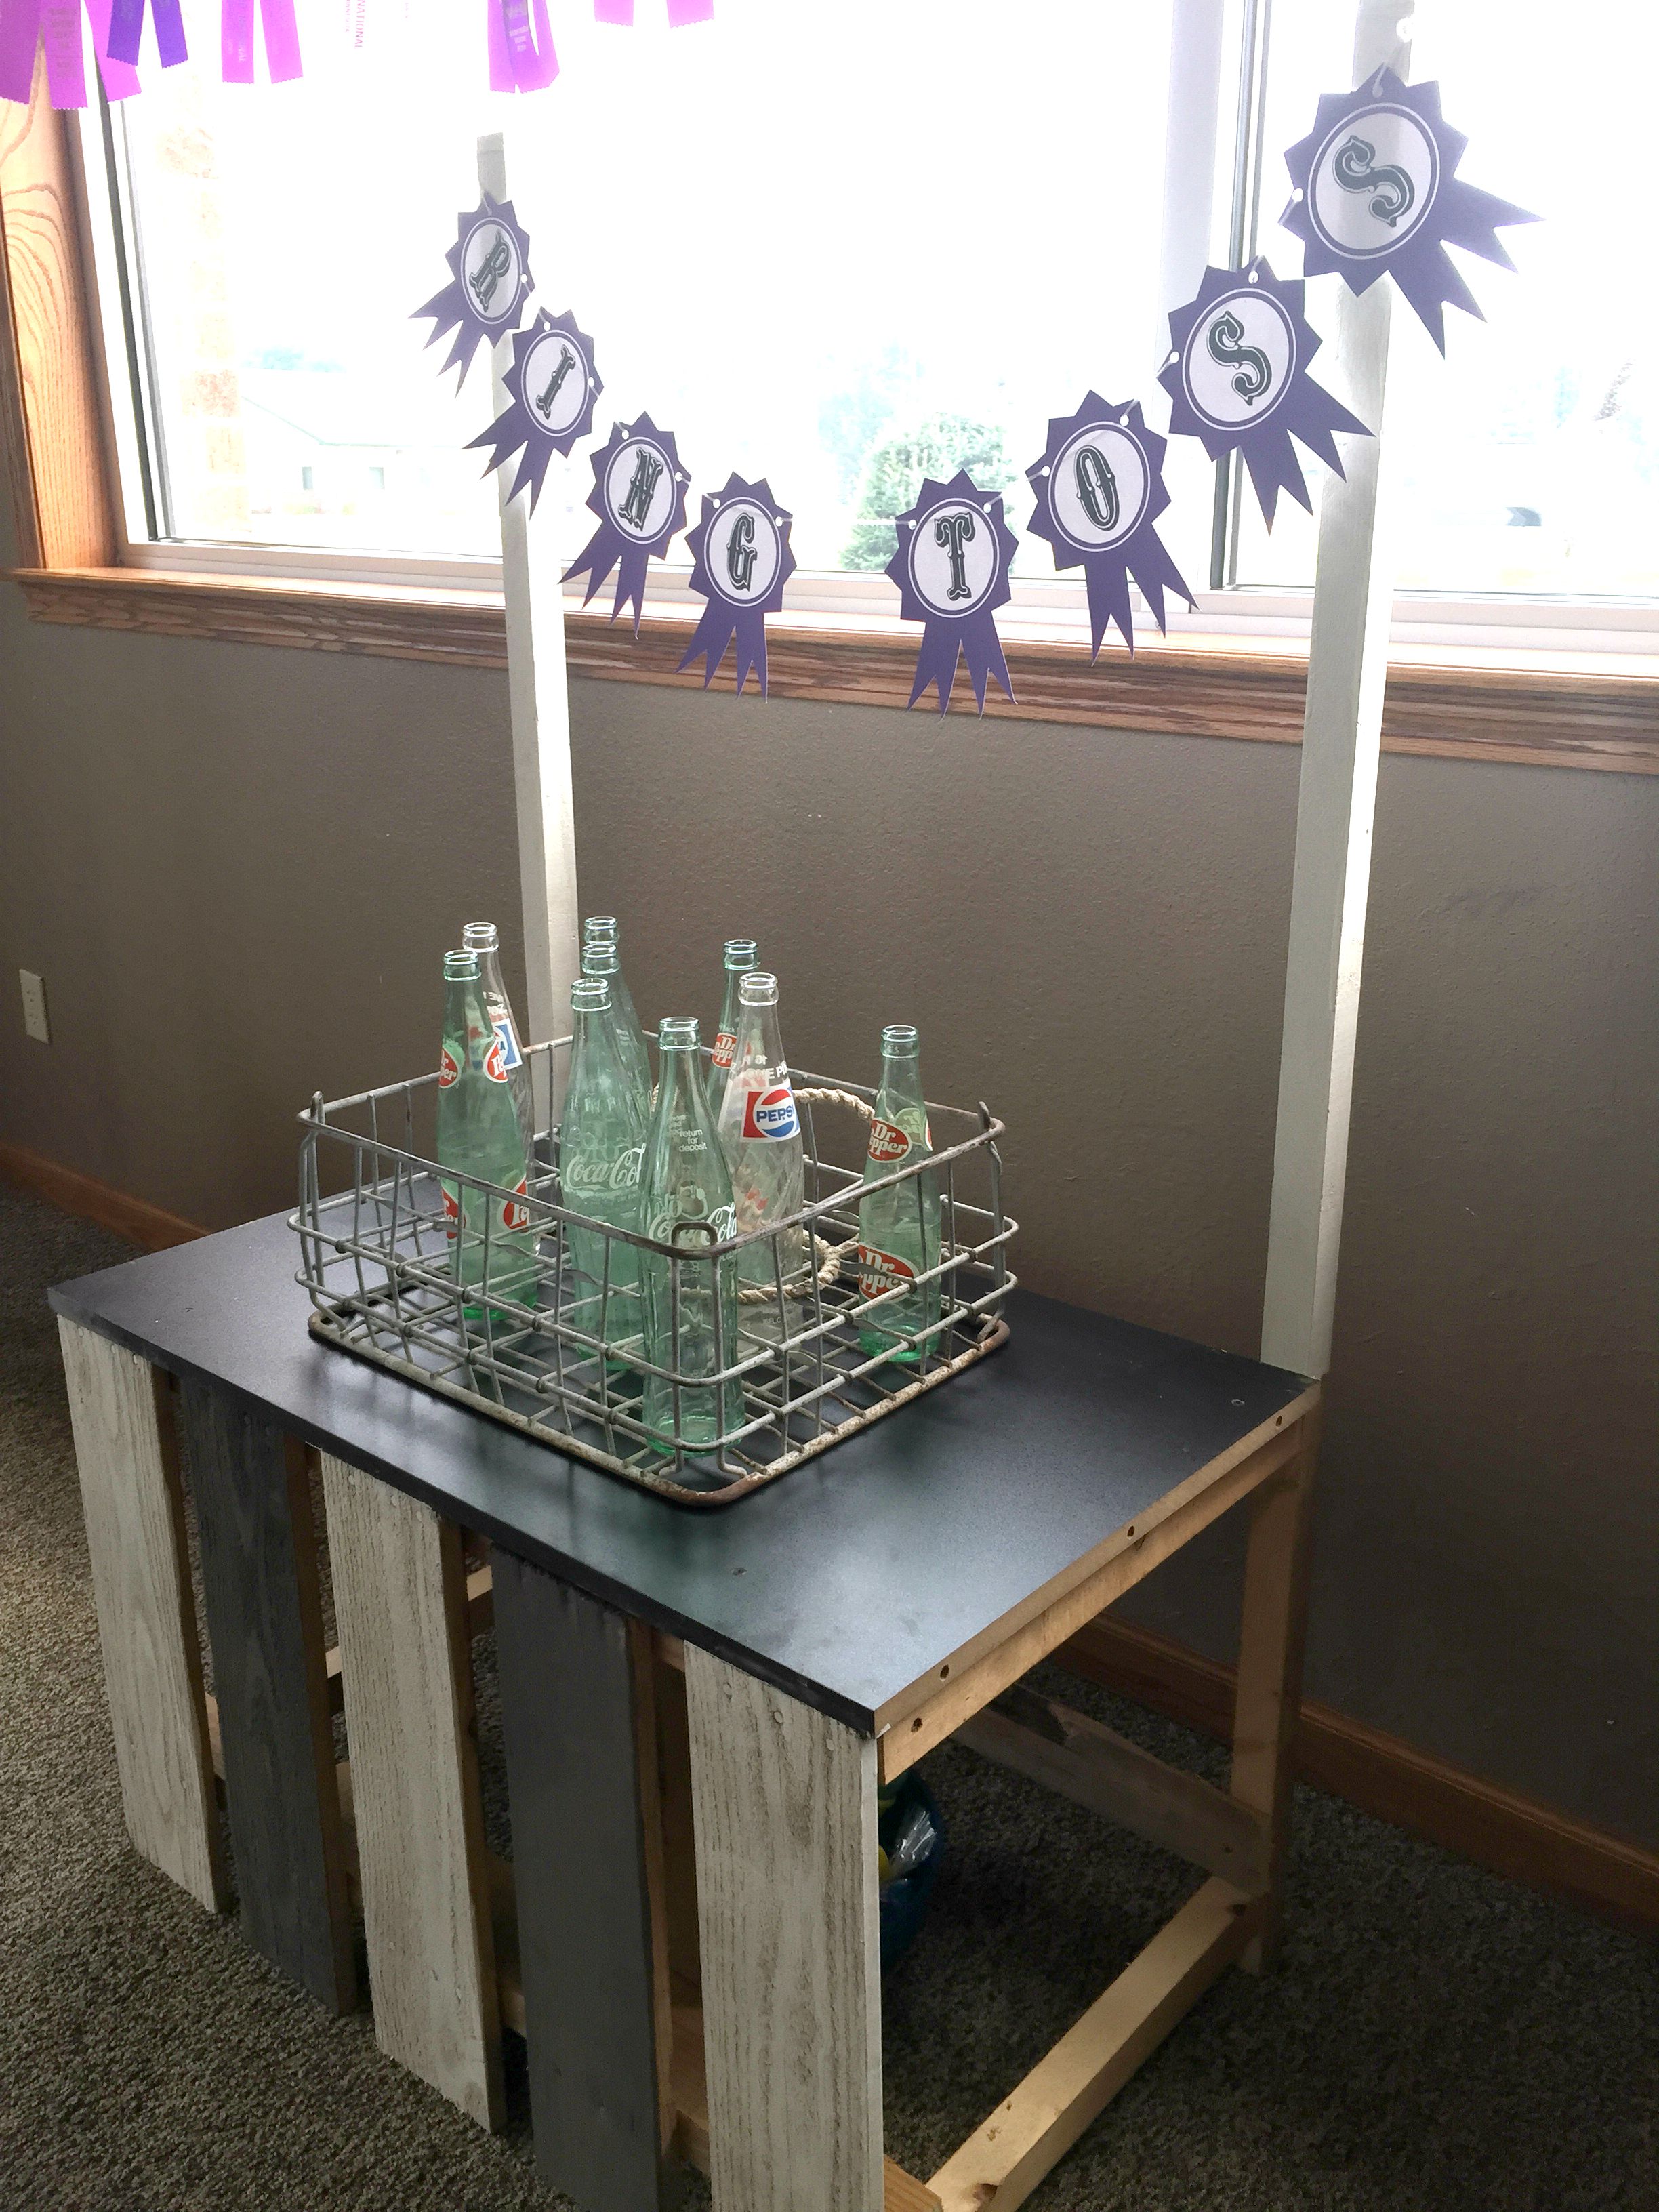
She wanted a county fair so on Saturday, a county fair we had! Here’s a little sneak peak…more to come later! 🙂
She had a ball and our hearts were so full. THANK YOU to everyone who came and showered her with love… We are so thankful for our spiritual family who fill in the gaps…you all have our hearts.
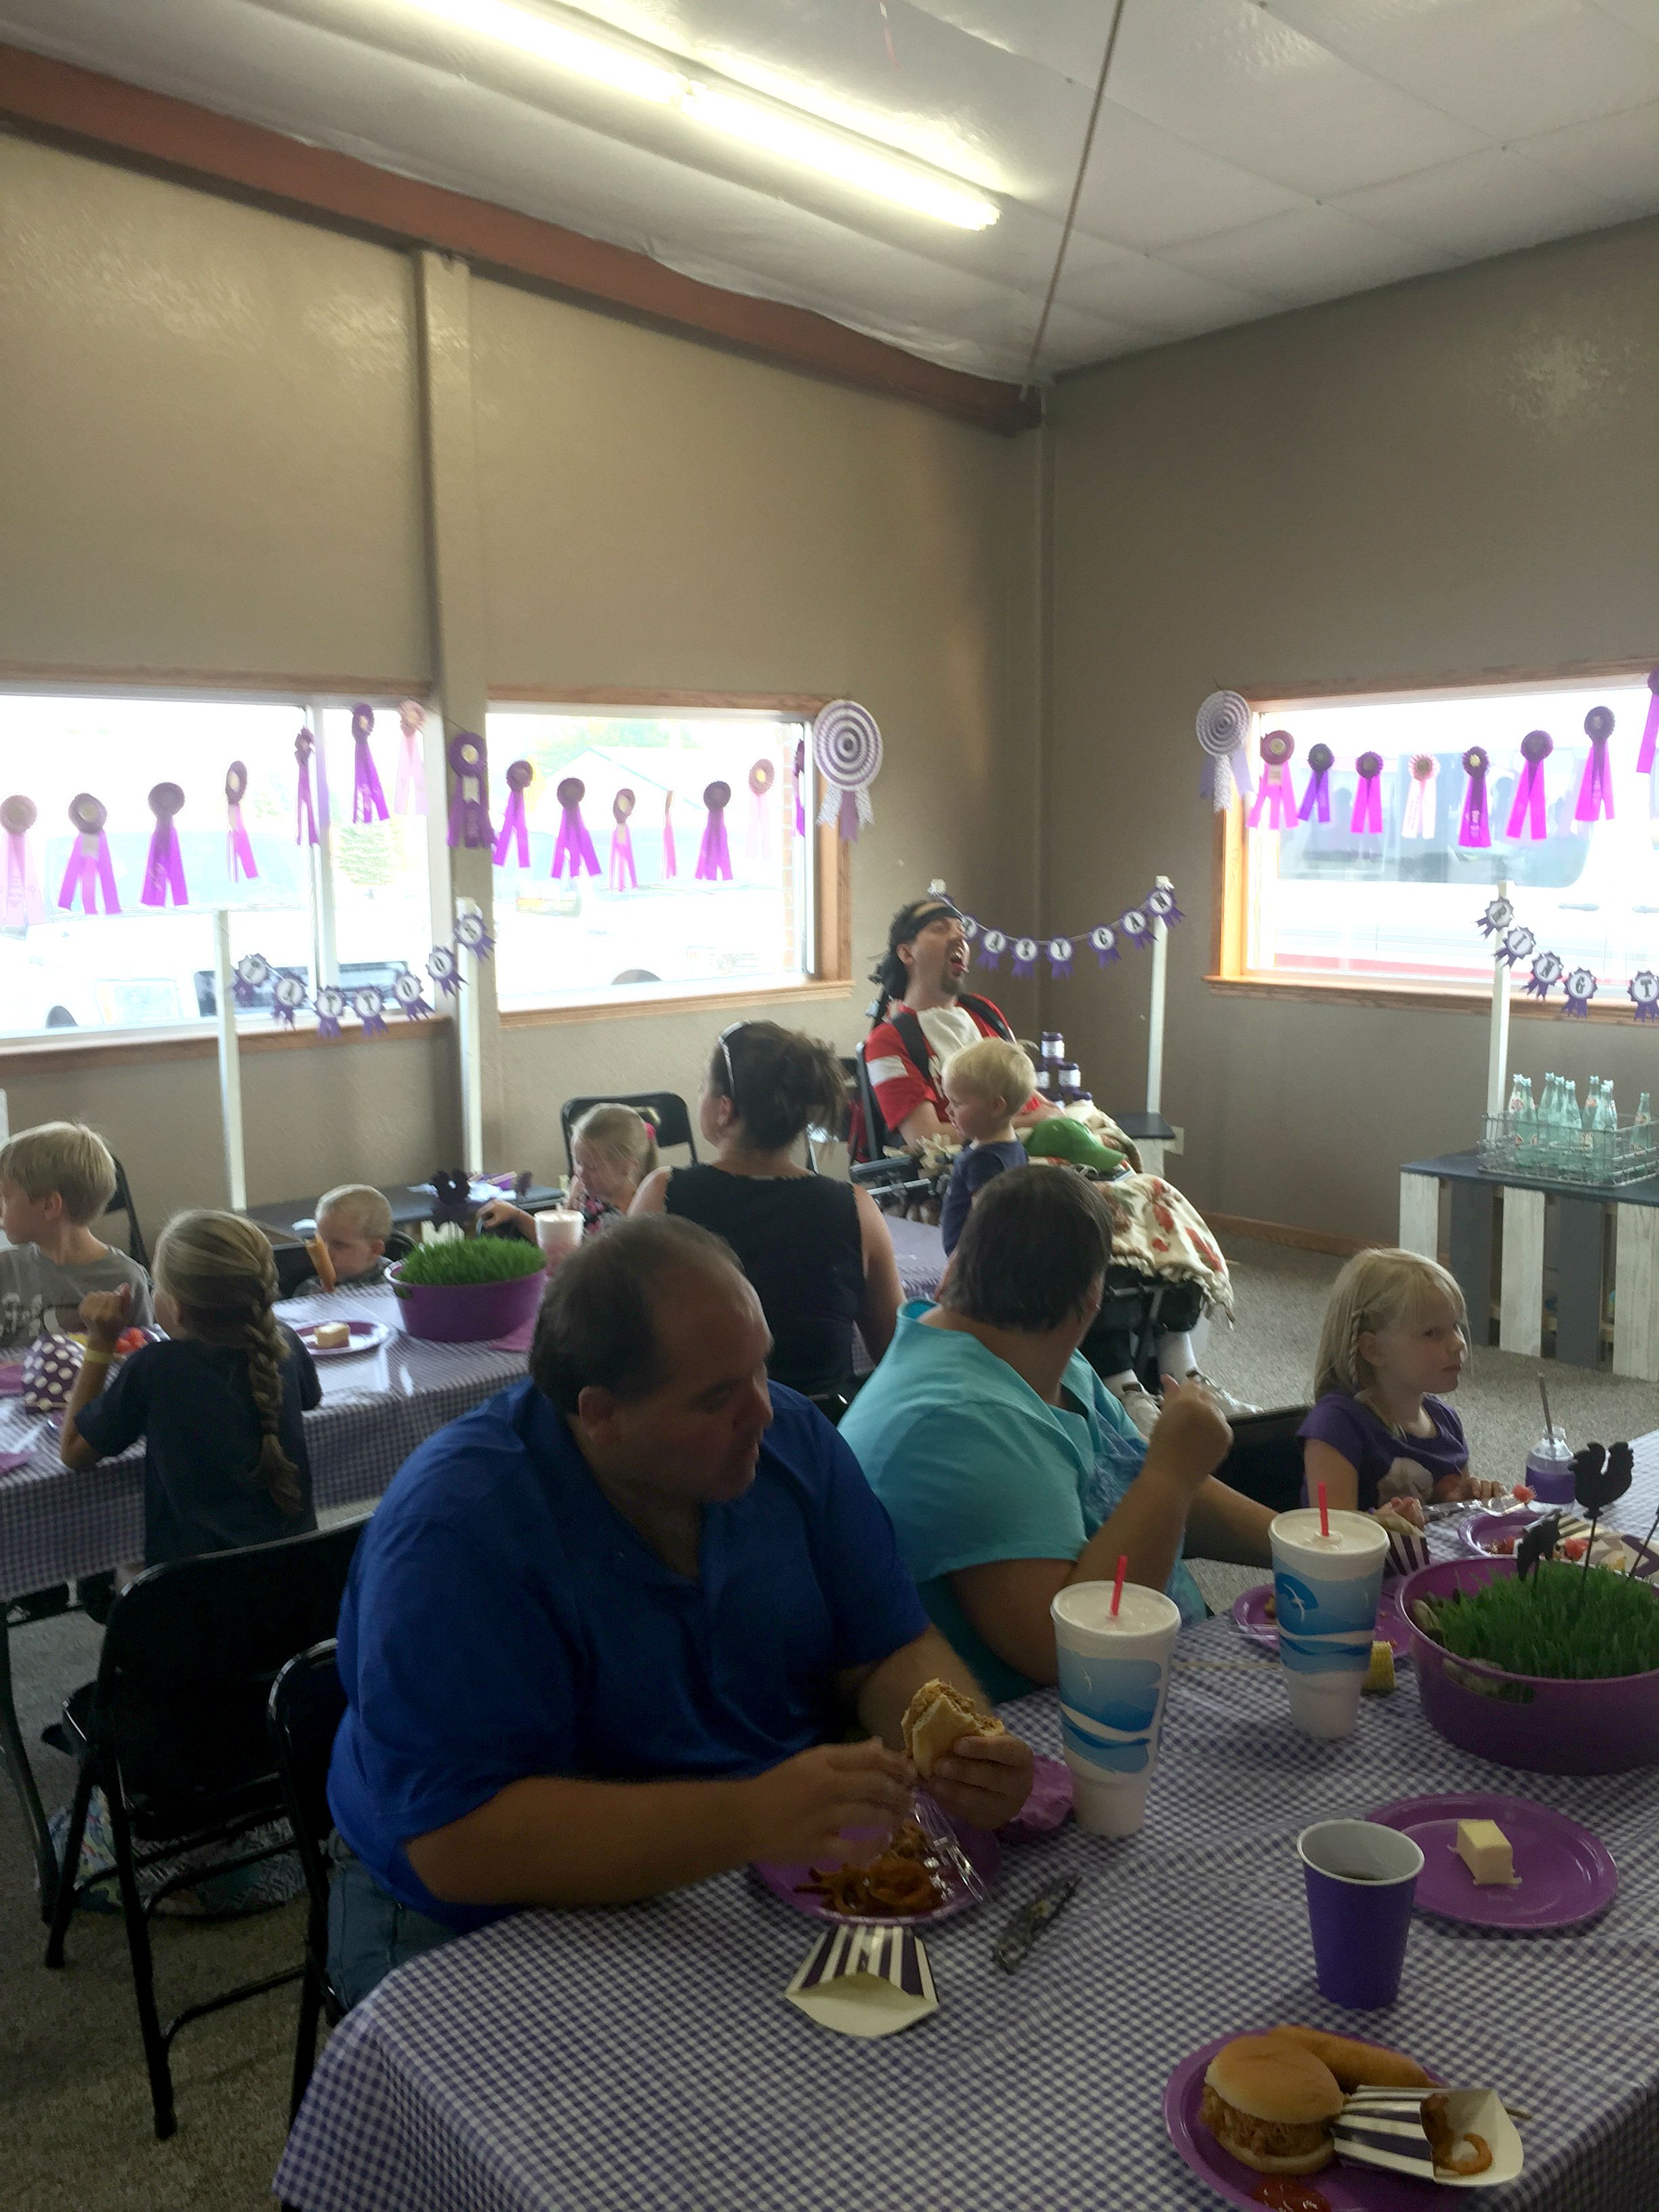
Sunday, we had brunch and (not enough) great grandma/PaPa/RaRa/auntie/uncle/cousin play time.
The kids are still recuperating – heck, I am, too! – but it was worth every late night, paper cut and sore foot. She felt so loved…
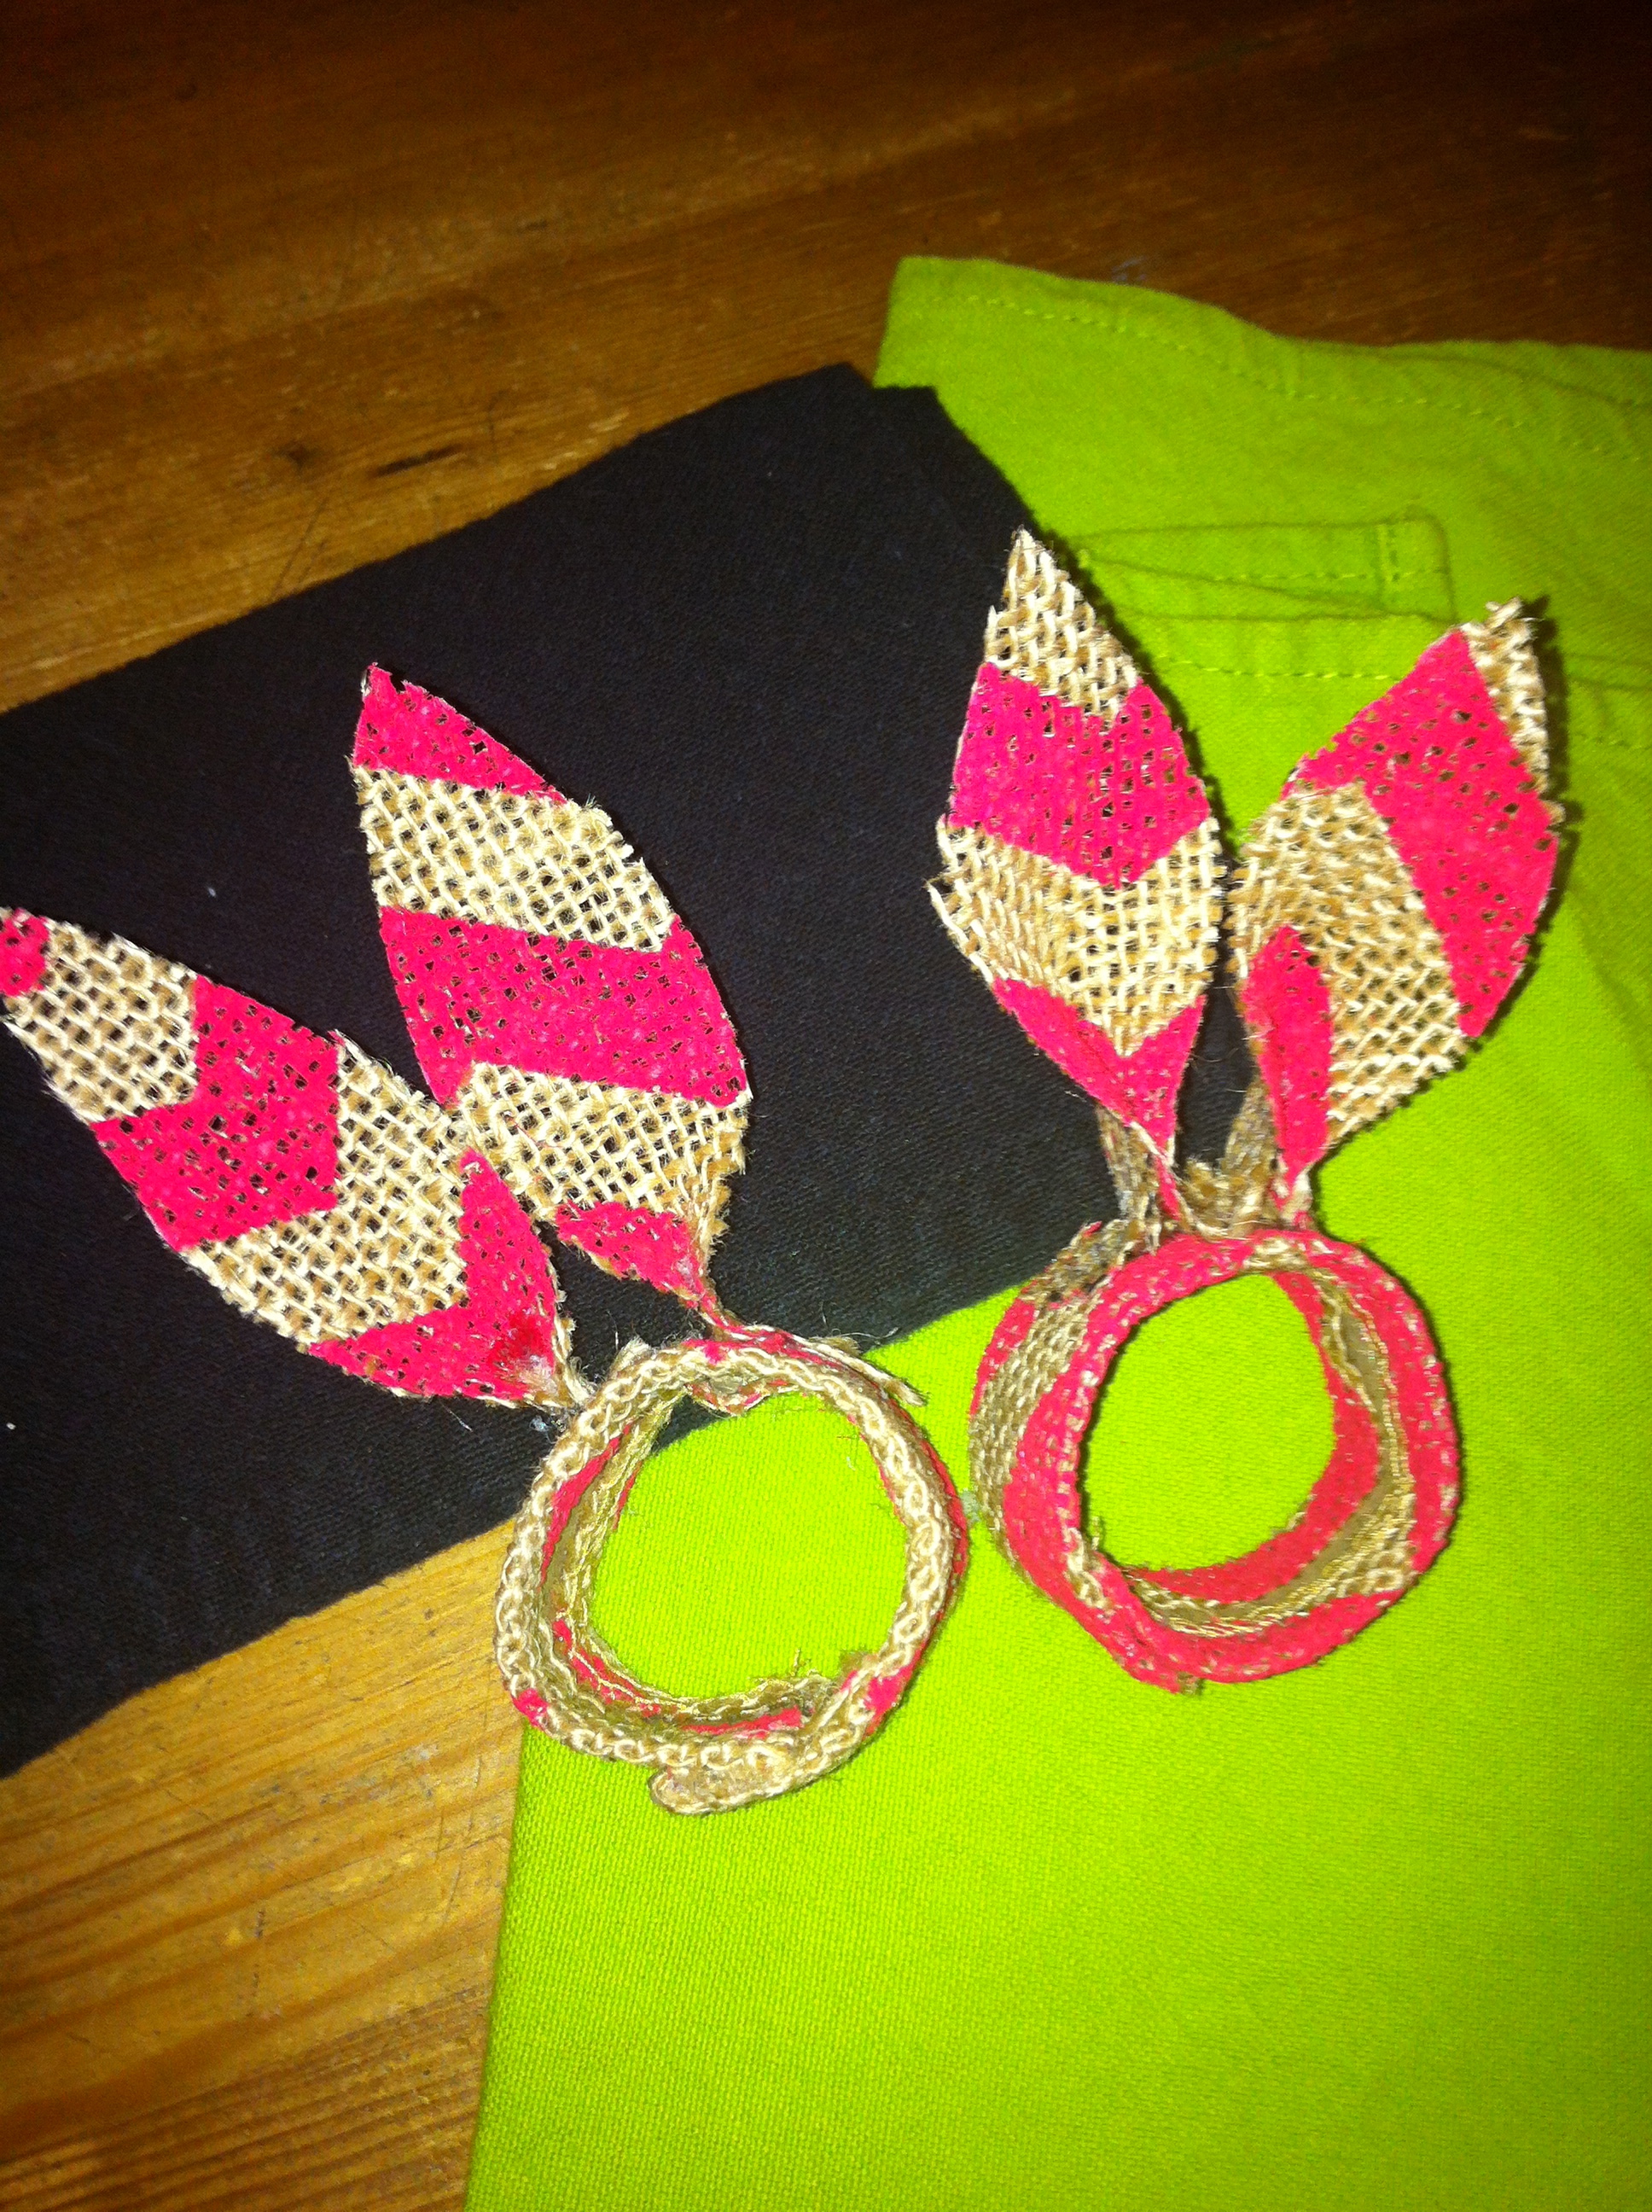
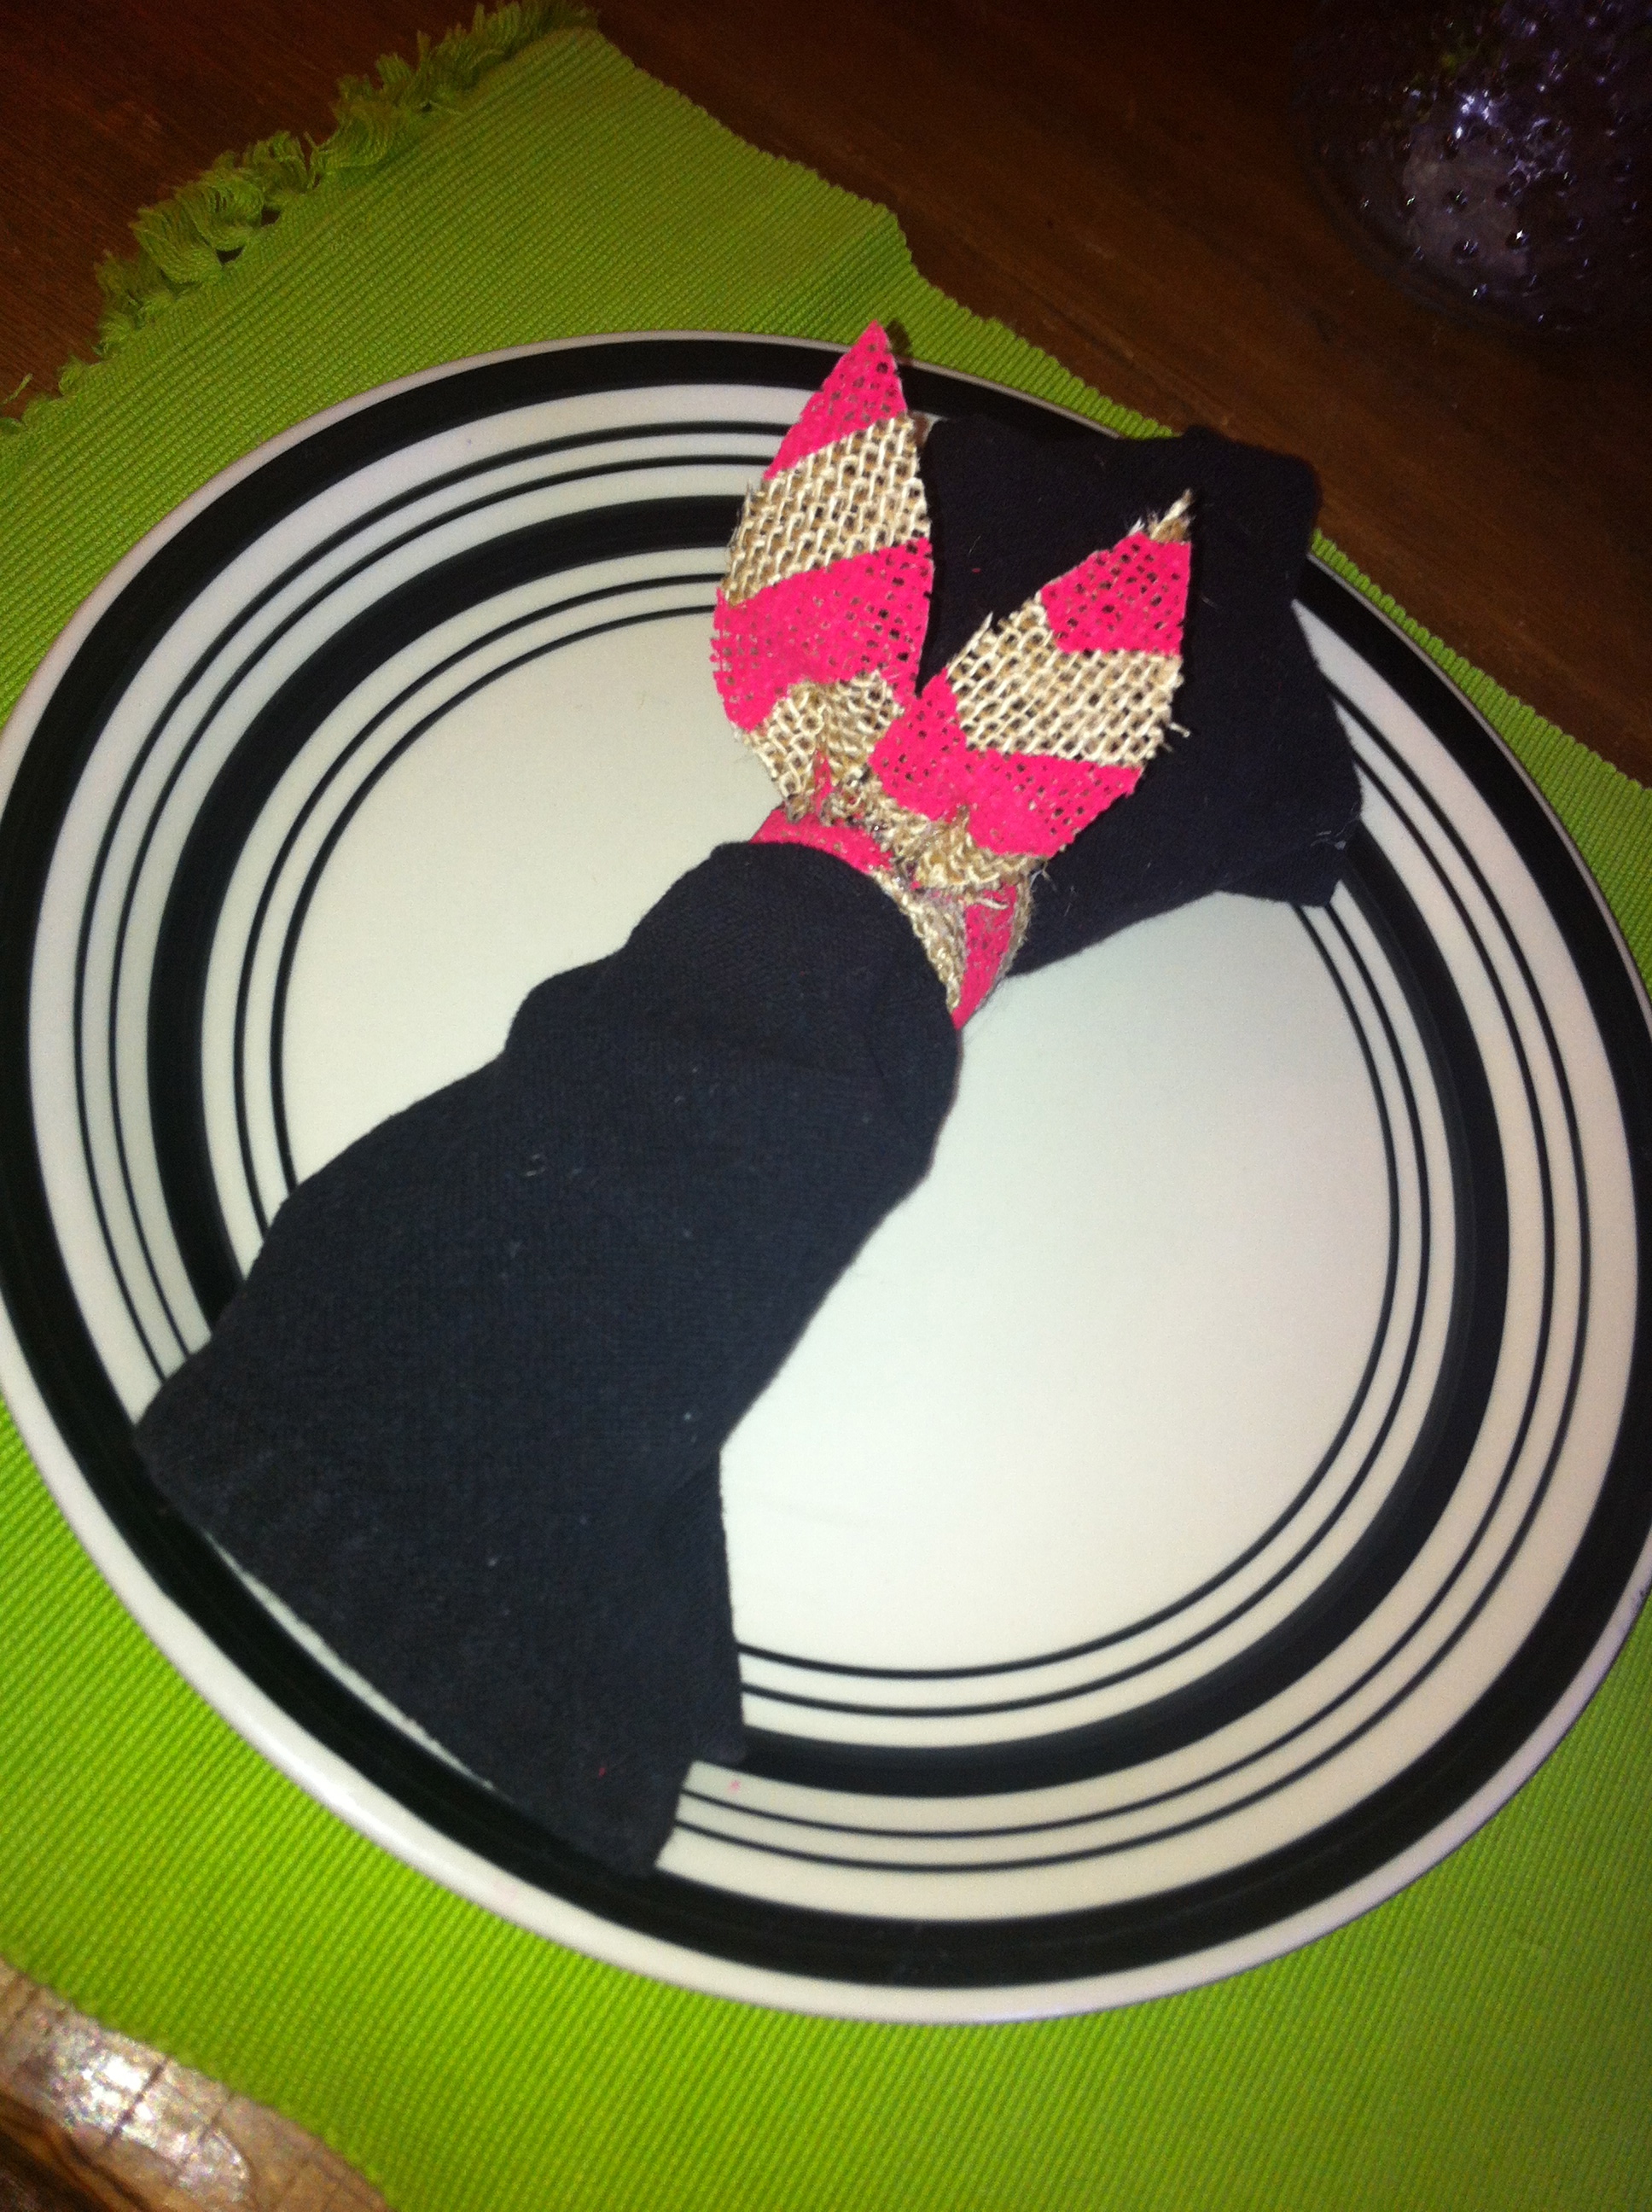
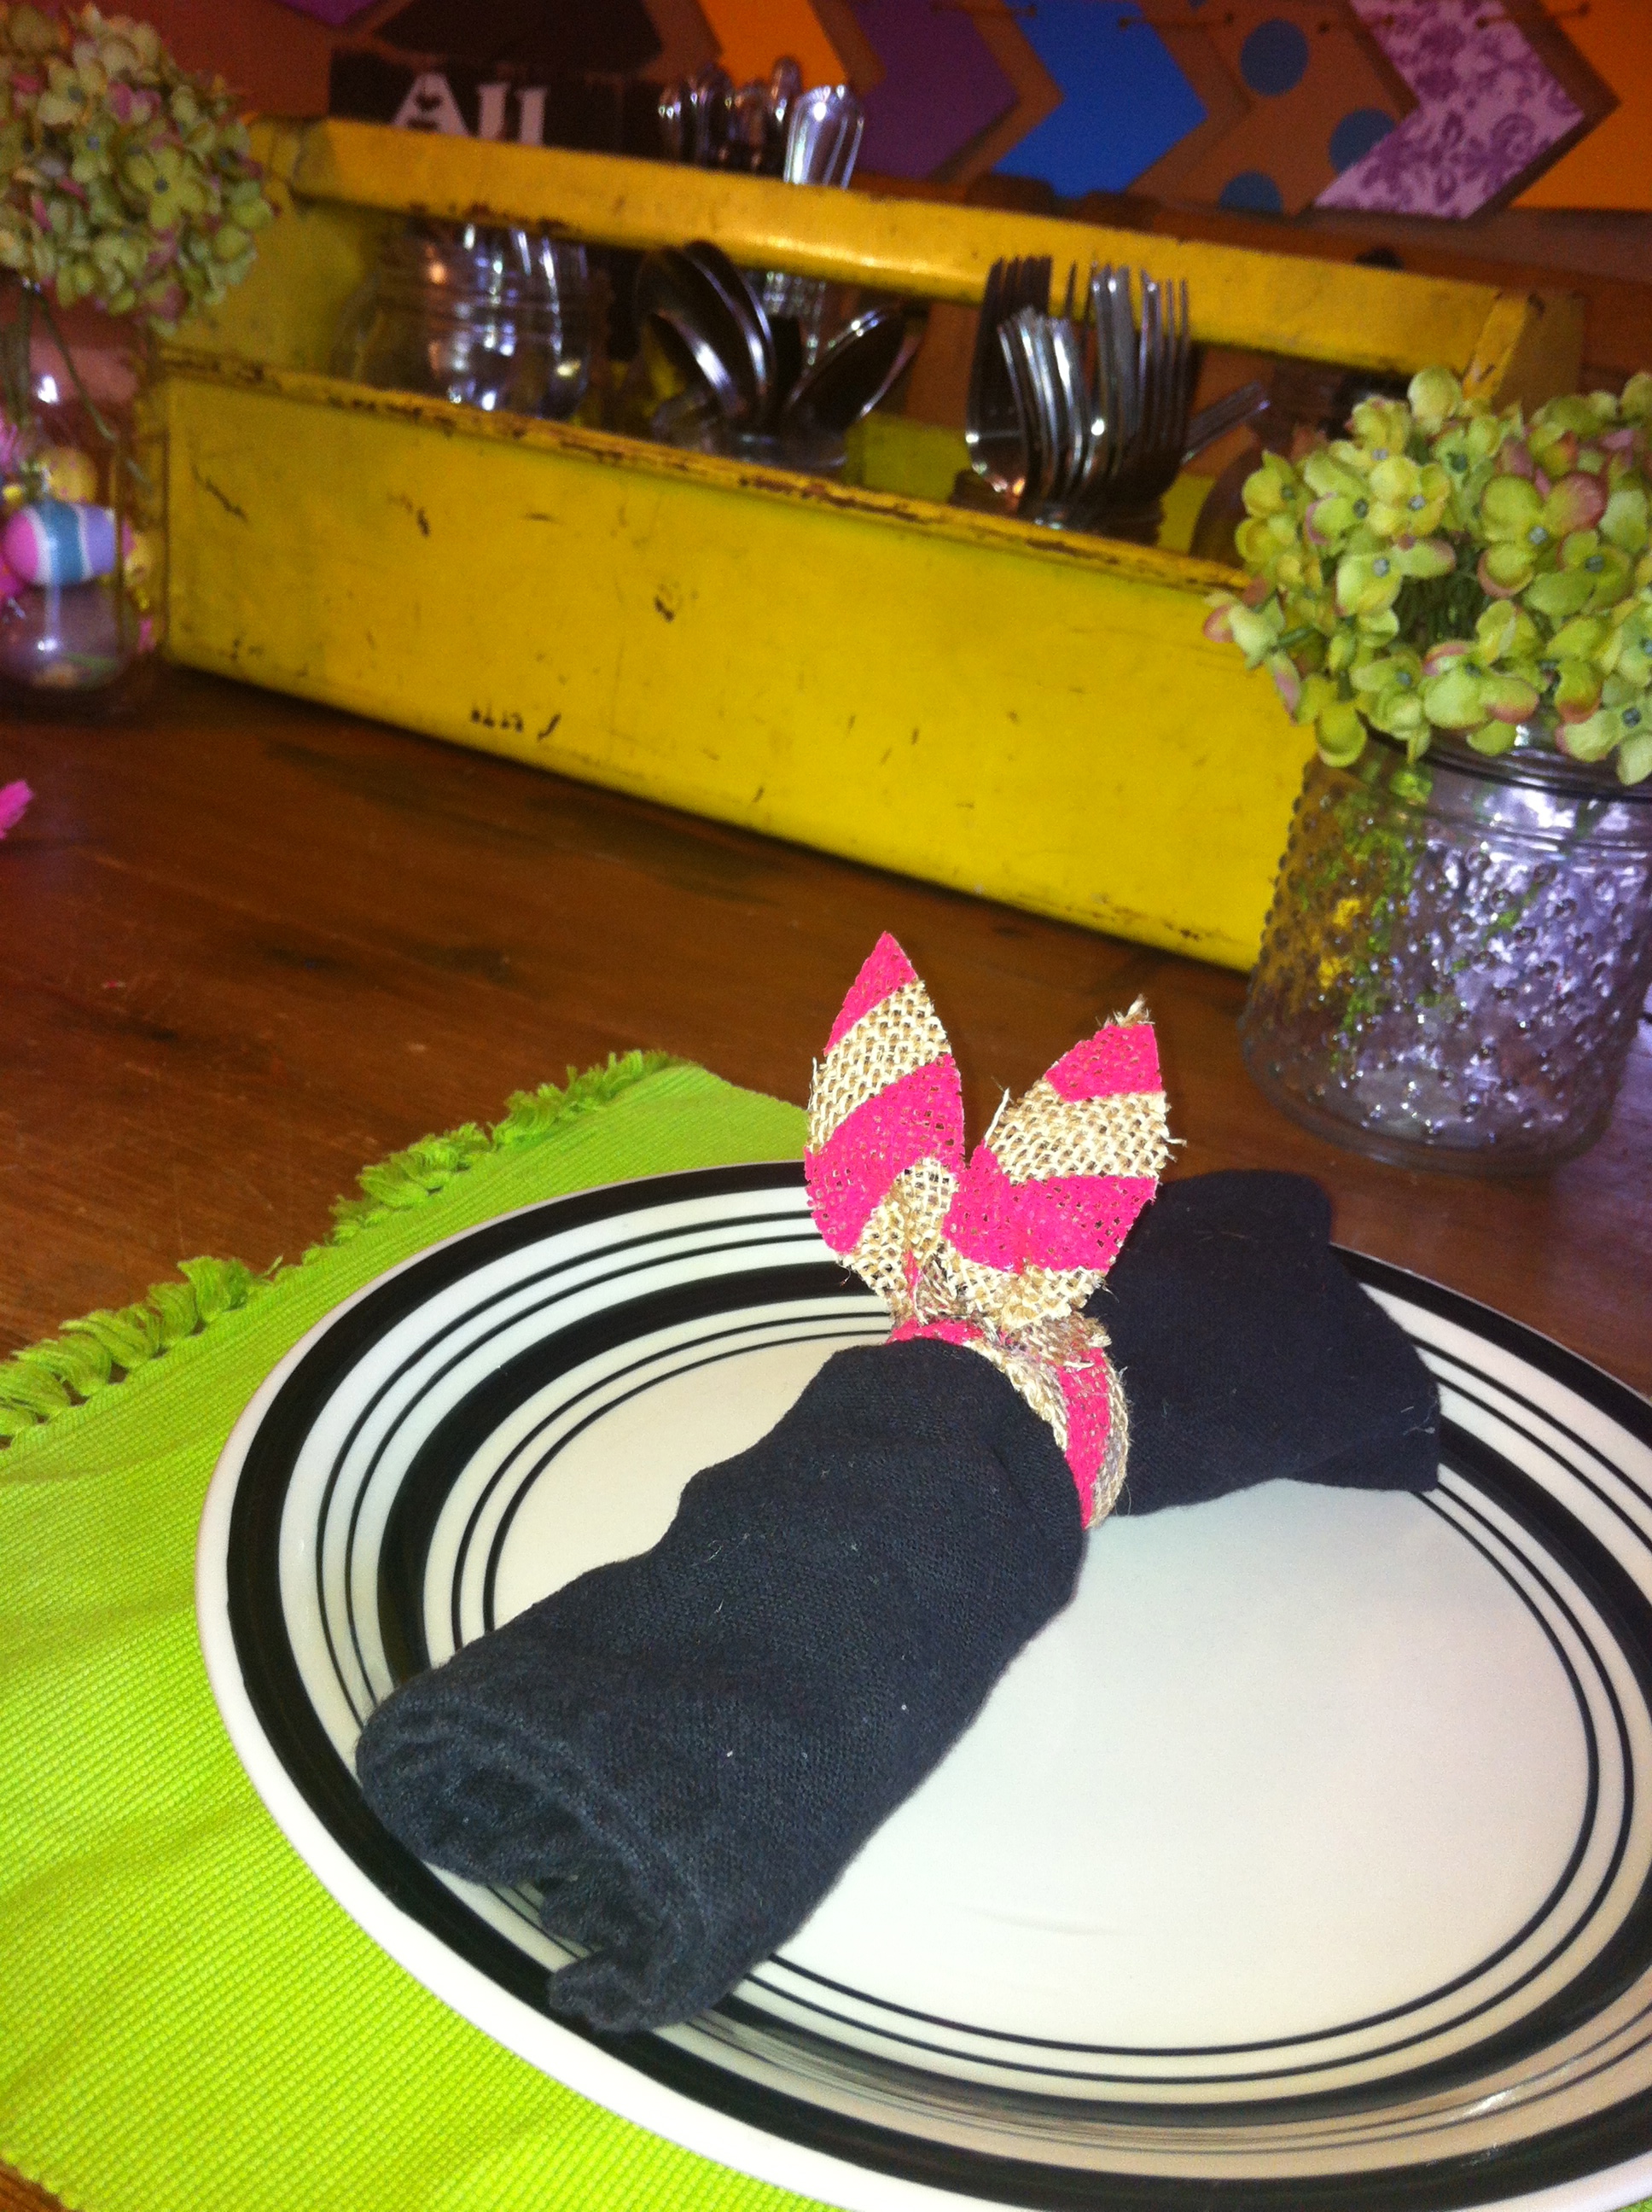
While we were in Denver, Sawyer and I hadto make a quick run to Hobby Lobby and while we were there, we saw the cutest bunny ear napkin rings! They had all colors and while they were 40% off, the cheapskate in me knew I could make them for less than $1.50 each. 🙂
Since Sawyer is still feeling pretty doggone puny today (unfortunately) she’s been glued to the couch watching TV so I decided to get a little crafty and see what I could come up with.
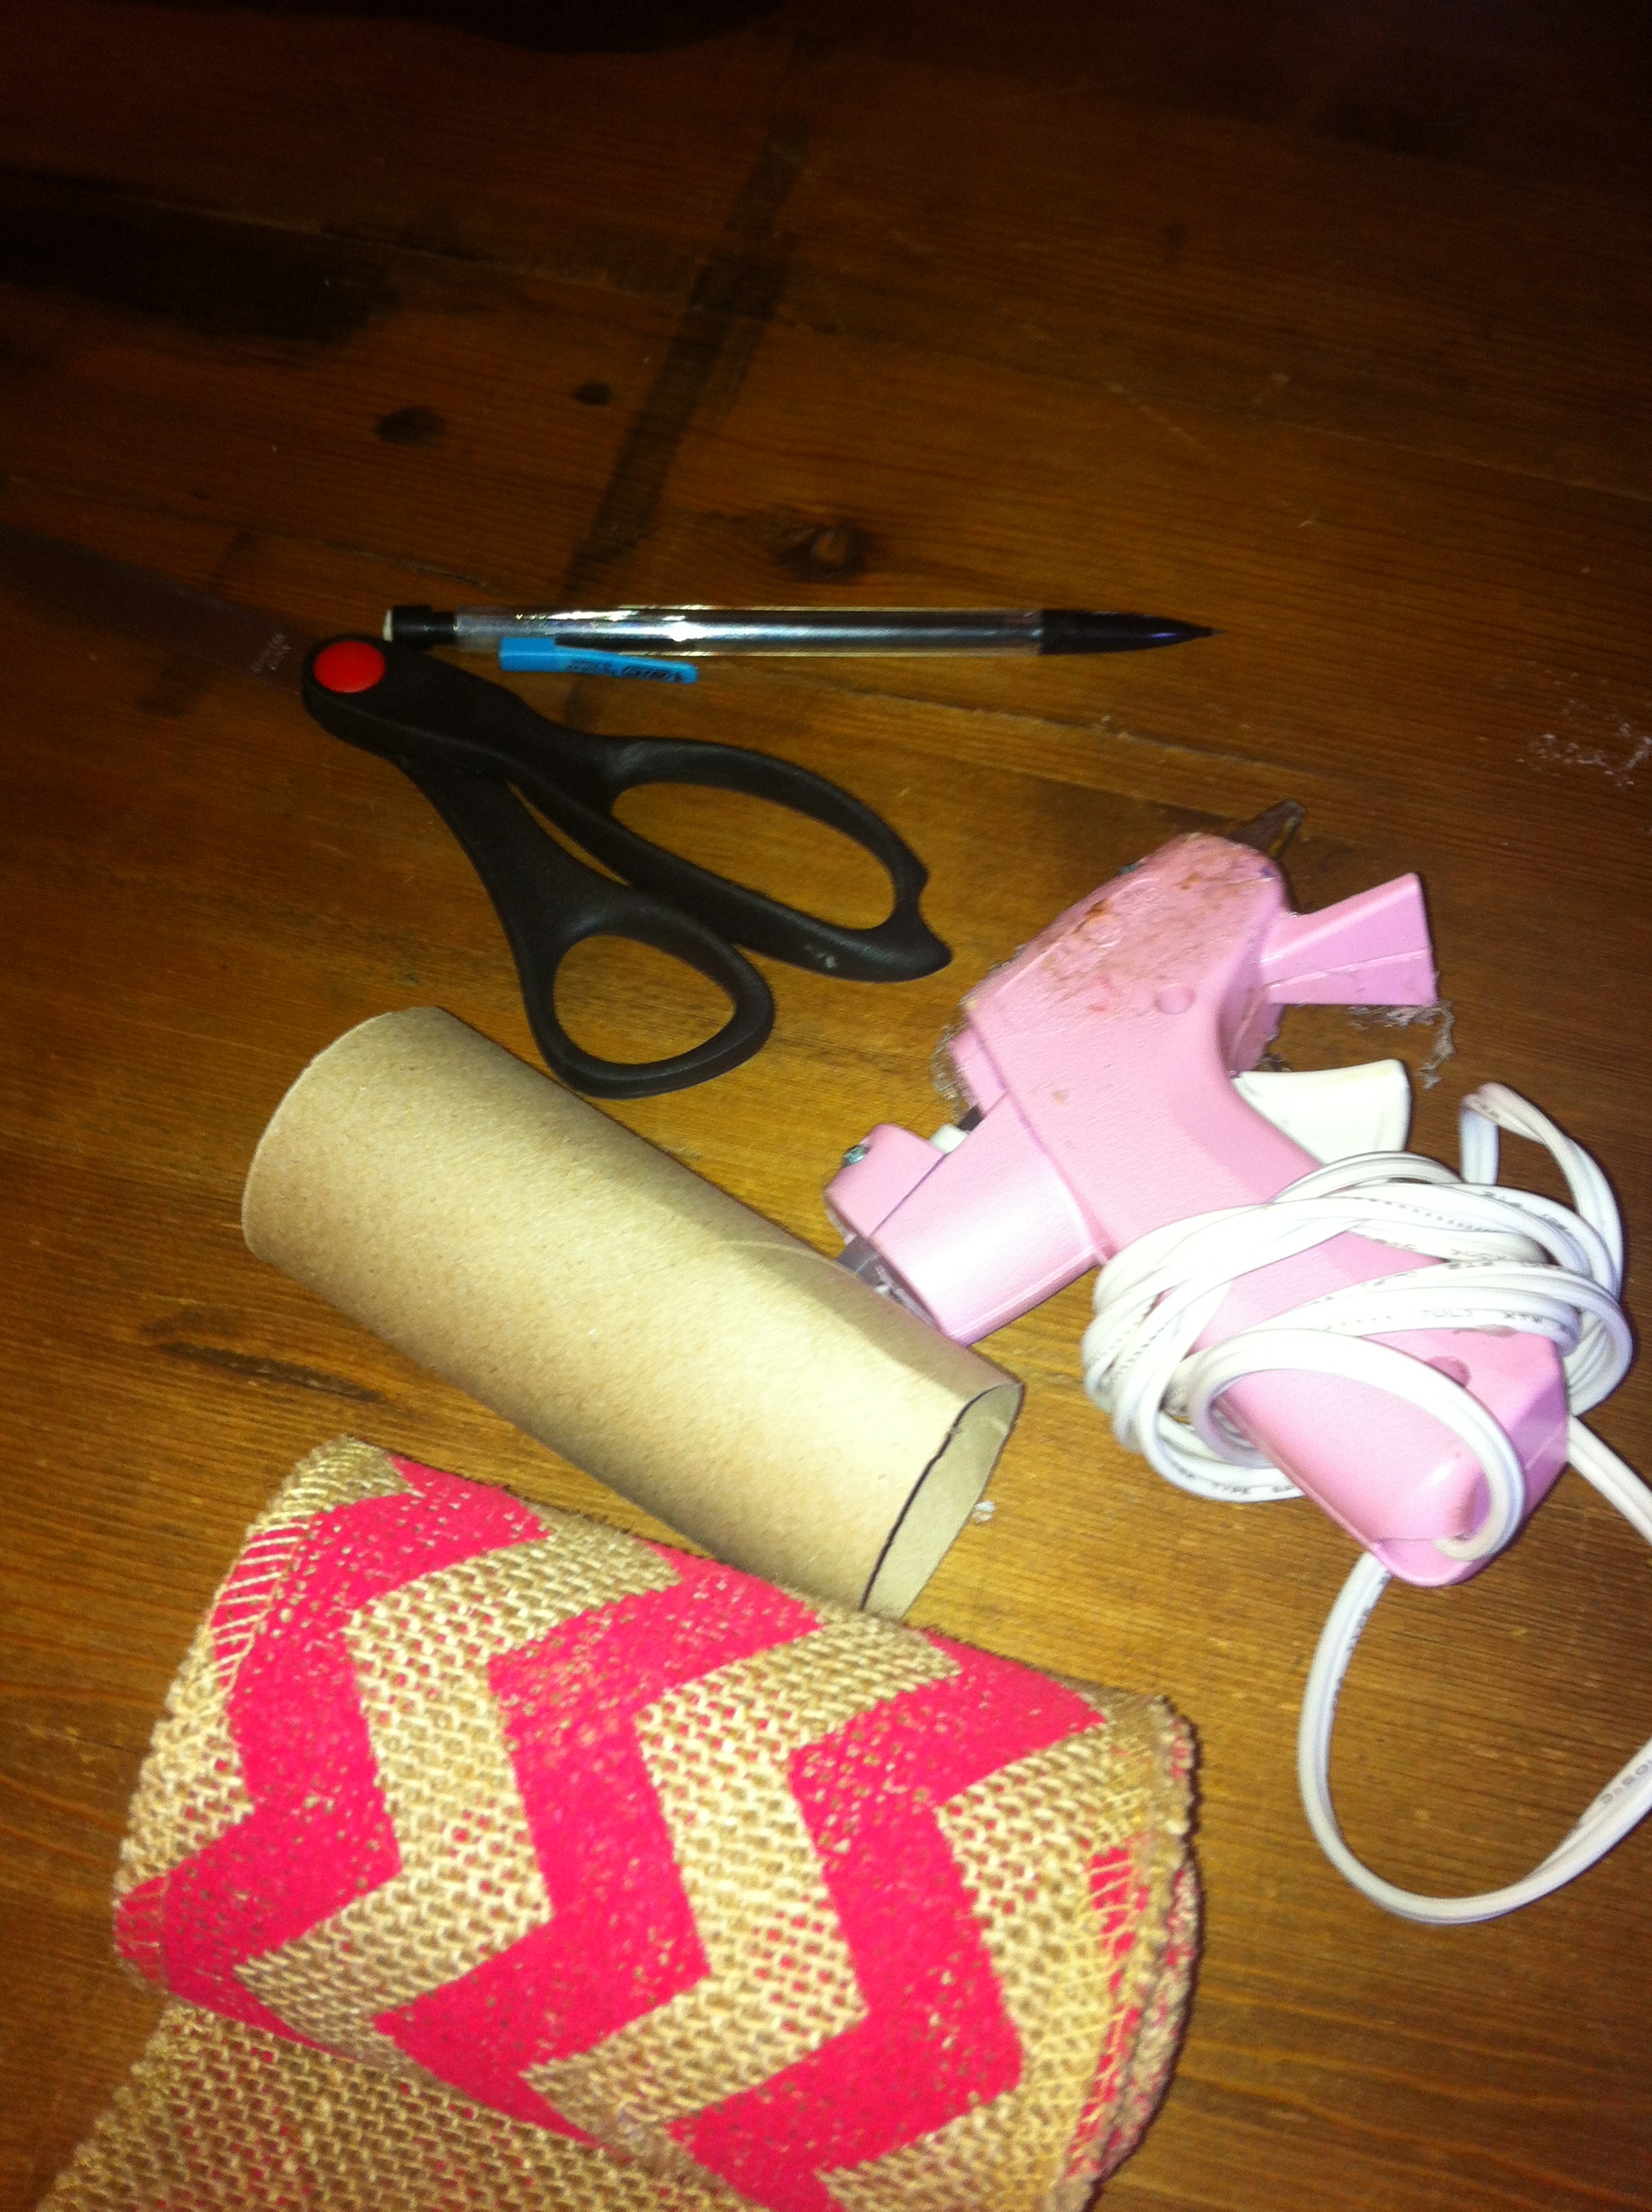
What you’ll need:
fabric or burlap
scissors
hot glue gun
toilet paper roll
cardstock for a stencil
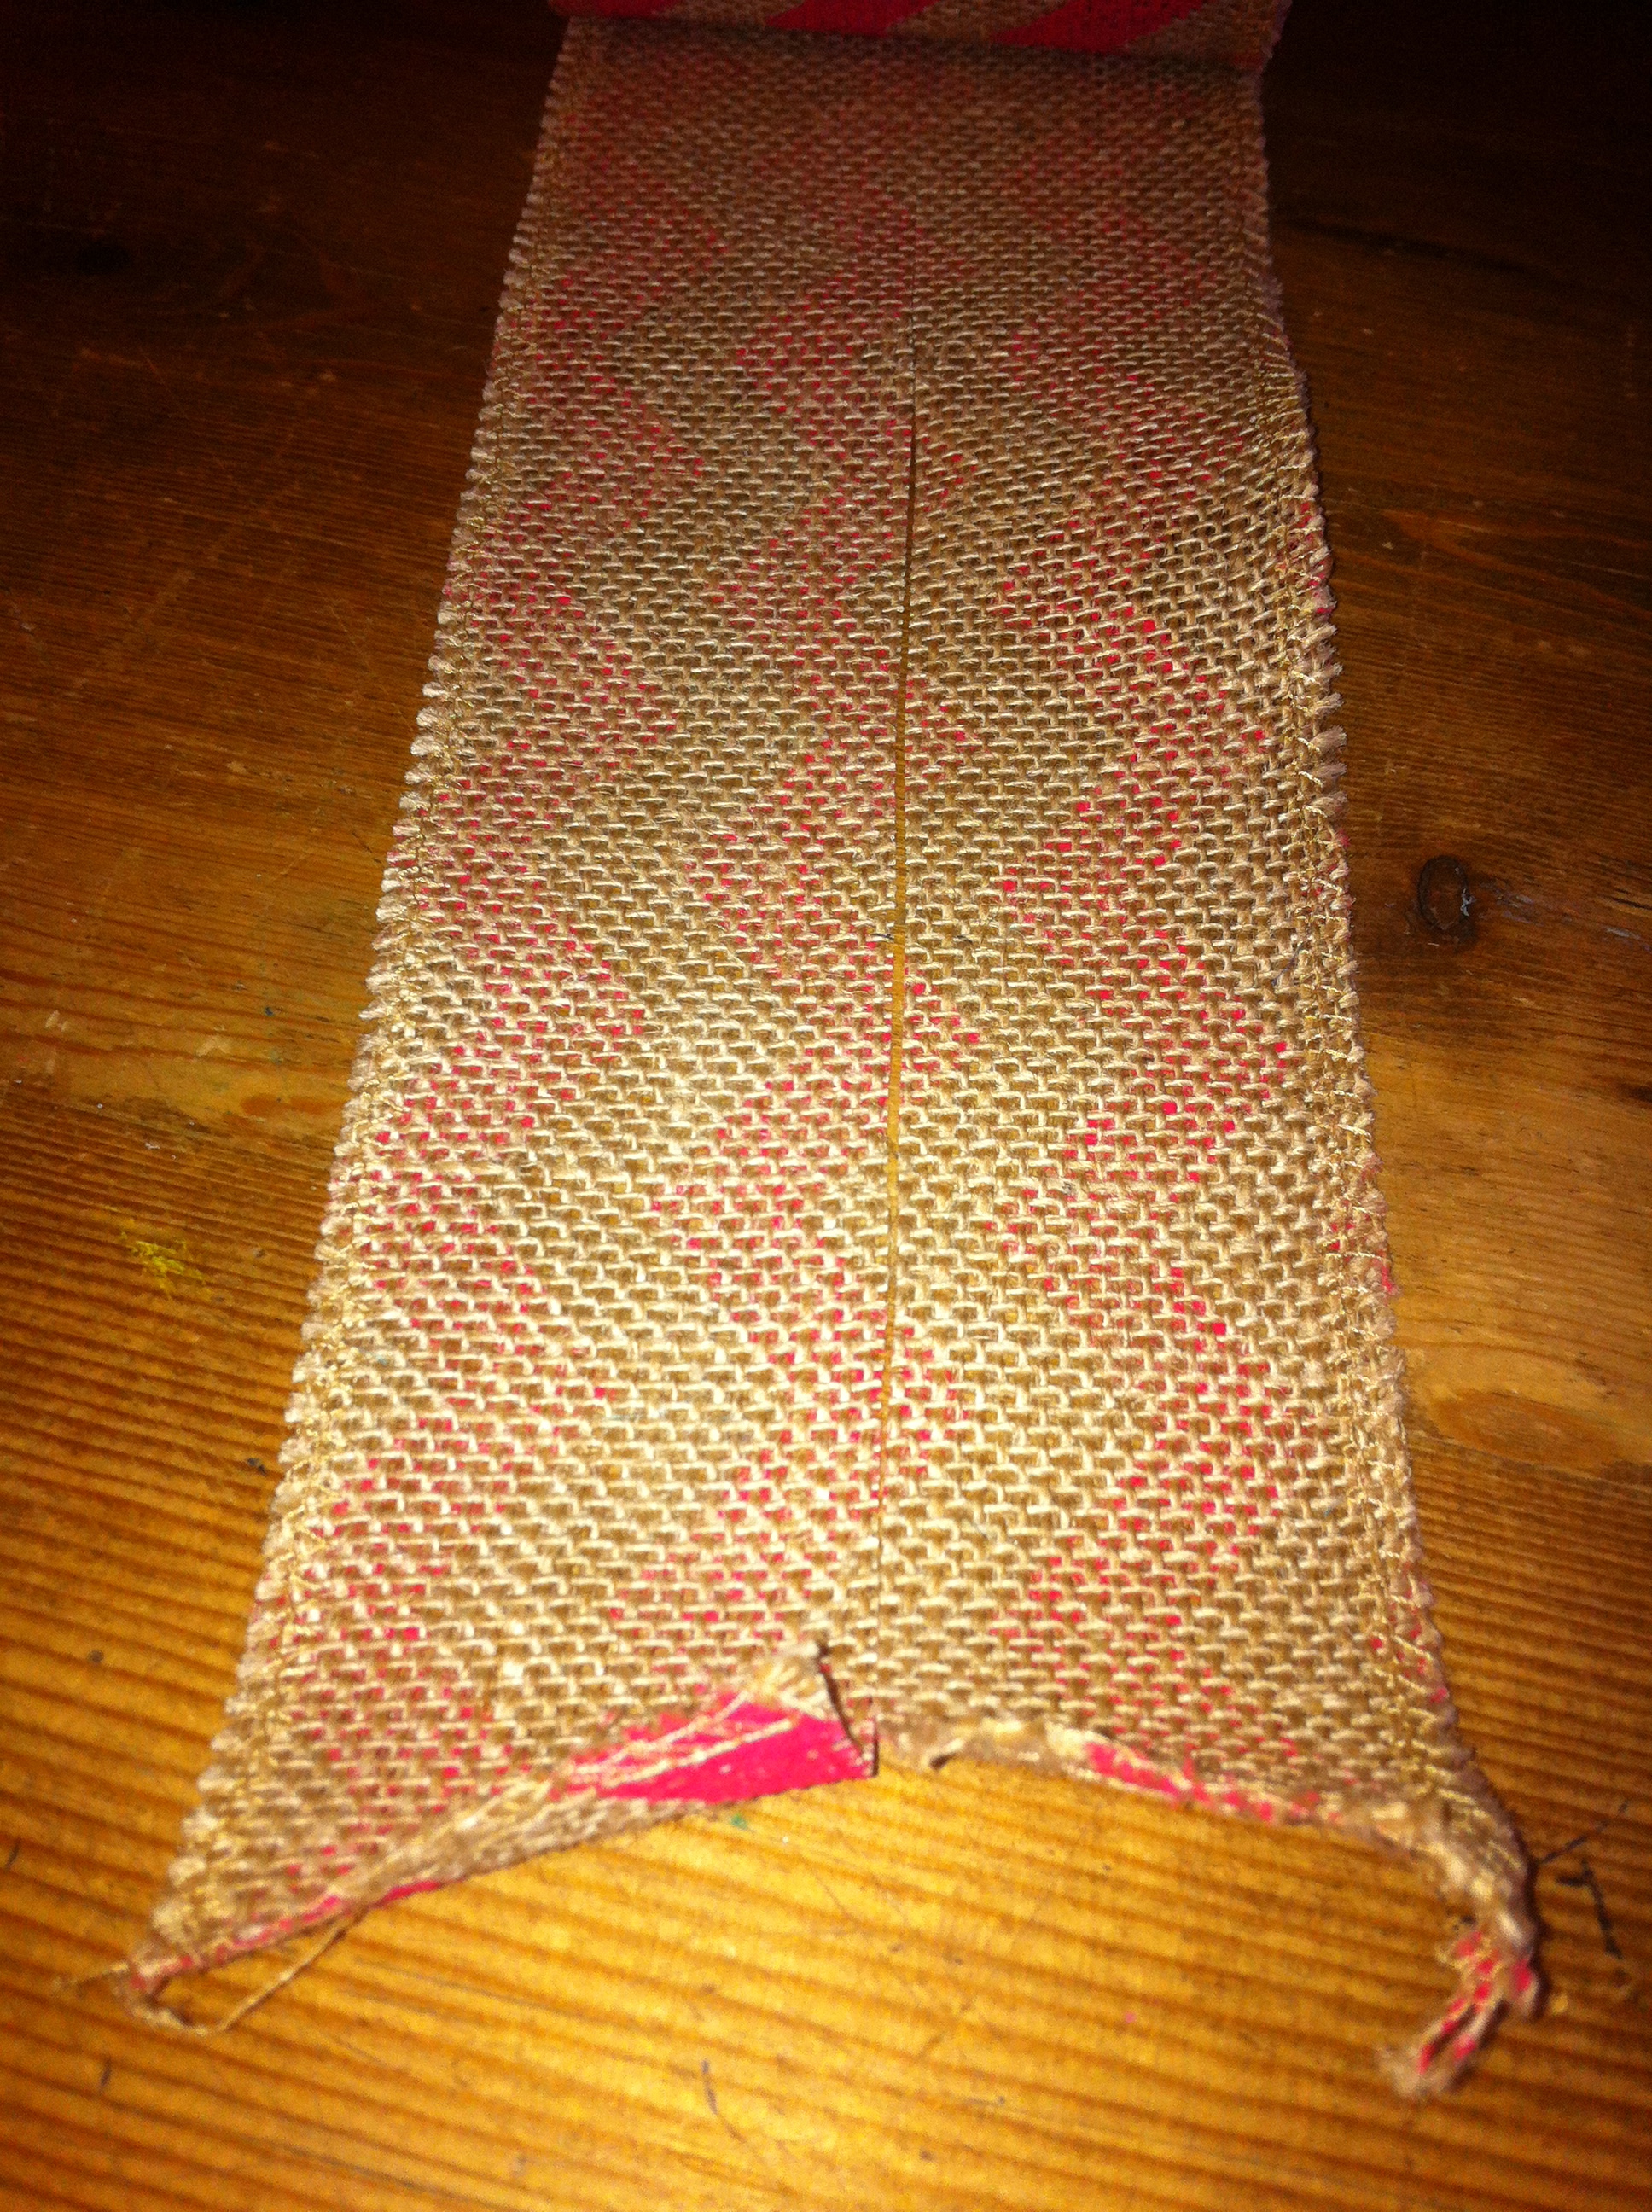
Step 1: Cut your toilet paper roll into four sections and slit each section open.
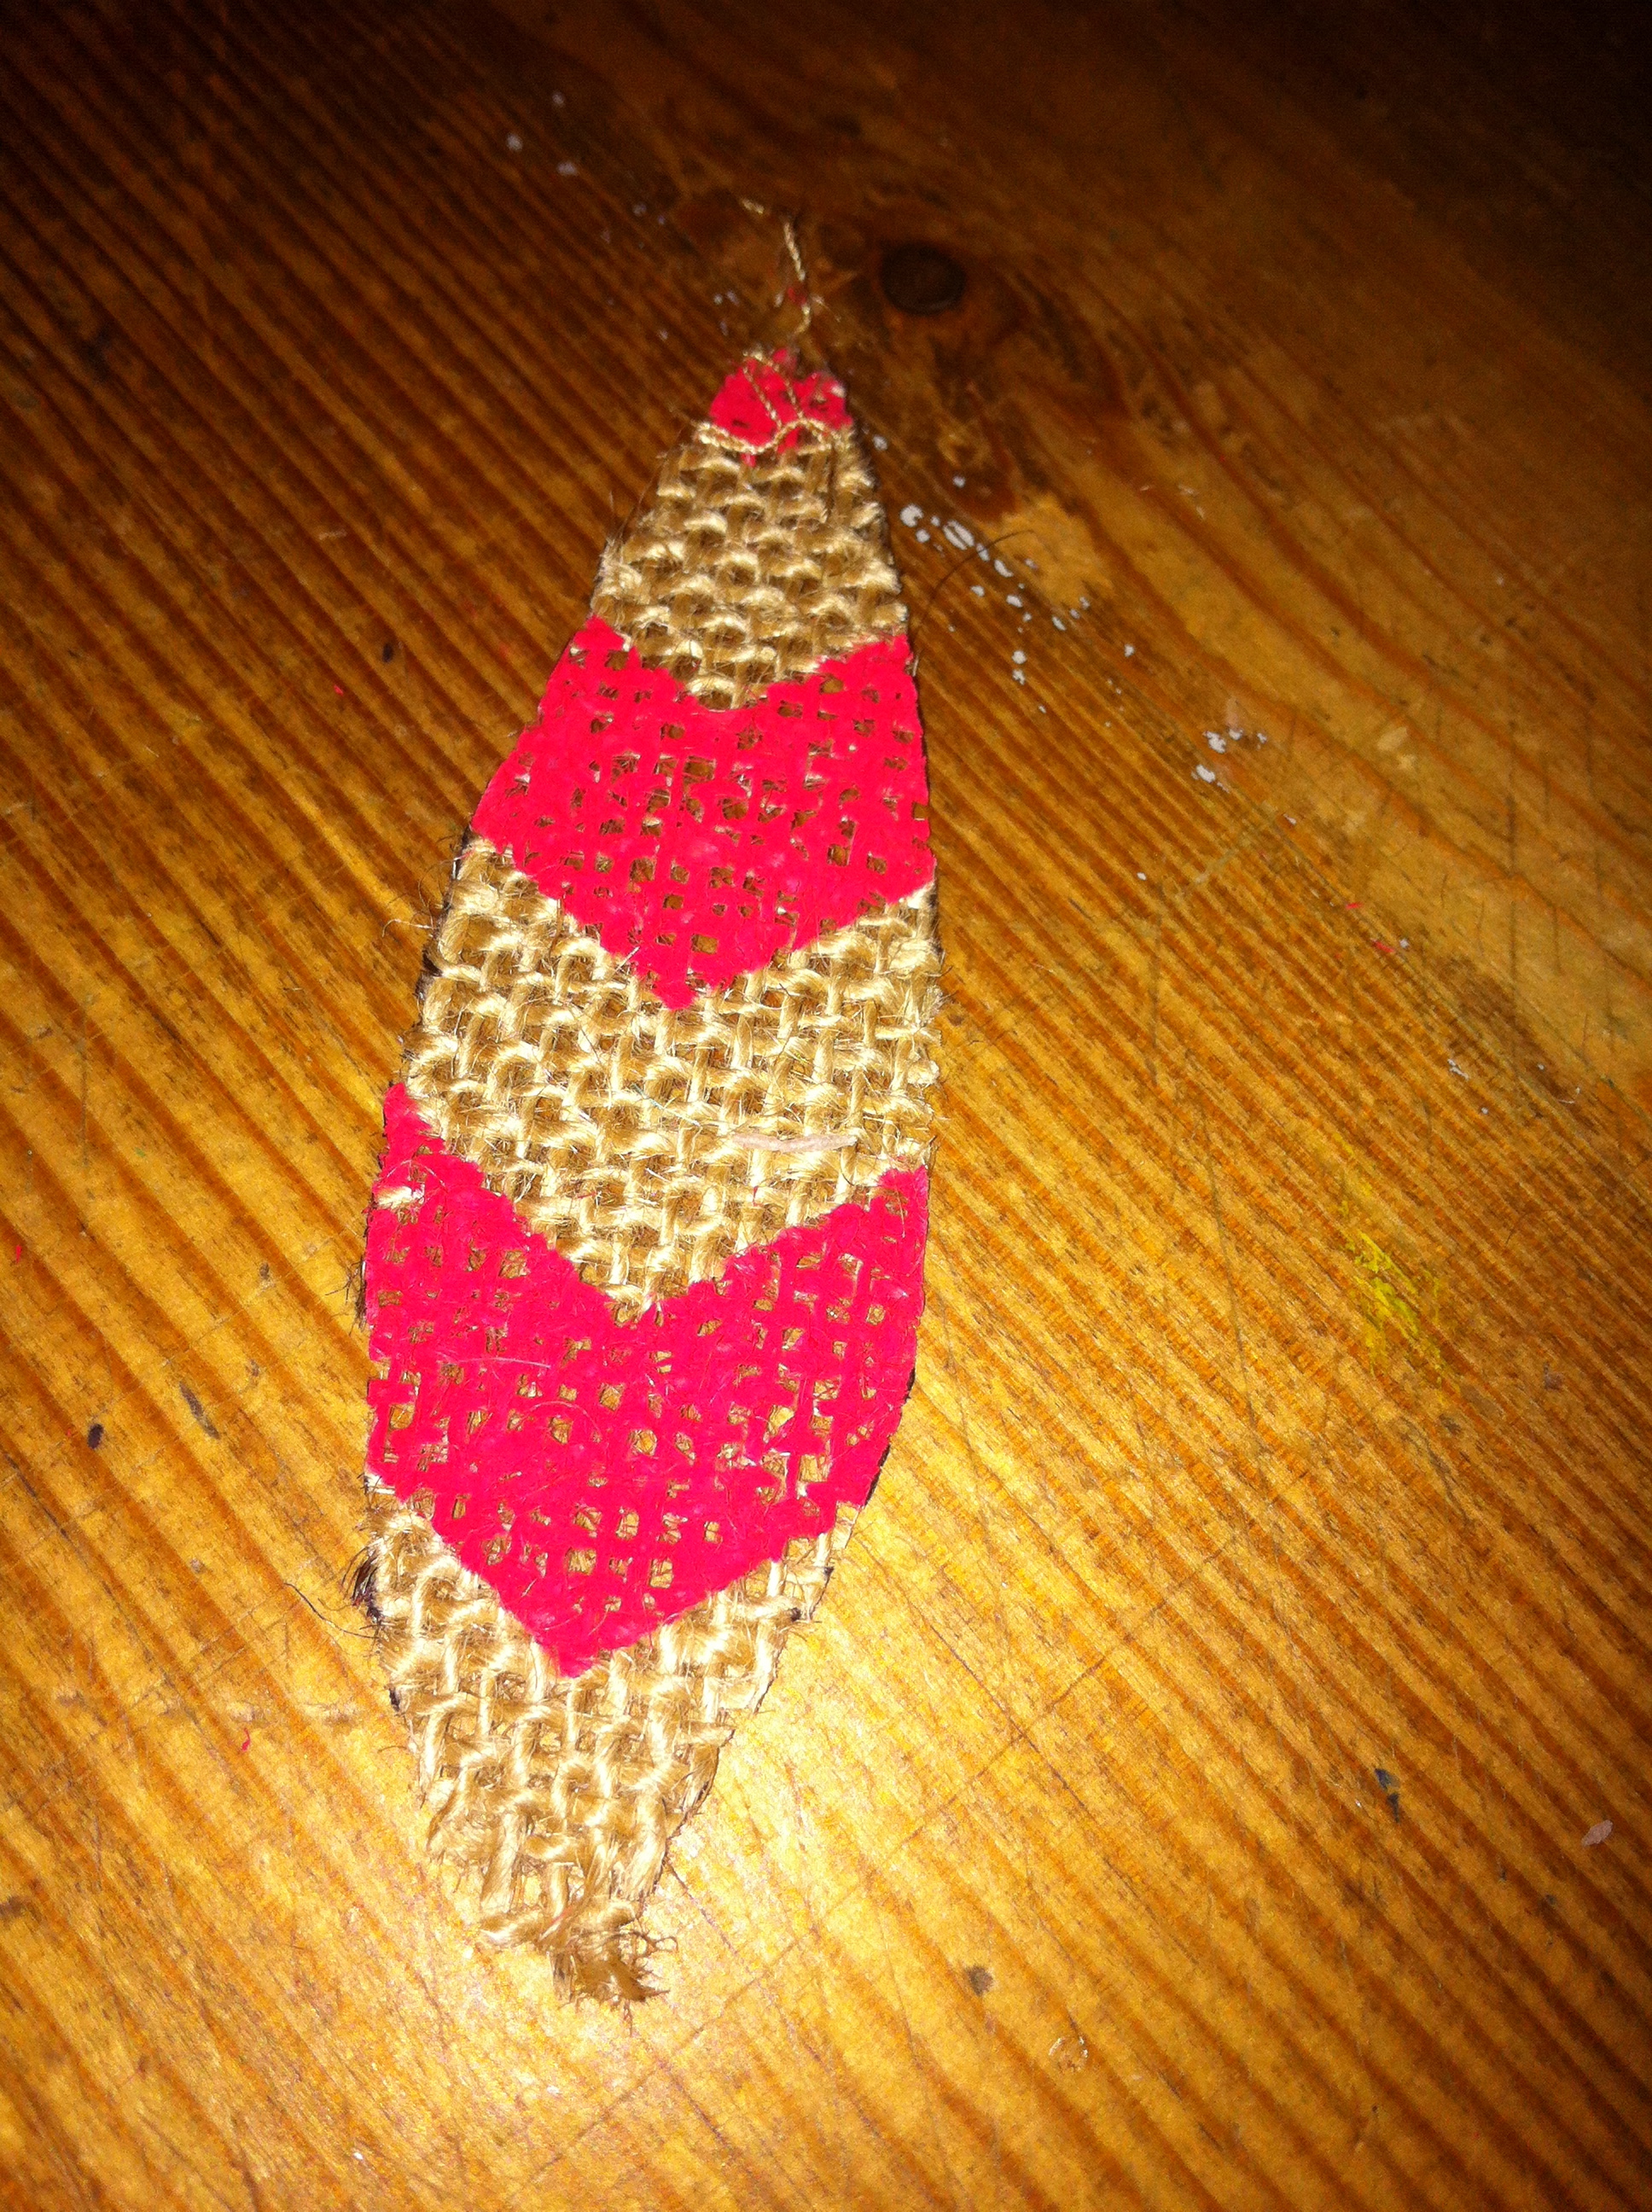
Step 2: Cut your fabric or burlap so that it’s just bigger than your toilet paper roll strips.
I got this burlap ribbon on sale at WalMart for $1.00 so I just cut it down the middle and it was the perfect size. You want it big enough to be able to fold down the edges onto your toilet paper roll.
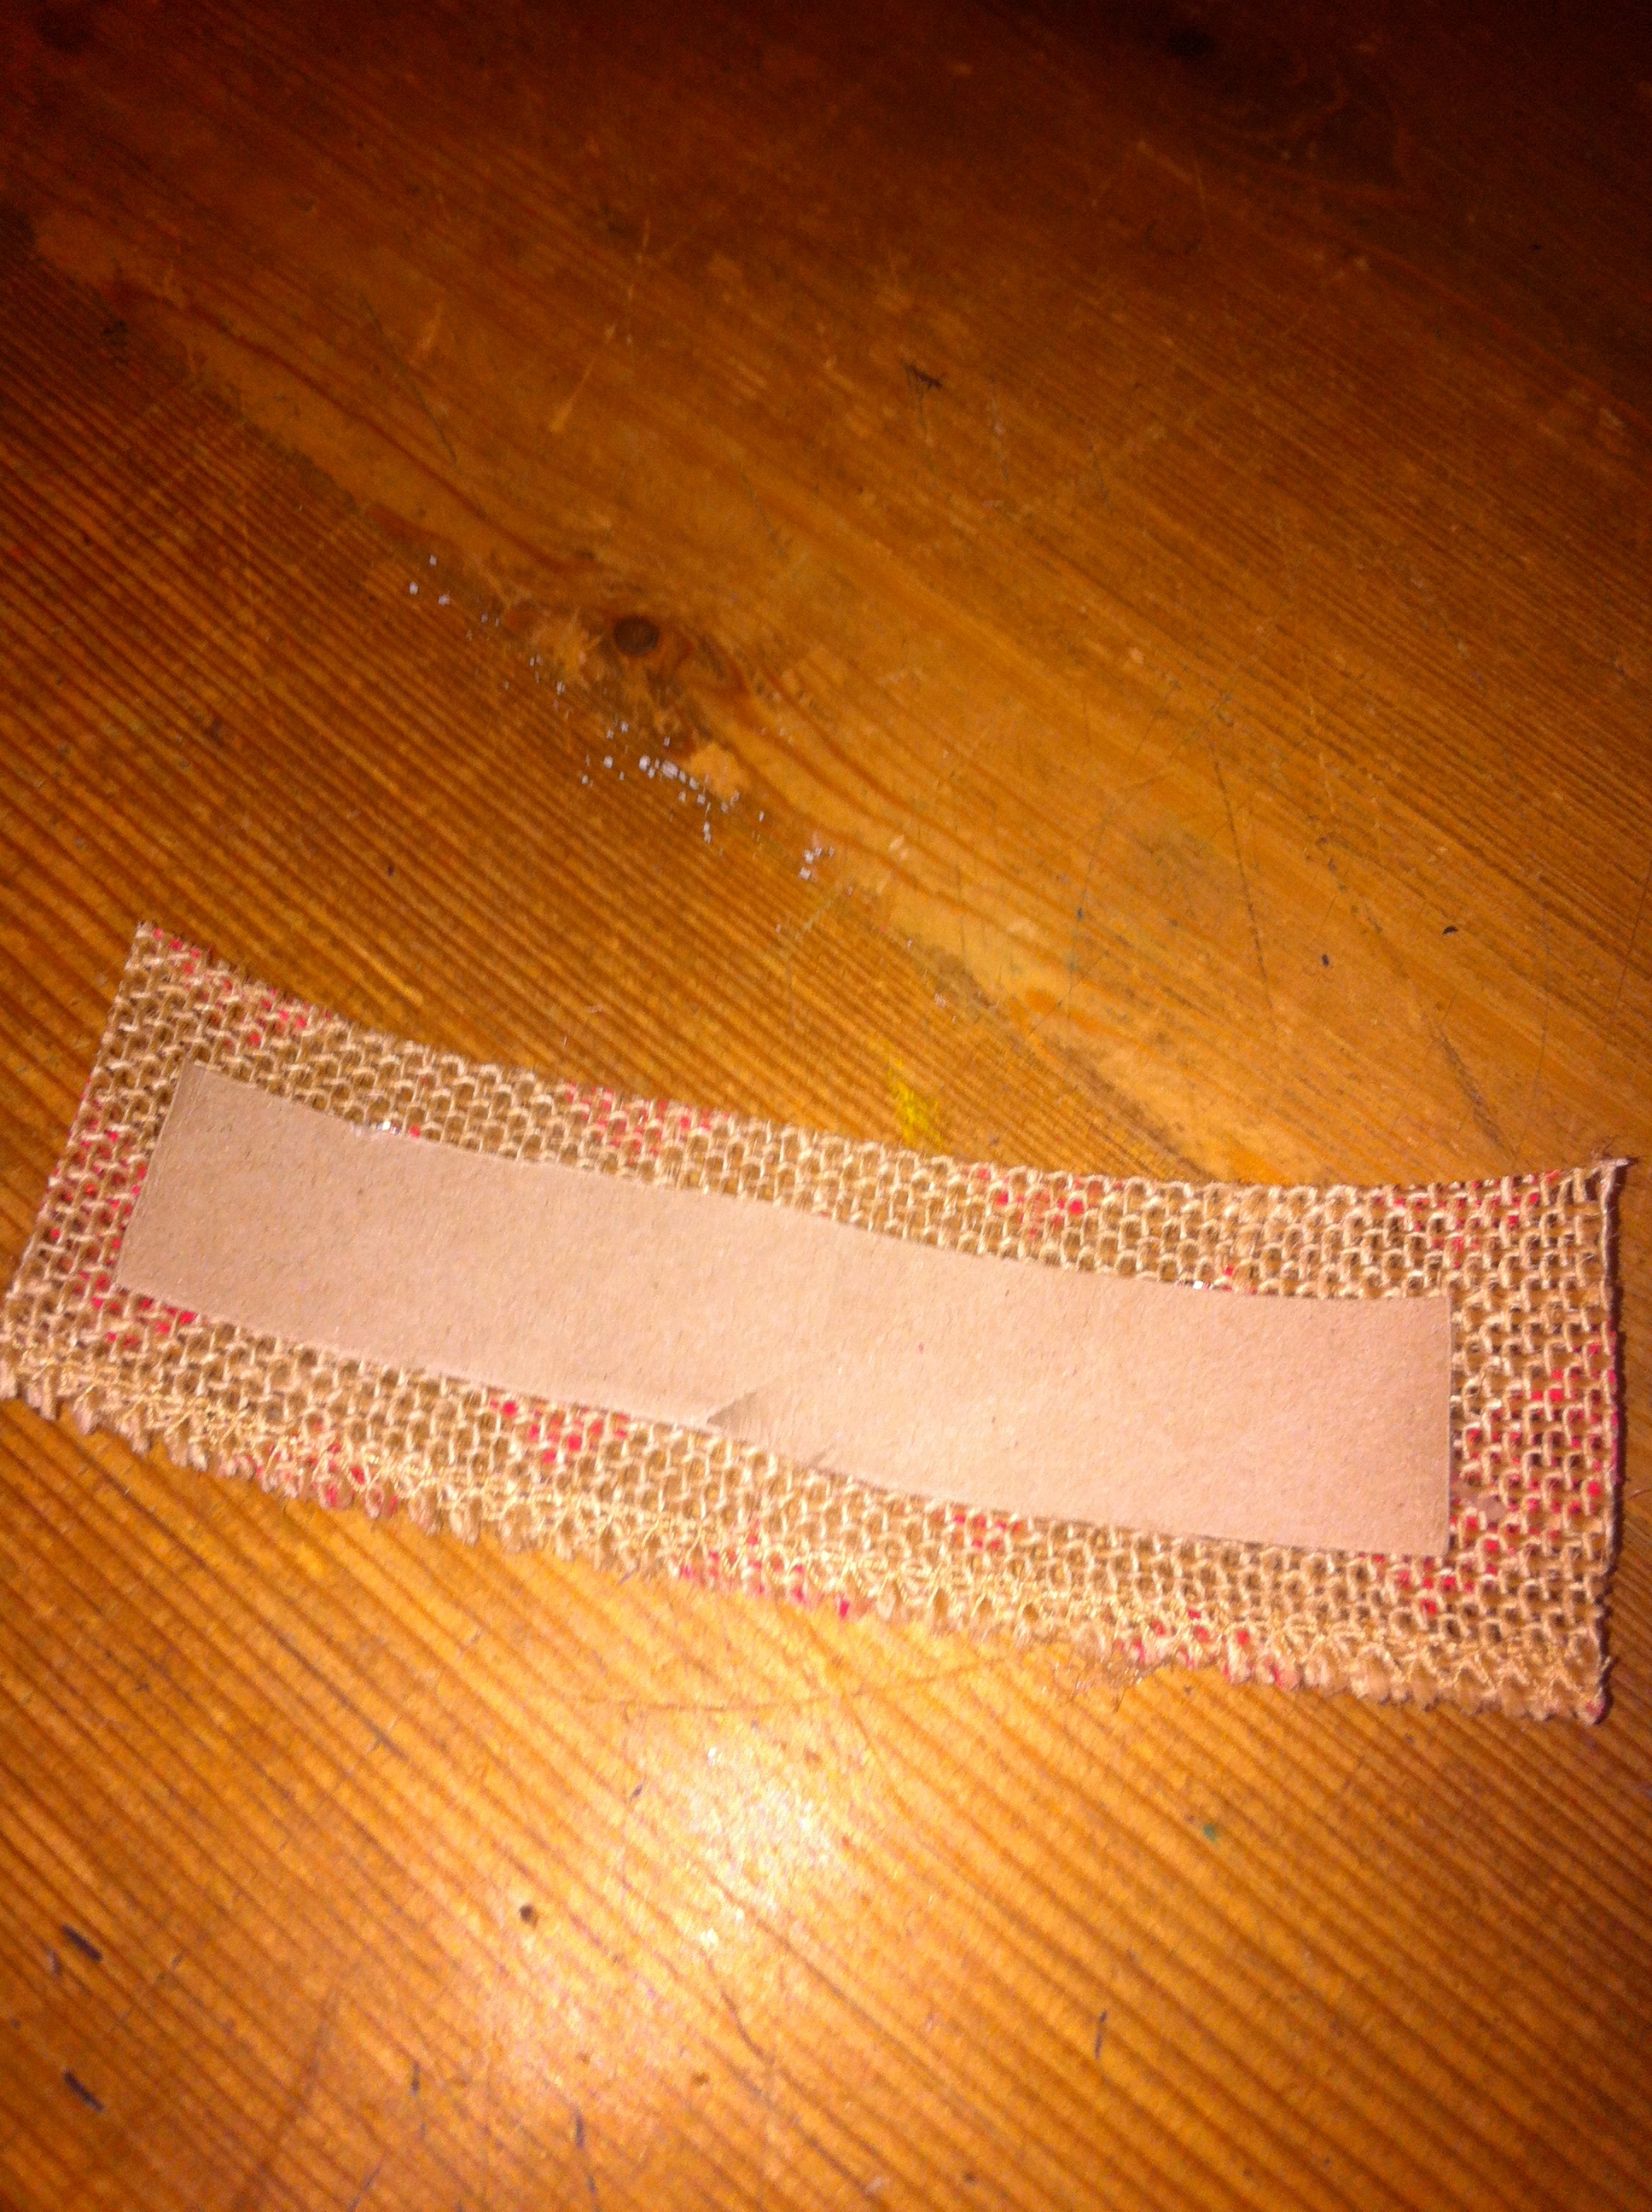
Step 3: Glue your toilet paper roll strip to the middle of your burlap or fabric.
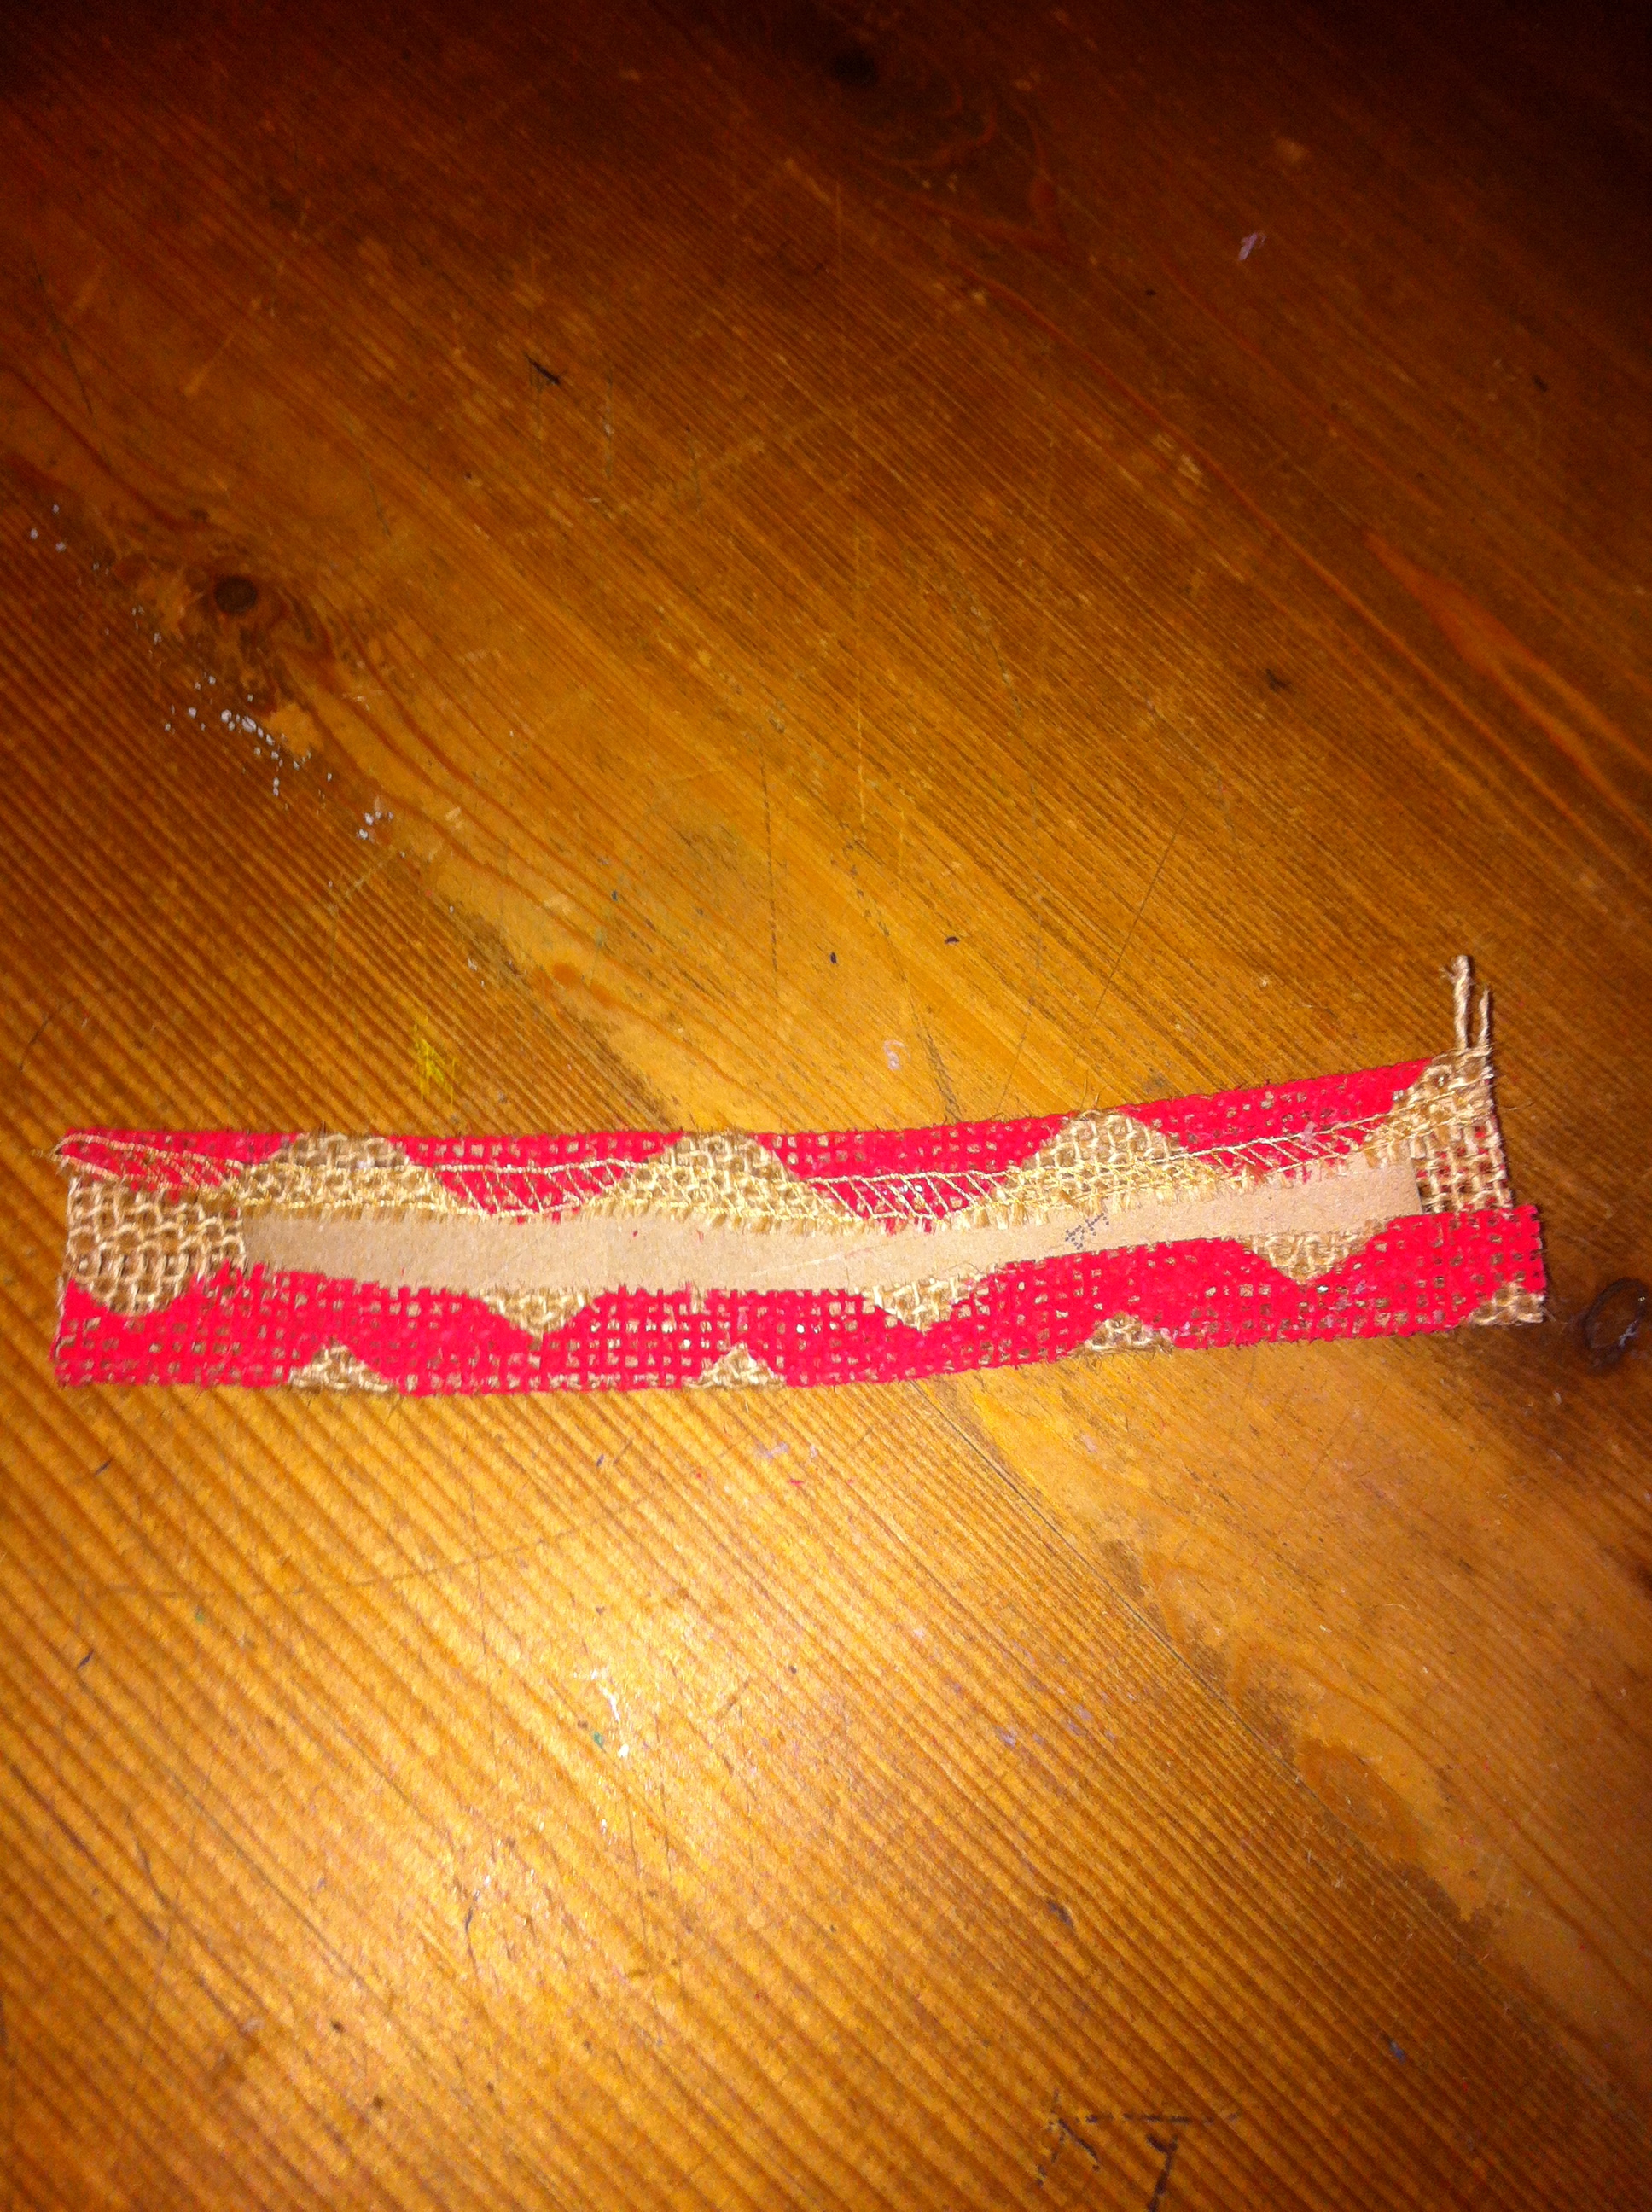
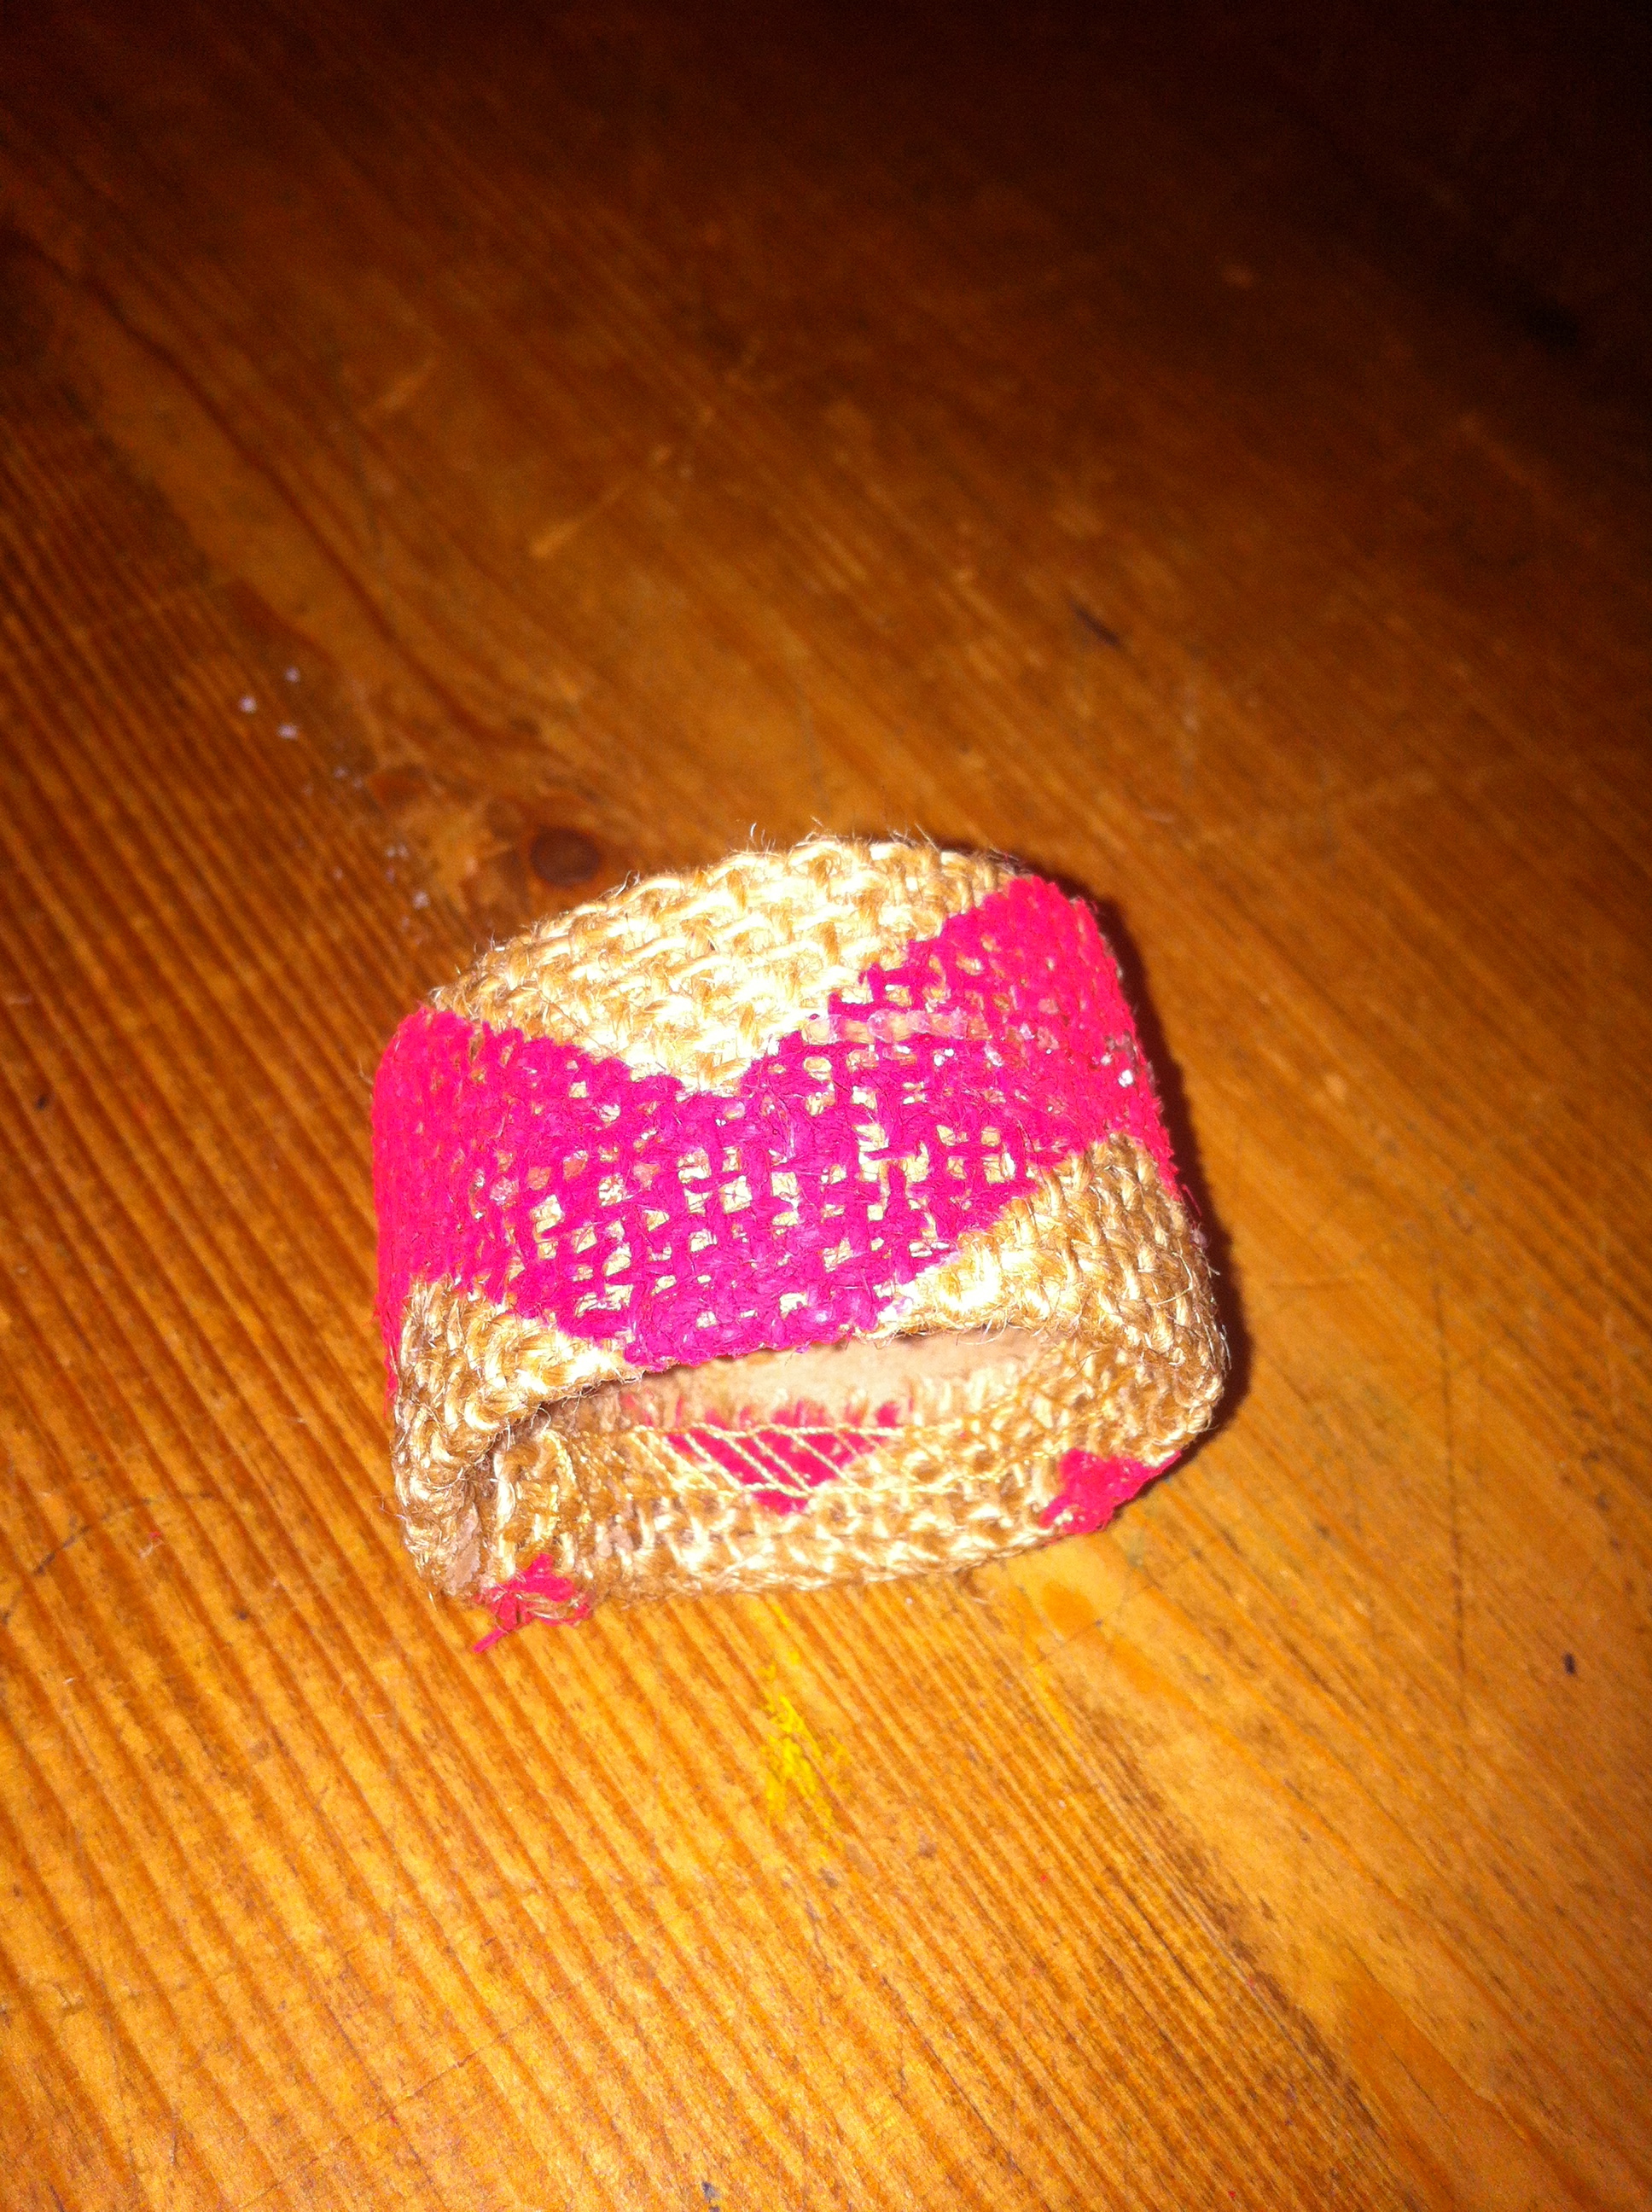
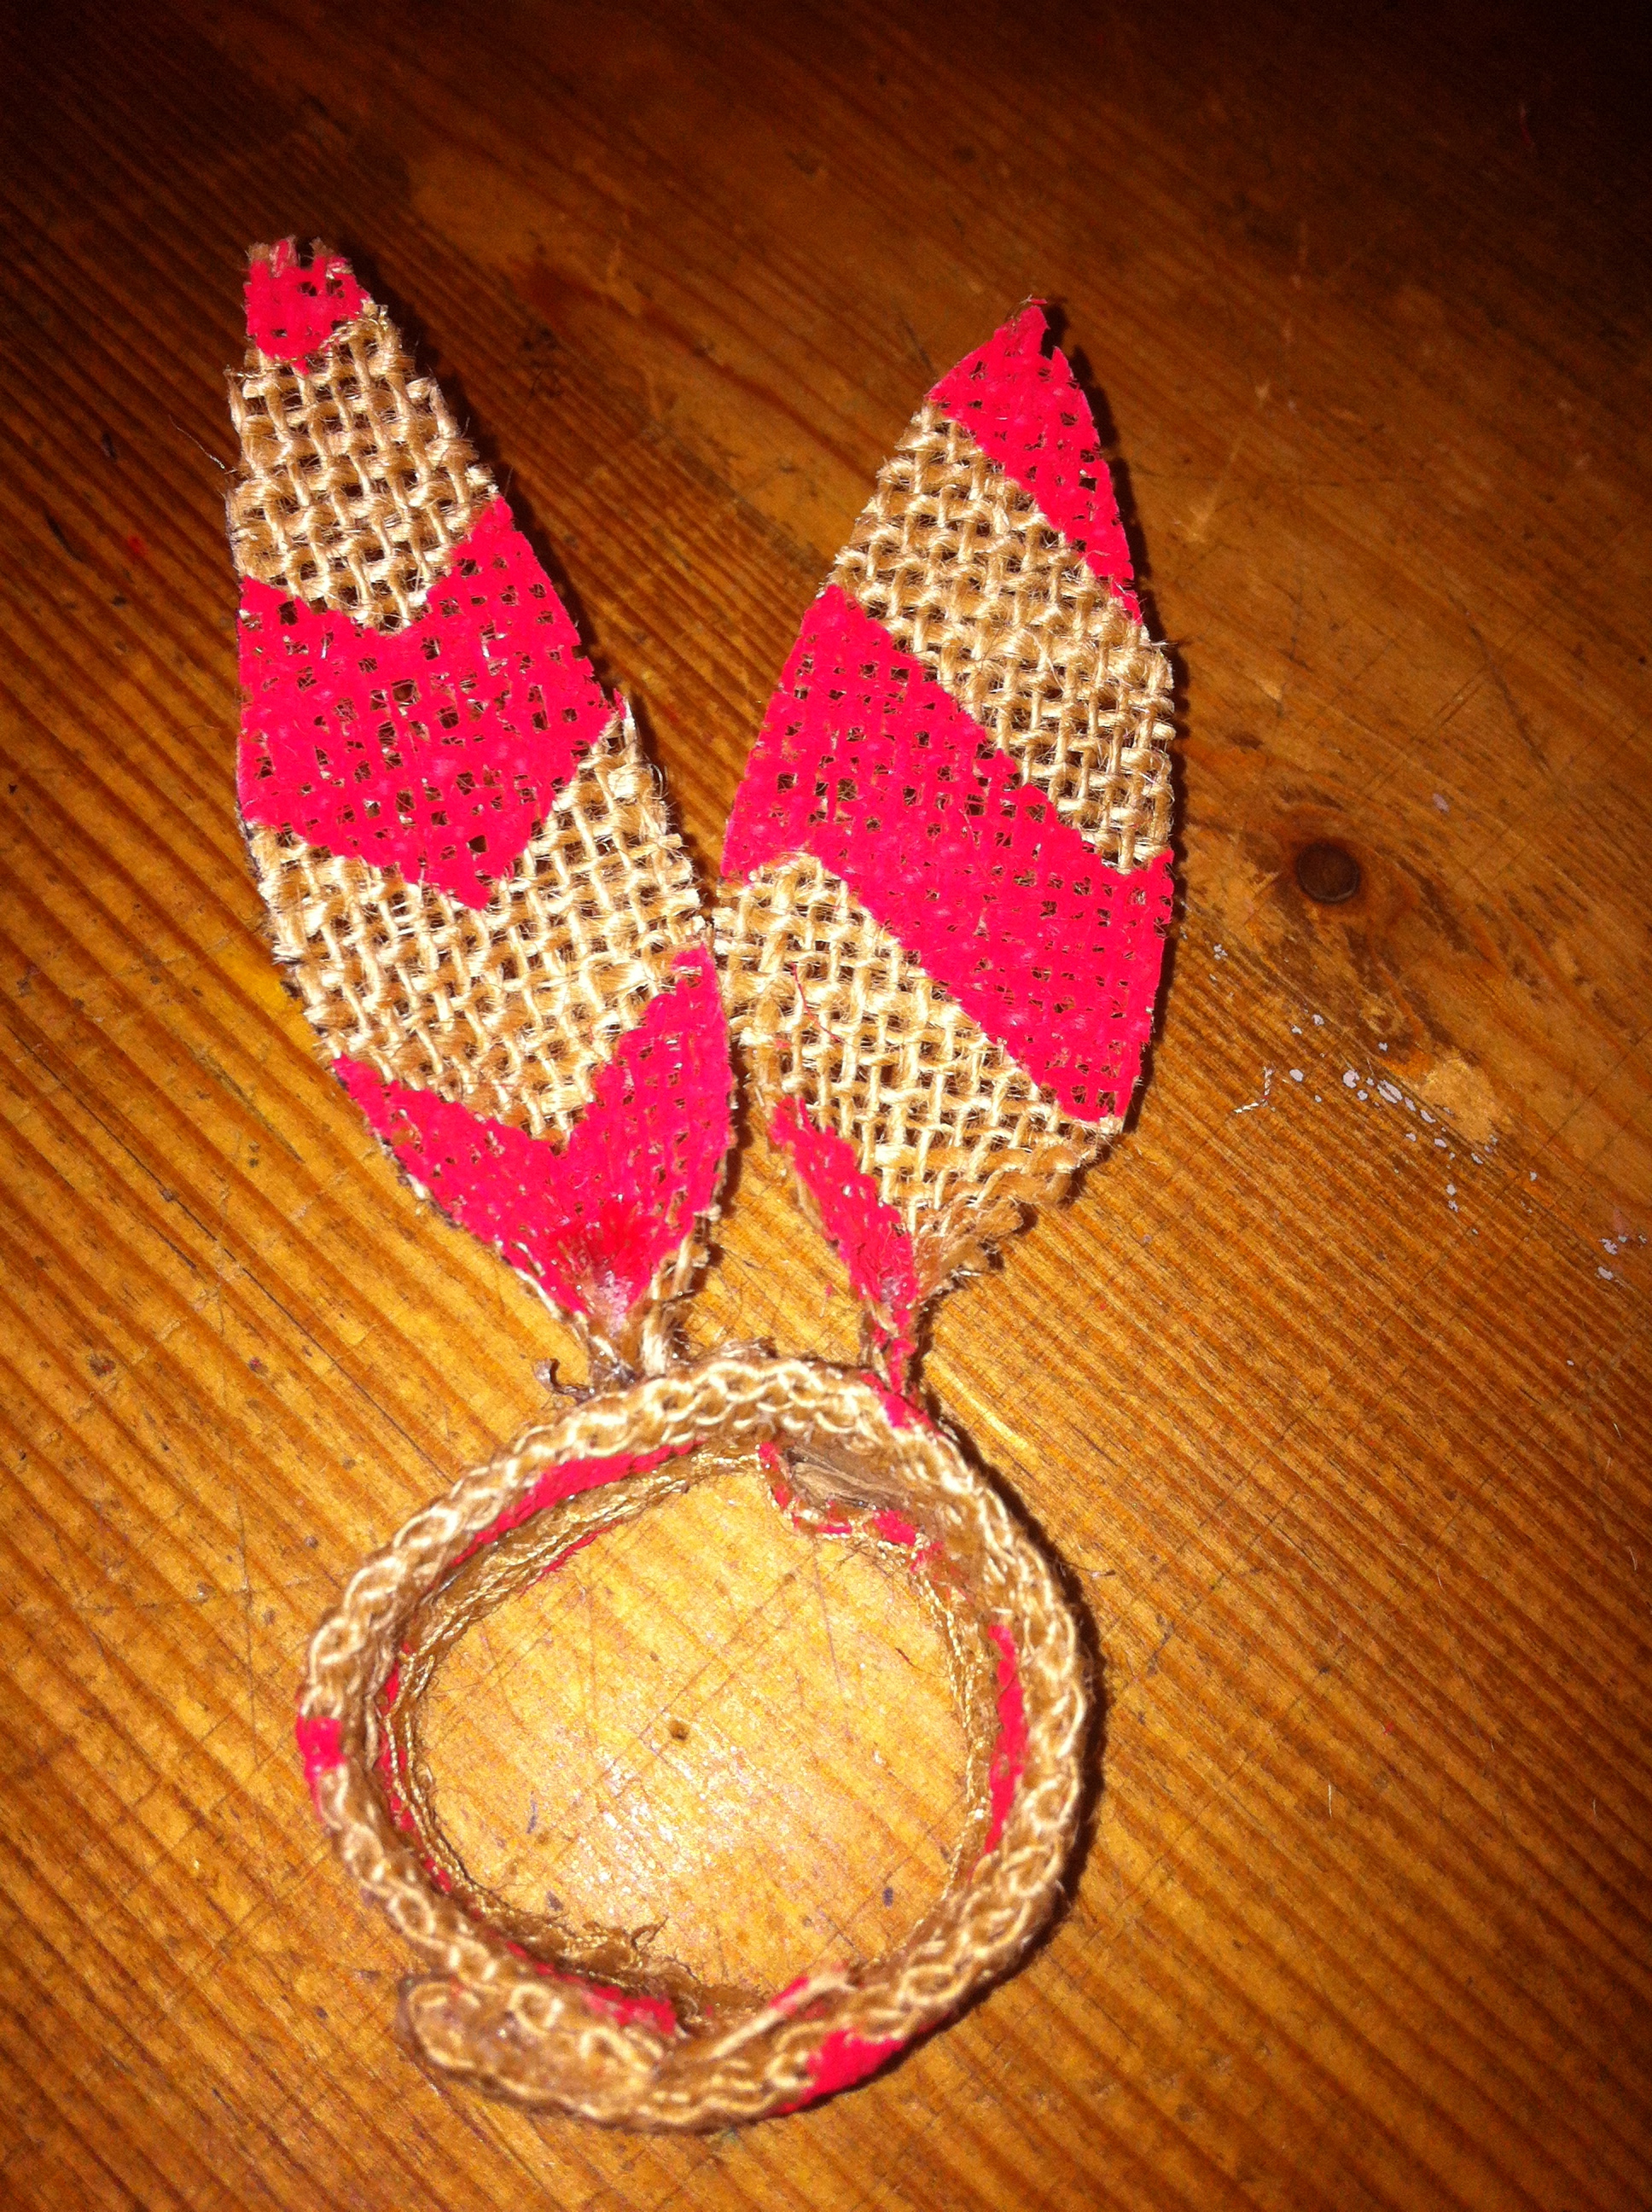
Step 5: Glue down your edges, form into a ring and secure.
Step 6: Make a rabbit ear template and cut out two ears per ring.
Mine seemed stiff enough since I used burlap, but if you are using fabric and need a little more oompha to make them stand up, either heat bond some fabric together or double up your layers.
Step 7: Place a dot of glue near the bottom of the ears and pinch together. Hot glue ears to ring.
That little pinch just gives them that extra bit of detail that REALLY makes them look rabbit-y. (Yes, that’s a word).
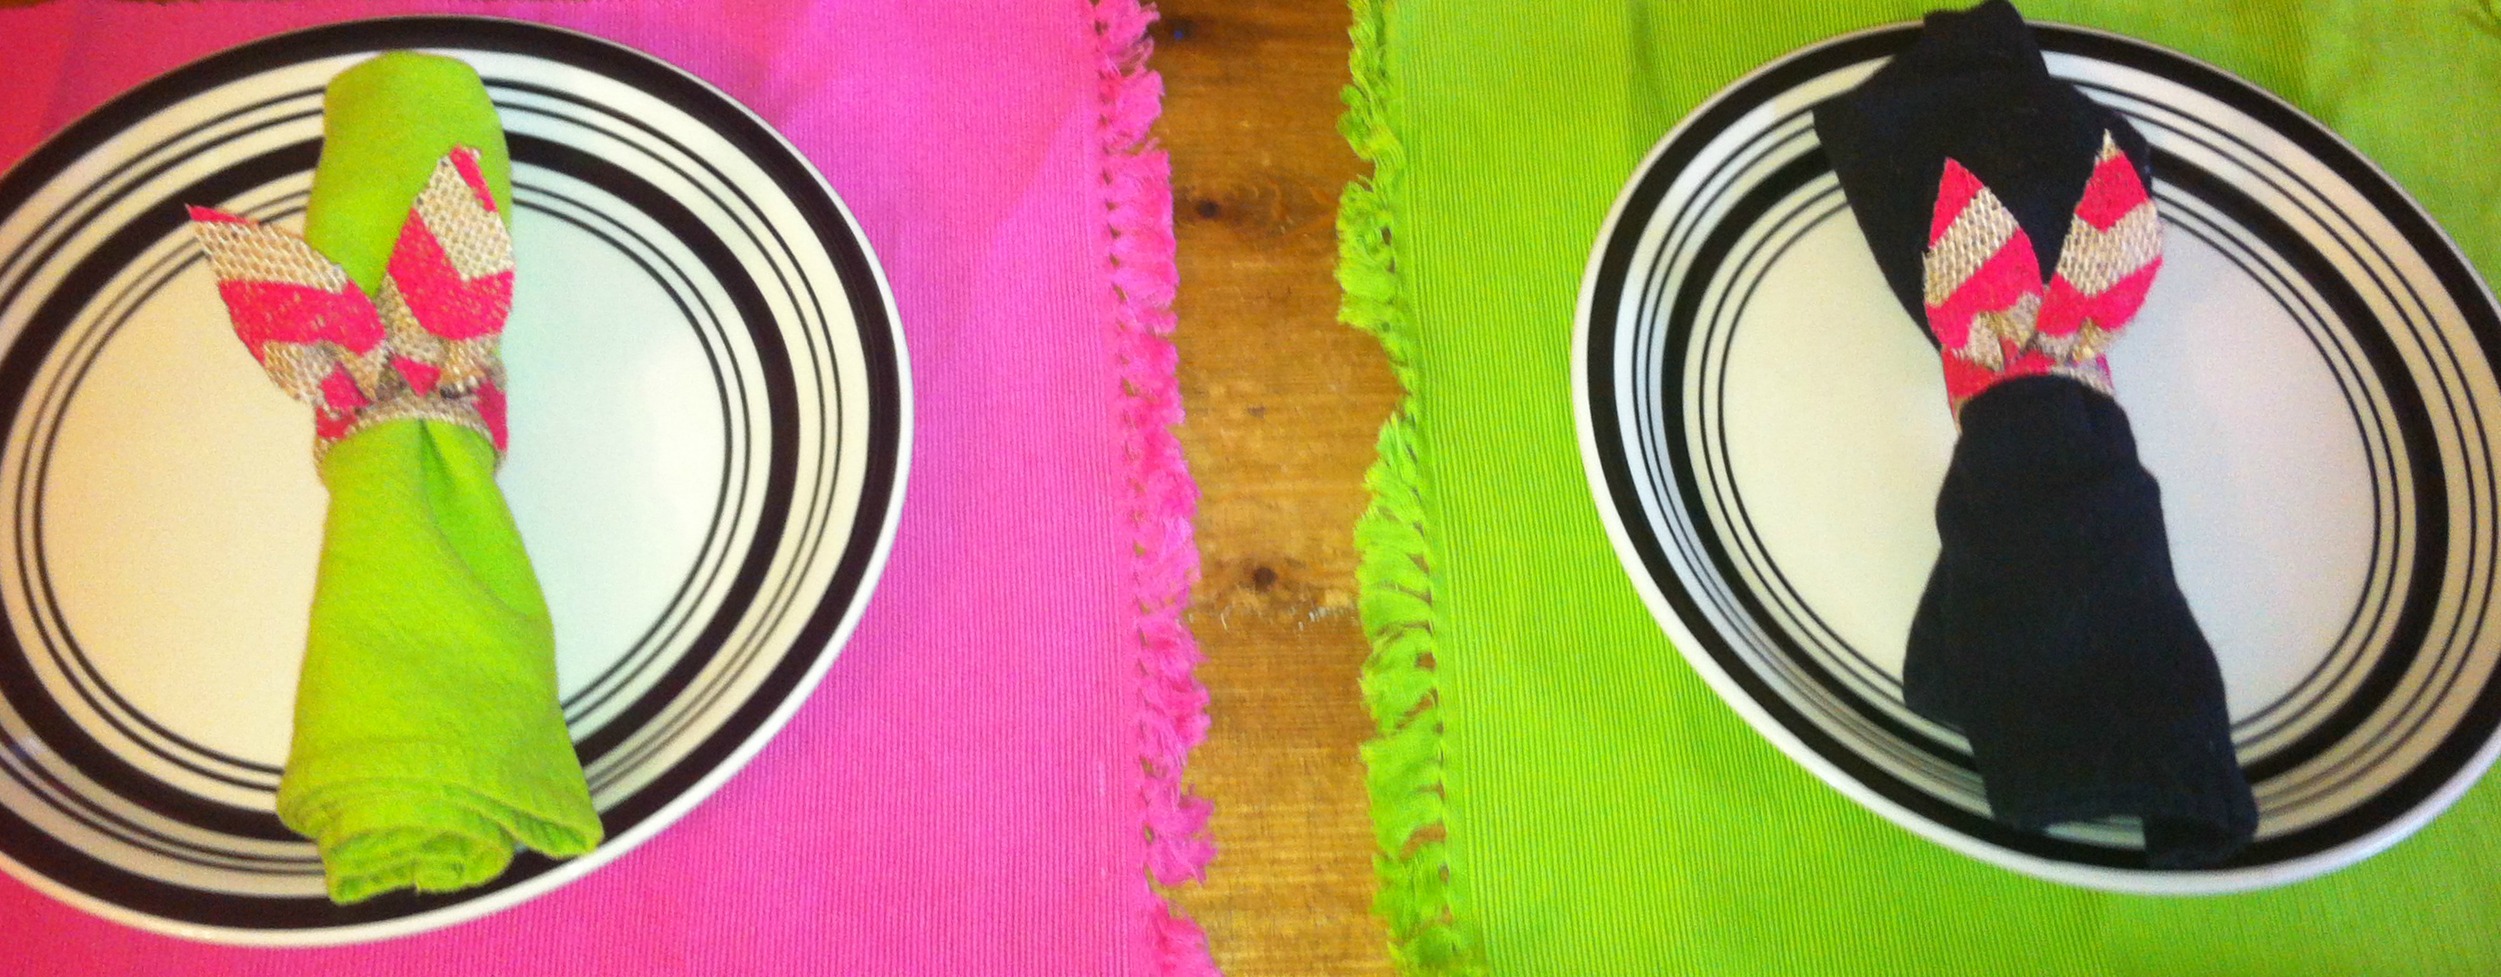
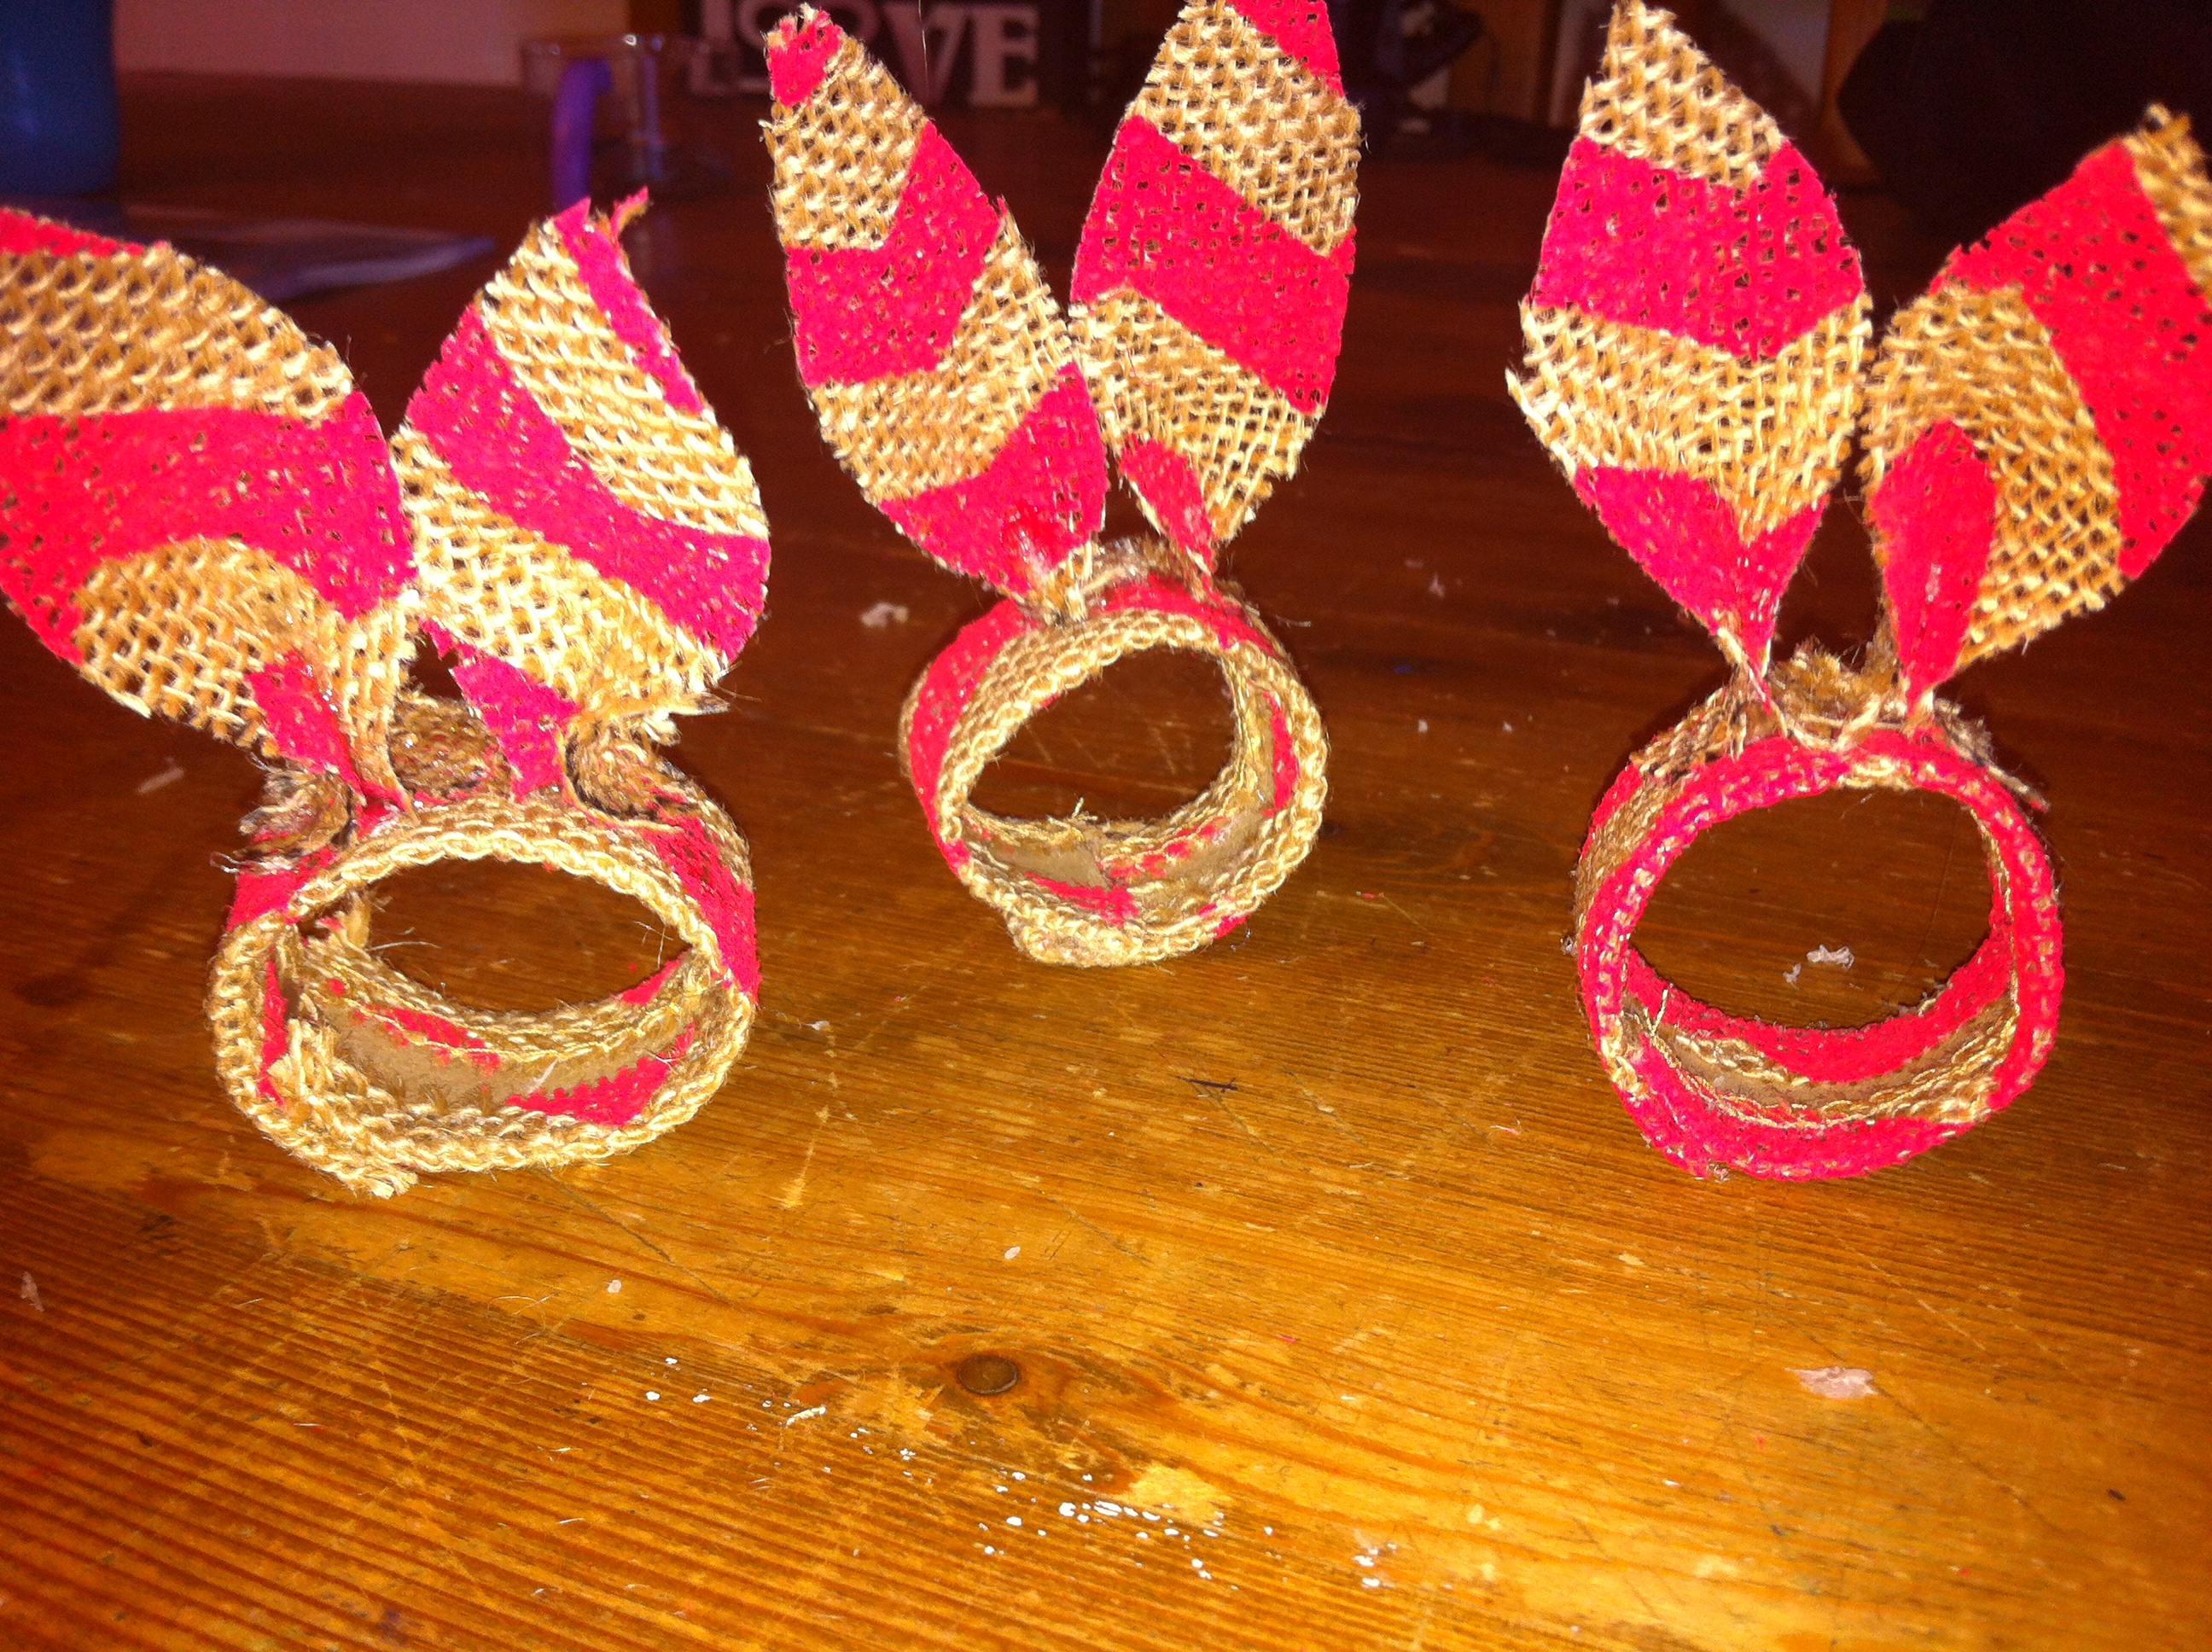
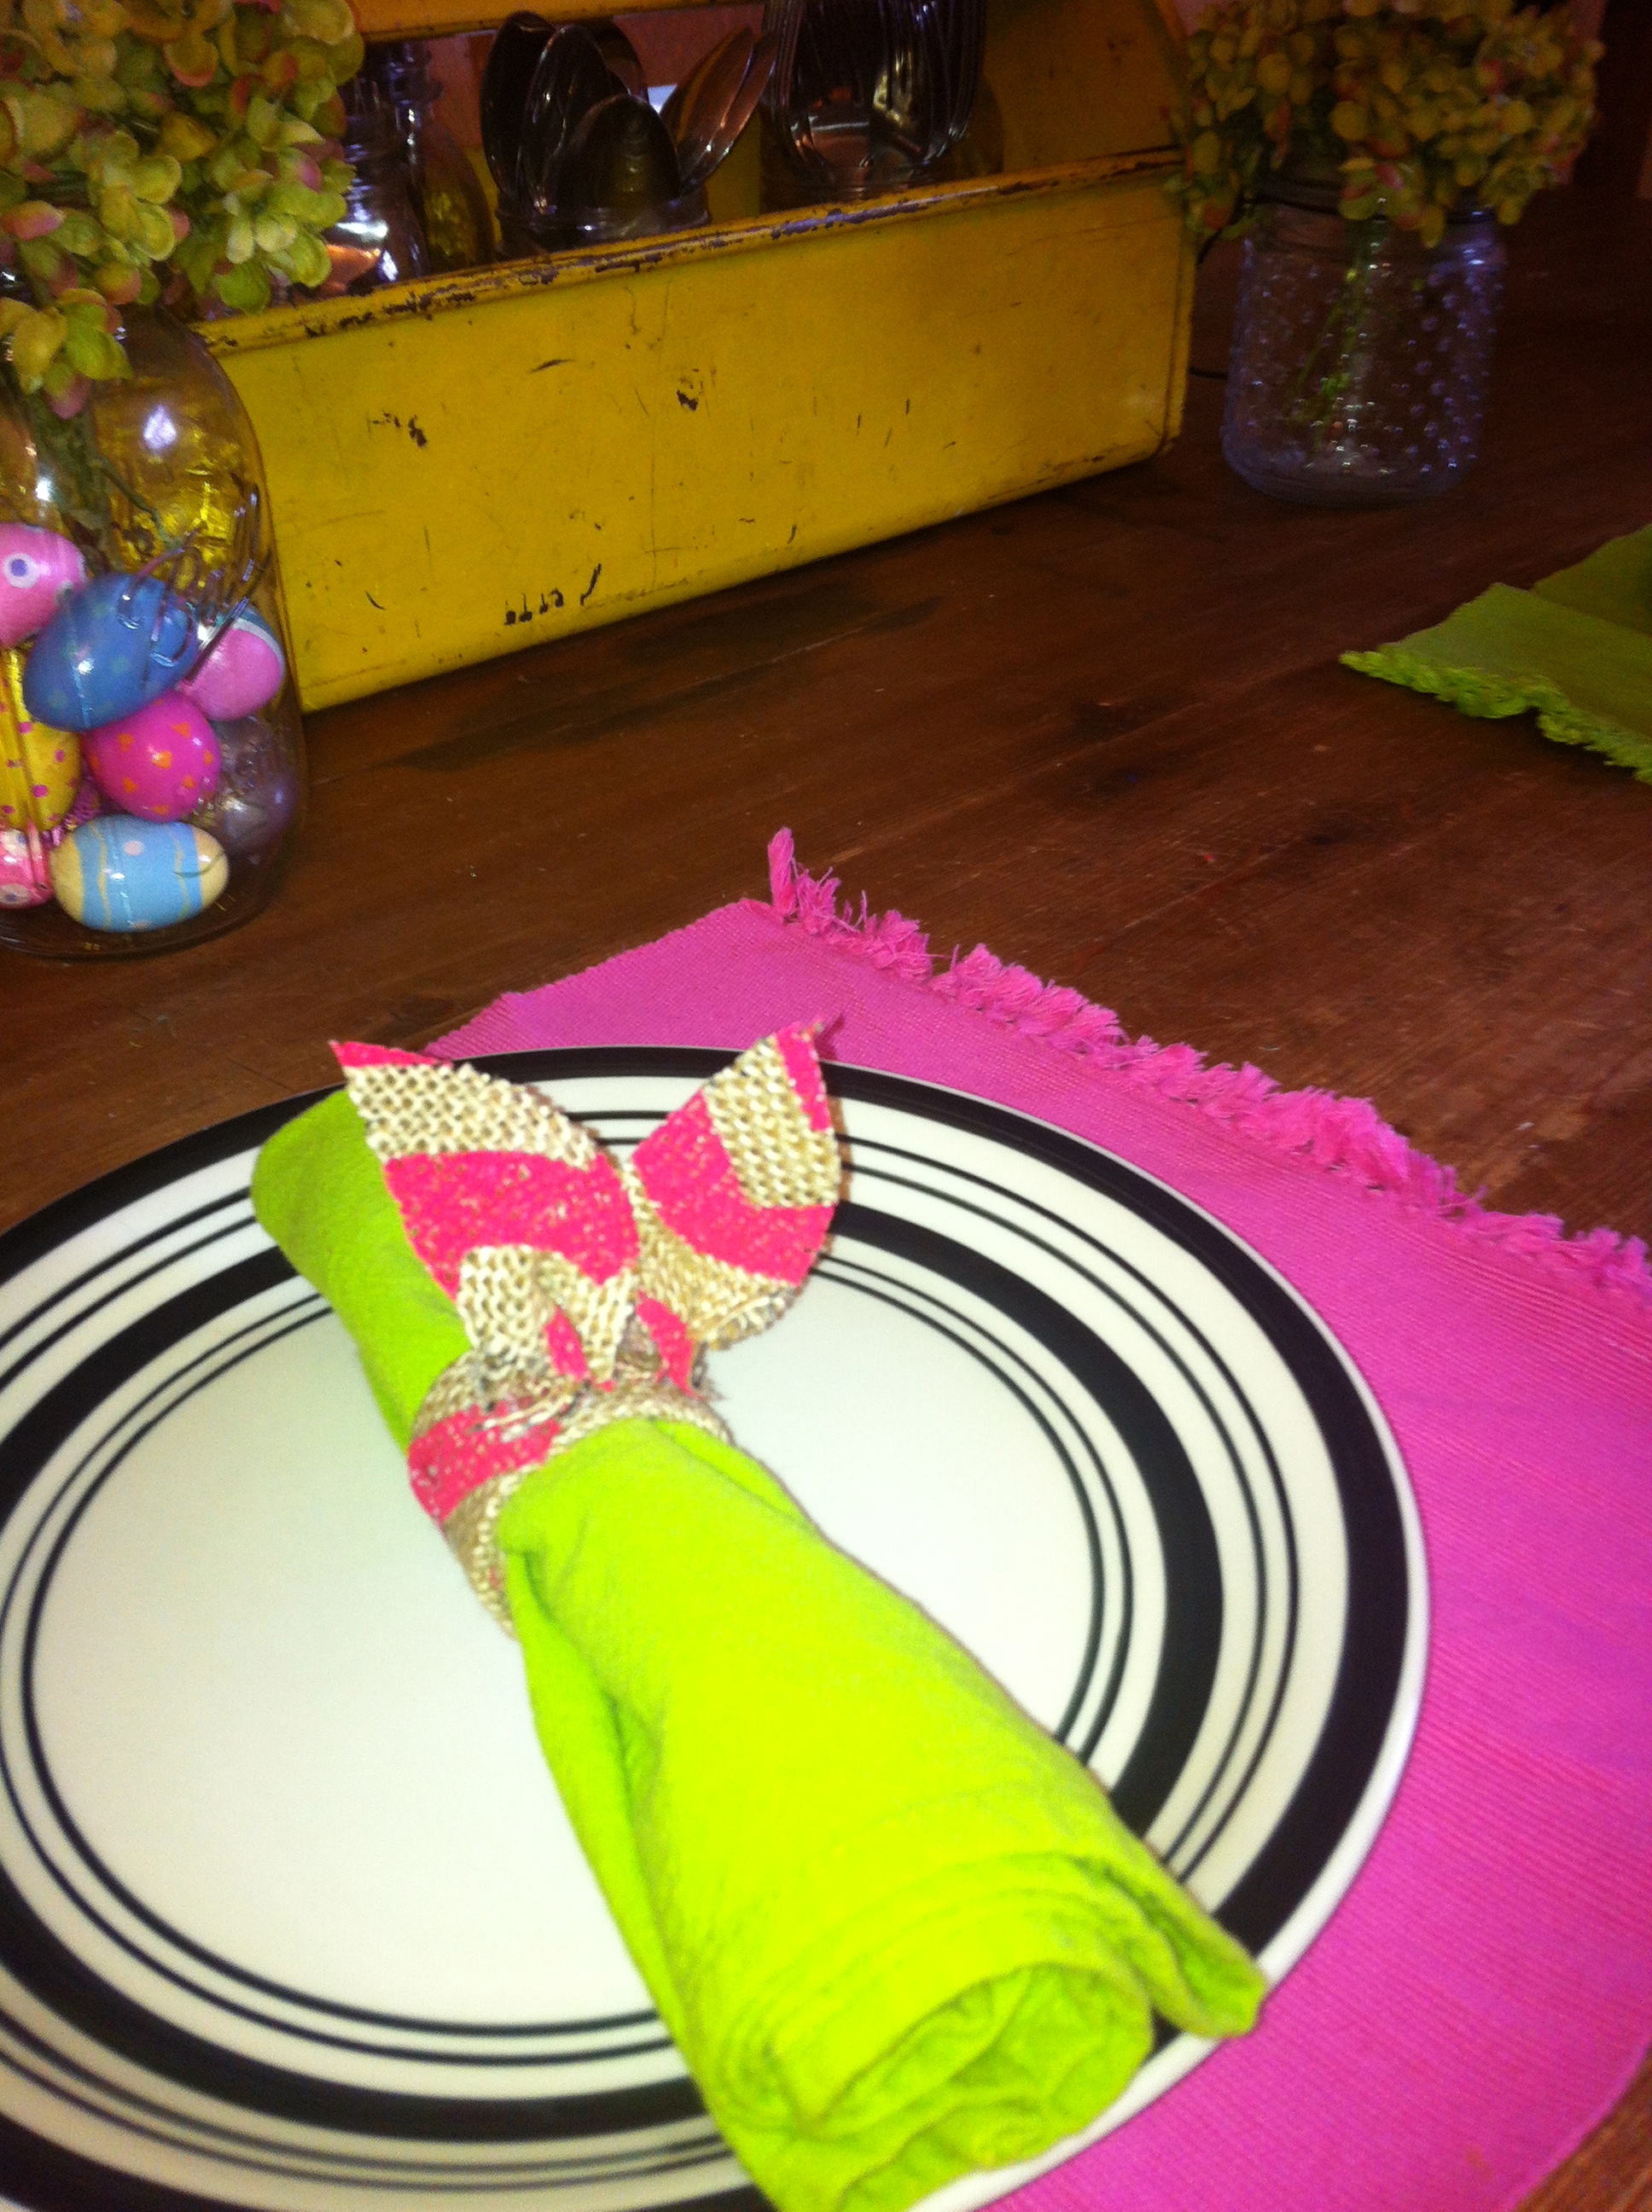
Step 8: Adorn your table with Easter goodness!
I think they turned out incredibly cute! Obviously, this method leaves the ears unfinished and so they do have the possibility of fraying. Since I’m more of a quick project doer AND I may not want to use the same things EVERY year, it was fine with me. 🙂
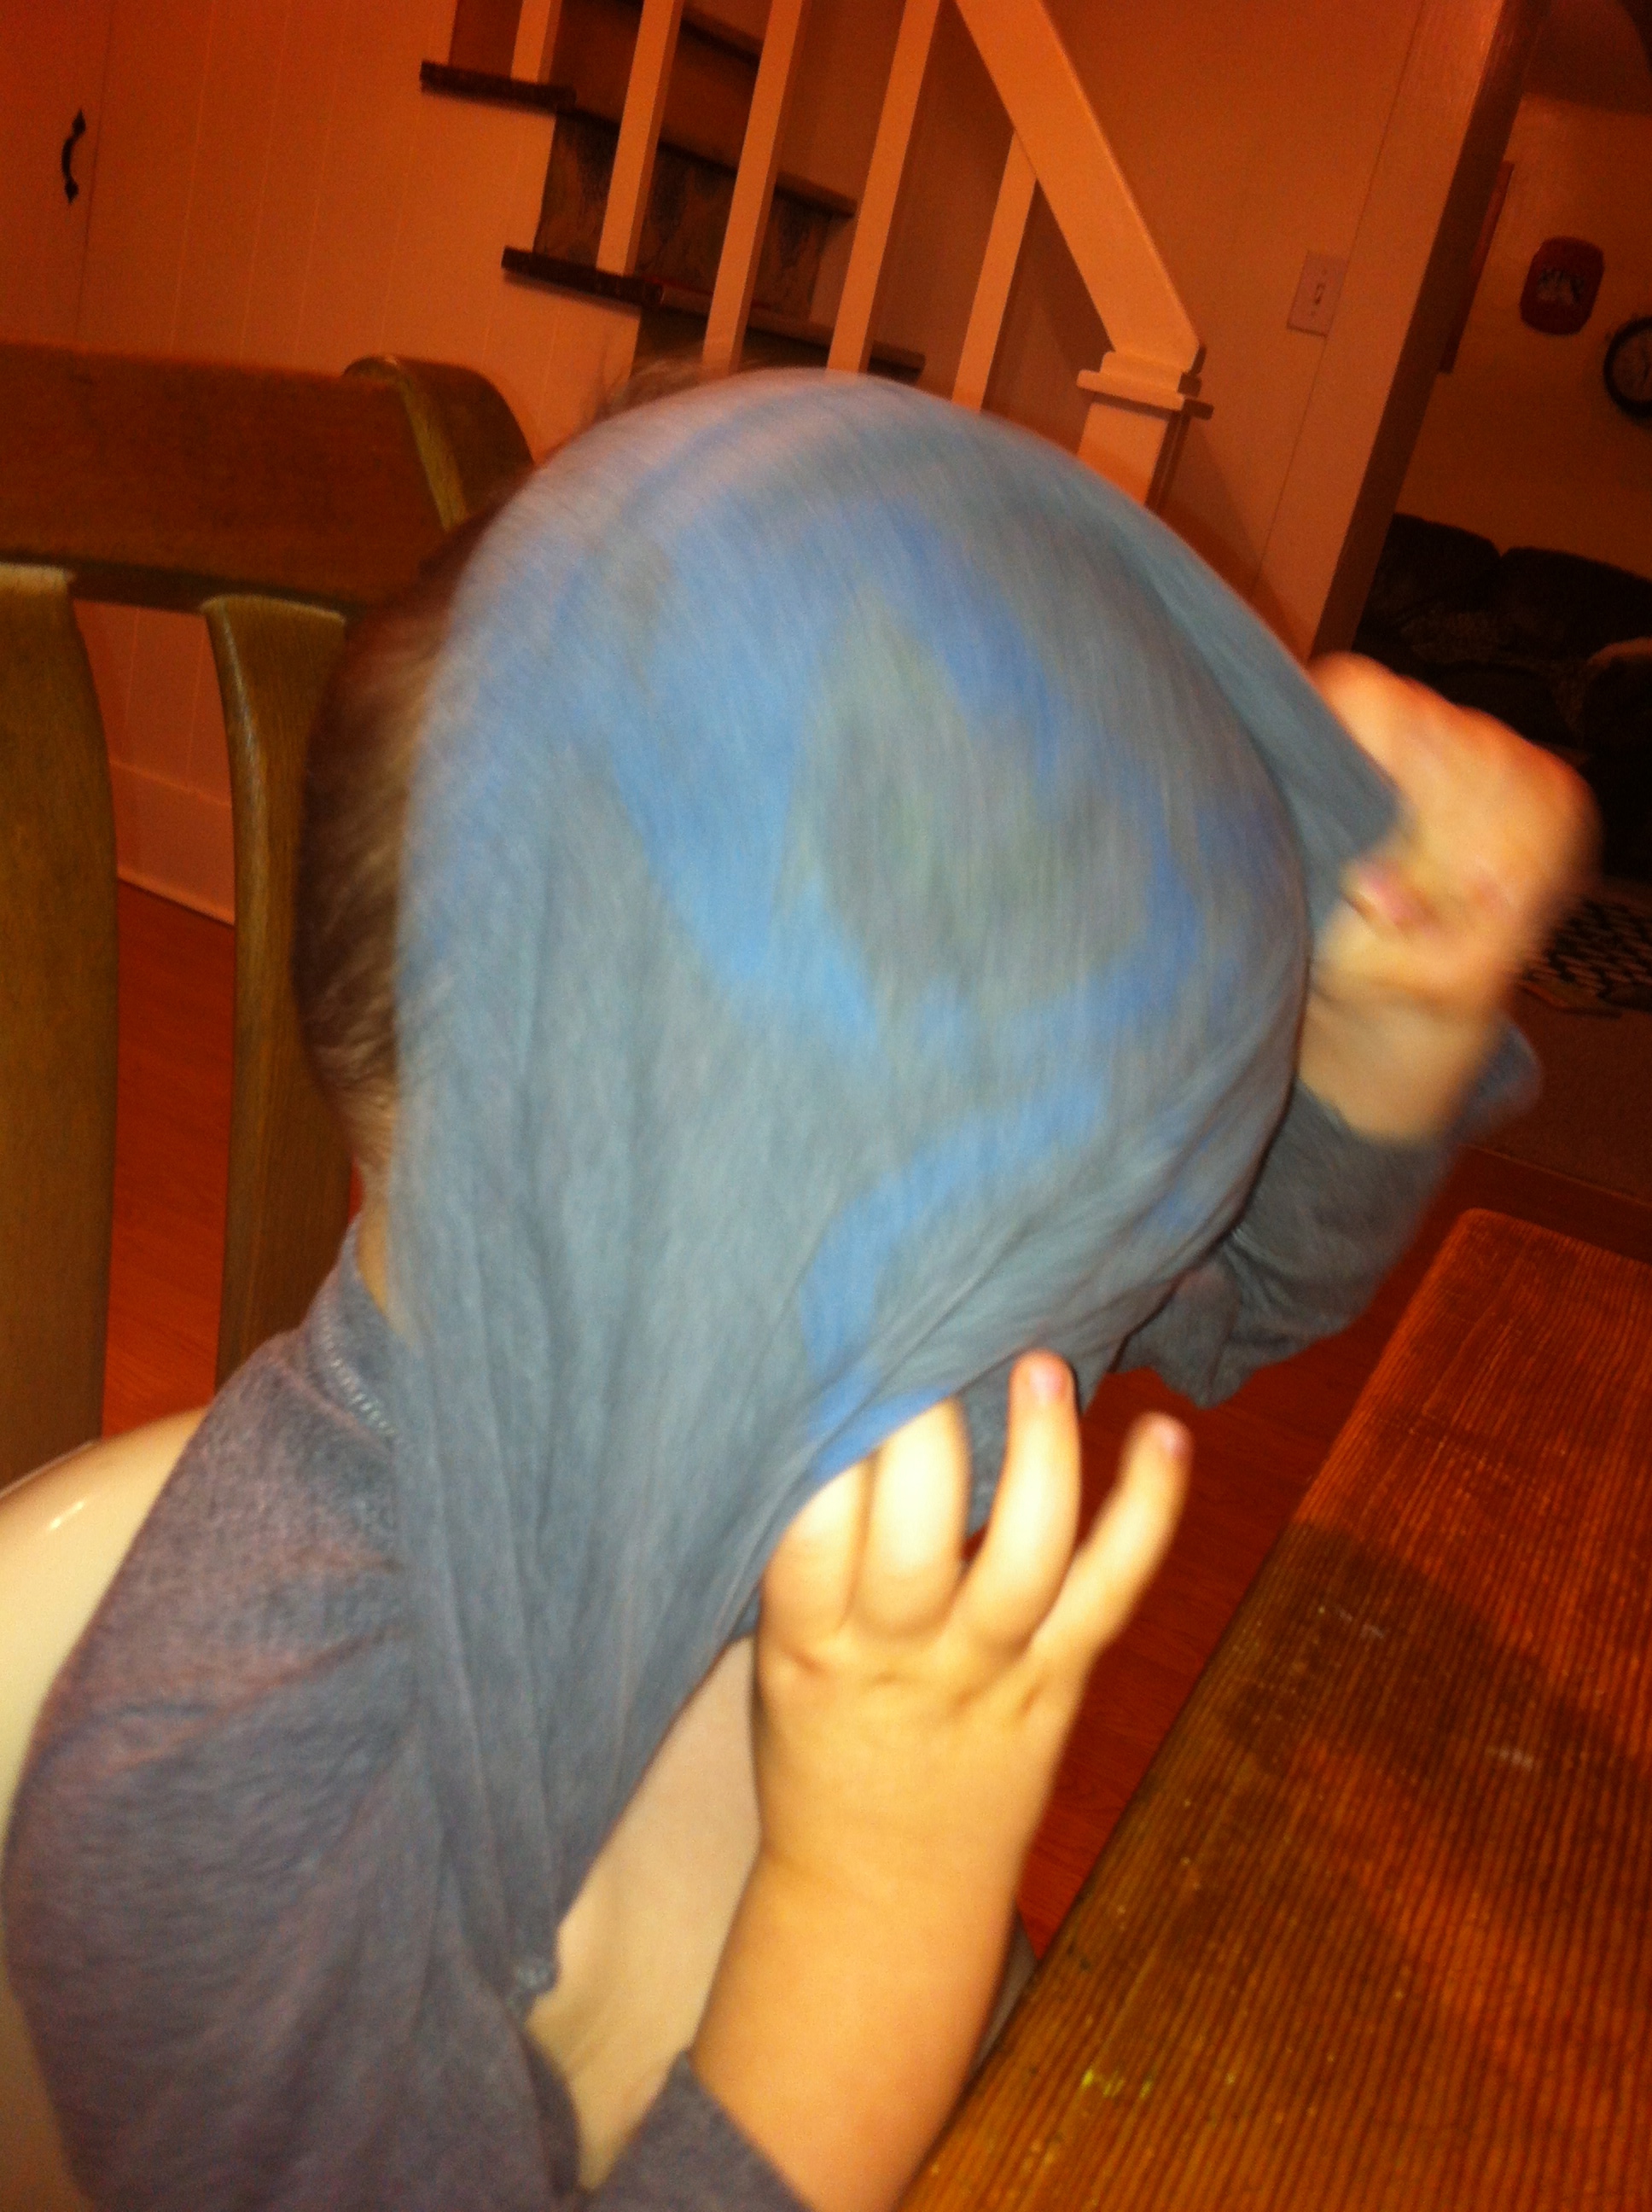
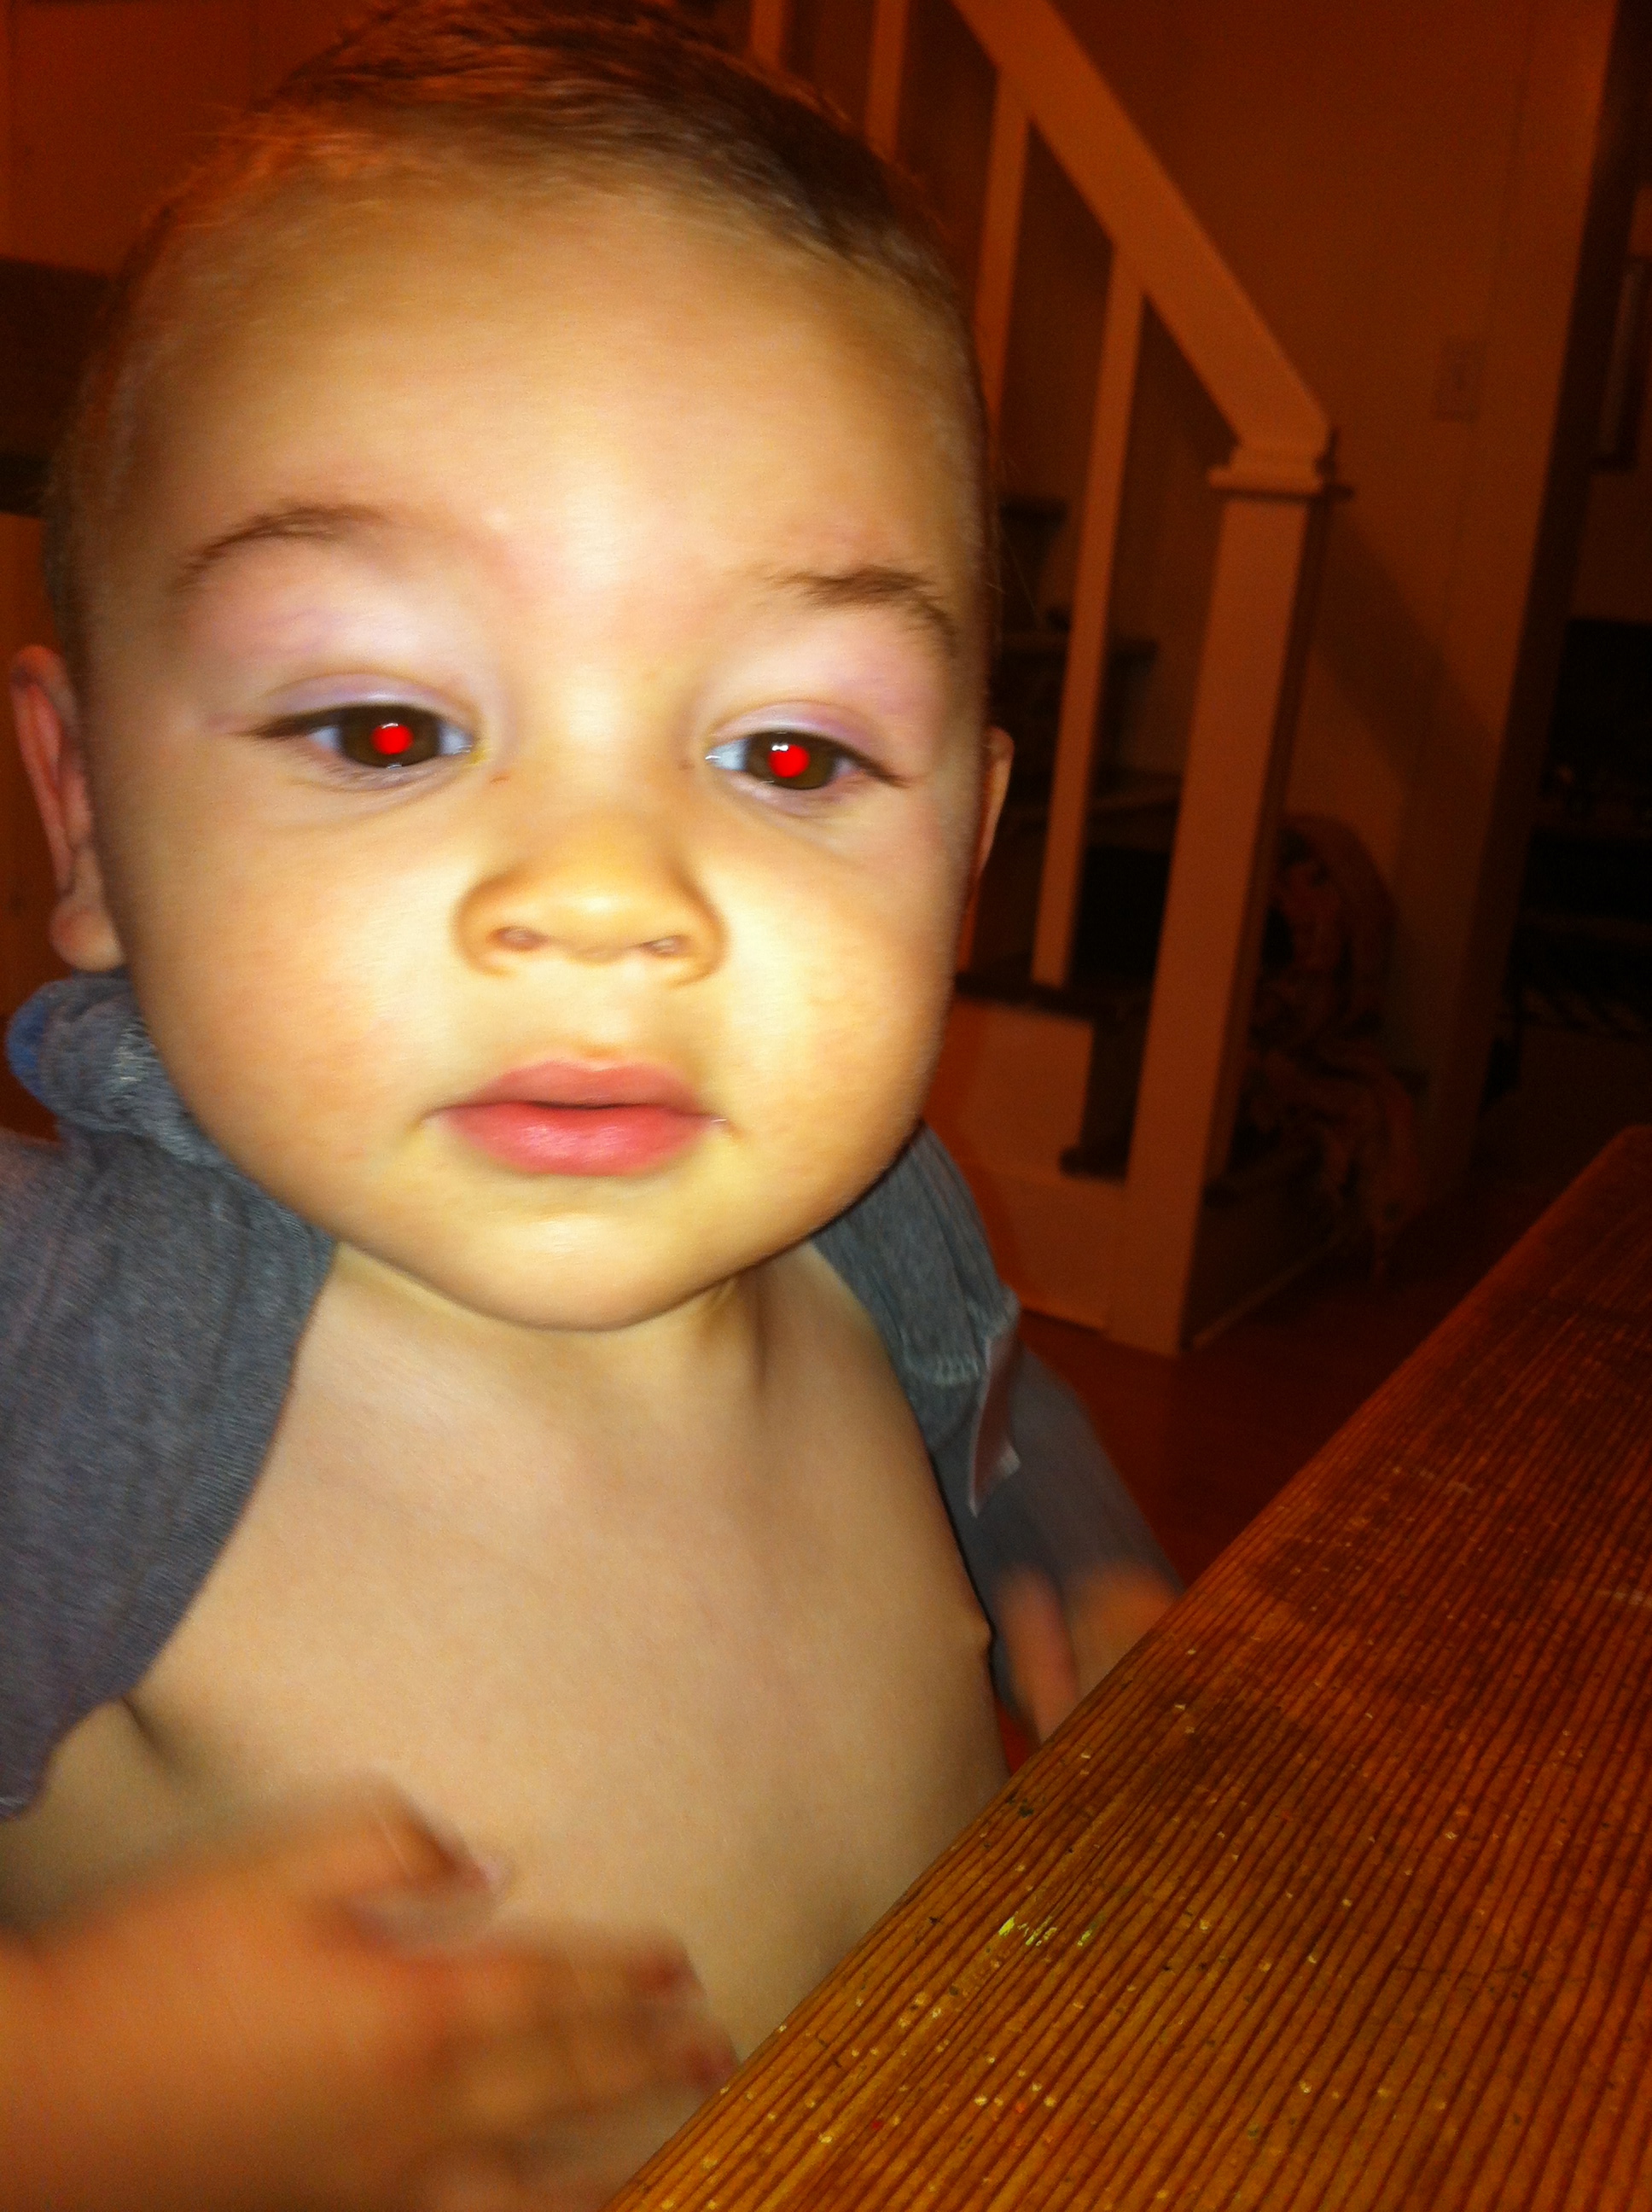
I was a little absent last week, though I can’t REALLY think of anything out of the ordinary we did – doctor check ups, grocery shopping, Cubbies…just the norm.
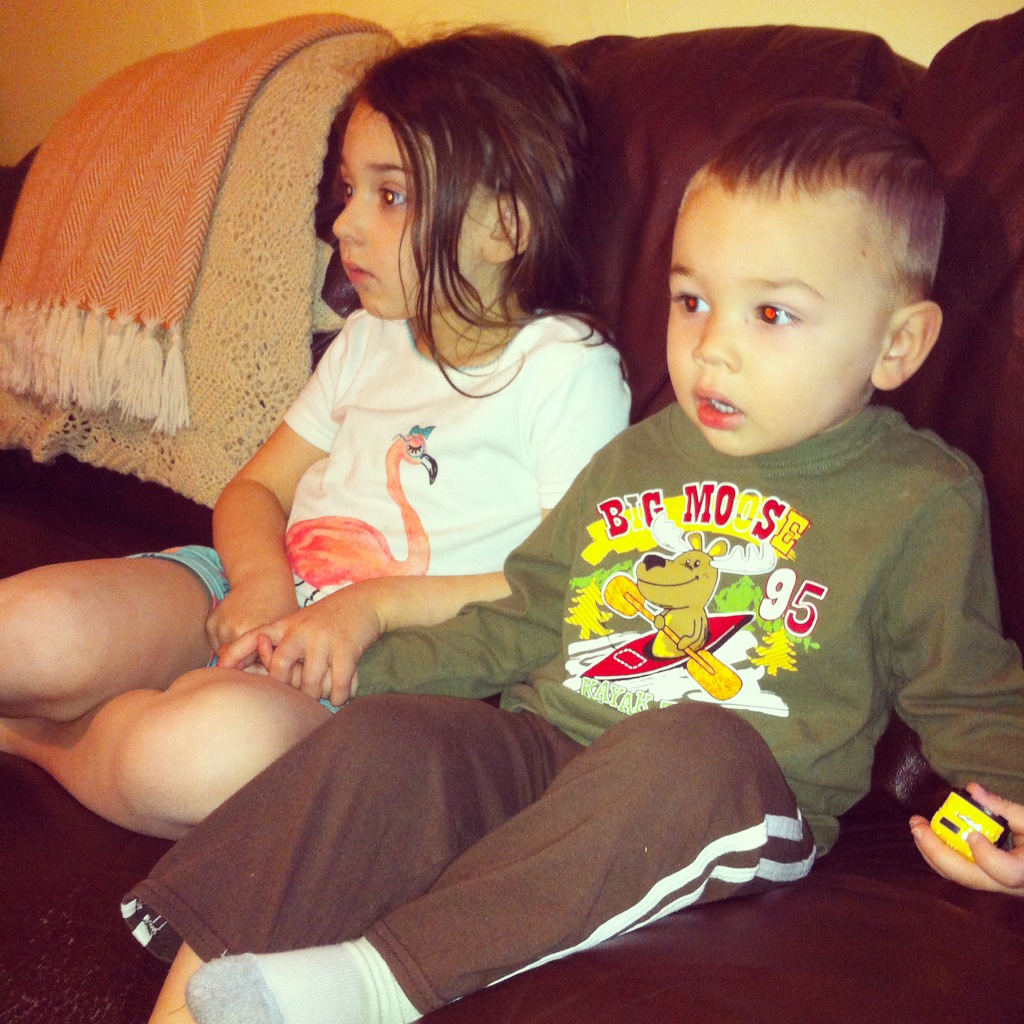
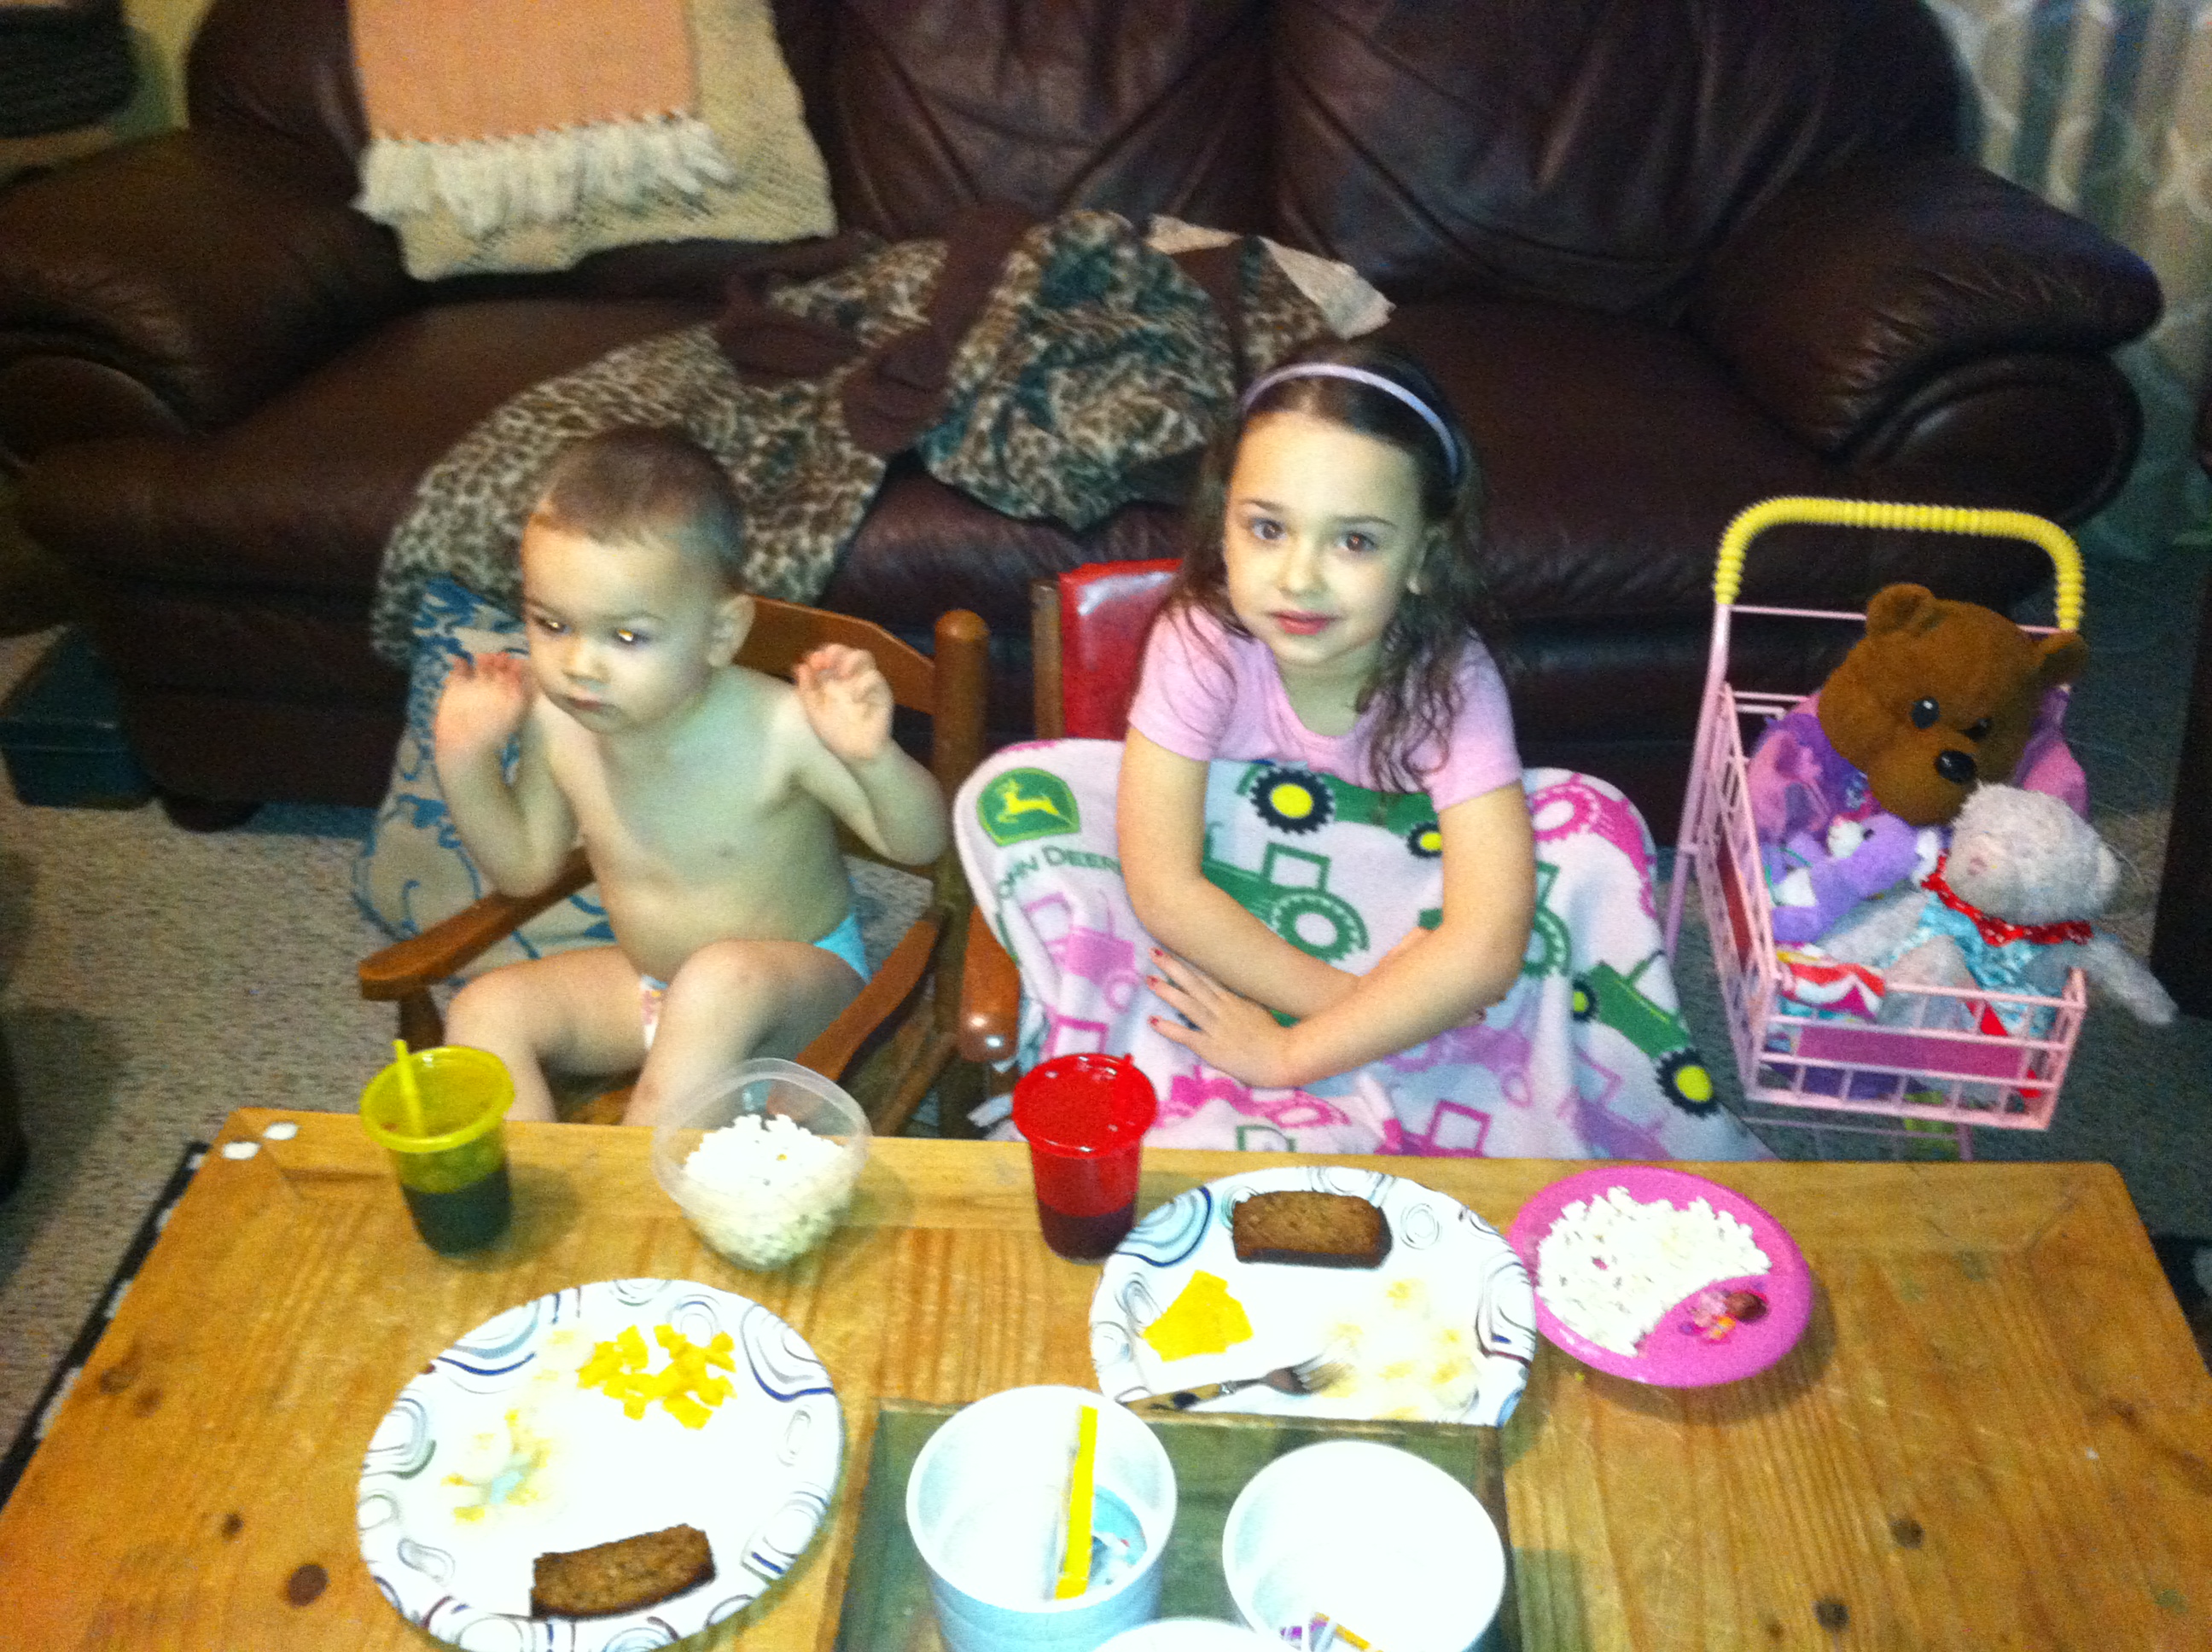
There was a little TV watching…mainly so I could watch them cuddle.
Aren’t they sweet!?
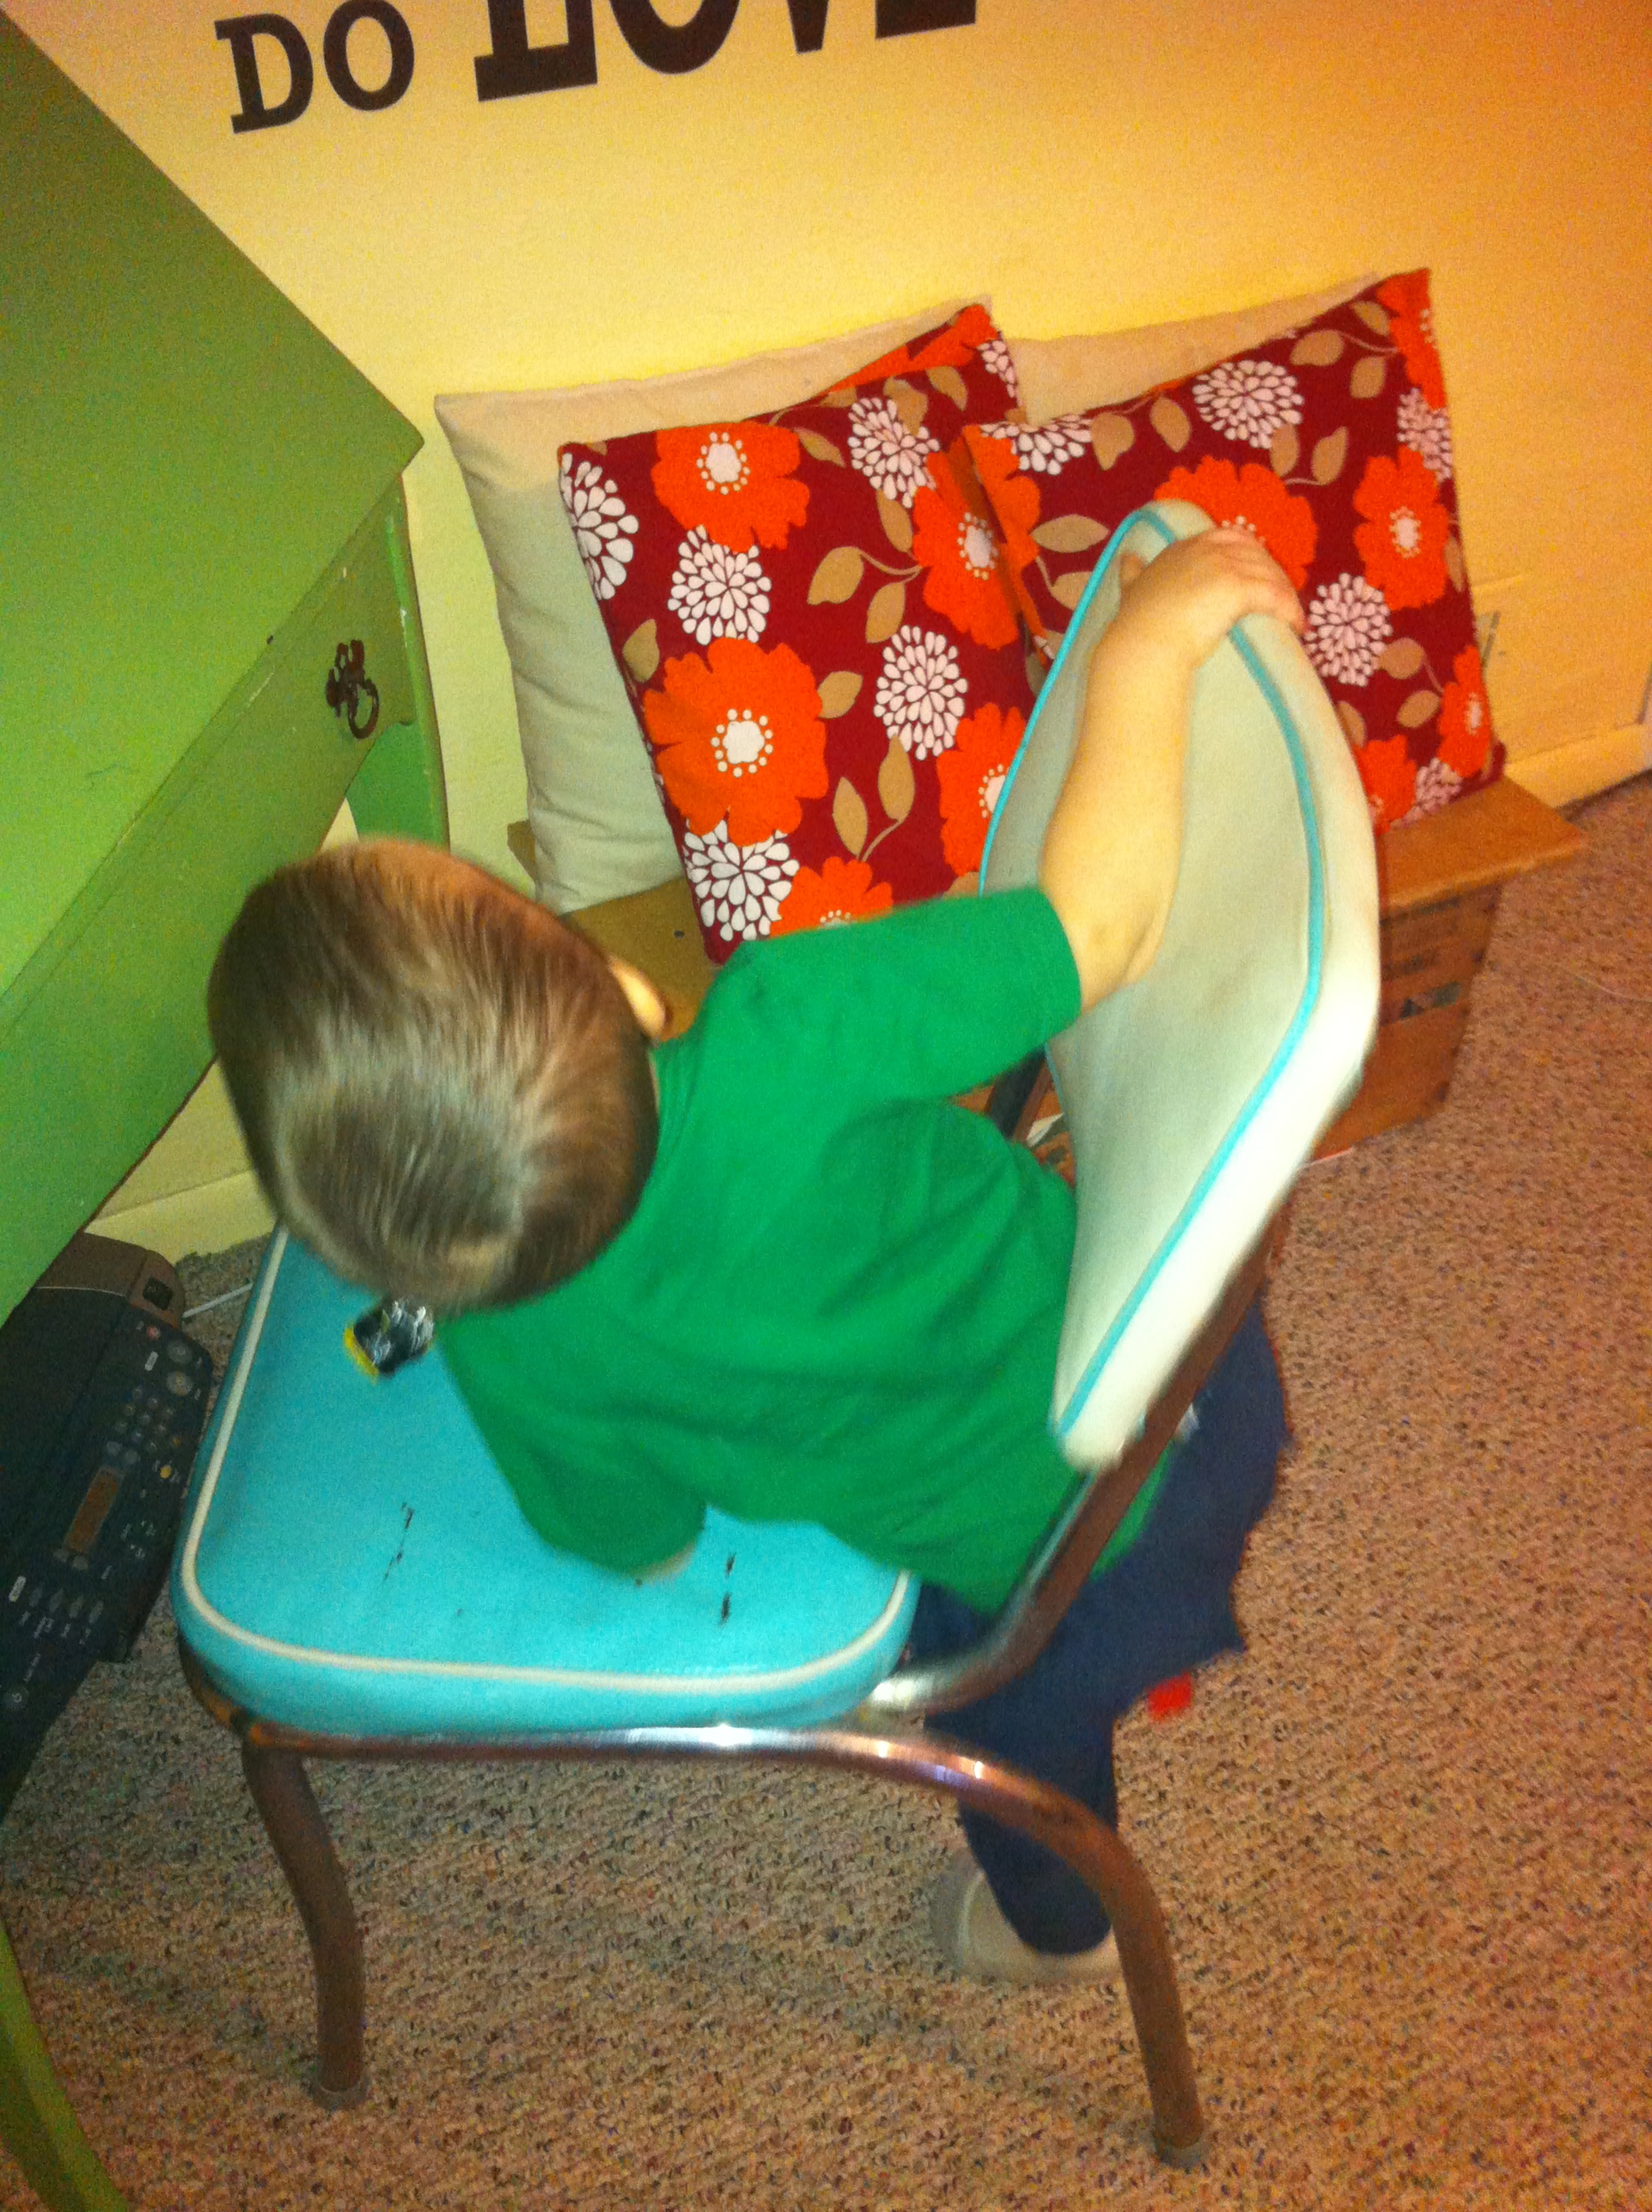
Wryder got stuck in the chair one time. Then, after all the attention and hubbub, he got “stuck” a dozen or so more times.
He likes attention, that one!
I’ve apparently entered THAT phase of pregnancy. You know, the one you just don’t really get cold anymore because you have so much blood and baby pumping through your body? I guess Wrex was a little chilly on the way home Wednesday night and had a good giggle about his pickup settings.
The temp outside…The temp I put the pickup on…
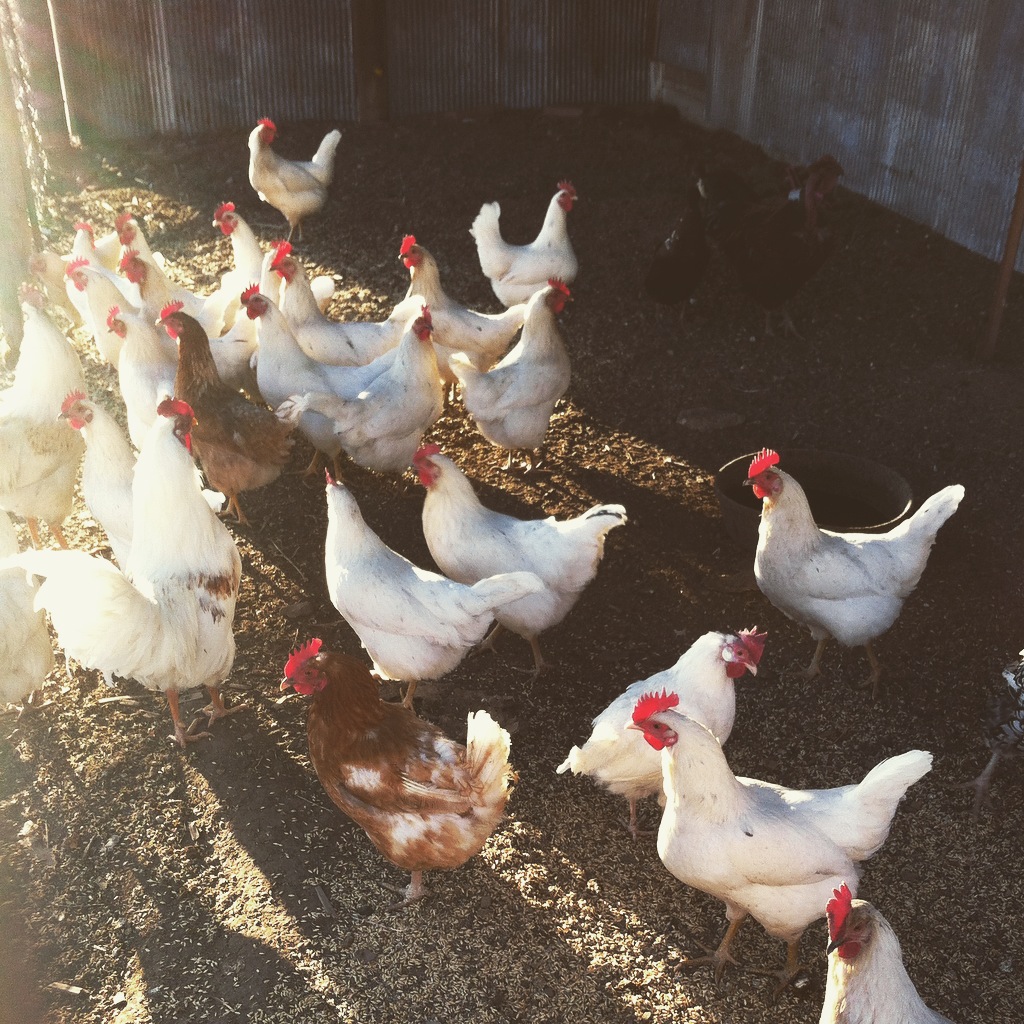
We did a little chicken gazing. I could watch those ladies all day!
Pretty girls…
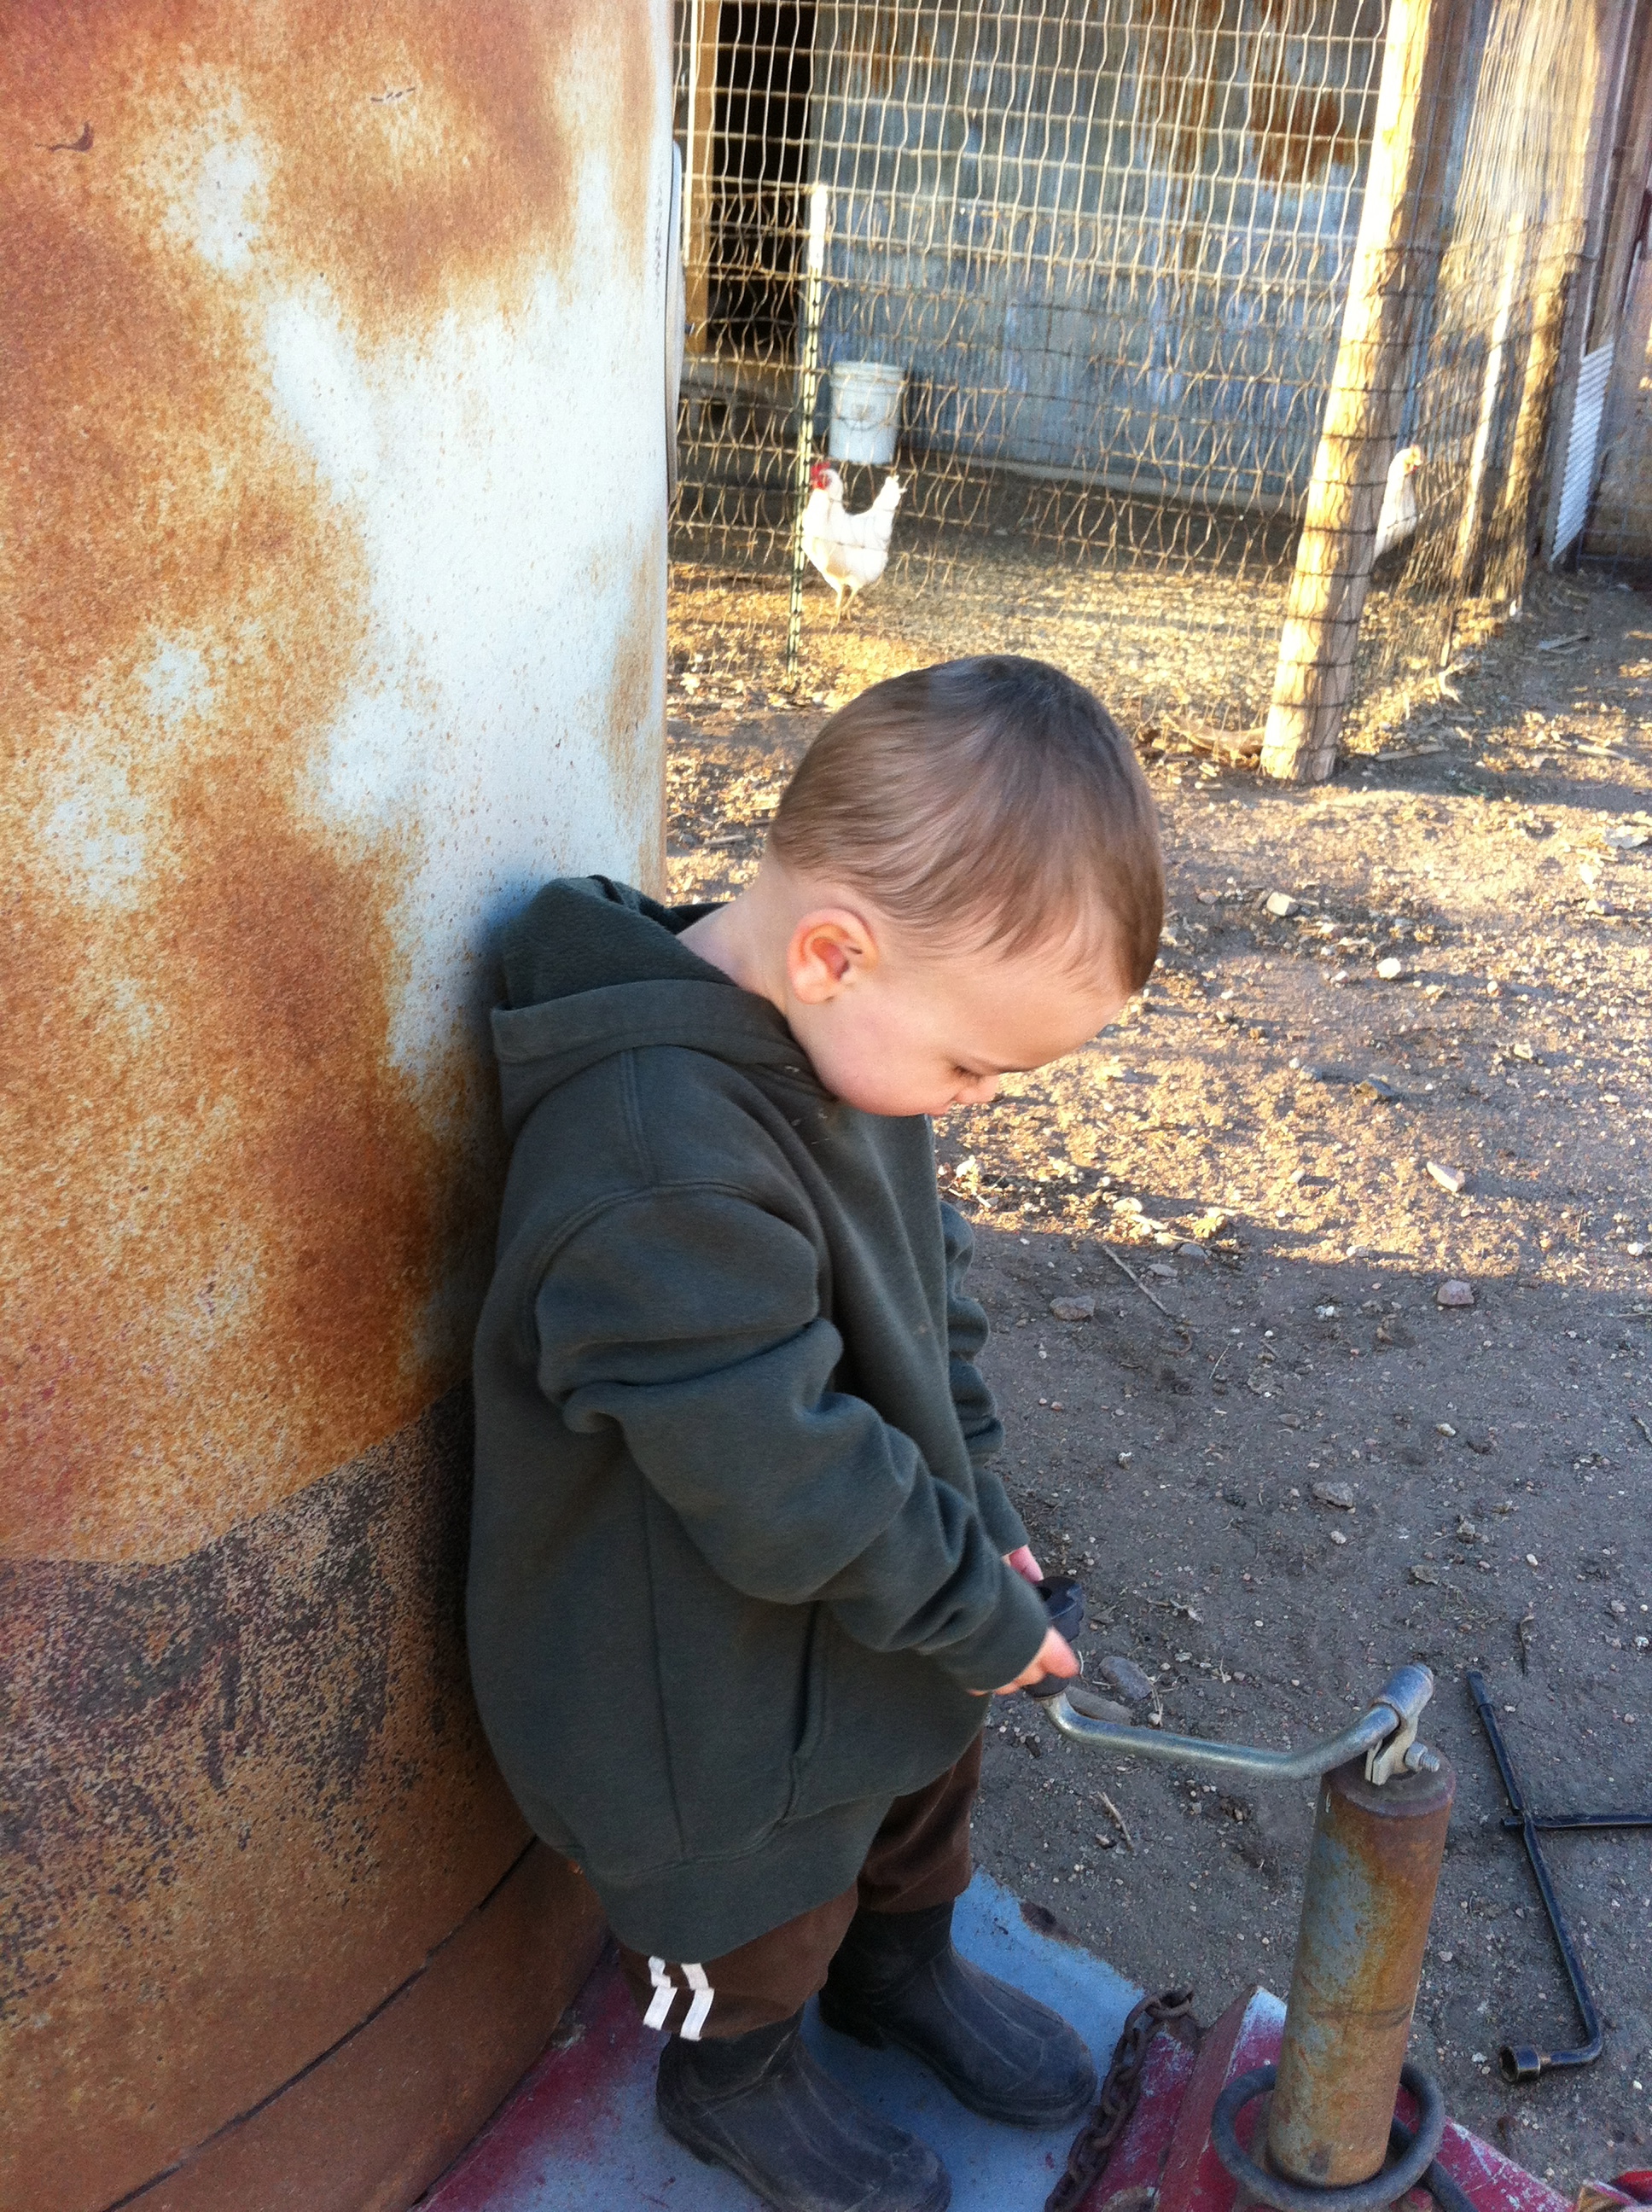
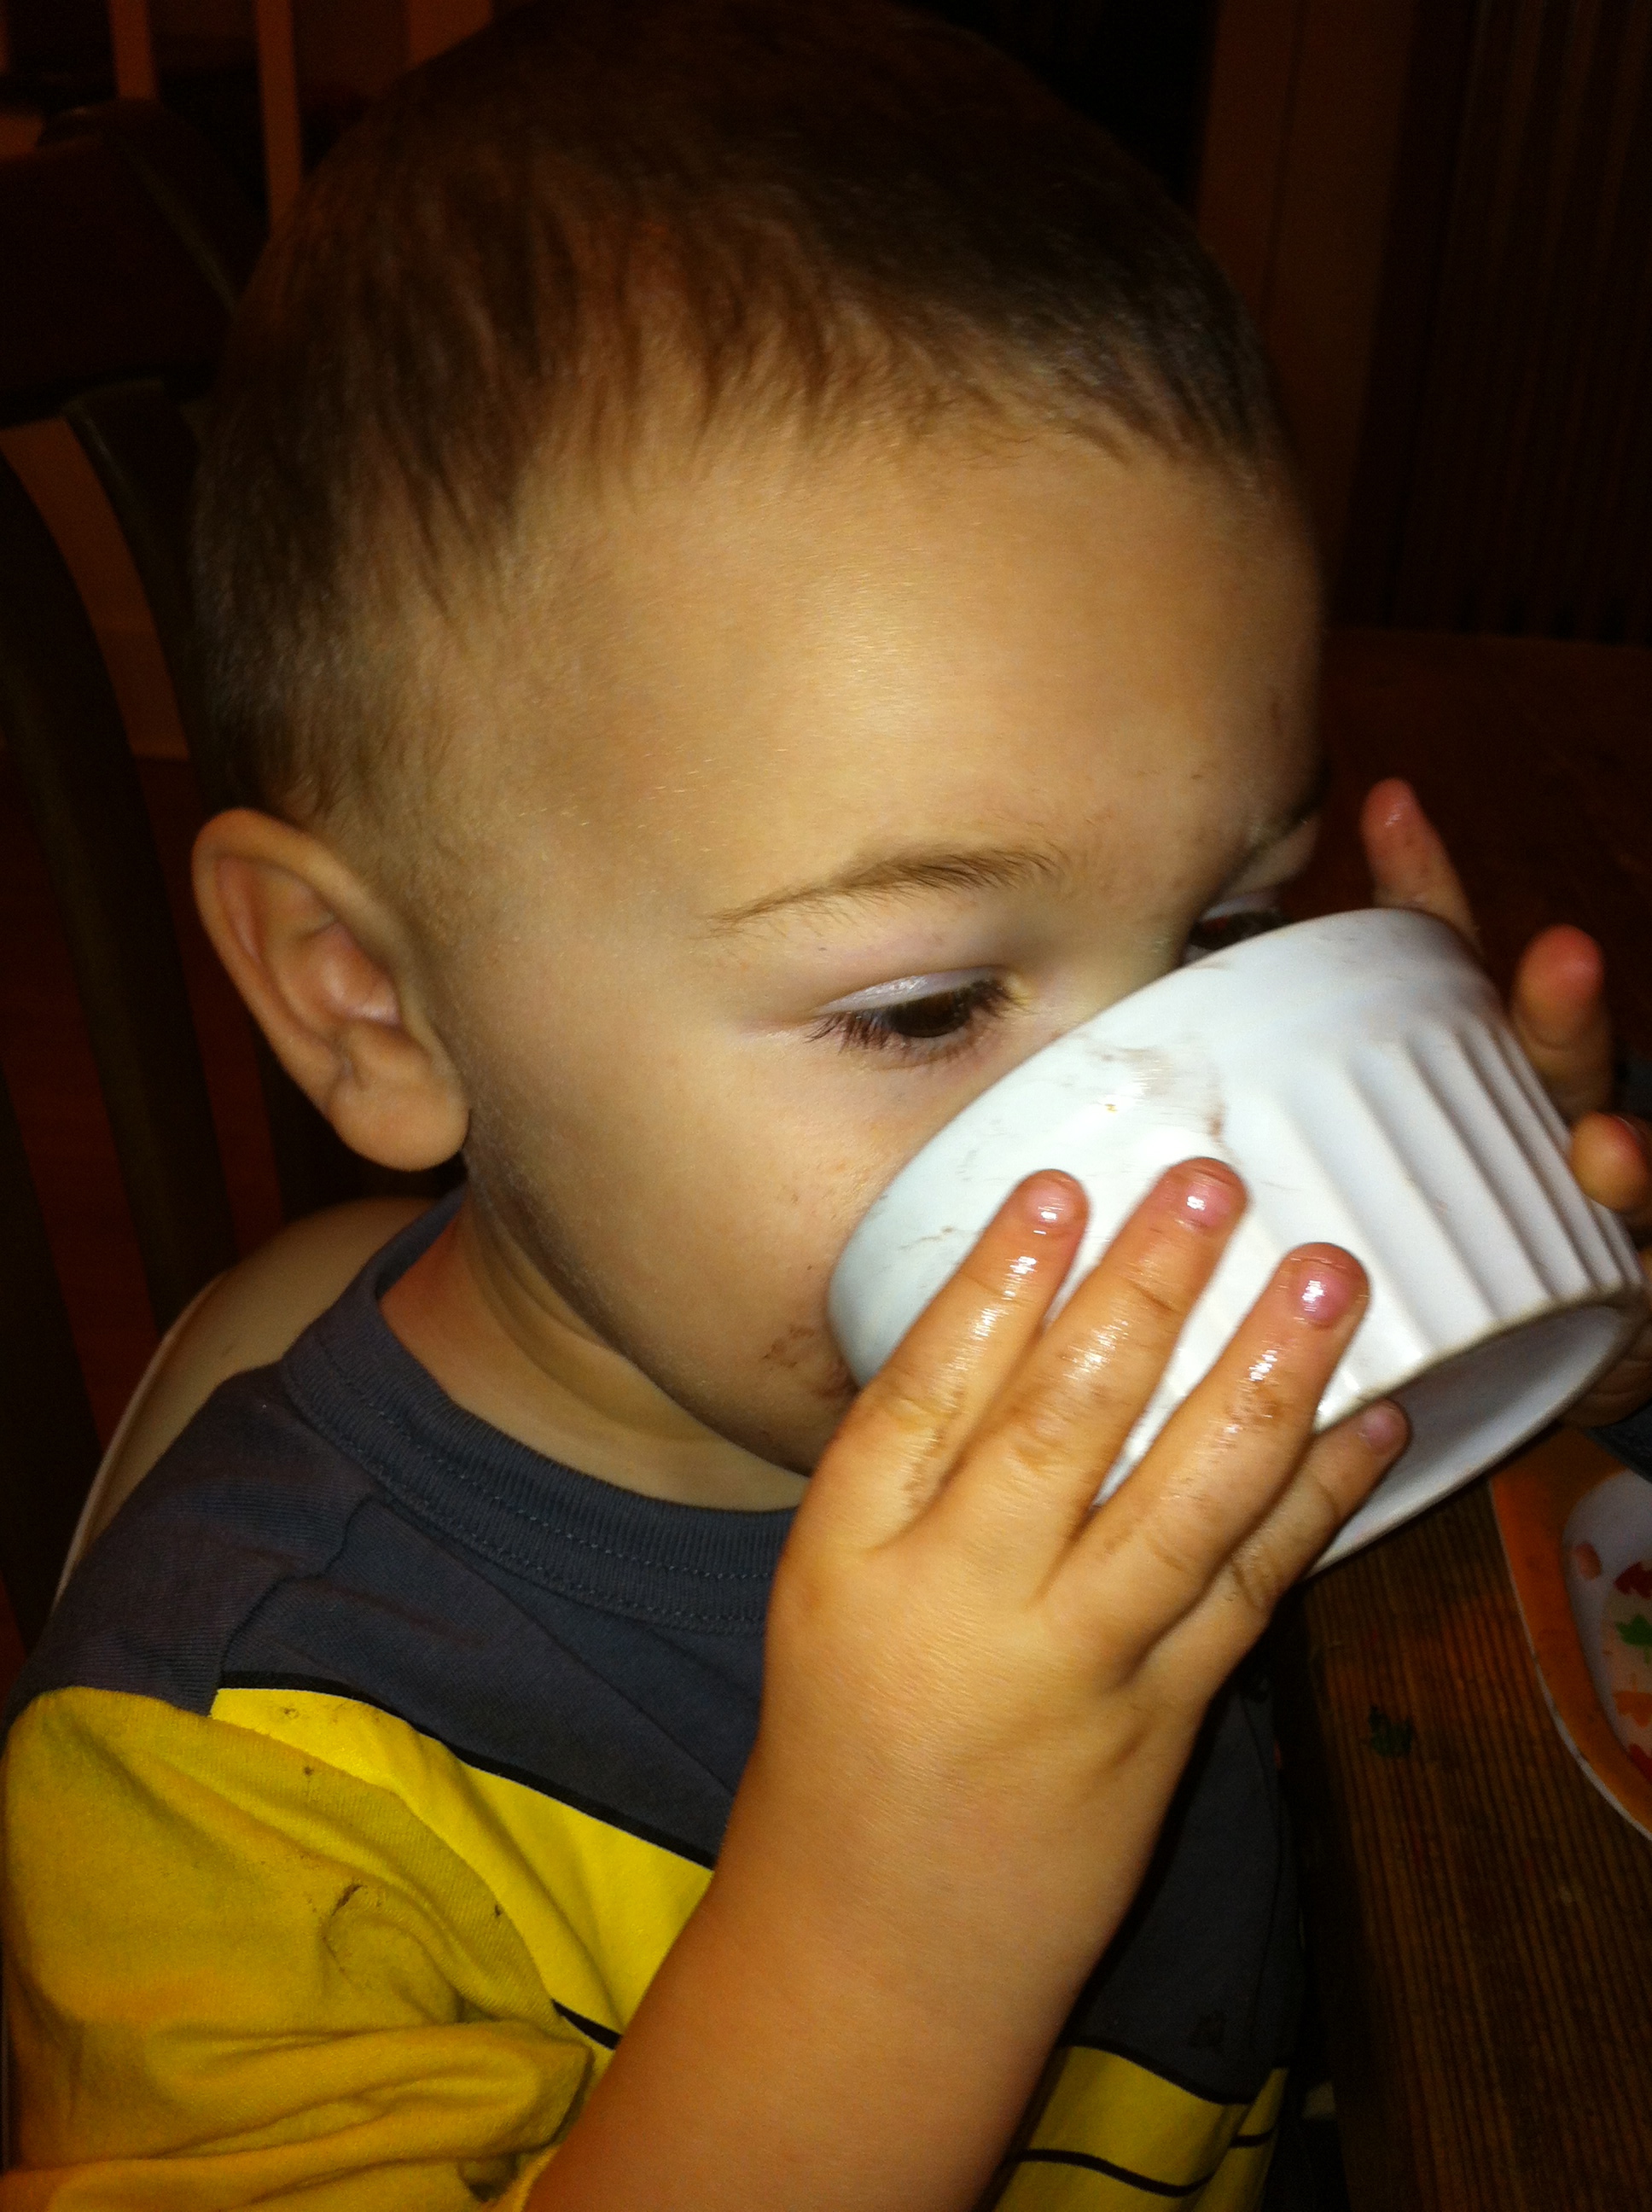
Wryder is ALL about driving these days. After almost every meal these days, he’ll pick up his empty plate and use it as a steering wheel. When we were outside, he used the knob to the jack on the trailer hitch as a little tiny one. It. Was. Adorable.
Love my little farm boy!
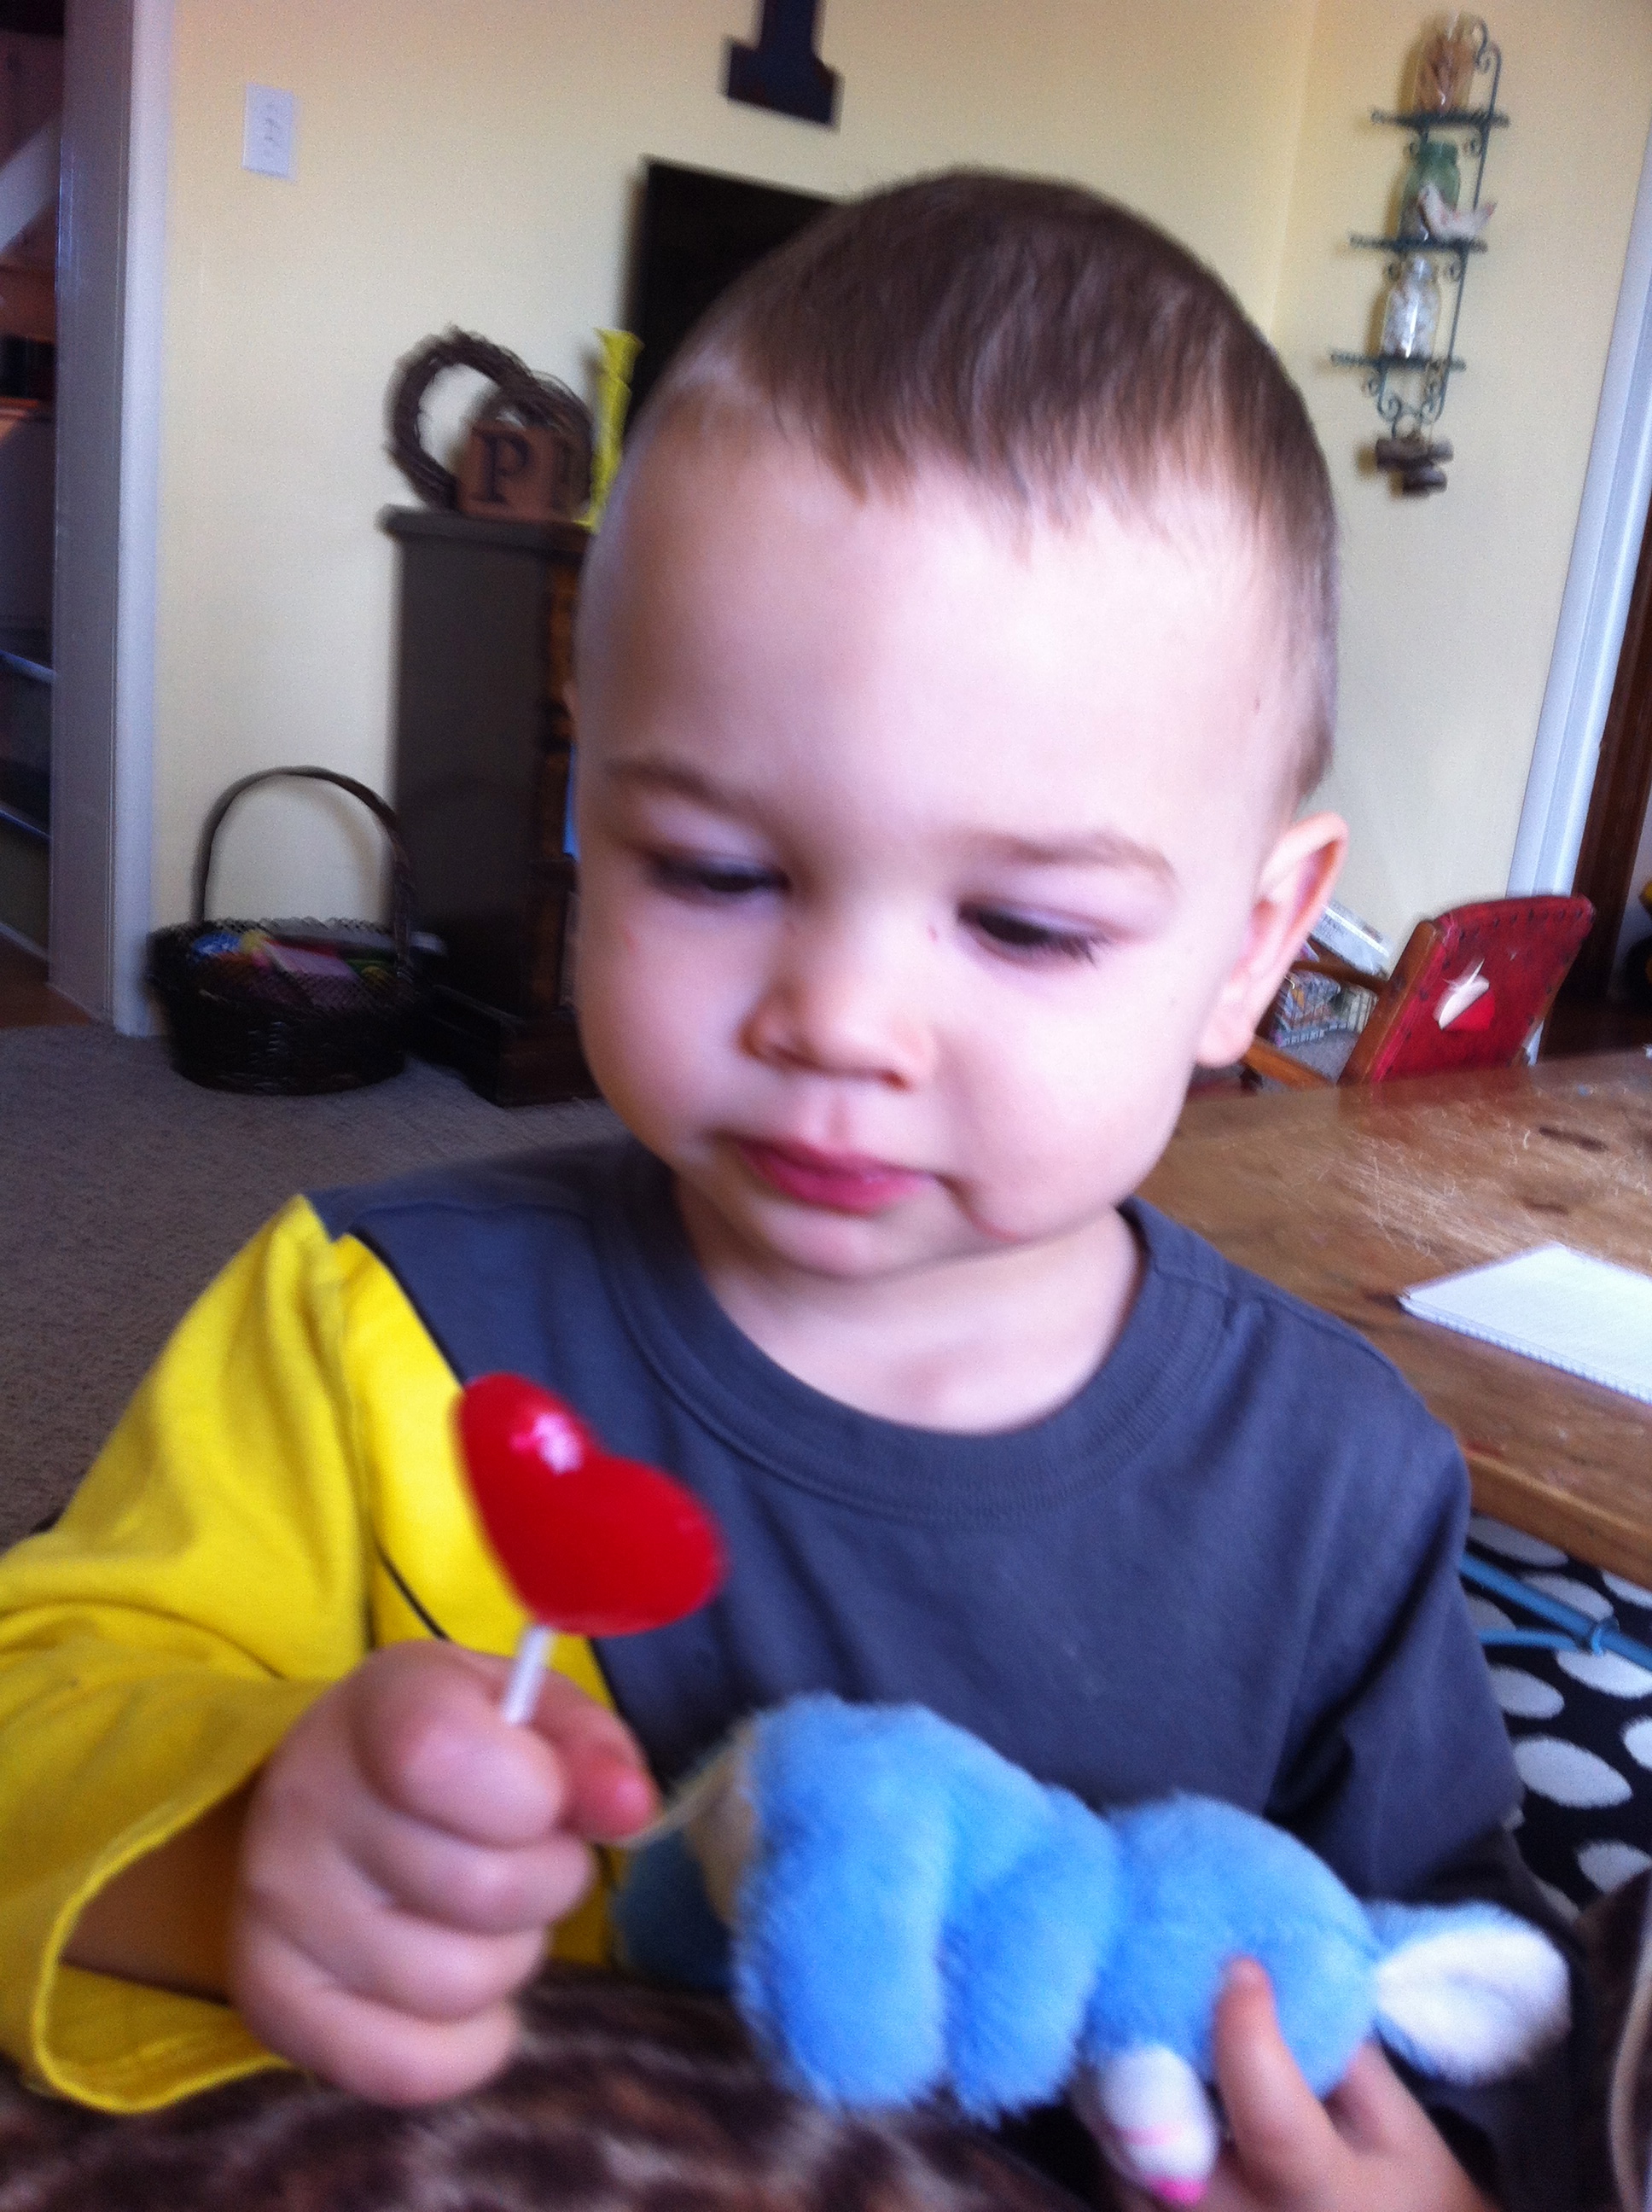
The kids got some belated valentines from Gramps!
Yum!
Wryder LOVES food. One of his favorites, though…
What’s inside?Black beans!
This weekend has been a REALLY good one! The weather kind of forced us inside to work on some projects we’ve been wanting to get done but haven’t taken the time to do…and a few relaxing deeds, too!
We got baby Sayble’s layette done, as well as our taxes – hallelujah! Those can seem so daunting sometimes but Wrex and I worked all morning and got them done AND get a refund – always a plus!
We let the kids pick out a movie and had a fun supper in the living room…and Wrexy and I had a Bourne marathon! YAY! I’ve been wanting to do this for forever because I often fall asleep or get sidetracked while I attempt to watch ANY movie, but especially ones that aren’t so brainless. 🙂
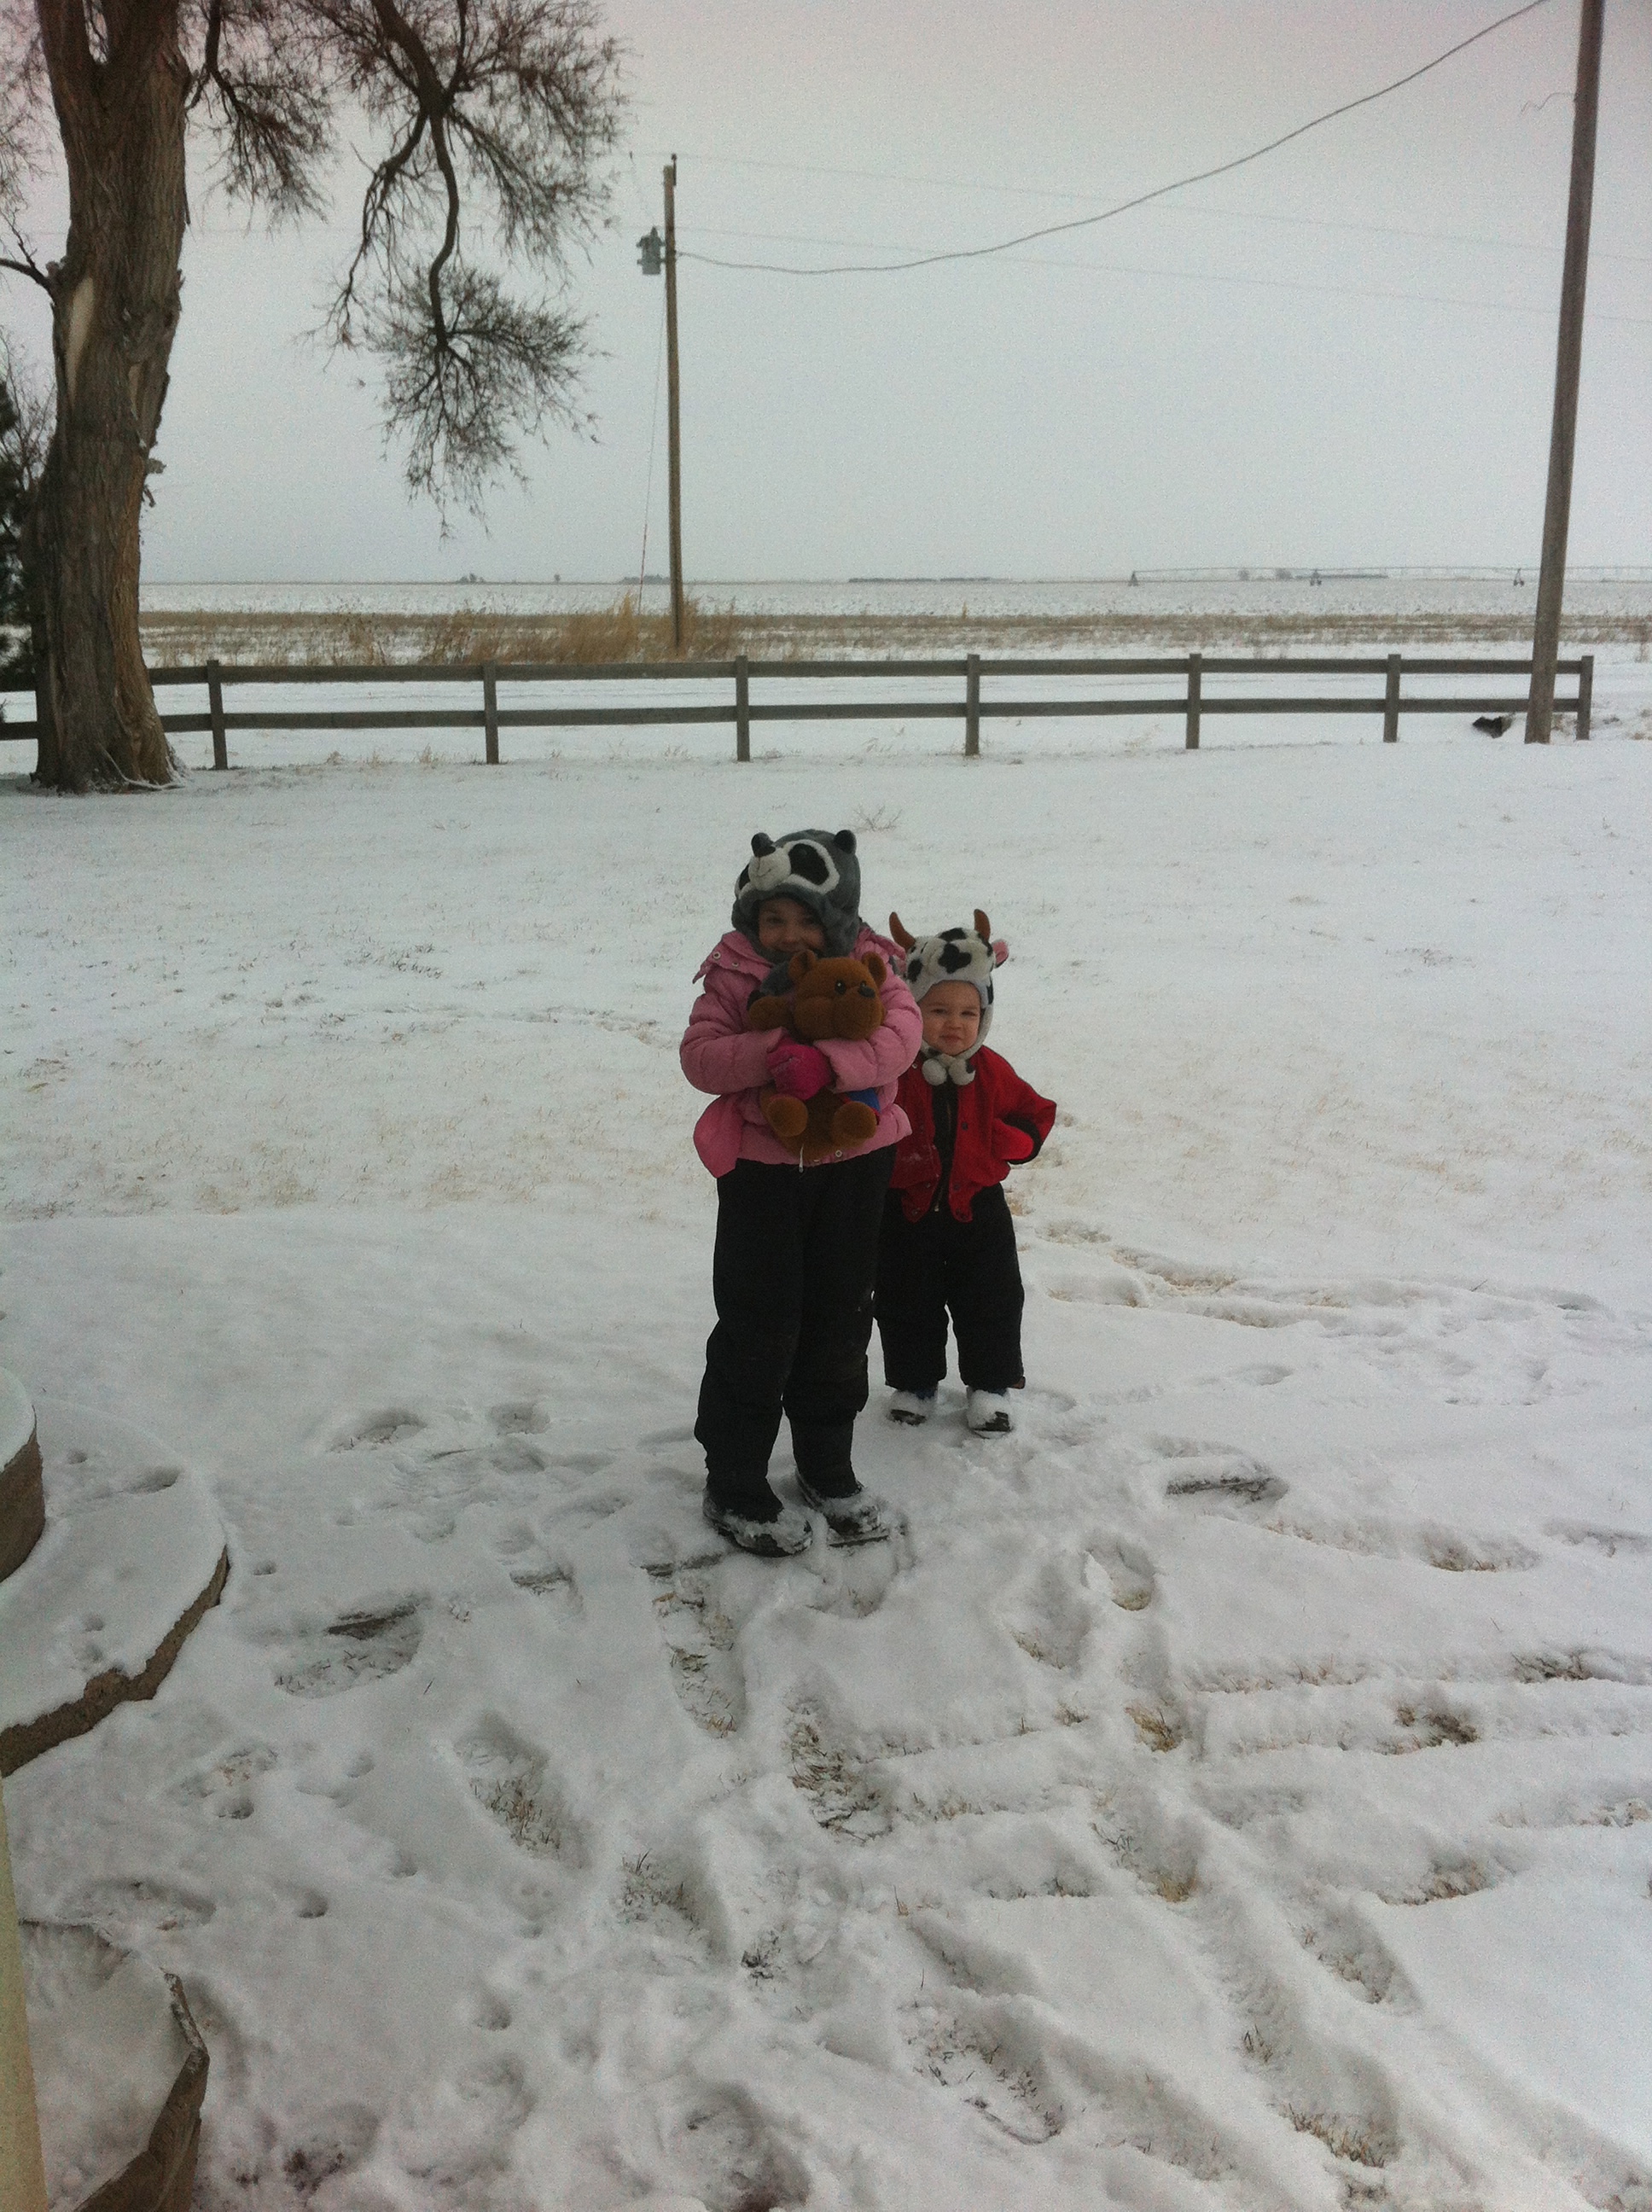
We had a little outside snow play…
Don’t ya just love their hats?
and a lot of other silly shenanigans!
Step 1Step 2Step 3
Tomorrow, we’re back to the daily grind. Thankful for this snowy cold…
I’ve had my eye on a boutique layette for sweet Sayble’s coming home outfit but there was NO WAY I was gonna pay $30+ dollars for one. With that being said, we decided to make our own and let me tell you, it was WAAAAAAAAAAAAAAAY easy! Here’s what you’ll need….
onesie (or a t-shirt would work)
fabric for the gown part of the layette
sewing machine
elastic
embellishments (optional)
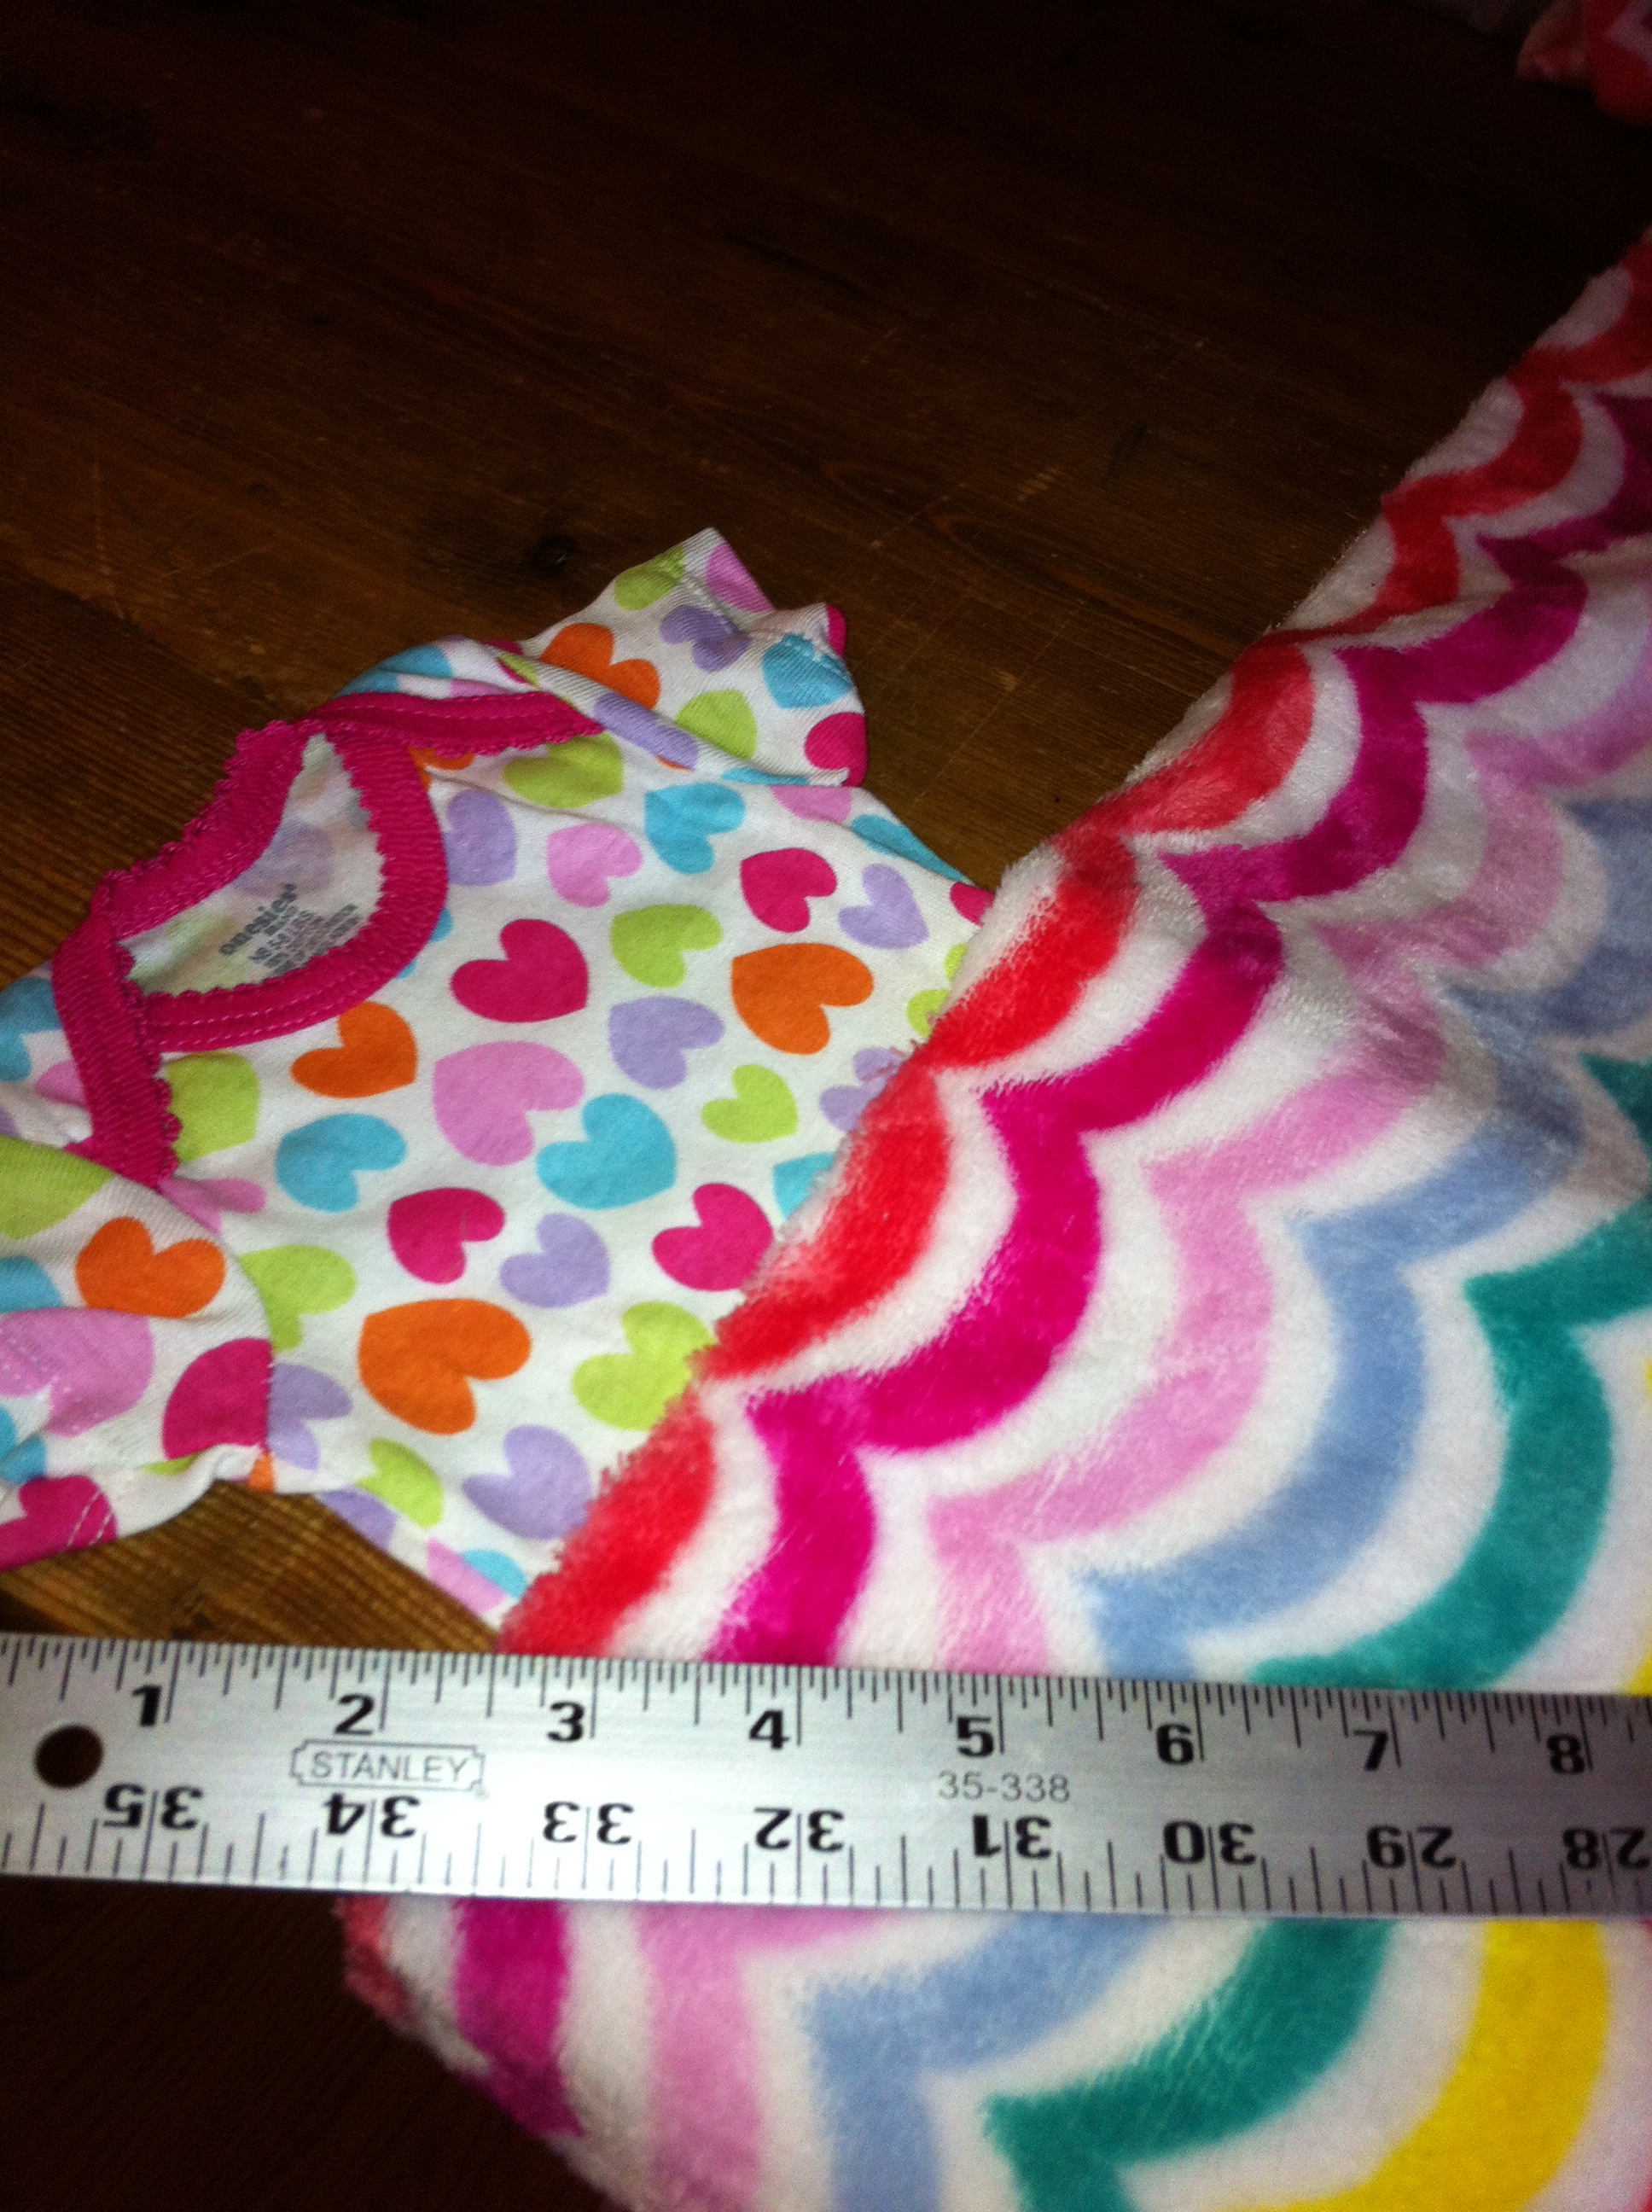
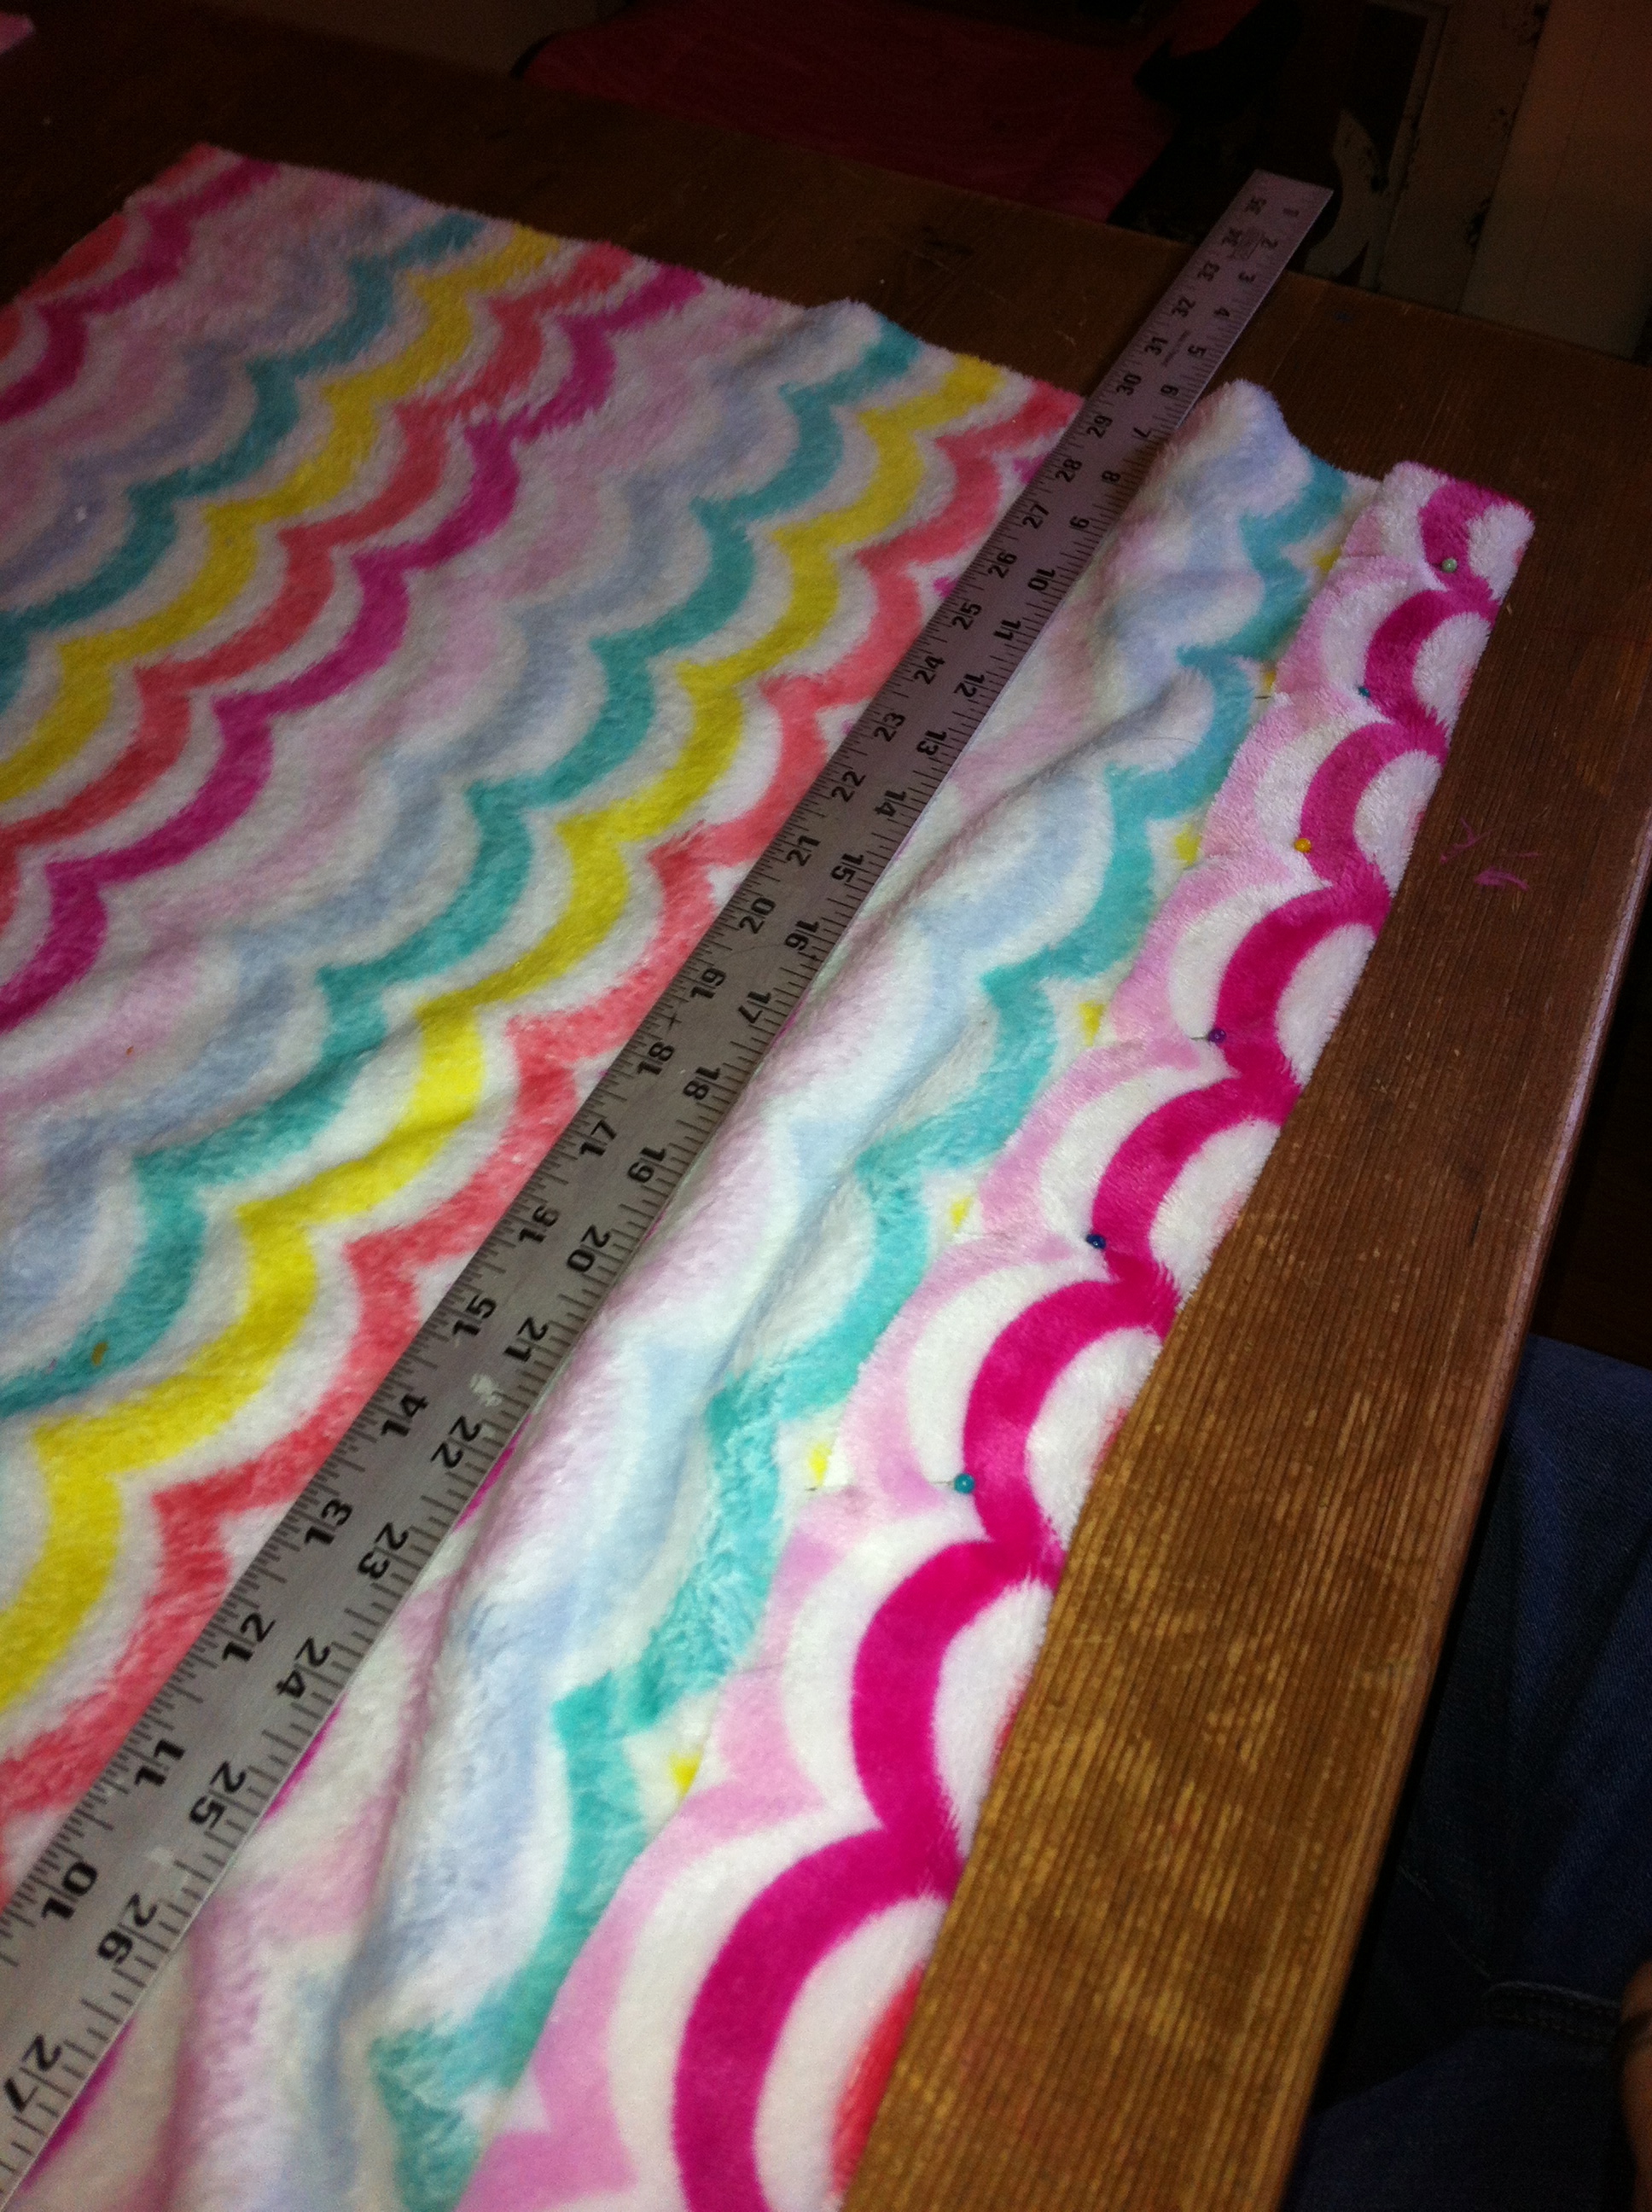
Step 1: Choose your fabrics, measure and cut.
I chose this heart onesie and a soft, minky fleece for the gown. We have long babies and I wanted this to be snuggly and comfy, so with a bigger bottom seam allowance our fabric piece ended up measuring 20″ (wide) x 24″ (long).
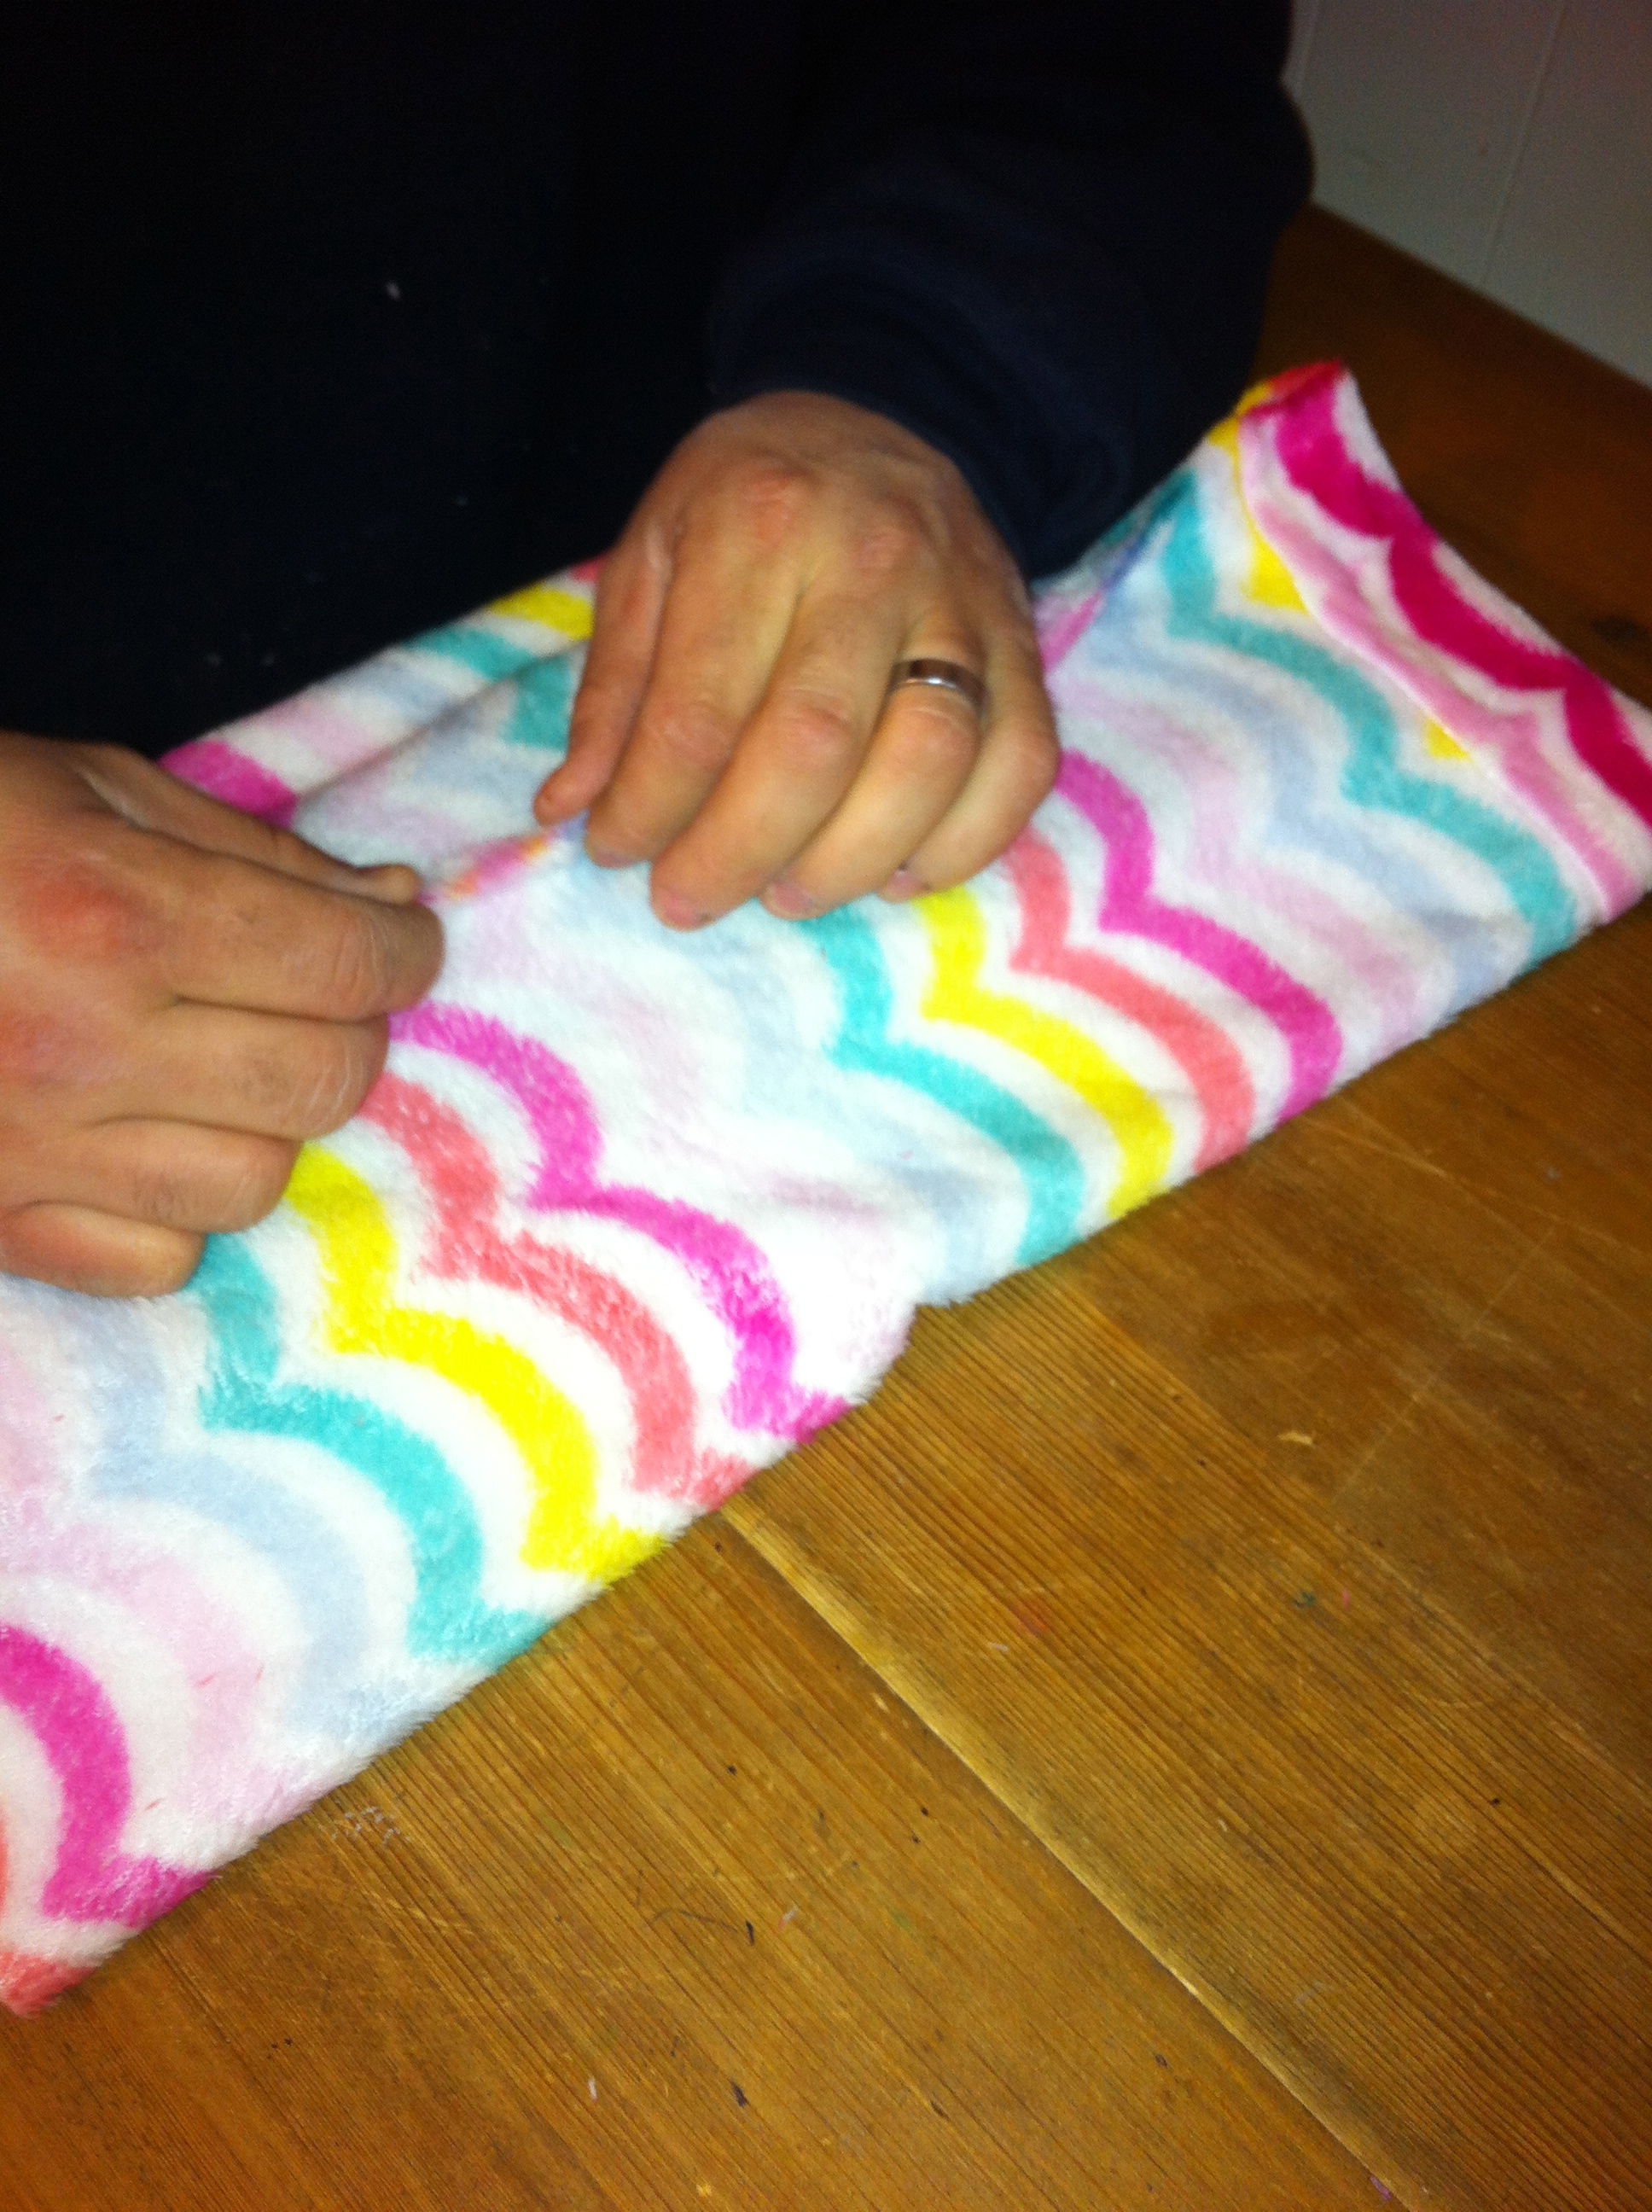
Step 2: Pin and sew your bottom seam.
This is where your elastic will thread through to make it fitted over baby’s feet. Our bottom seam was about an inch wide. A half inch would totally work if using elastic. If you wanted to use ribbon instead, make it the size of your ribbon.
Step 3: Sew your back (or side) seam.
I opted for having my seam run down the side in the event I decided on ribbon vs. elastic, that way the bow would be seen. Either way works fine, you pick!
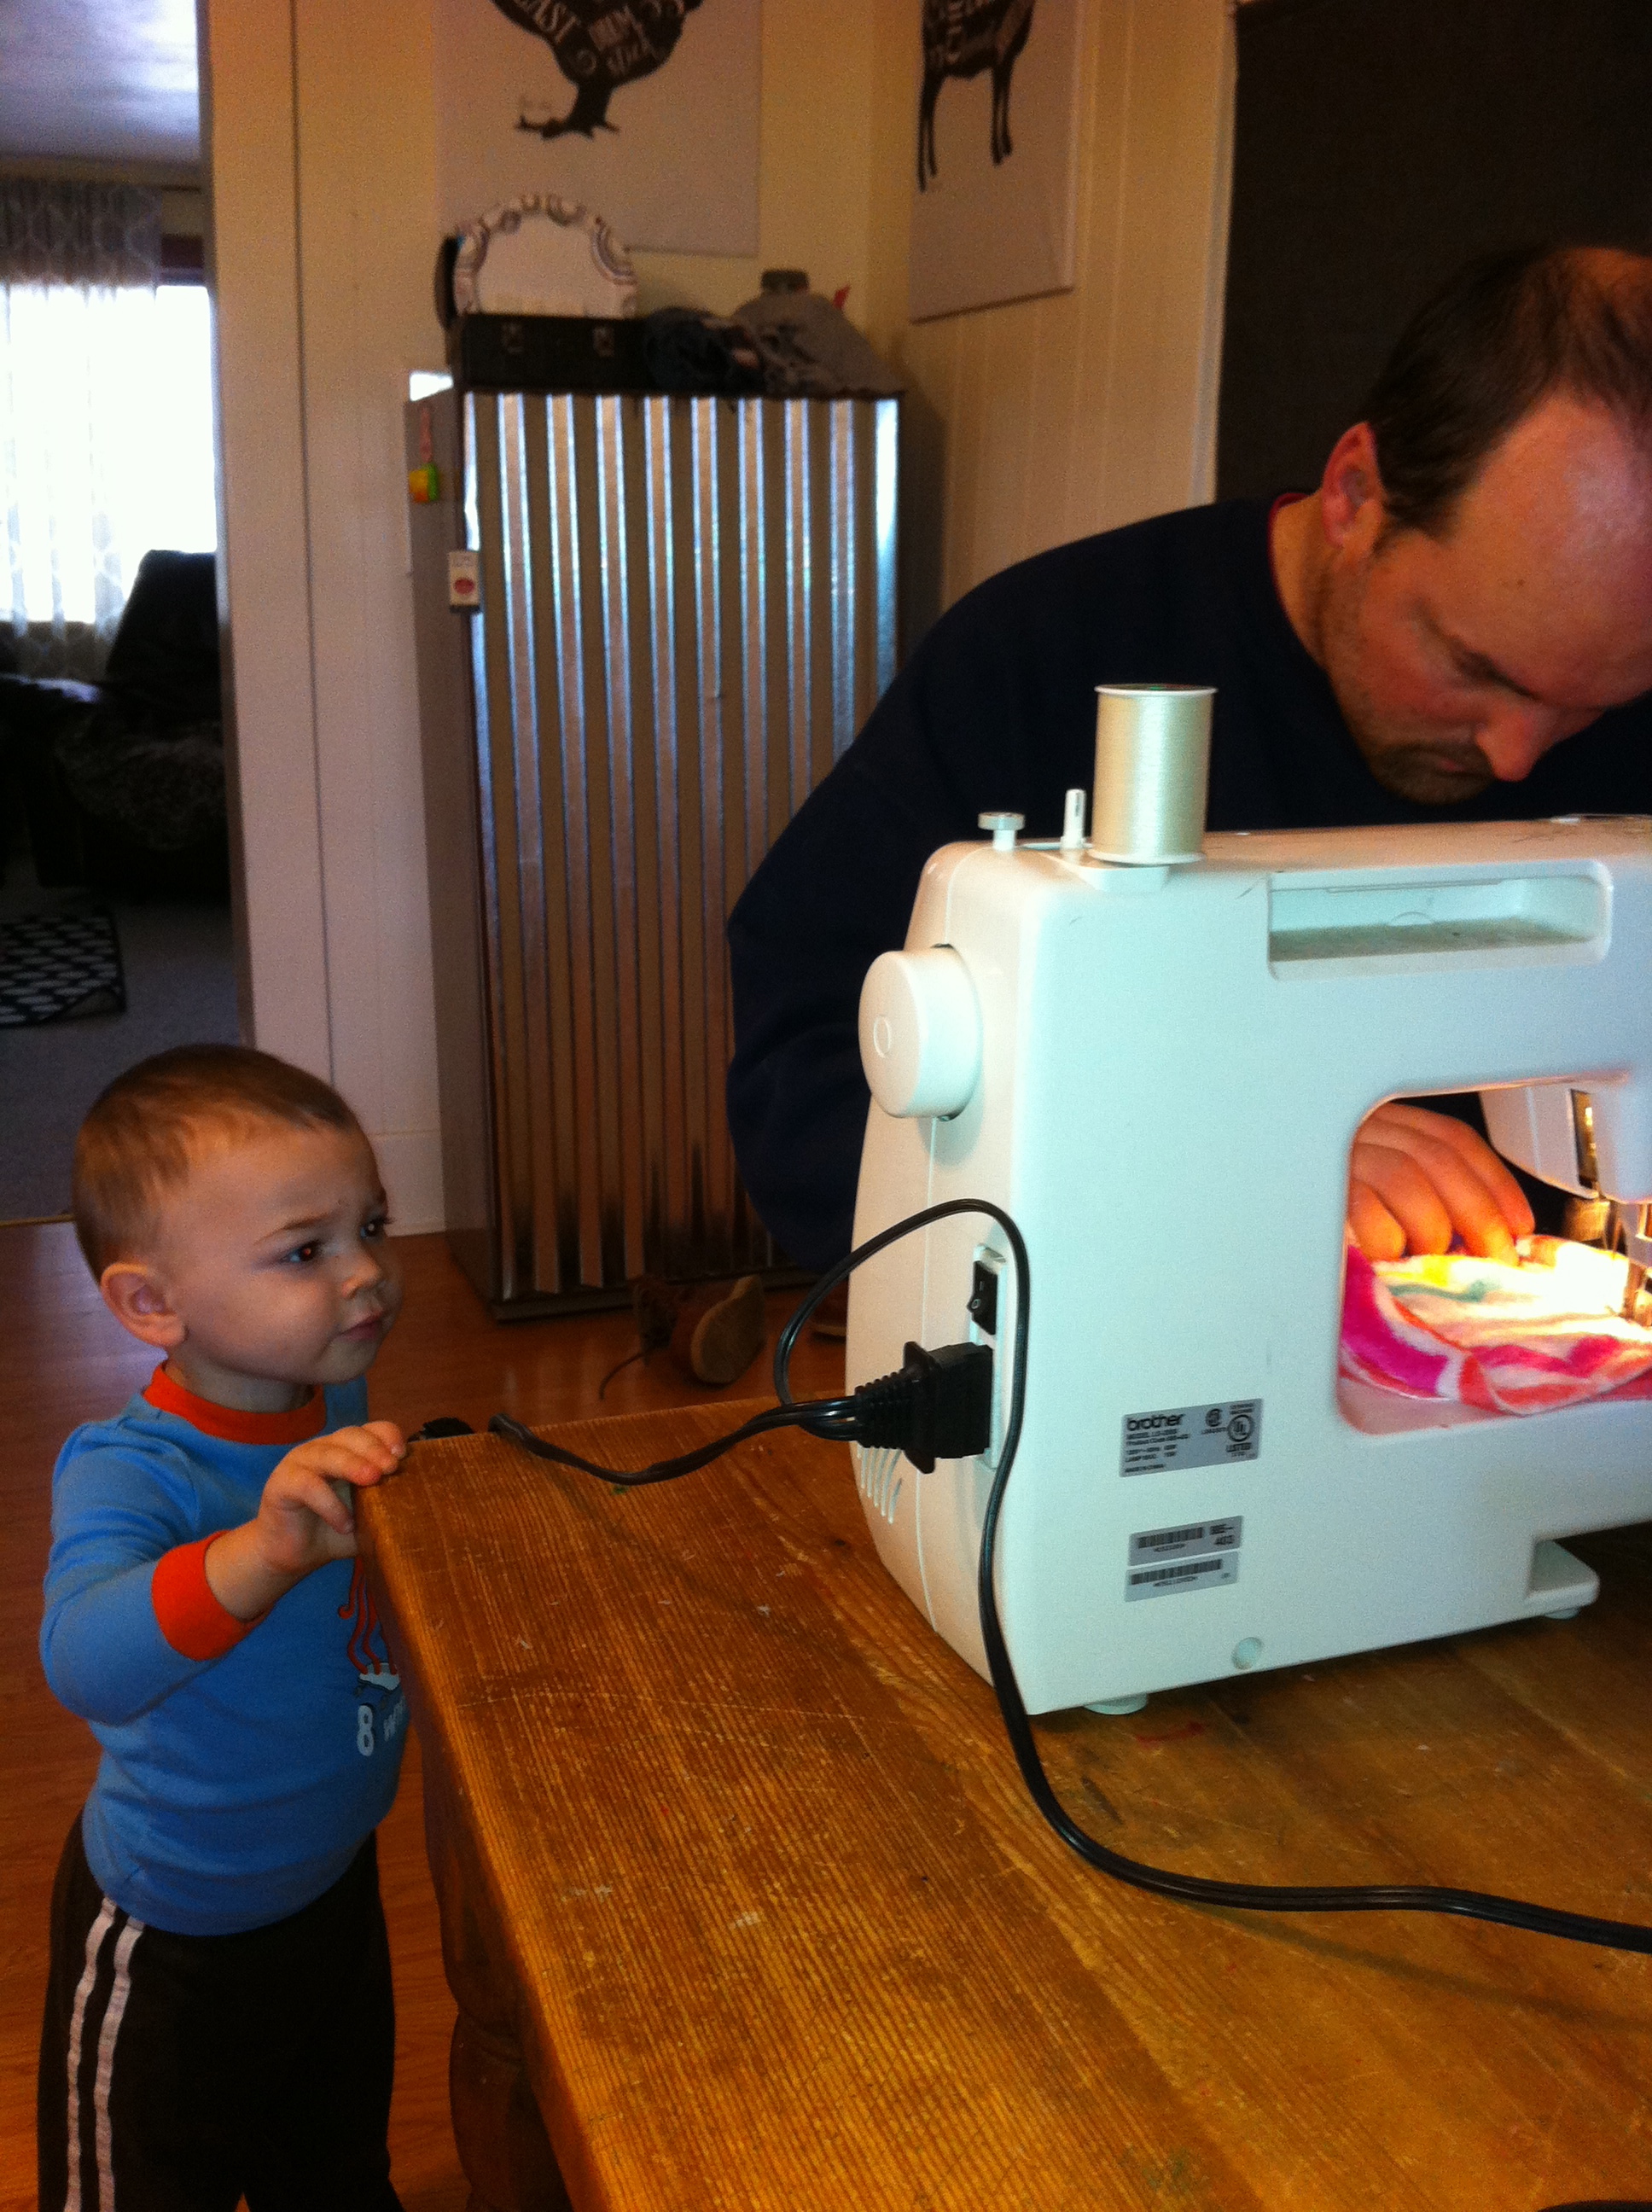
It also helps to have cute helpers around. 🙂 He was enthralled with the sewing machine!
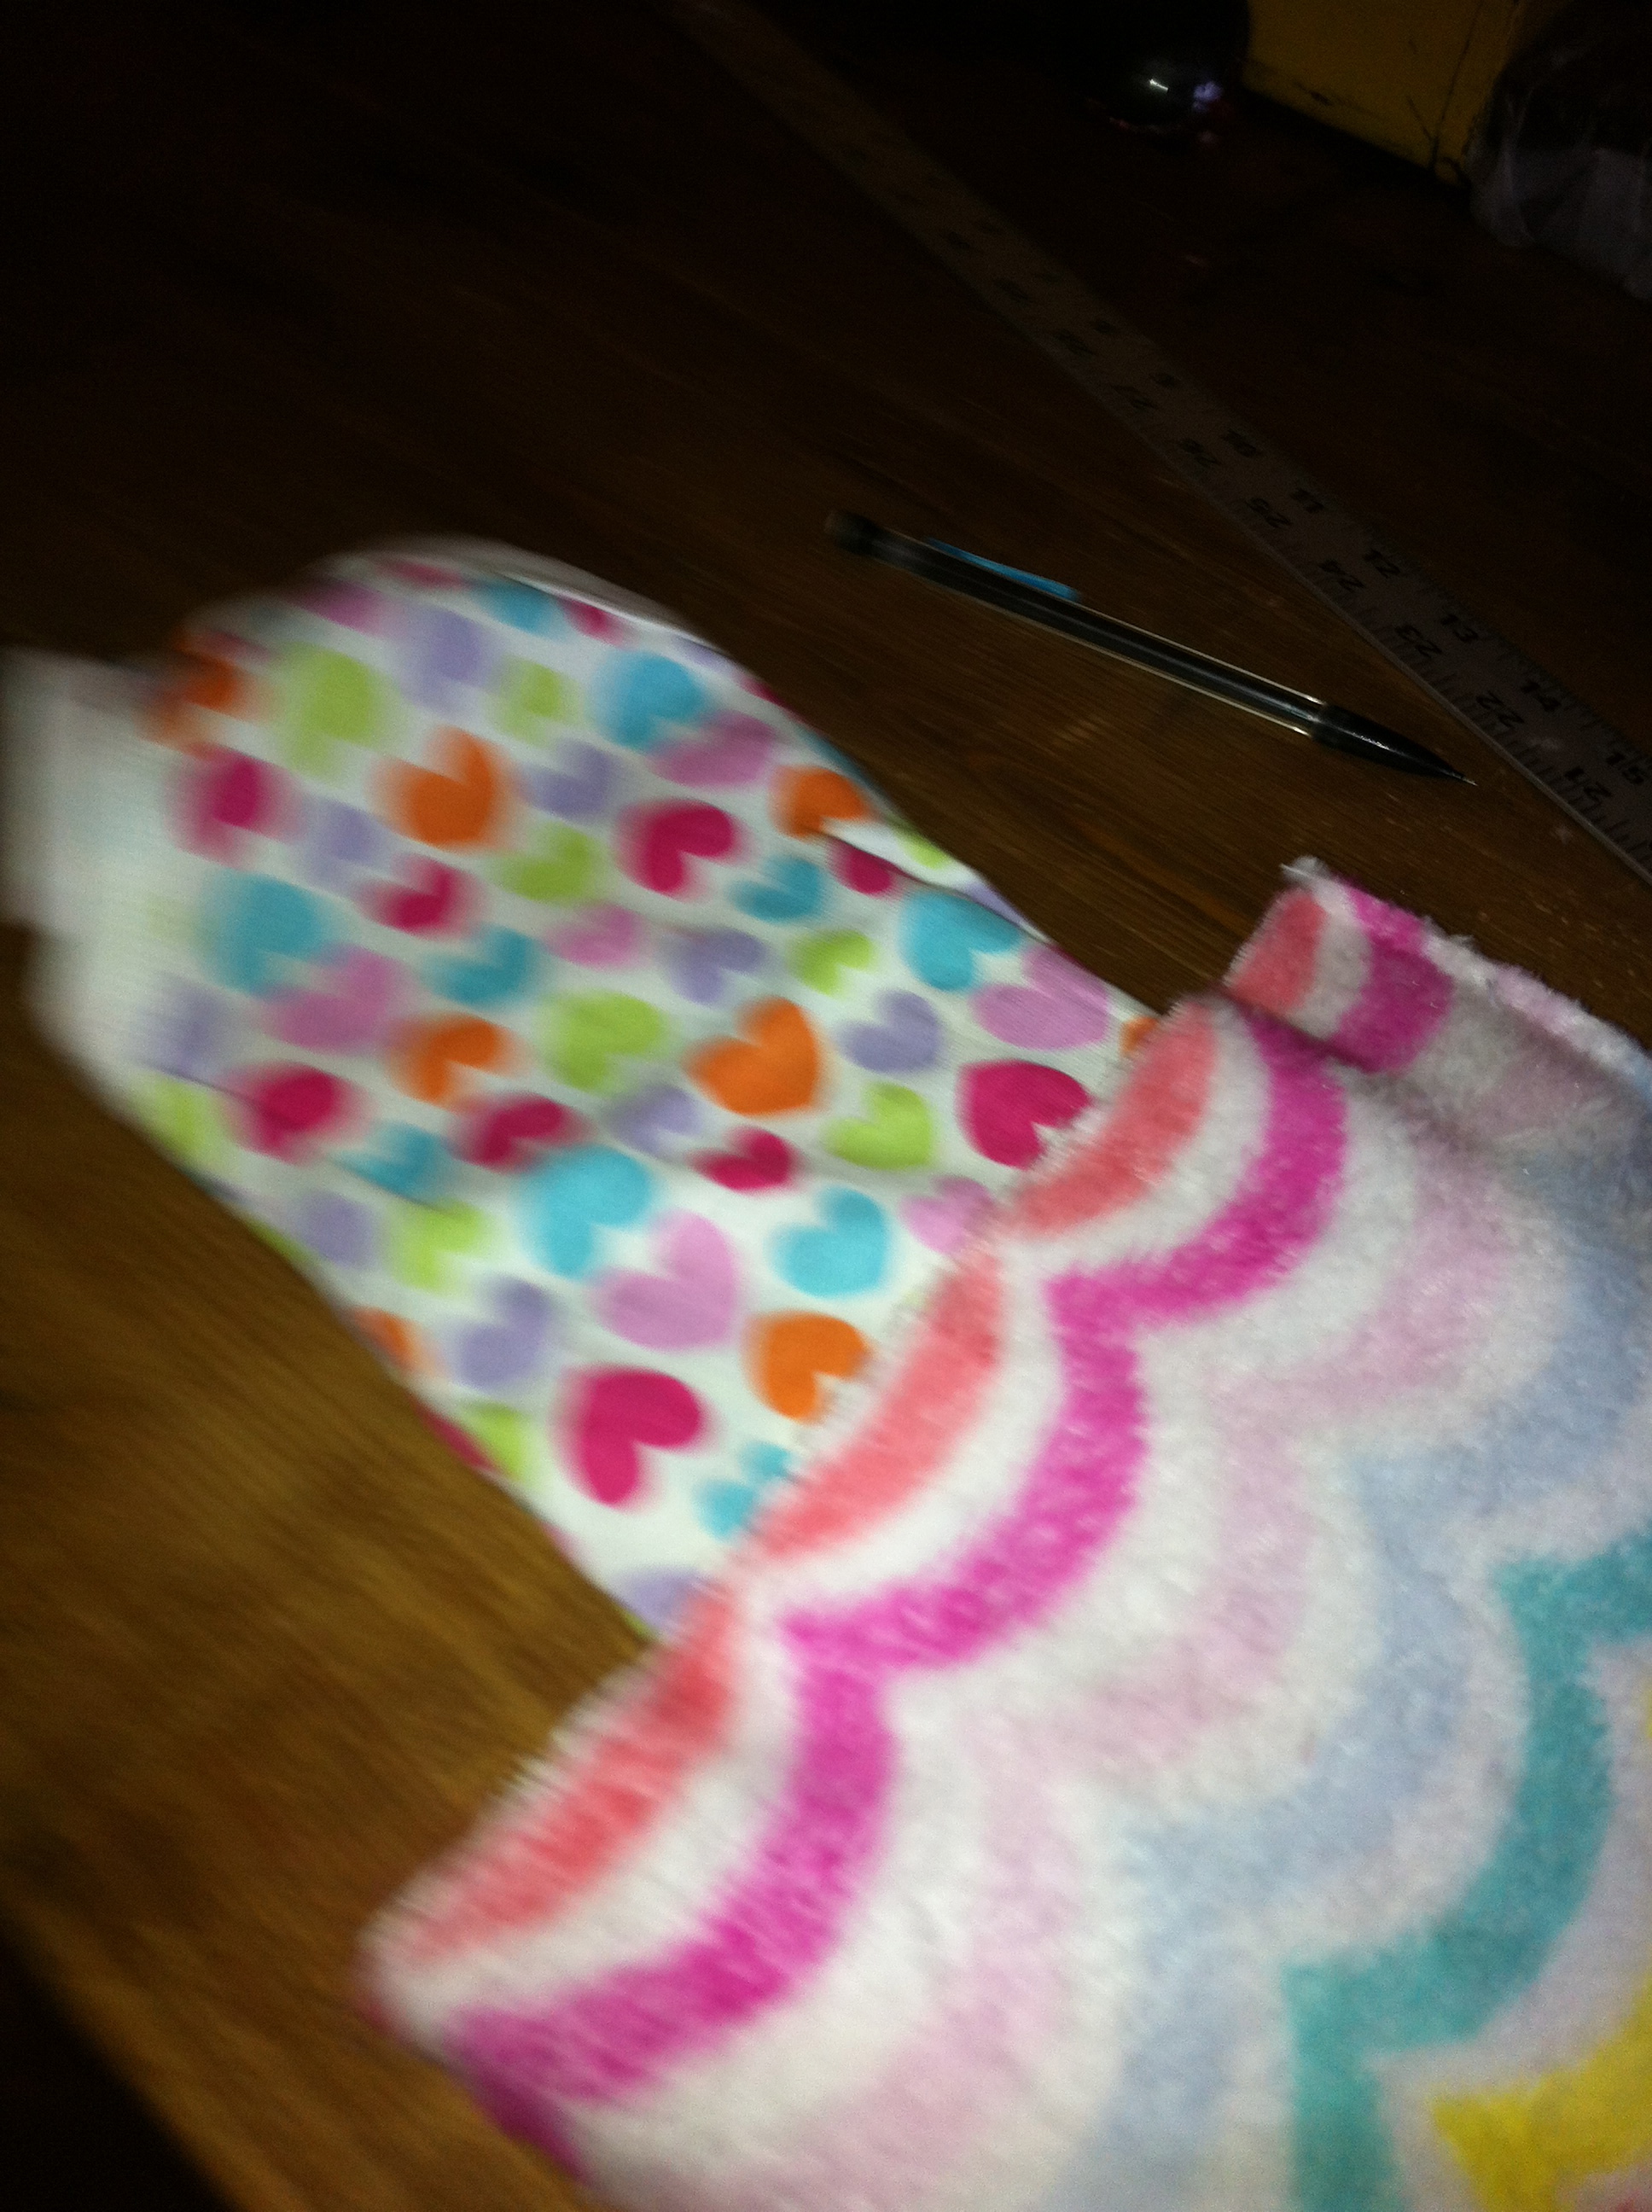
Step 4: Measure out where you want the gown to start on the onesie and pin in a gathered fashion.
We placed our fabric about an inch or so down from the armpits of the onesie and pinned it upside down so you just have to flip it over when you’re done. (My apologies for the blurry pic – what the heck??)
Step 5: Insert your elastic, add embellishments and marvel at your work!
I mean, c’mon…isn’t that adorable?? I can’t wait to bring our sweet baby girl home in this snuggly little thing – with a big bow in her hair, of course. 🙂
***Kudos to my fabulously talented hubby who sews far better than I, that can take my ideas and help make them come to life!
Oh, goodness. We had SUCH a good weekend. (I feel like I’ve been saying things like that a lot lately…but it’s true. We are so blessed to have a happy, healthy family and some gorgeous weather to boot…)
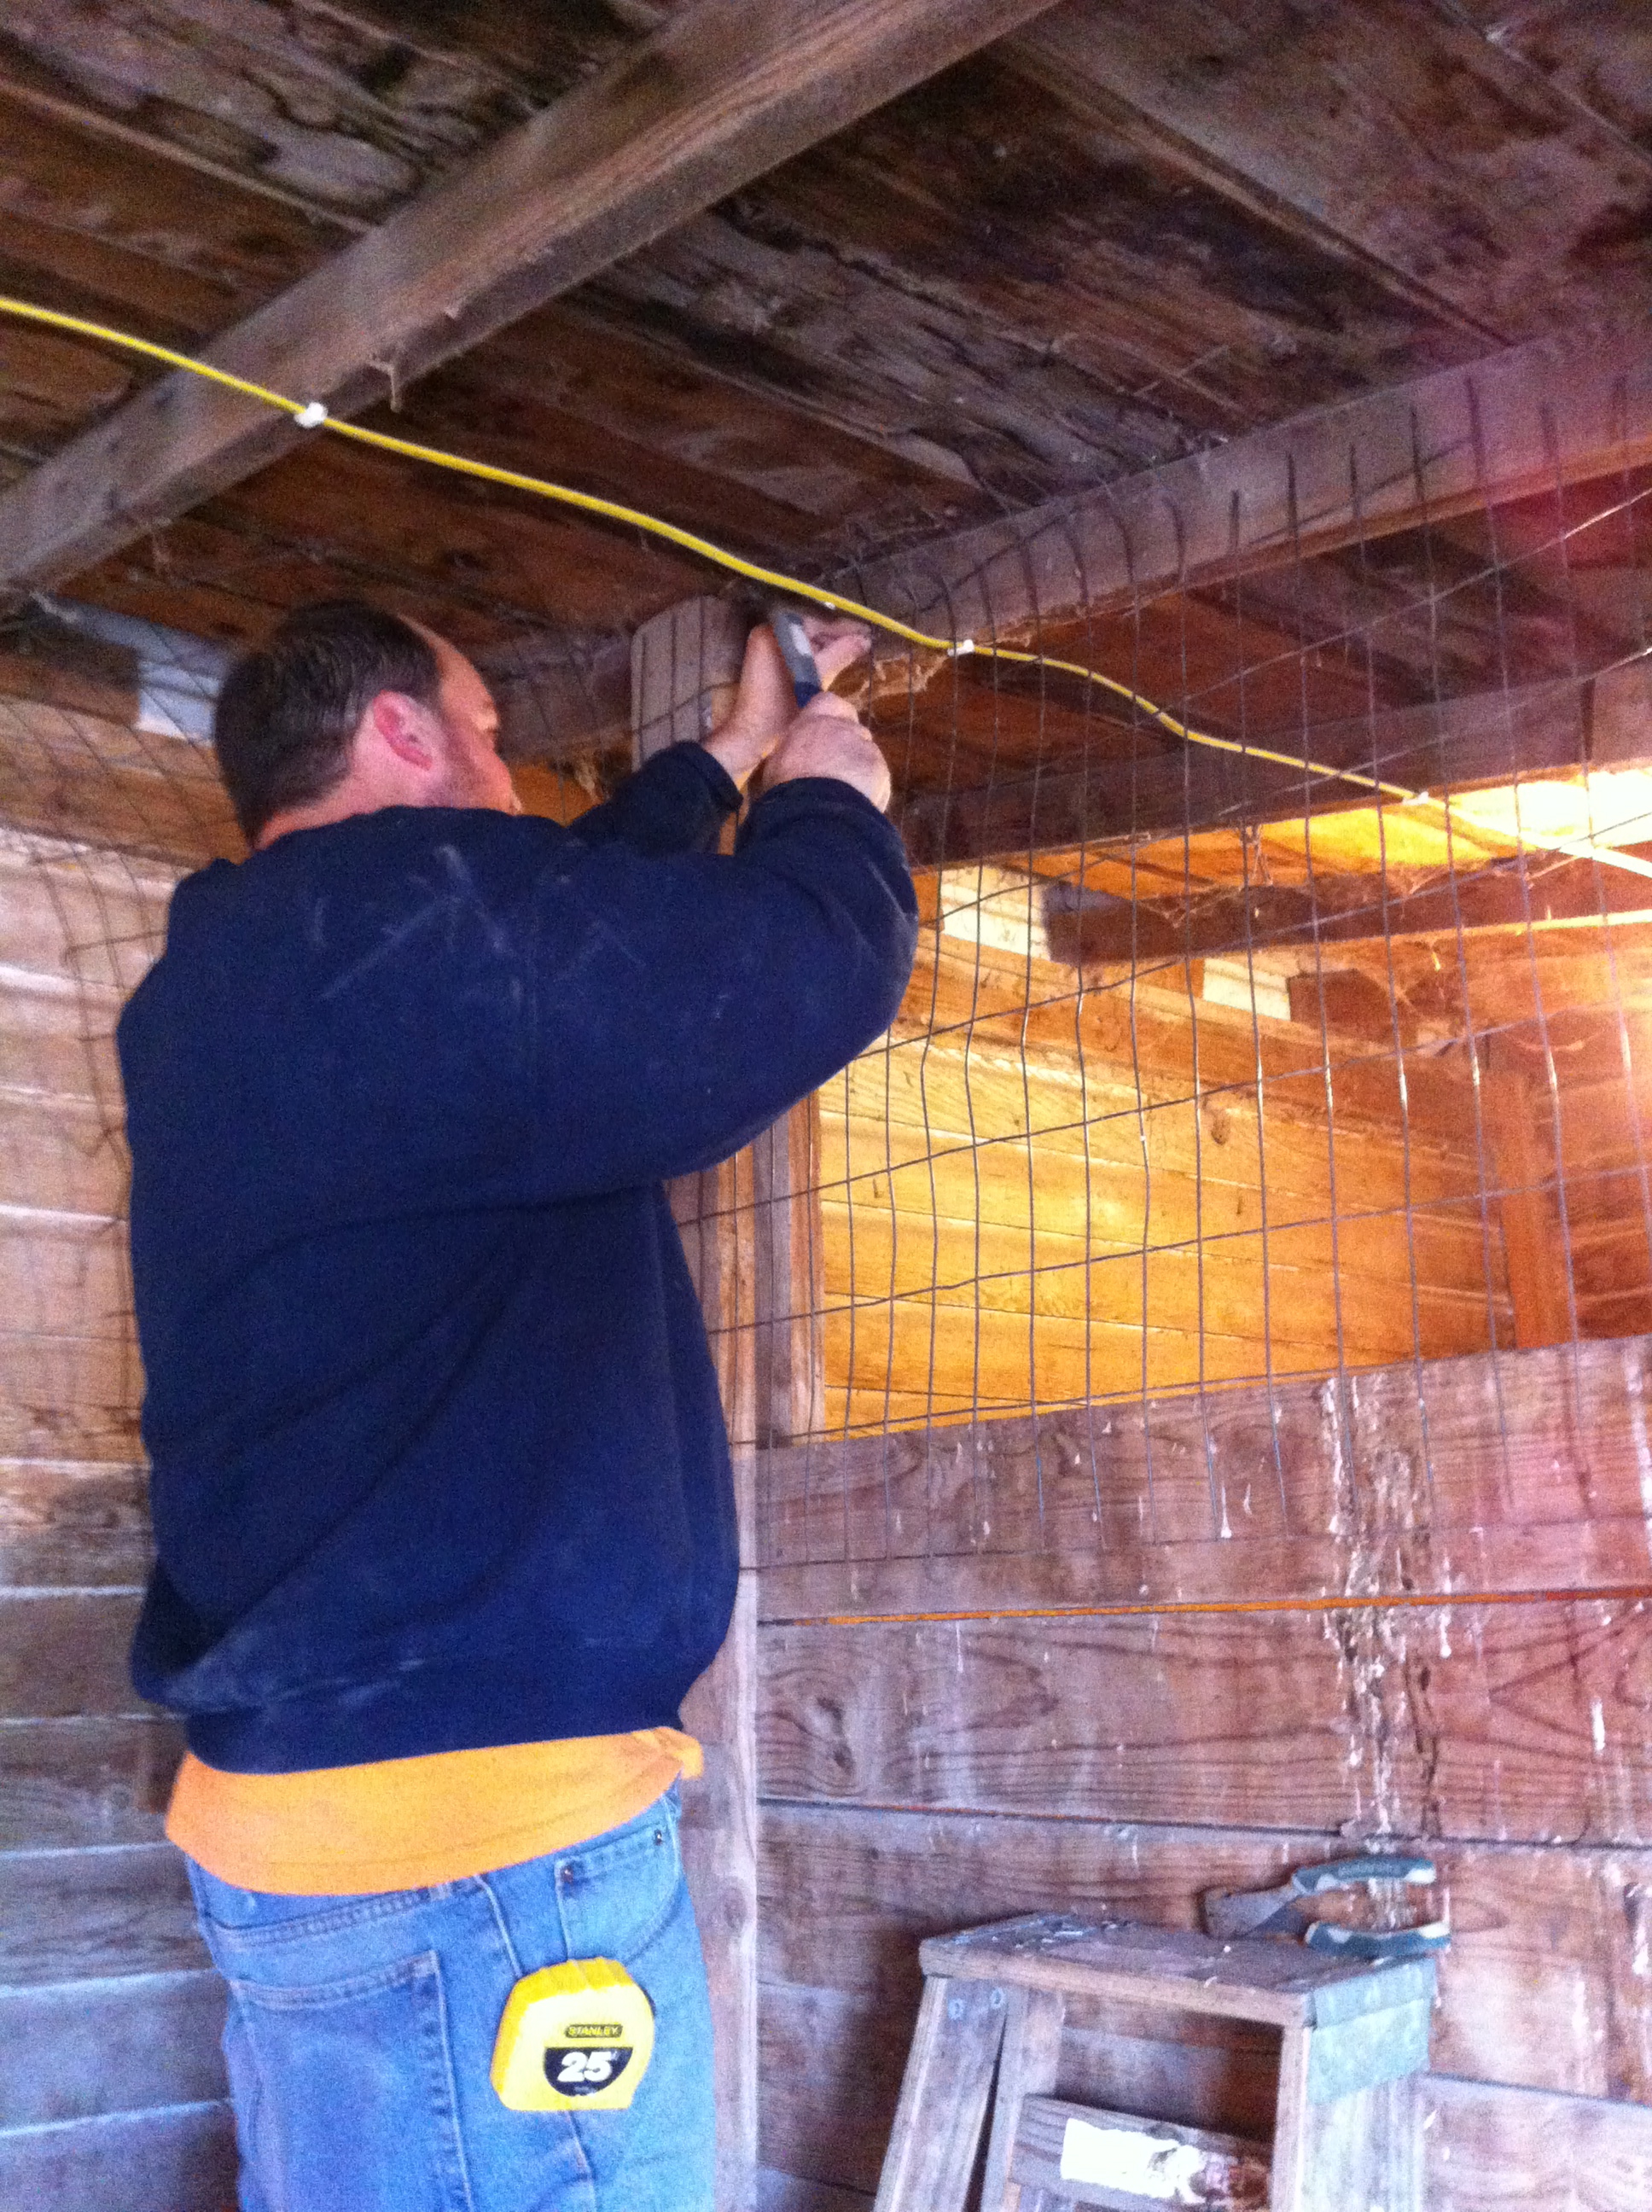
I showed you the DIY project I did on Saturday but that’s not all we got done! Wrexy worked in the barn and got two rooms ready to raise baby chicks. We have quite a few hens that like to sit on eggs so he added some lights and wire and nest boxes to get those girls a going! The man loves all kinds of livestock but I really think he might be happiest in the chicken house…
Putting up wire
****************
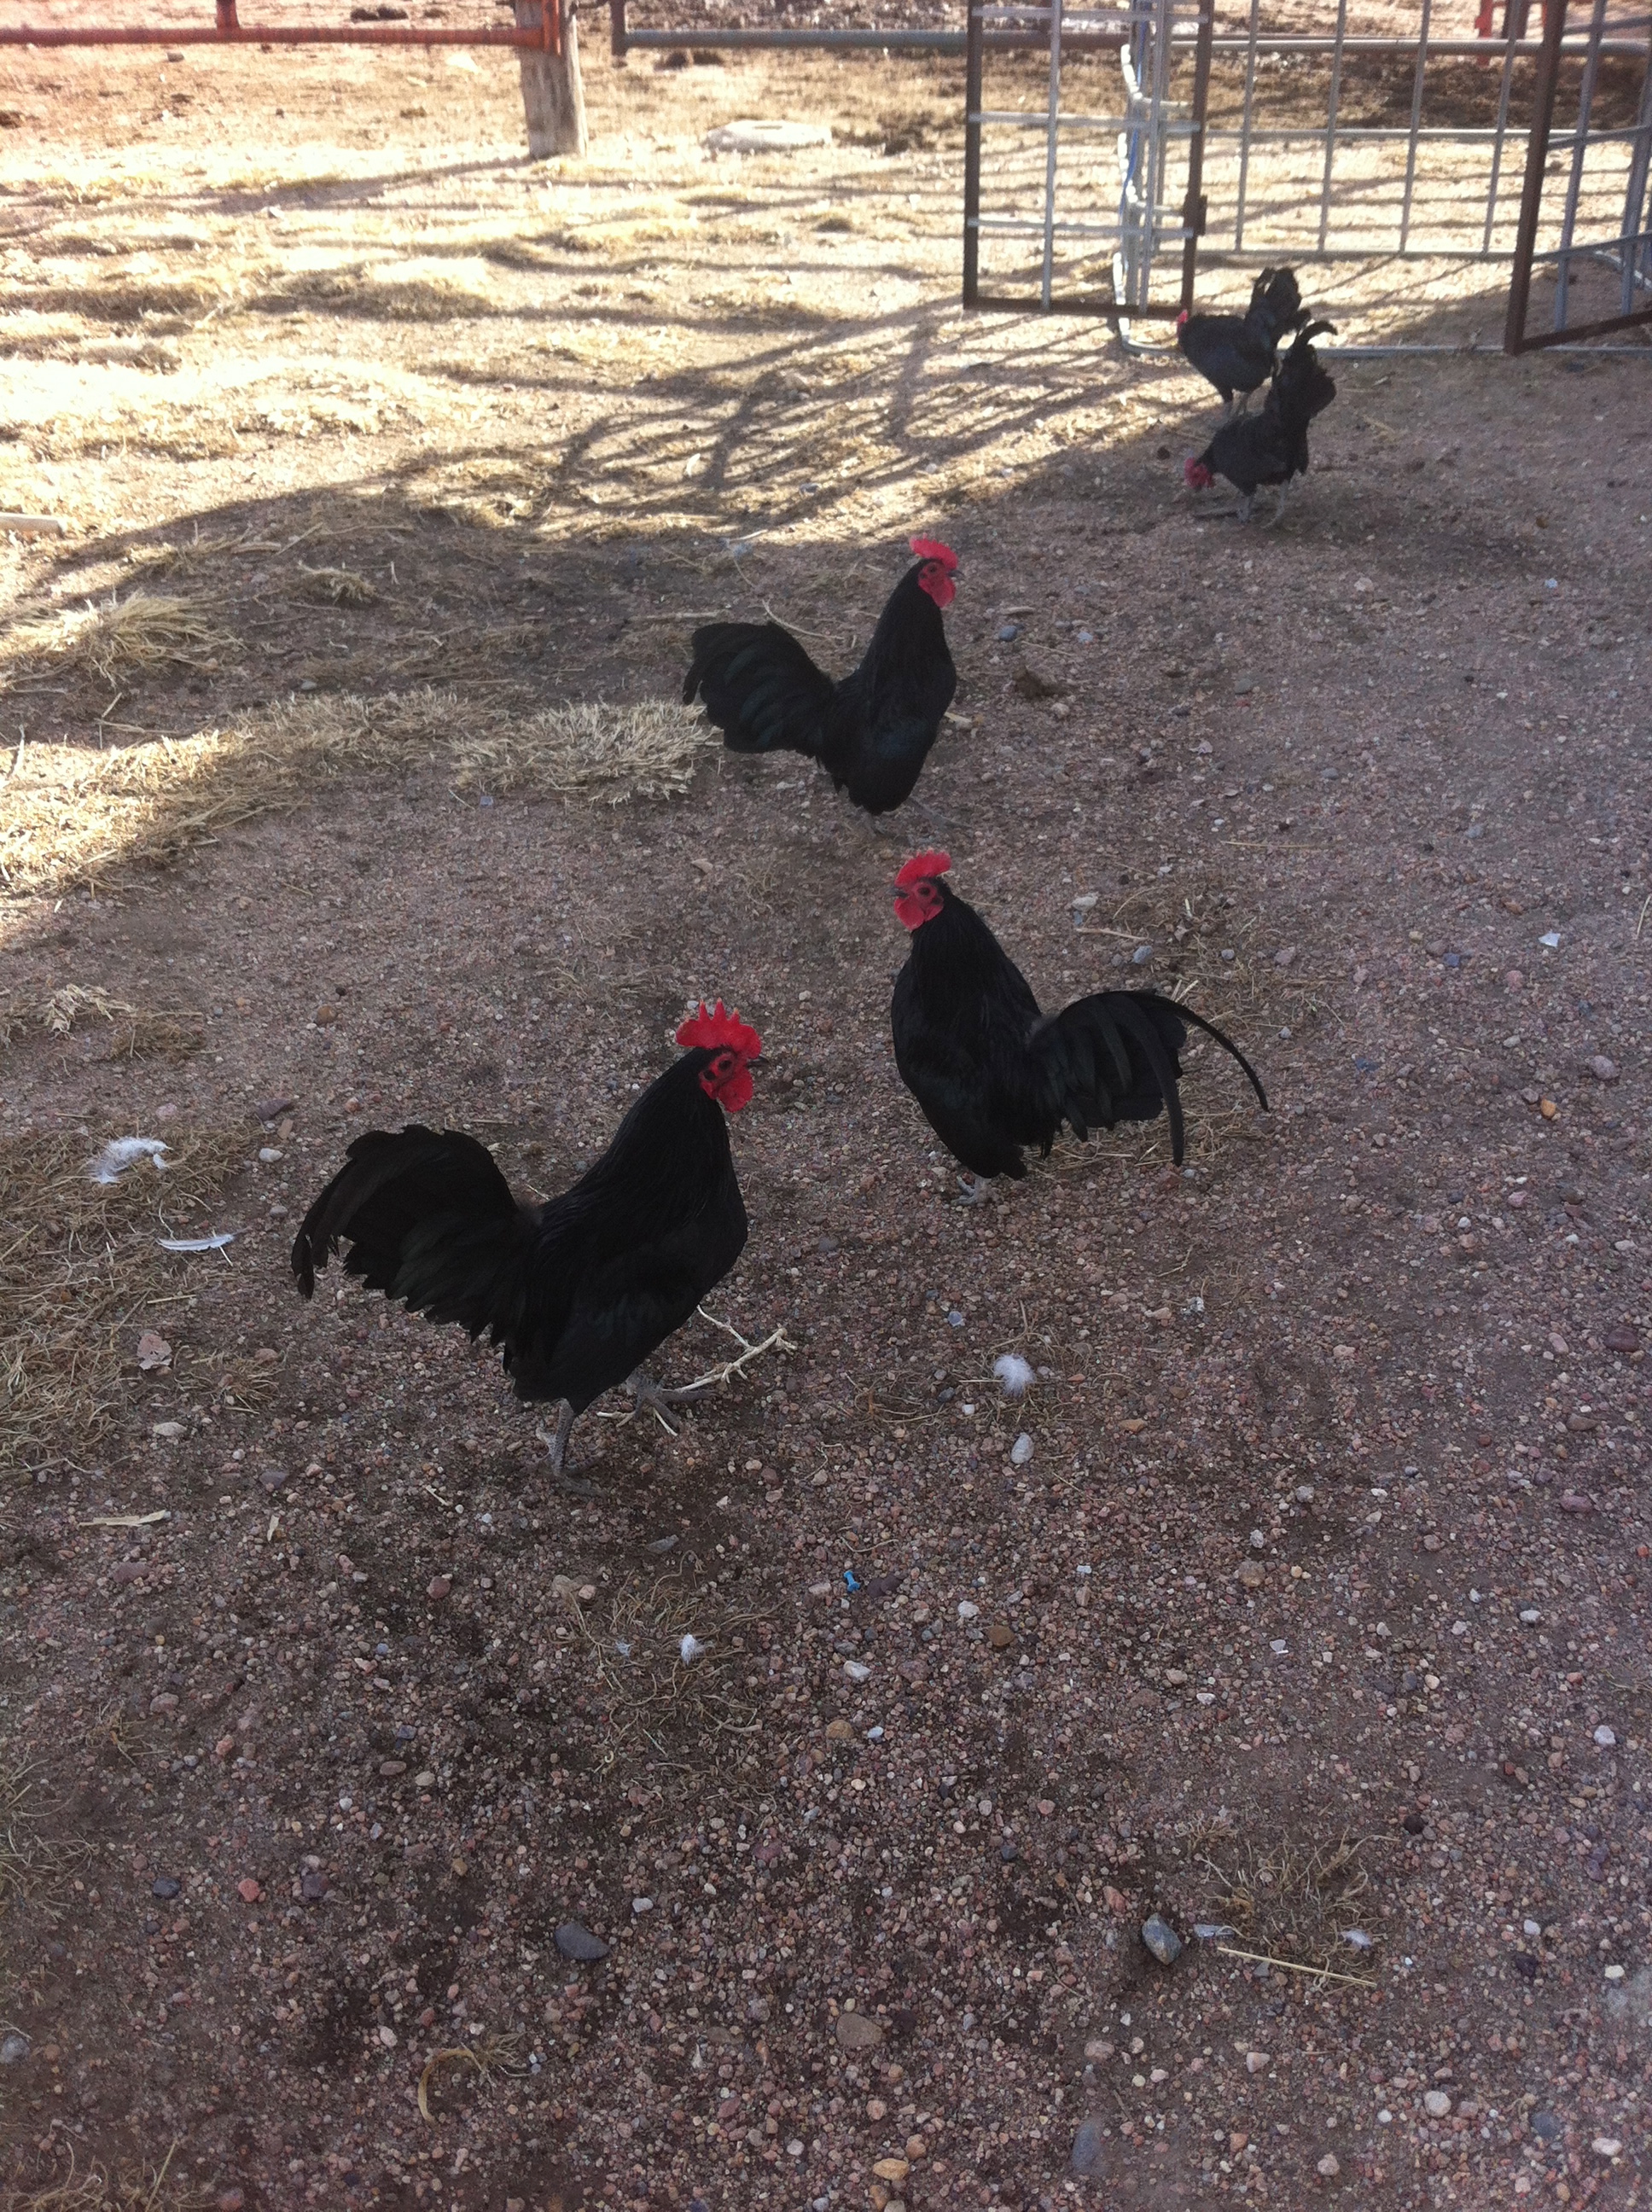
Speaking of the chickens, we hatched out some black Old English bantams and ended up with about six roosters. I don’t know what you know about Old English, but they’re feisty, cocky little things. The little guys we have love to crow and walk around with their chests puffed out…and they like to attack people. *Ahem*
Cocky little things…
They’re tiny and can’t really do much damage, but they’re definitely annoying……..and they scare Wryder to death! He has been victim to their taunting more times than I can count. We’ve given him permission to defend himself but he just freezes and cries until one of us comes to the rescue.
This weekend was no exception. They had him cornered outside the barn door and he was crying and get stared down. Sawyer came to the rescue with her baby stroller and cleaned house. 🙂
Later, Wrex and I were talking about what we needed to do with them and Sawyer said, “We need to give those naughty roosters away! I think we need to send them to Iraq so they can get dead.”
It seems as though every naughty/evil/mean thing hails from Iraq in her mind after we talked to her several months ago about praying for our people there. It’s not a funny situation but to hear her solution definitely was. We had a good laugh about that one!
****************
Saturday afternoon, the wind died down and we took the opportunity to burn tumbleweeds. Those things are rampant around here and we hauled and burned for well over an hour.
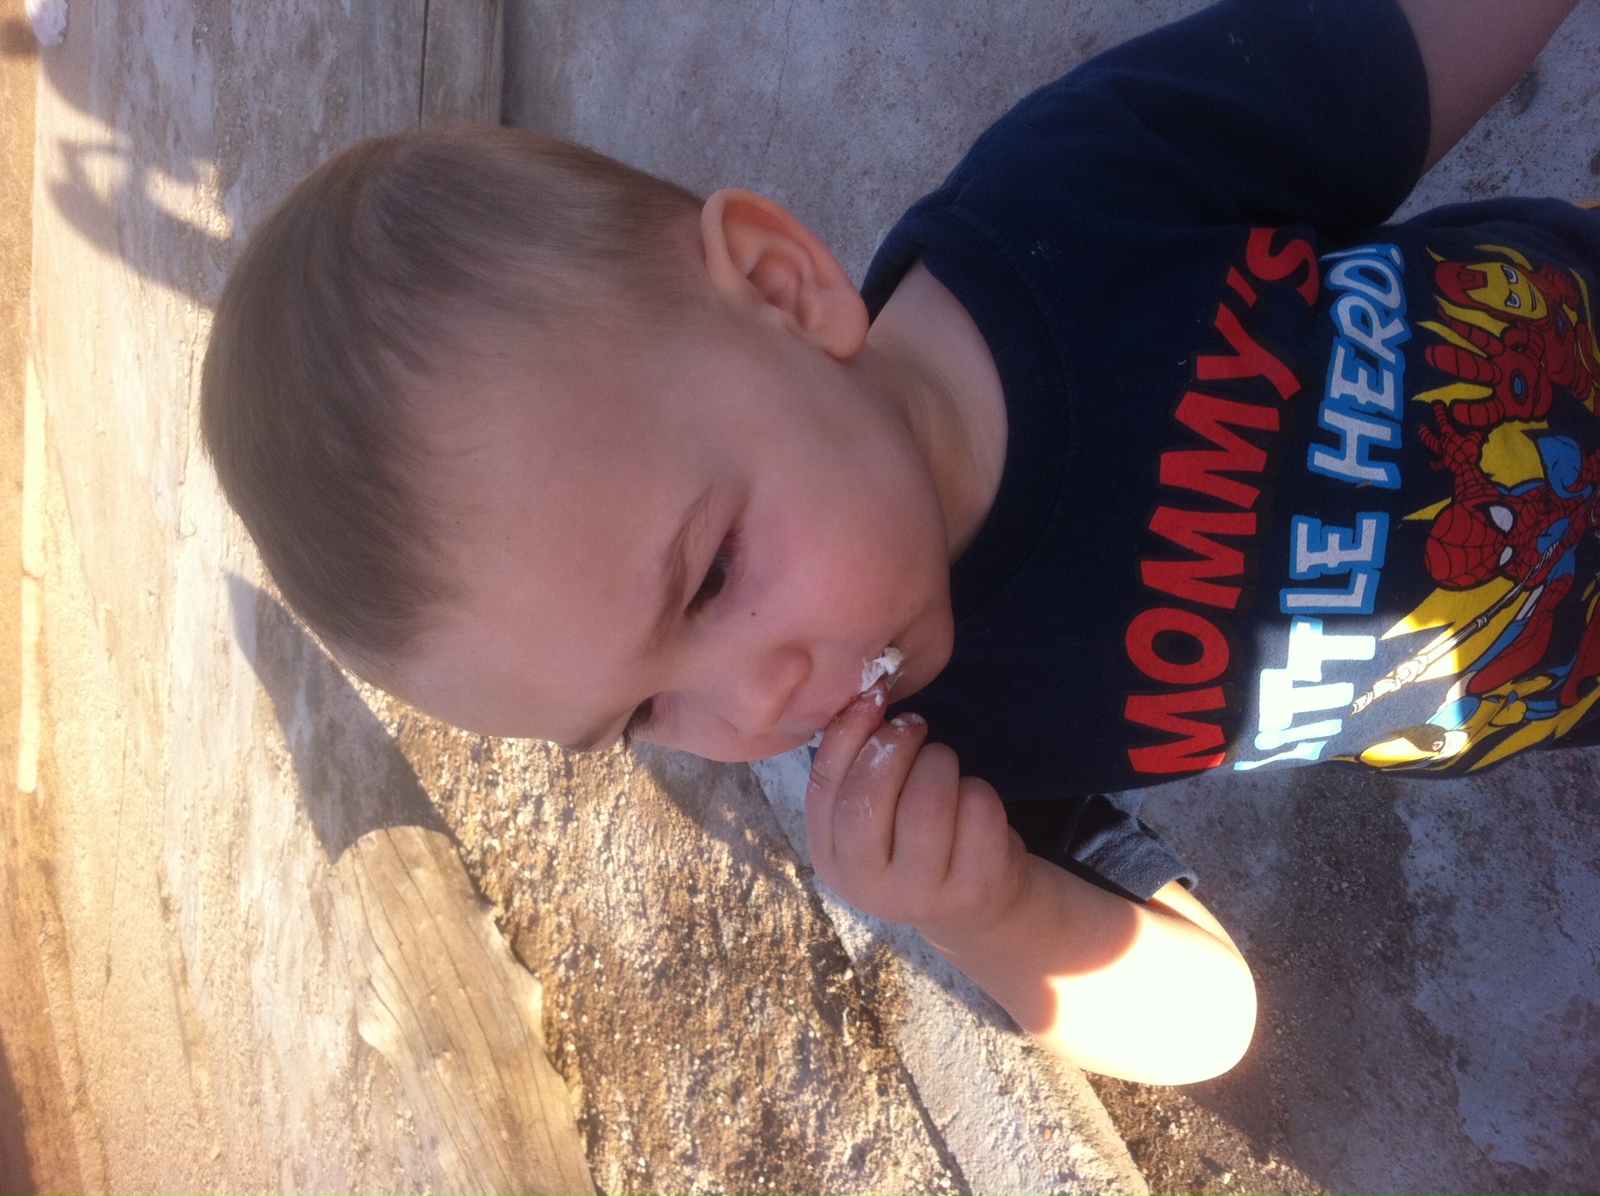
After we were done, we took advantage of our few little burning embers and roasted marshmallows – good use of fire, yes? This was Wryder’s first time having a warm, gooey mallow and they were a hit!
Yum!
He stole two cold ones out of the tin while I was getting things ready, ate two warm ones and then stole one from a chicken that Sawyer had been trying to feed. *Ahem*
All smiles!
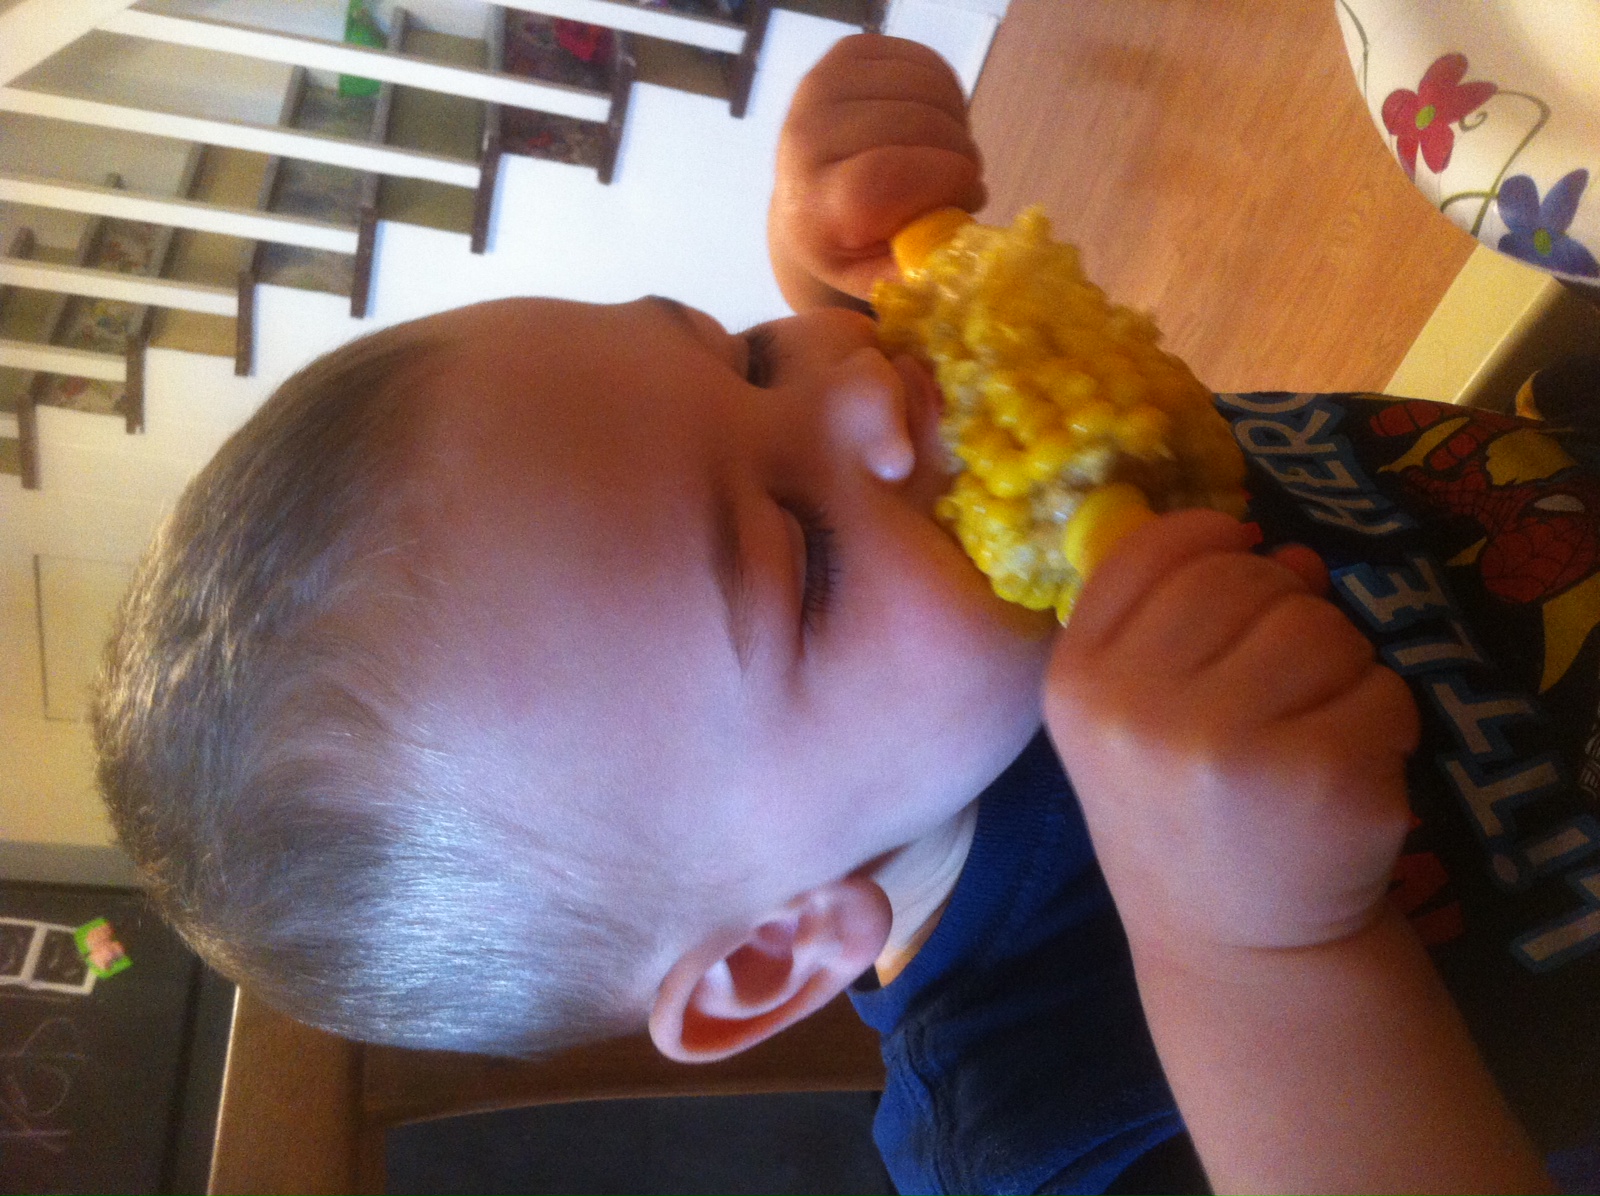
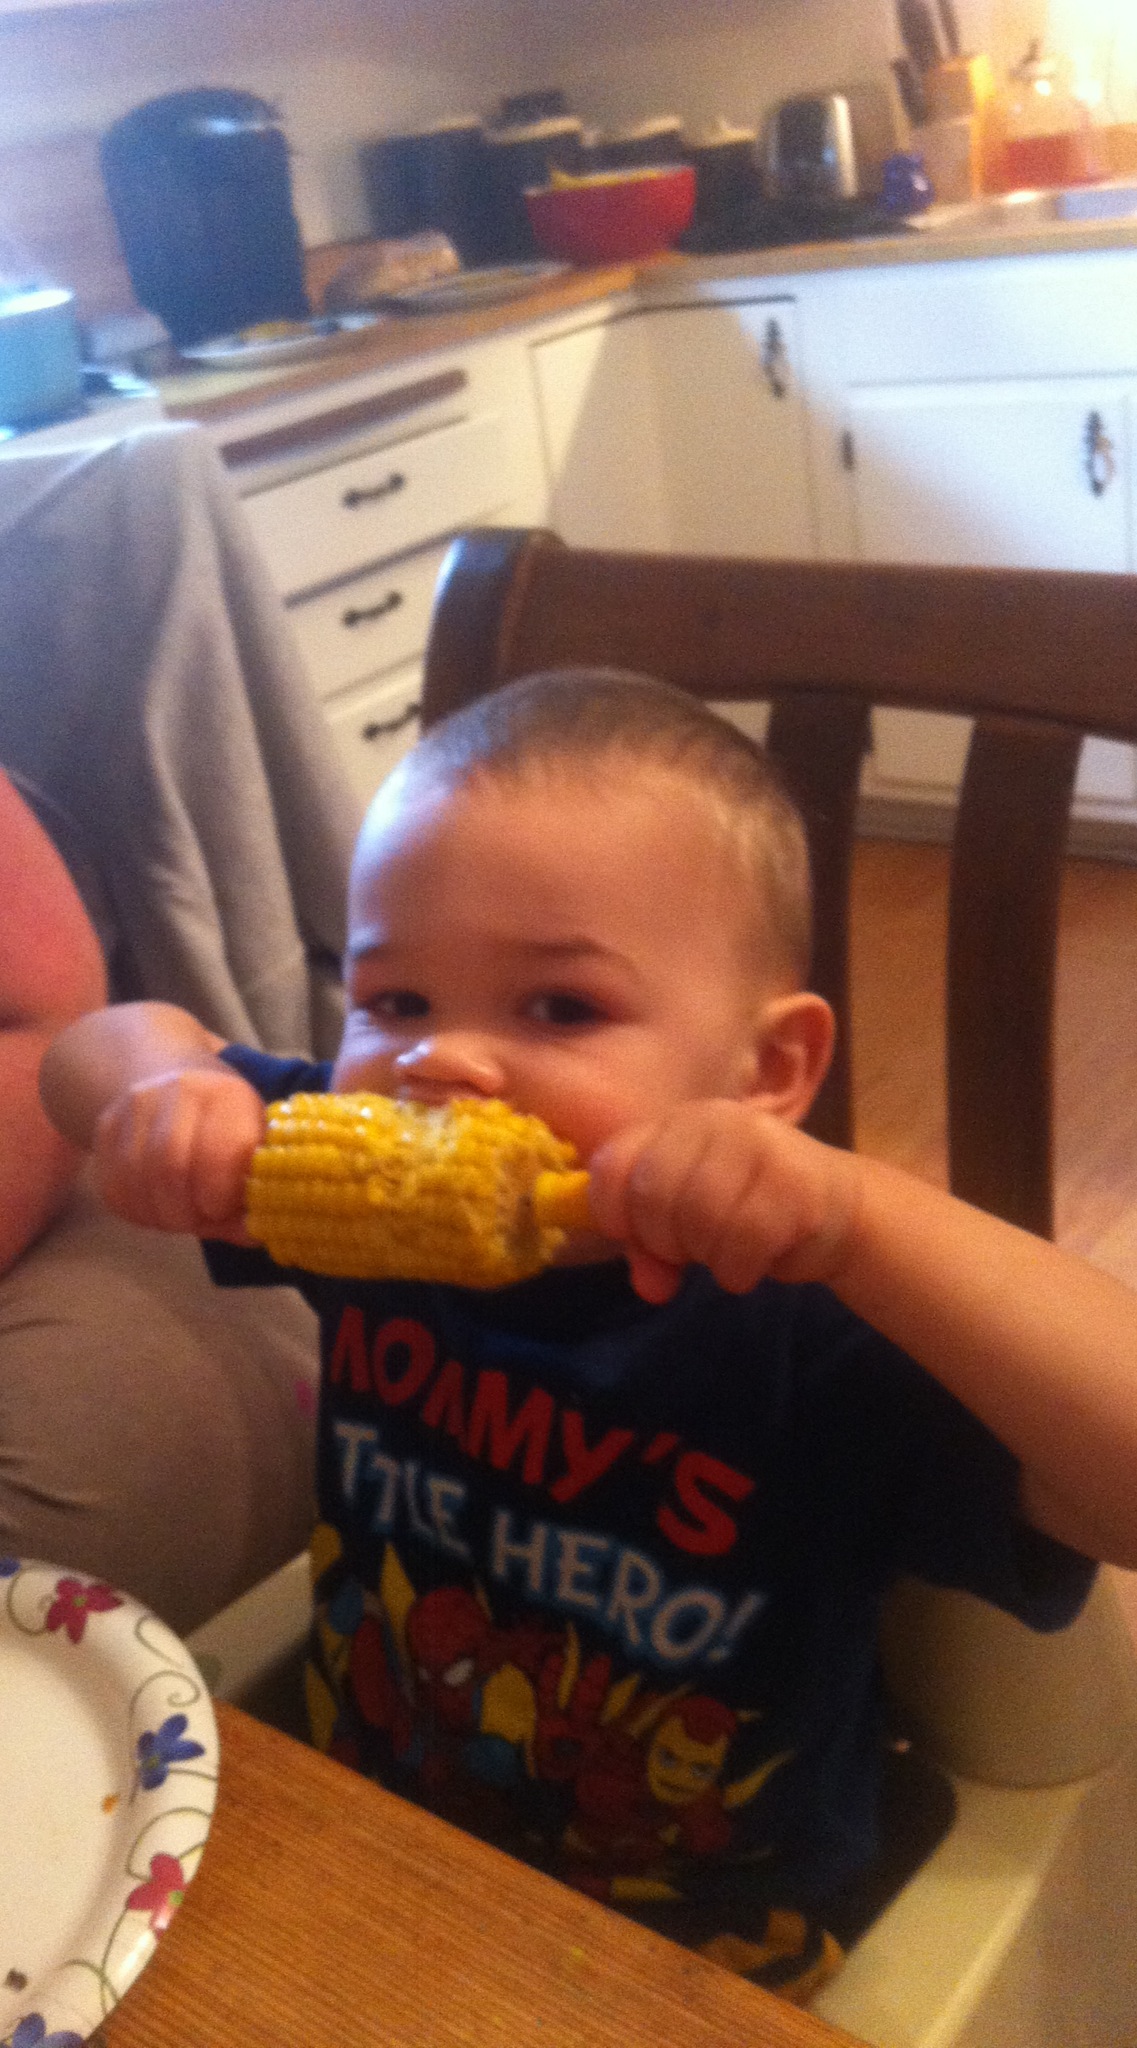
He also had his first corn on the cob that he got to hold himself. He was equally impressed!
****************
We made a quick trip to Denver on Sunday for a birthday party for a really special friend of Sawyer’s. We ate lunch with Uncle Warner beforehand – always a good time.
Uncle Warner and a happy niece and nephew!
The birthday party was a Frozen theme and Sawyer had a ball, of course! She came home with a bag full of goodies, one of which was a little bag of marshmallows, pretzels and raisins with a tag that said, “Do you want to build a snowman?”
She ate it on the way home last night and said, “Hmmmm. That tasted kind of funny. I’ve never had an Olaf before.”
She was serious as a heart attack and we about drove off the road laughing so hard!
****************
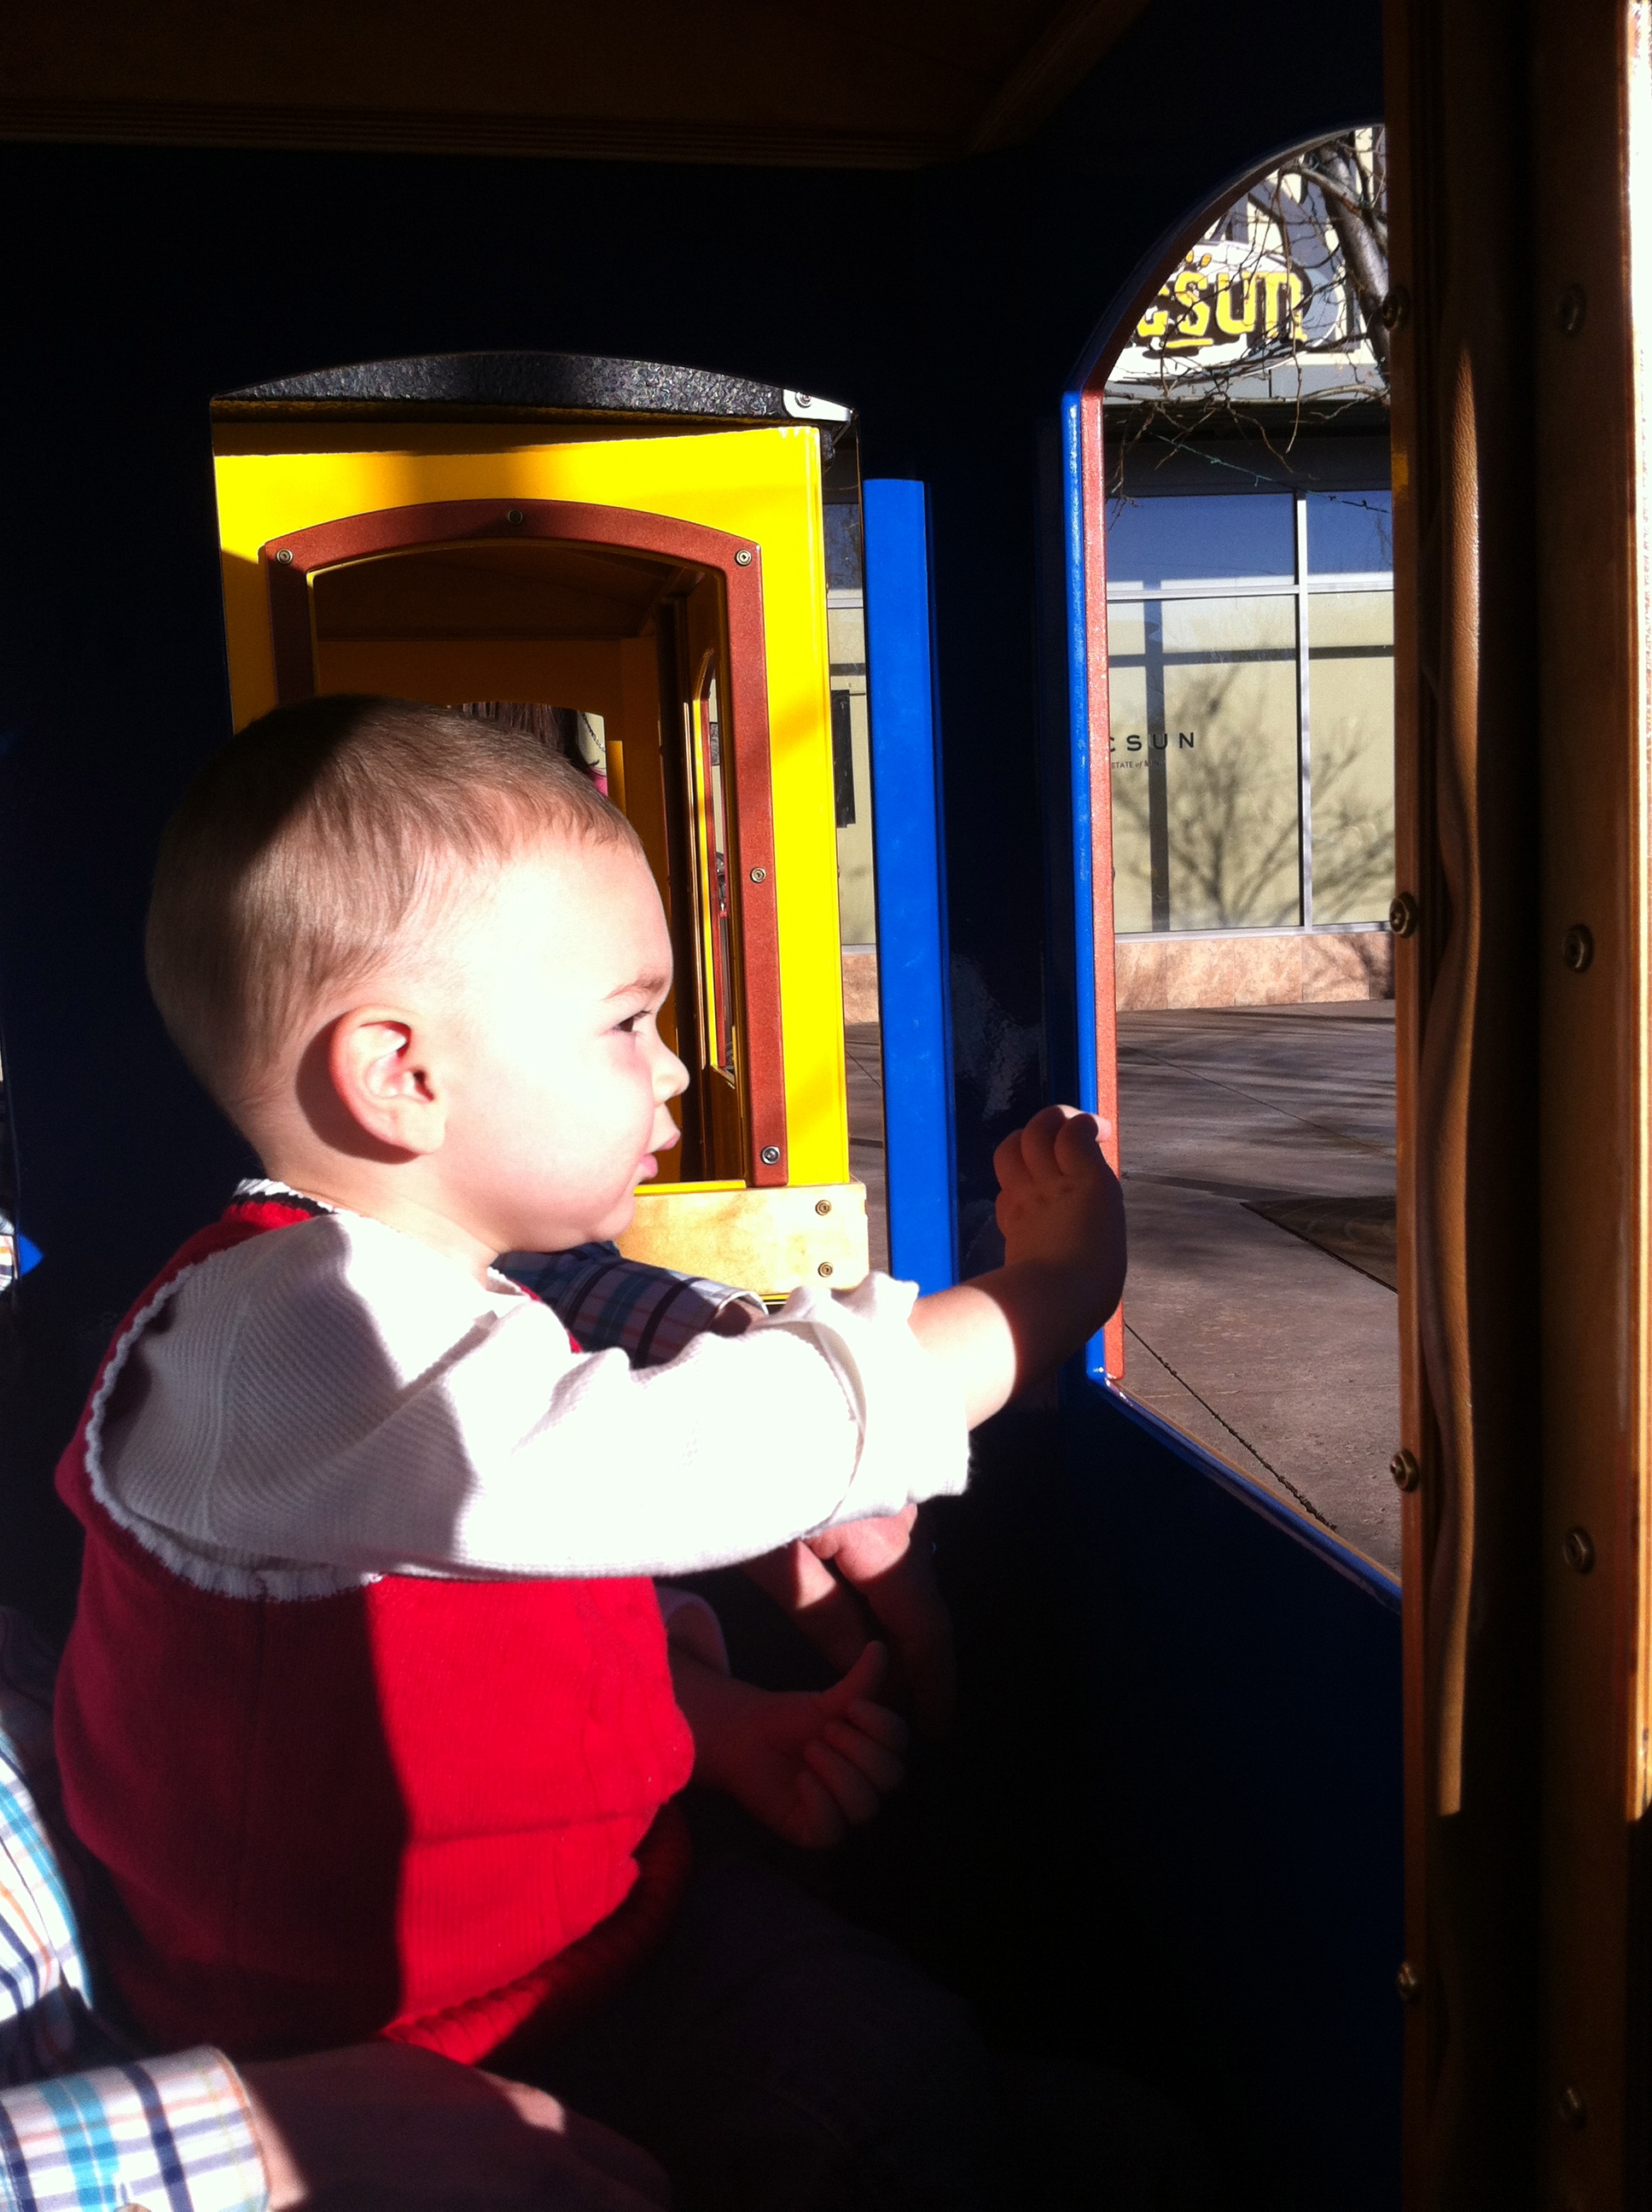
We had a good, productive trip! We found a brand new bassinet on Craigslist for $25, got Wrexy measured for a tux for a wedding he’s in this summer, loaded up on a few diapers, wipes and a few thrift store goodies, ate some Red Mango for an afternoon snack and took a trip around the Orchard in the little train.
Train!Waving to the crowds
Wryder loved the train, especially every time the whistle blew. He’d look at me with this little surprised face – so cute!
What was that?!
****************
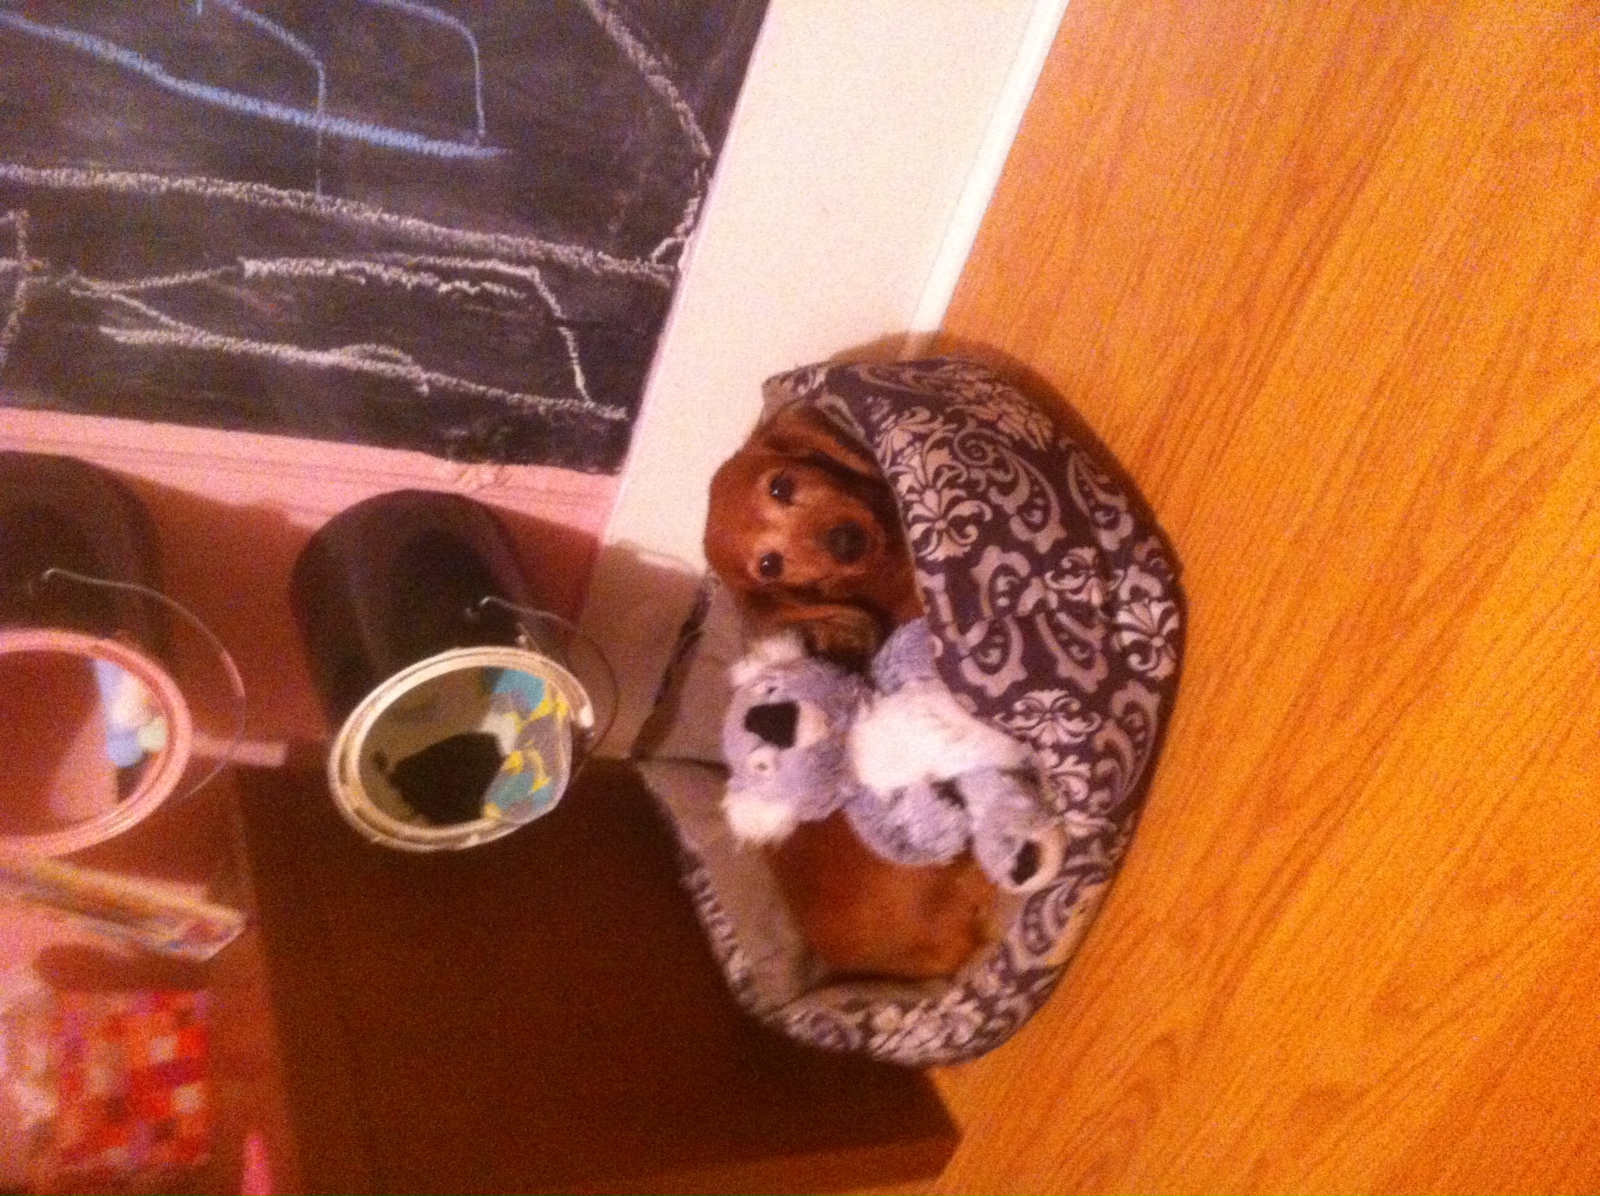
A sweet little dog named Booey got to spend the night with Sawyer Friday night – one of her favorite things.
Booey
She even got her own animal to sleep with. 🙂
****************
We did a few more little things in Sayble’s room that I’ll have to show you some pictures of…we snapped a few pics of the kids for a little Valentine’s card for the grandparents…washed a pound and a half of dirt off of each kid…and just enjoyed our time together. This week is shaping up to be just as pretty…can’t wait to enjoy it, too!
Today was another gorgeous day out on the Eastern plains of Colorado. I think the family could just feel it, as we were all up earlier than normal and ready to be outside!
We stopped by the garage to do a little spray painting for Sayble’s room (told you I wasn’t quite done) and while we were there, I found some excess pieces of wood from the shelves Wrex made to hold her bunny baskets. The project bug bit me and I had him cut them into squares for me while I grabbed some paint and made a heart template.
I decided to make them into conversation heart blocks – easy, peasy!
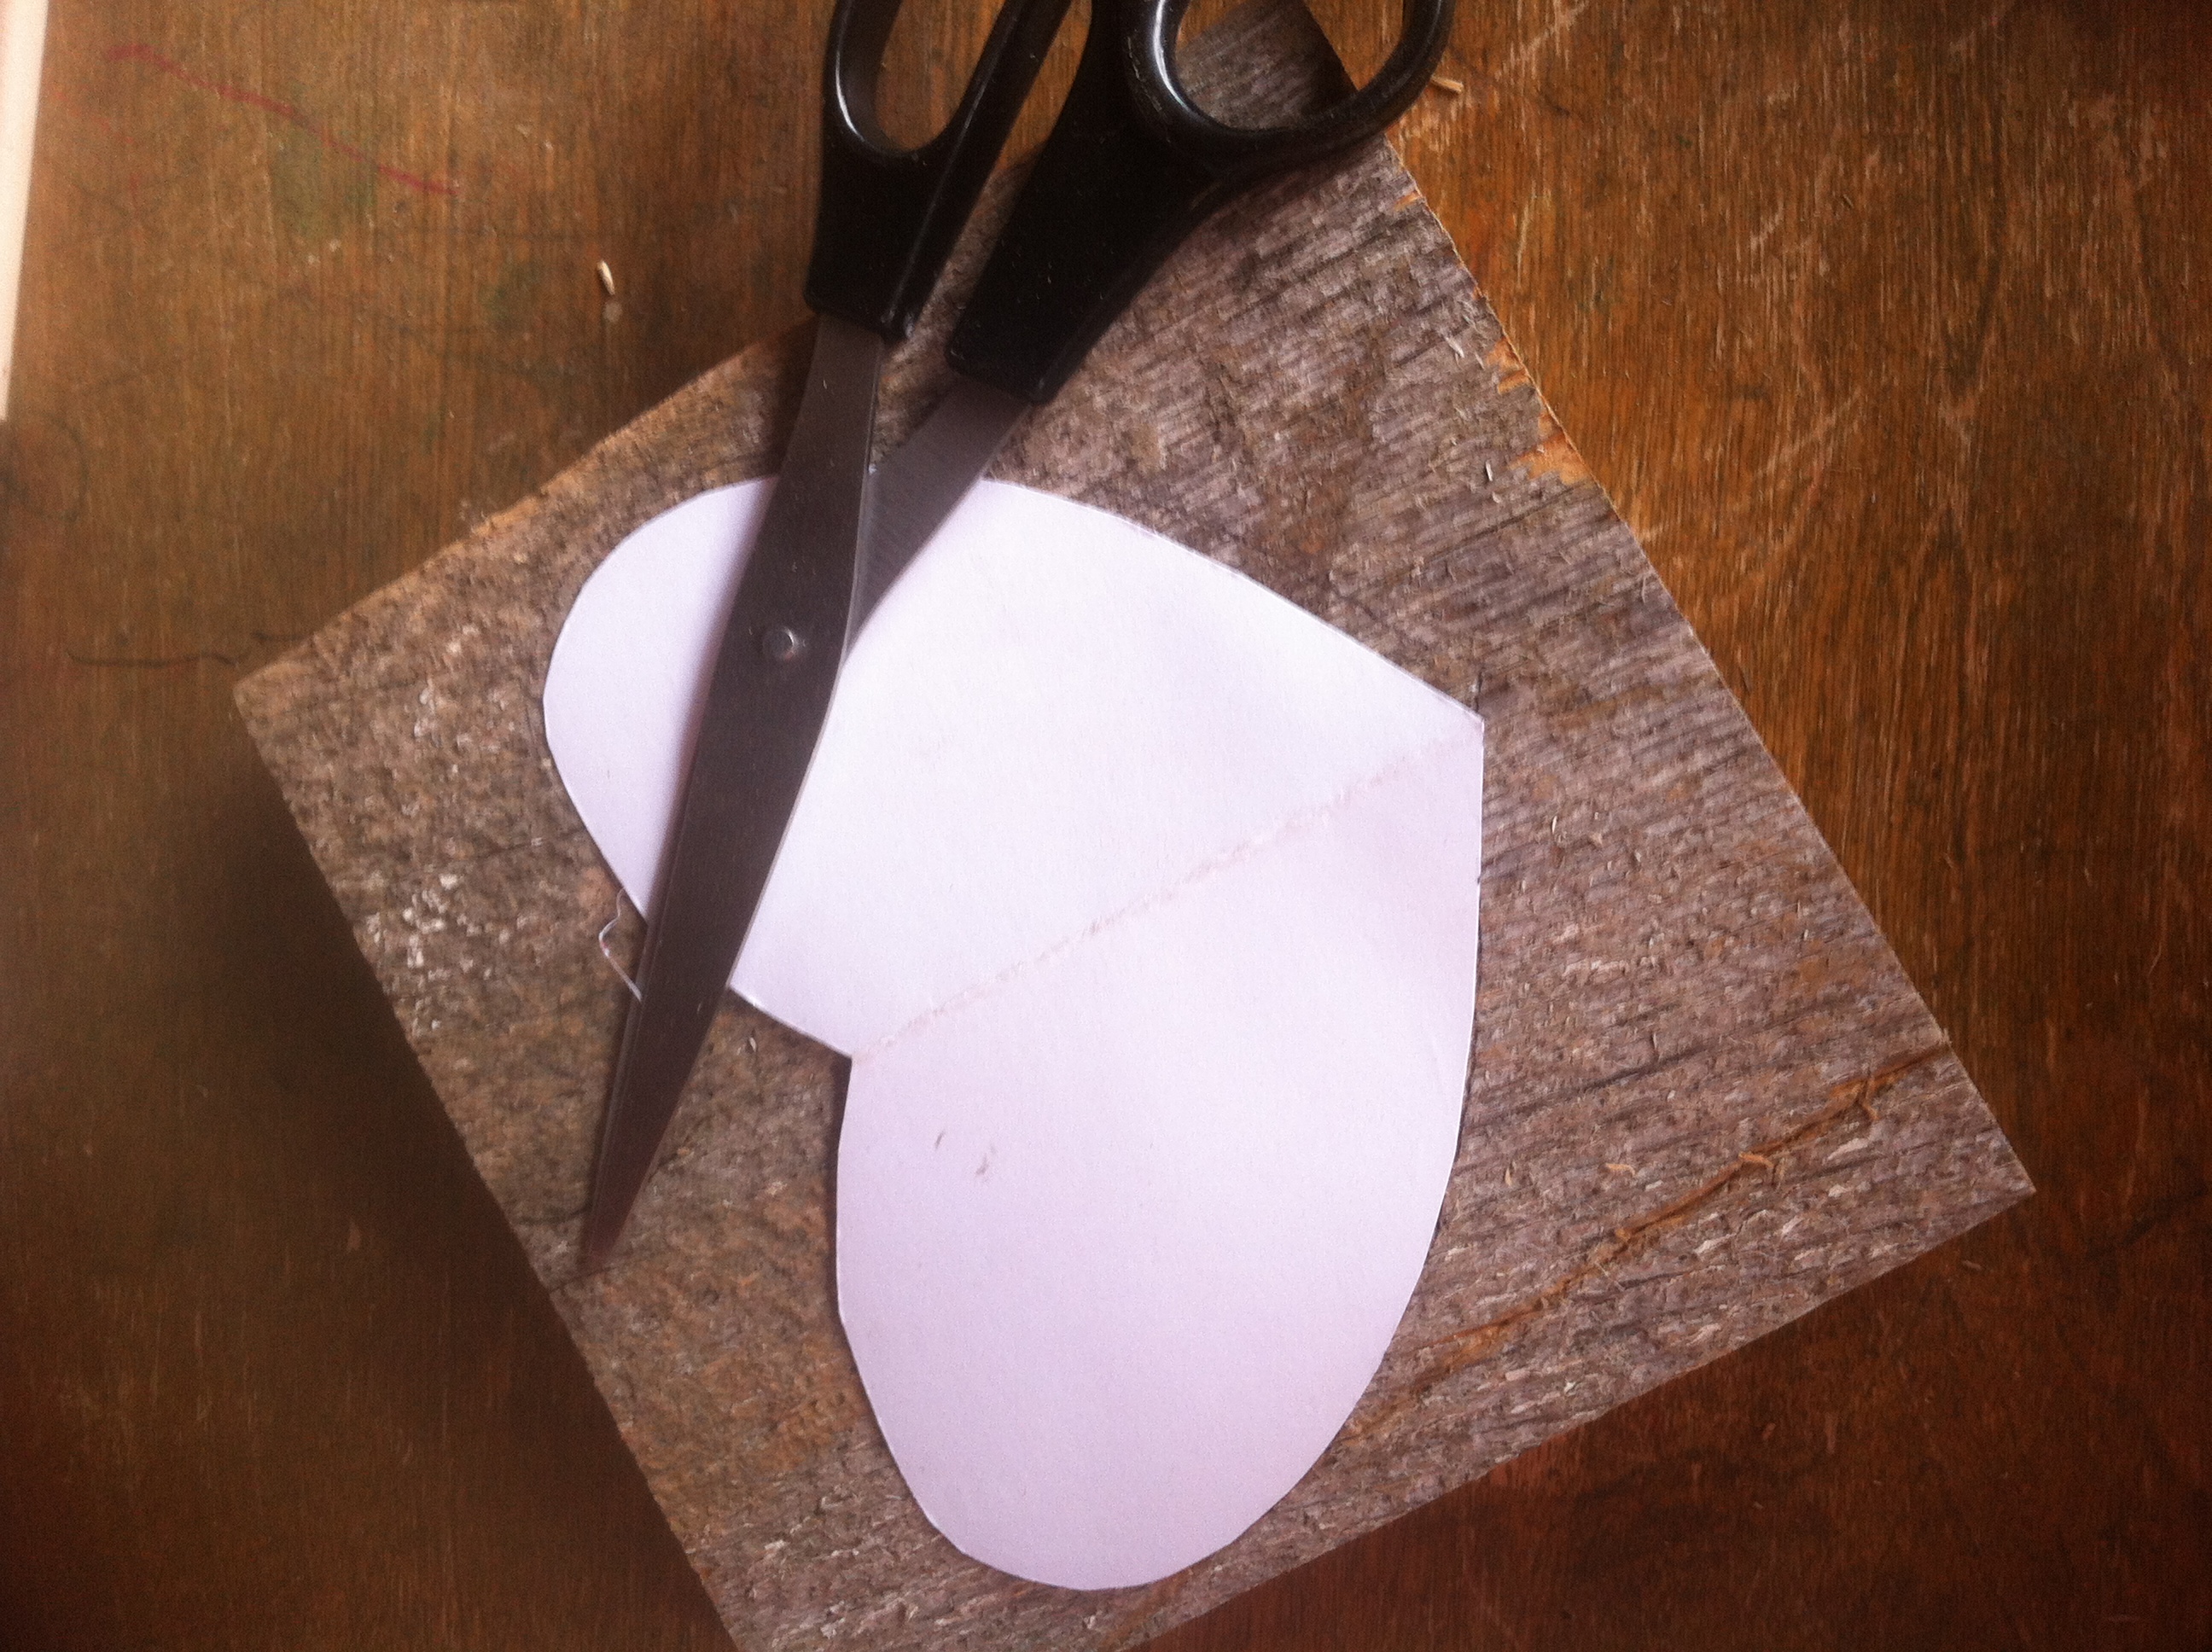
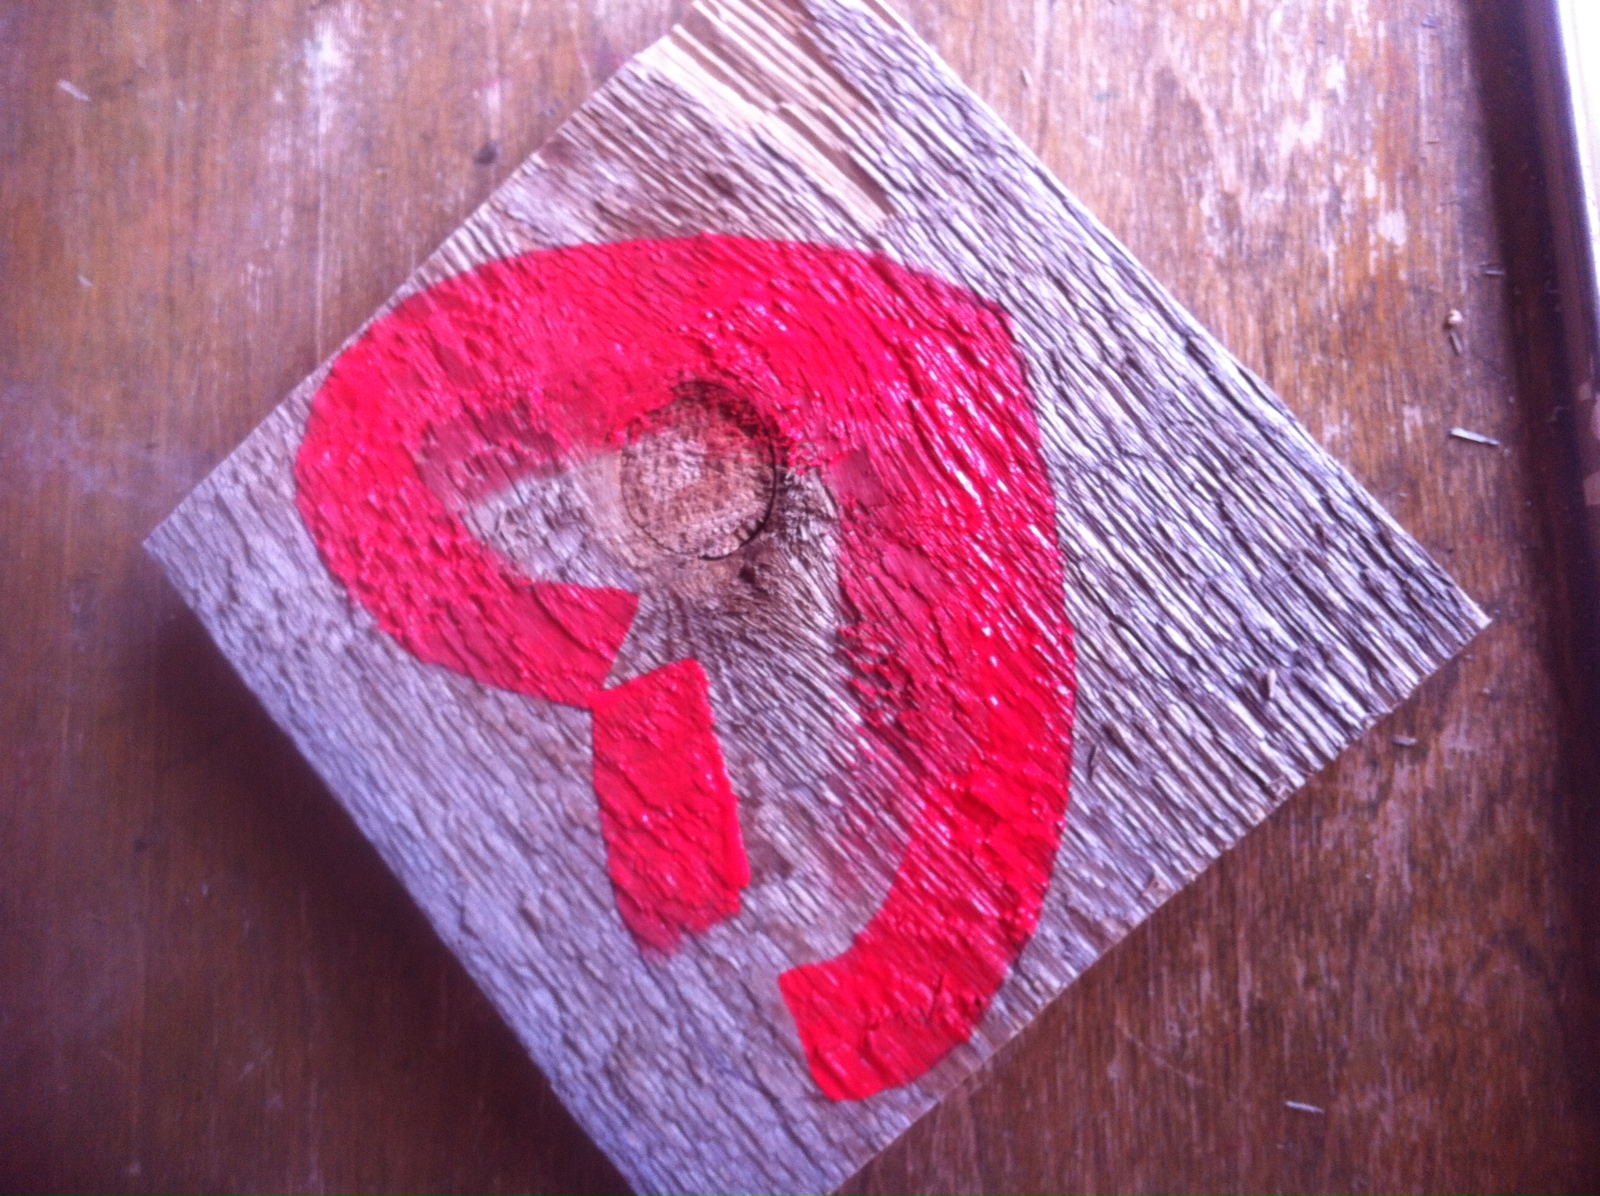
Step 1: Cut or find some square pieces of wood and make a heart template.
I grabbed a piece of cardstock, folded it in half, cut a half heart and then continued shaping it down until it fit the boards I was working with.
My heart
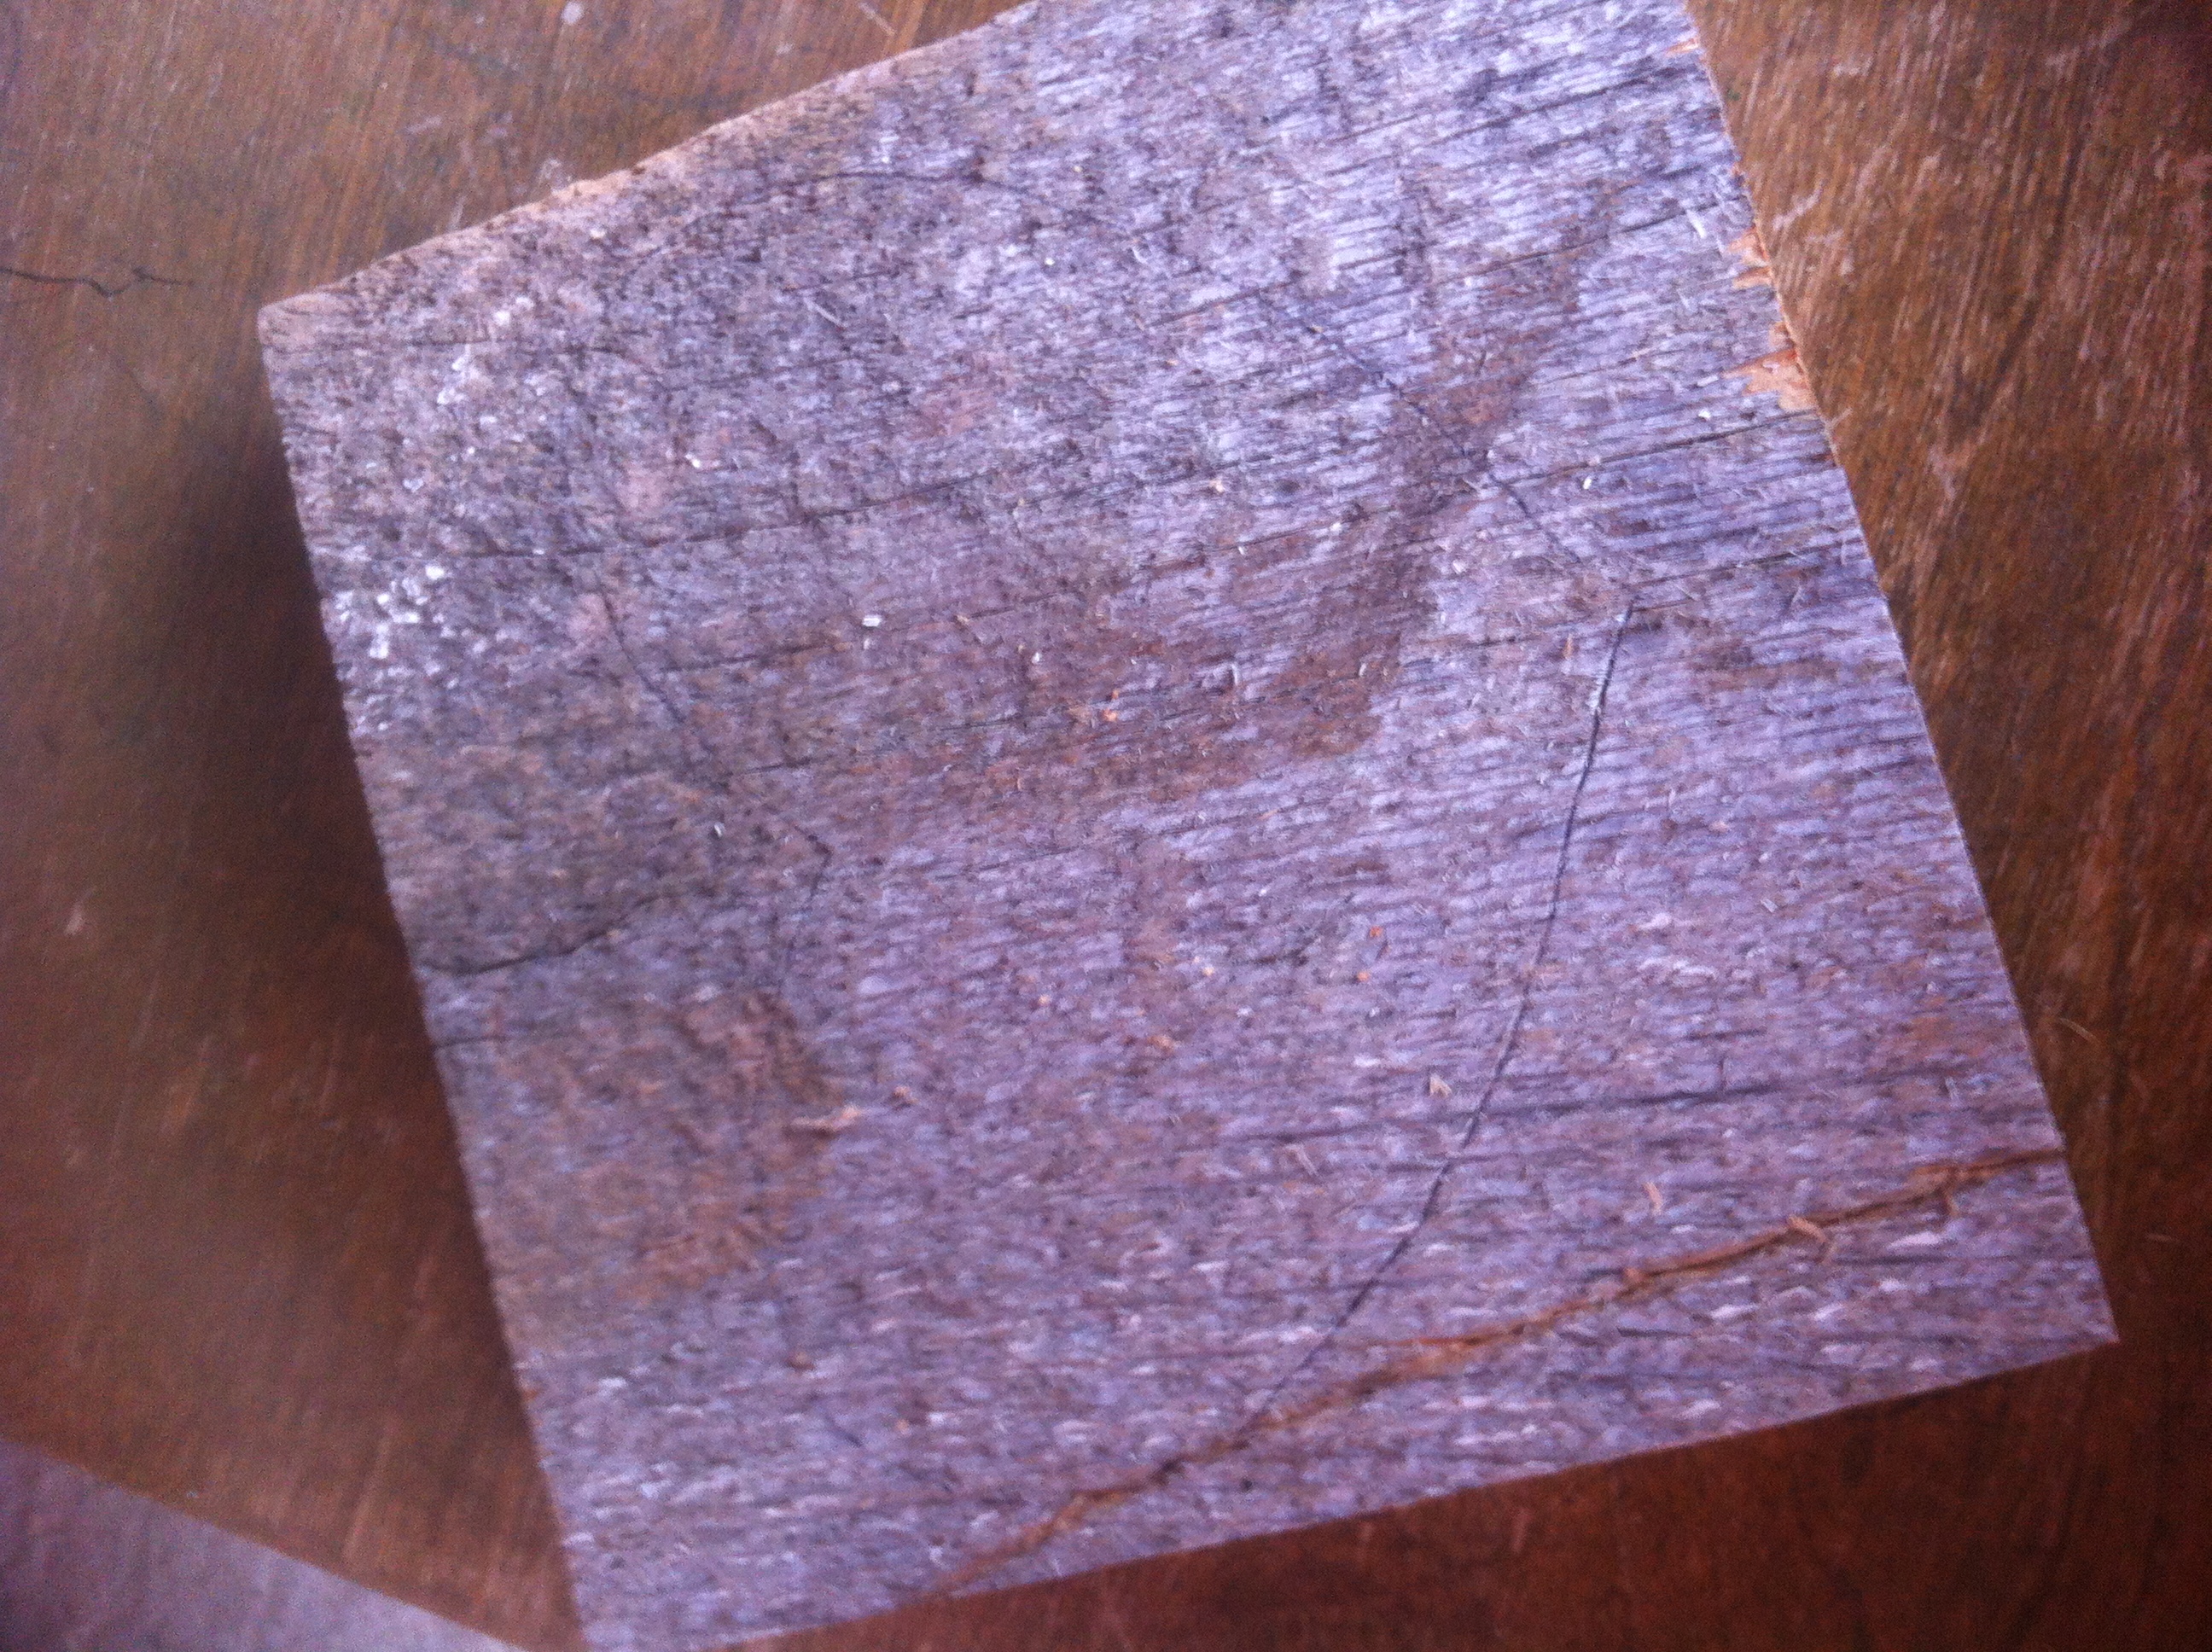
Step 2: Trace the heart on your boards.
Ta-Da!
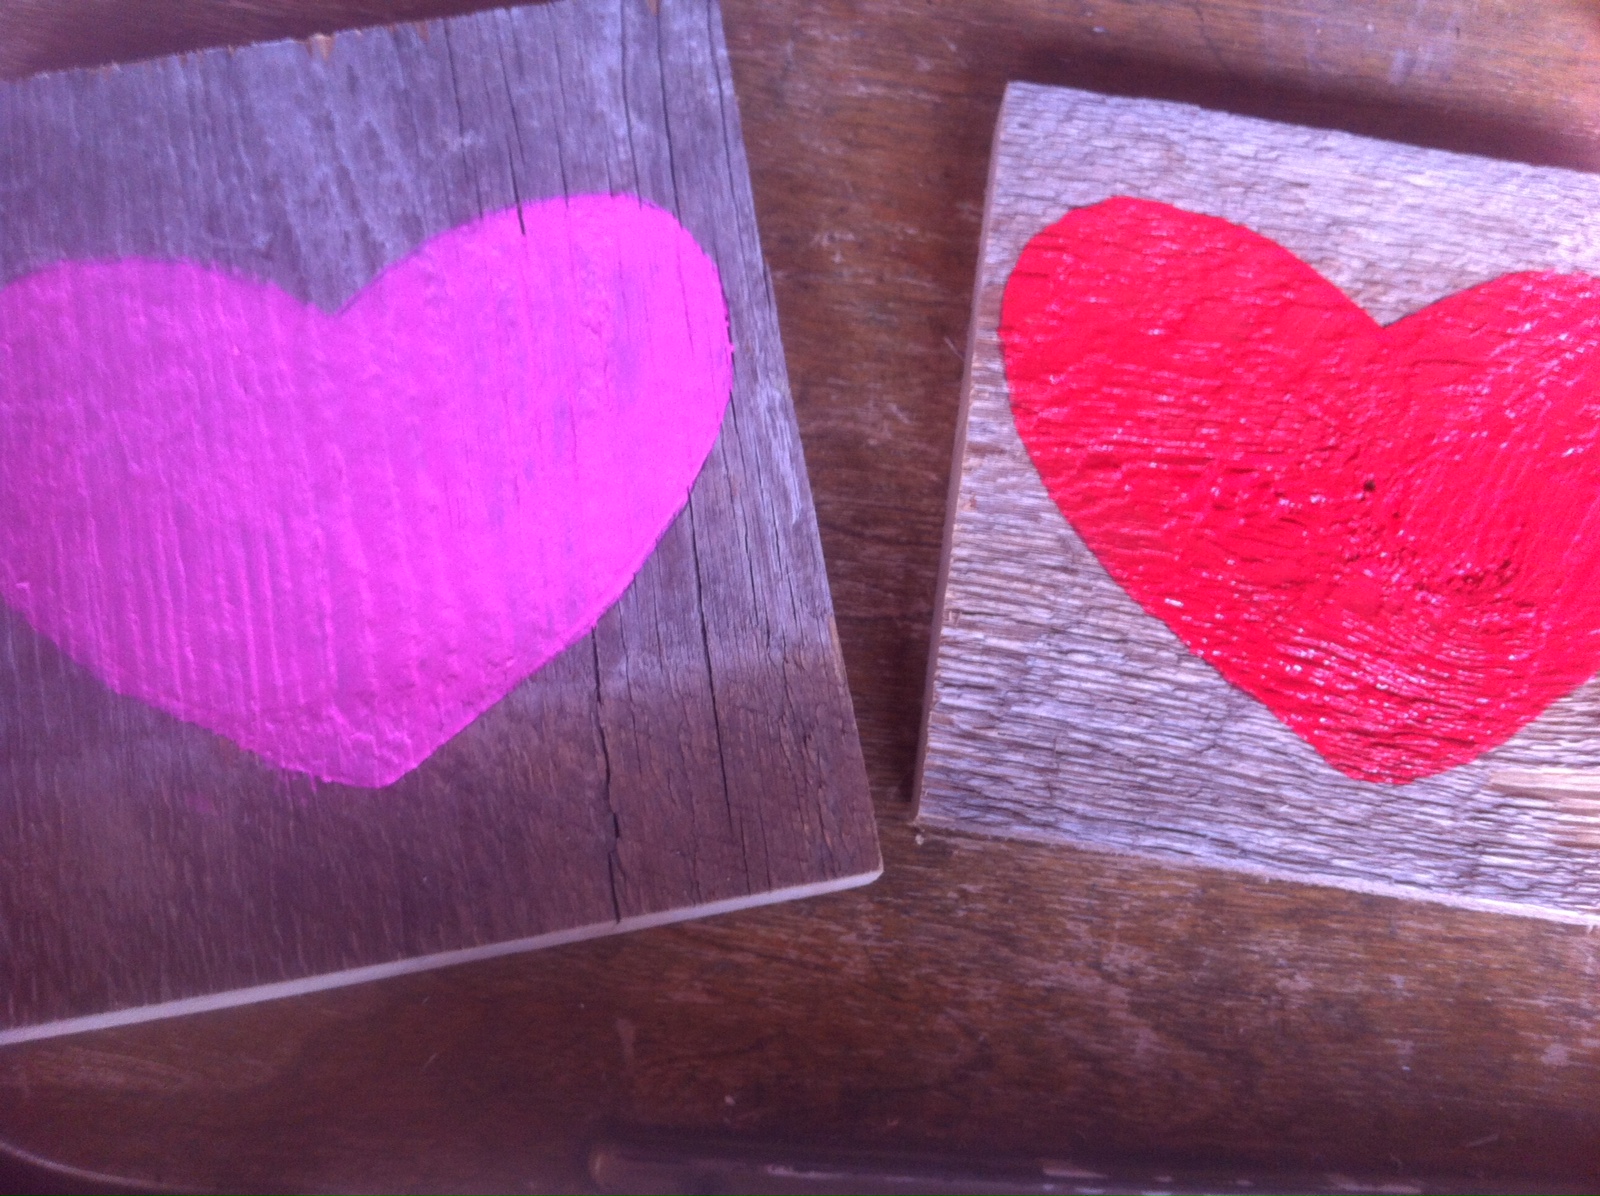
Step 3: Paint your heart.
I really like painting barnwood because it’s usually so dry, the paint dries really quickly!
Red = love
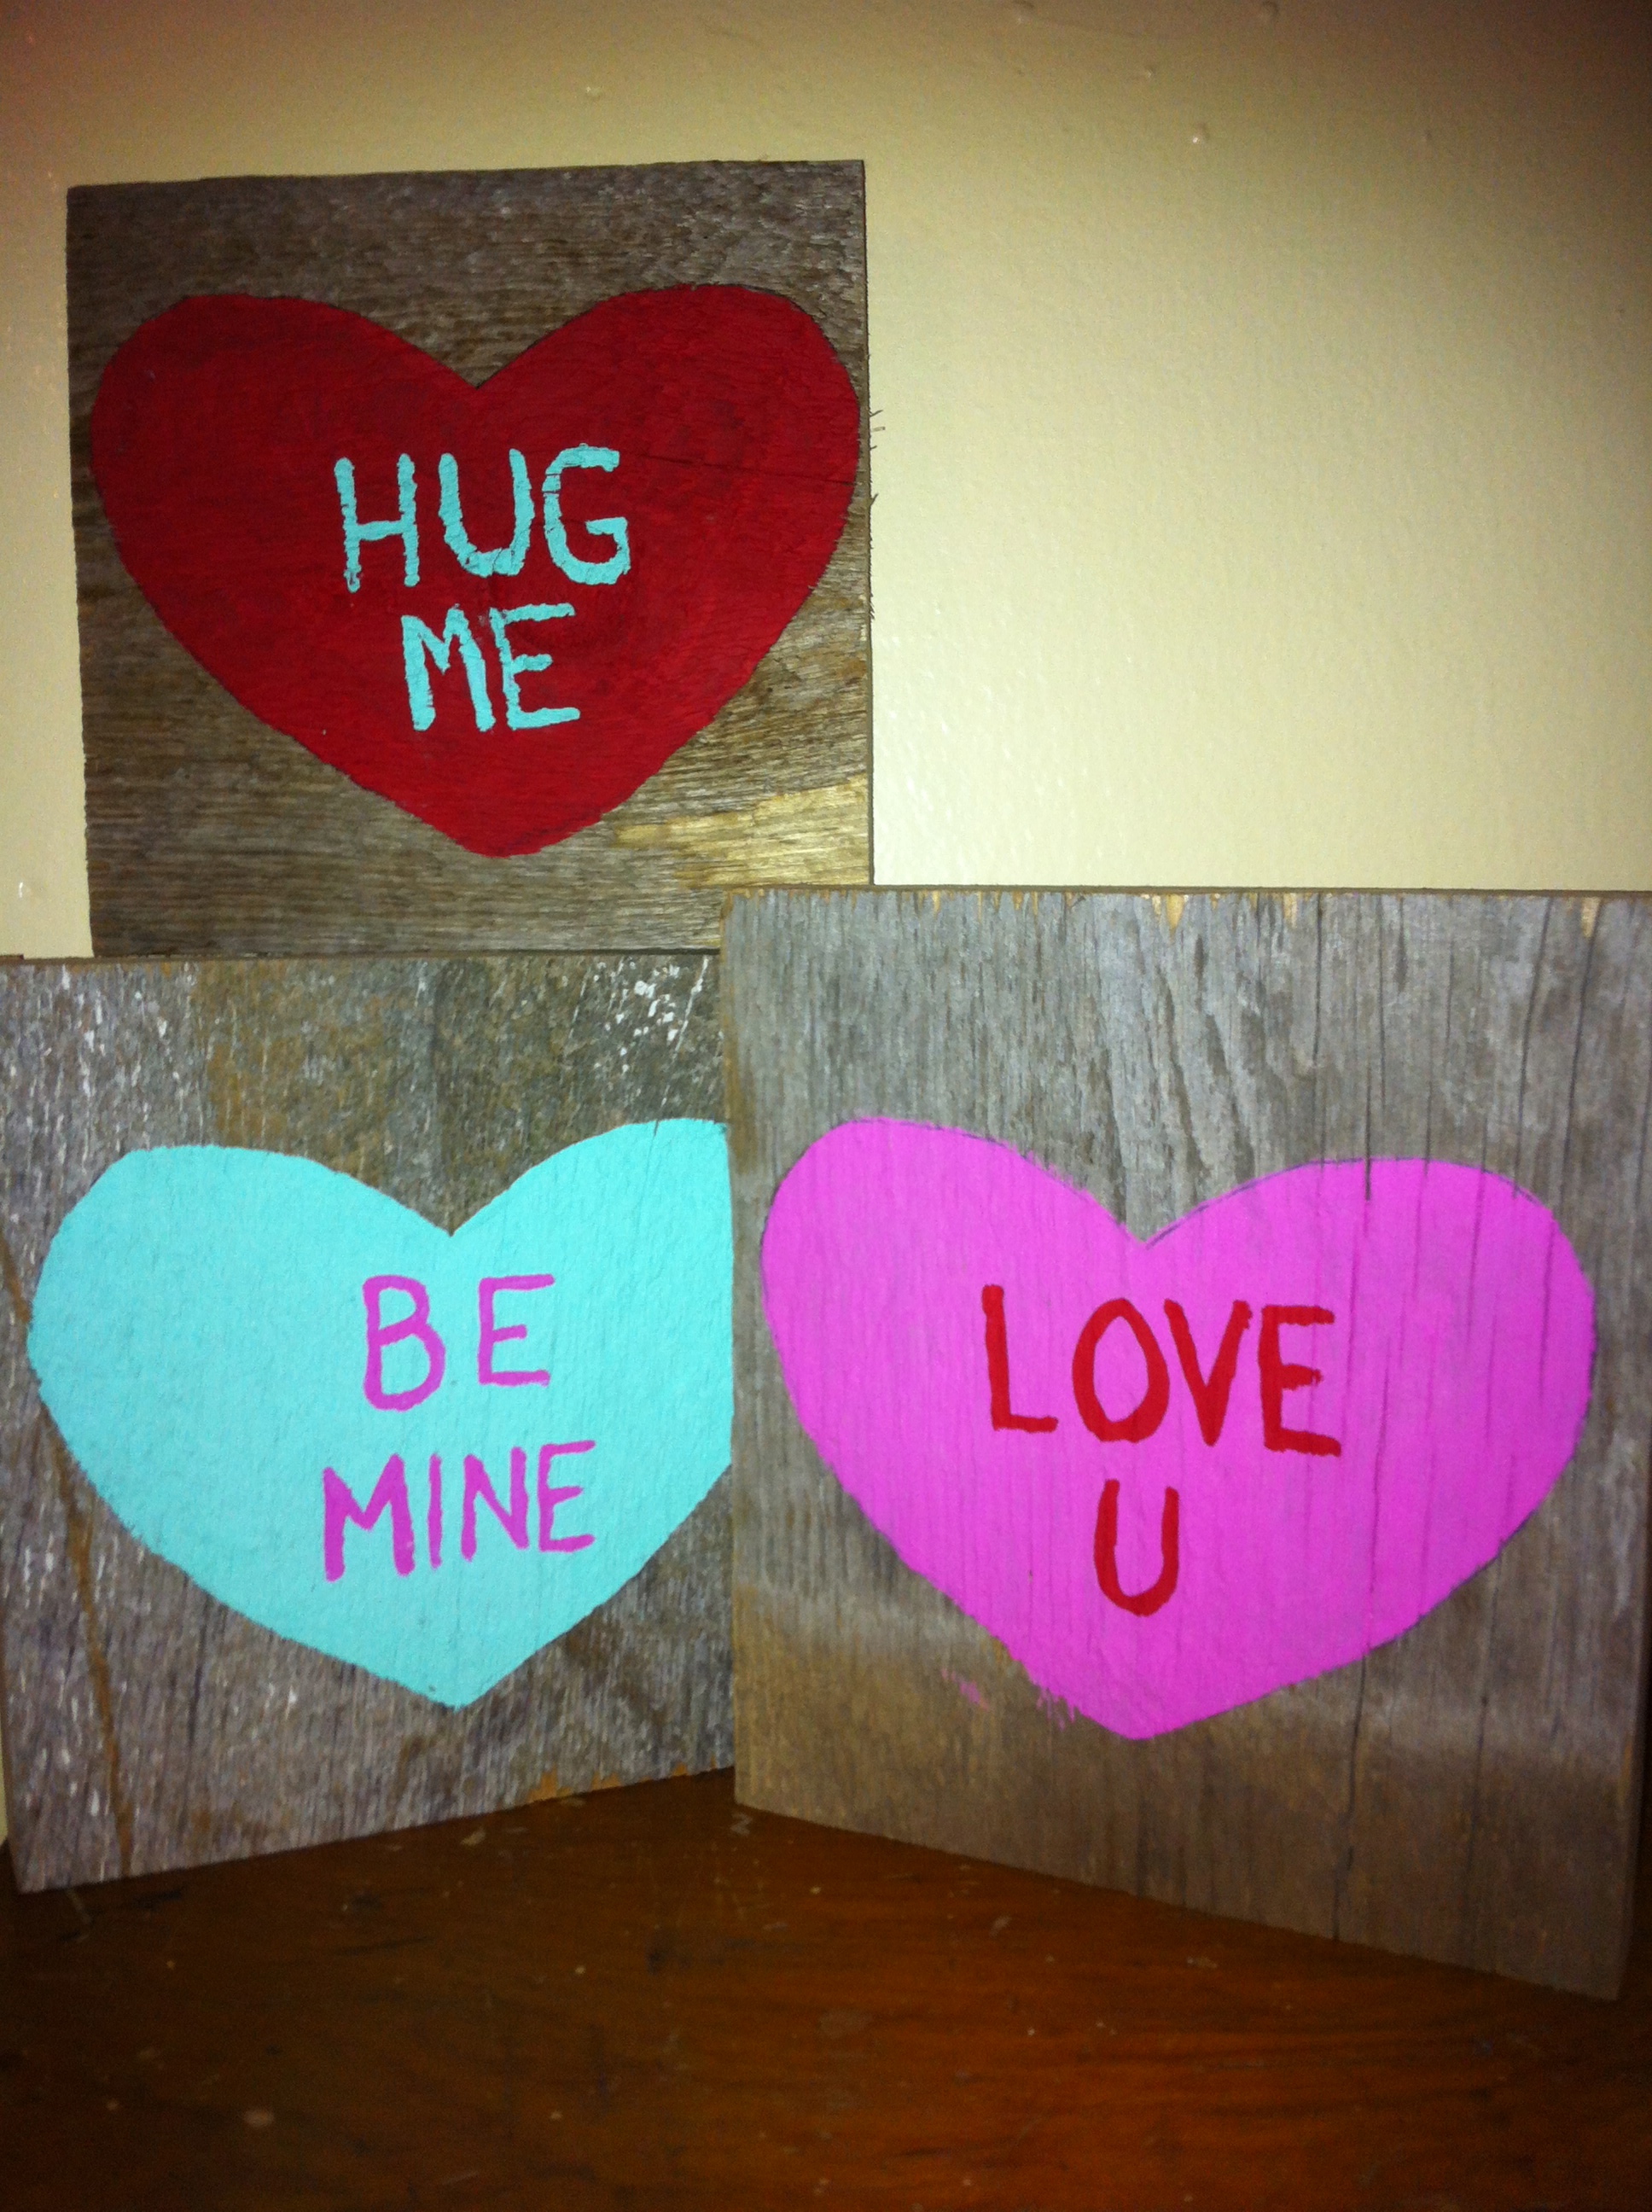
Step 4: Once dry, paint on your phrases.
I wanted these to look like the little (nasty) conversation hearts that you always received WAY too many of growing up. I did “be mine, ” “love u,” and “hug me” though there are tons of other options – thank you, Google.