A few years ago, my sweet friend Maggie talked to me about her dream of refurbishing her big, white barn and hosting vintage sales/craft fairs there. I LOVED the idea and she got to work and made it happen! White Barn Treasures will be hosting their annual fall event this weekend in Wauneta!
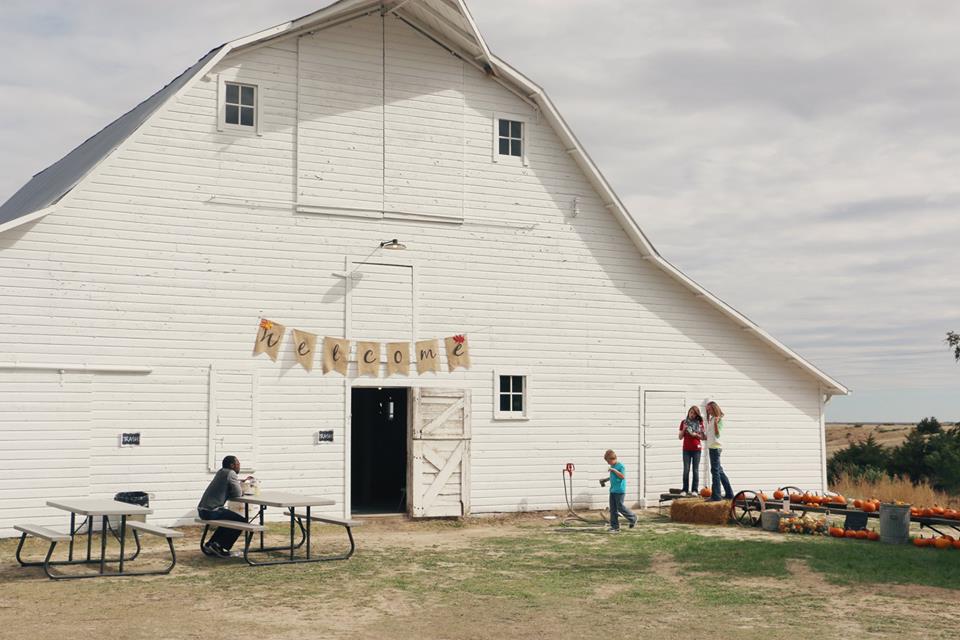
In previous years, I’ve either been due with baby or out of town but this year……I’m in! Remember that post I did about living fearlessly? Well, this counts as that for me. After I wrote that, the Lord plopped this in my lap and nudged me lovingly forward…so I’ve reserved a booth space and am gonna take some sweet little things to sell! Because, you know…we haven’t had anything else going on around here. 😉
I’m so excited well, to see Maggie, and to be around some other amazingly creative ladies.
I’m sure this is totally against all the rules of attempting to drum up business, but I’m gonna give you a little DIY on one of the cute little things I’m taking with me…
What you’ll need:
- Lace
- Mod Podge
- Wax paper
- Spray paint (optional)
- Glitter (optional but why the heck not?!)
- Hot glue gun
- Headband
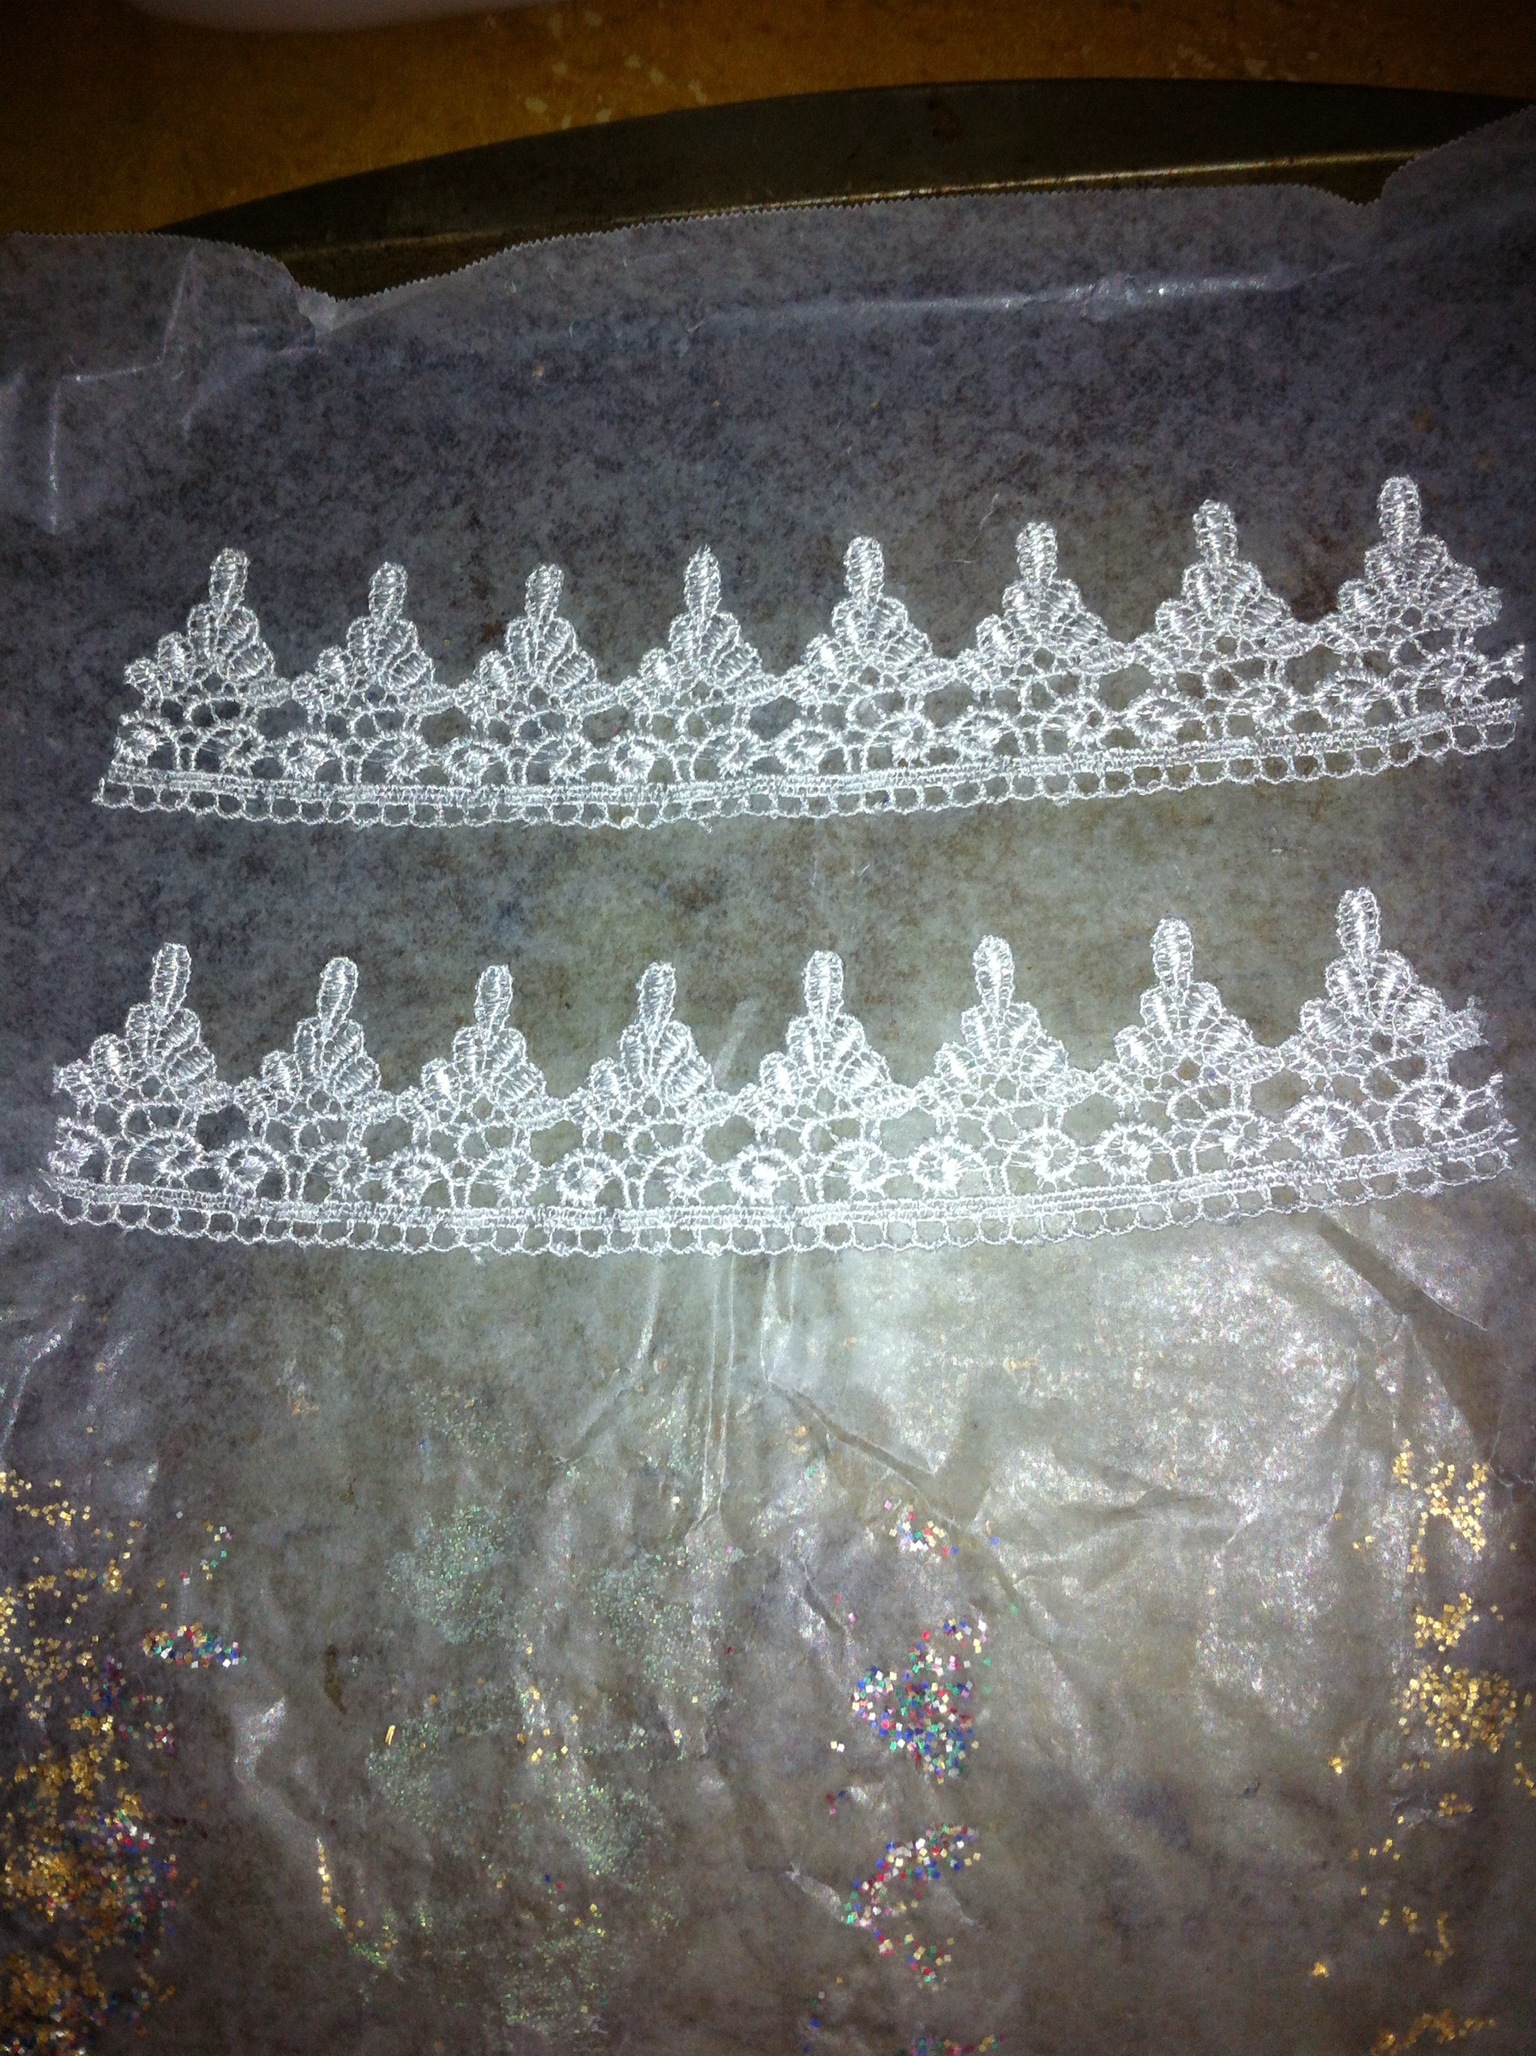
Step 1: Cut your lace to length – about 6 or 7 inches
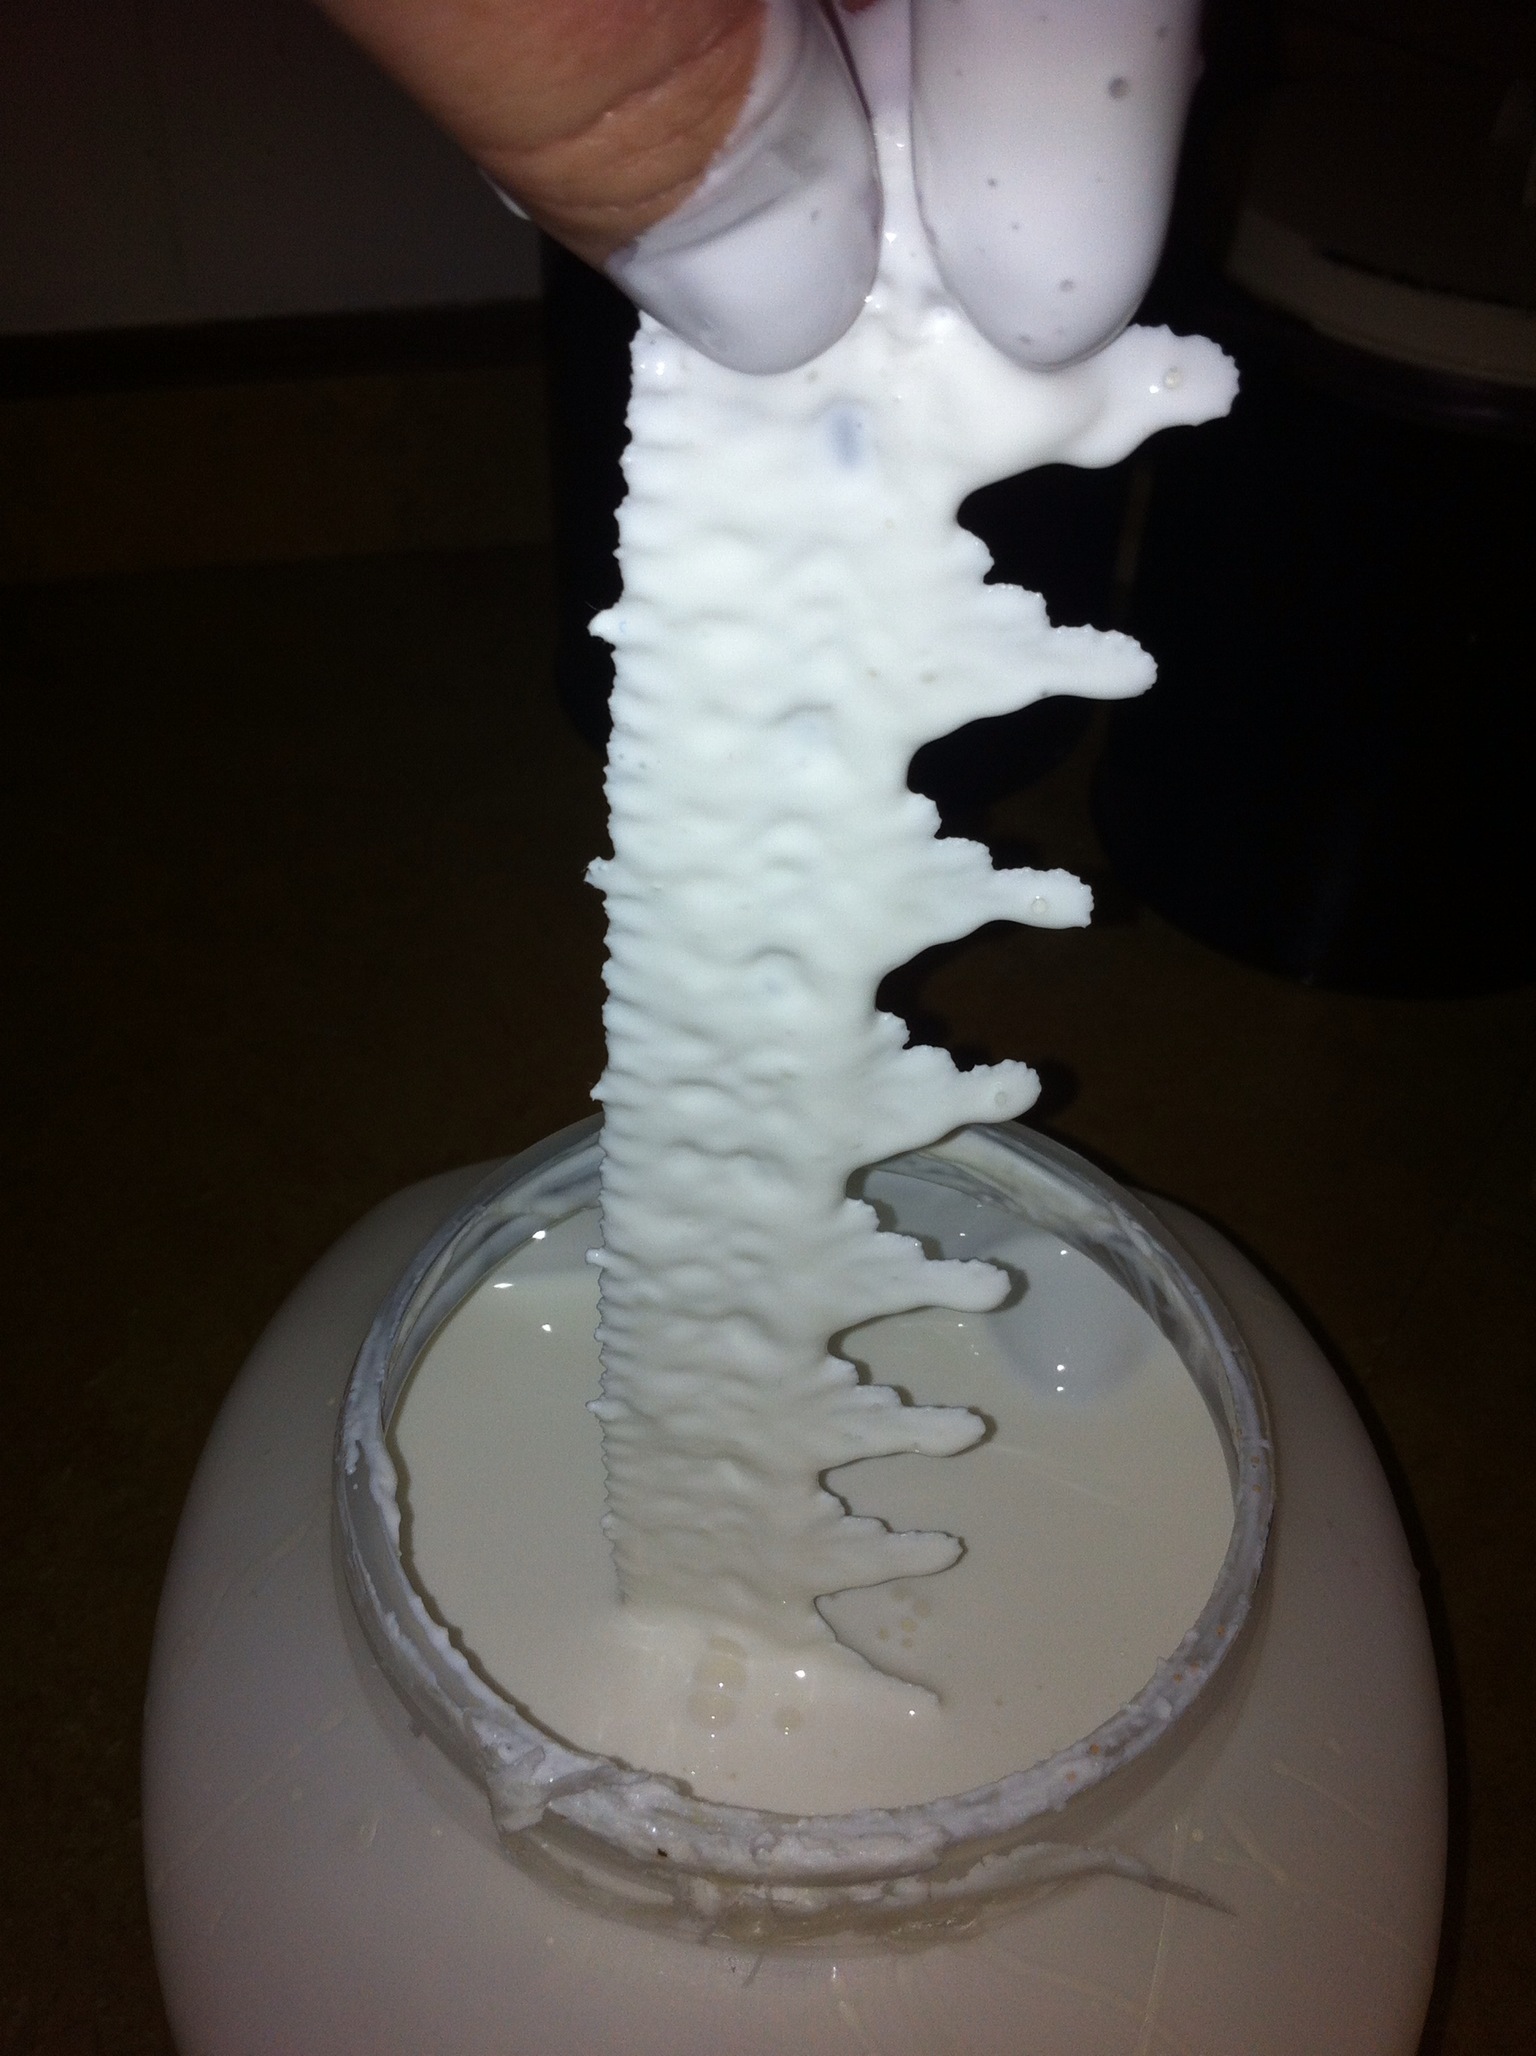
 Step 2: Submerge it into Mod Podge until it’s completely soaked and strip the excess off with your fingers.
 Step 3: Make sure all of the little cutouts in the lace can be seen and not covered in Mod Podge and place on wax paper to dry. Turn them several times during the drying process so it doesn’t stick to the paper and let them dry for a good 4-6 hours.
Step 4: Spray paint if ya wanna.
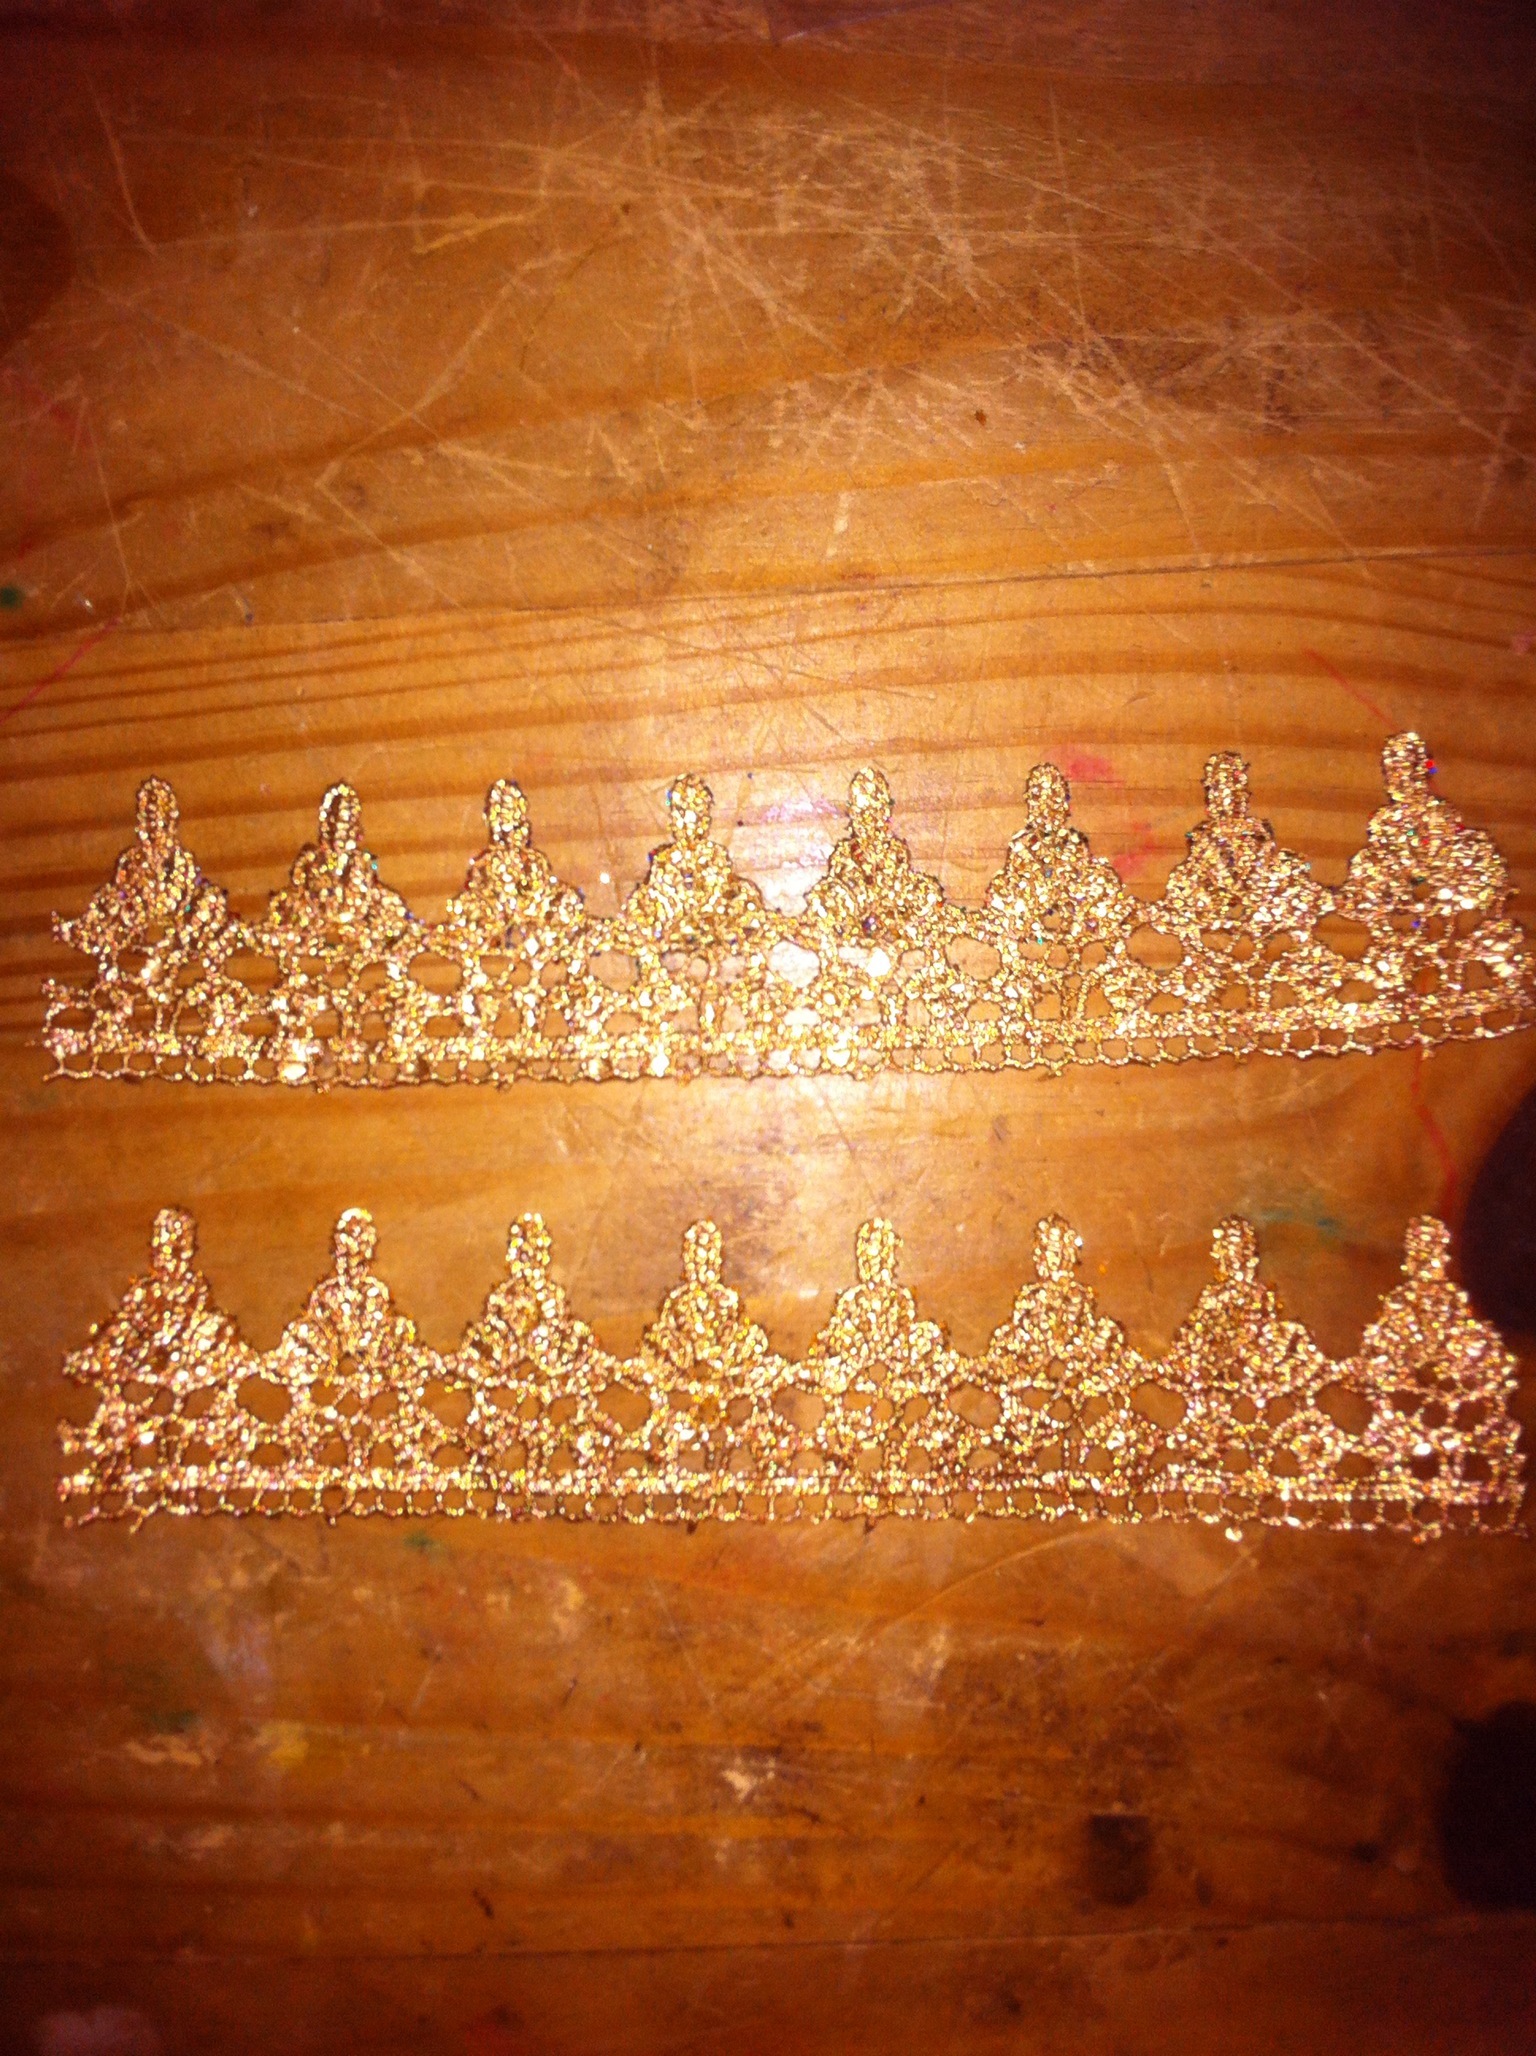 I painted these gold and loved how they turned out. You can stop here and begin forming them into a crown shape OR you can add glitter. Don’t act like you don’t know what I chose…
Step 5: Glitterize!
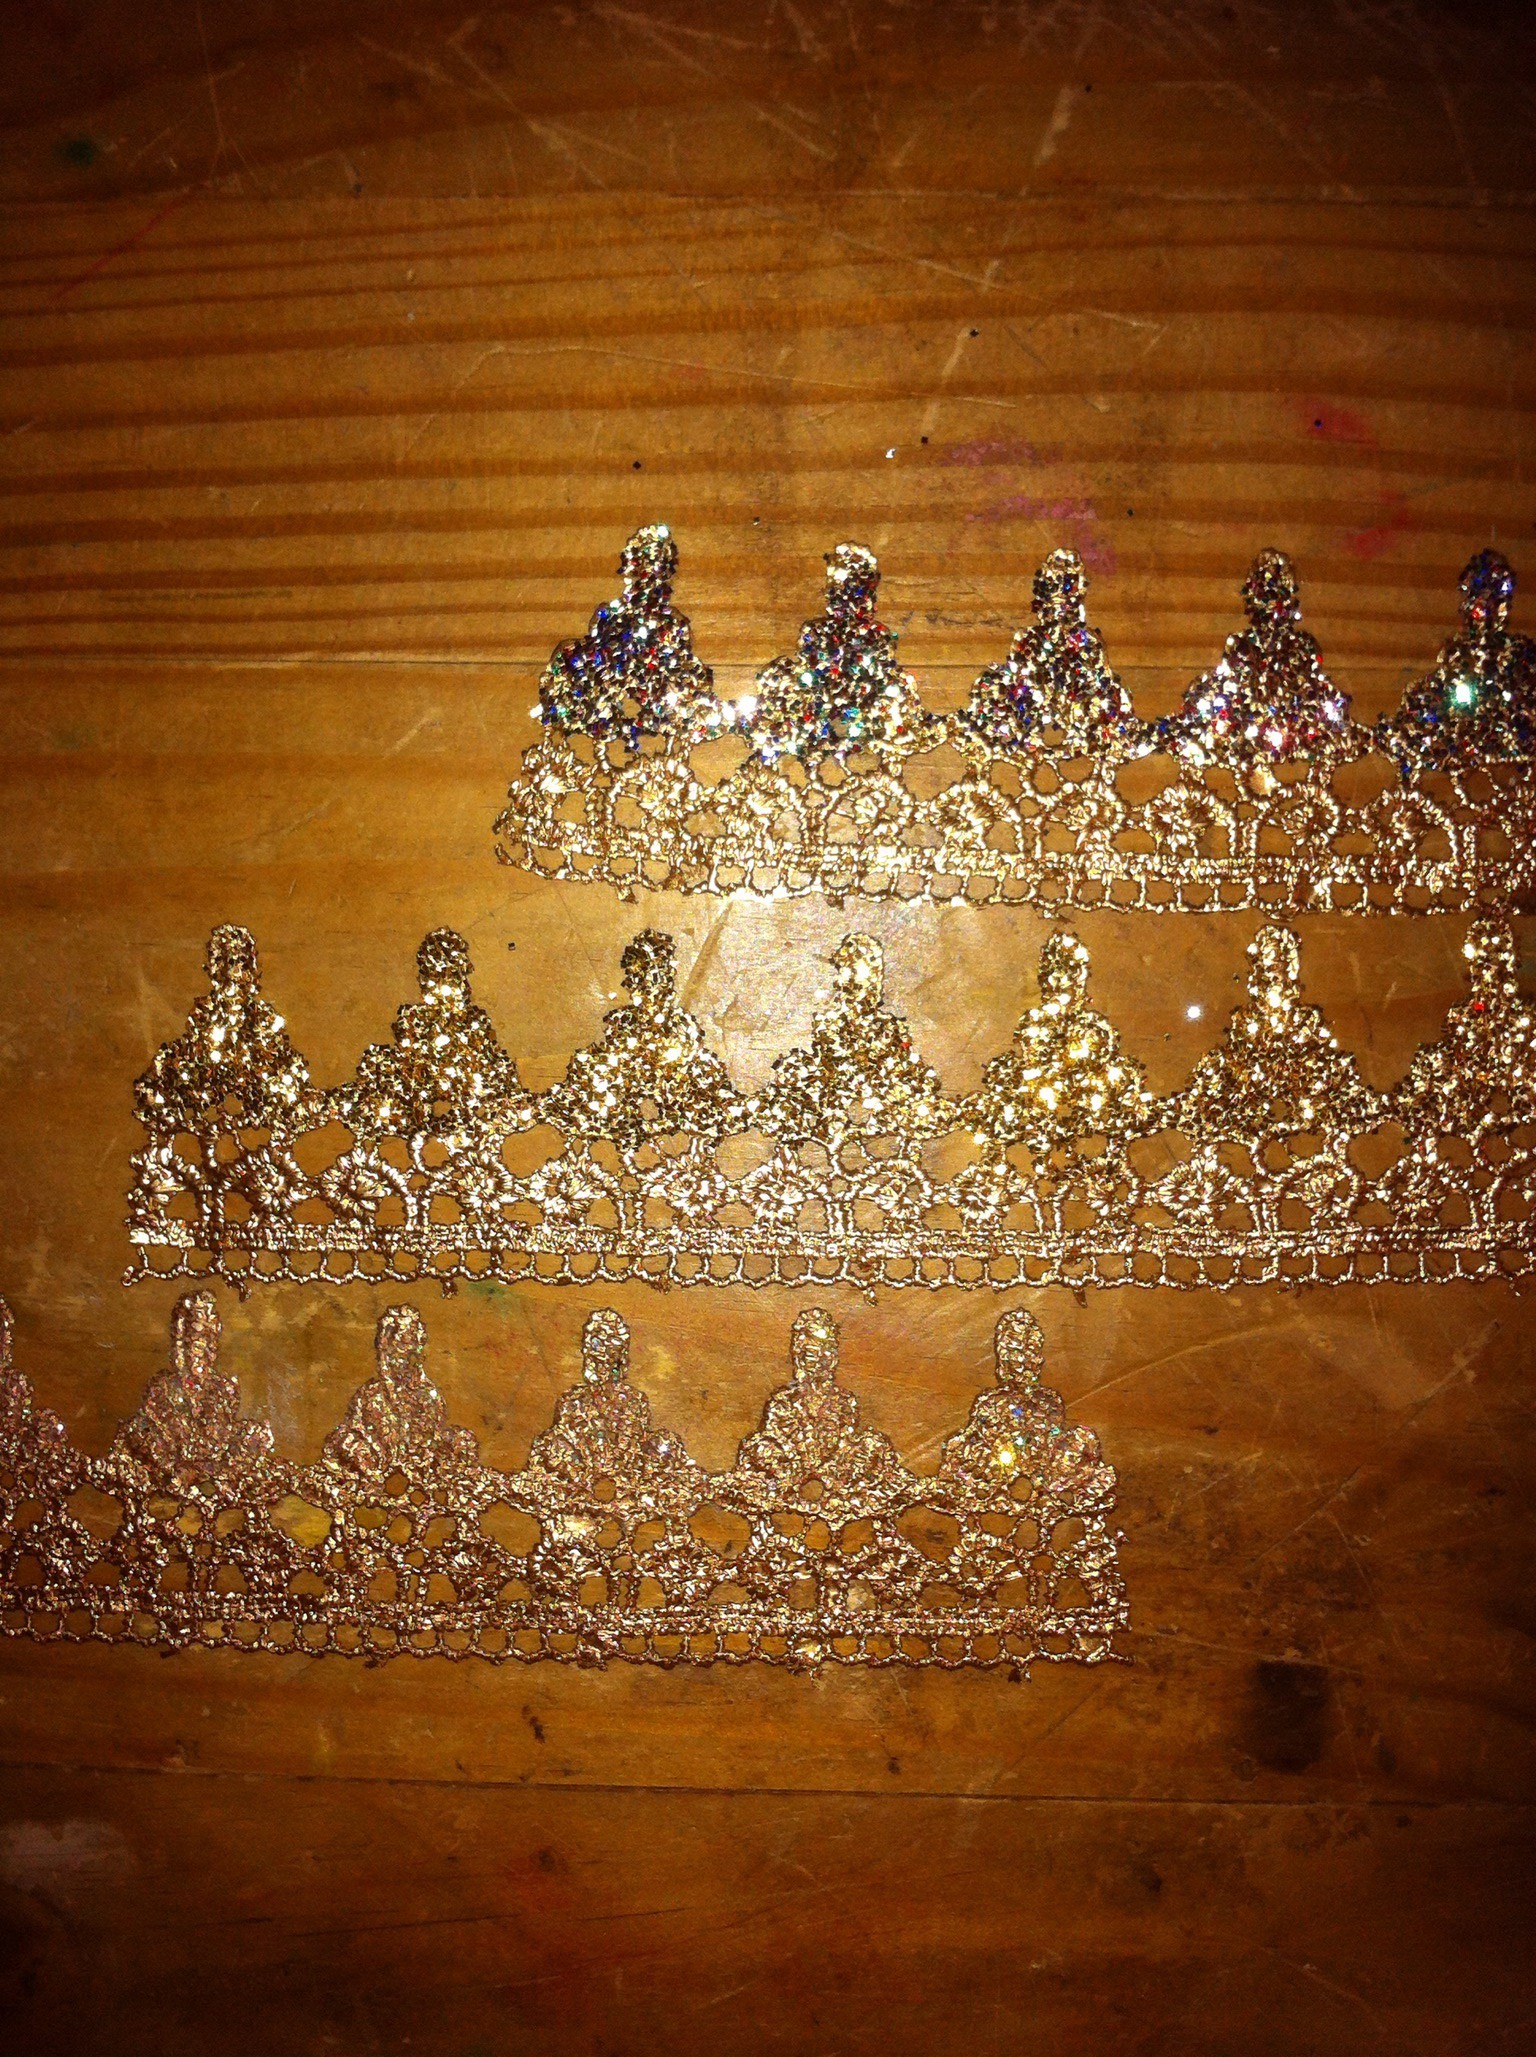 It’s a little hard to see in the pic, but I added Mod Podge to the tops of the crown and coated them in glitter and let them dry…again.
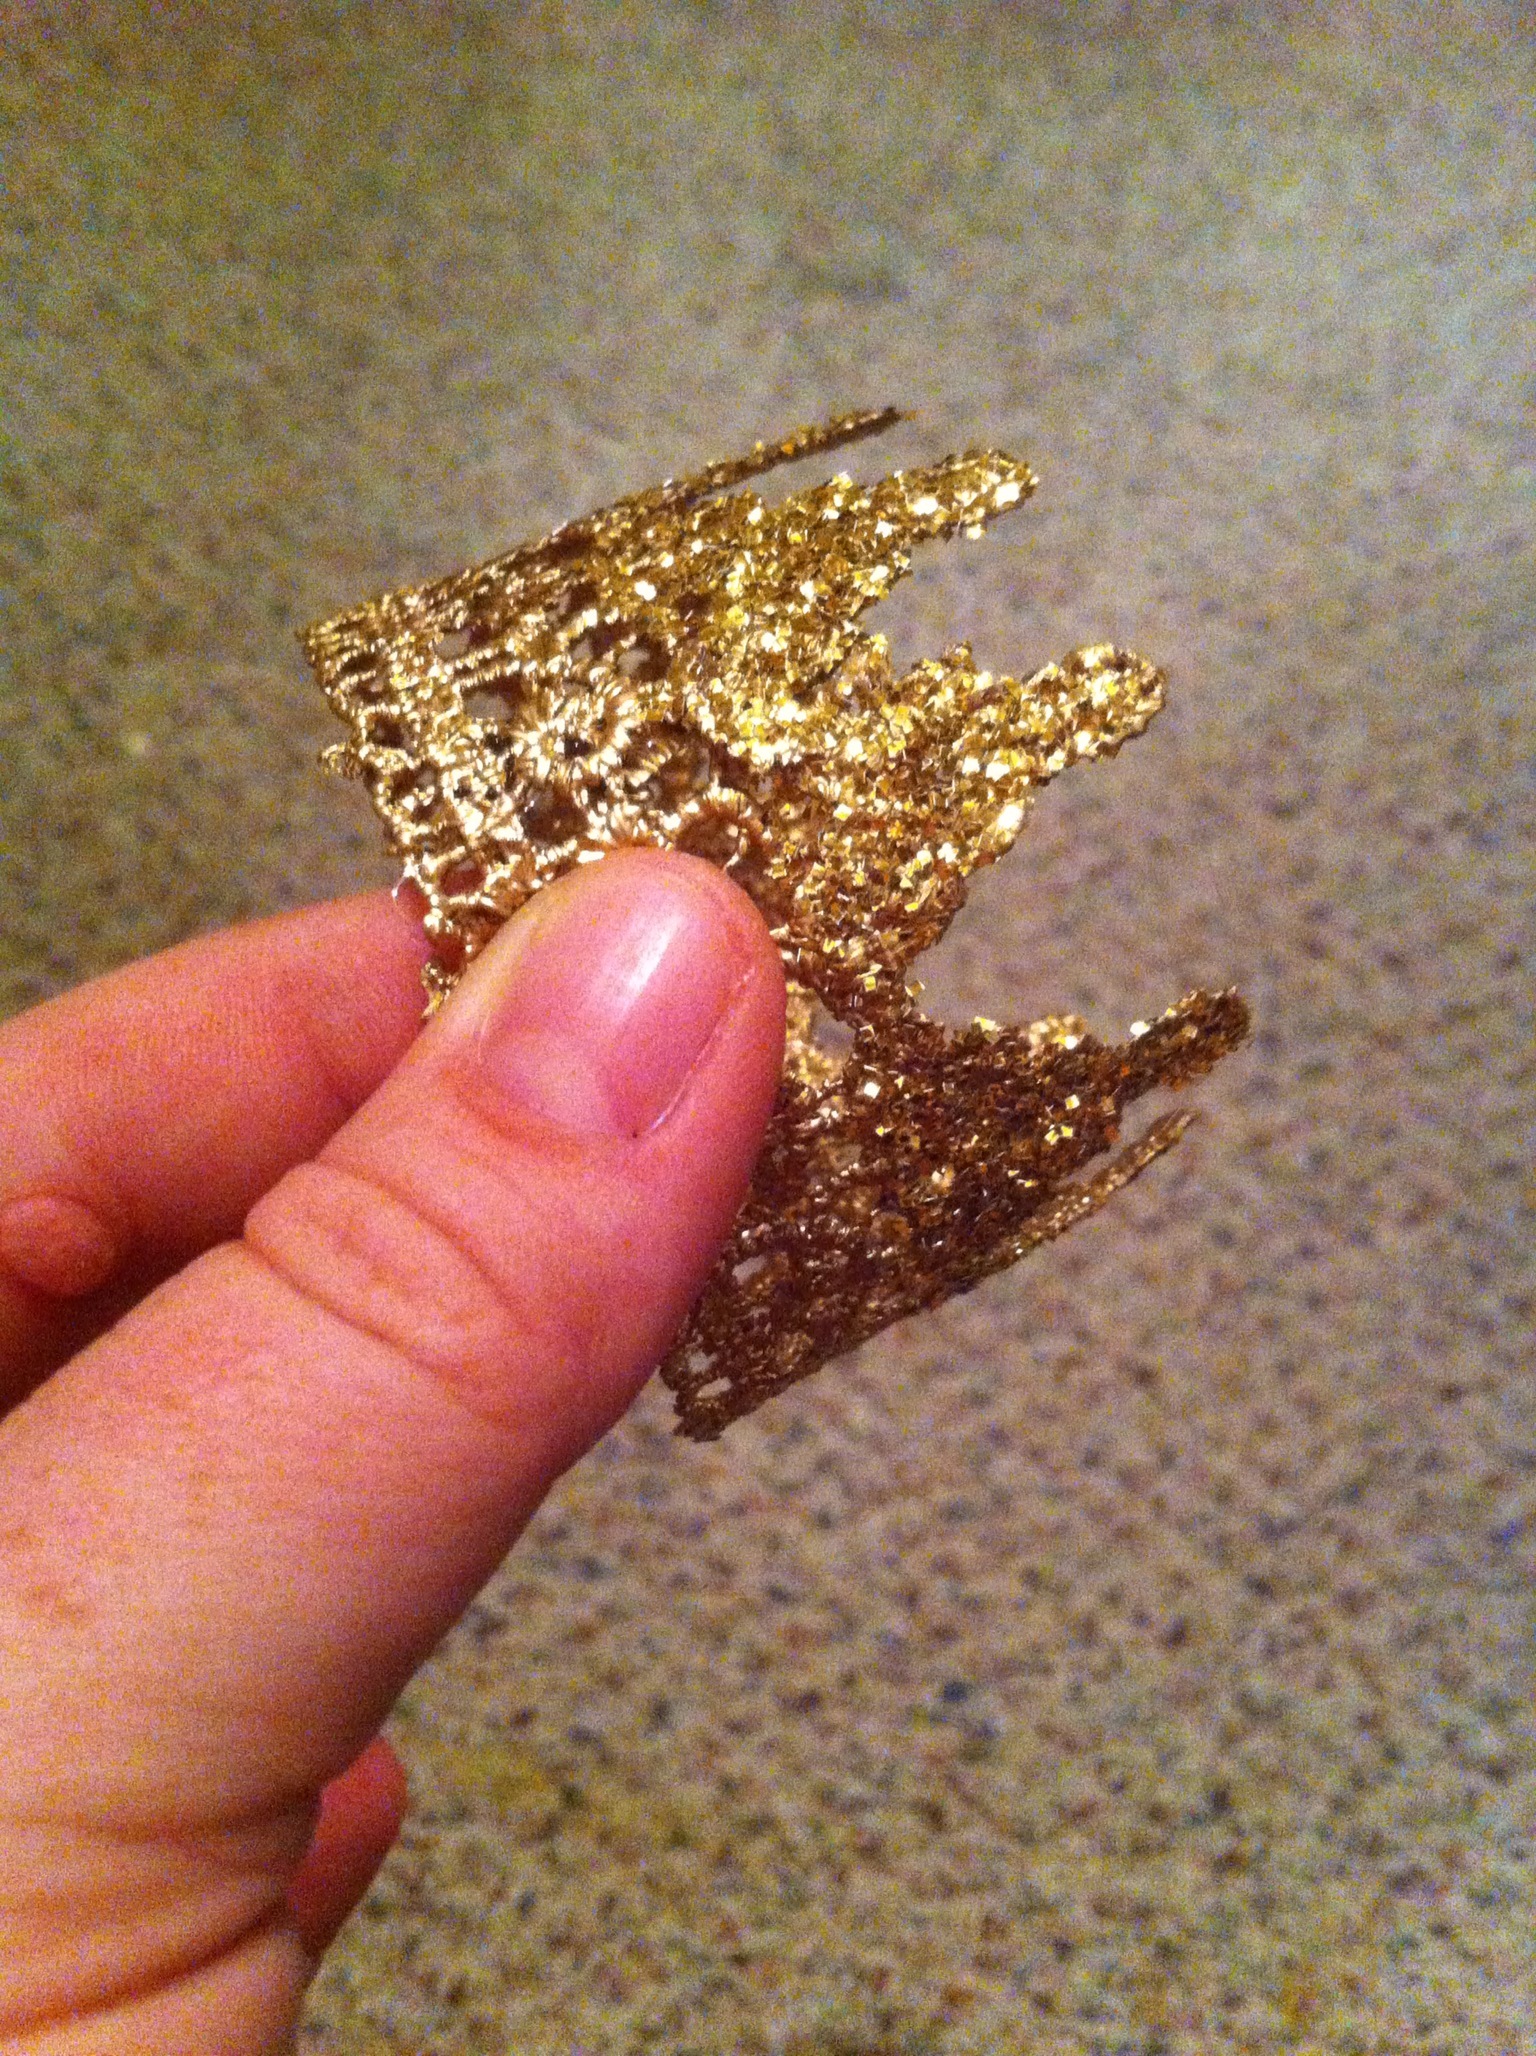
Step 6: Form into a circle shape and hot glue to secure the edges.
 Step 7: Secure to headband.
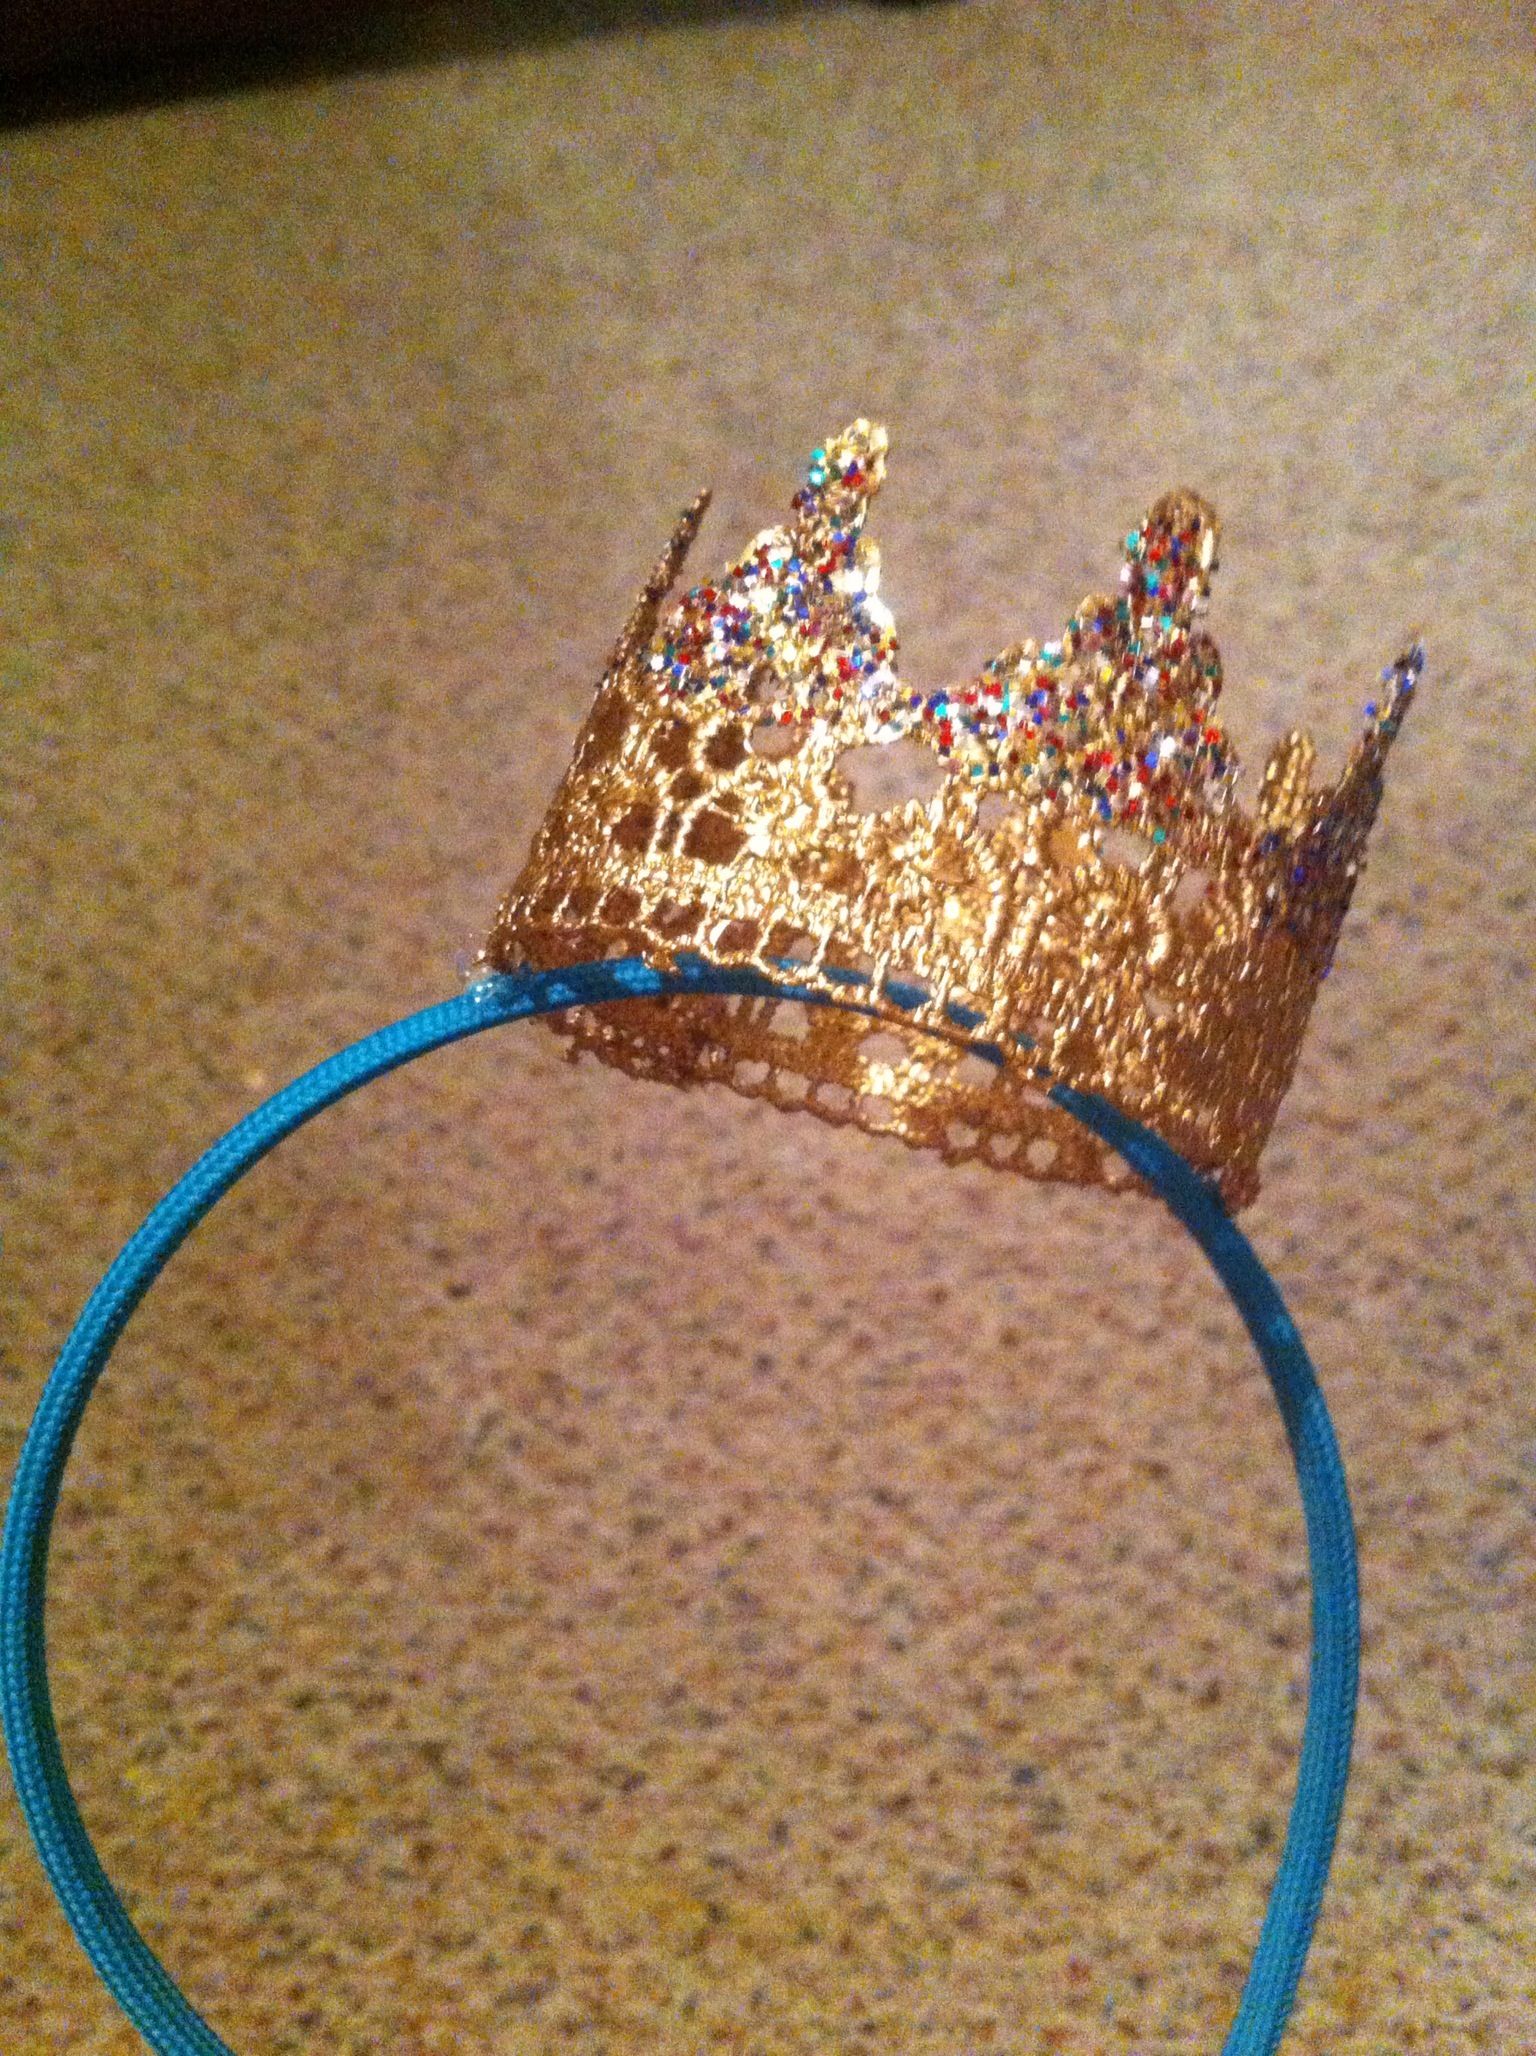
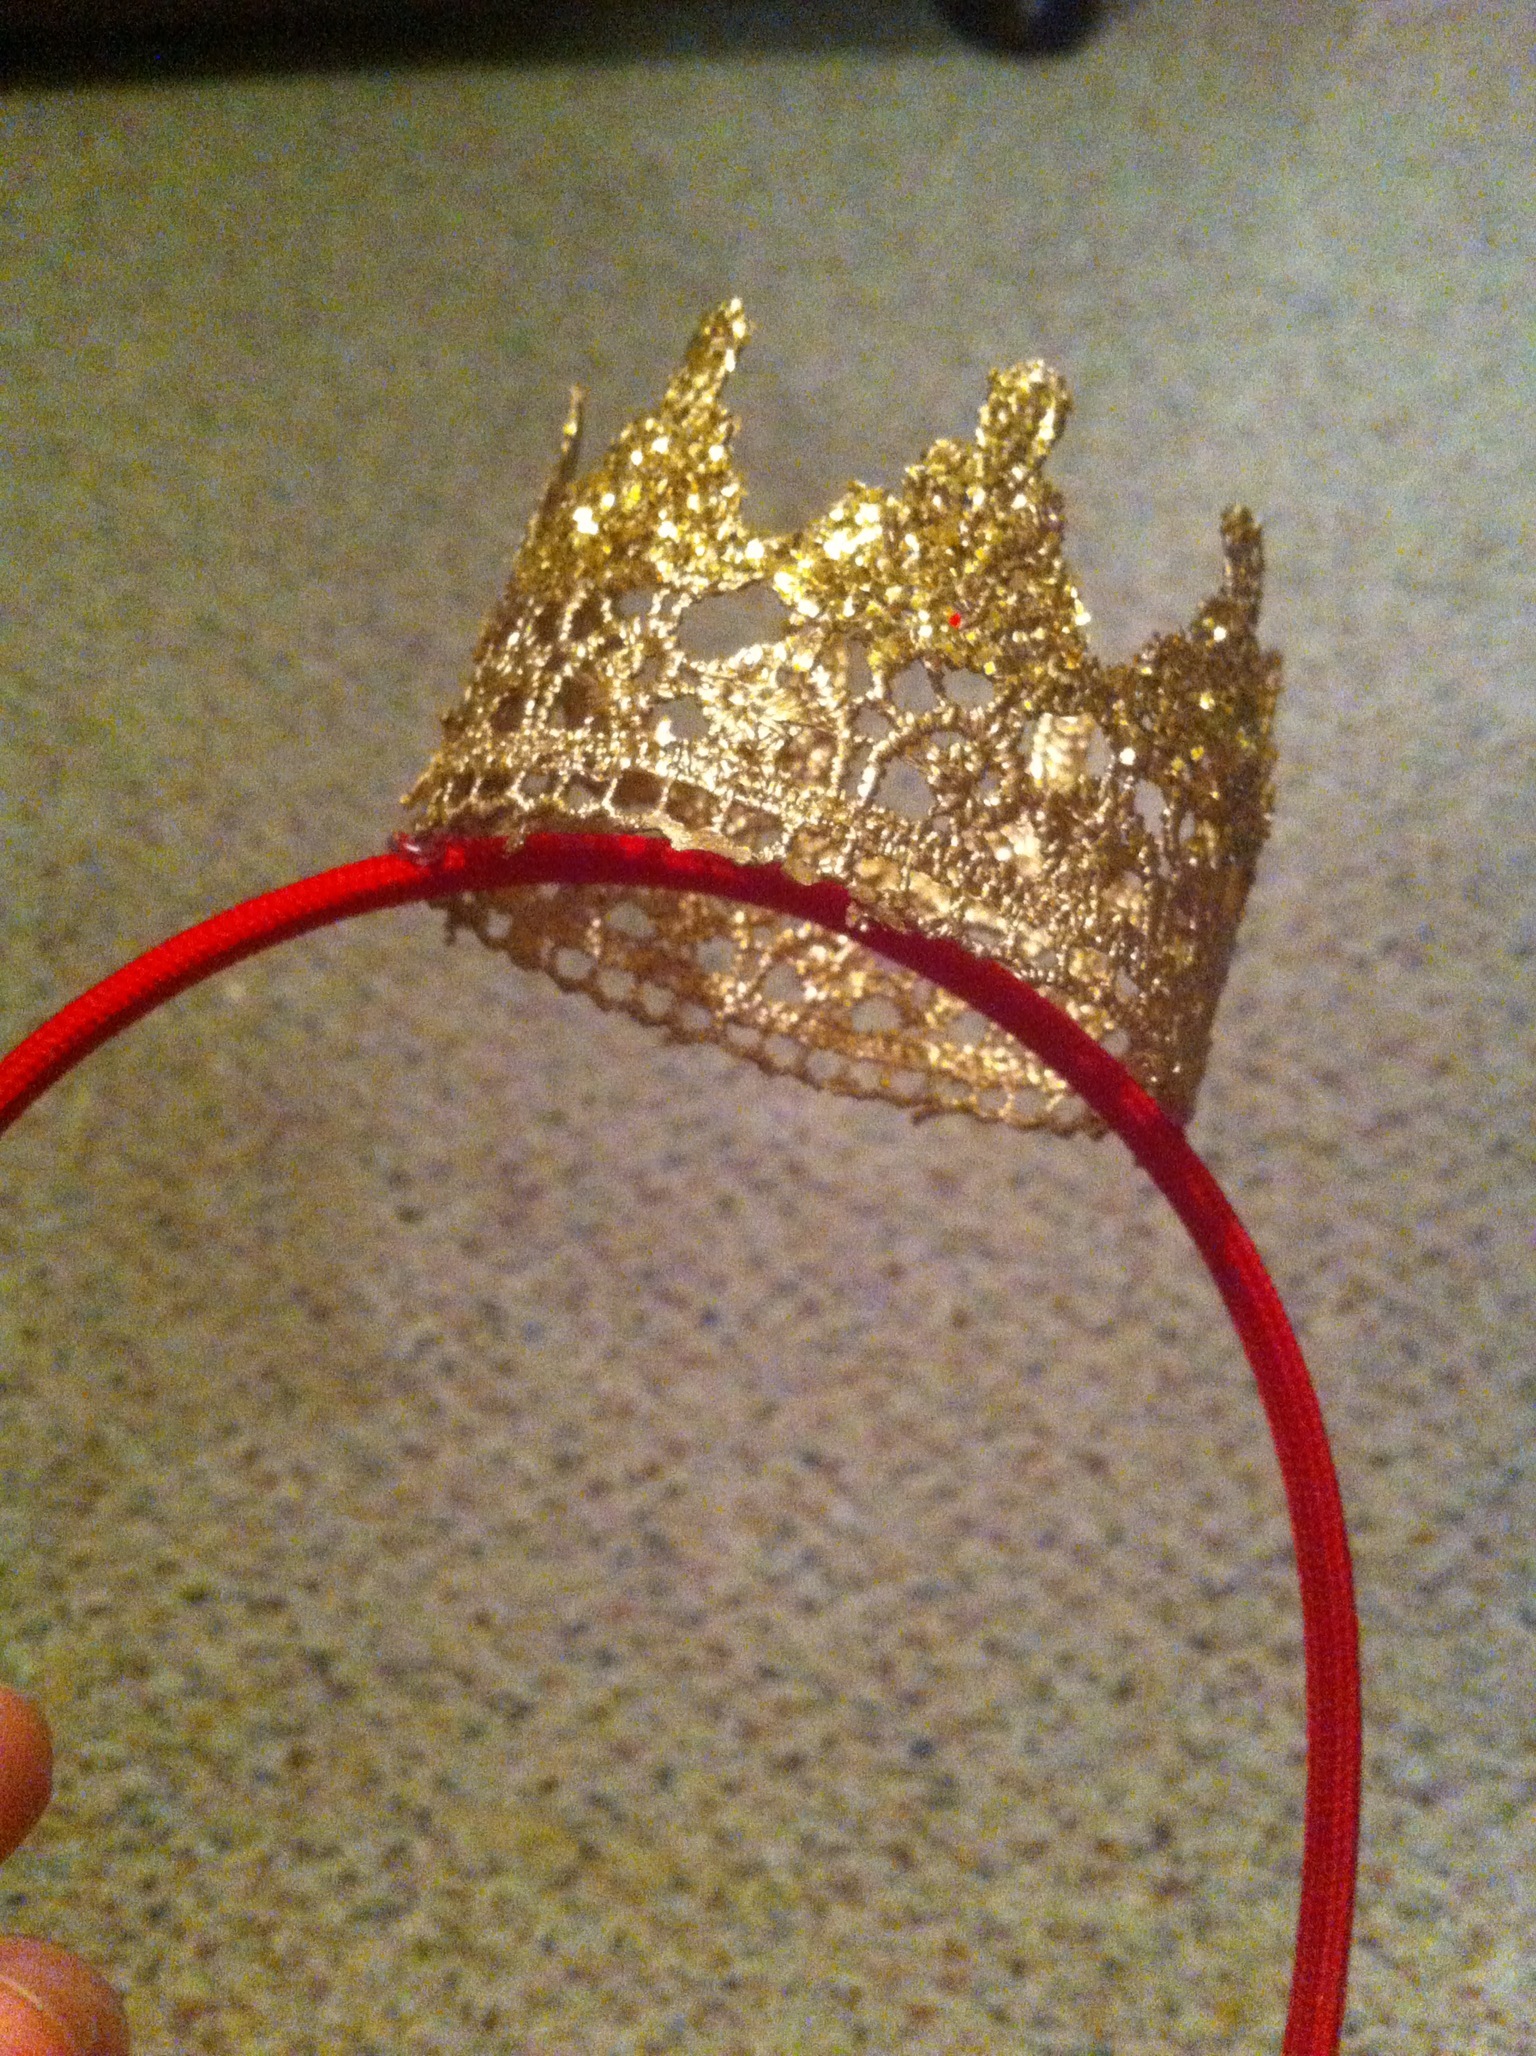 I just placed these a little off of center and tacked the edges with glue.
Step 8: Find a cute model (with marker on her face) to show them off.
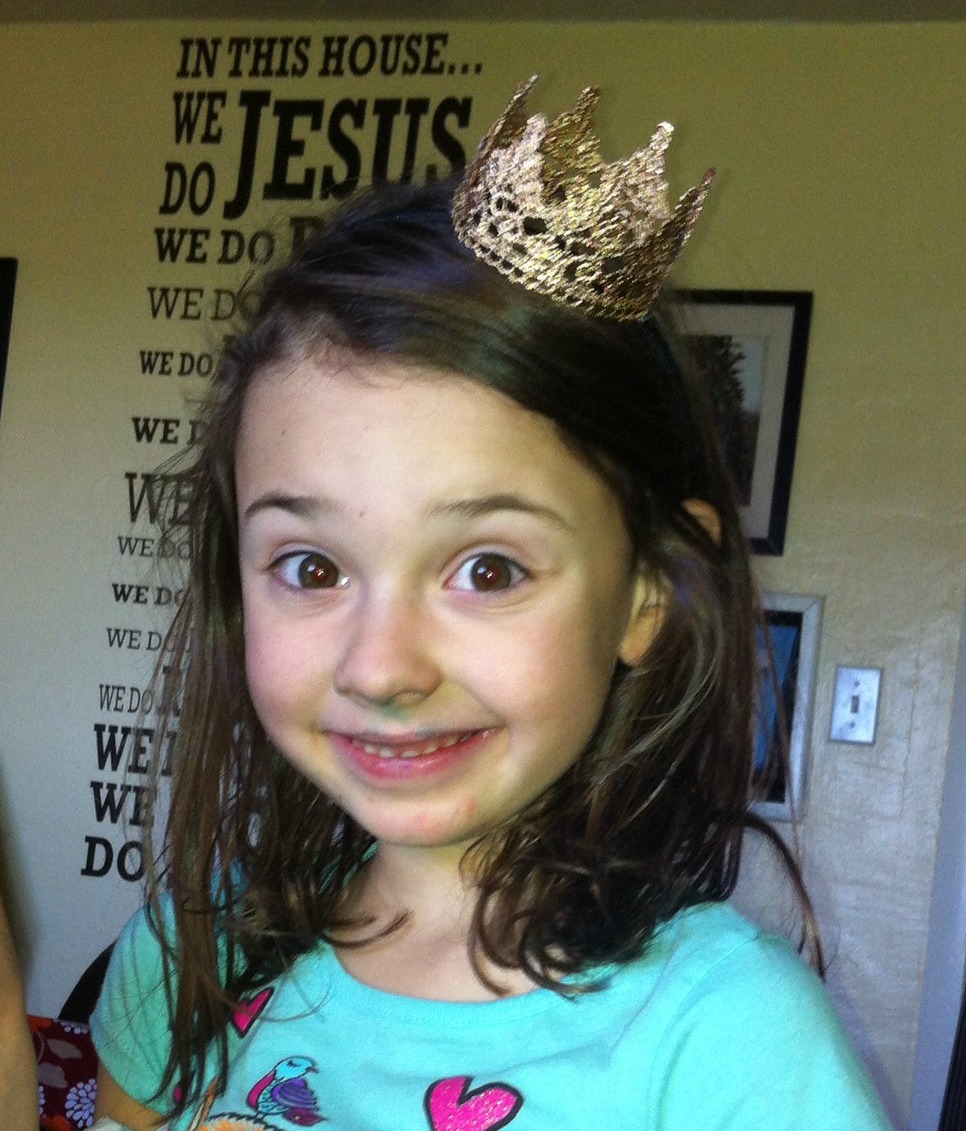 Seriously, are those not the cutest?!
So, if you want a sweet little crown or a whole lot of other fun goodies – come to the White Barn Treasures event in Wauneta on Saturday from 9-3! If you want more info, let me know!