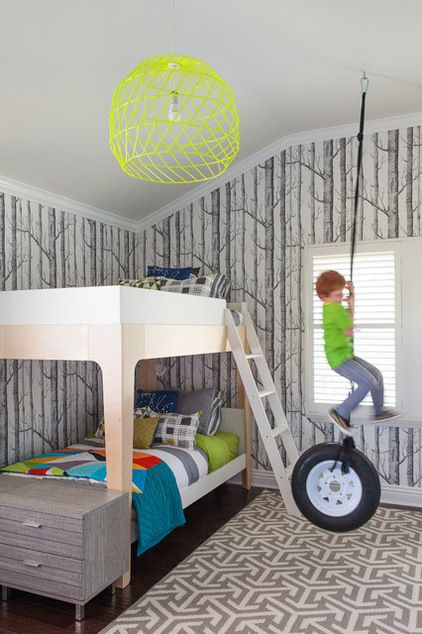
So, I started out by browsing through my latest pins so I could link them here. I found some cute stuff…like this:
Perfection!
Is that room not divine?!? The light…the wallpaper…the tire swing for pete’s sake – perfection!
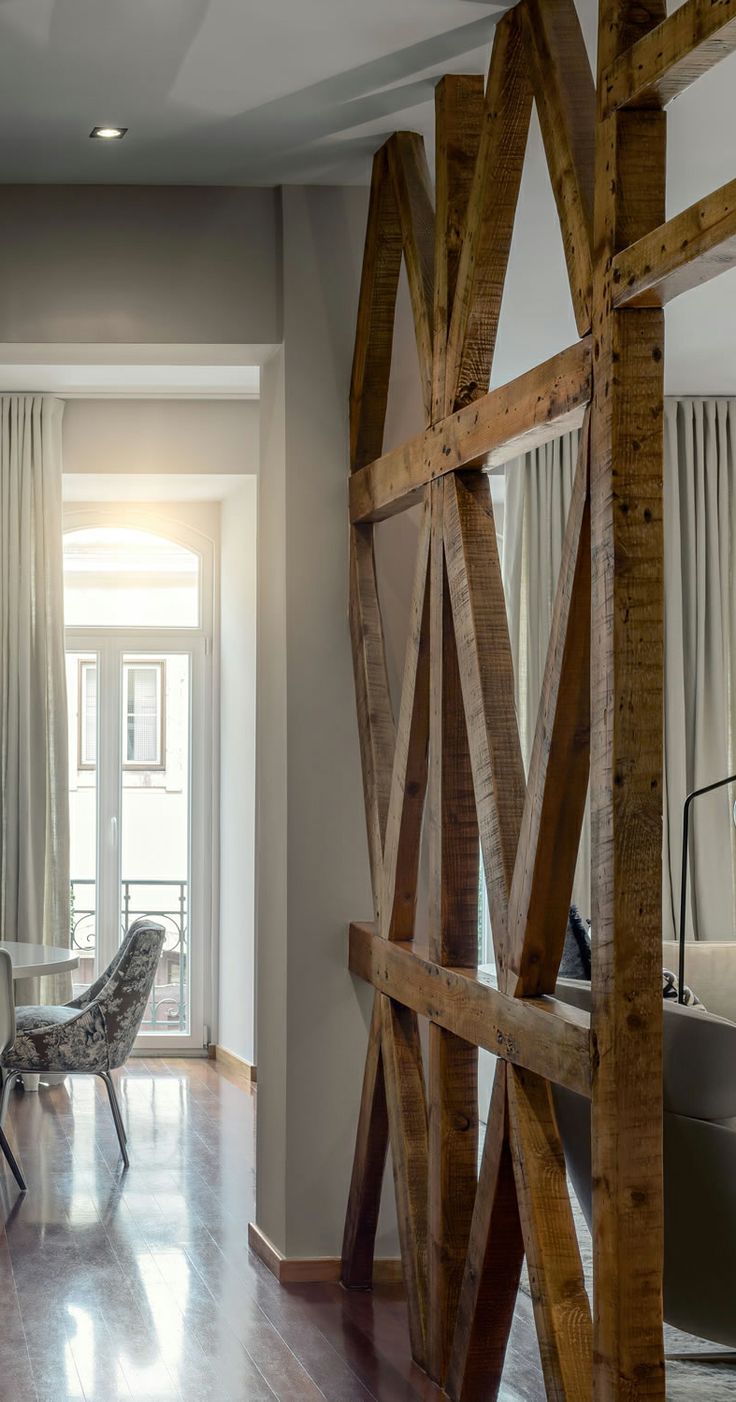
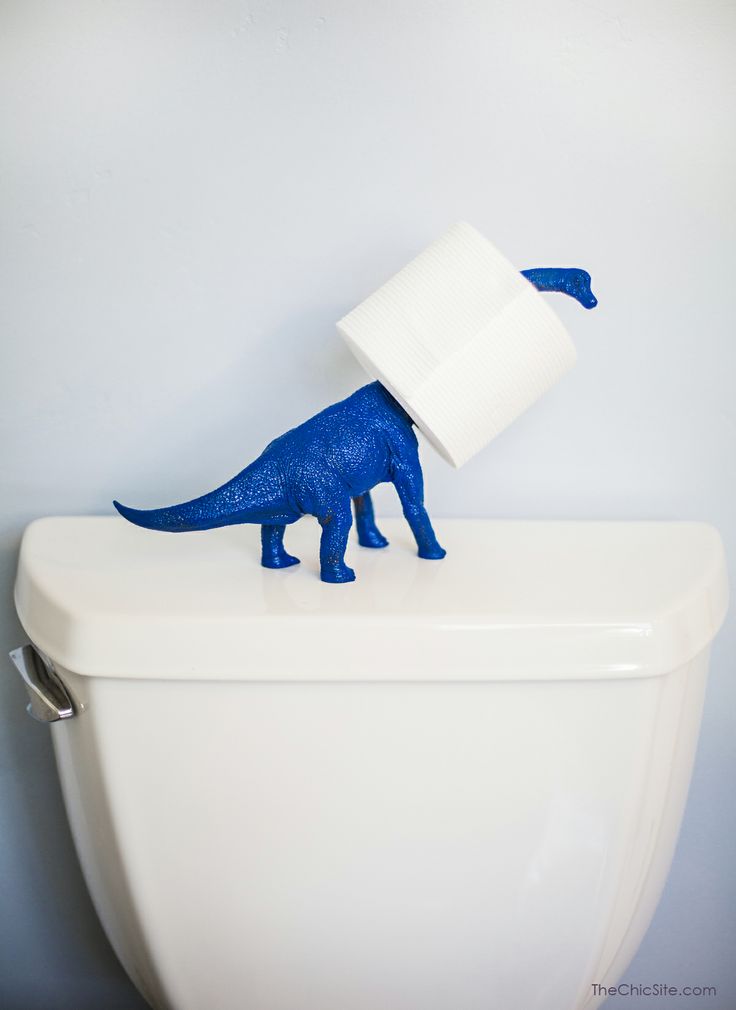
Or this:
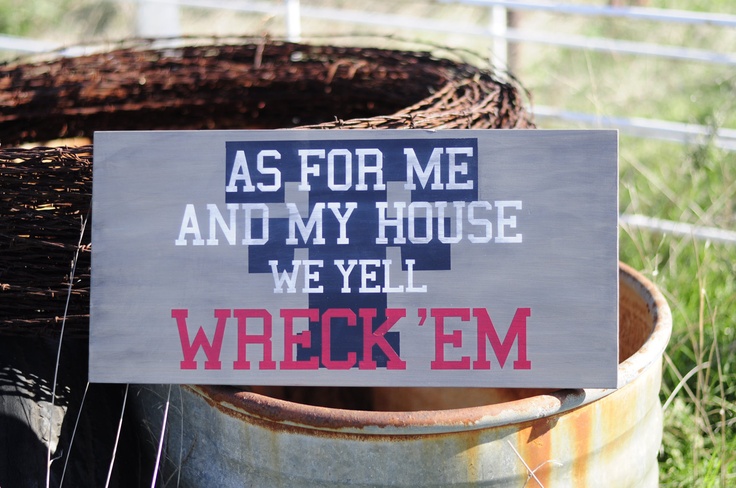
Oh, Wrrrrreeeeeexxxx!
I’m thinking I need a wood beam divider…and a bigger house. *ahem*
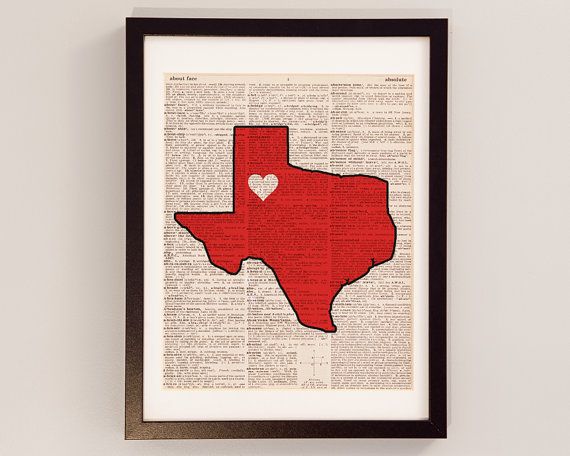
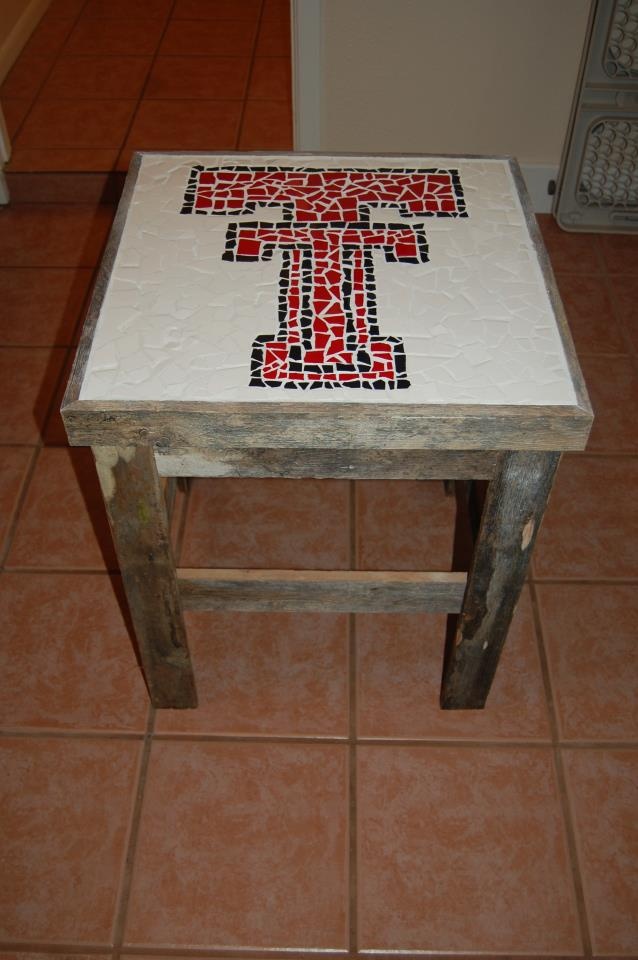
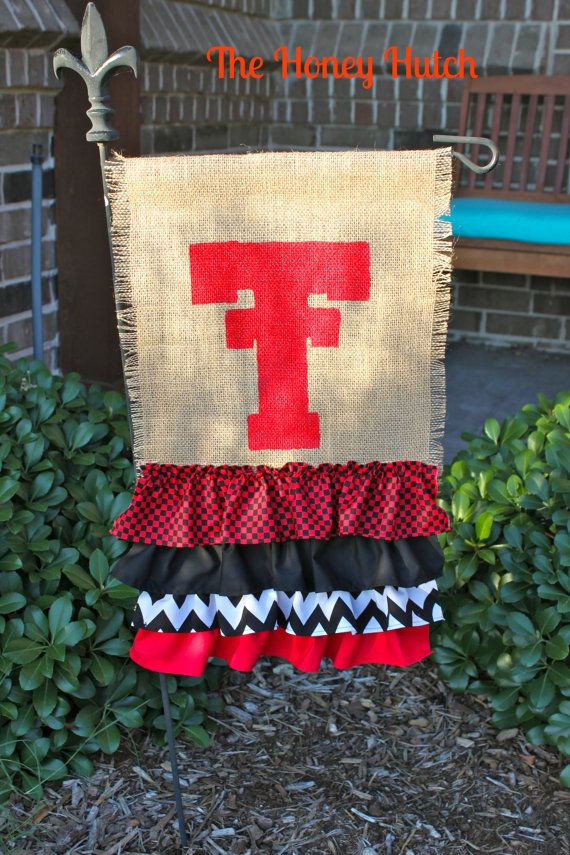
And then I came across these cute little guys:
Easy and cute!
I’m so ready for football season I can hardly stand it! From there, my love of all things football and Texas Tech took over my brain. Enjoy!
THIS needs to be in my closet!Indeed!Would Sawyer look cute in this or what?!Well! It’s true!I think I could make this happen…Our gloves are the coolest!Hysterical!Yes we do!Gorgeous!!!Cute!I’m thinking our flower boxes could use this…
15 days! I think I can make it. 😉 Get your guns up!
My sweet Sawyer turns four next Tuesday. Don’t even ask me how that’s possible. We’ve been so busy this summer that August (and her birthday) completely snuck on me.
We’ve been wanting to get her a real playhouse for about year now. She has a little plastic one in the barn that she plays with all the time, but we were wanting to get one that she and brother could both play in and one that would survive outside.
Growing up, my grandparents ALWAYS had a little place for us to play outside. If there was a shed or garage on the property, my sweet Mema (Alene) never used it for herself – it was for us kids! I can’t tell you how many mudpies and dirty cups of coffee we served at her house but it was a lot. I sure wish she was around to play with my kiddos. I have no doubt that she would think they hung they moon and them feel the same about her.
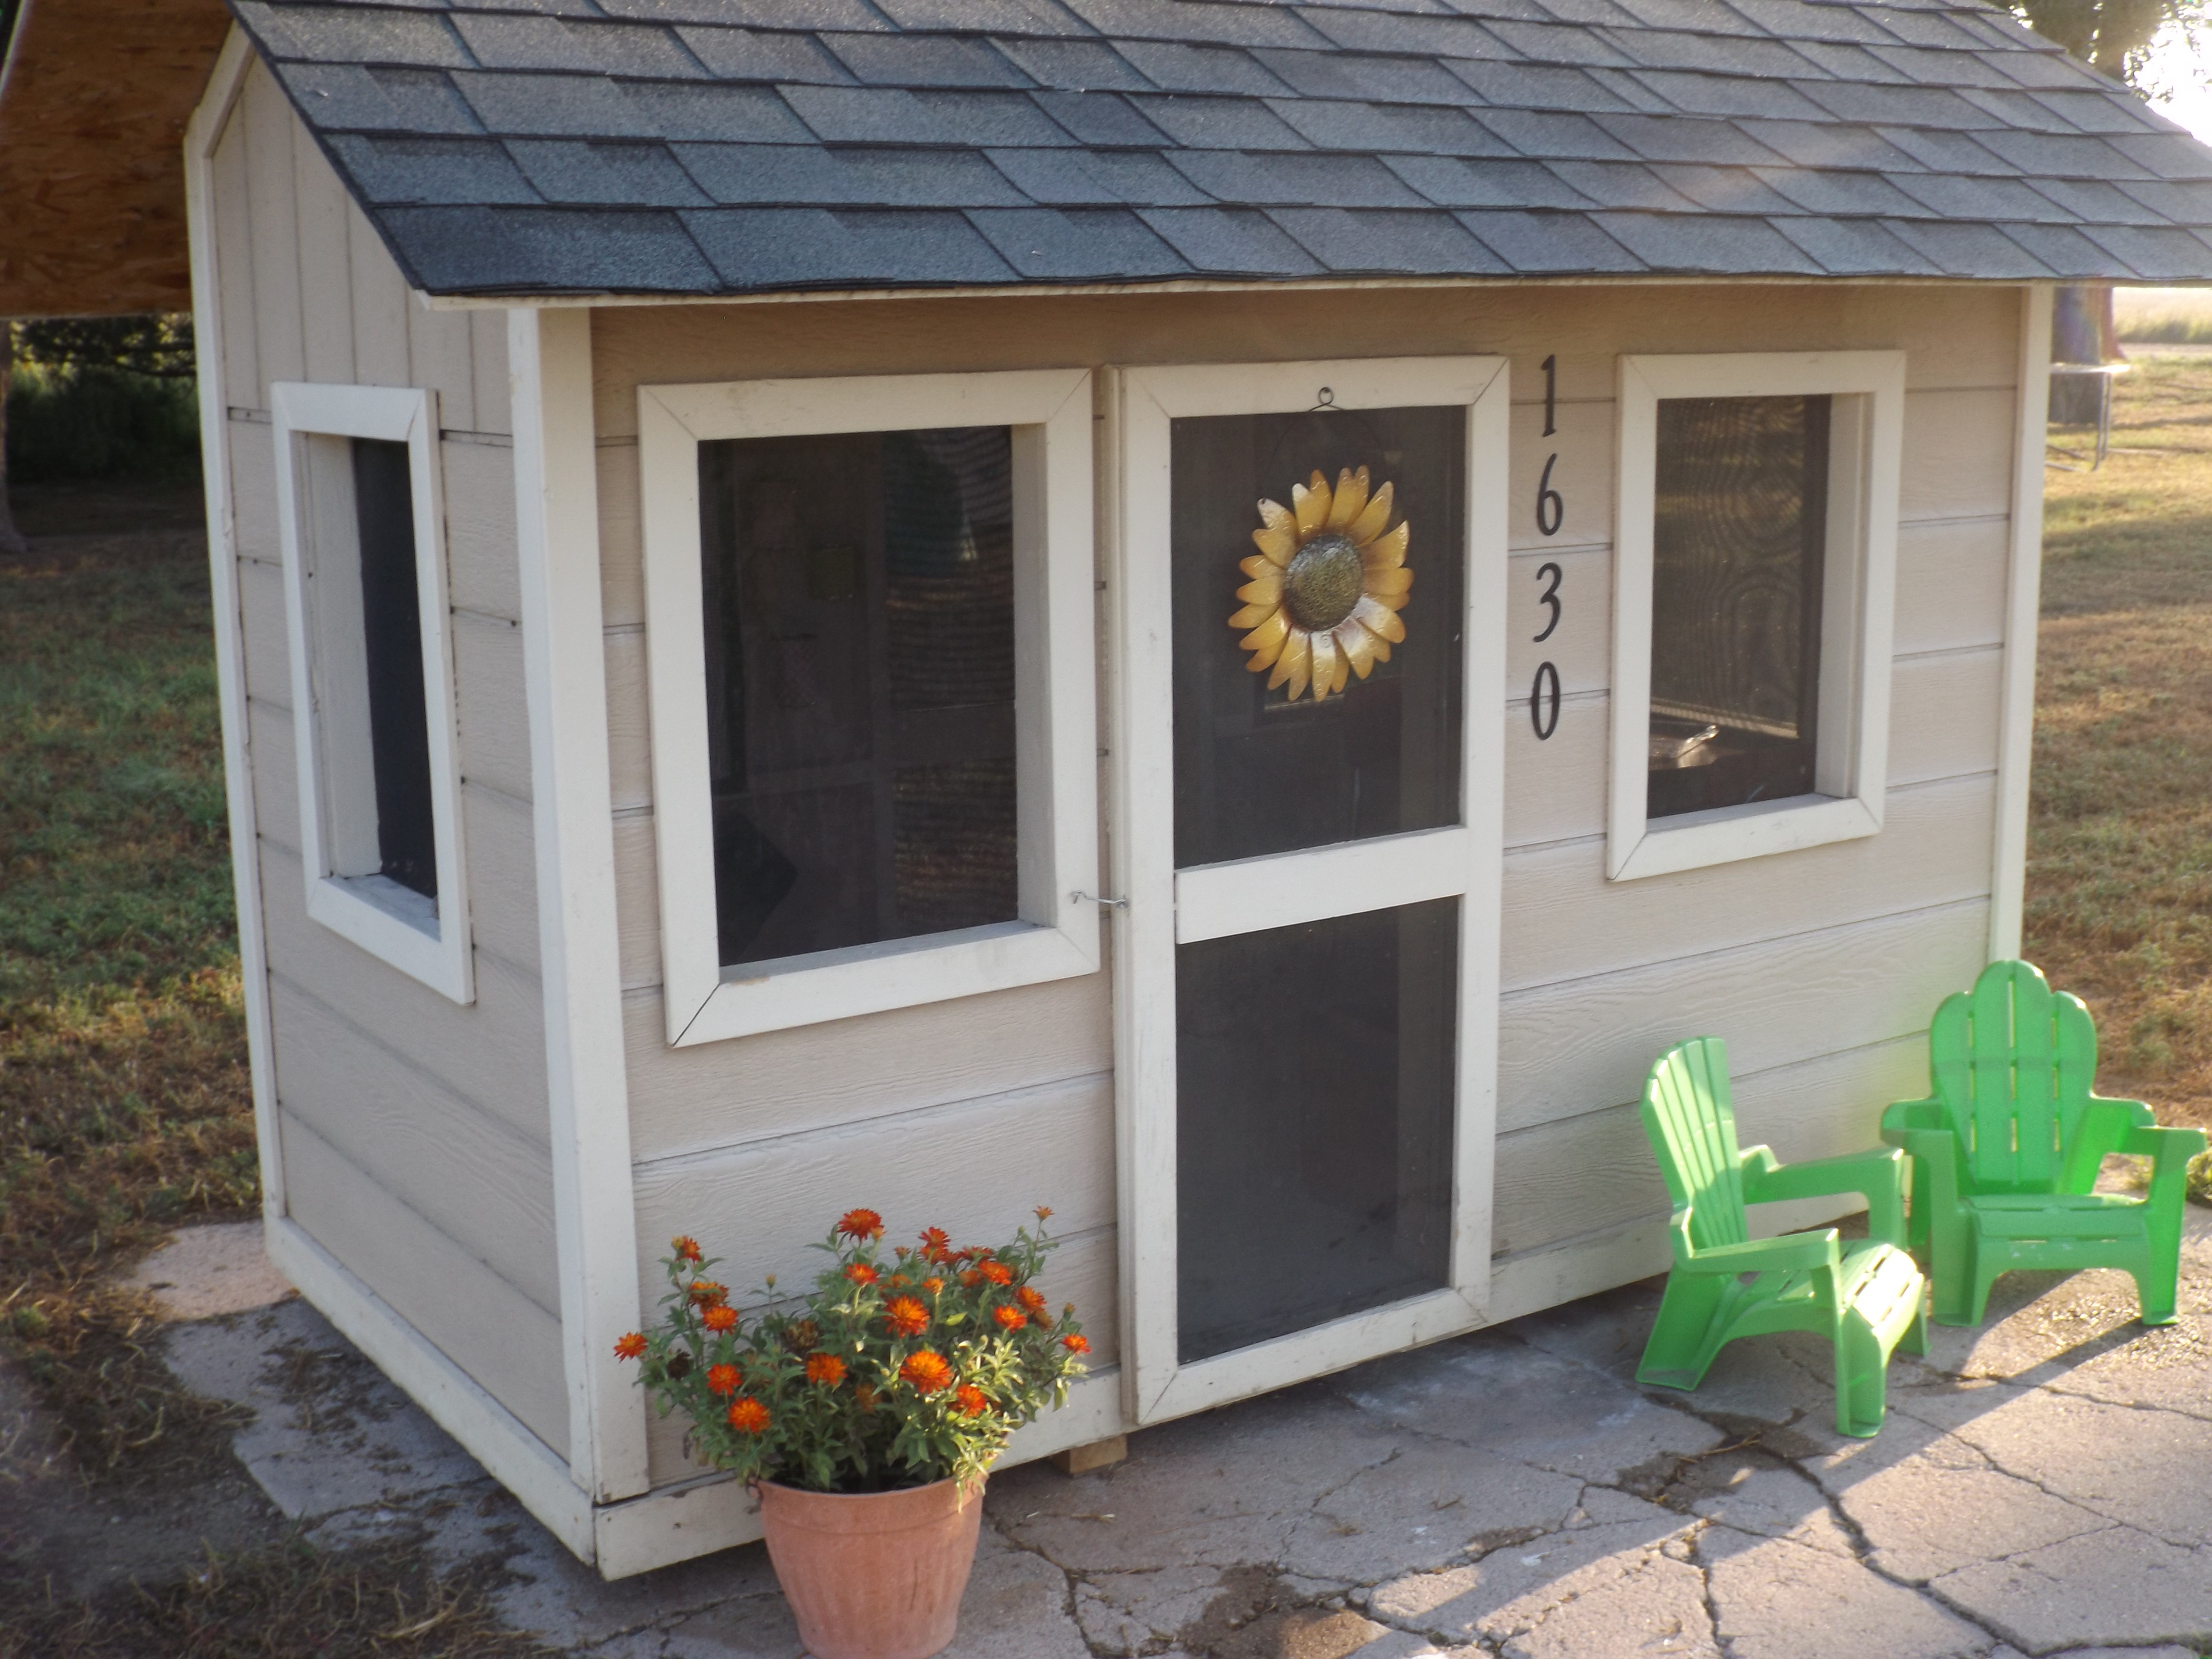
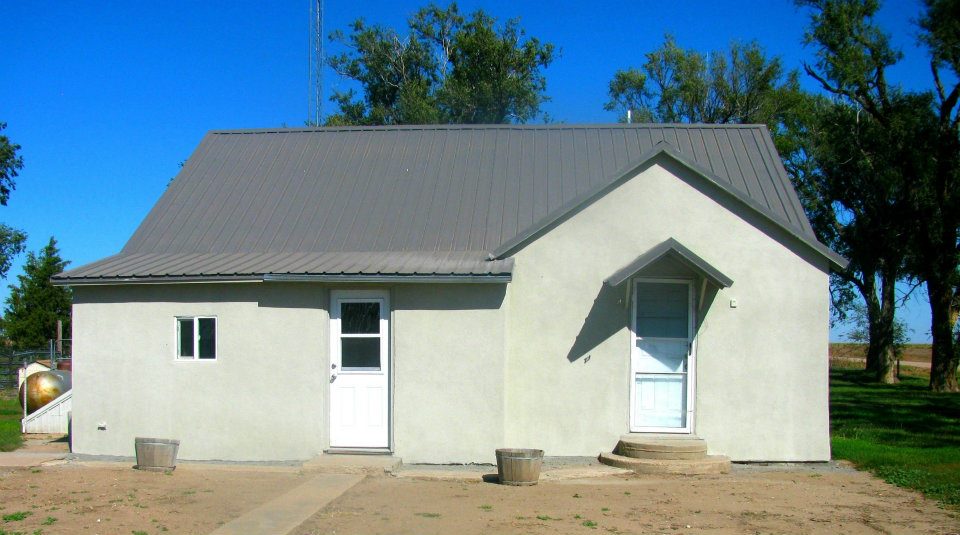
We knew we could build one, but our time is kind of precious right now. By the time Wrexy gets home from work, spends some time with the kids, eats supper and helps with bedtime, that doesn’t leave a lot of build-a-miniature-house time. We’ve been keeping an eye on Craigslist, this one popped up, we liked it, drove to Denver and hauled it home!
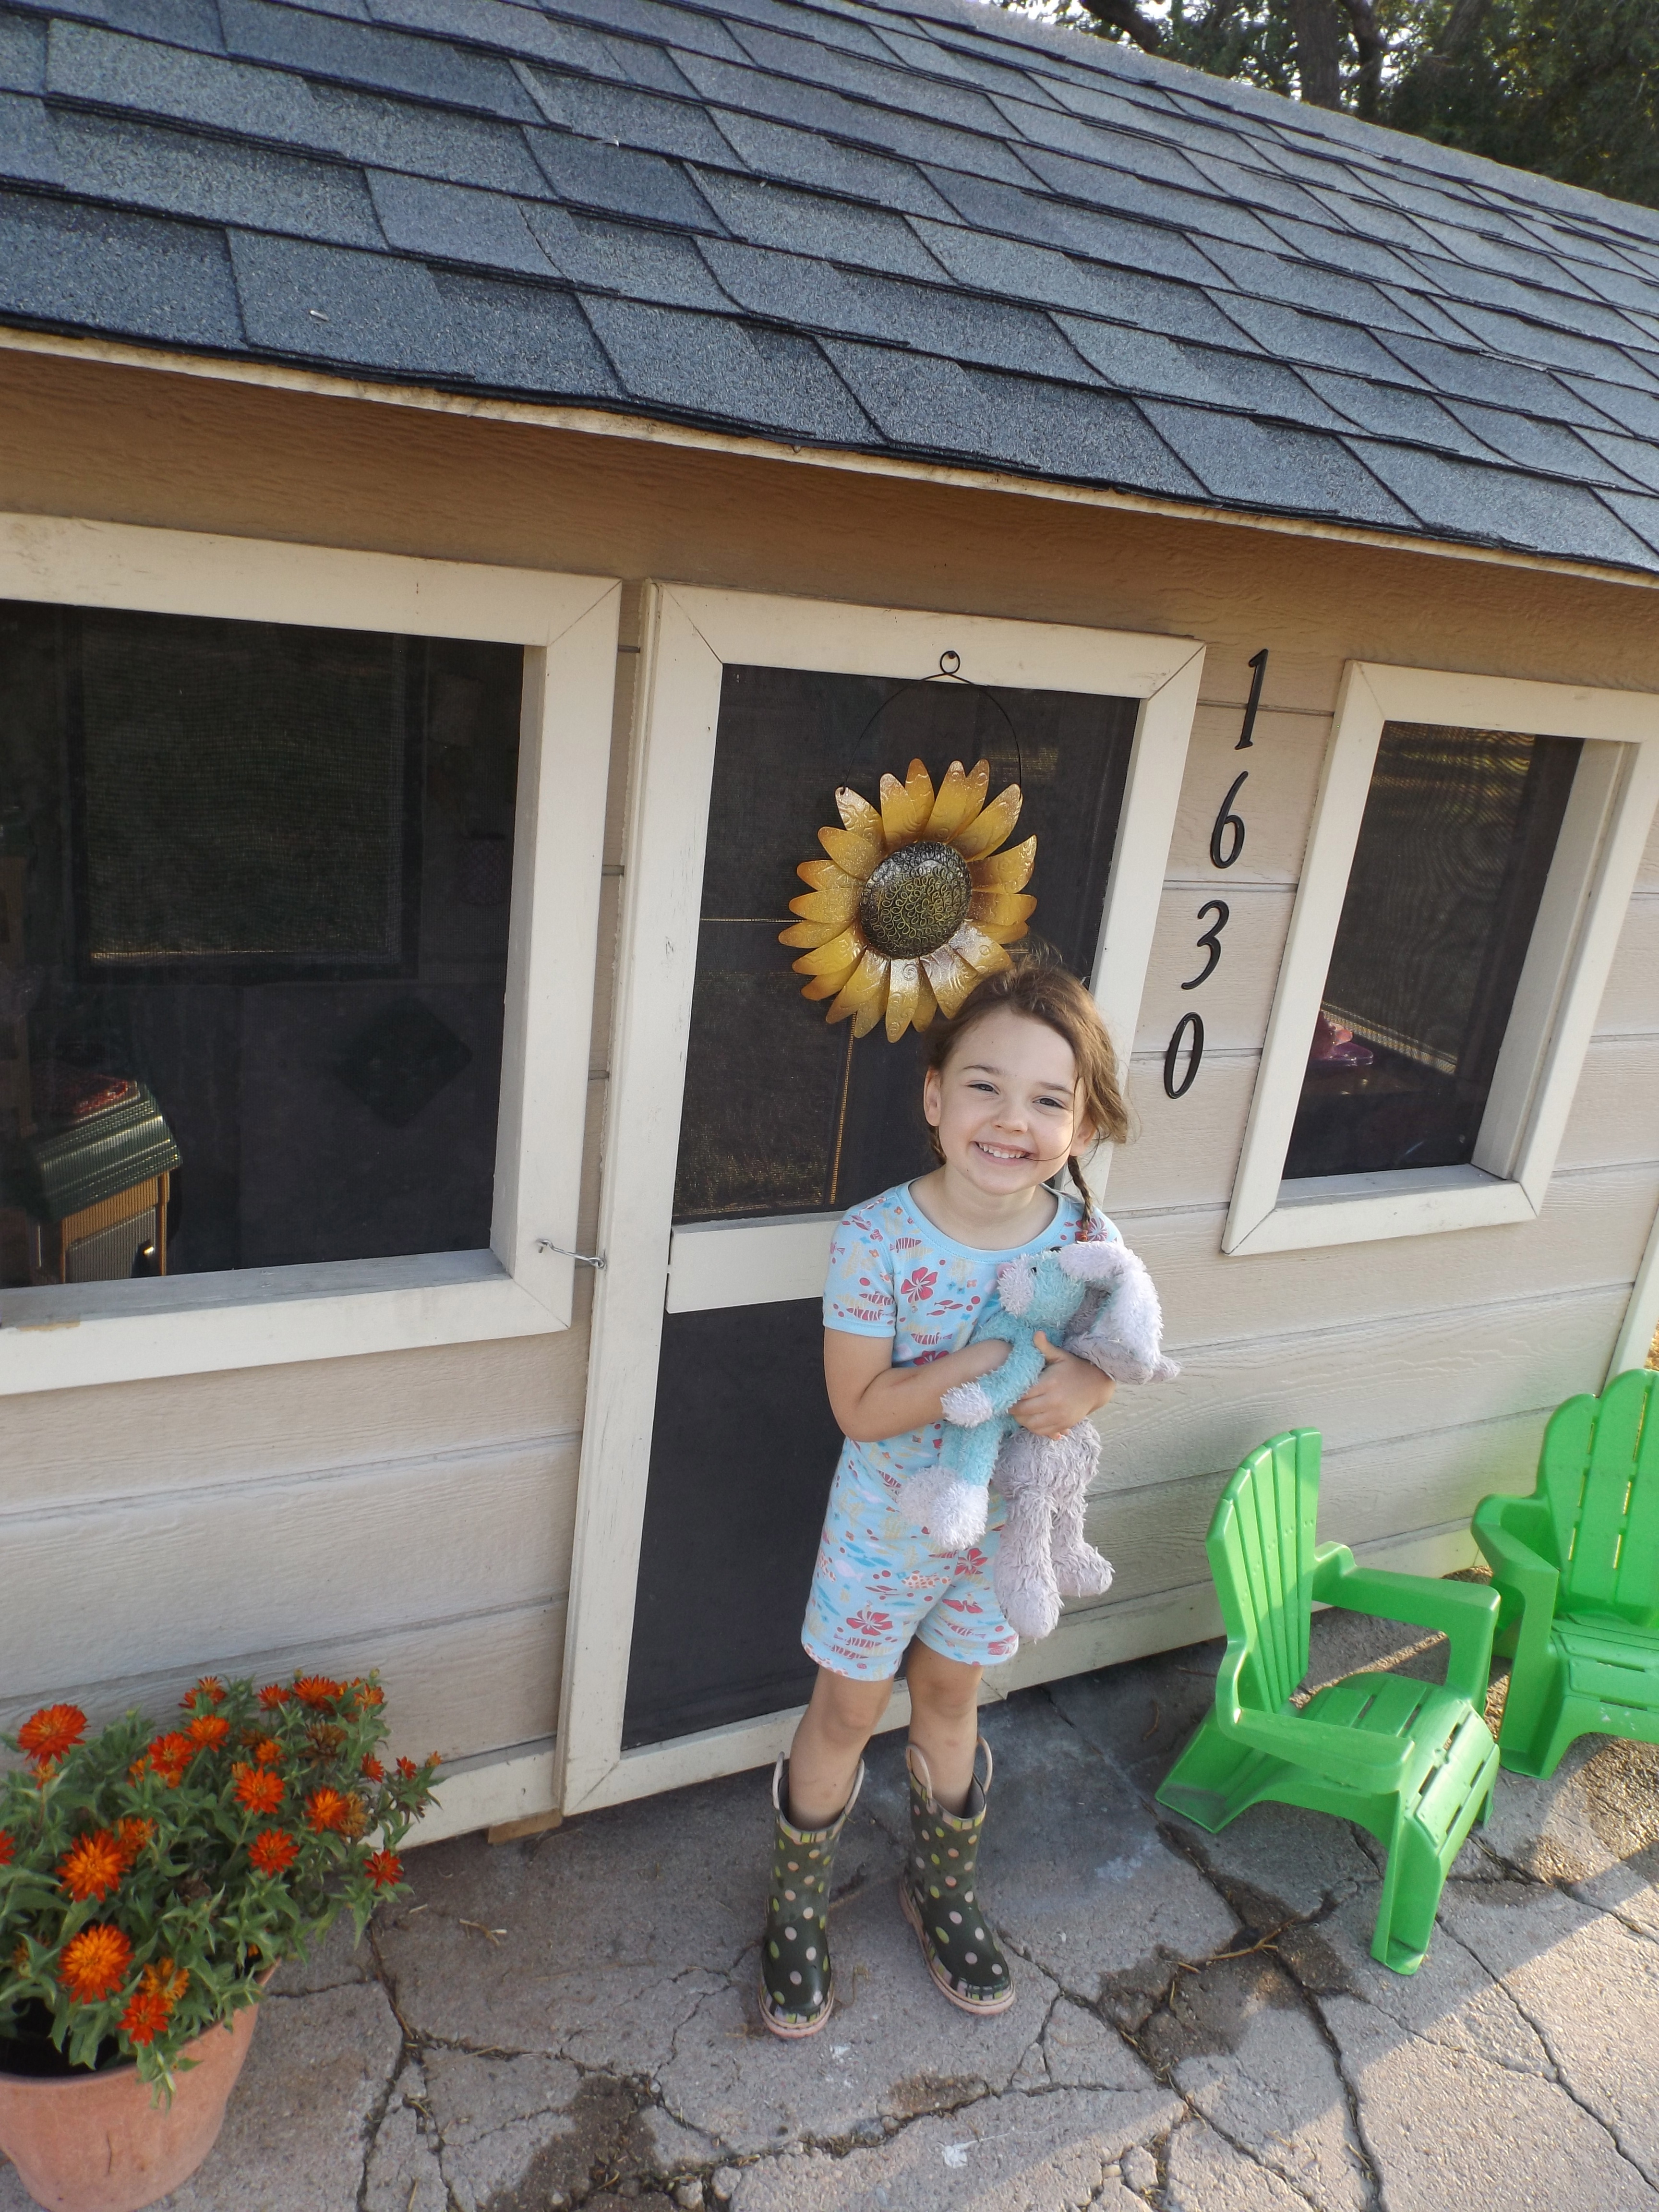
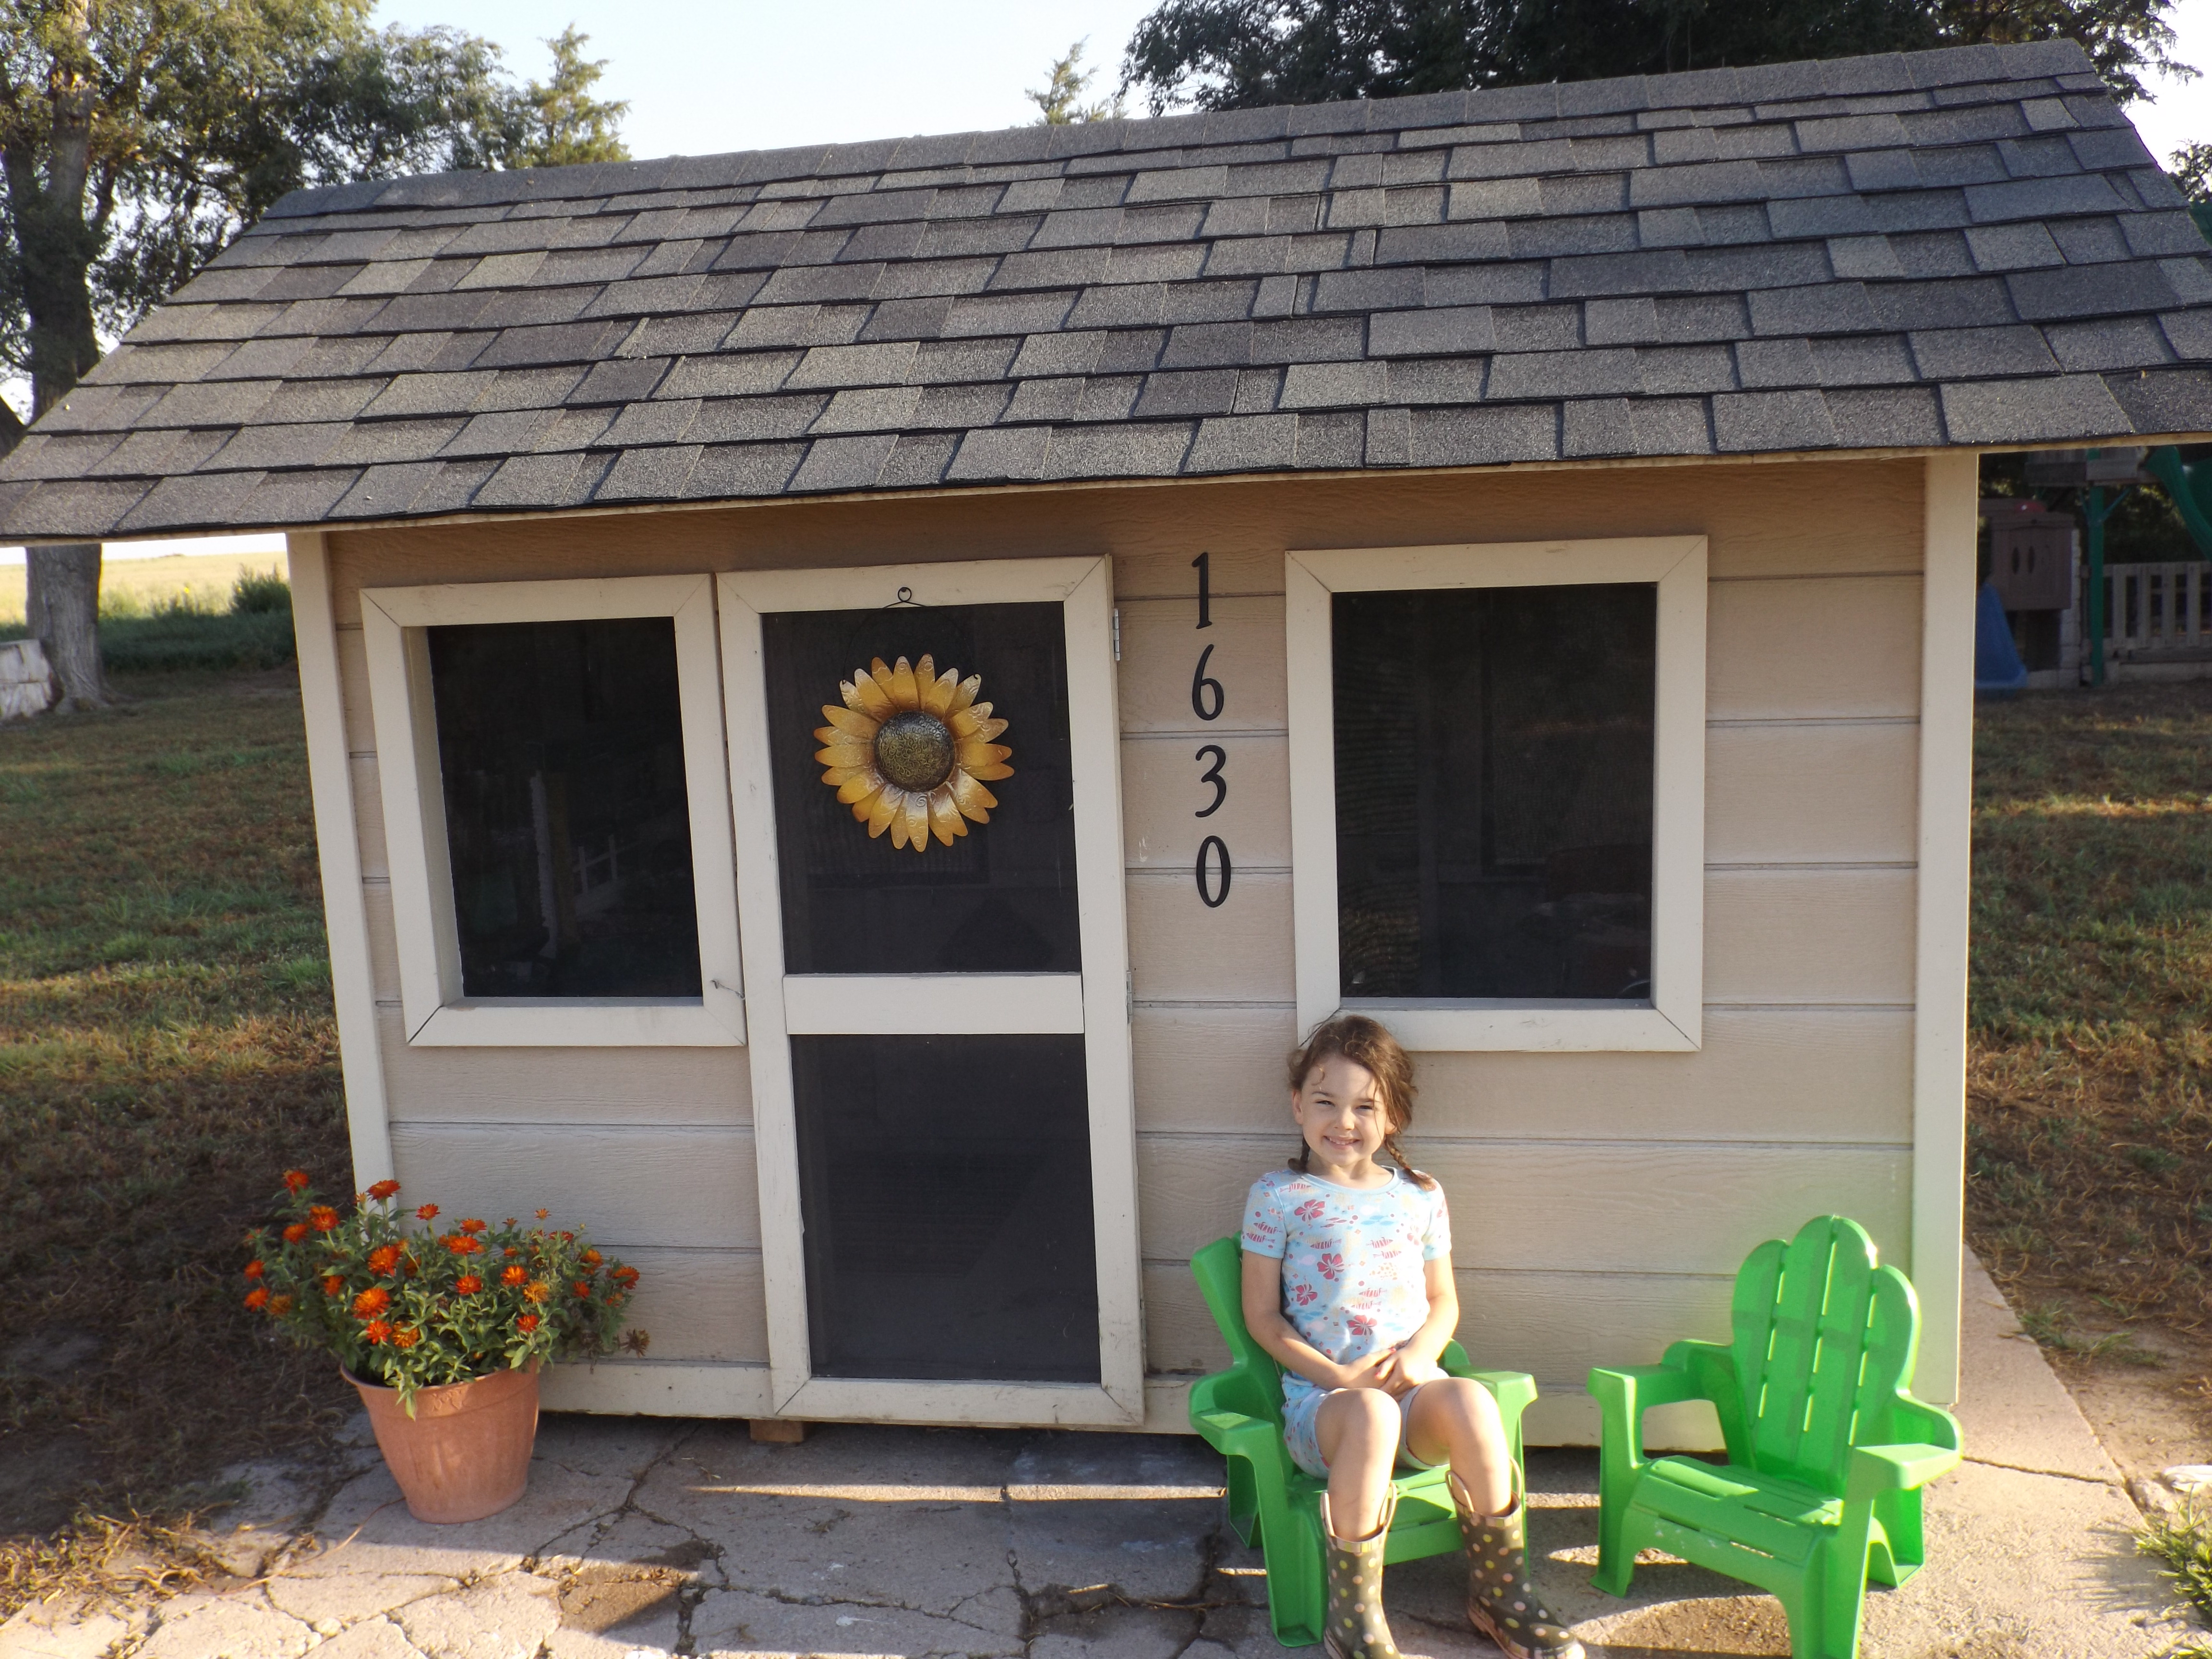
1630 See Saw Lane
It’s in really good shape and I love the siding and how everything’s trimmed out. All of the windows have screens, we just need to put in windows before winter. The inside was unfinished, so Wrexy hooked up our spray gun and painted it all an antique white. Then, we went to town making it homey.
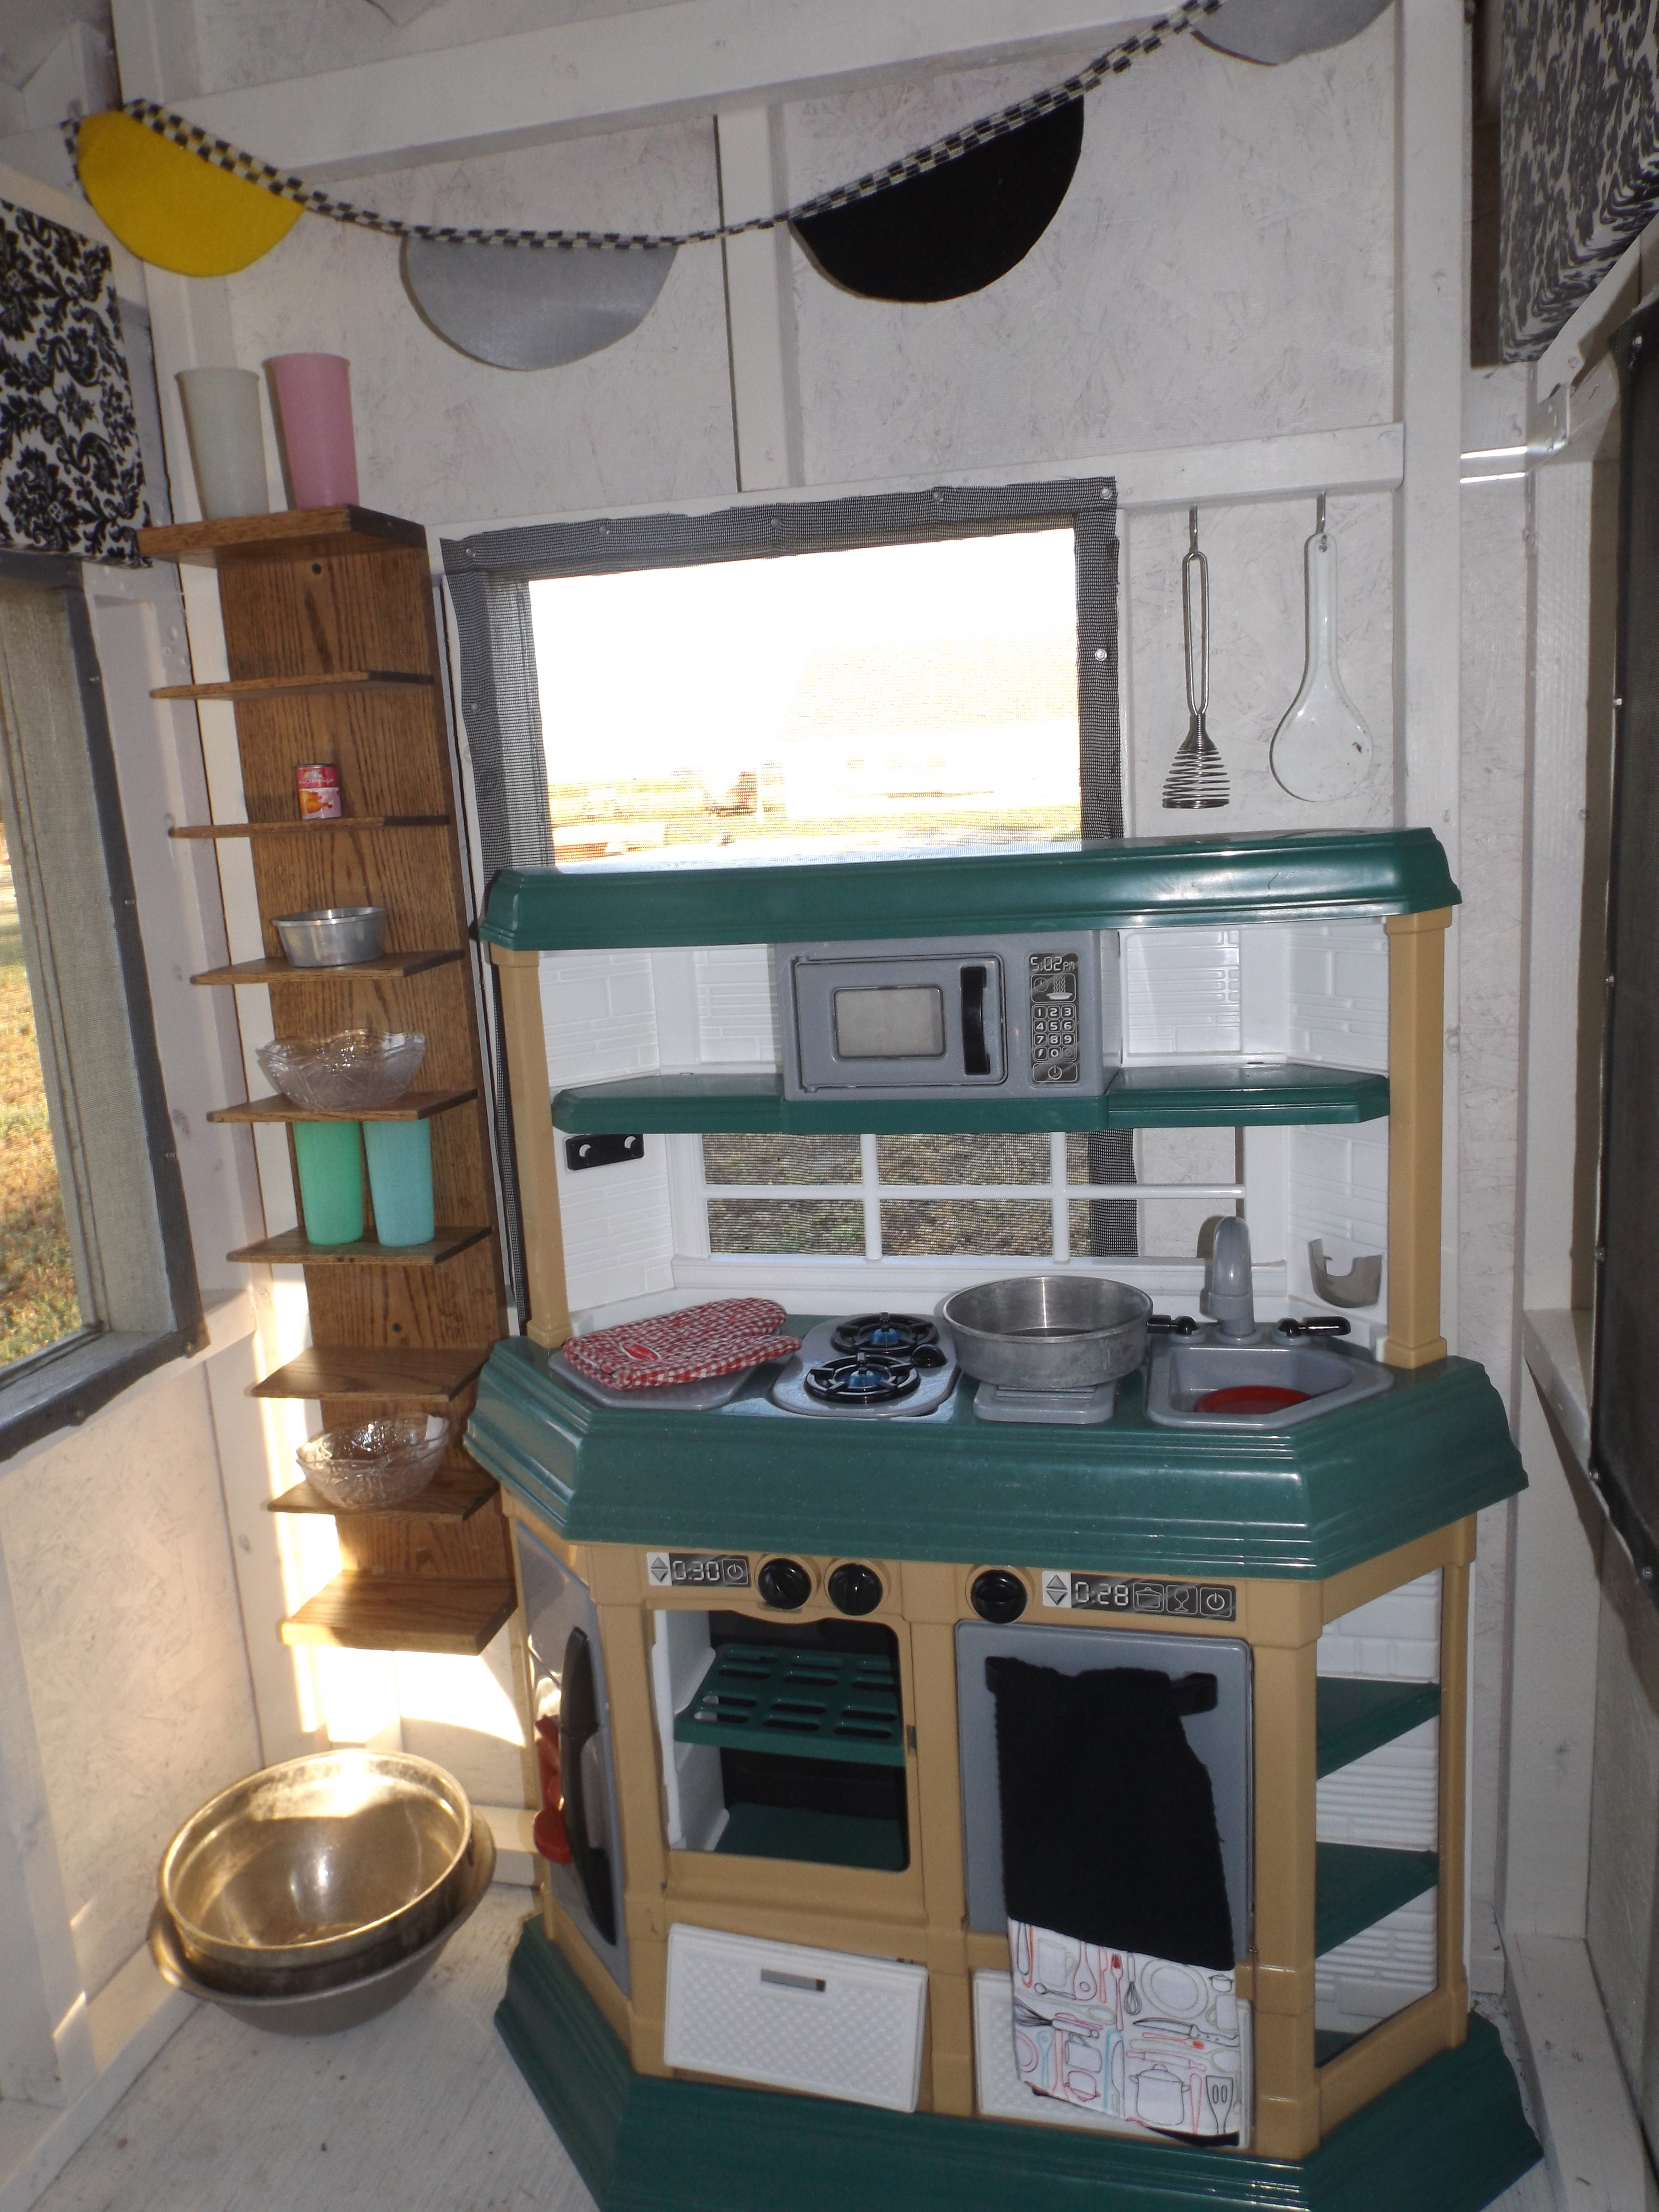
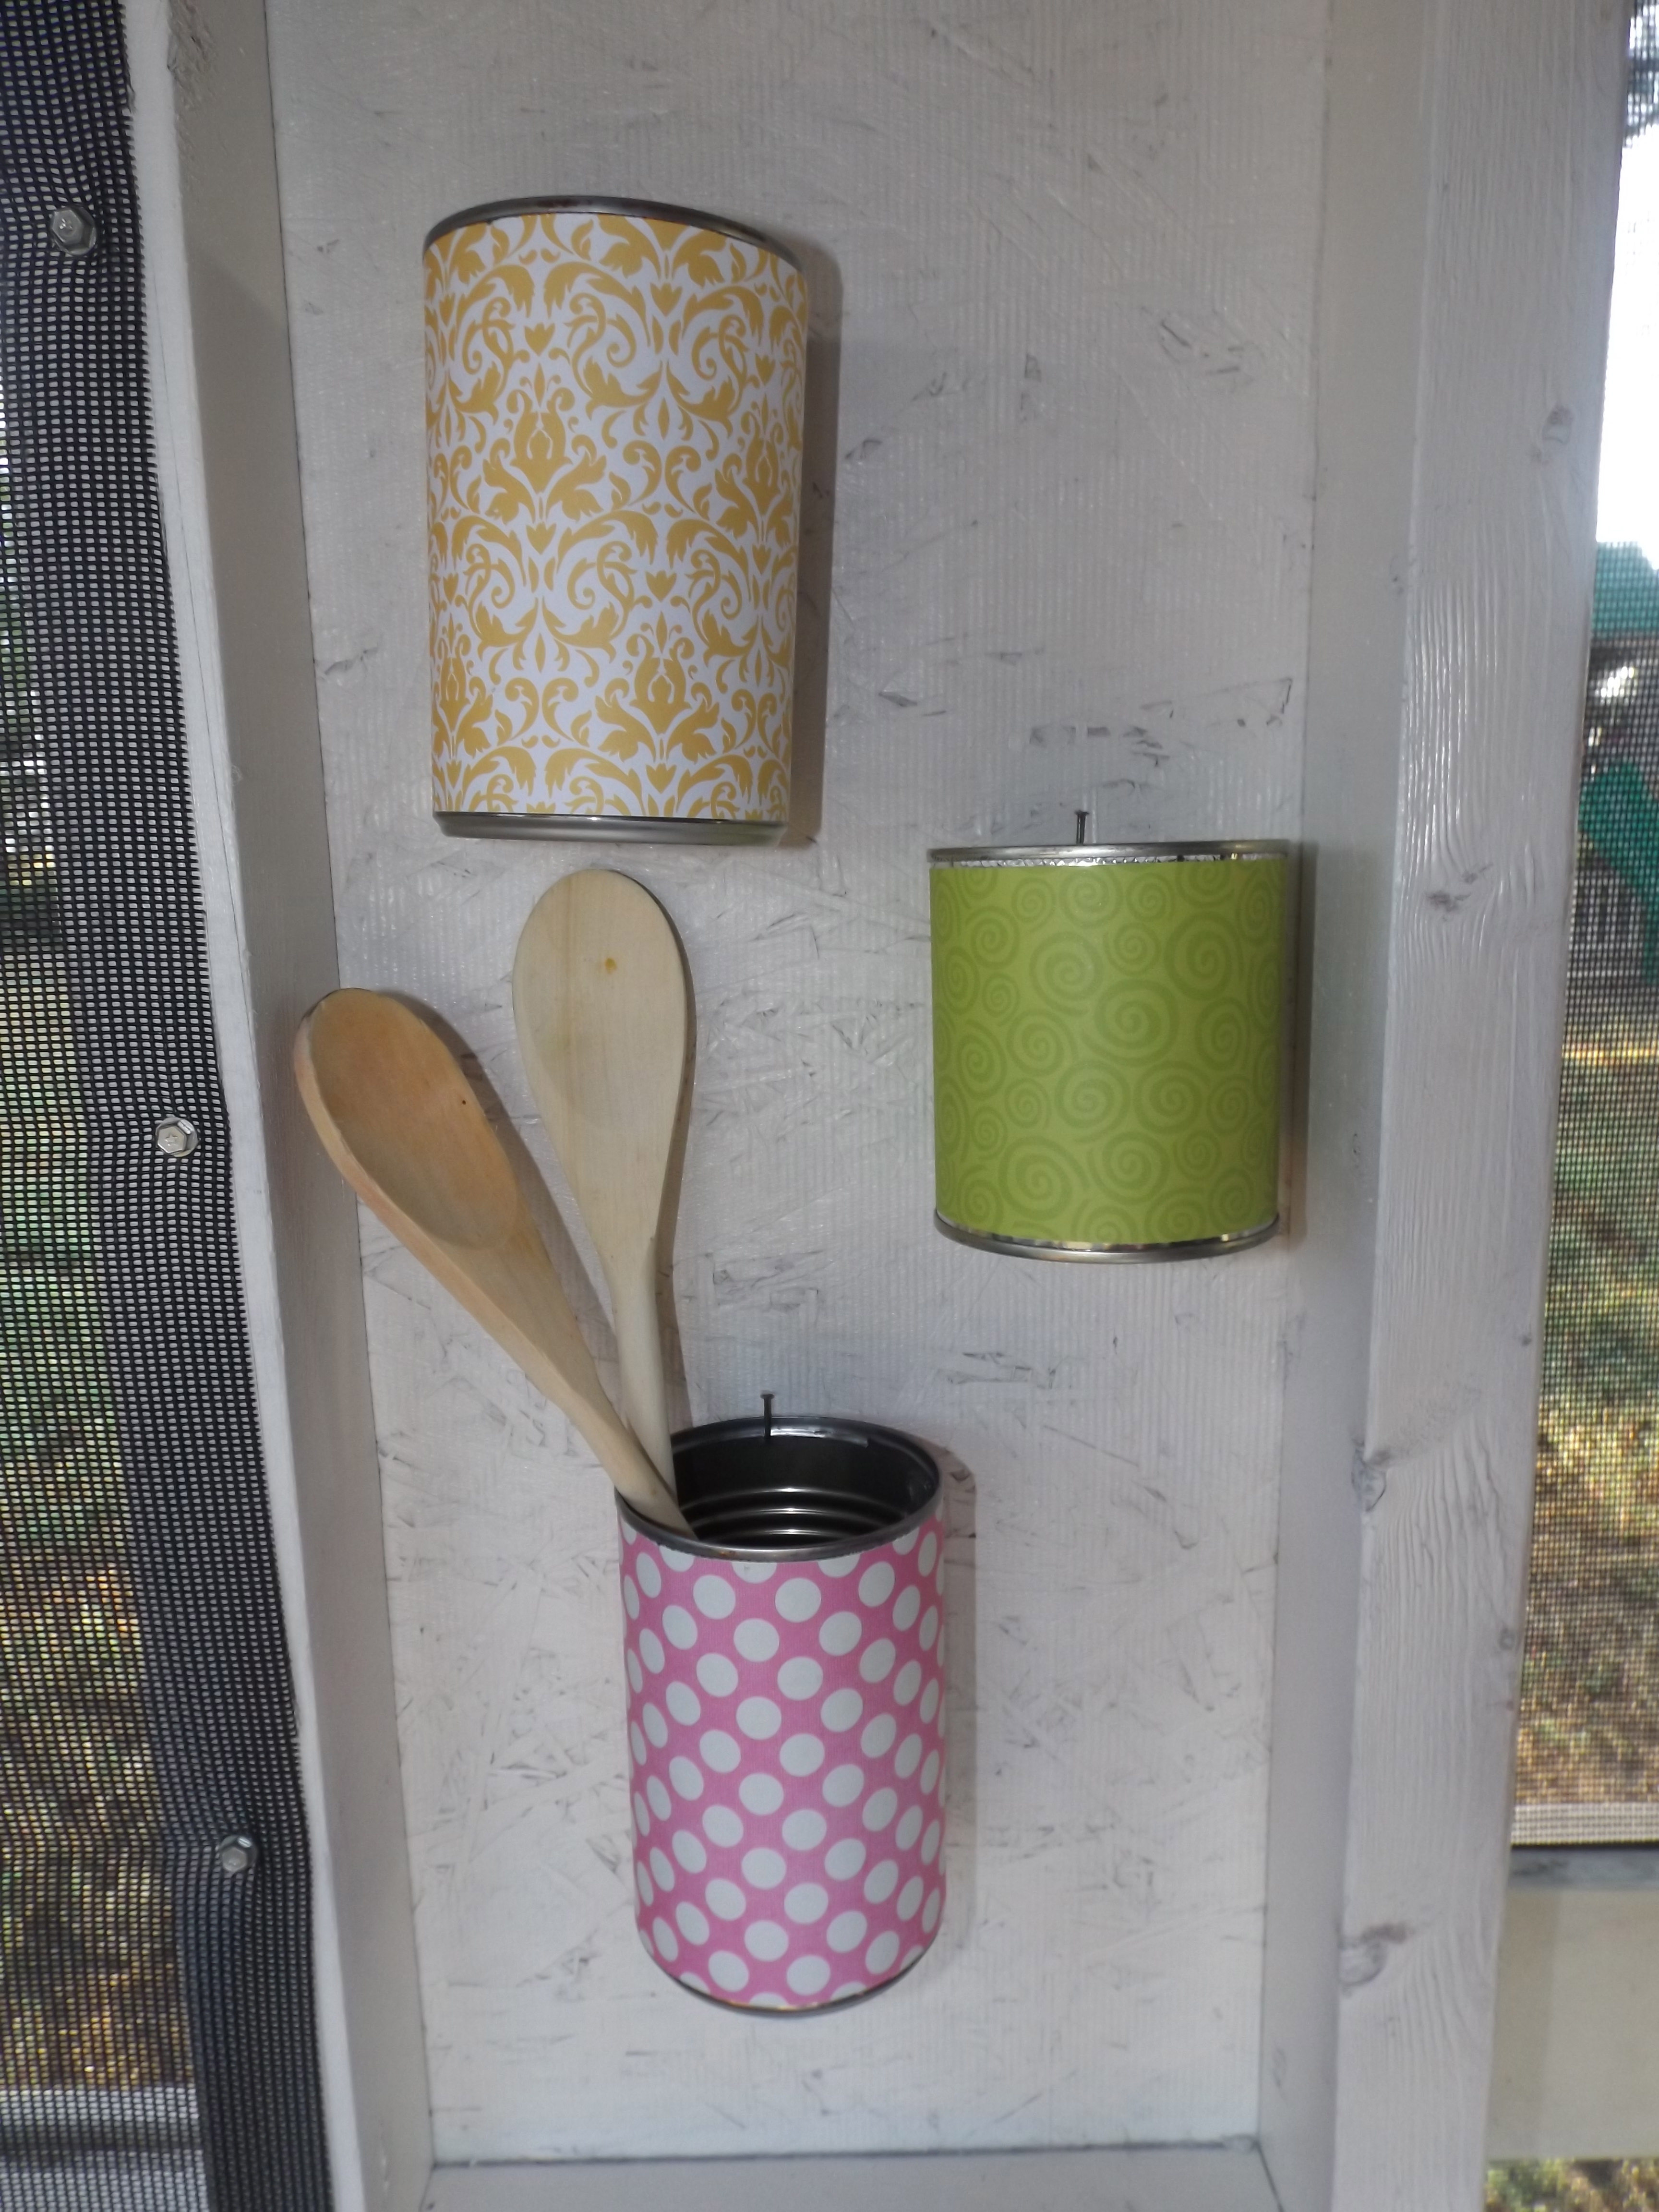
The only things we bought new for this project was the rug (it’s completely vinyl/plastic so it can be washed with a water hose), some hooks to hang utensils and the flower on the door; everything else we just repurposed.
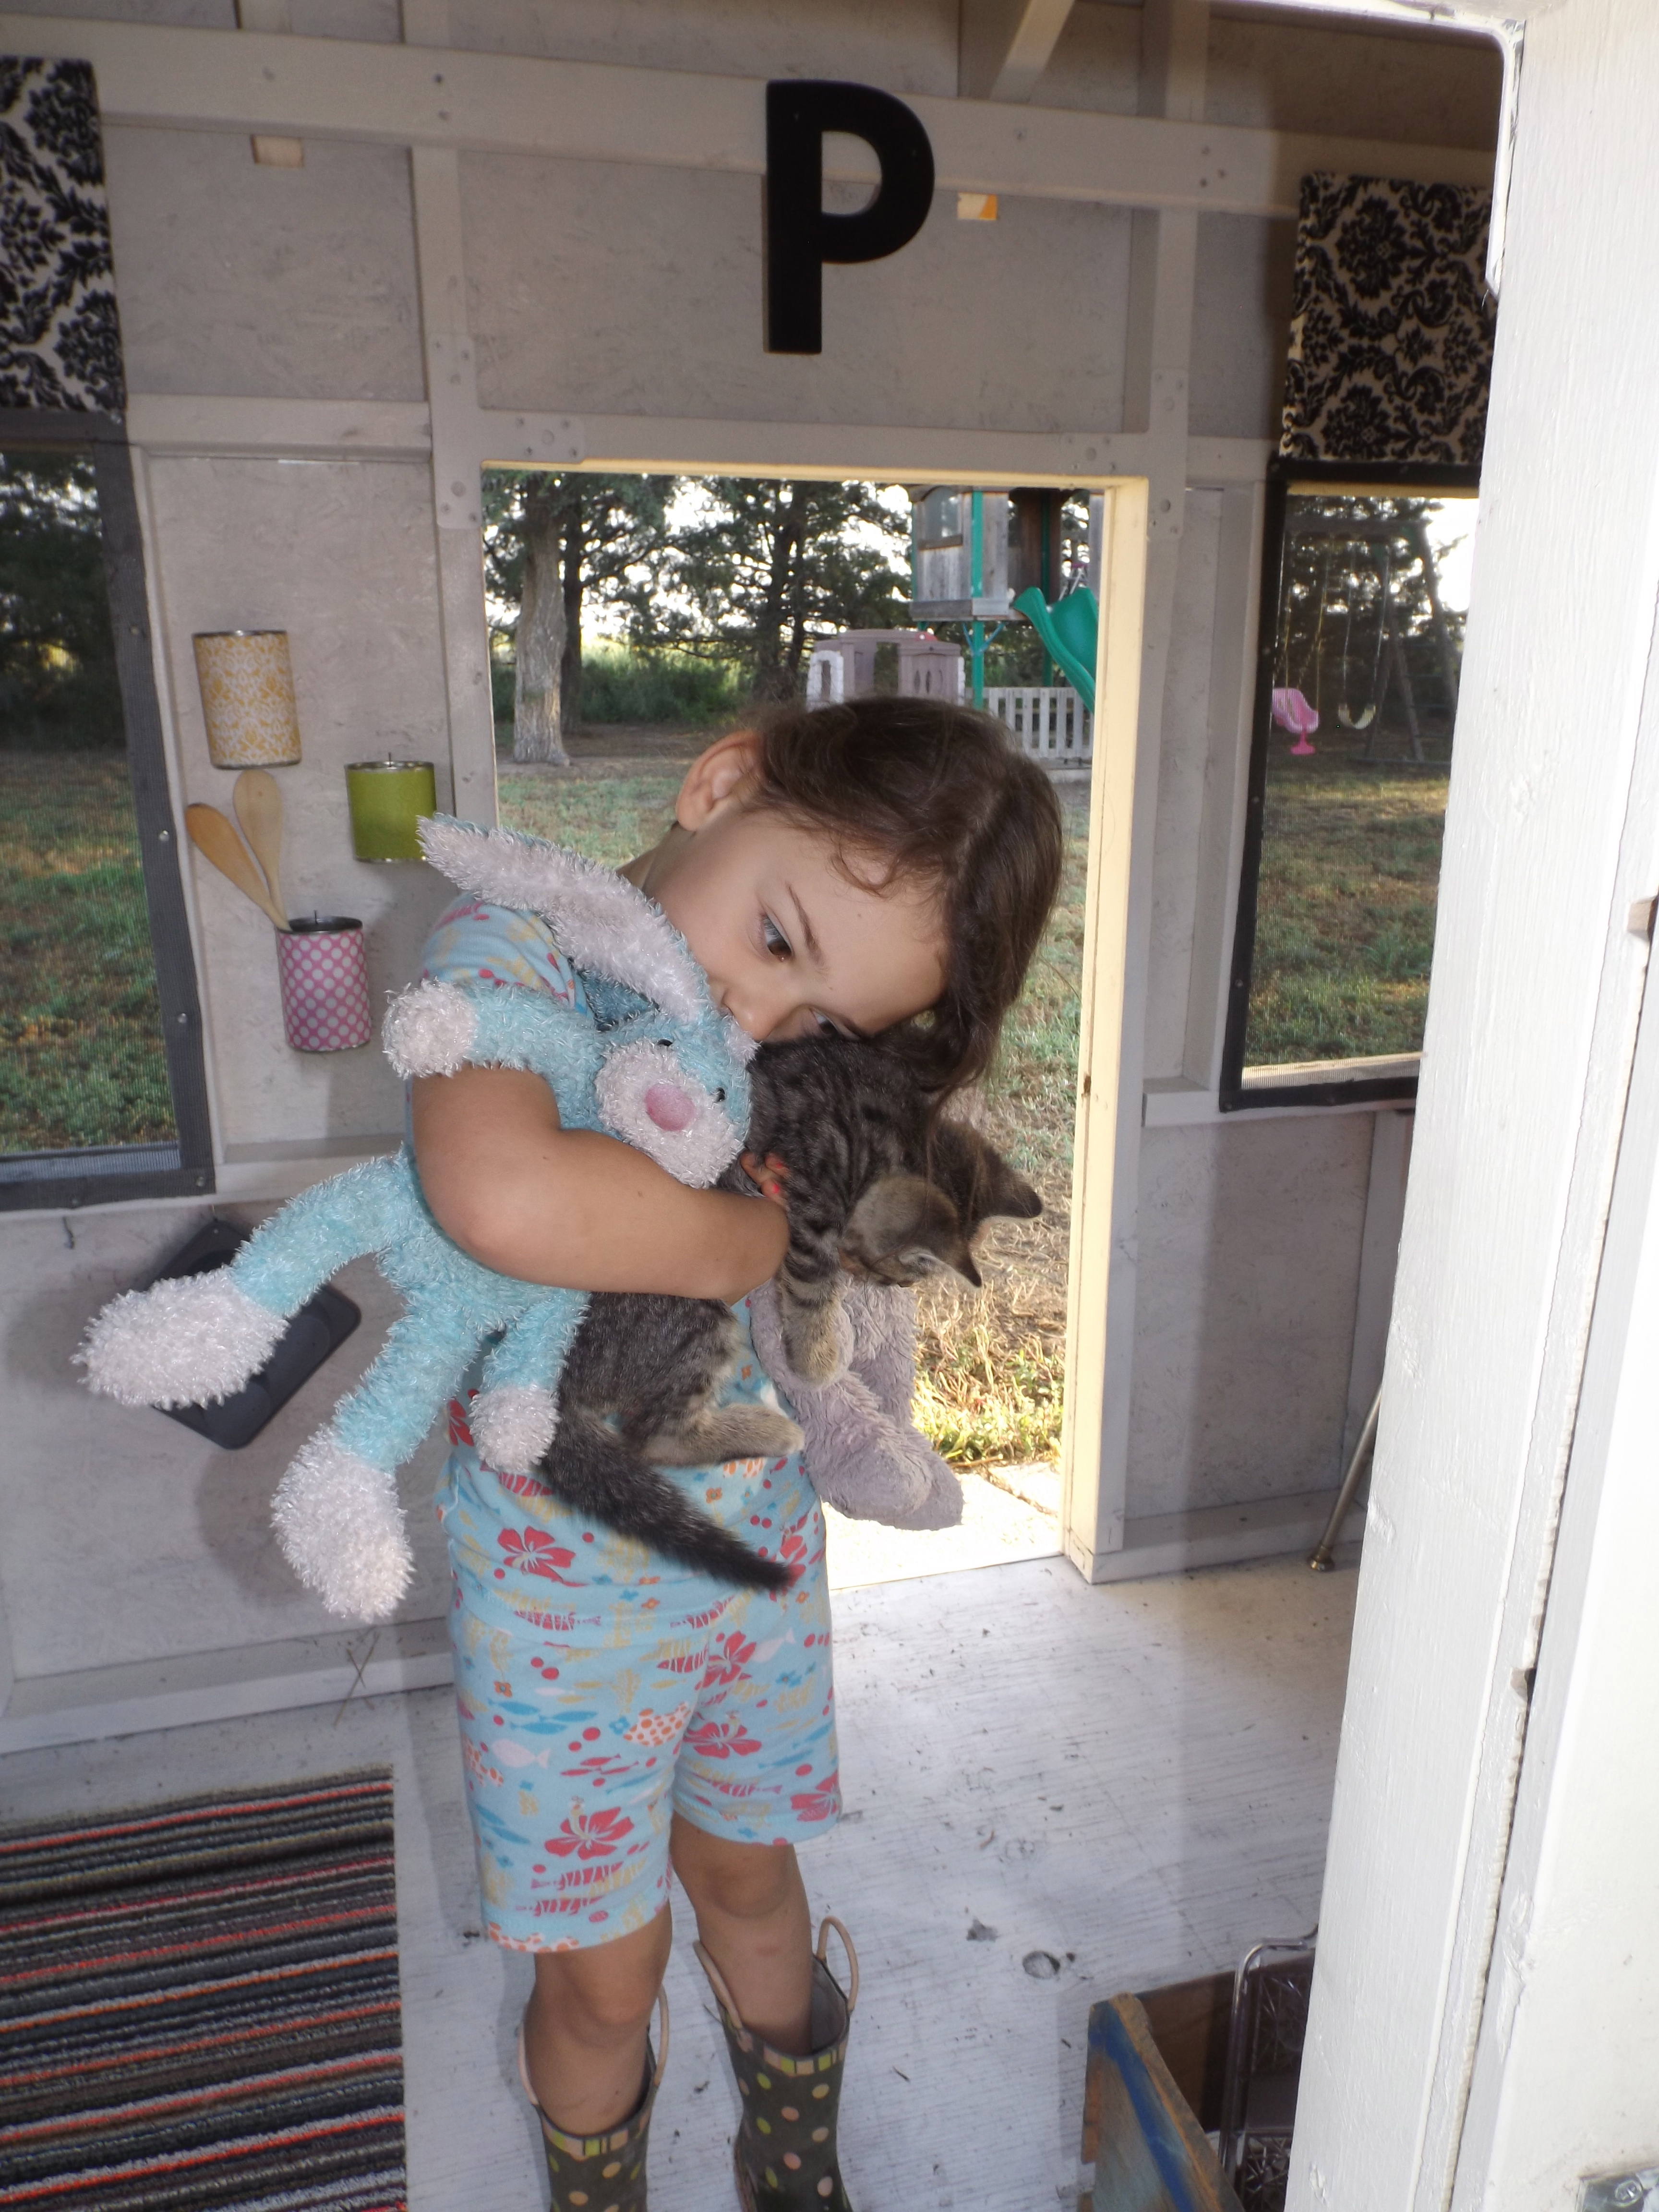
I covered these cans in cute paper and then affixed them to the wall for her to store utensils and things in.
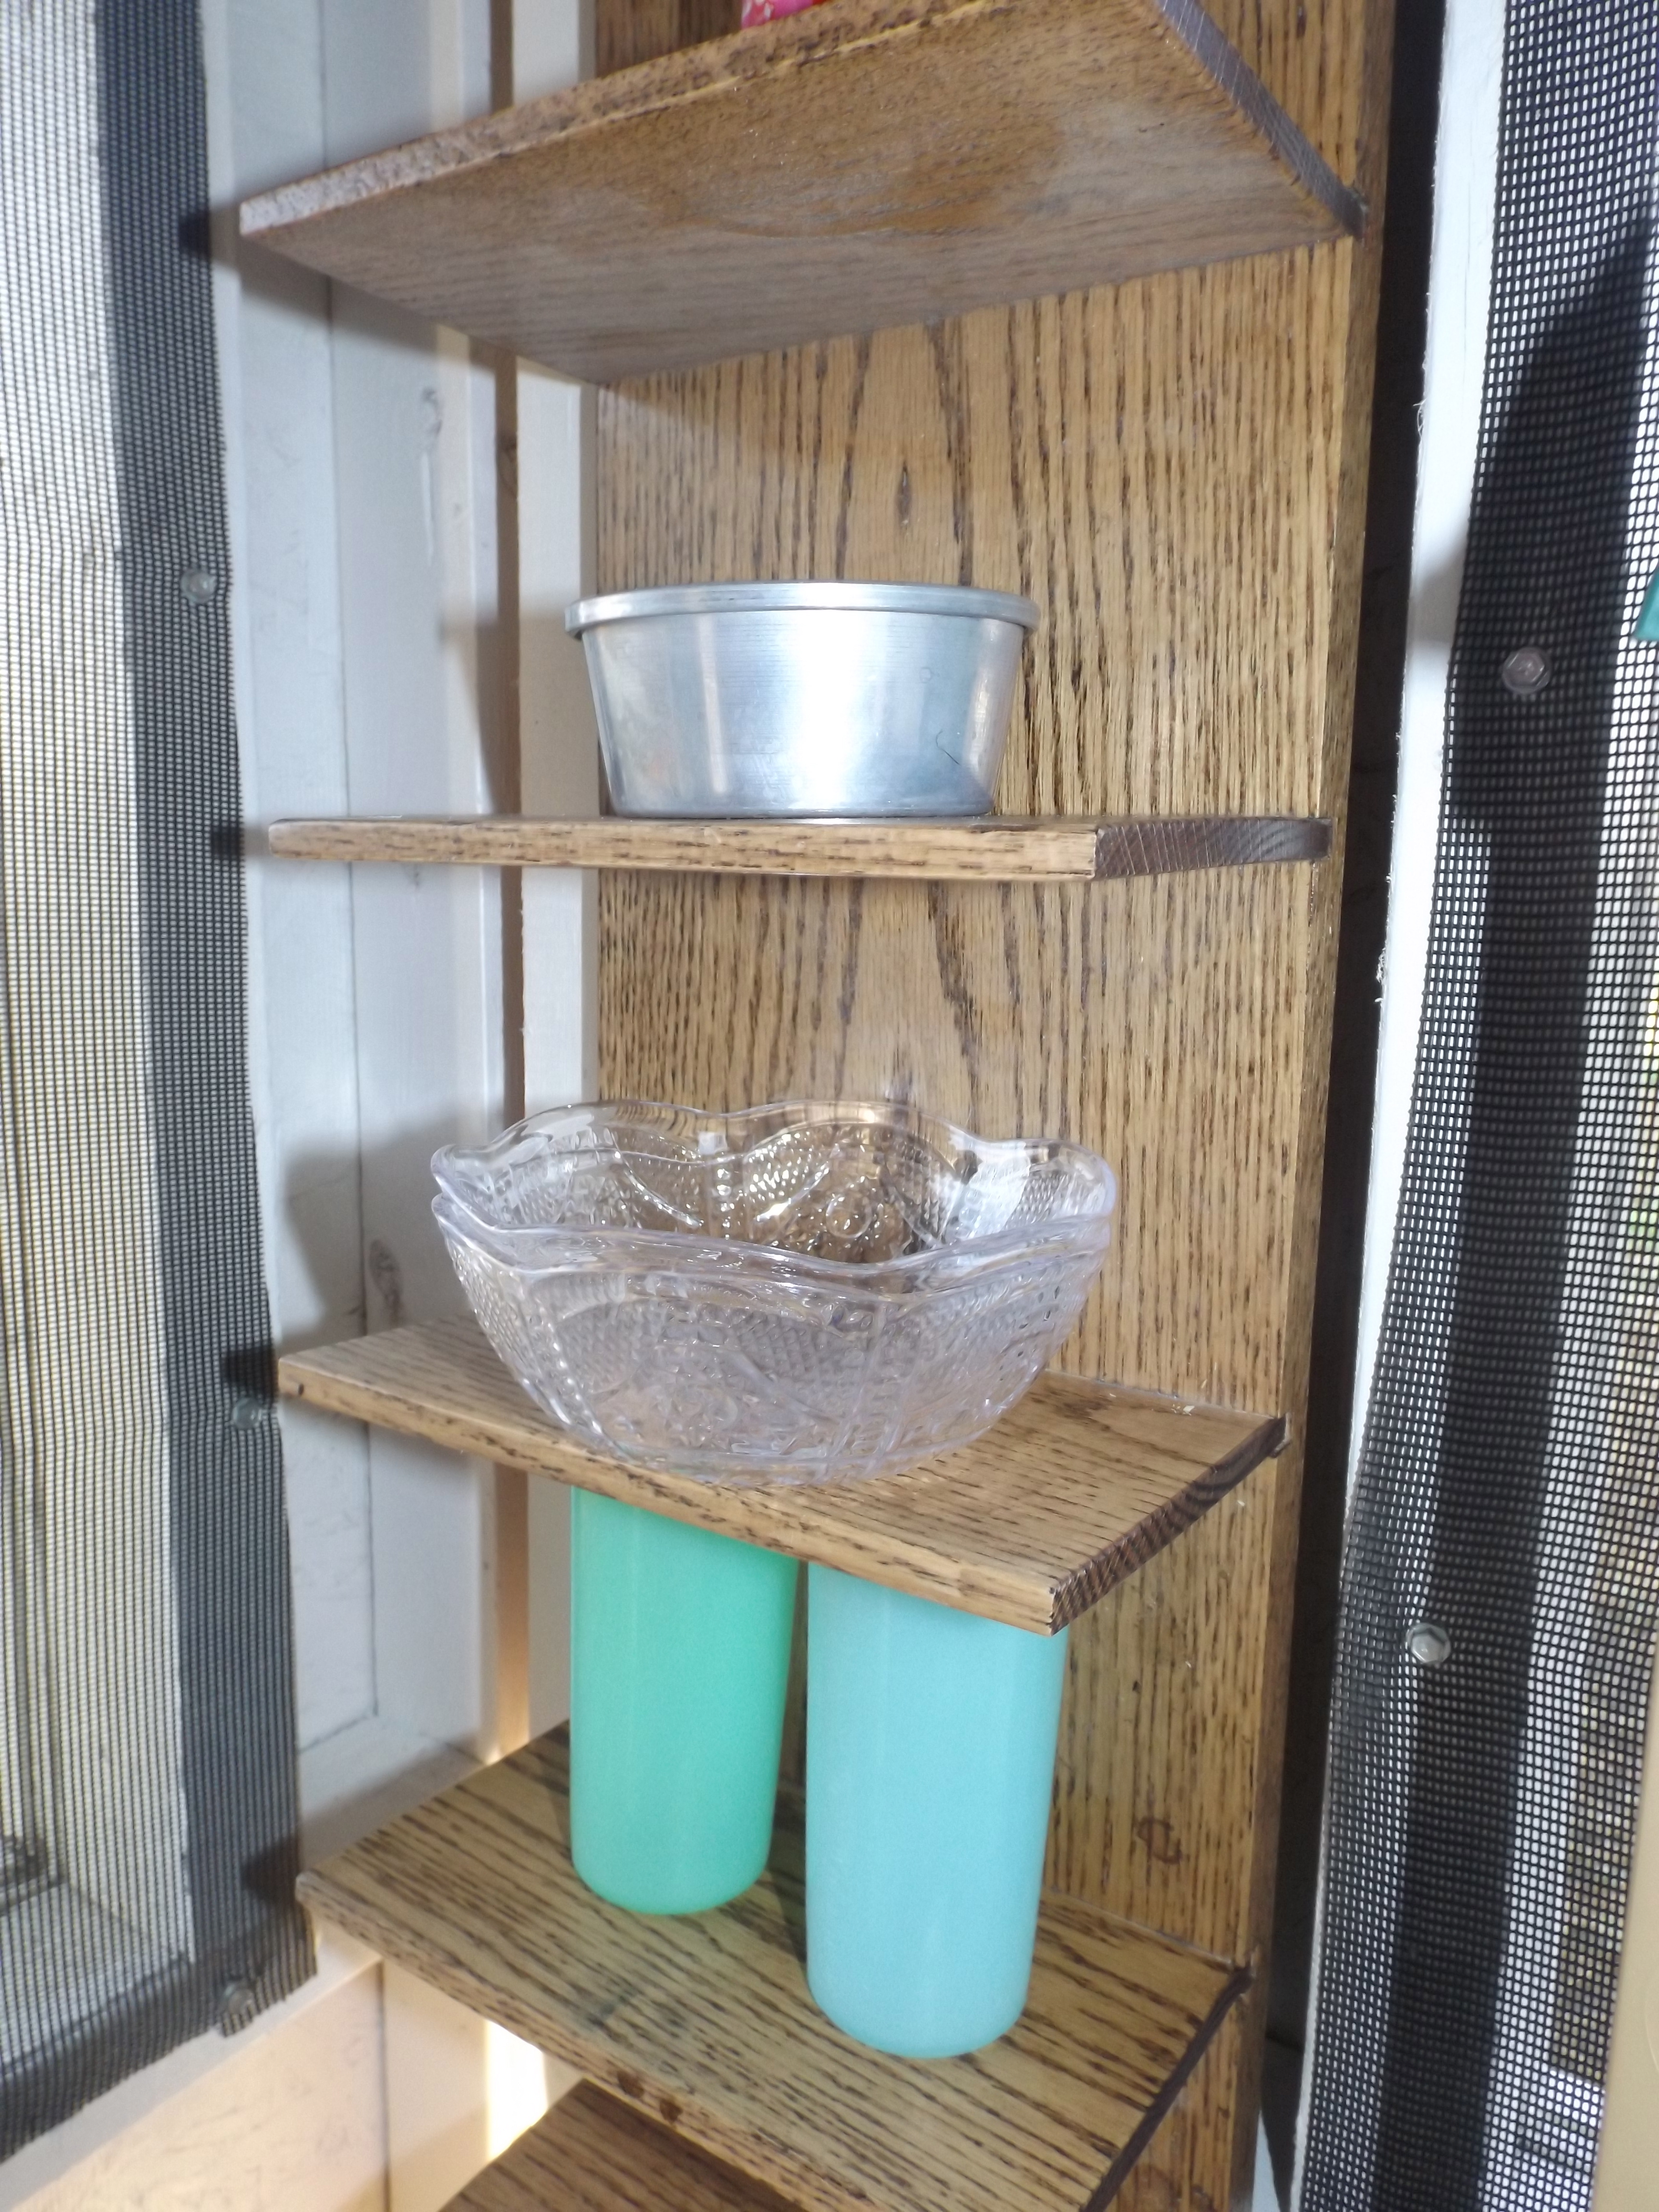
We’ve had this old bank sorter for a while and I had originally wanted it to organize homeschool worksheets, but it just wasn’t the right size. We turned it on it’s end and made into a little shelf for dishes.
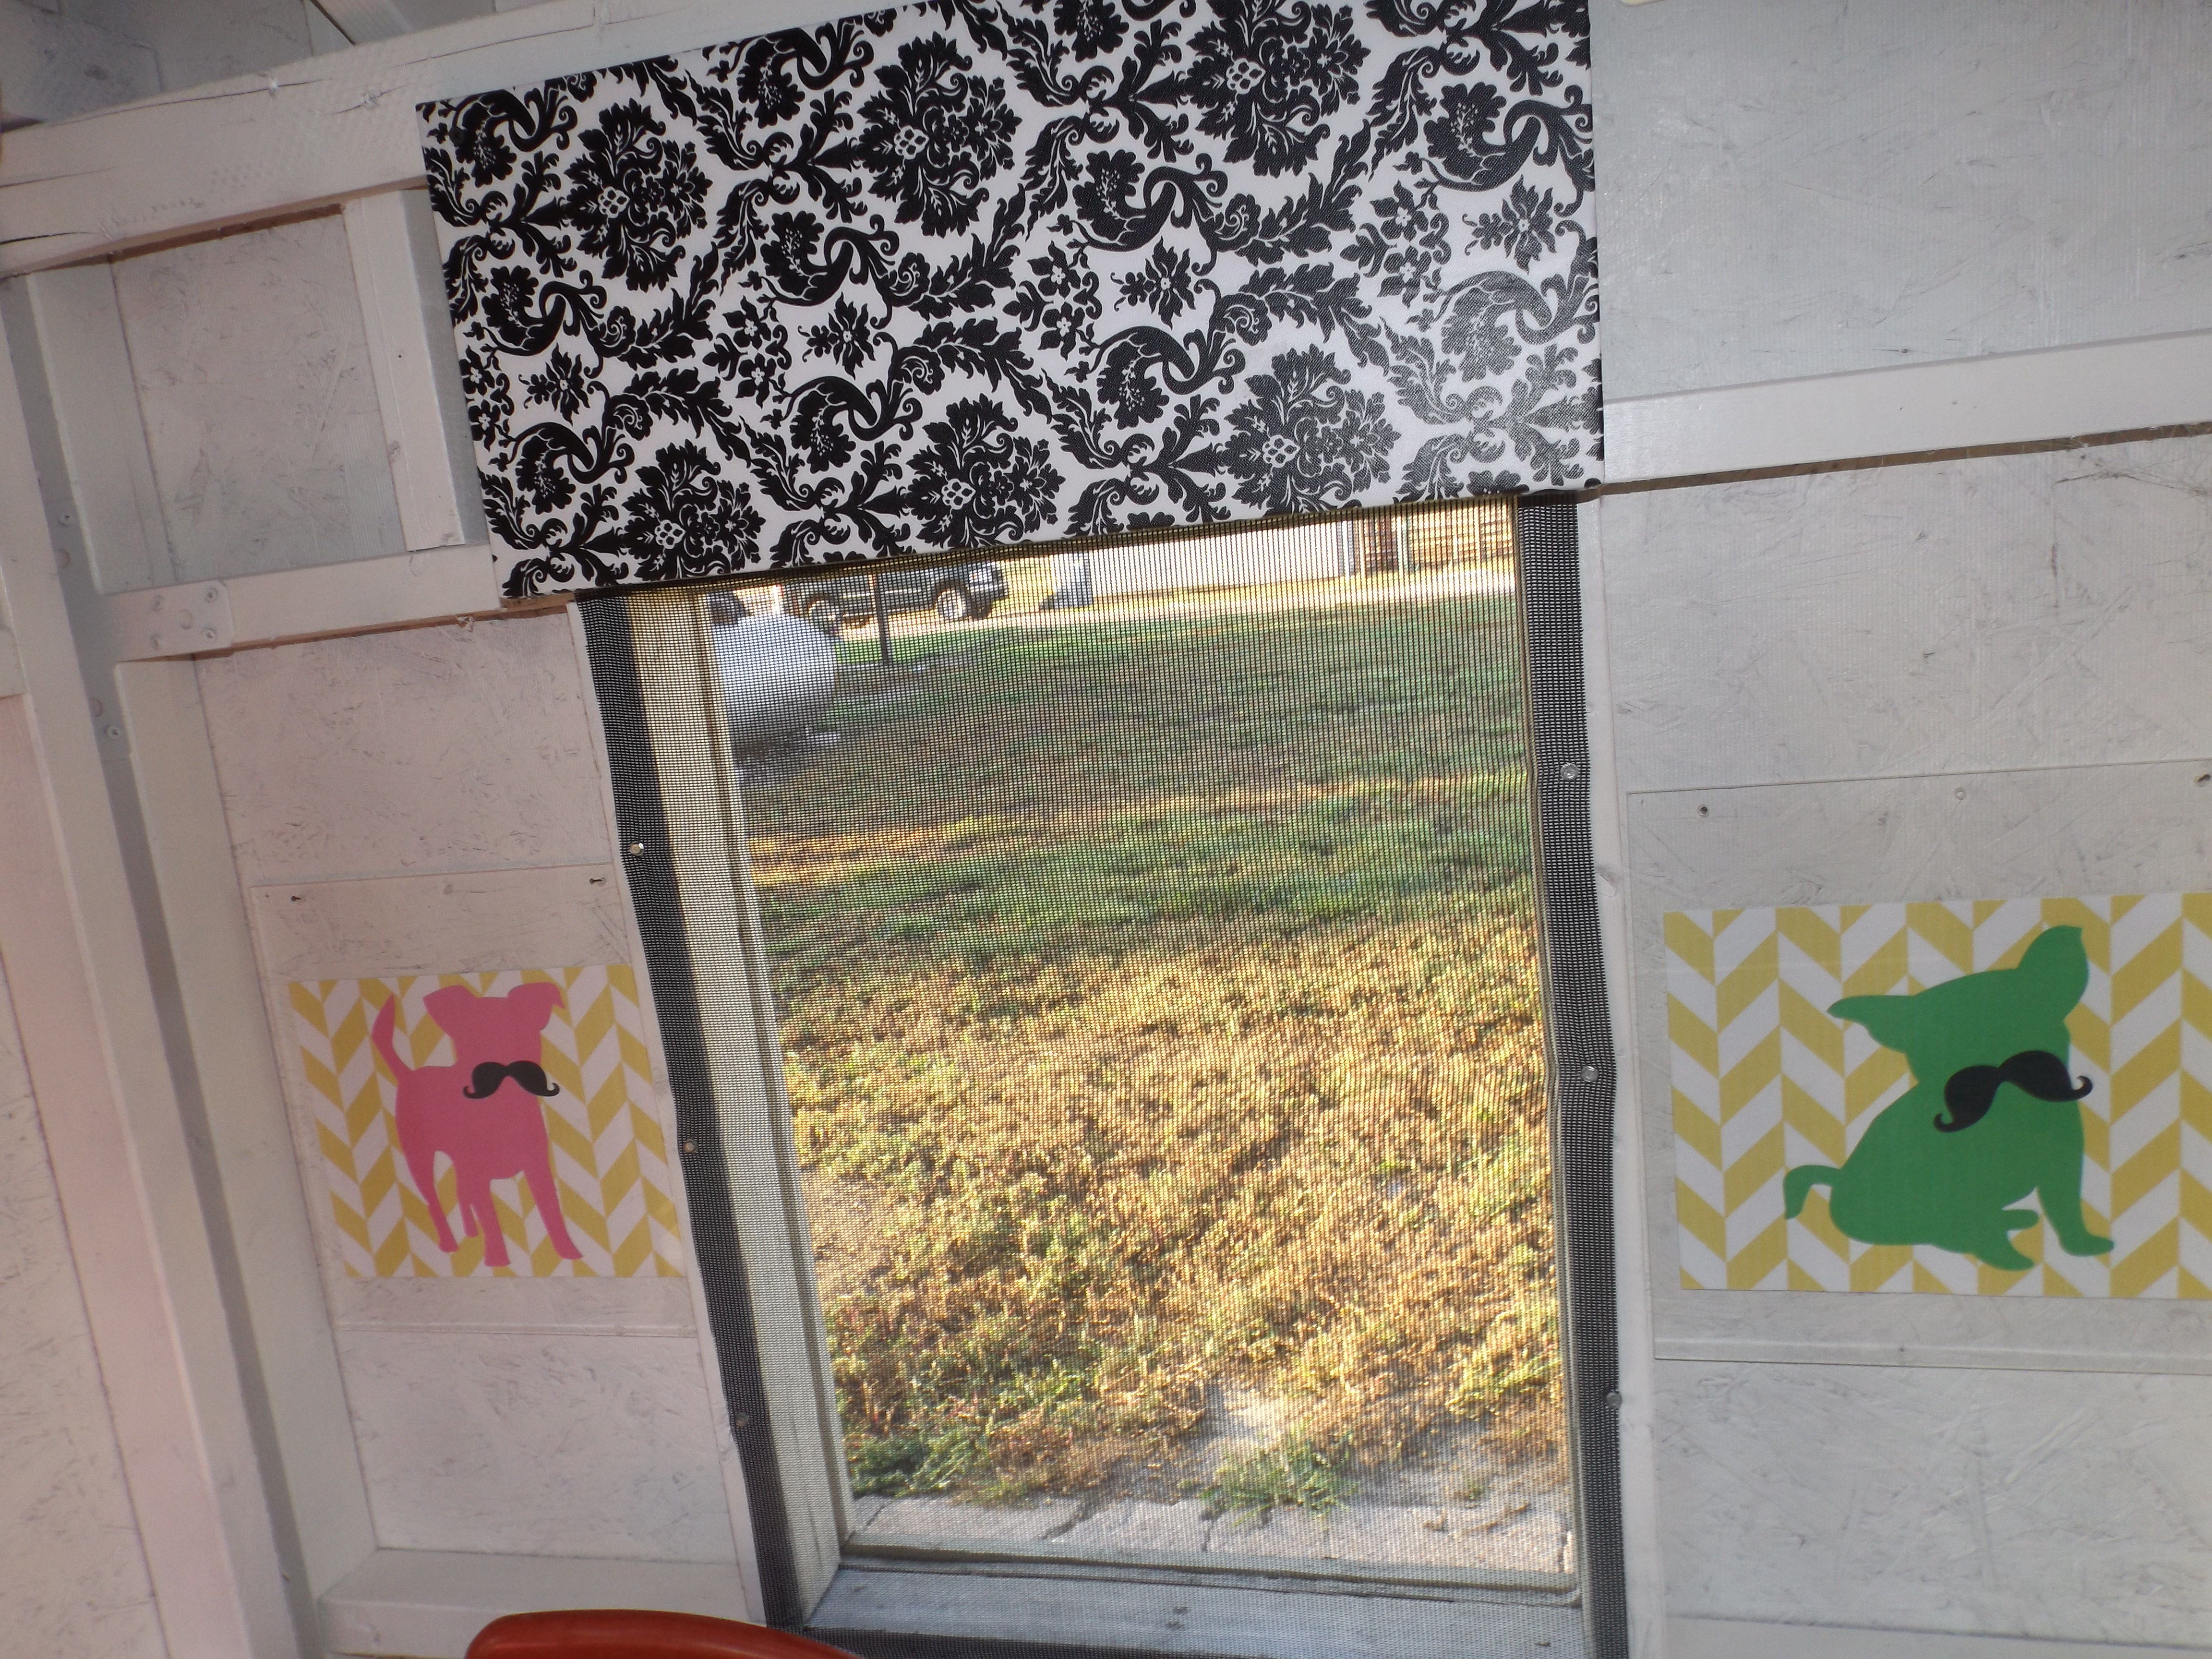
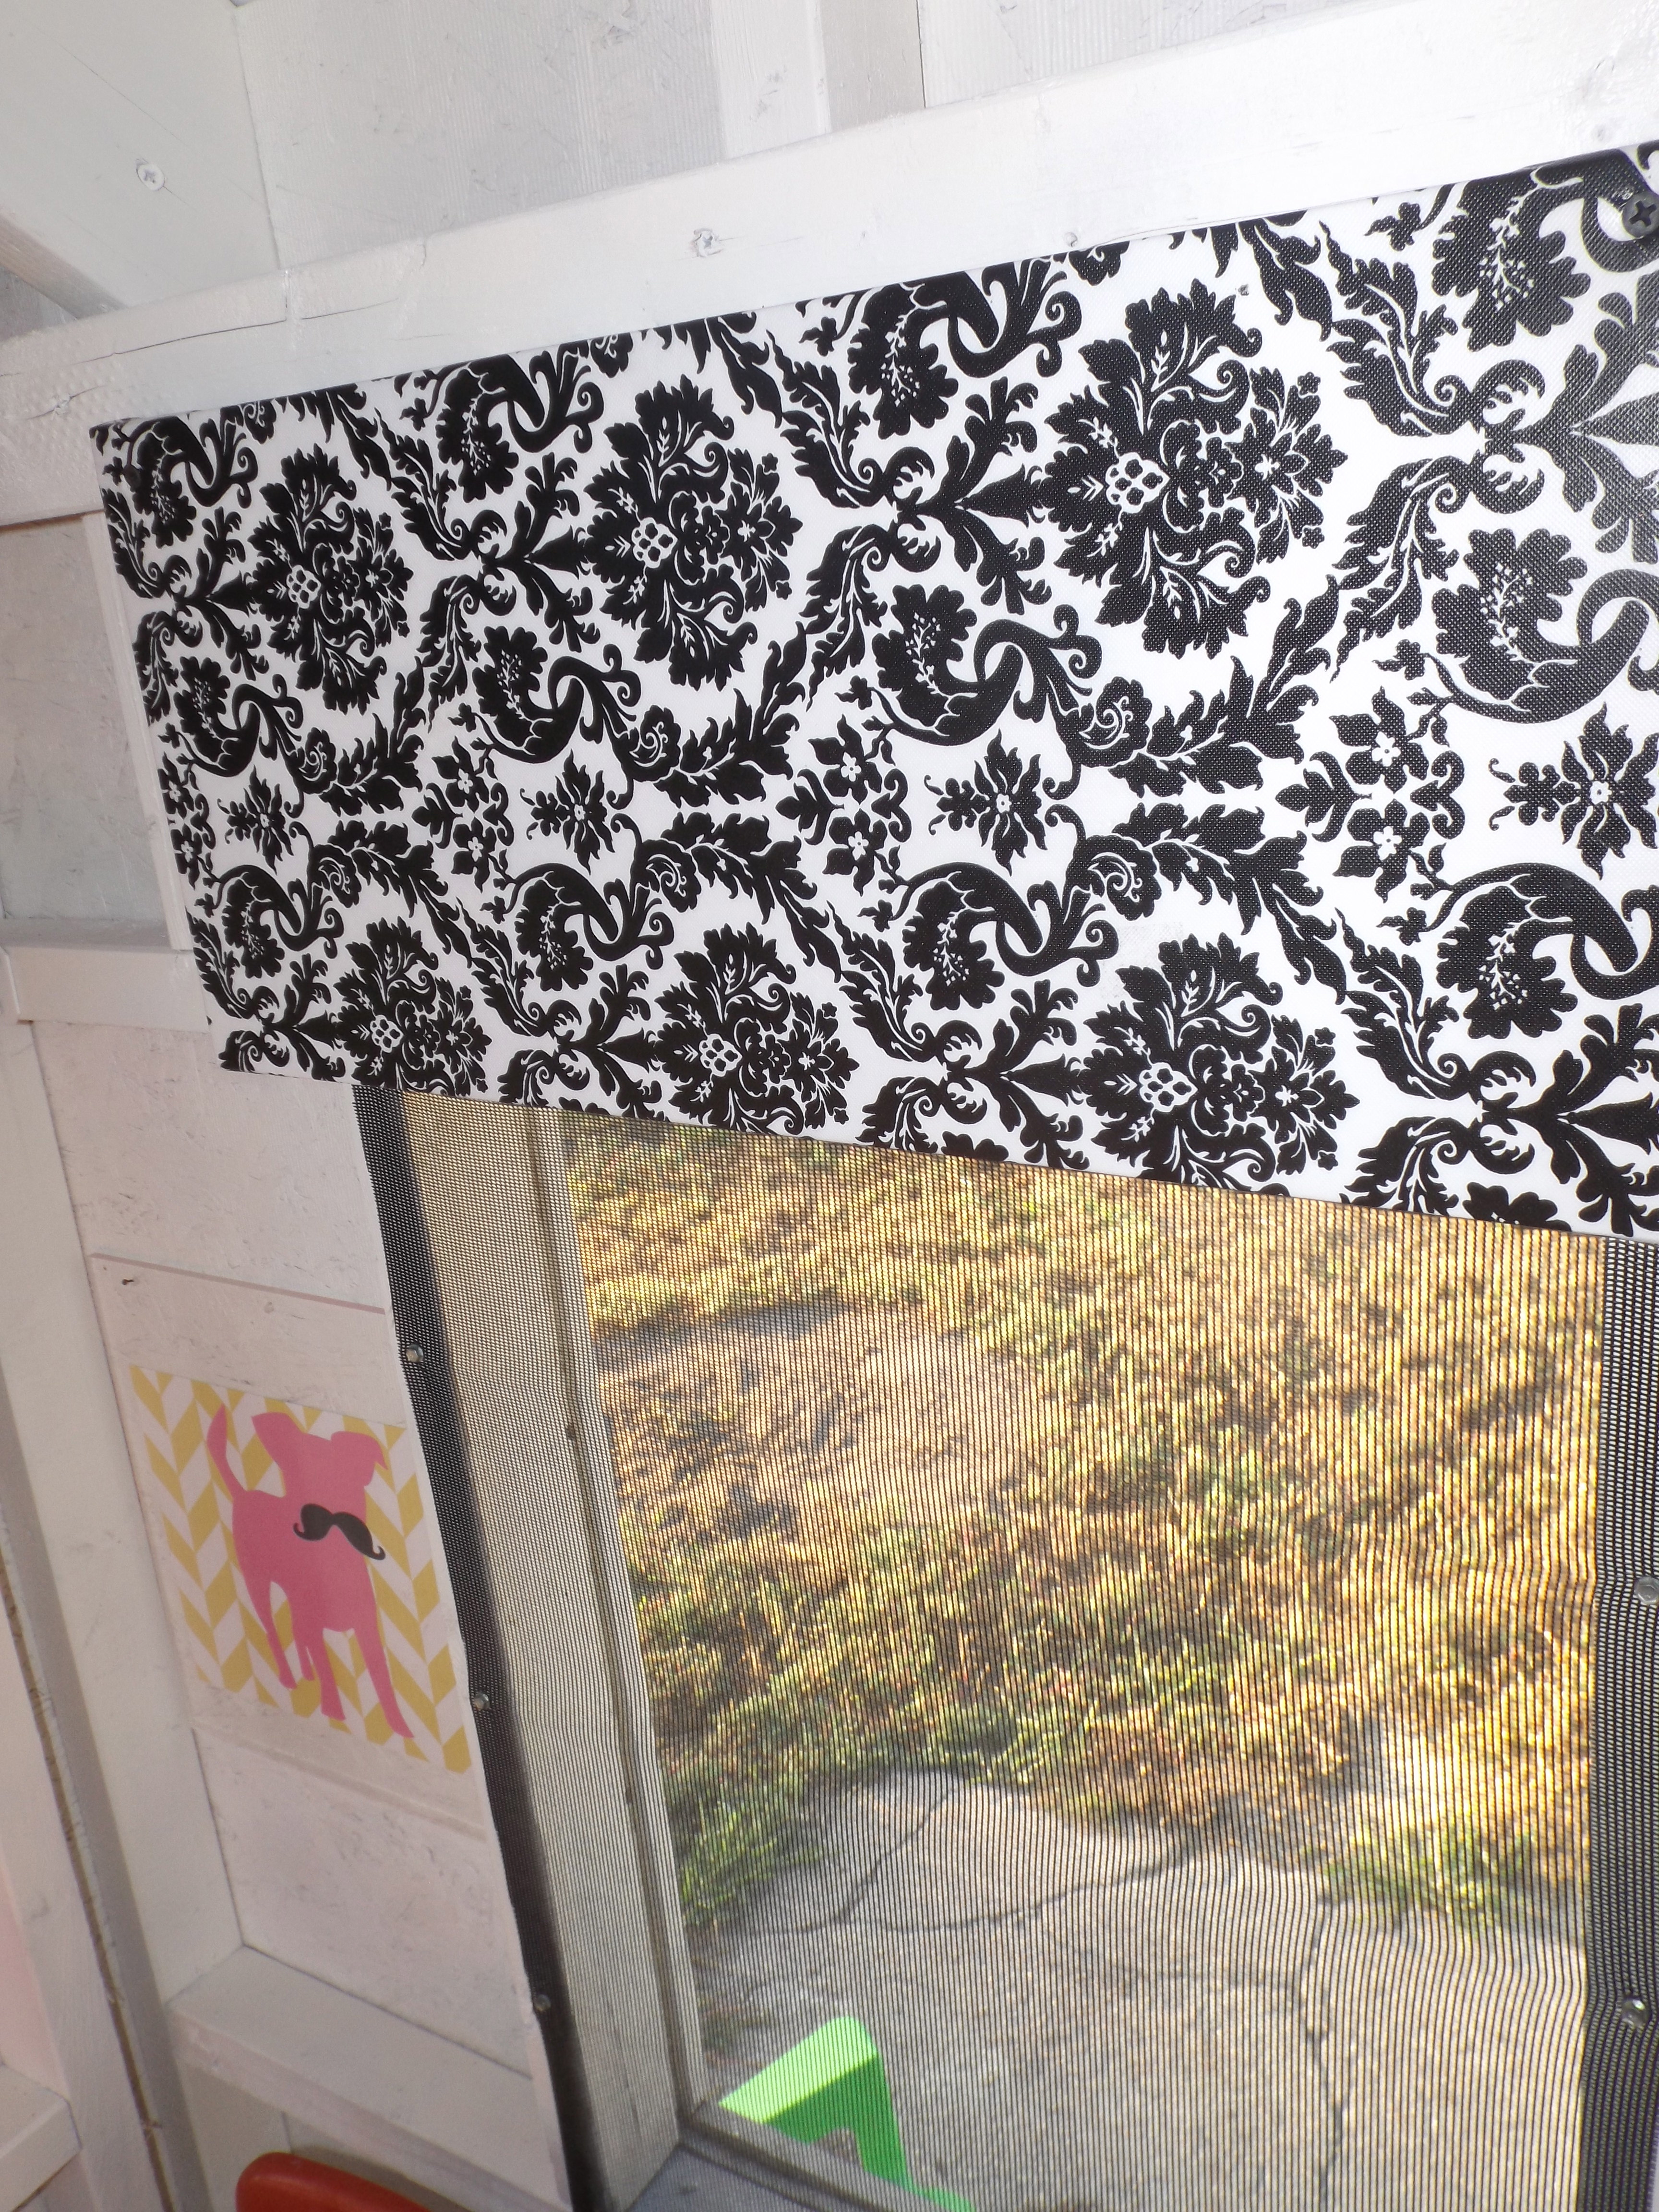
For curtains, I wanted something that wasn’t going to get absolutely filthy and have to be washed a lot. I decided to use some vinyl tablecloth fabric I had, that way we could just wipe them down if needed. We made faux cornices by wrapping a board with said fabric and voila!
And how cute are those mustached dog prints?! They’re my favorite!
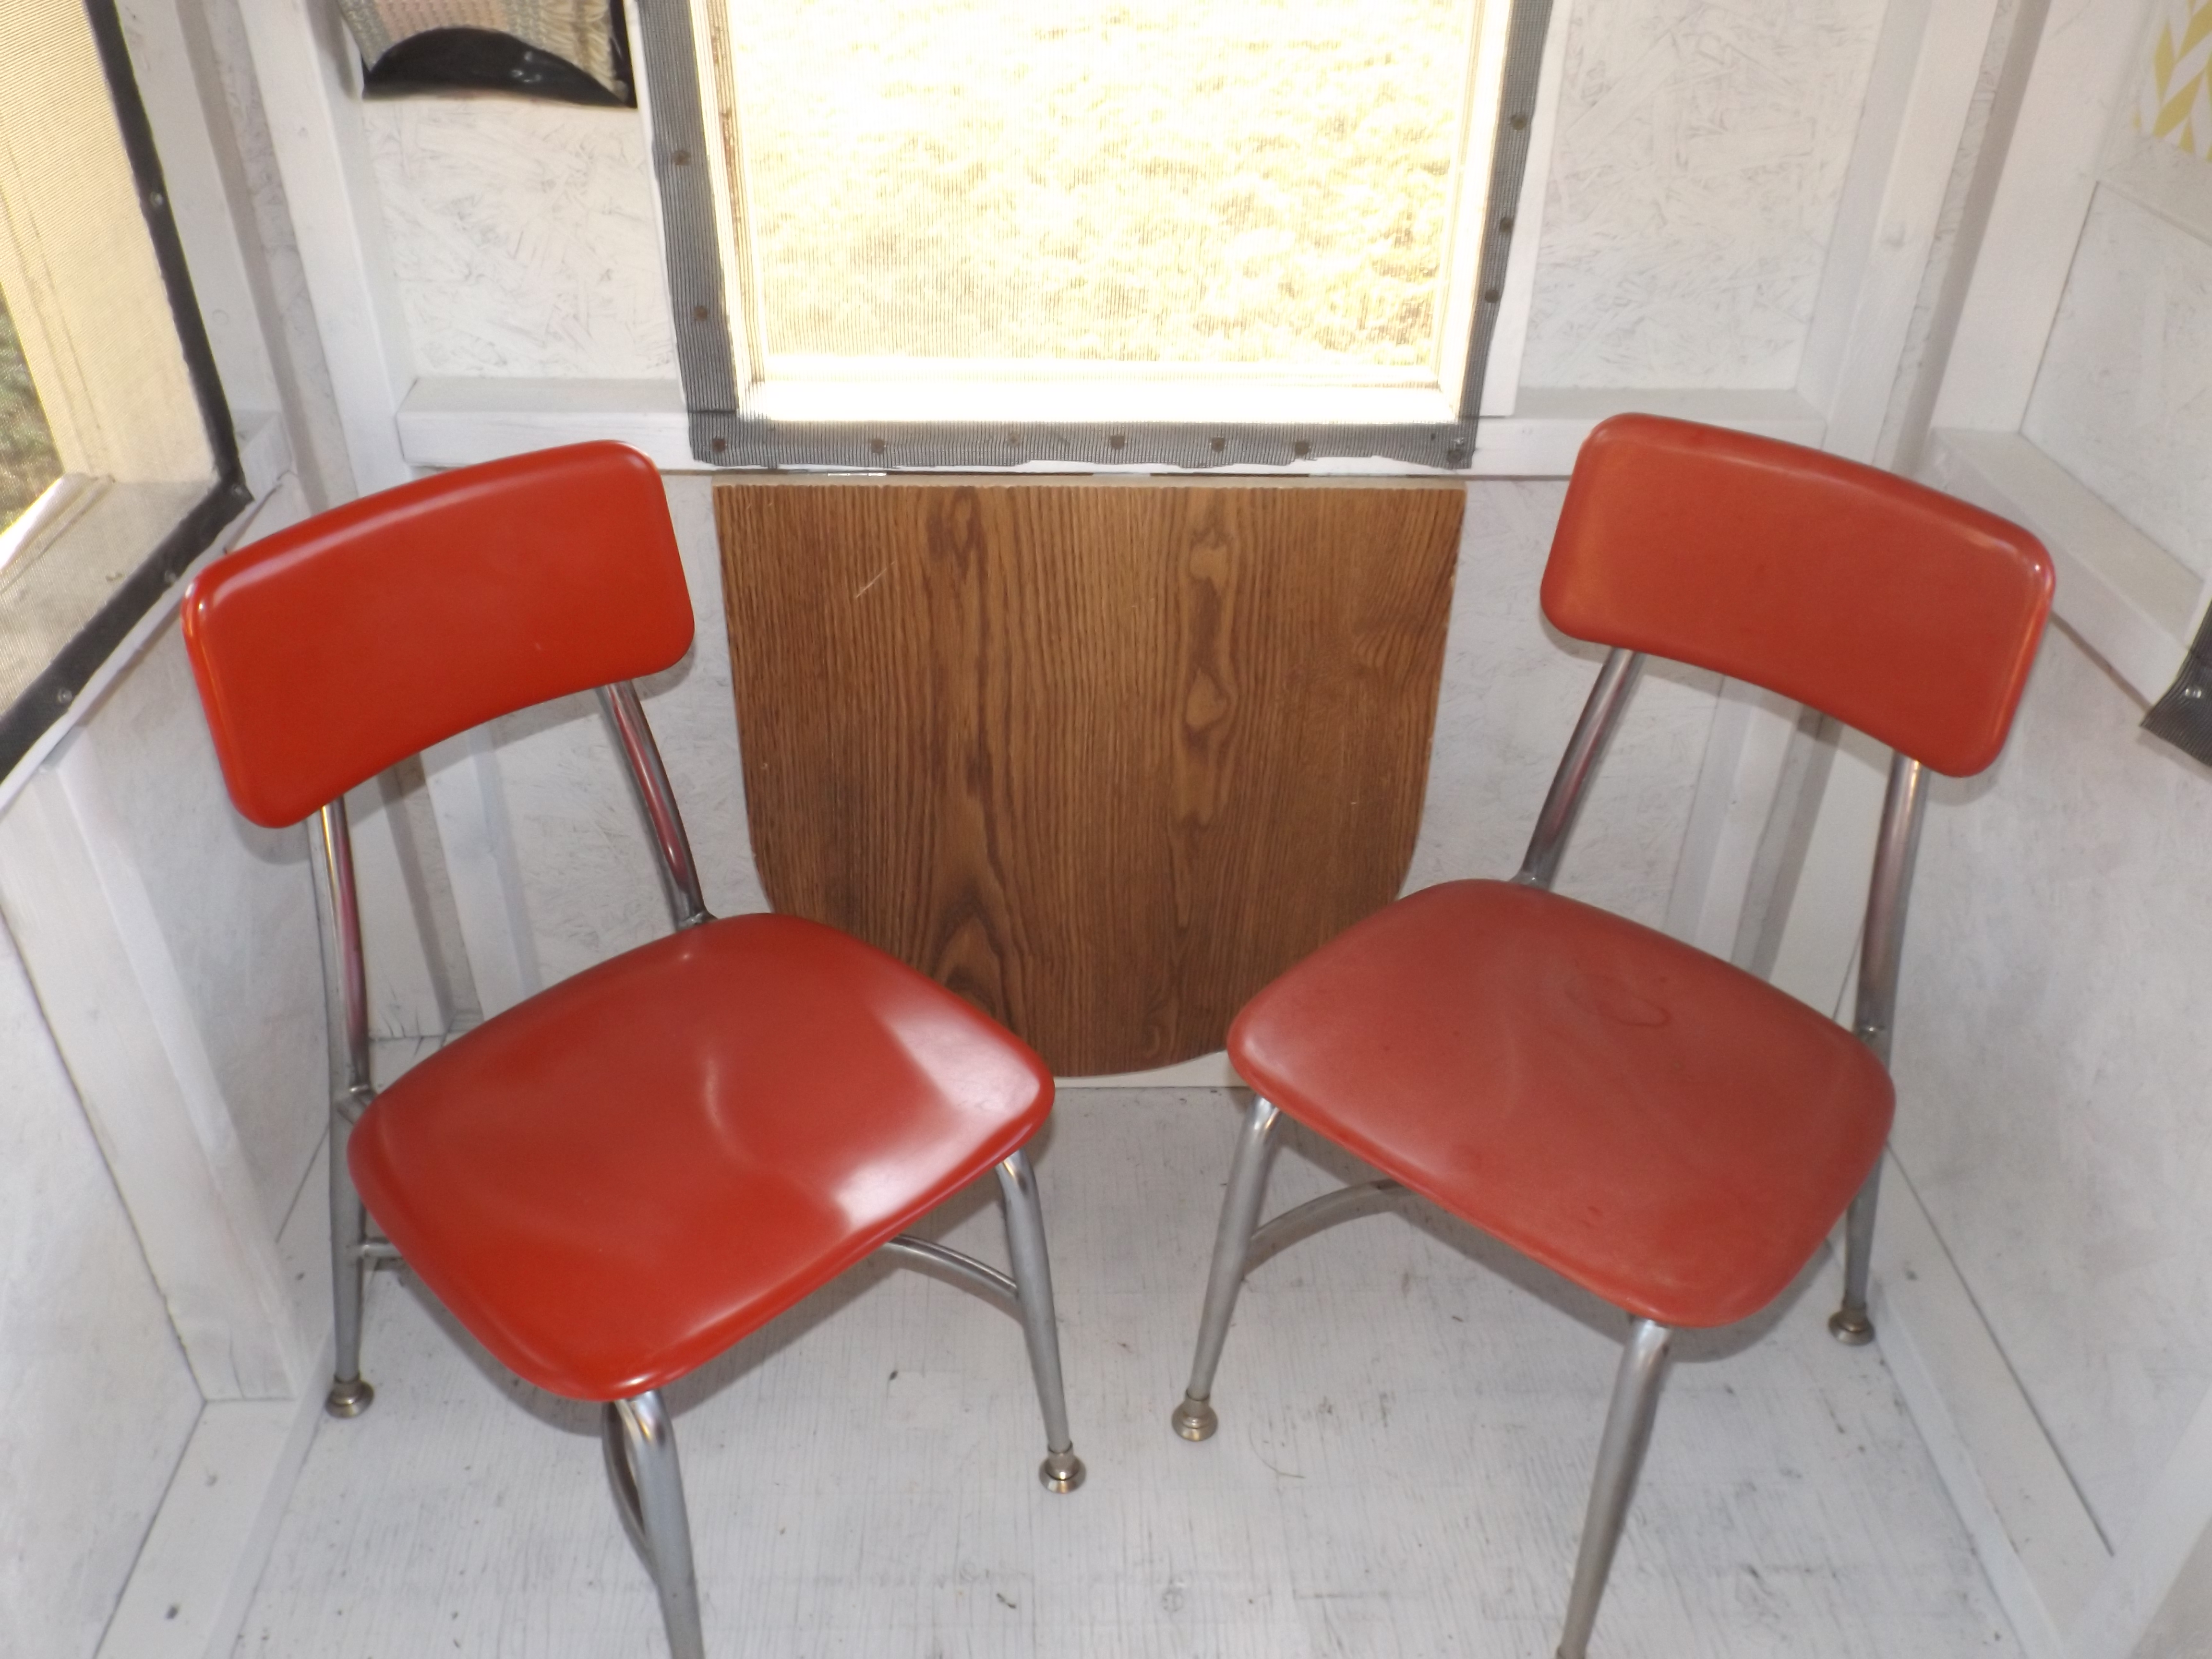
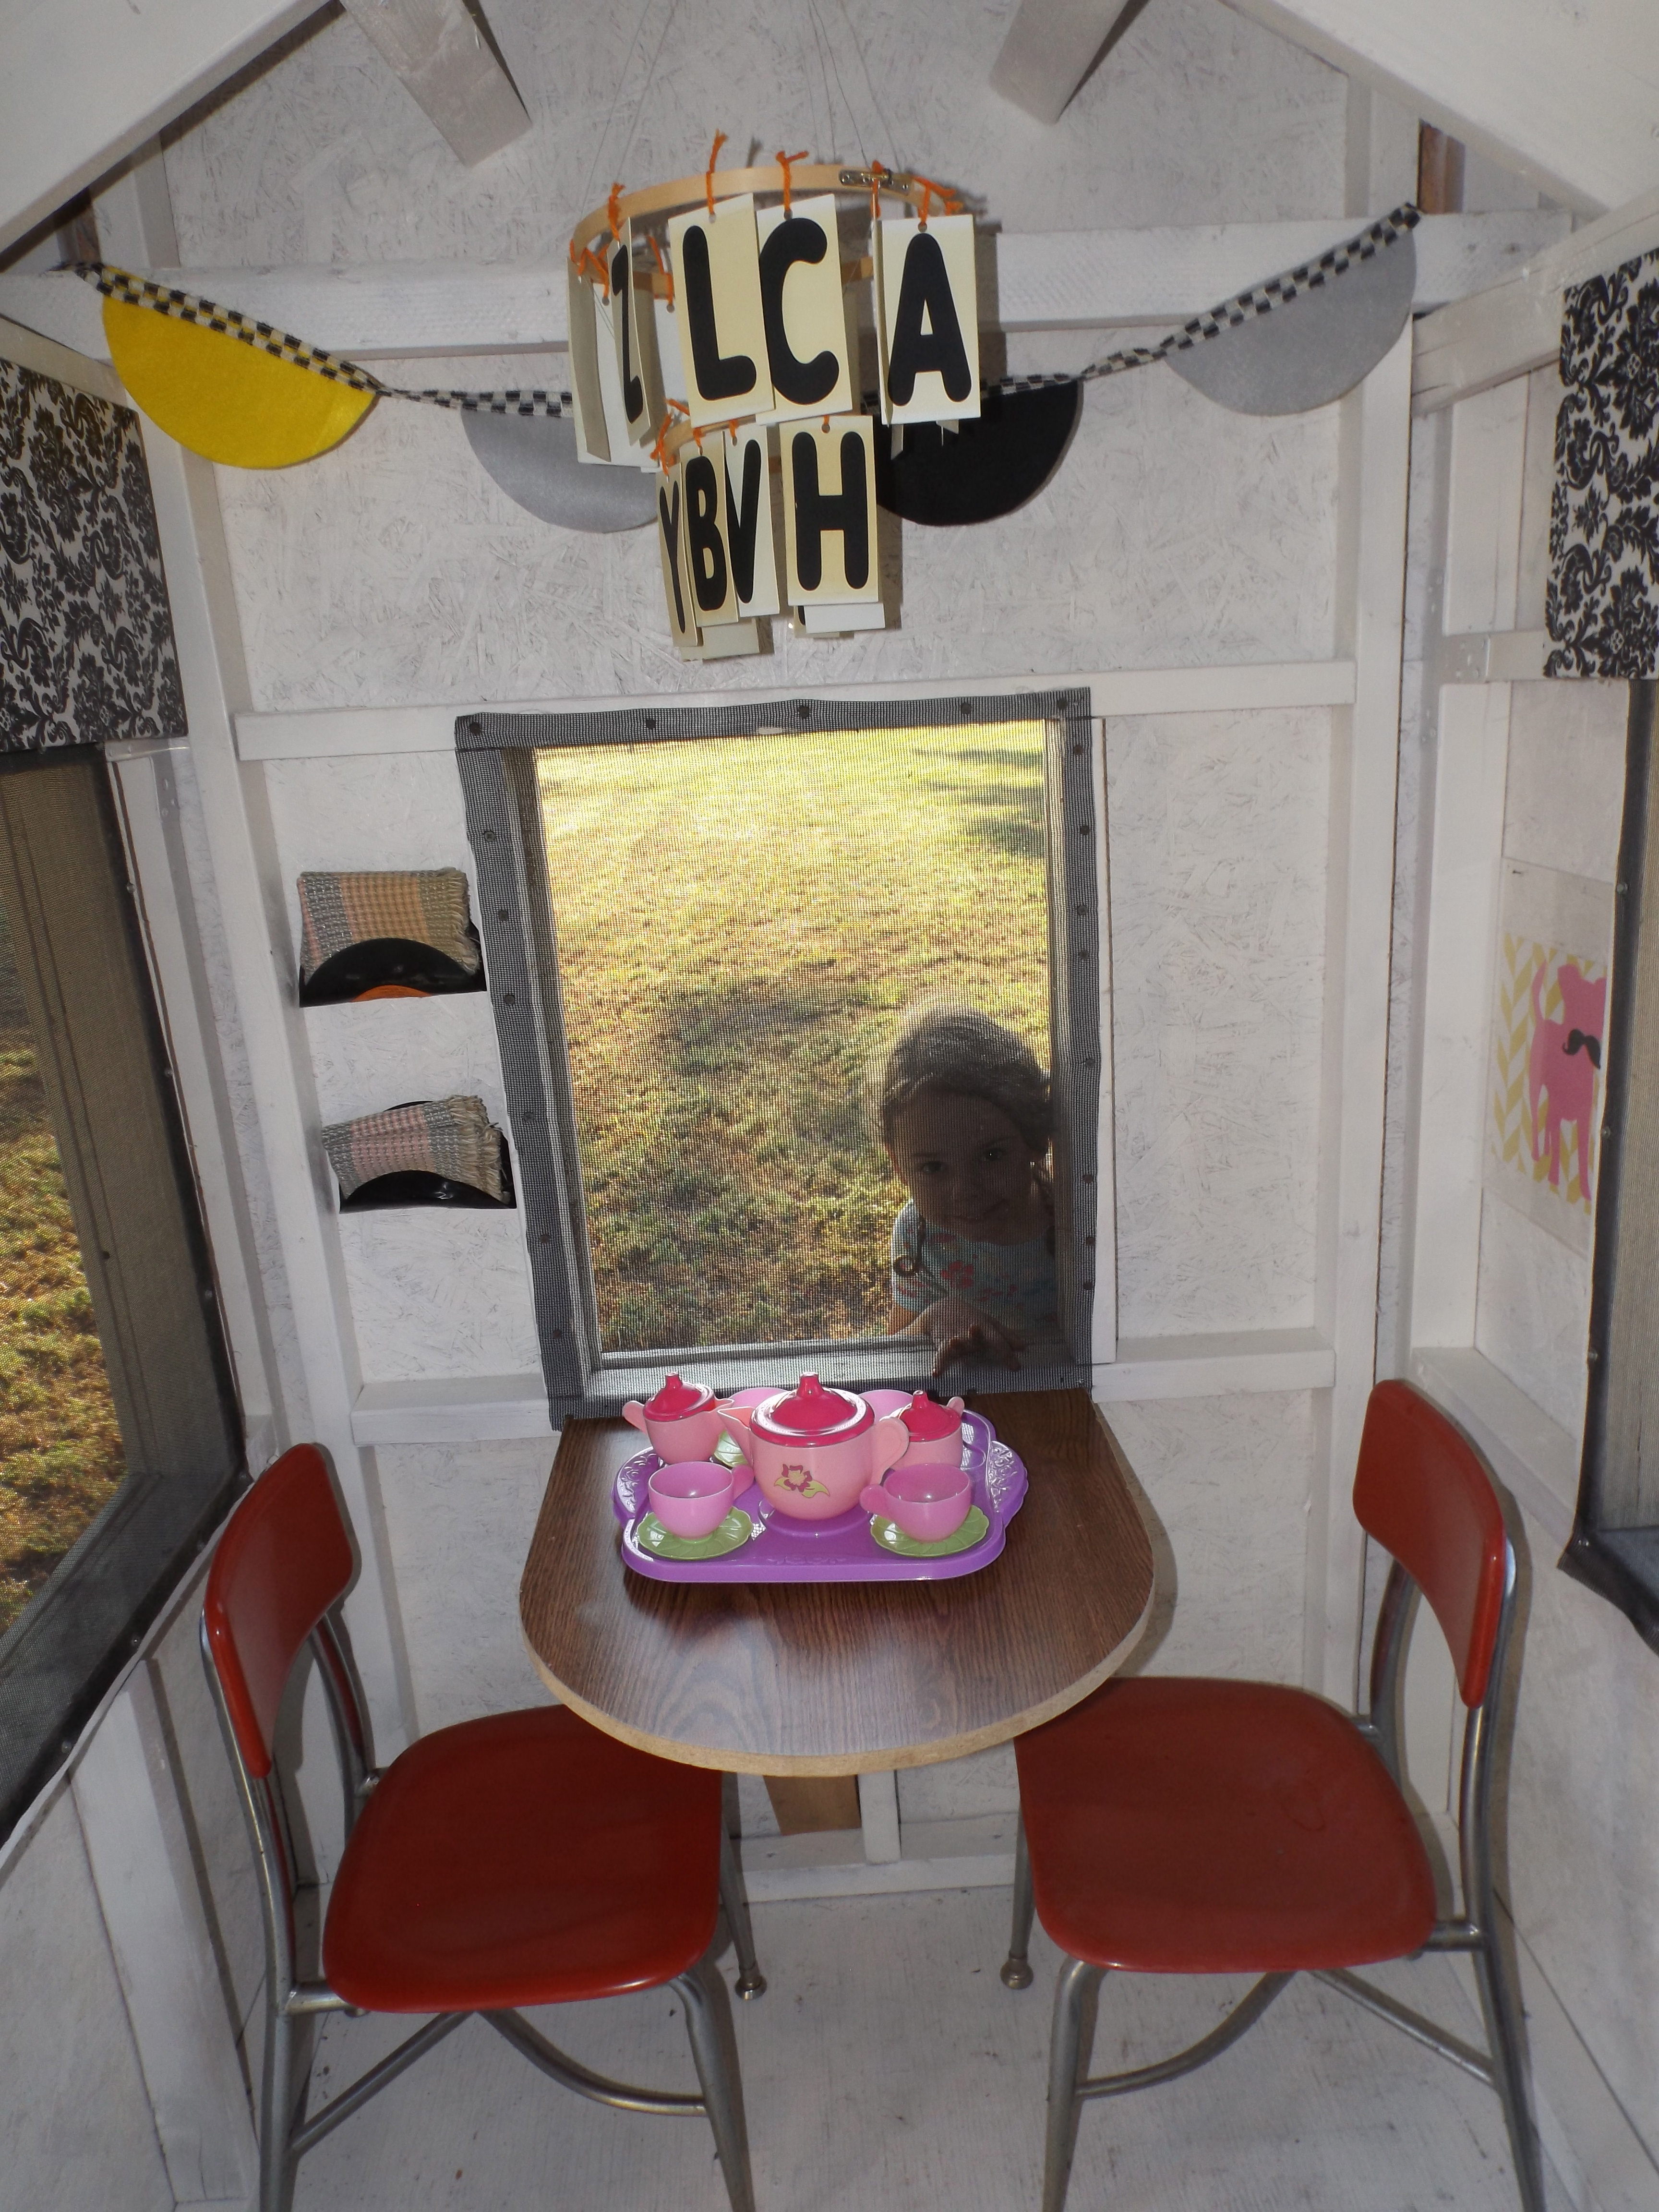
Wrex mad a drop down table so that when she wasn’t serving a meal ;), she could fold it up and have a little more room on this side of the house. (It’s deceivingly small).
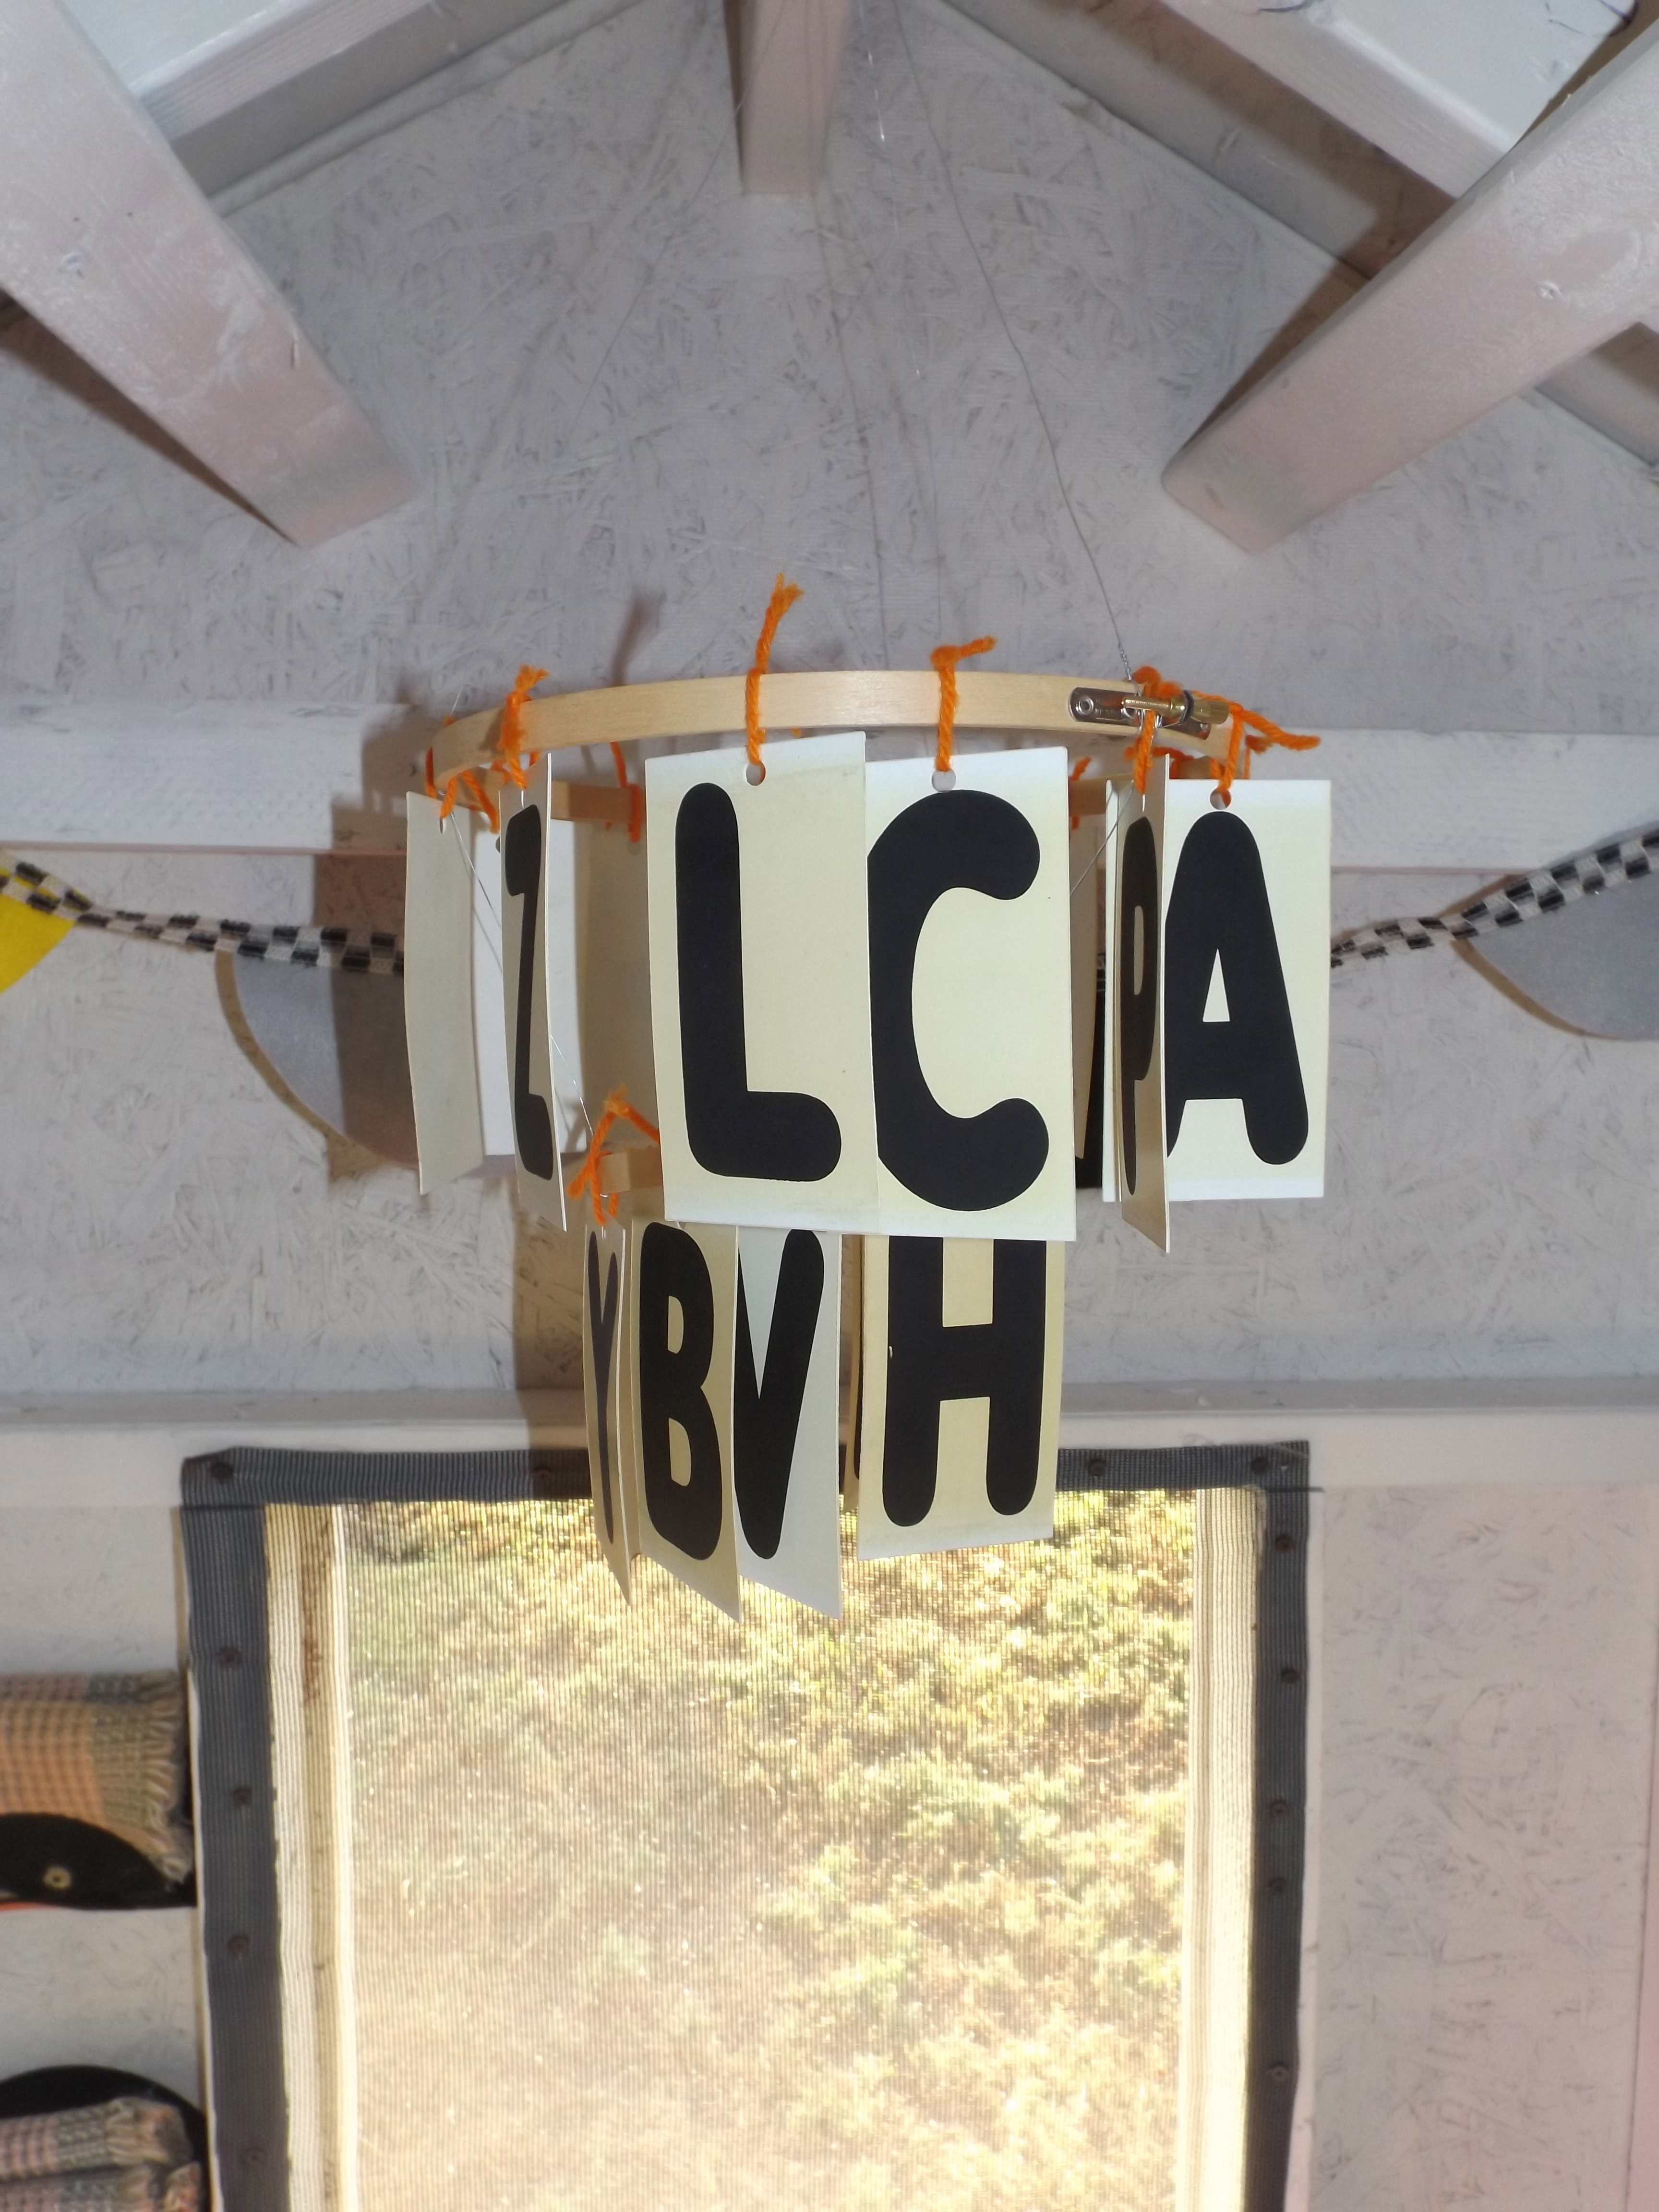
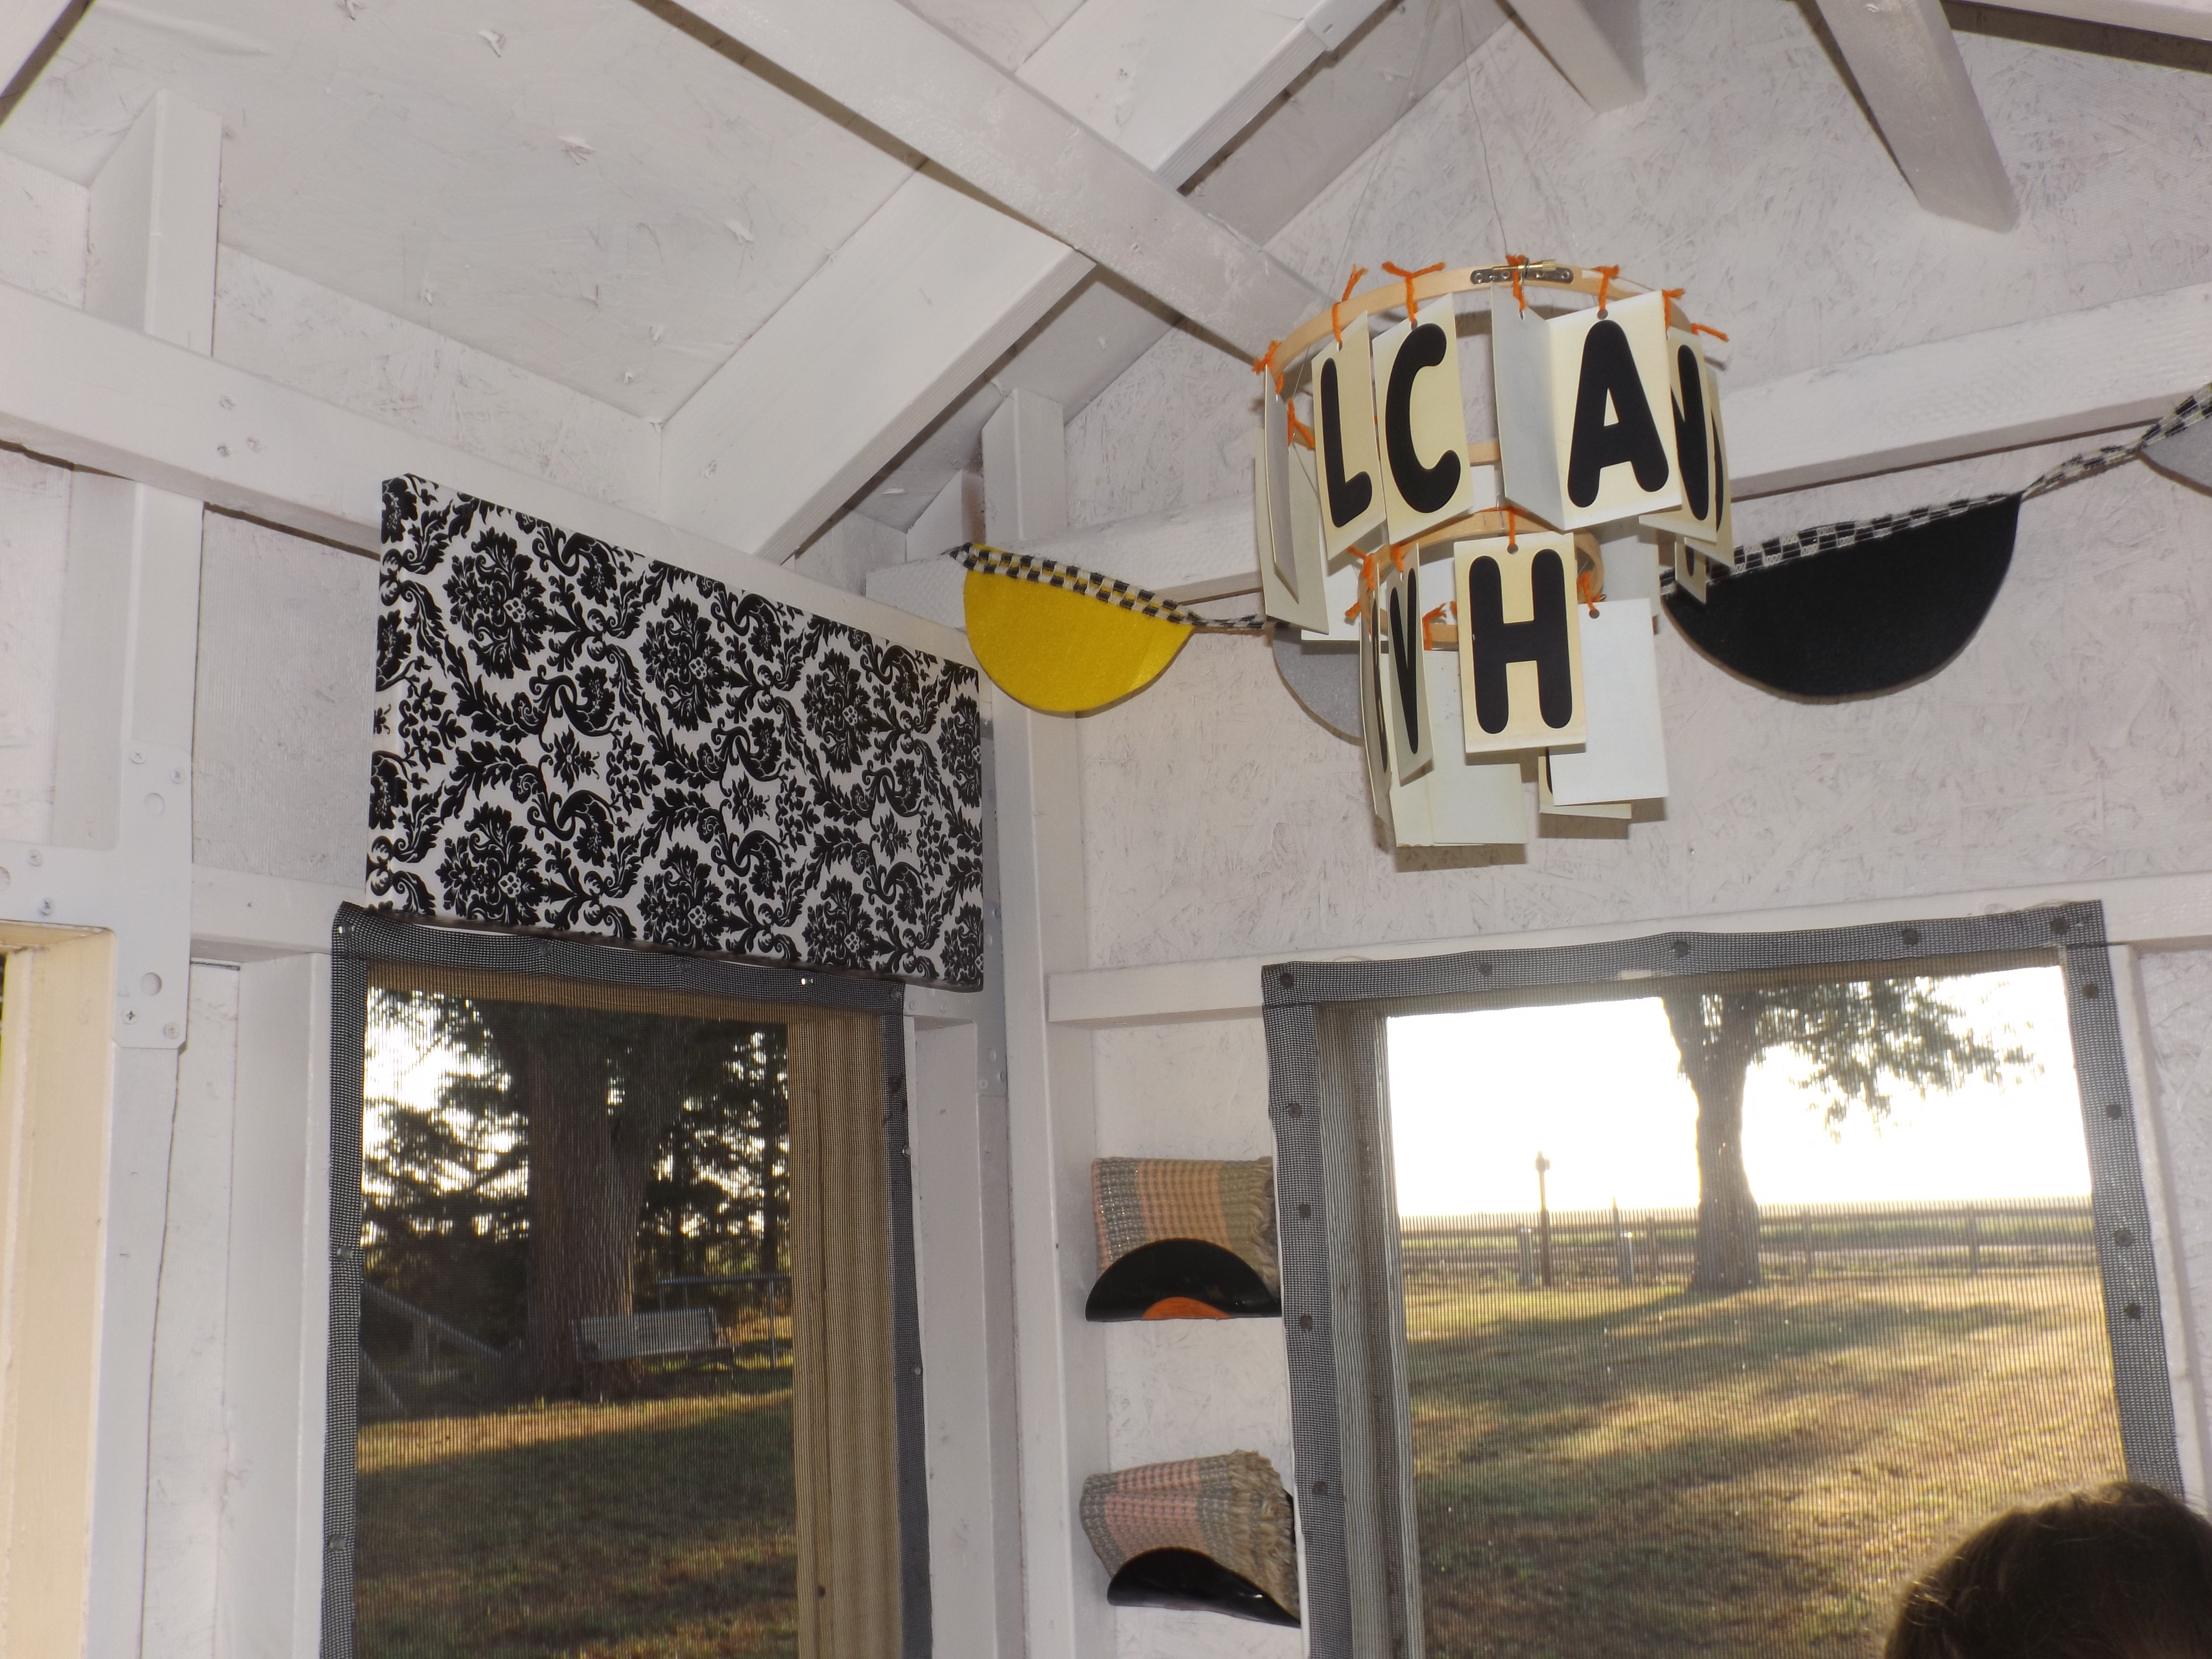
We wanted to put a little chandelier over the dining table. I used embroidery hoops and wire to make a form (well, actually, Wrex did) and then I hung these old marquee letters from each hoop. I think it’s adorable!
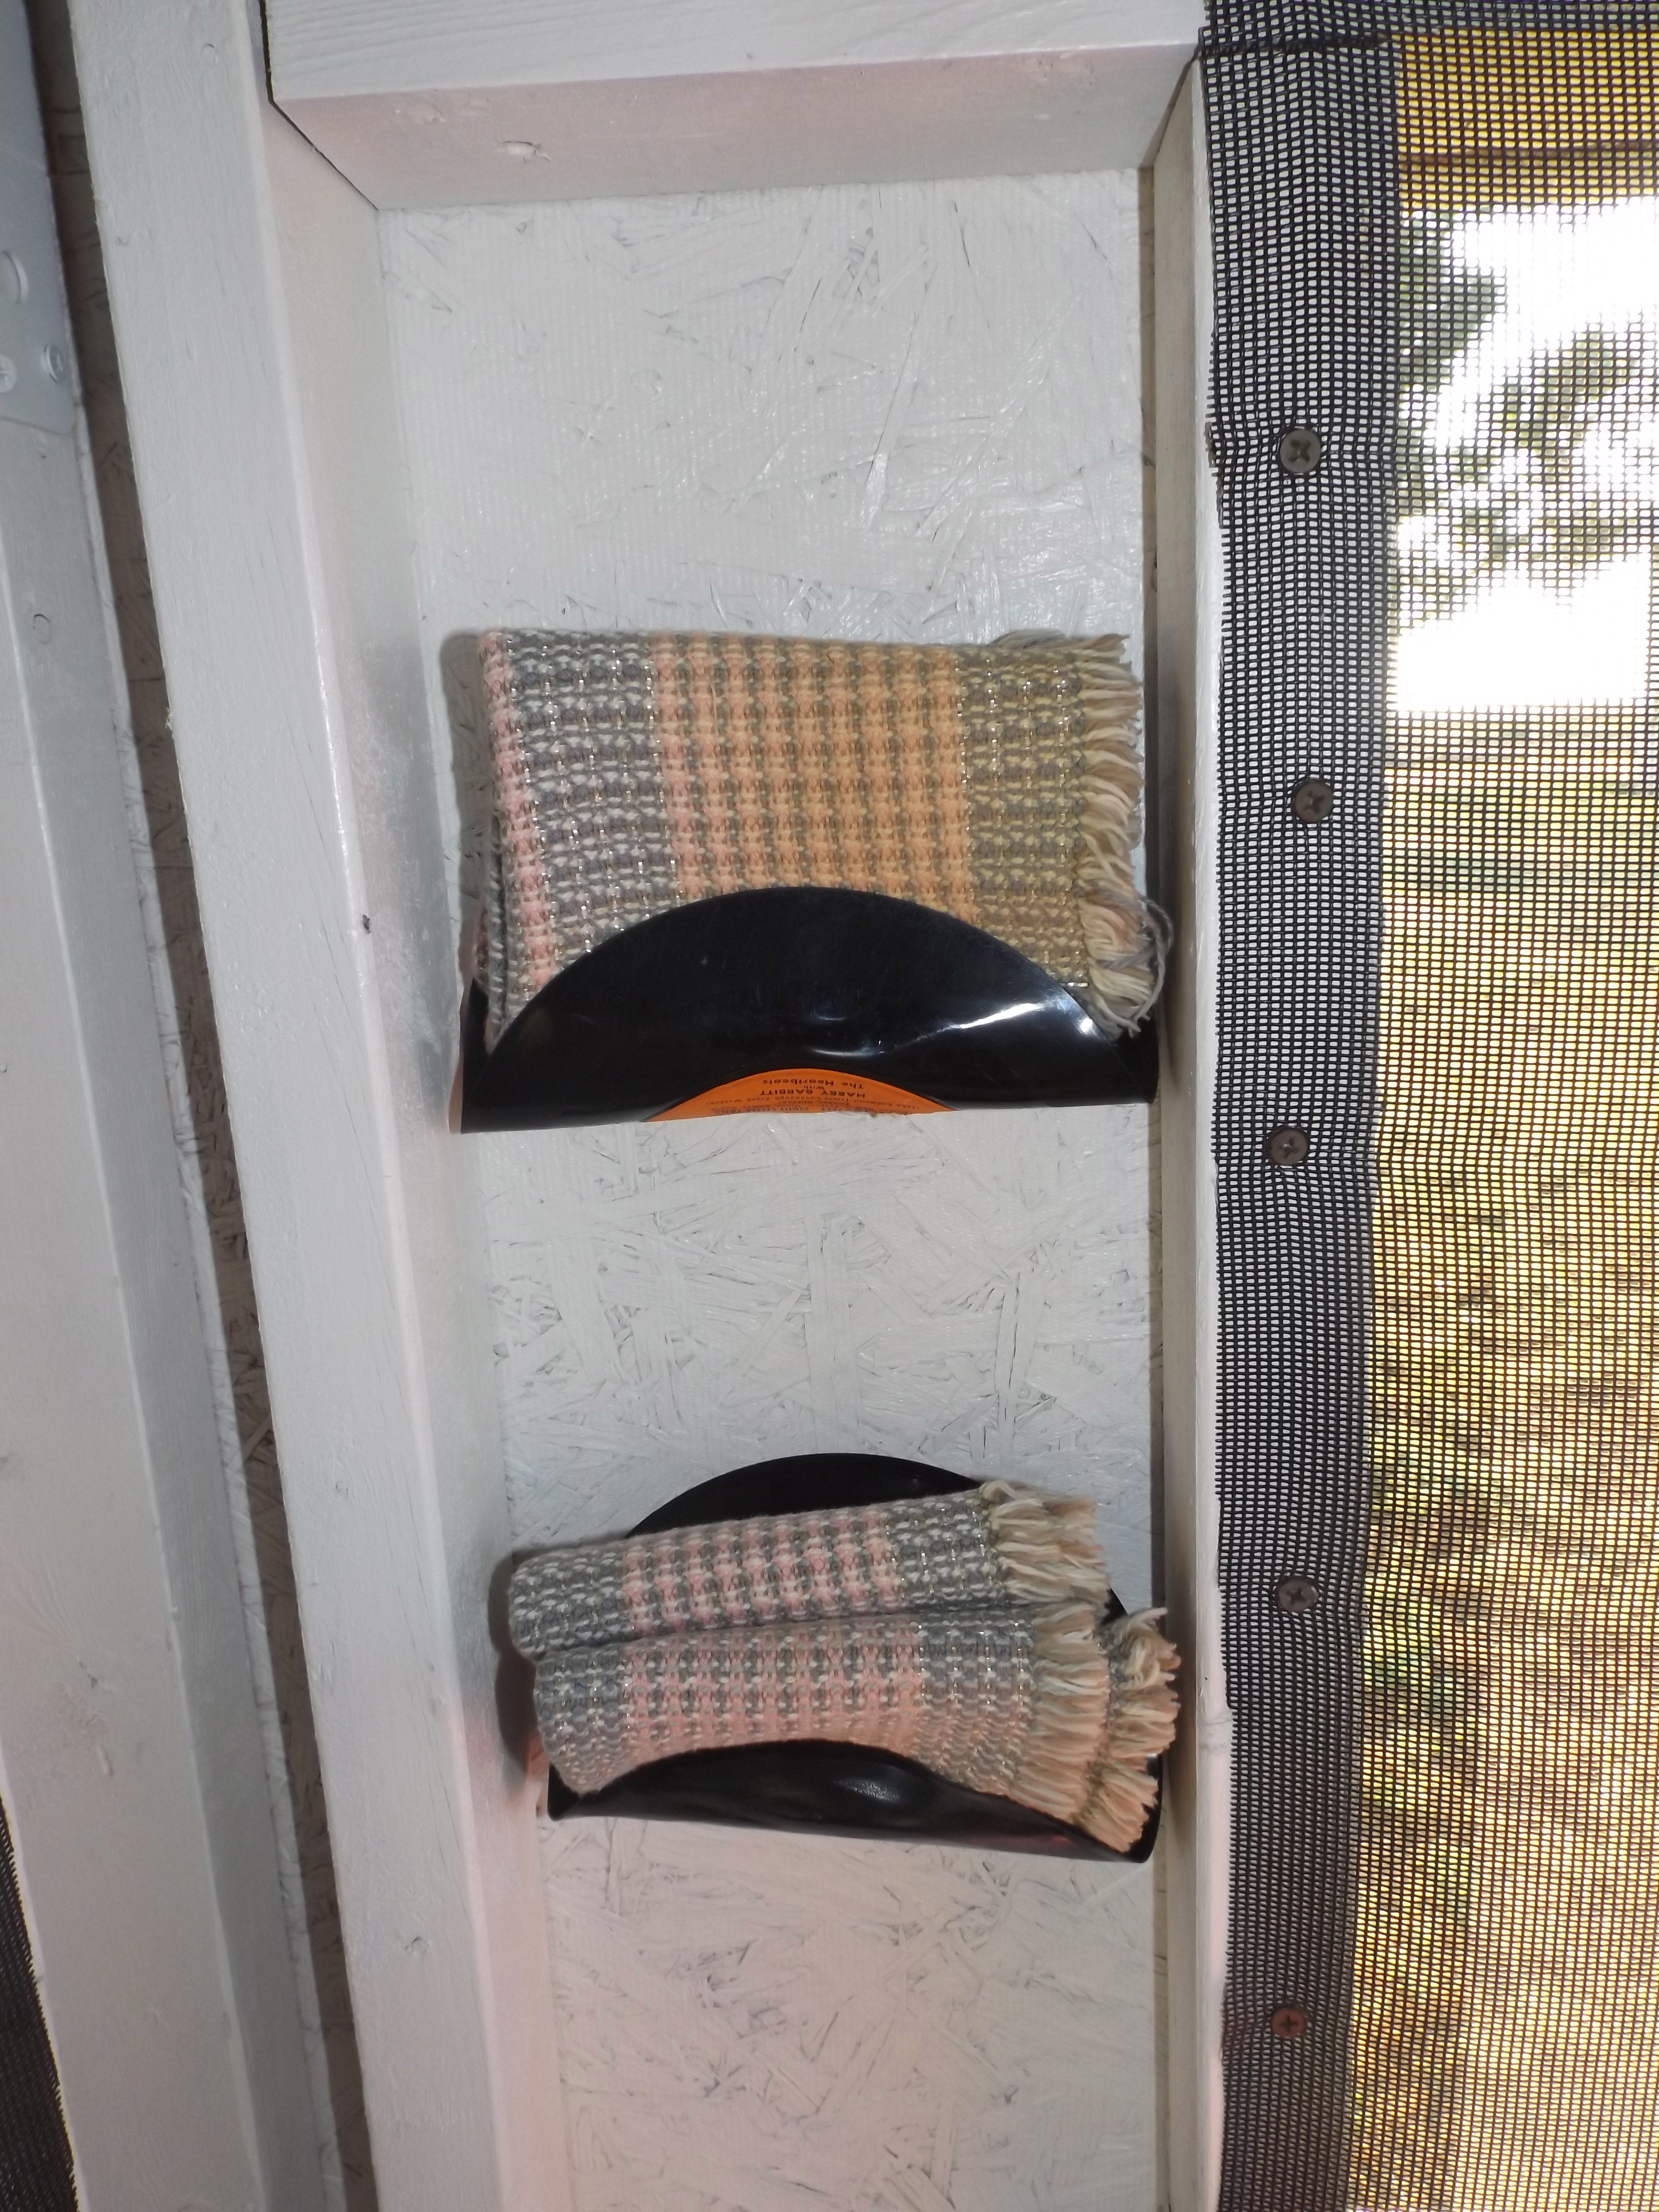
We got some little records hot with an iron and folded them up to make little pocket shelves that she could store her linens in. We hung bunting on the east and west windows because it seemed too cluttered to add another “curtain.”
All in all, I was completely pleased with how it turned out, I just keep reminding myself that 1) it’s a PLAYhouse 2) it’s outside 3) it IS gonna get dirty!
Sawyer got to see the finished product this morning and her response made my day! She loved it!It wasn’t even 8:00 and she was already cooking breakfast for visitors!I have a feeling that there will be lots of memories made at 1630 See Saw Lane…Happy birthday week, sweet girl!
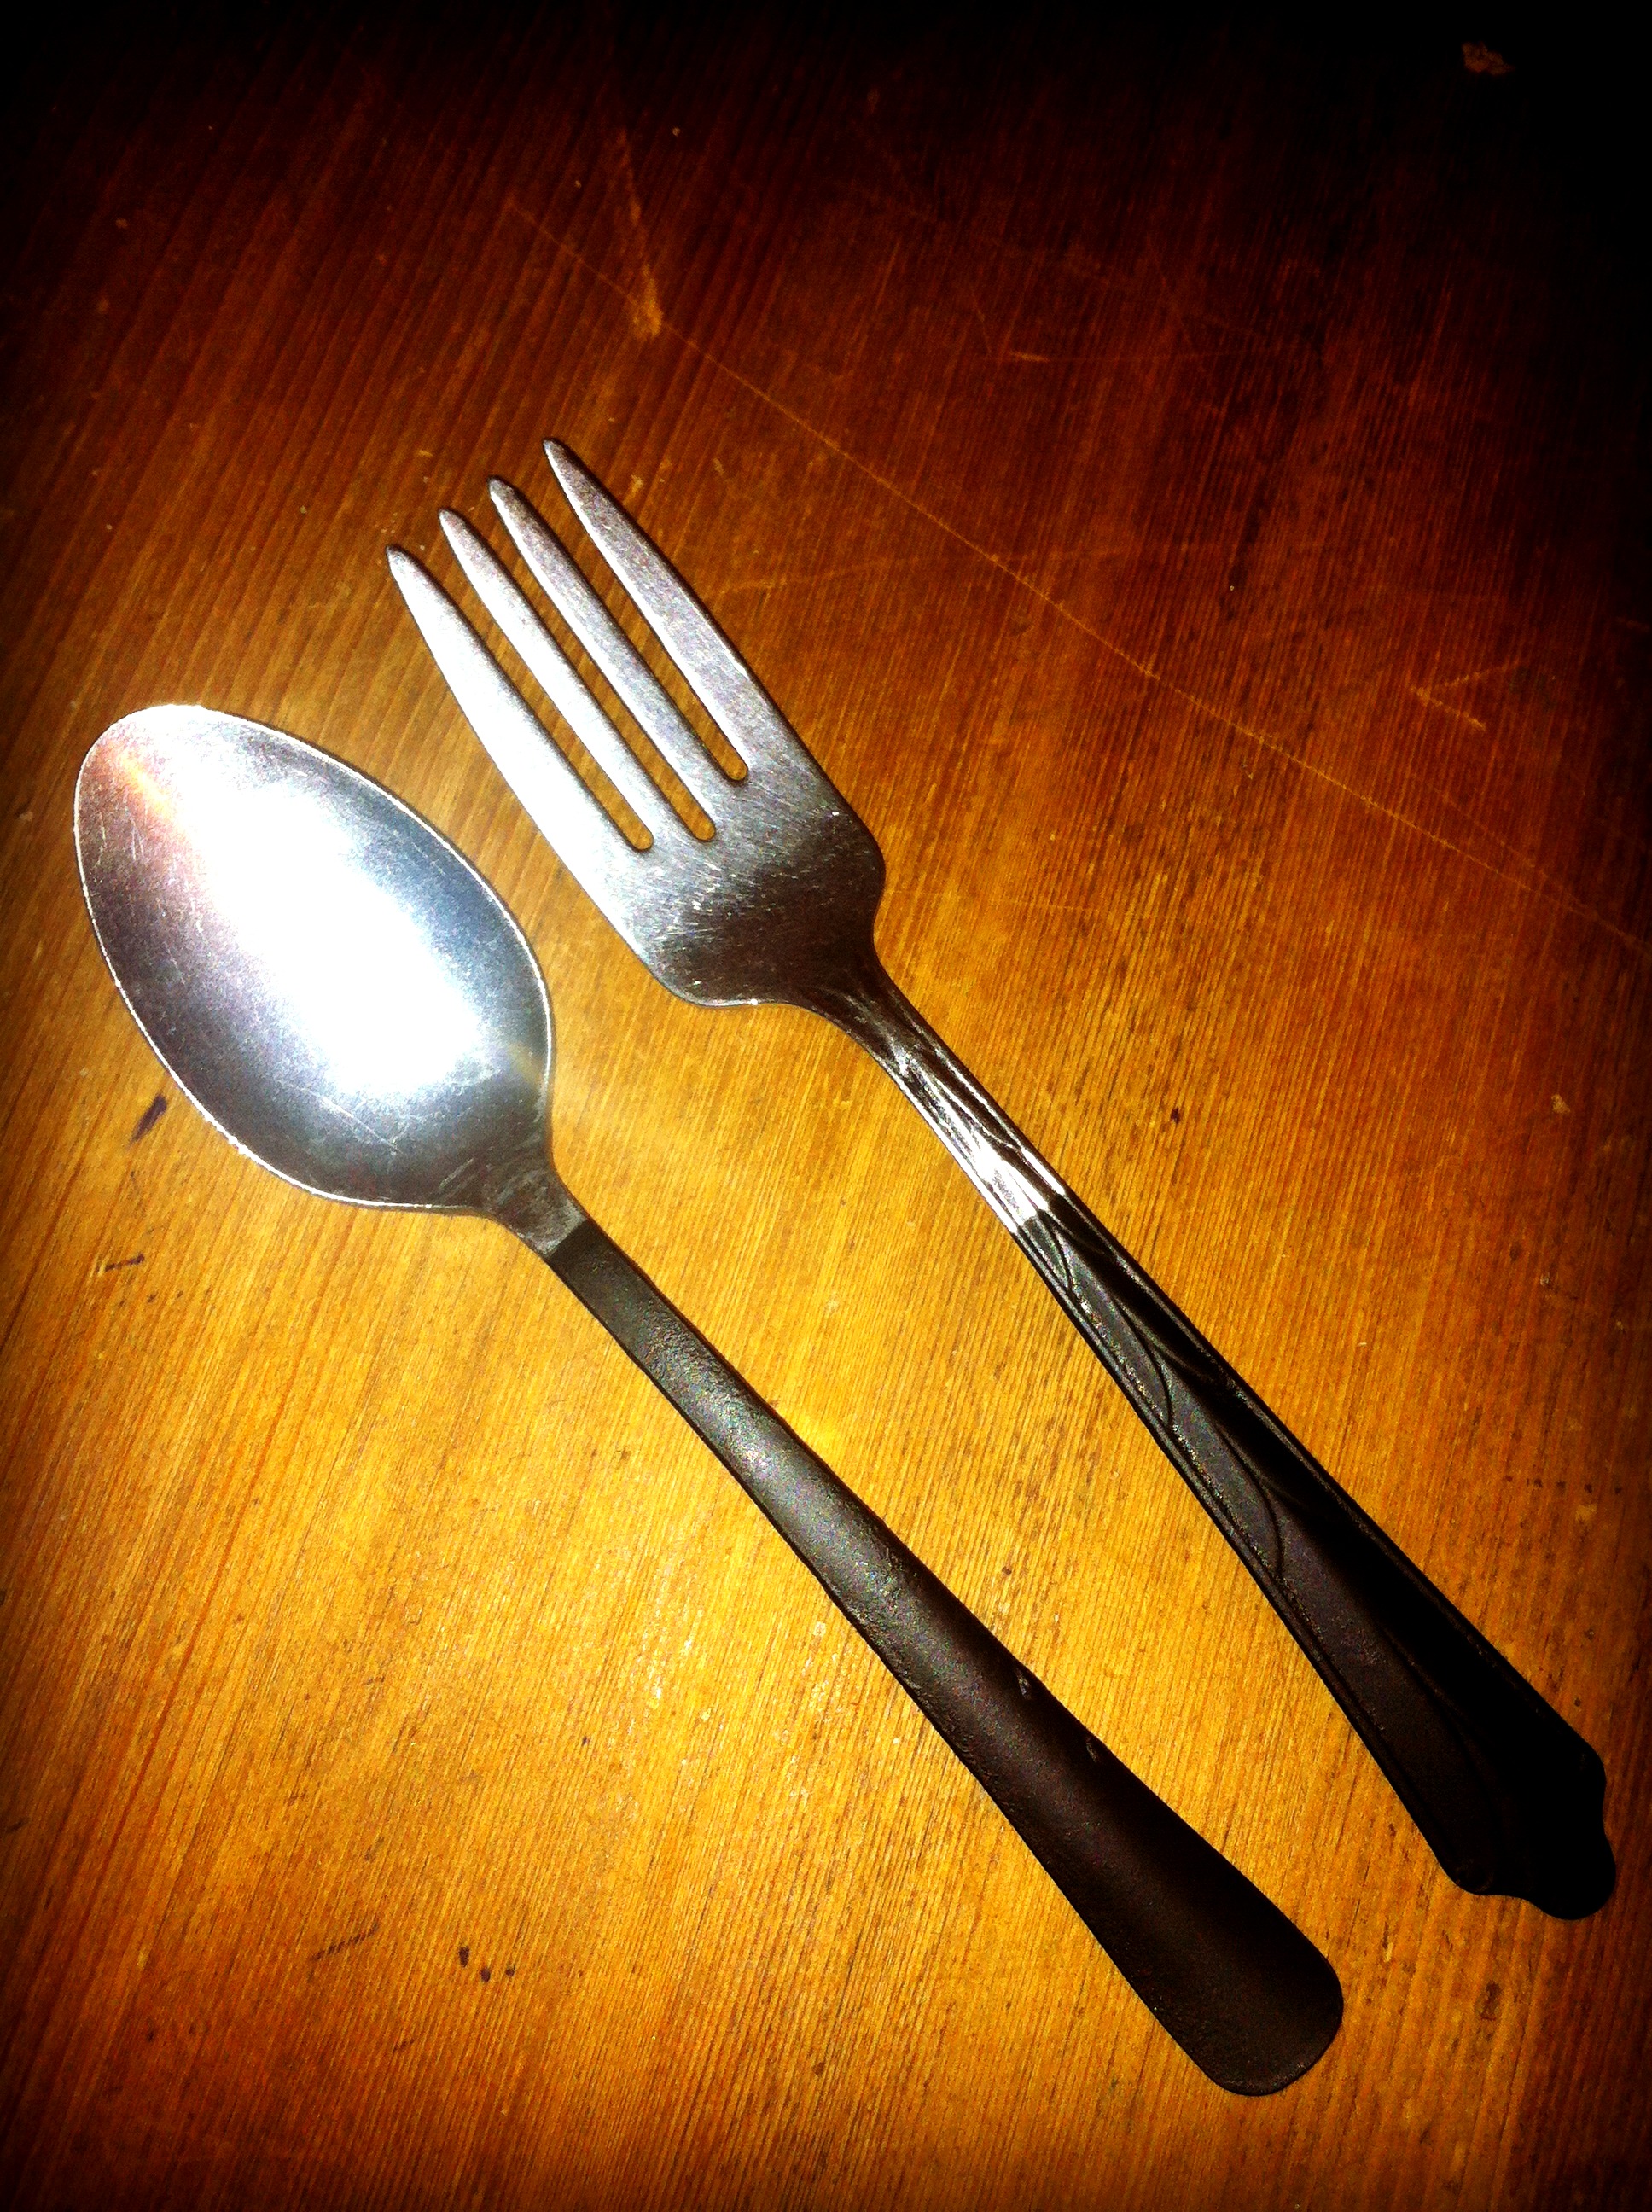
I’m thanking the Lord for that cozy weather we had yesterday. I don’t know what it is about clouds that make me productive but they do. I got my flatware project done – yay! – and today I’m gonna show you how simple it really is.
I’ve done this before for a baby shower I hosted for my sister. I used hot pink for that event and I absolutely loved how they turned out.
Adorbs, yes?!
This time, I chose a matte black paint; maybe not as exciting as electric pink, but I think it’s gonna go well with the rest of the decor.
What you’ll need:
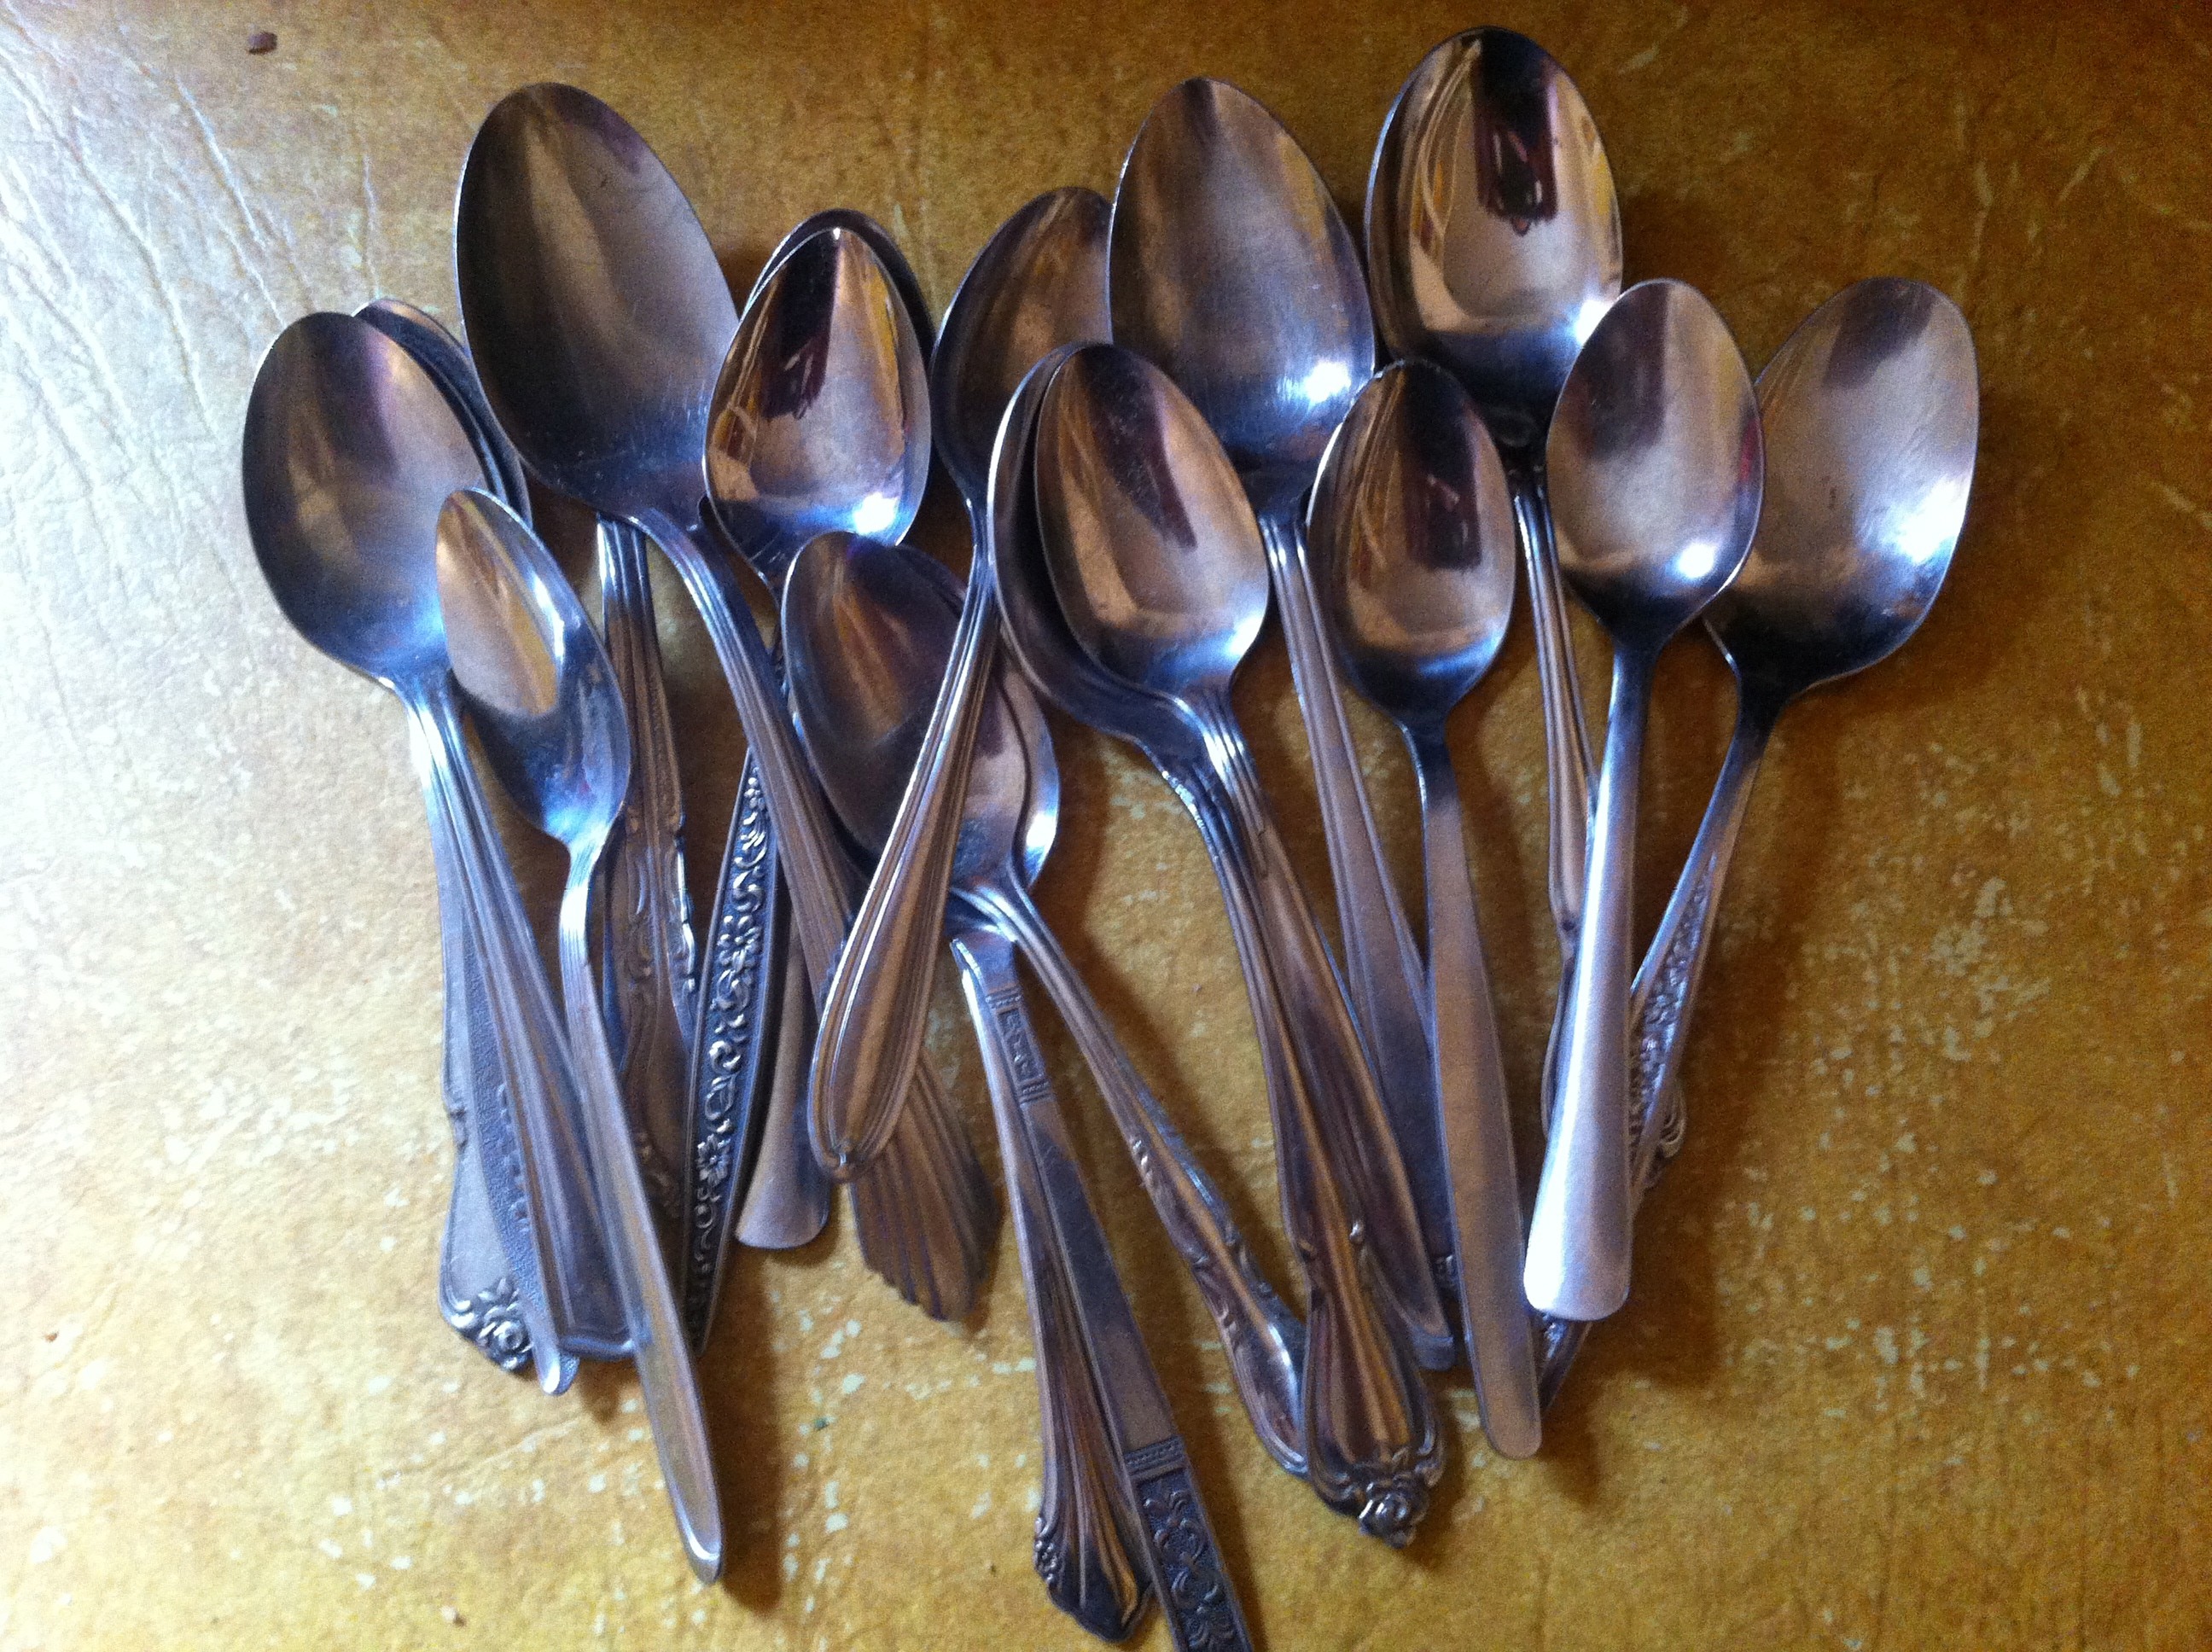
Flatware – any and all; doesn’t have to match (I prefer it not to)
Painter’s tape
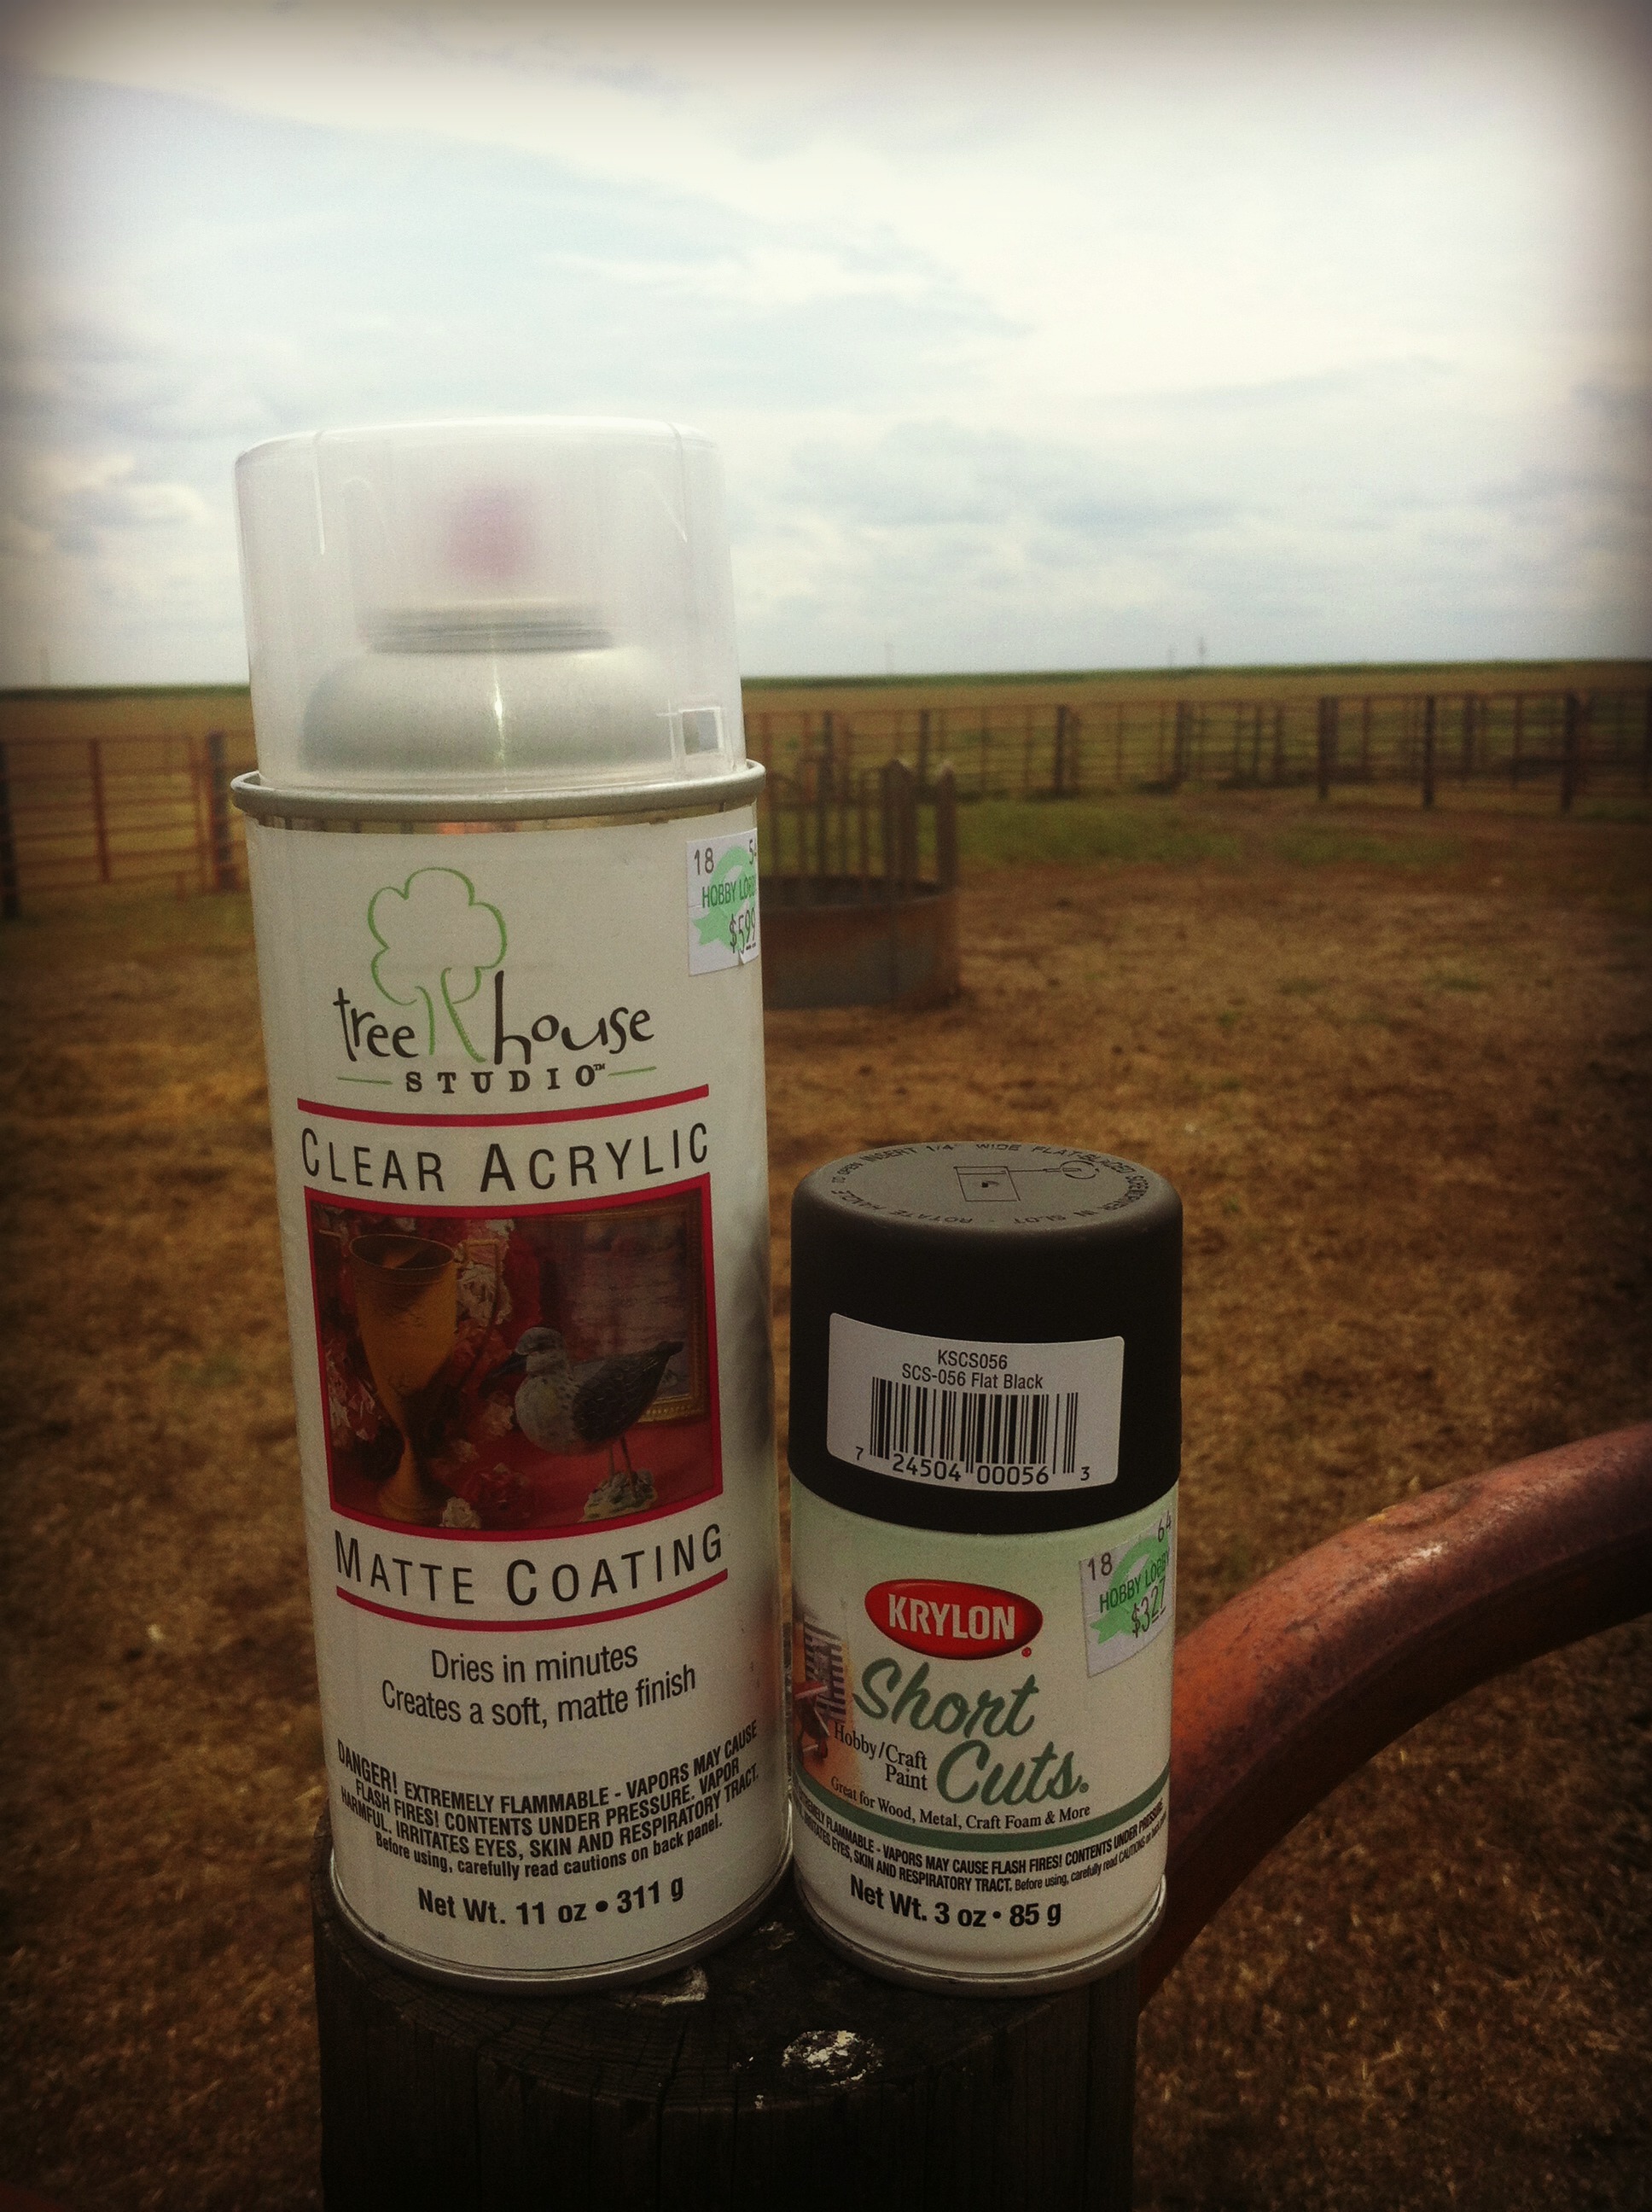
Spray paint that adheres to metal. (I prefer a model car paint put out by Krylon but maybe there’s some better options out there??)
Clear acrylic top coat
Acrylic coat and spray paint
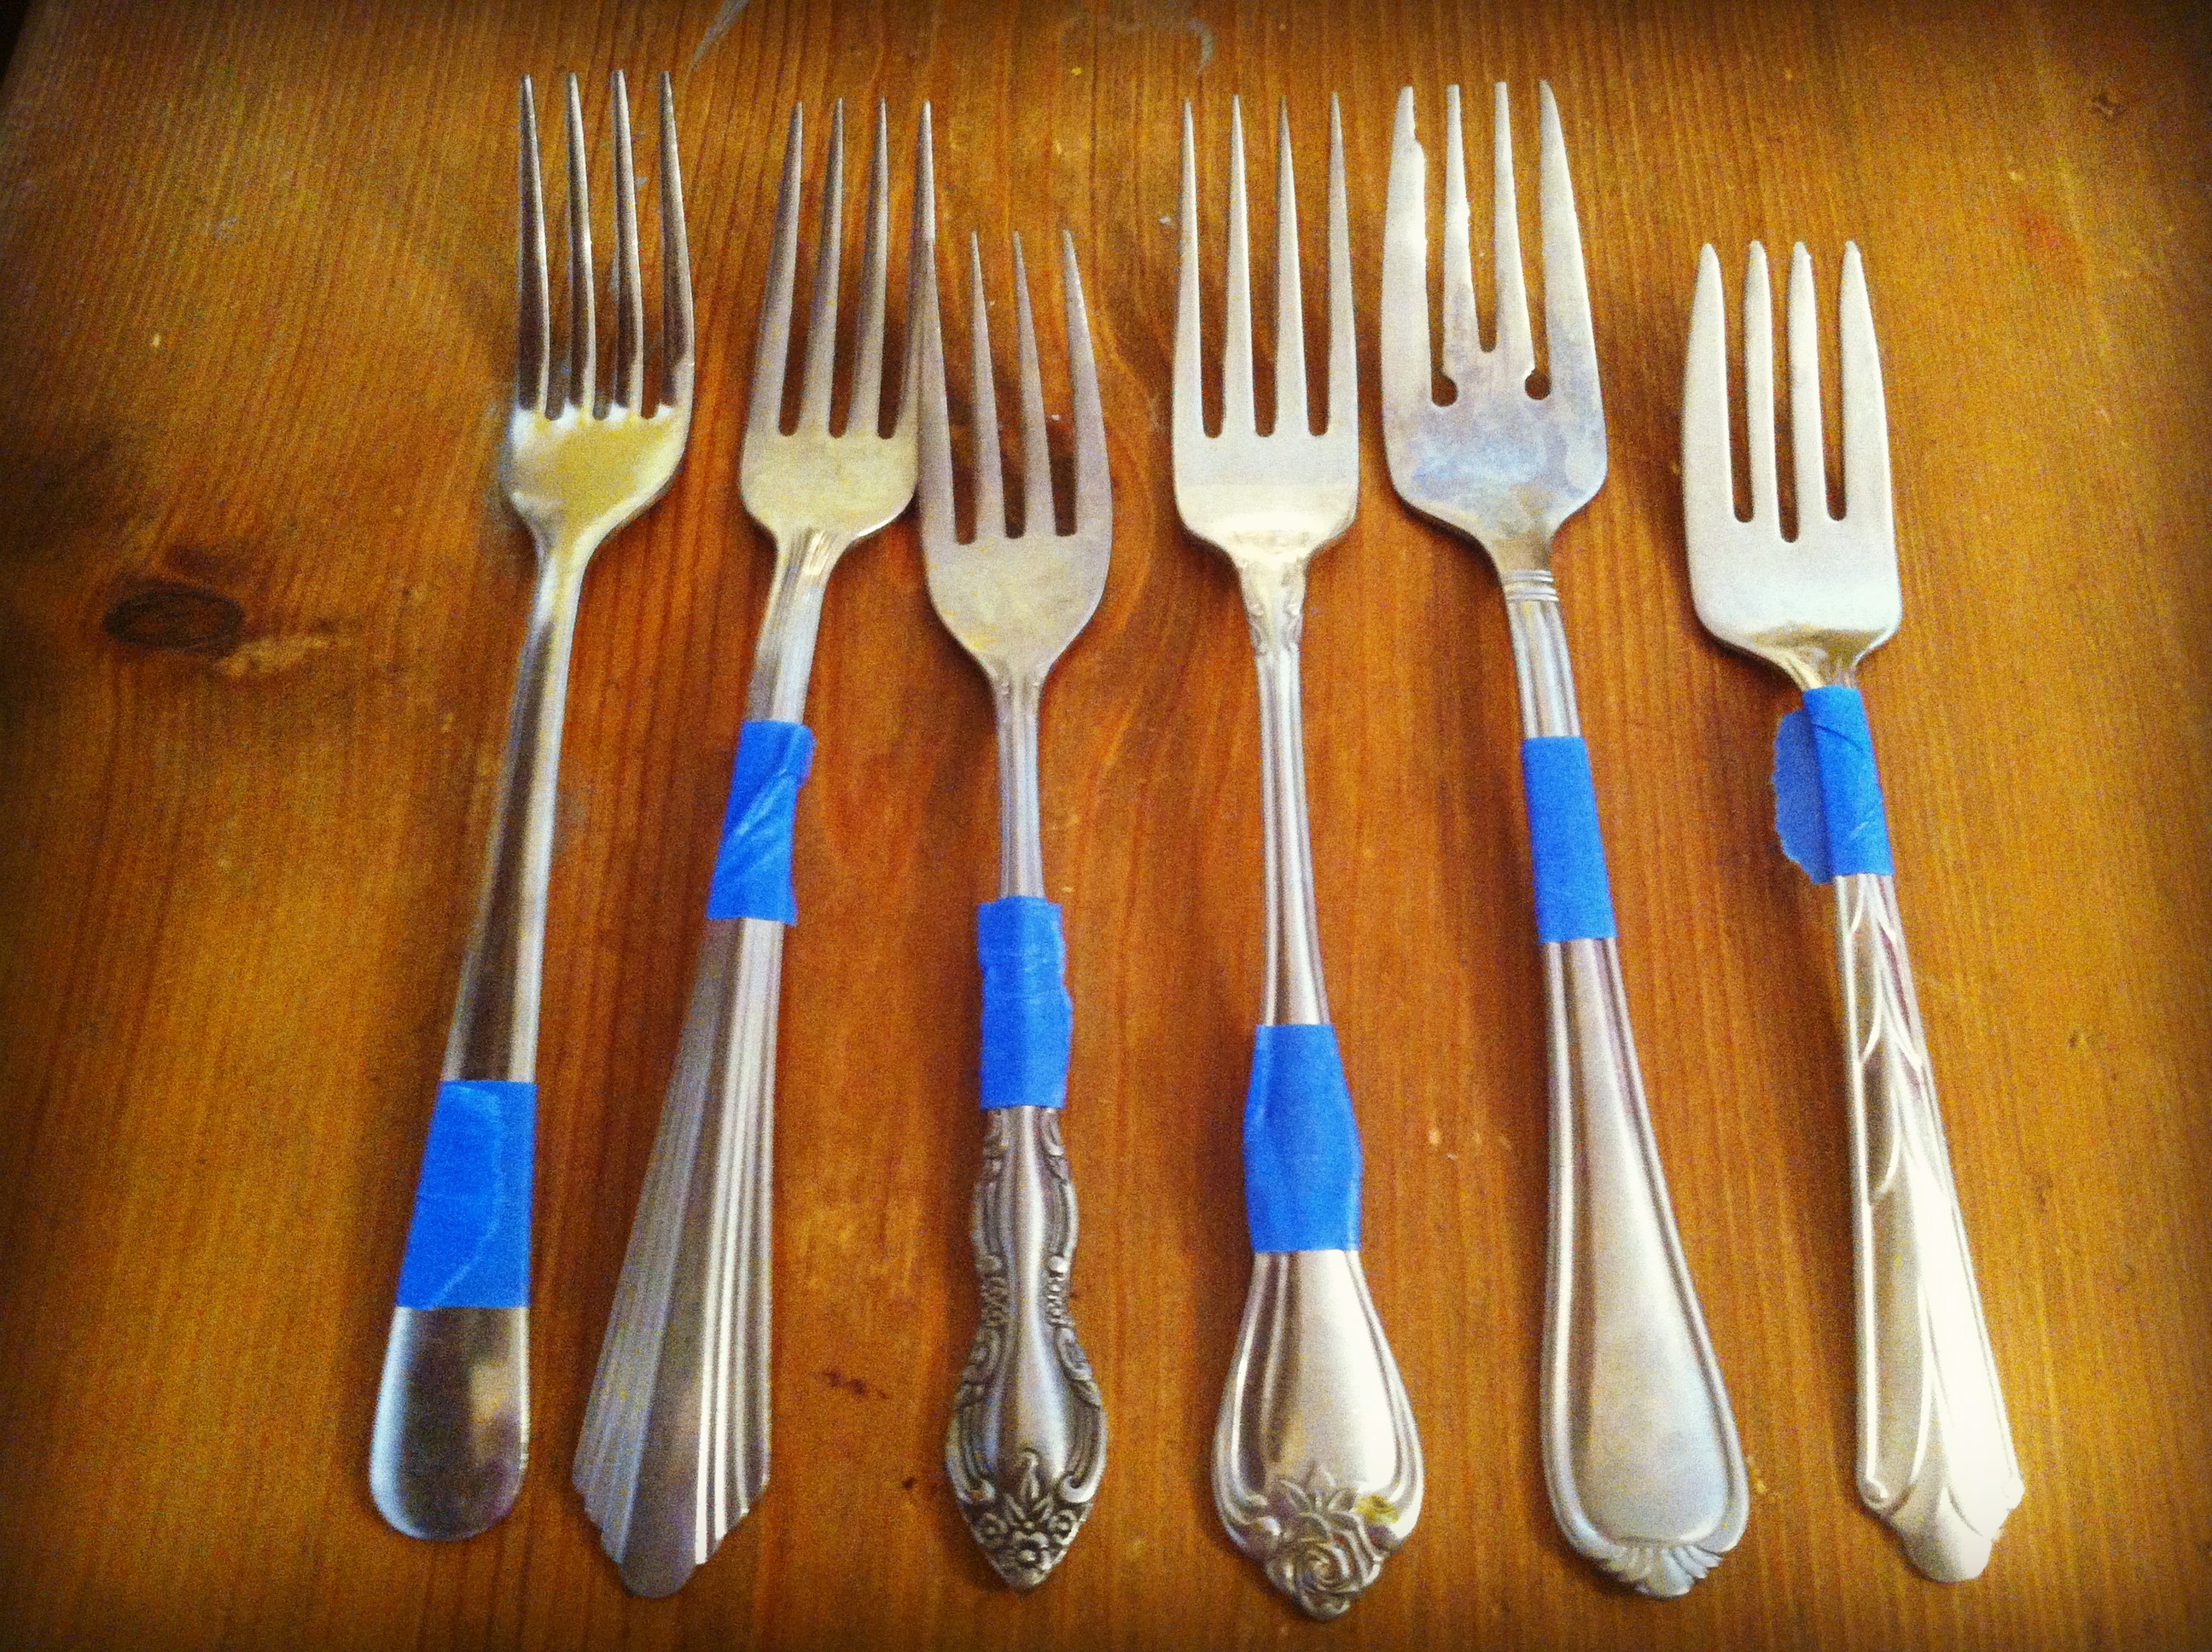
Step 1: Prep and clean your flatware.
A few spoons
I ran these through the dishwasher this morning and then got busy taping.
A few forks
I wanted these to be painted at differing heights but the possibilities are endless.
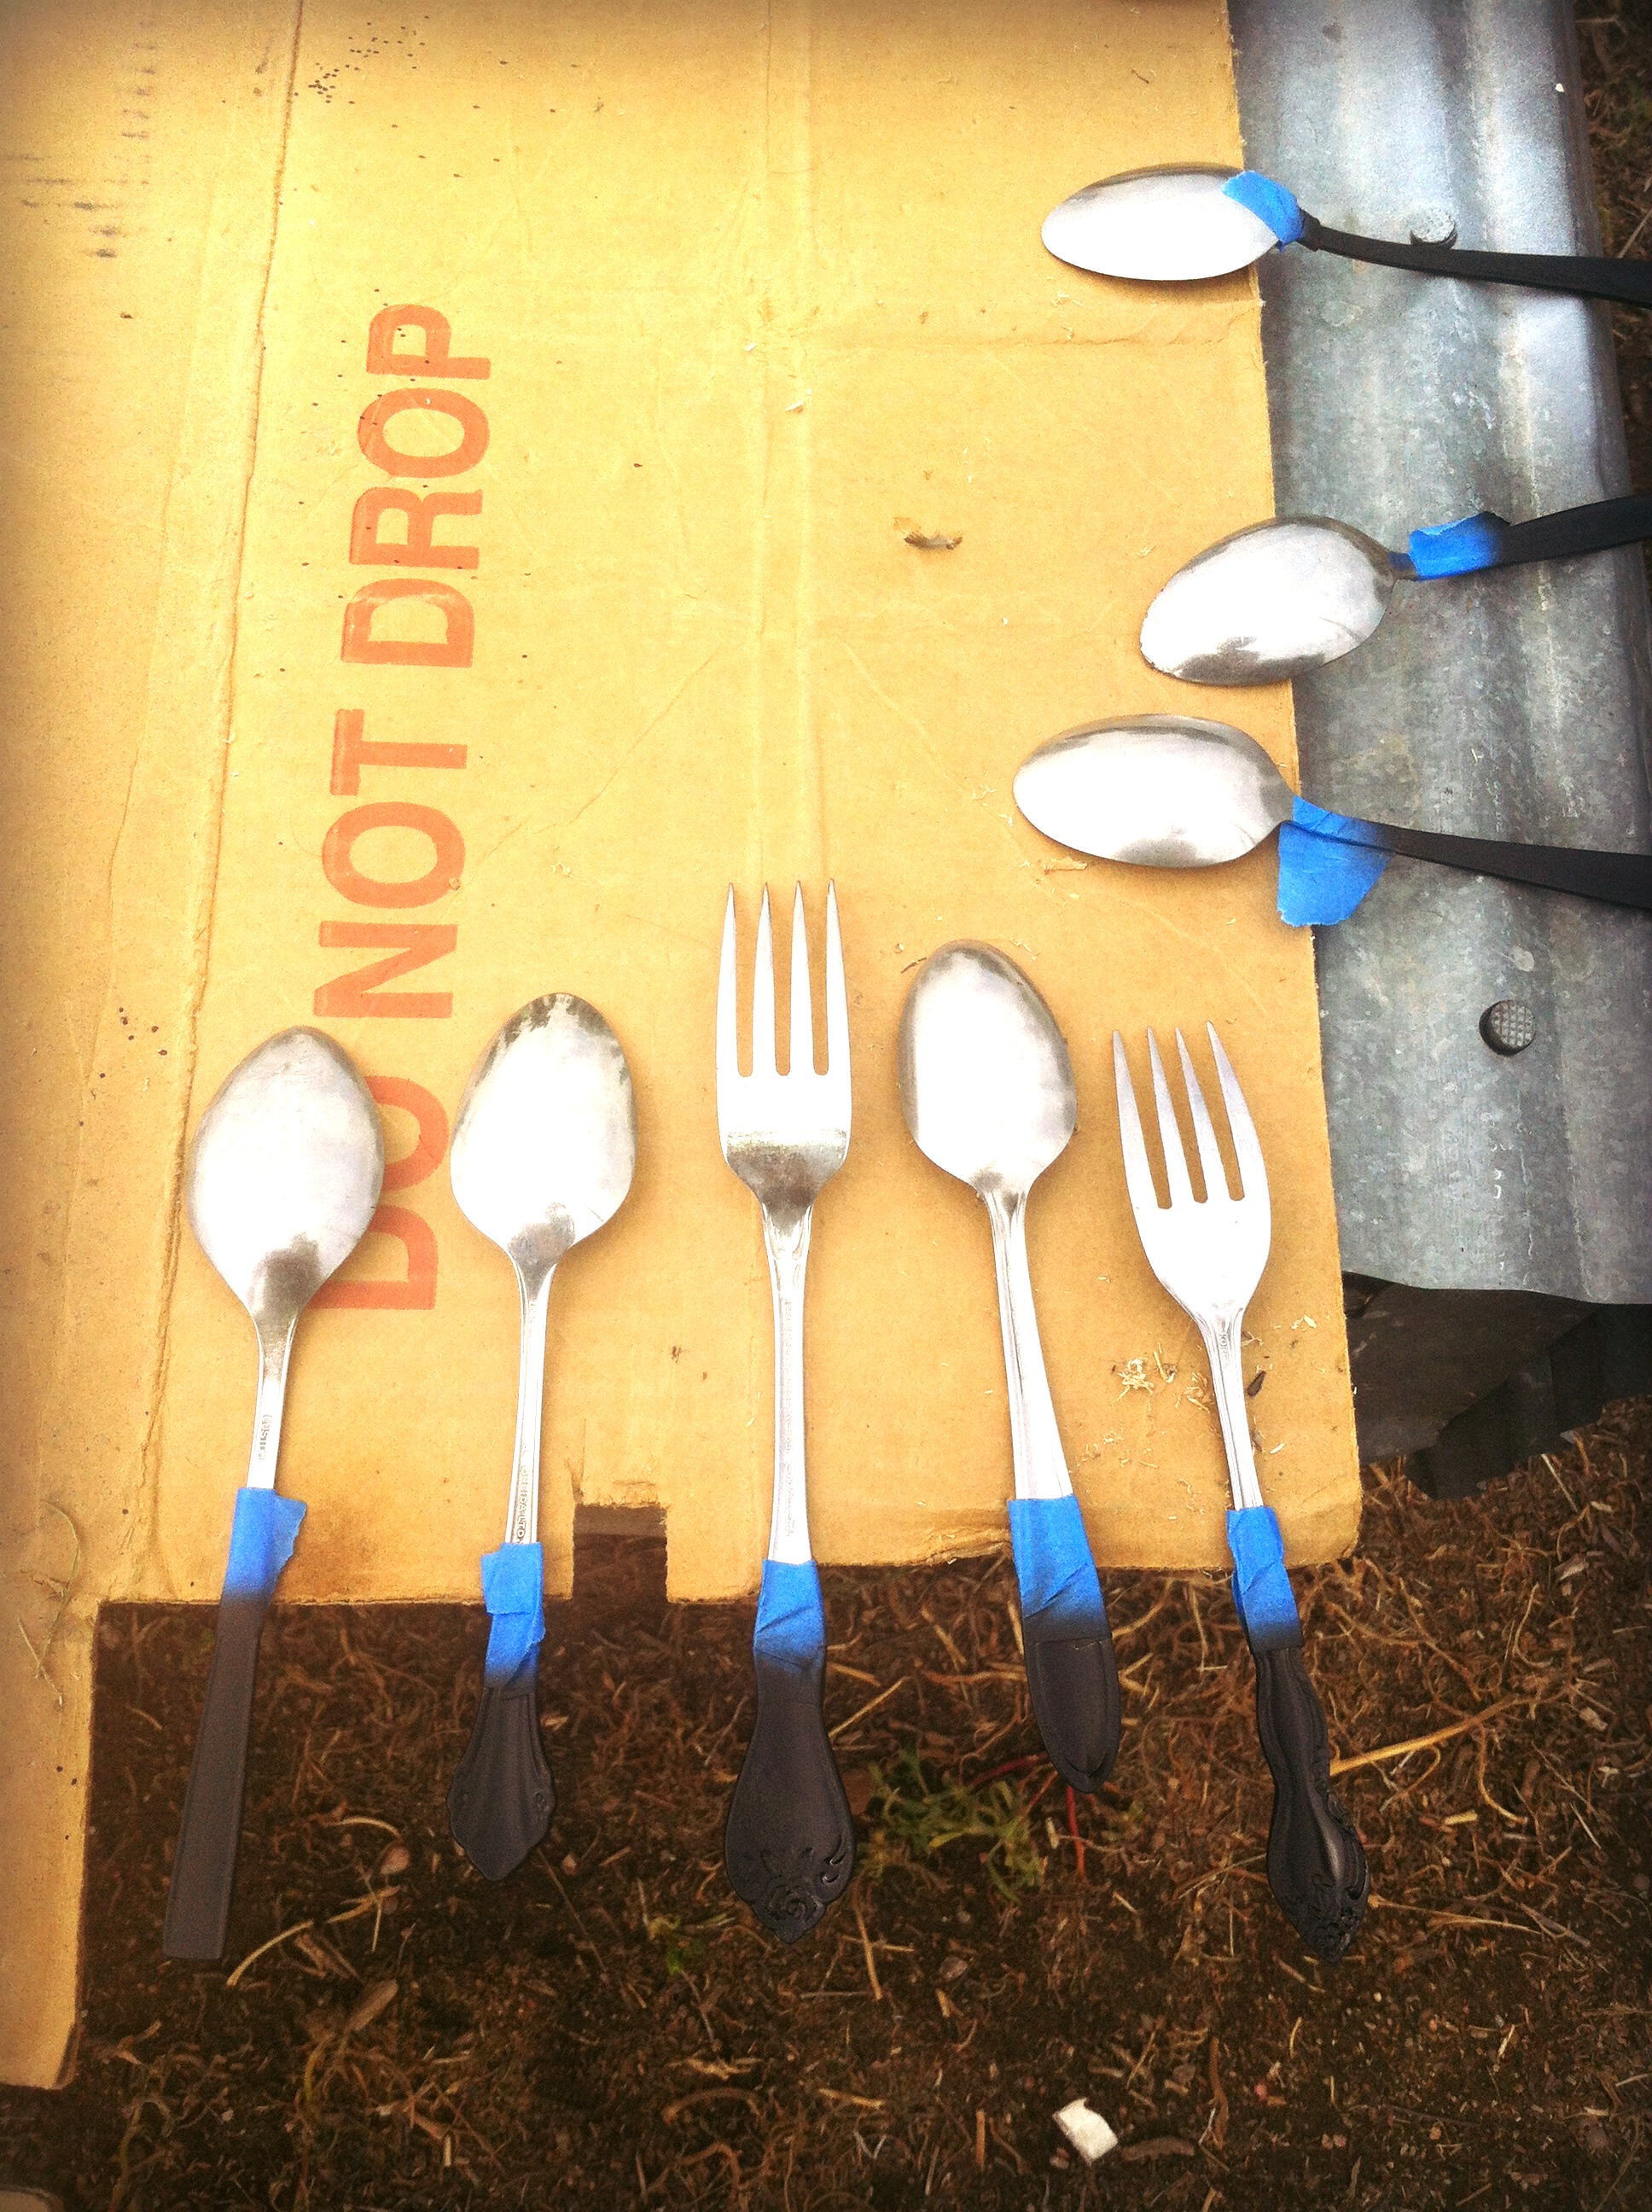
Step 2: Paint the back sides of the flatware.
Face down
I always start with the backs because I’m usually half-way in a hurry when I’m doing all these projects and if any side is going to be less than perfect, I’d prefer it to be the back. This model car paint dries to the touch really quickly so after I let them sit for about 5 minutes, I flipped them to do the fronts.
Step 3: Paint the fronts of the flatware.
Step 4: Repeat steps 2 and 3 with the clear acrylic coating.
This was something I did not do with the pink set of silverware. They’ve held up pretty well…there are a few nicks here and there…so I thought I’d try adding this step this time to see how they fare. I’ll let ya know…
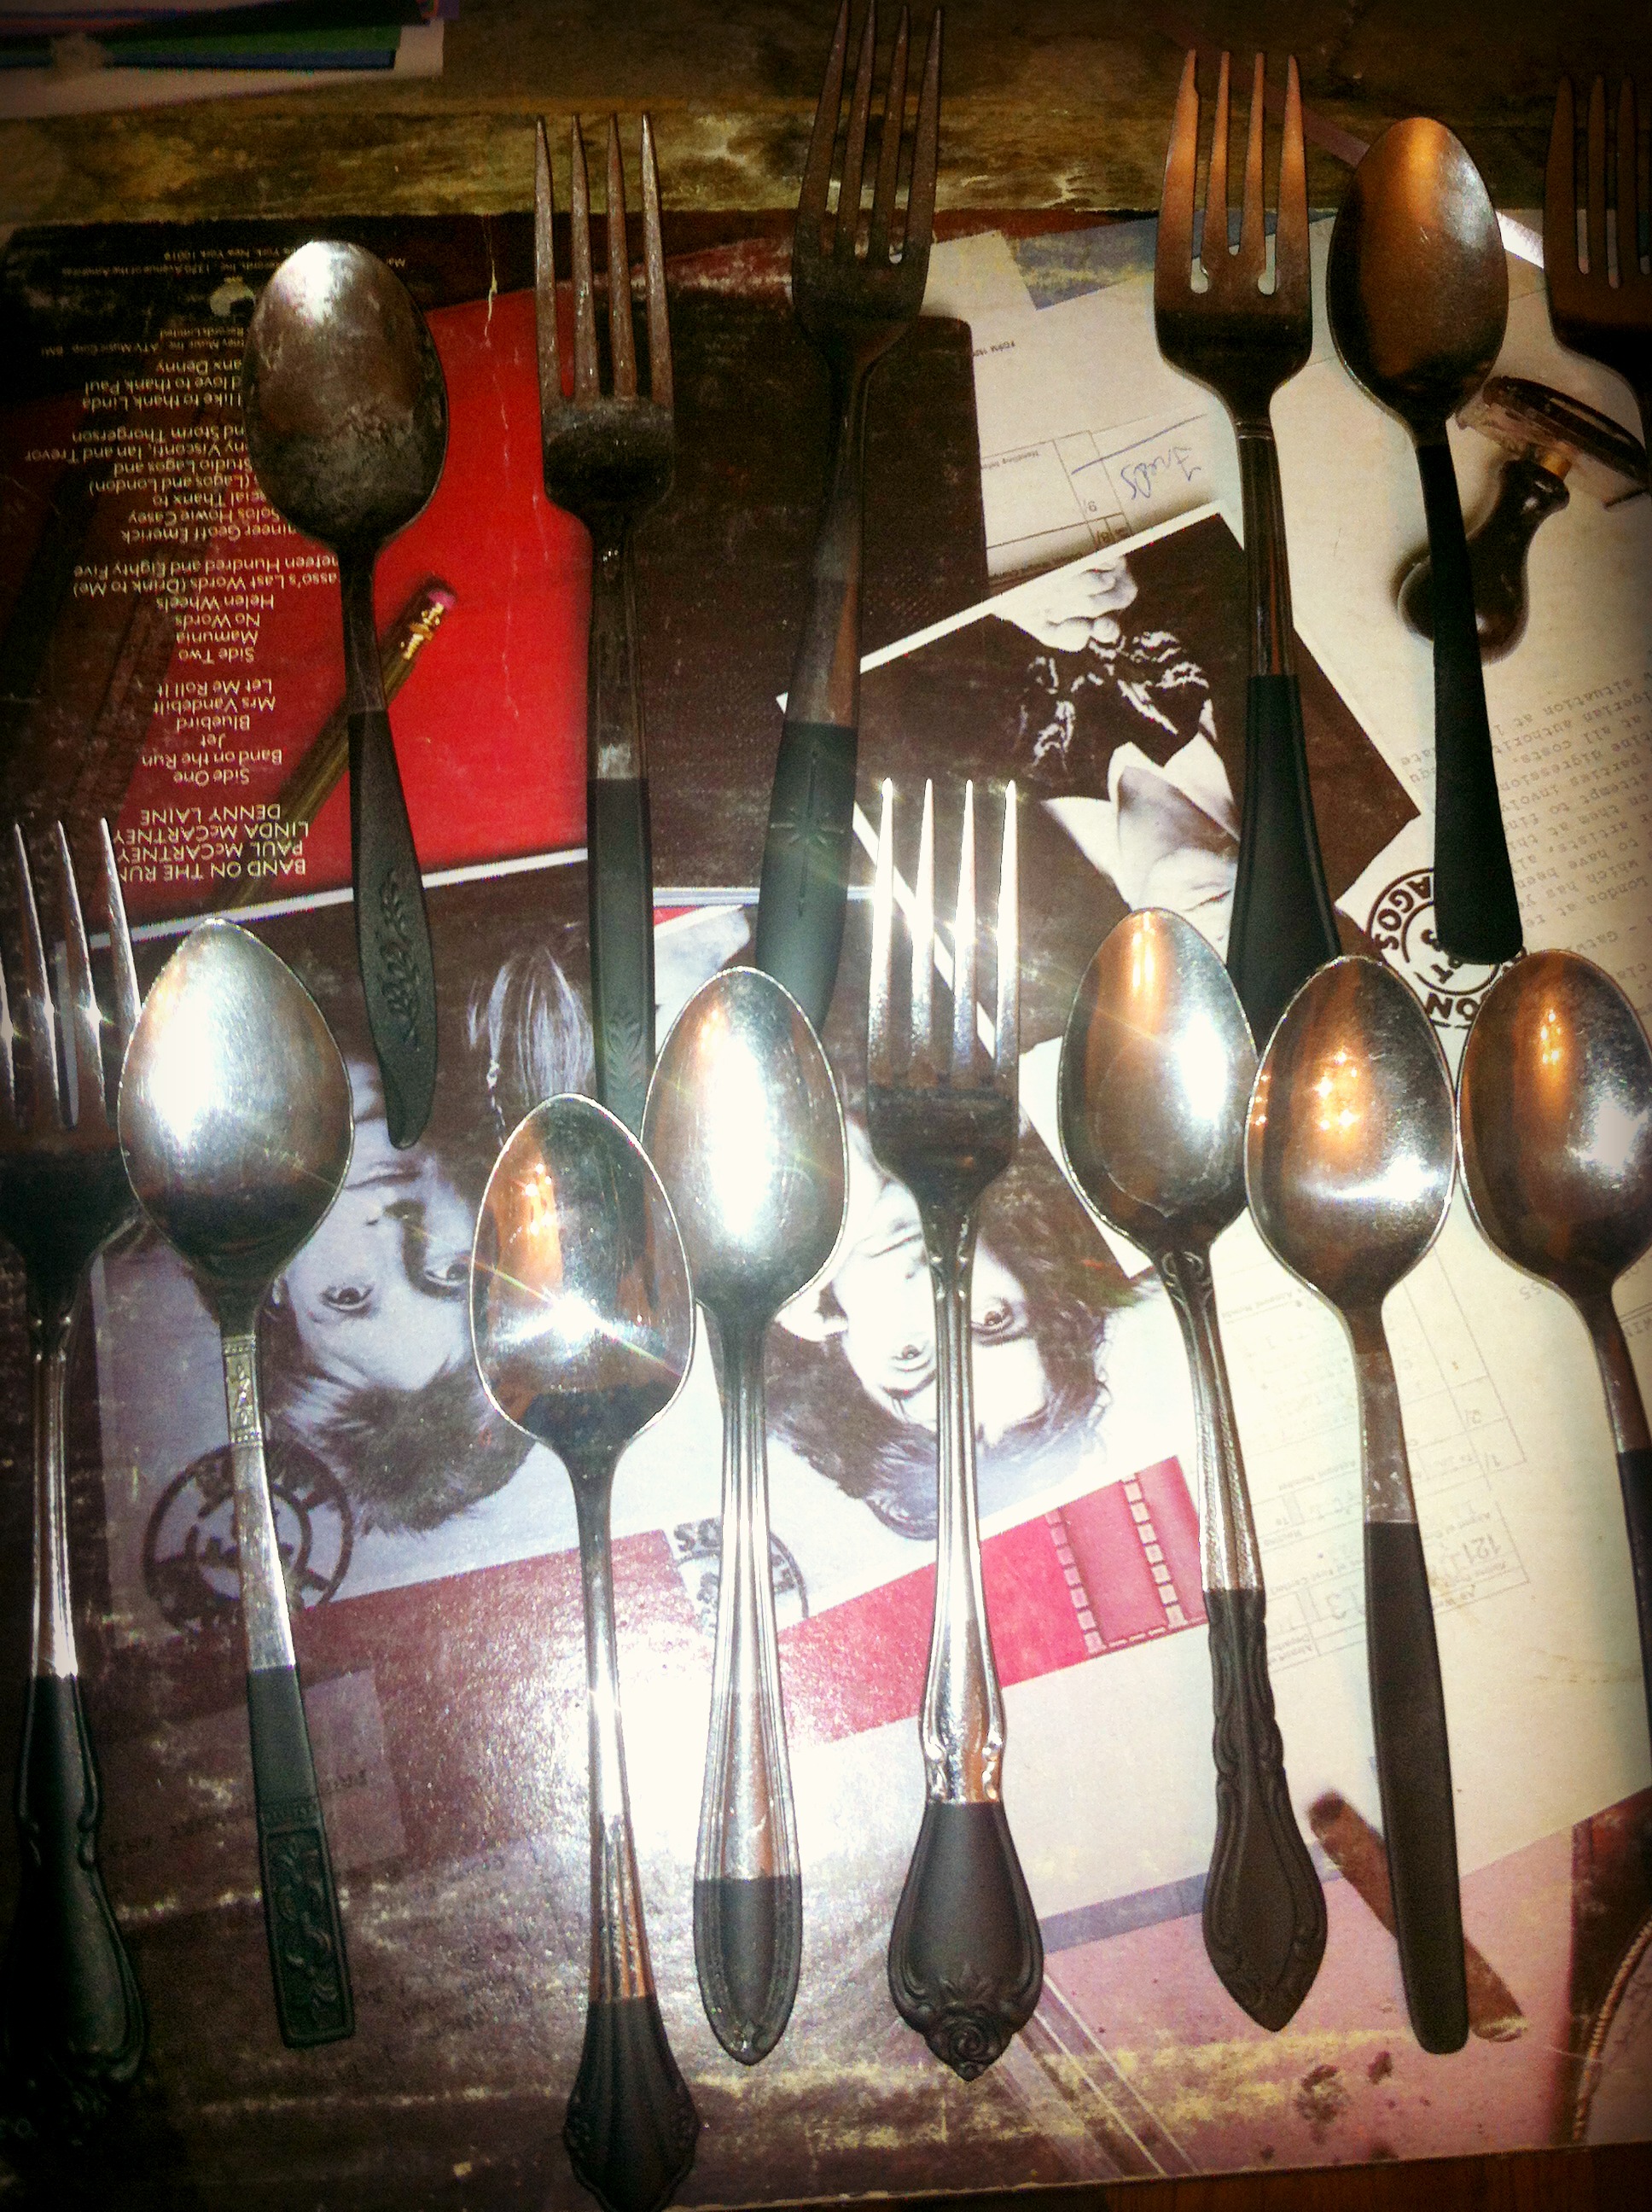
Step 5: Let them dry for 24 hours.
A very important step, obviously. Put them on a flat, dry surface that they won’t stick to – ie – no paper.
Old records work well…
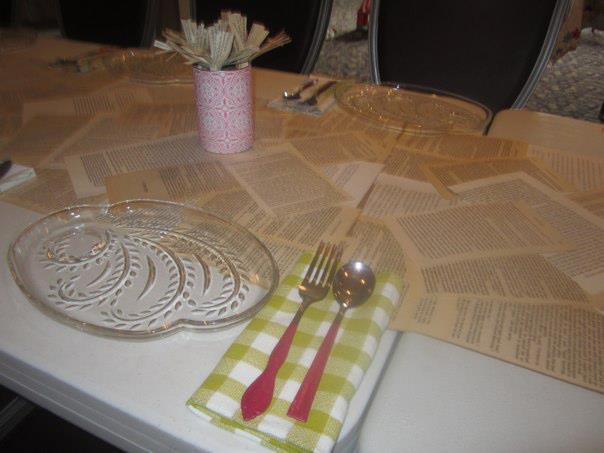
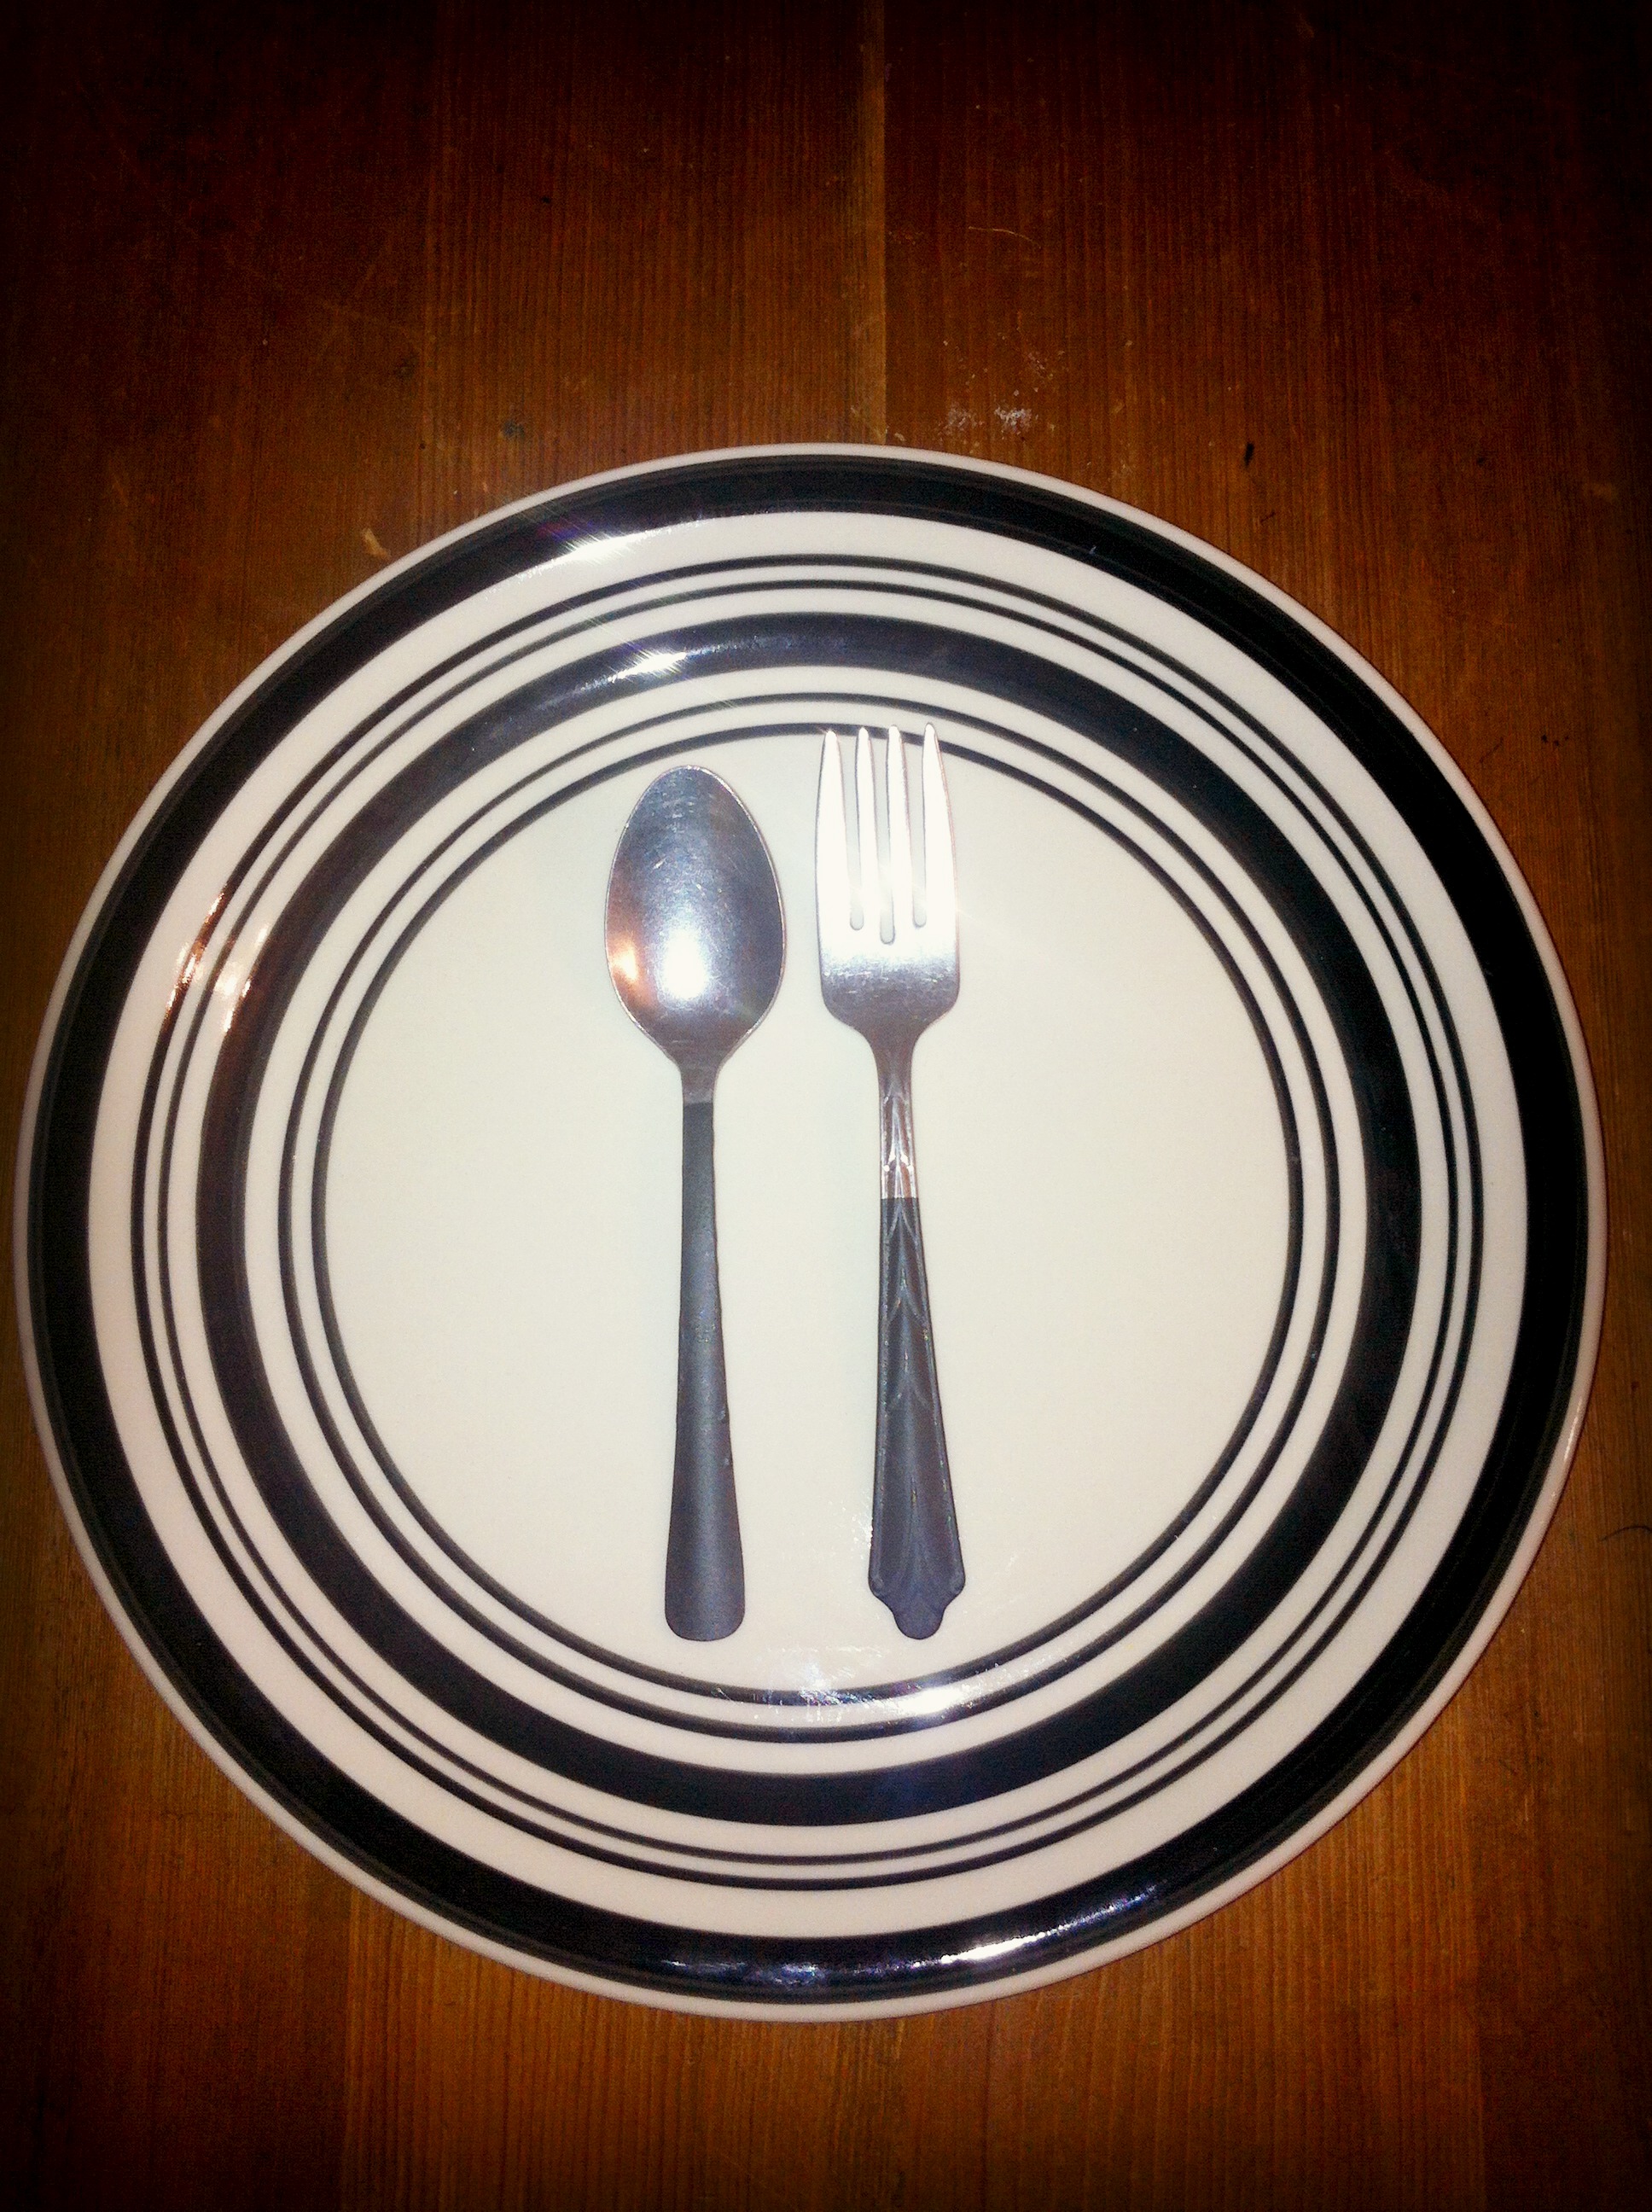
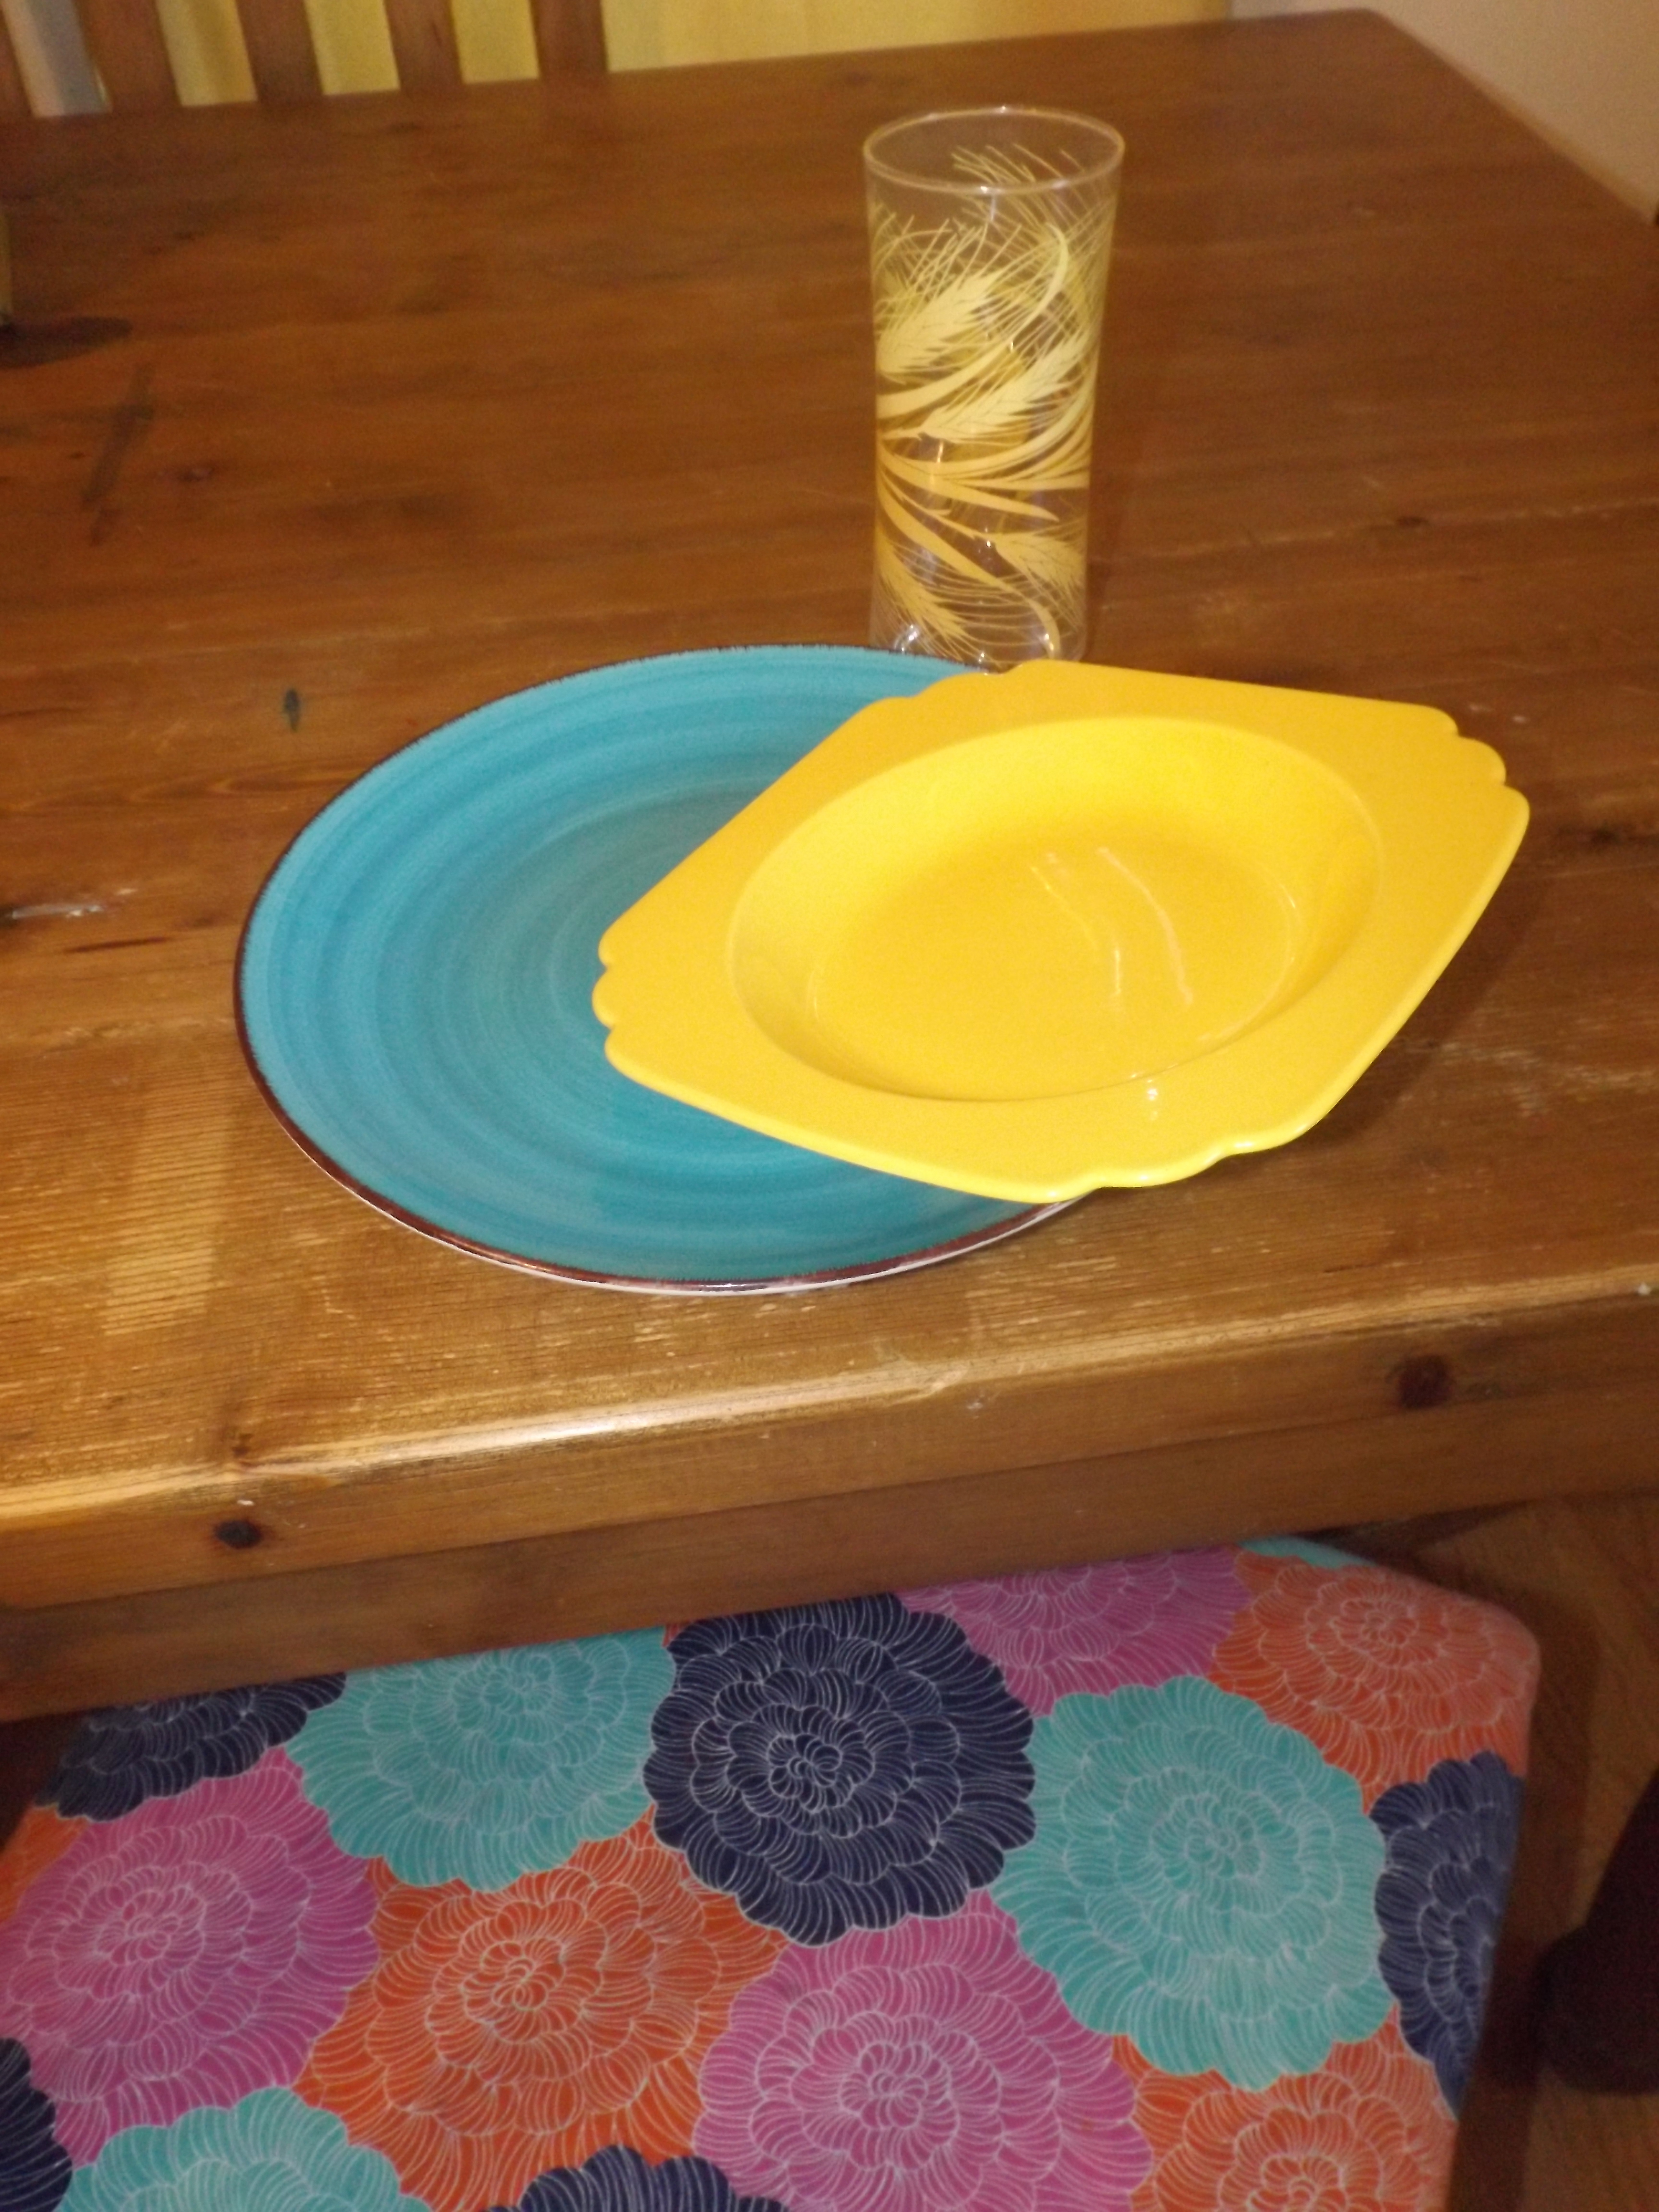
Step 6: Pair your flatware with some killer dishes.
That worksBlack matte
I love this project because it’s cheap and easy AND it’s one of those details that can totally make a dinner party. Scourge your local thrifts, find some cheap flatware and funky it up!
I feel so troubled…I can’t find the before pics of the living room anywhere! I’ve looked on two computers and a flash drive – what happened to them!?
Close your eyes and imagine white walls…and then pick up a rag and smear some yellow brown paint in a circular motion on said walls – THAT would’ve been the living room. The floor was fine and the wood work was good, it just needed some paint!
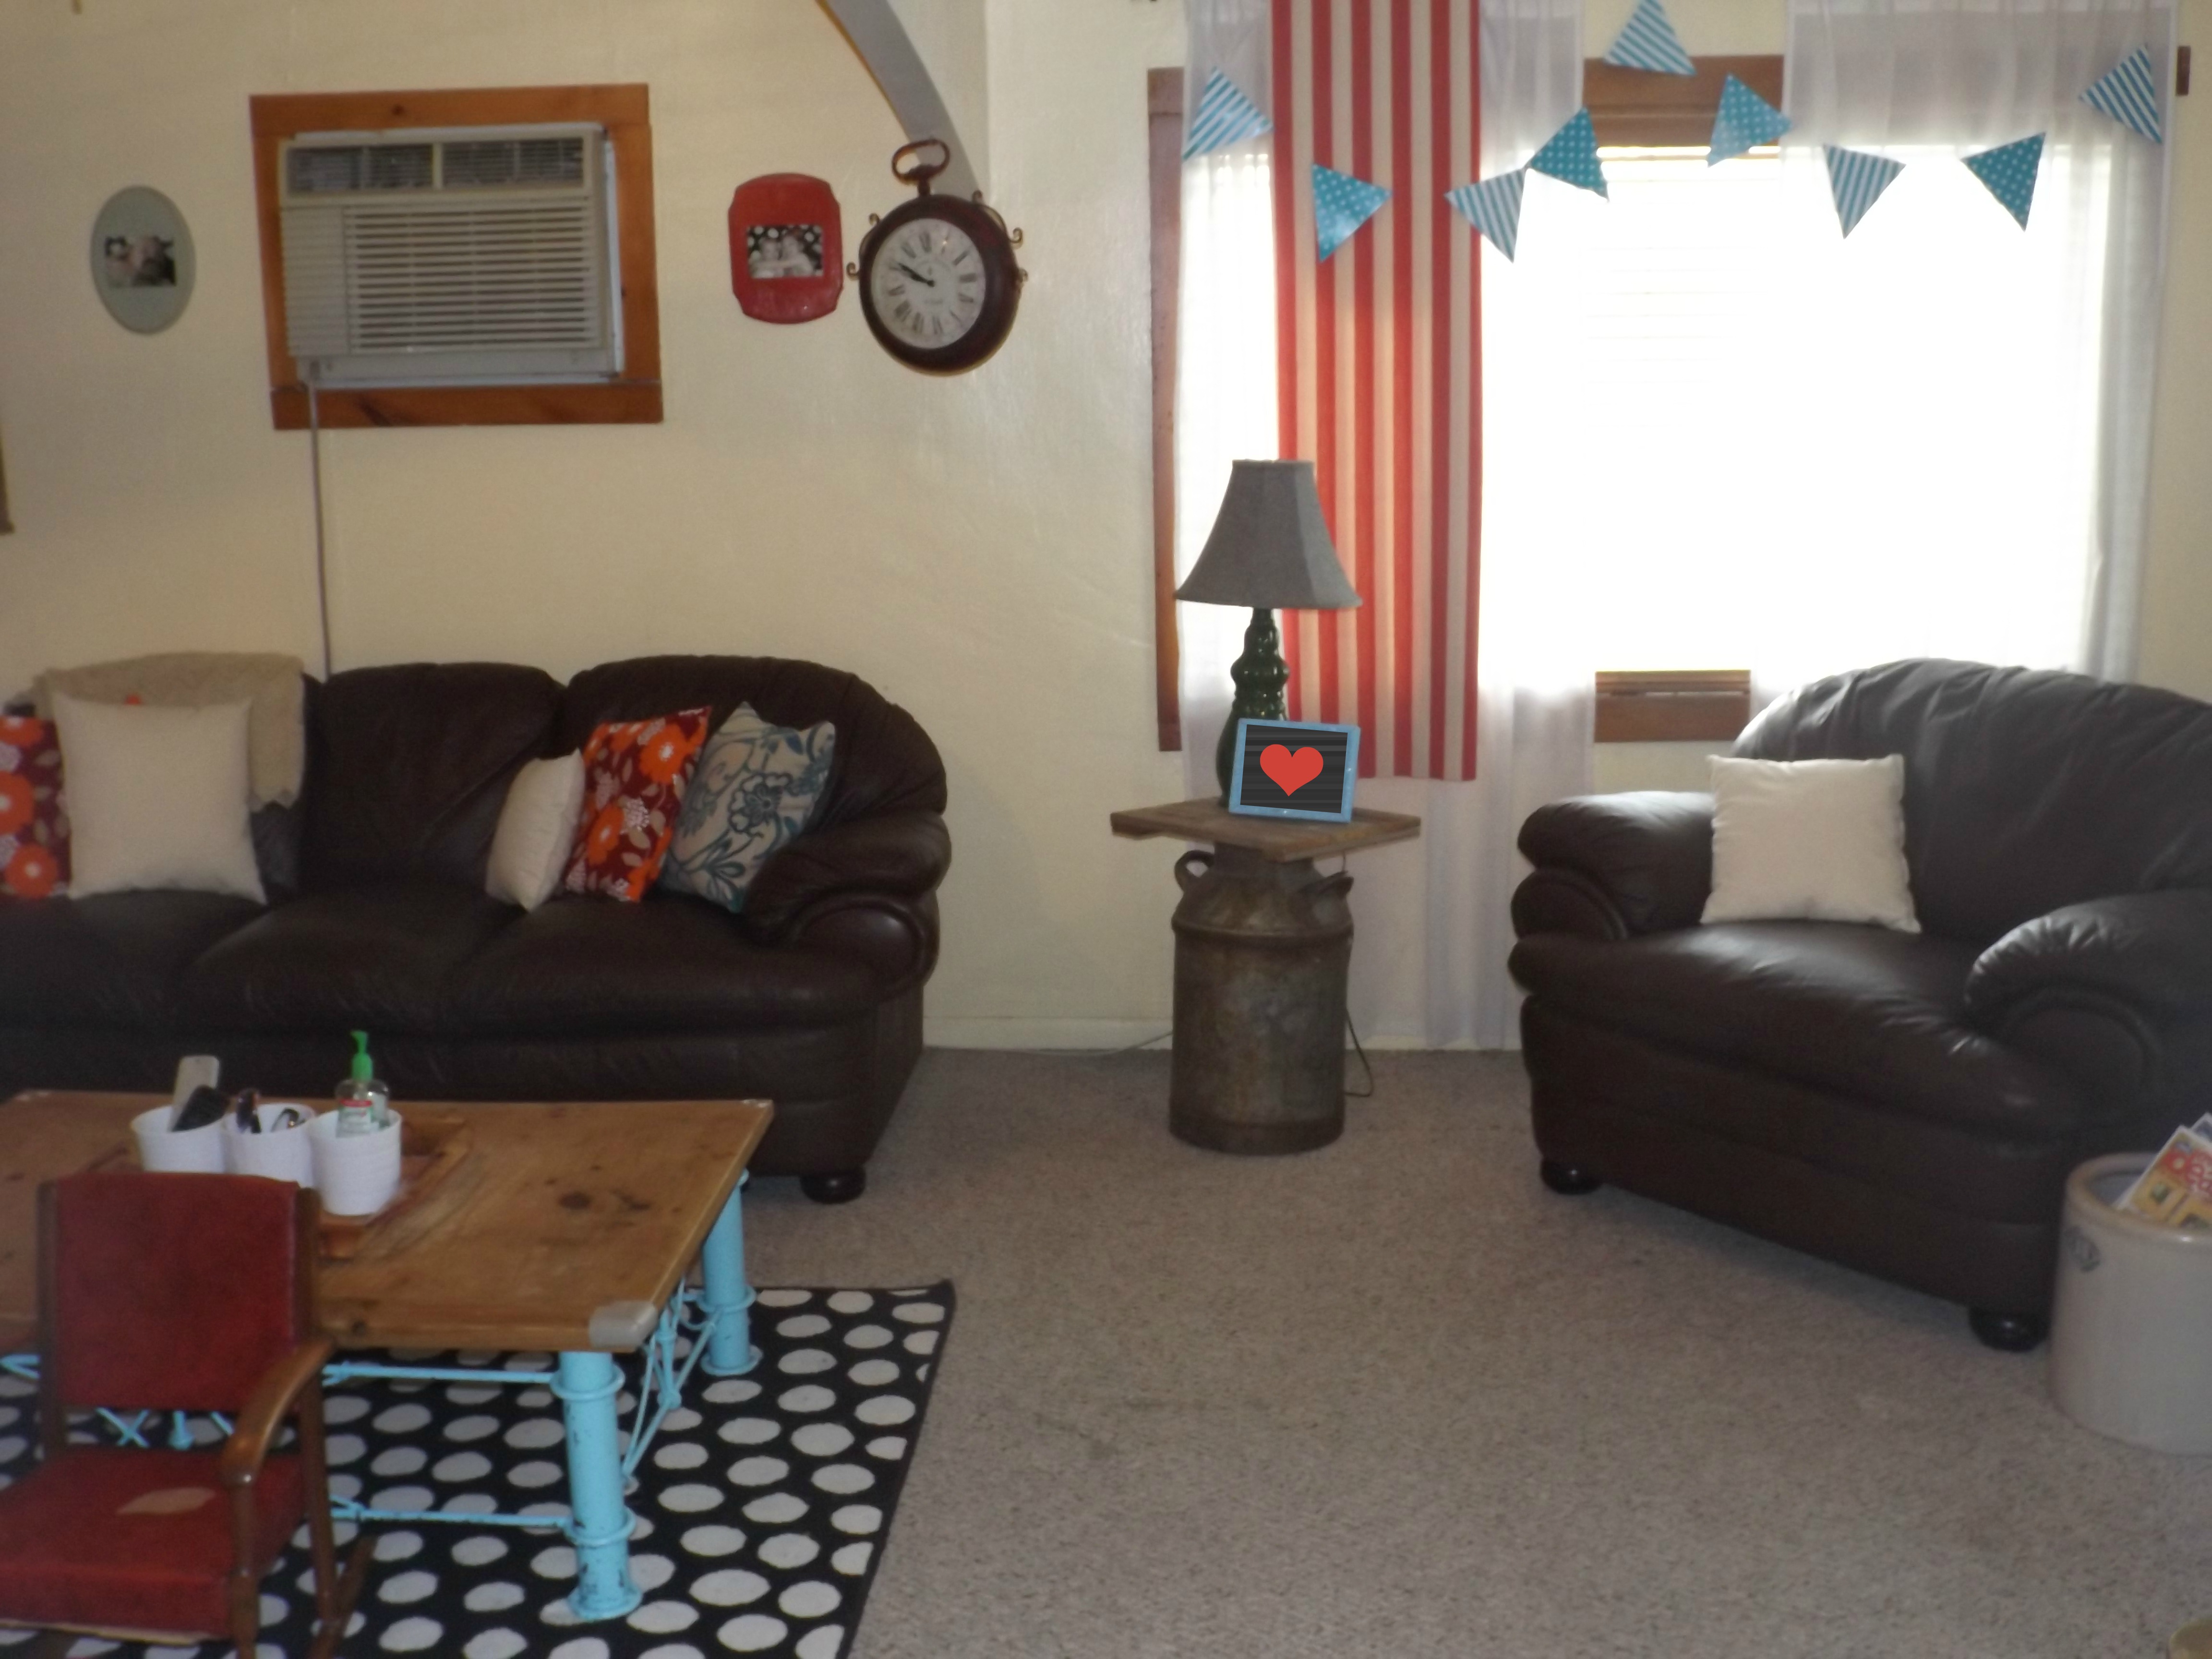
After:
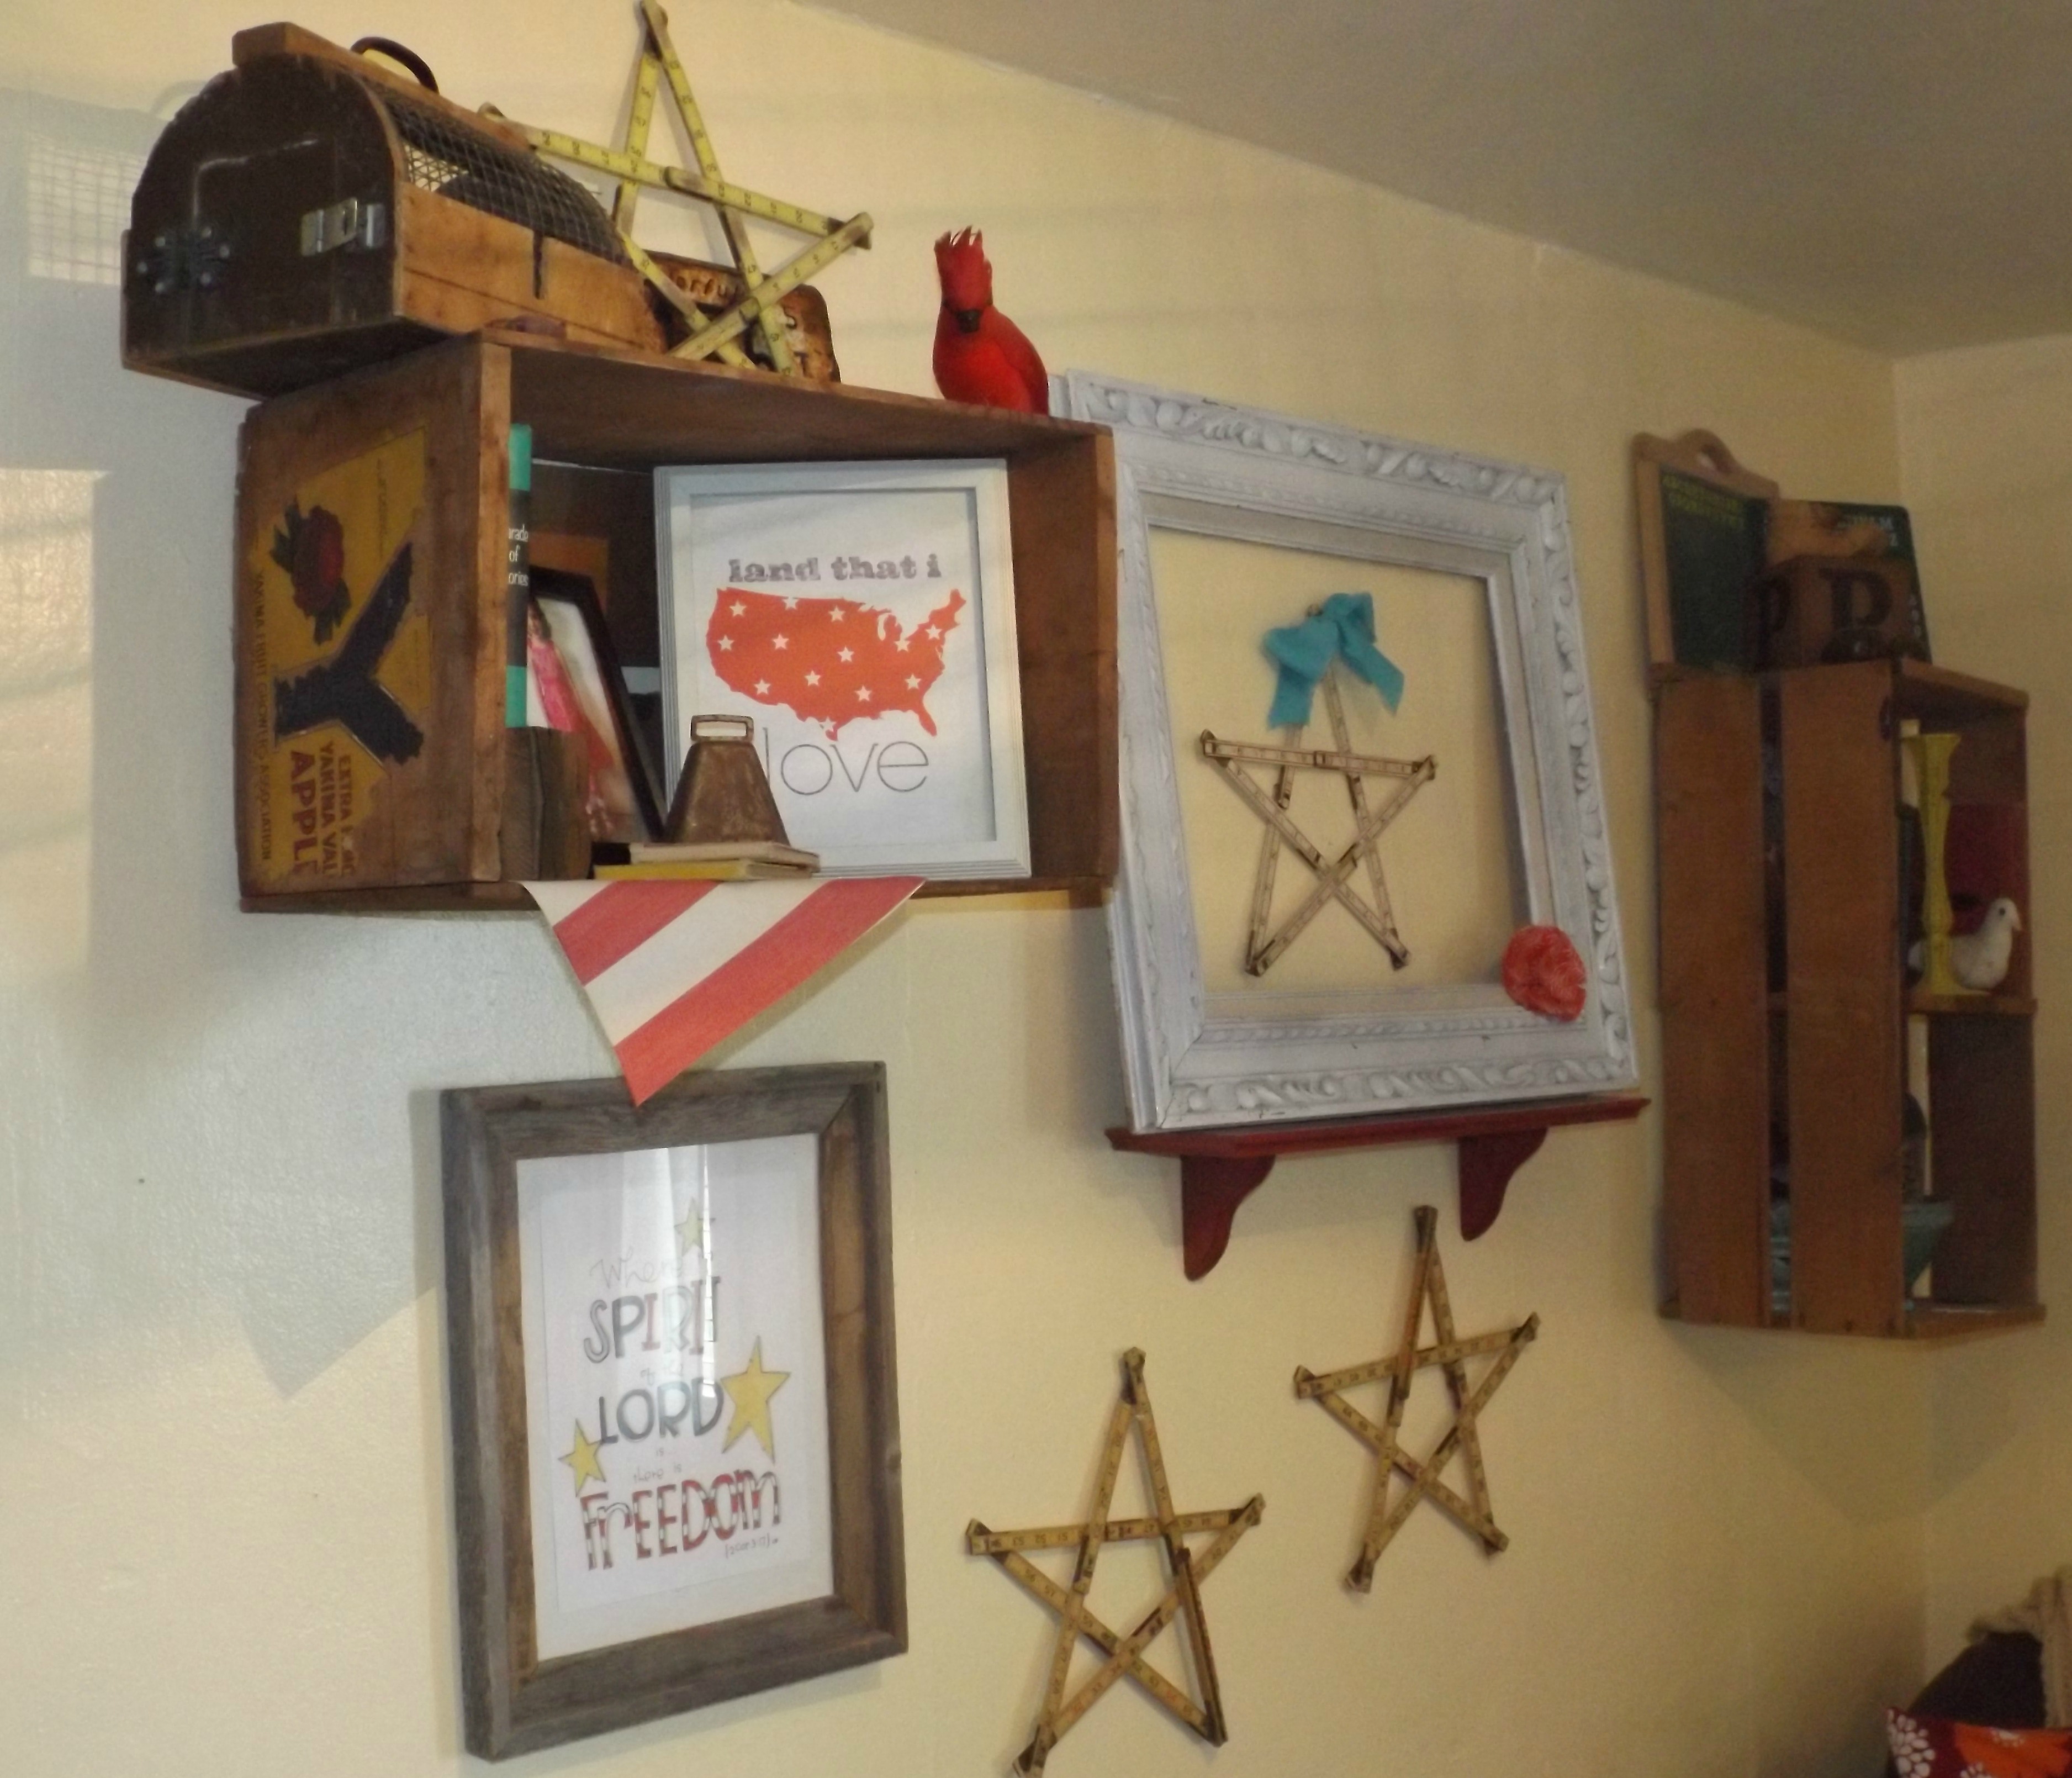
Our living room changes a bit from time to time, both in arrangement and details. It’s shaped really funny and I’m always arranging and rearranging trying to find the setup I like best. This is where I’ve landed for now. Things are decorated a little on the Americana side – summer just screams that to me.
From the kitchen…Other side, from the kitchen…From the north wall…
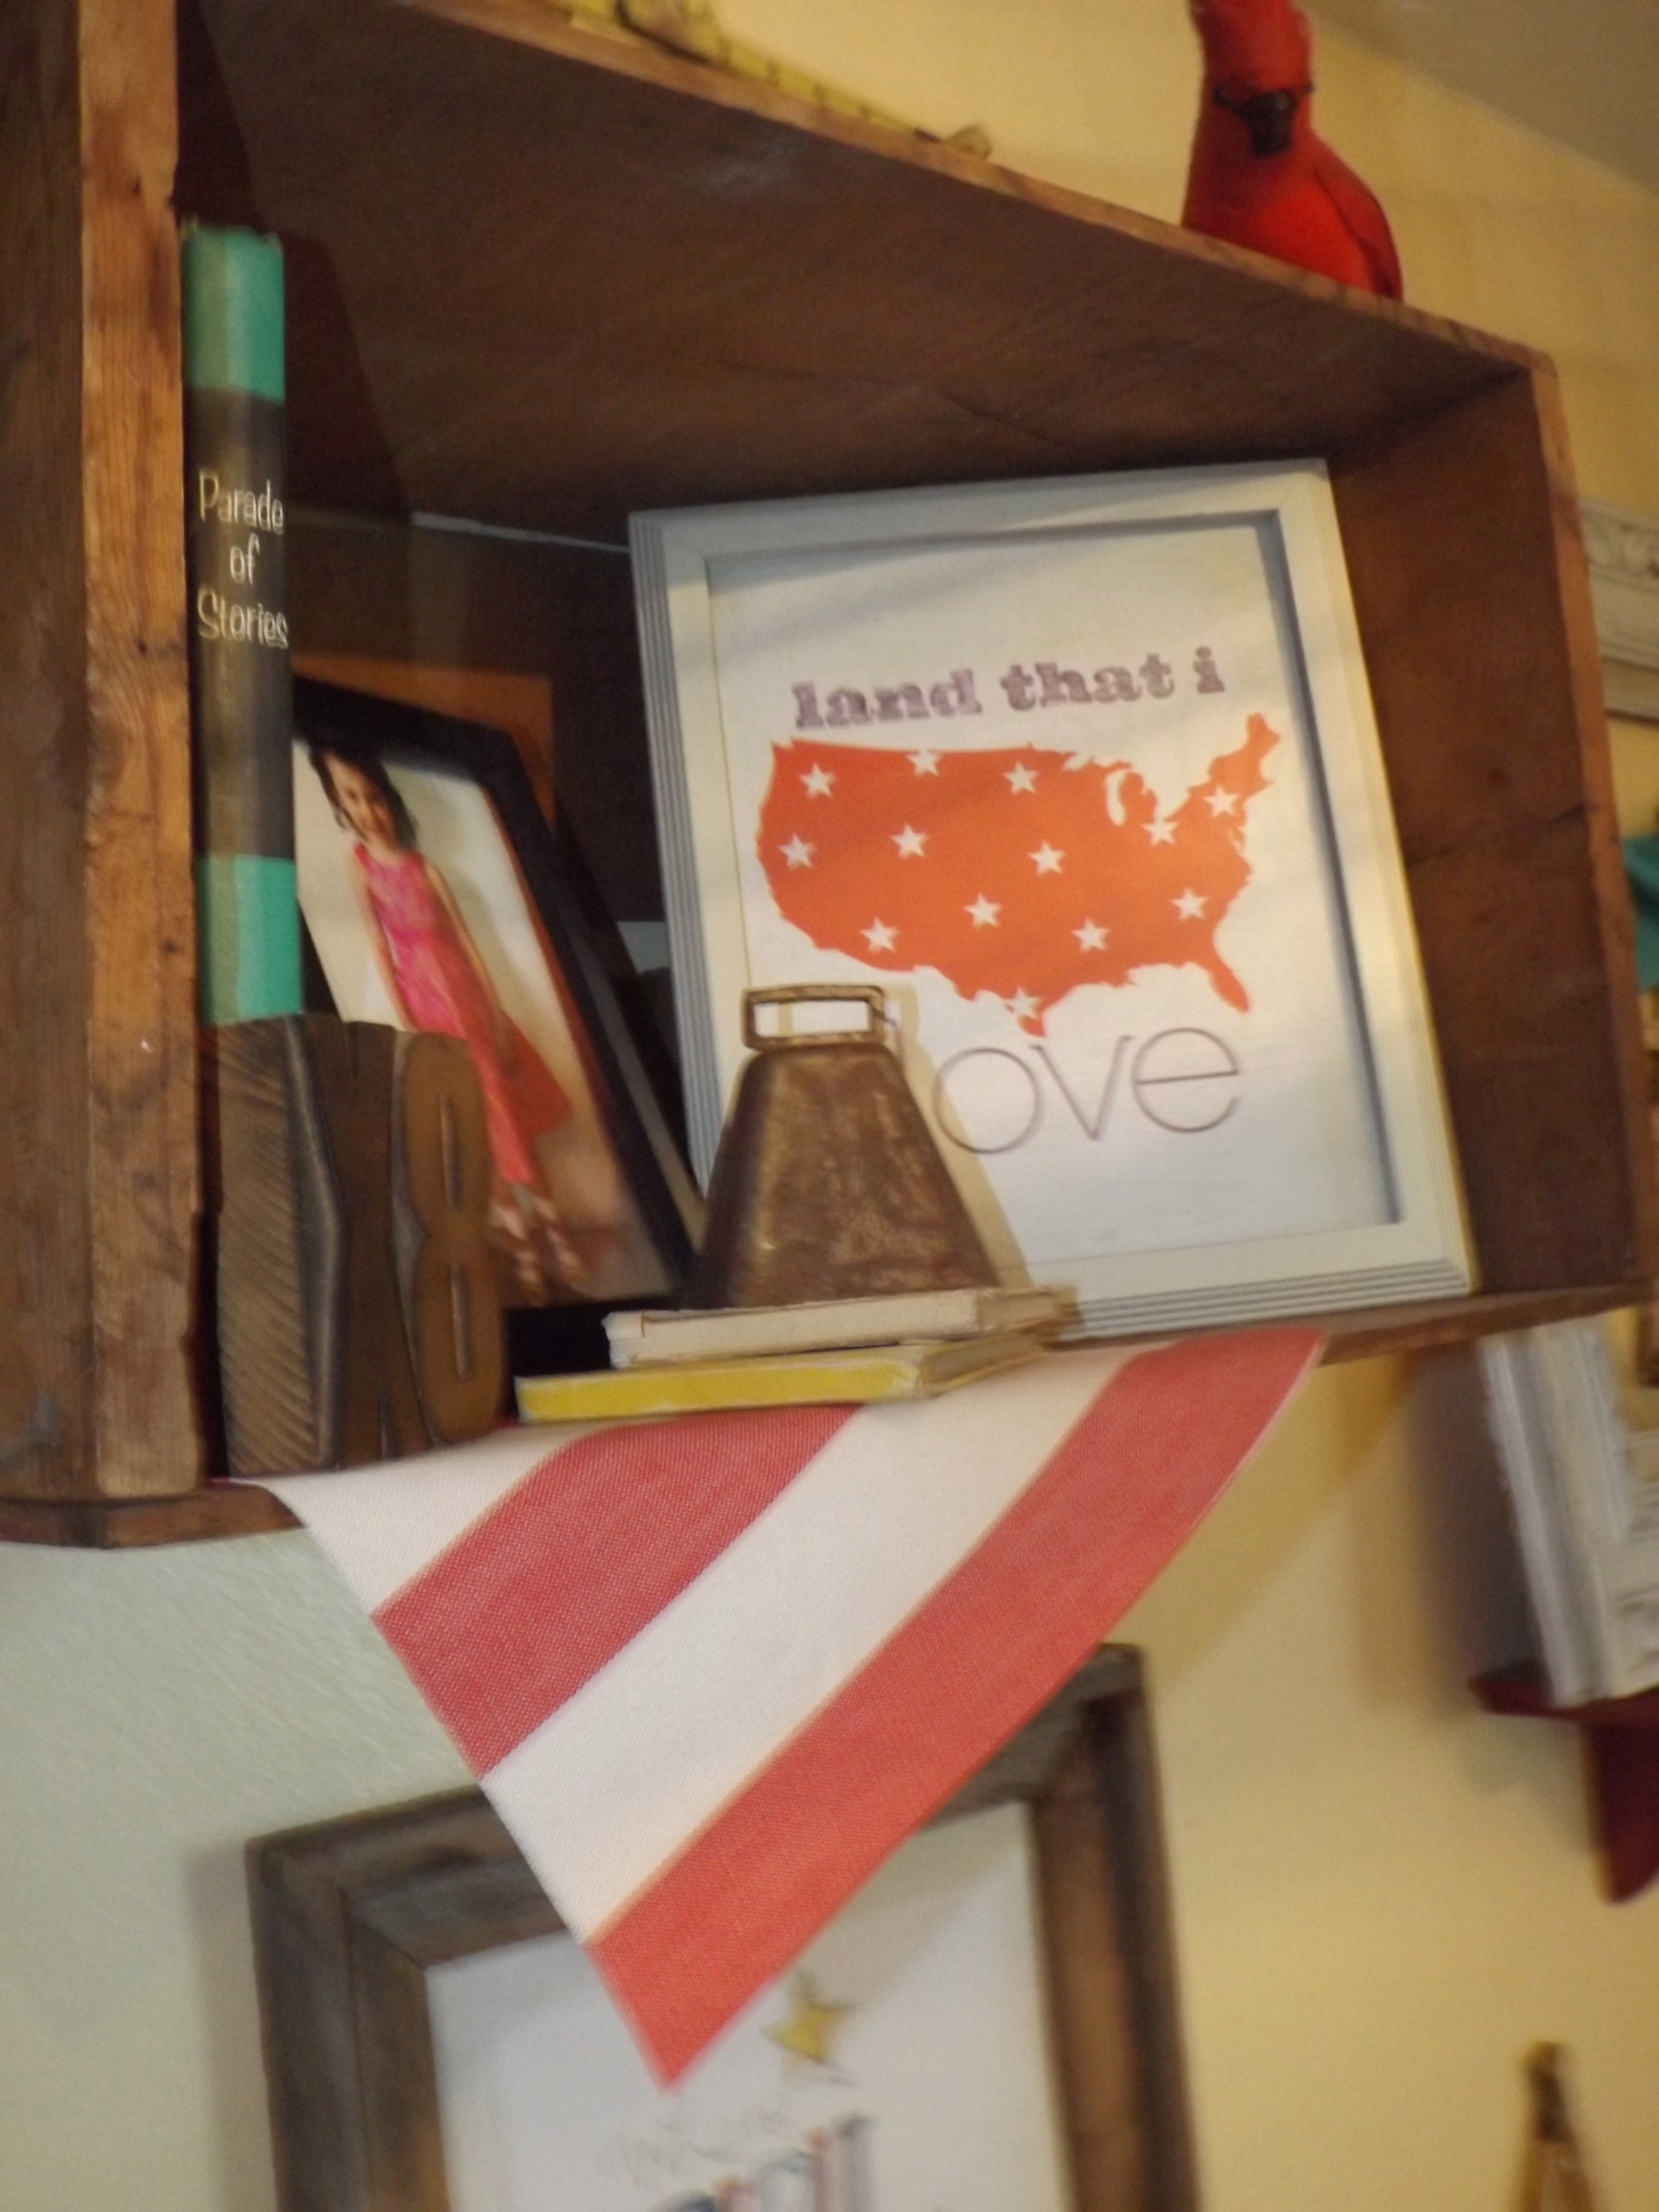
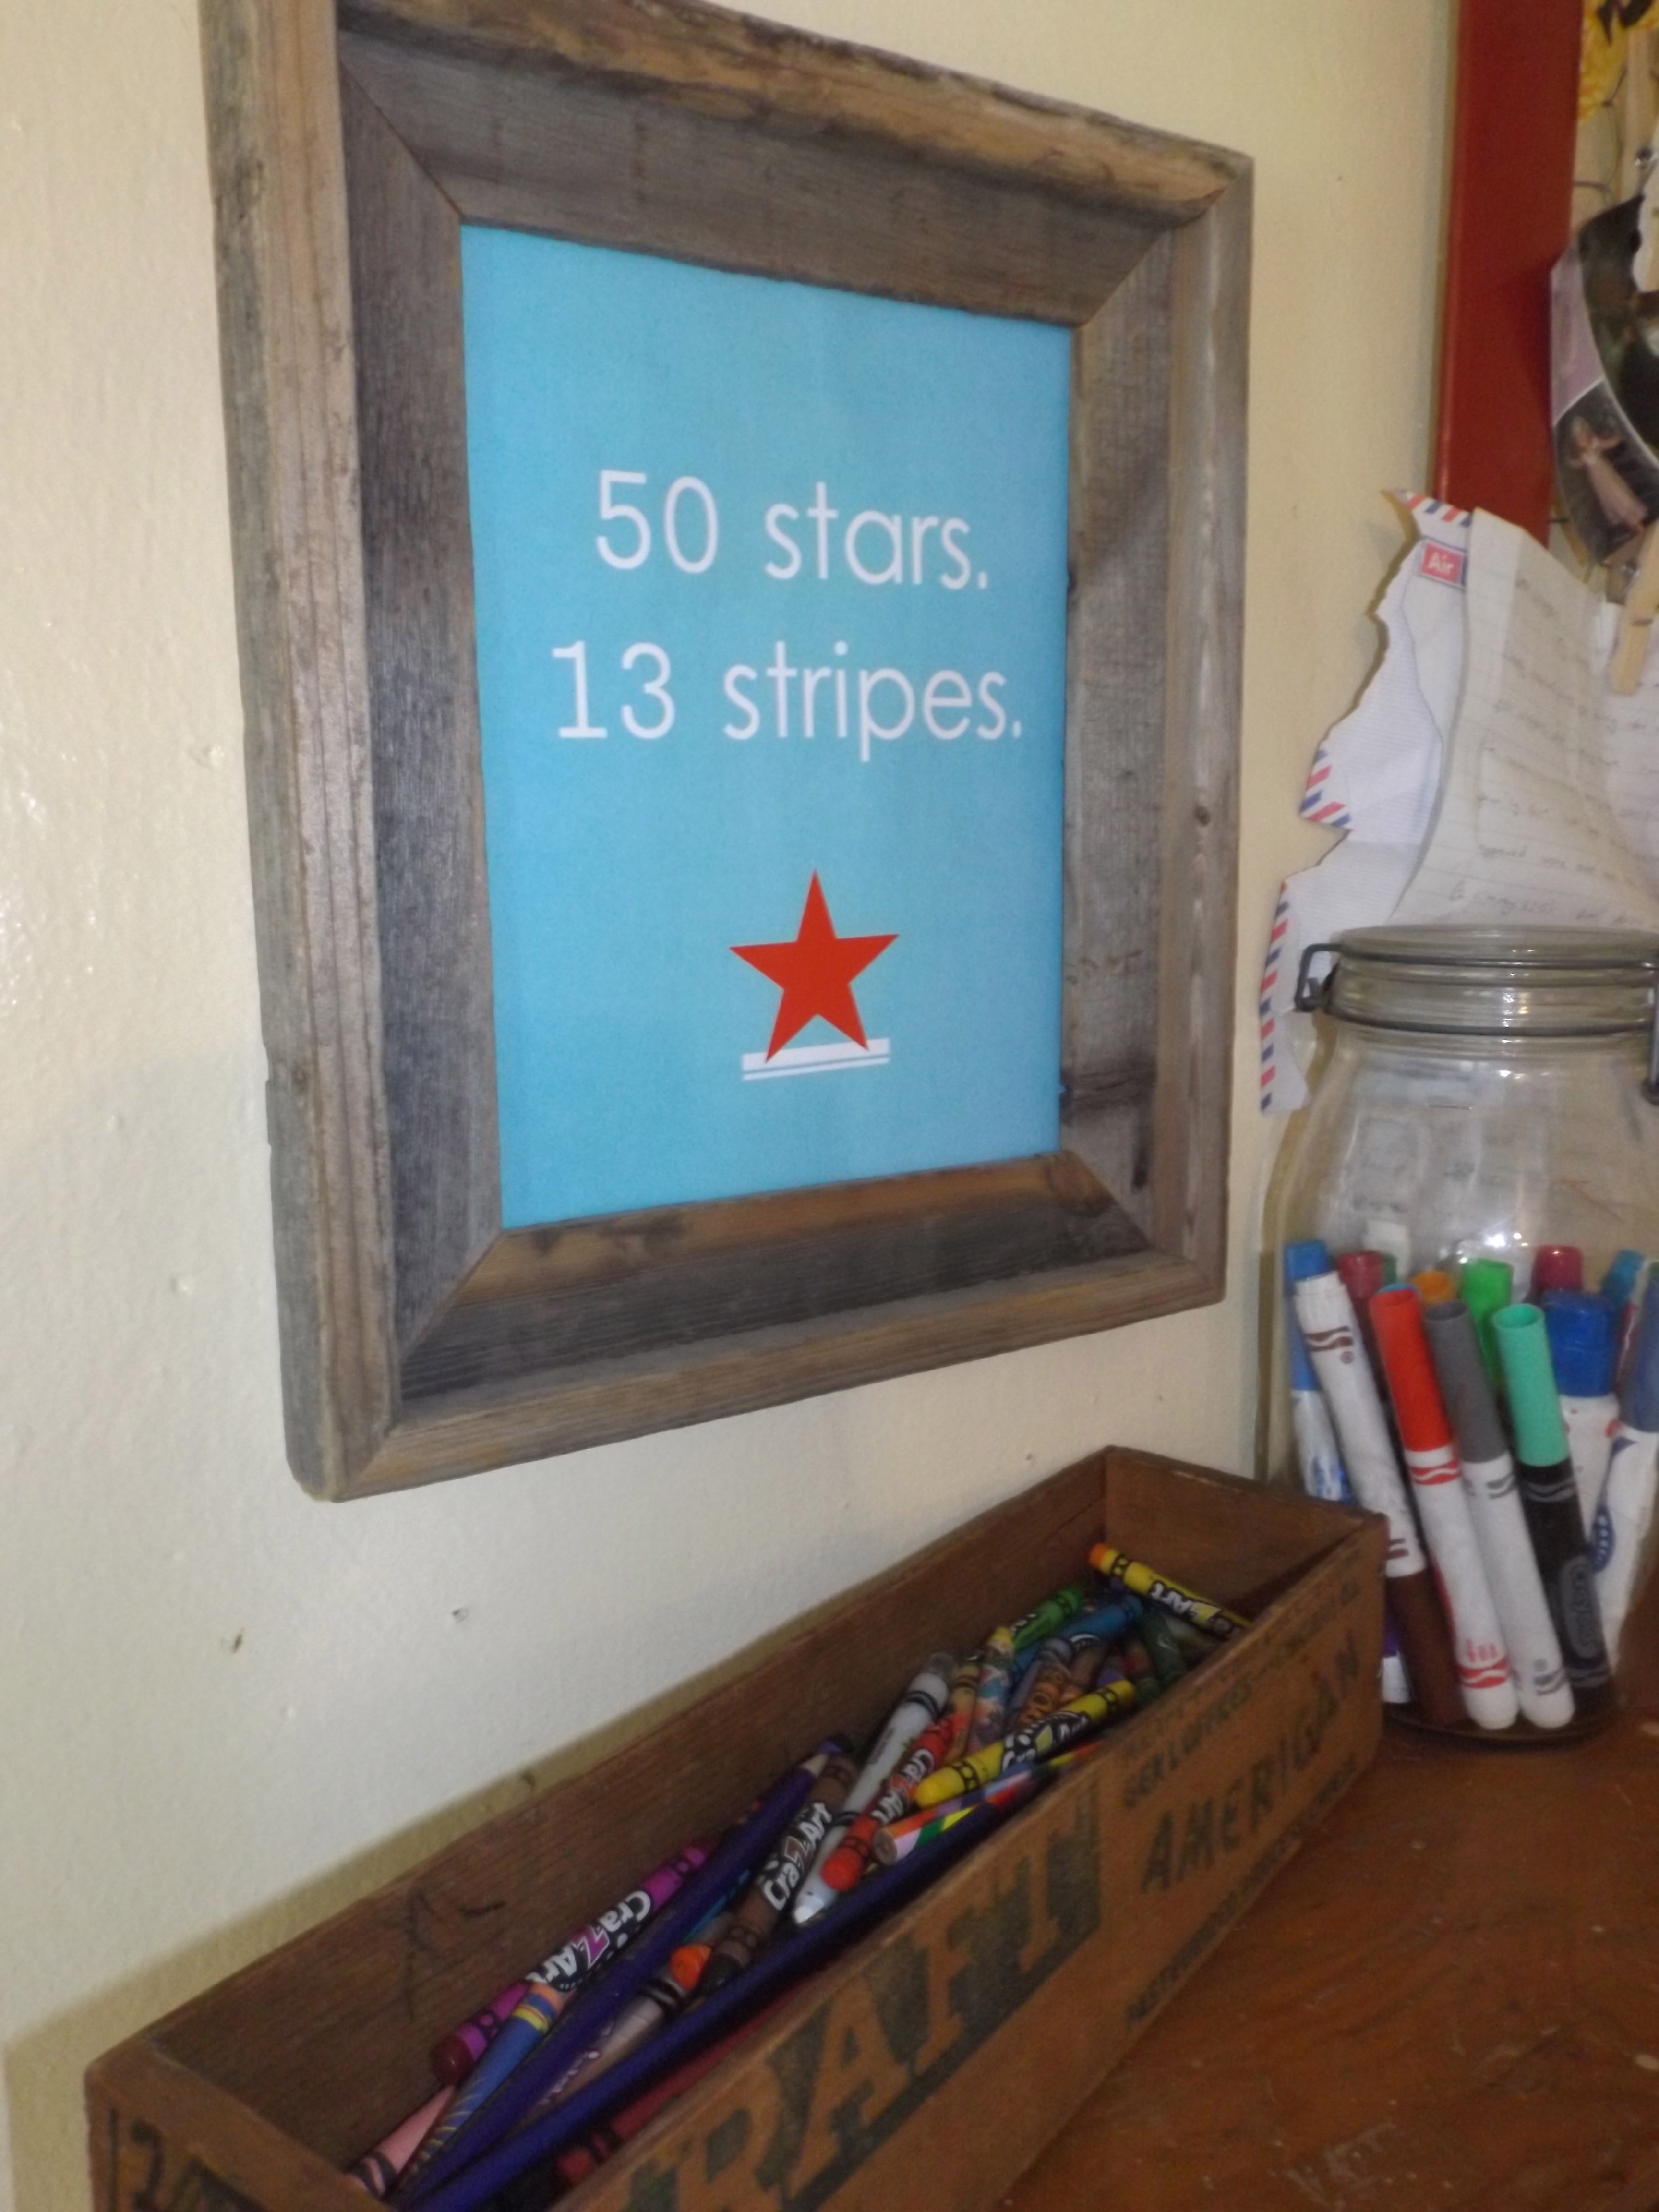
I have lots of little vintagey things displayed in crates that are kind of fun…
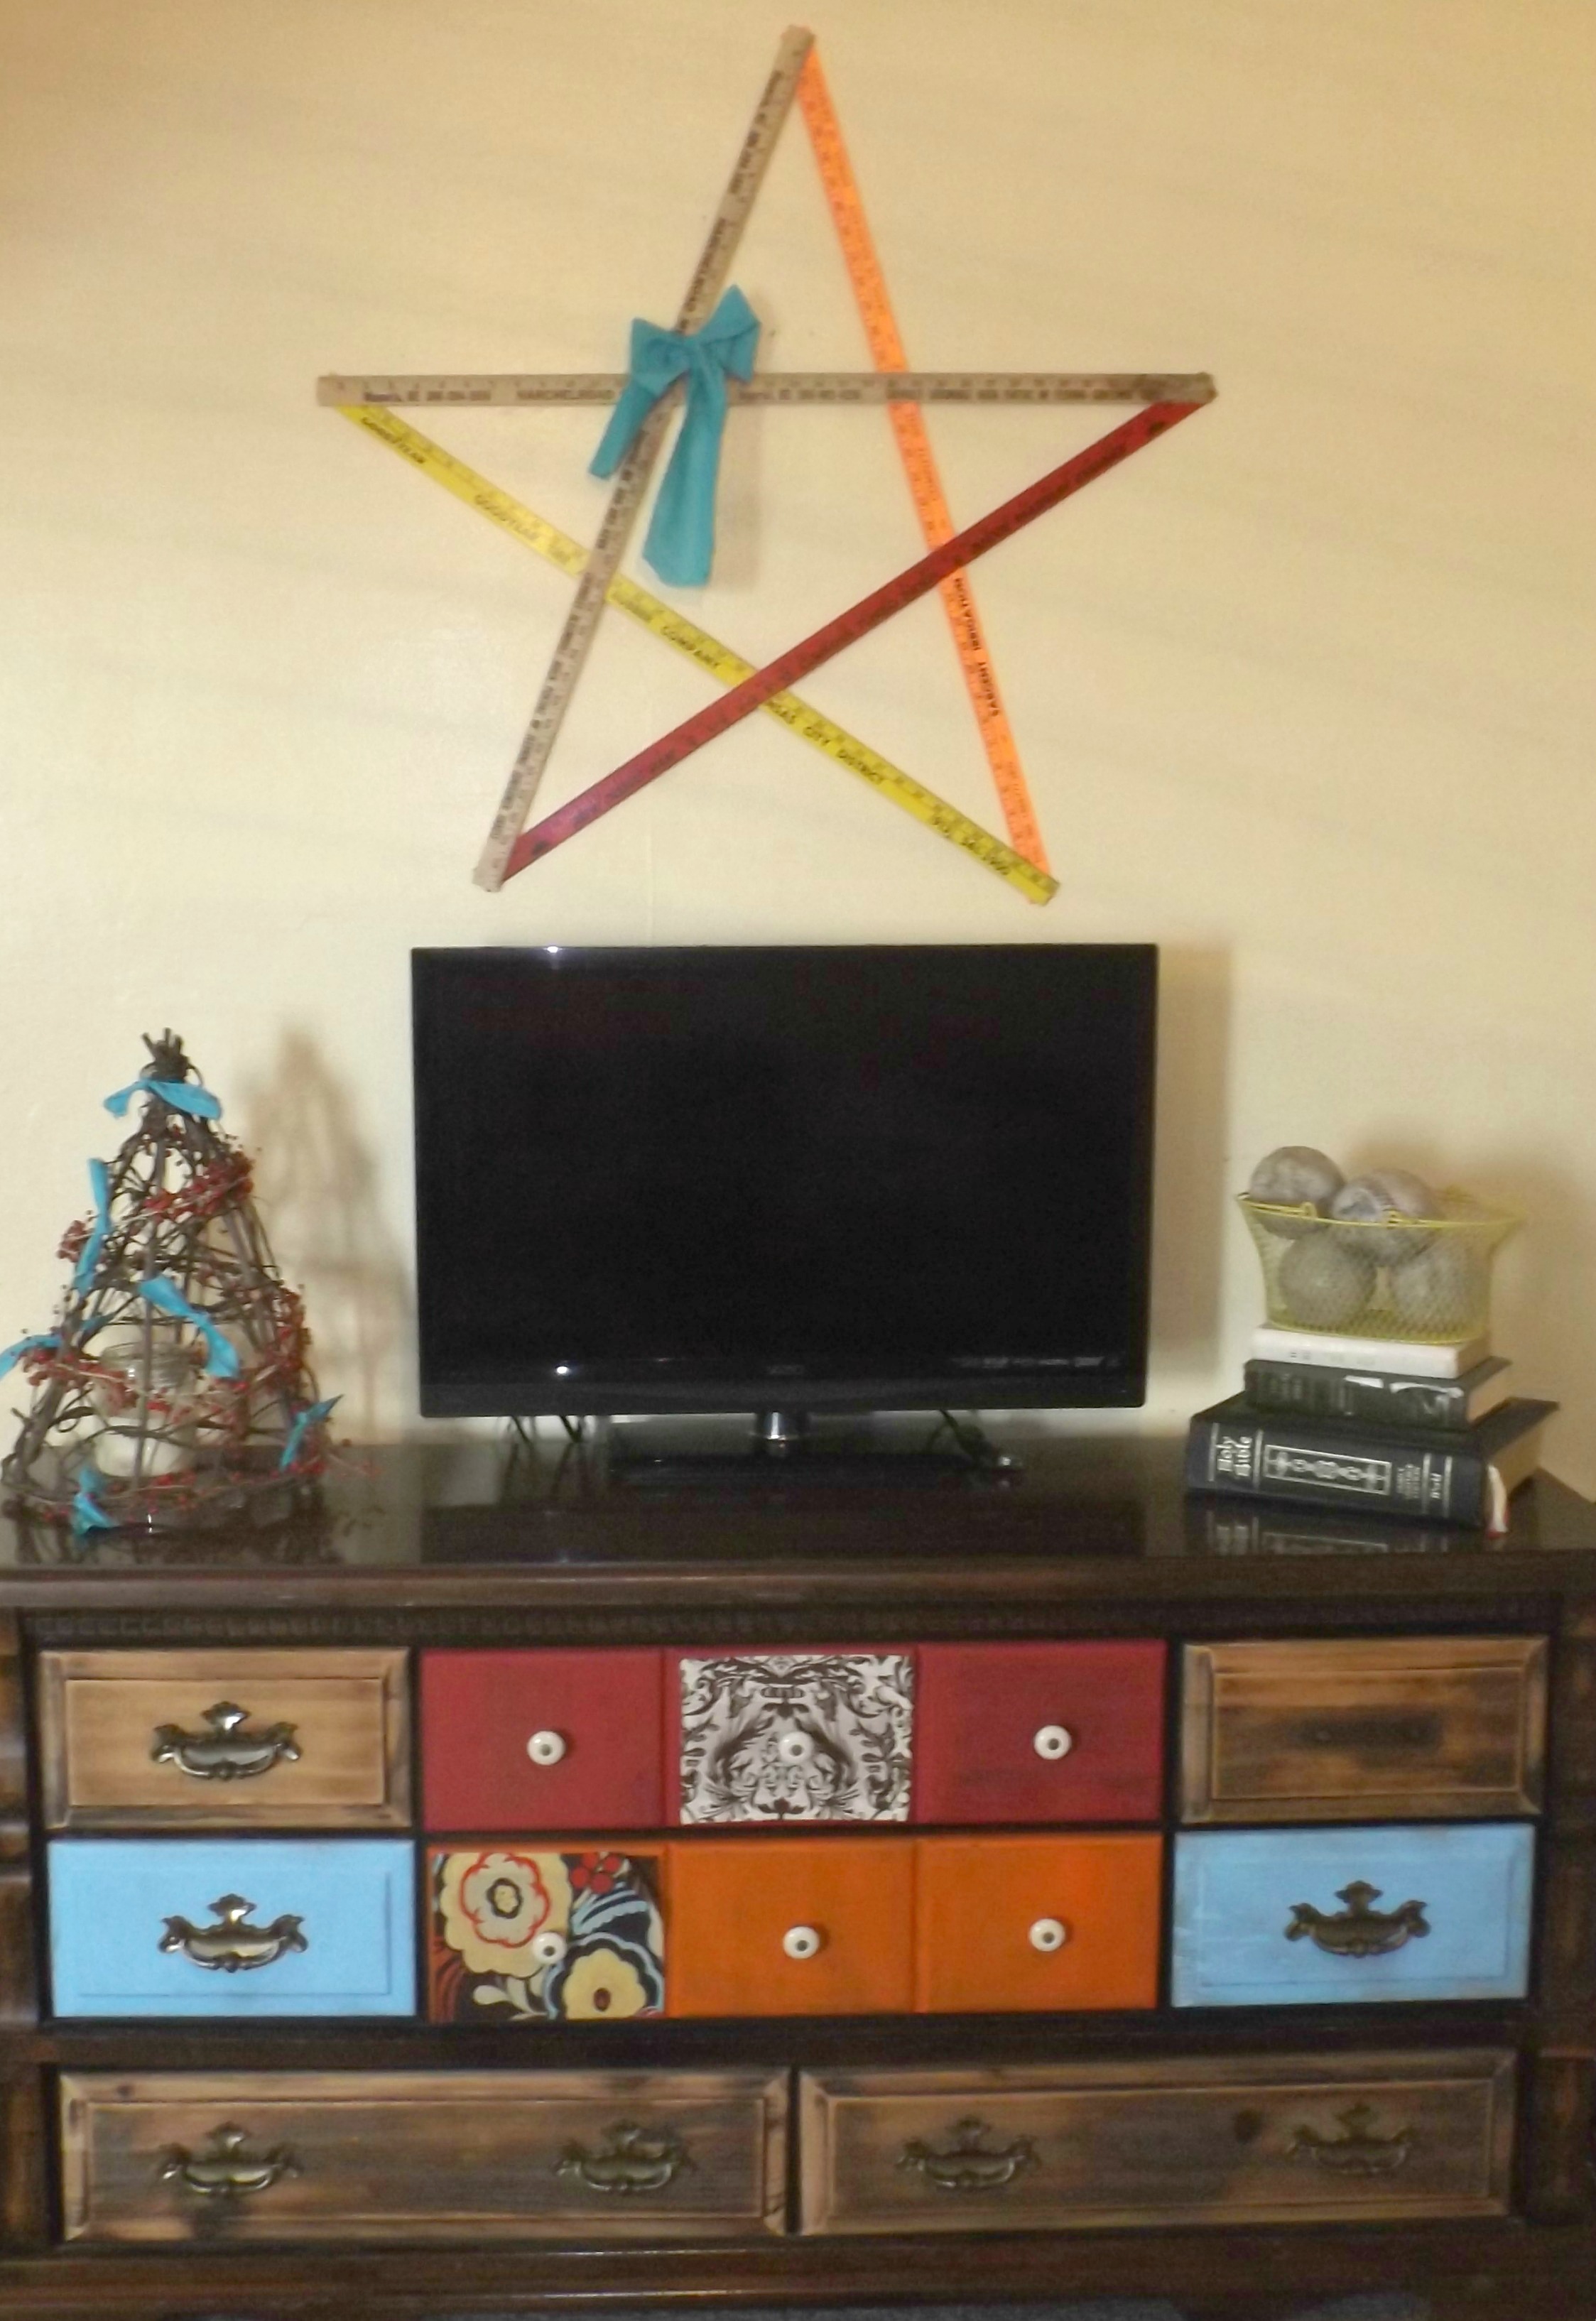
The stars are old carpenter’s rulers that Wrex shaped into stars for me. I swiped the July 4th printables off a Pinterest site and added some touches of red and turquoise.
Thank you, Pinterest!Indeed…
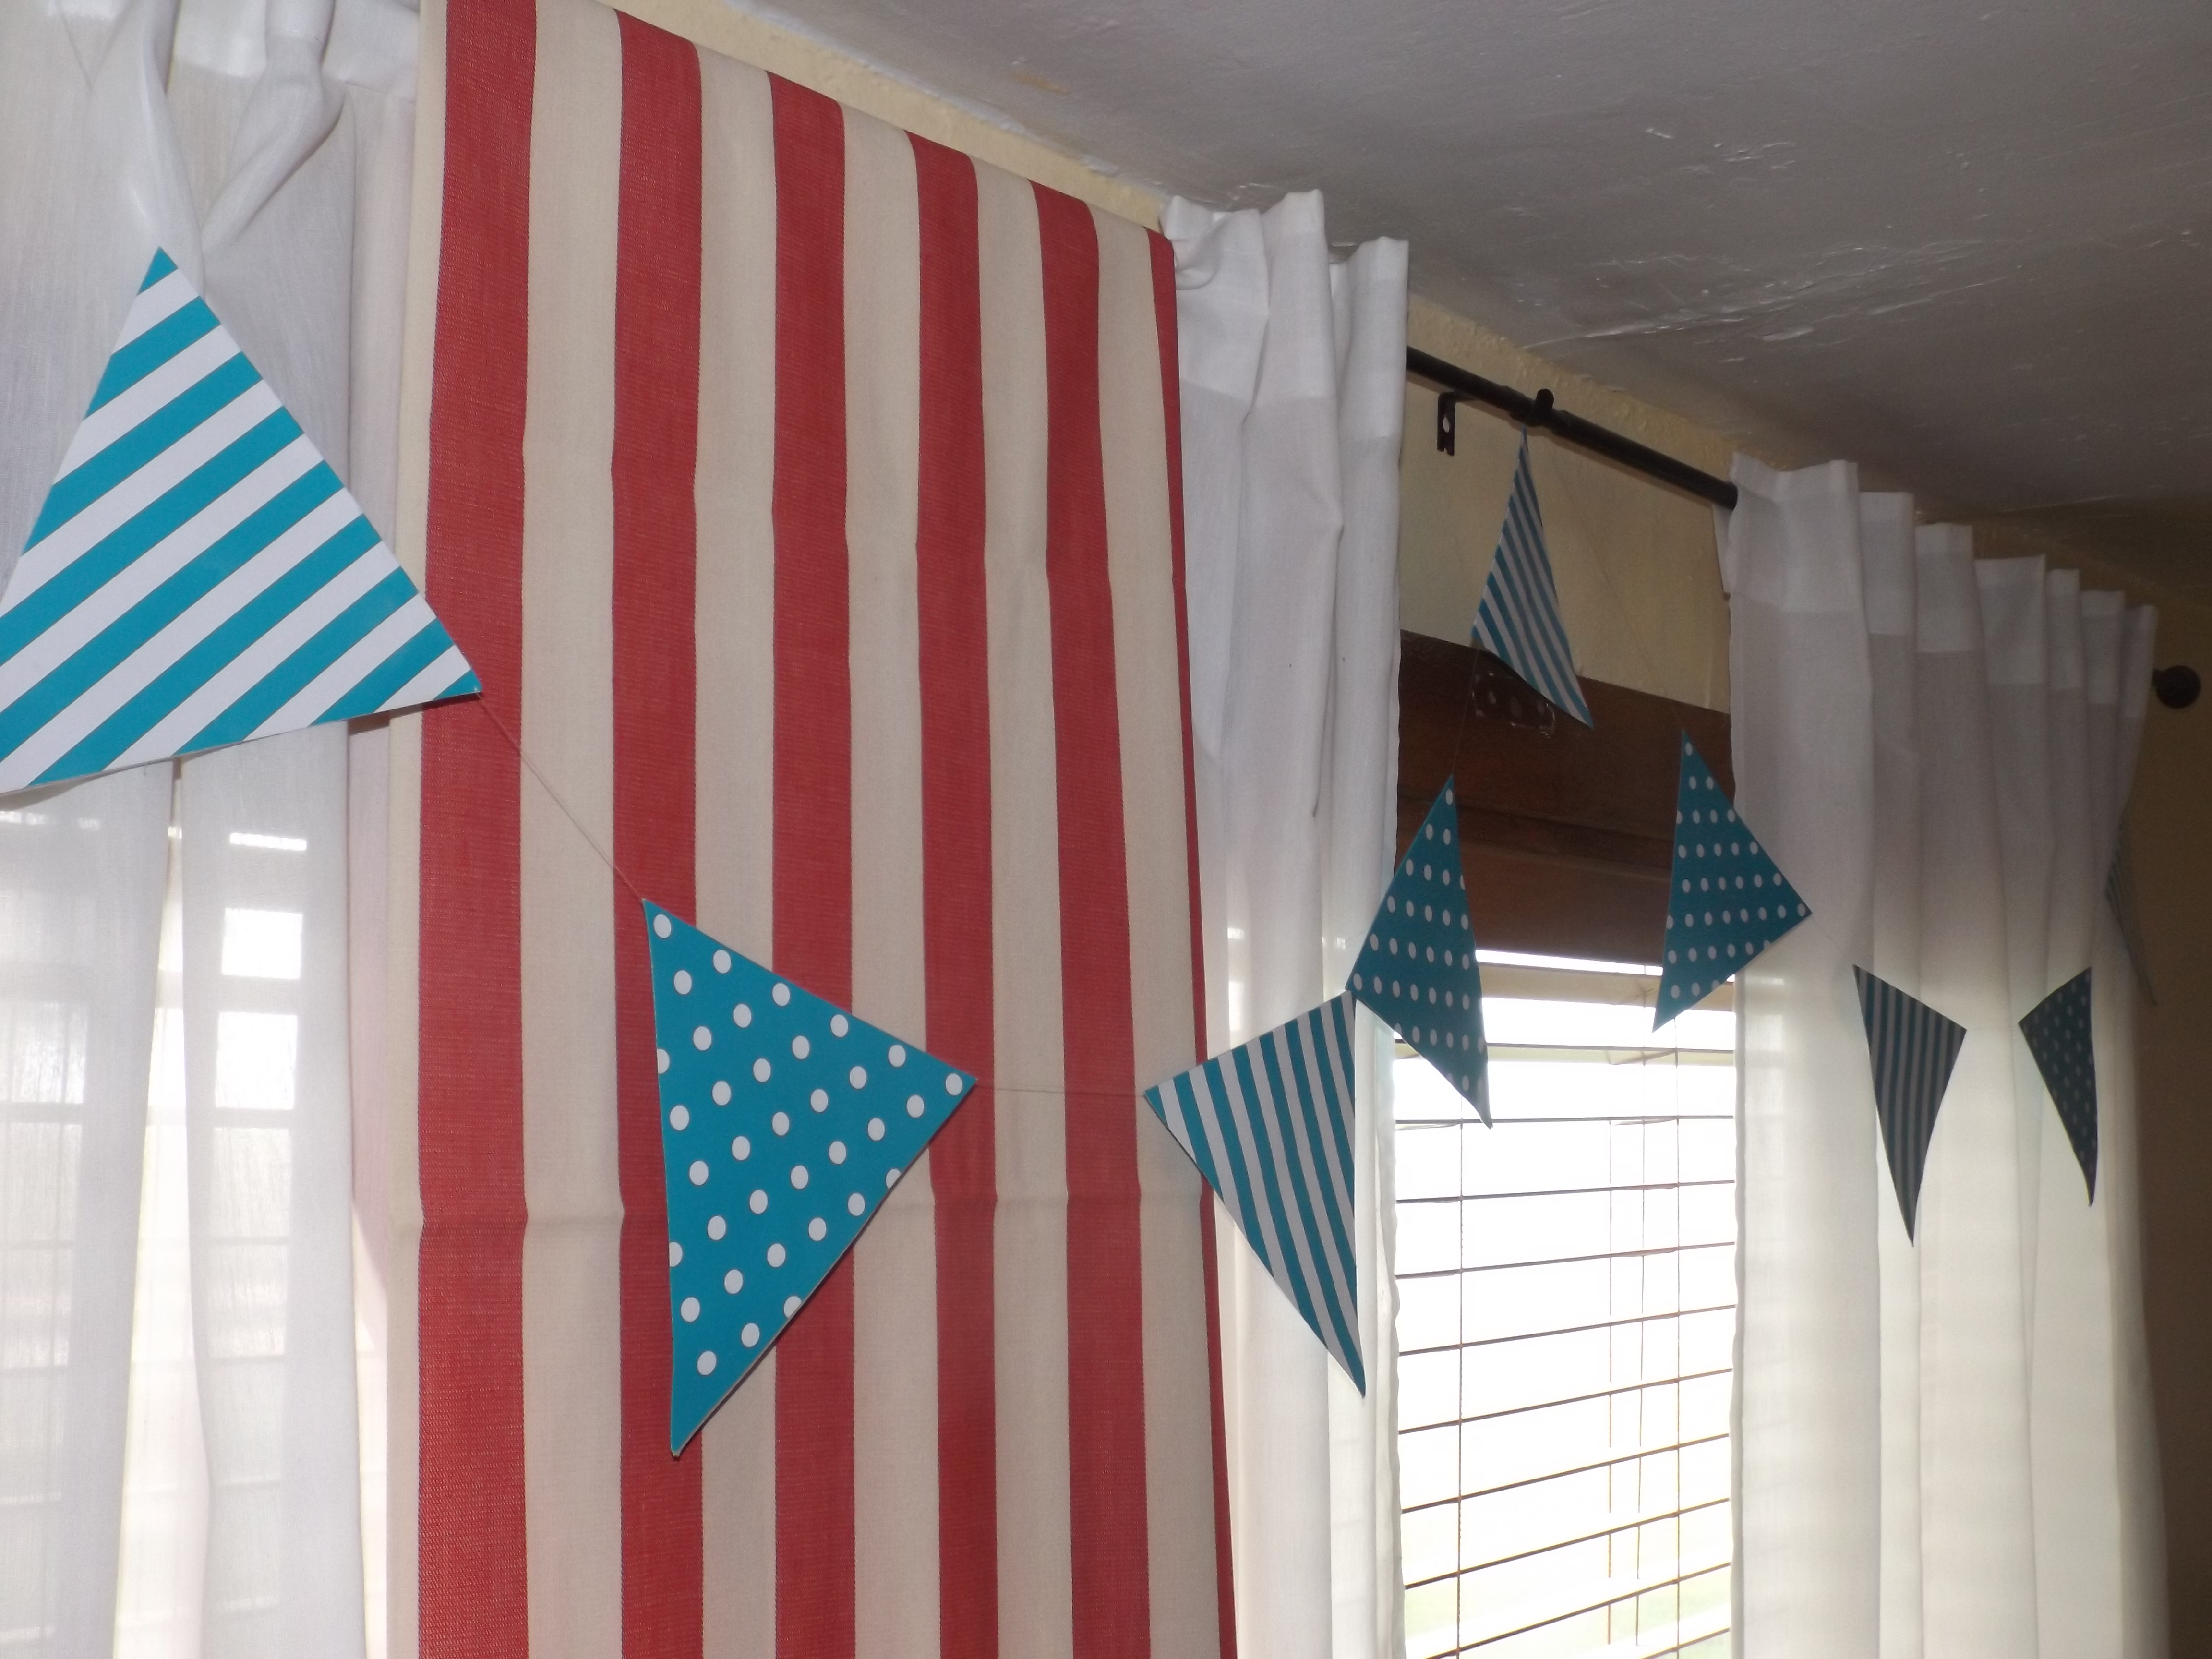
I found this gorgeous fabric at a yard sale this past weekend. It’s thick, red-striped canvas and totally reminded me of Old Glory…
Americana…
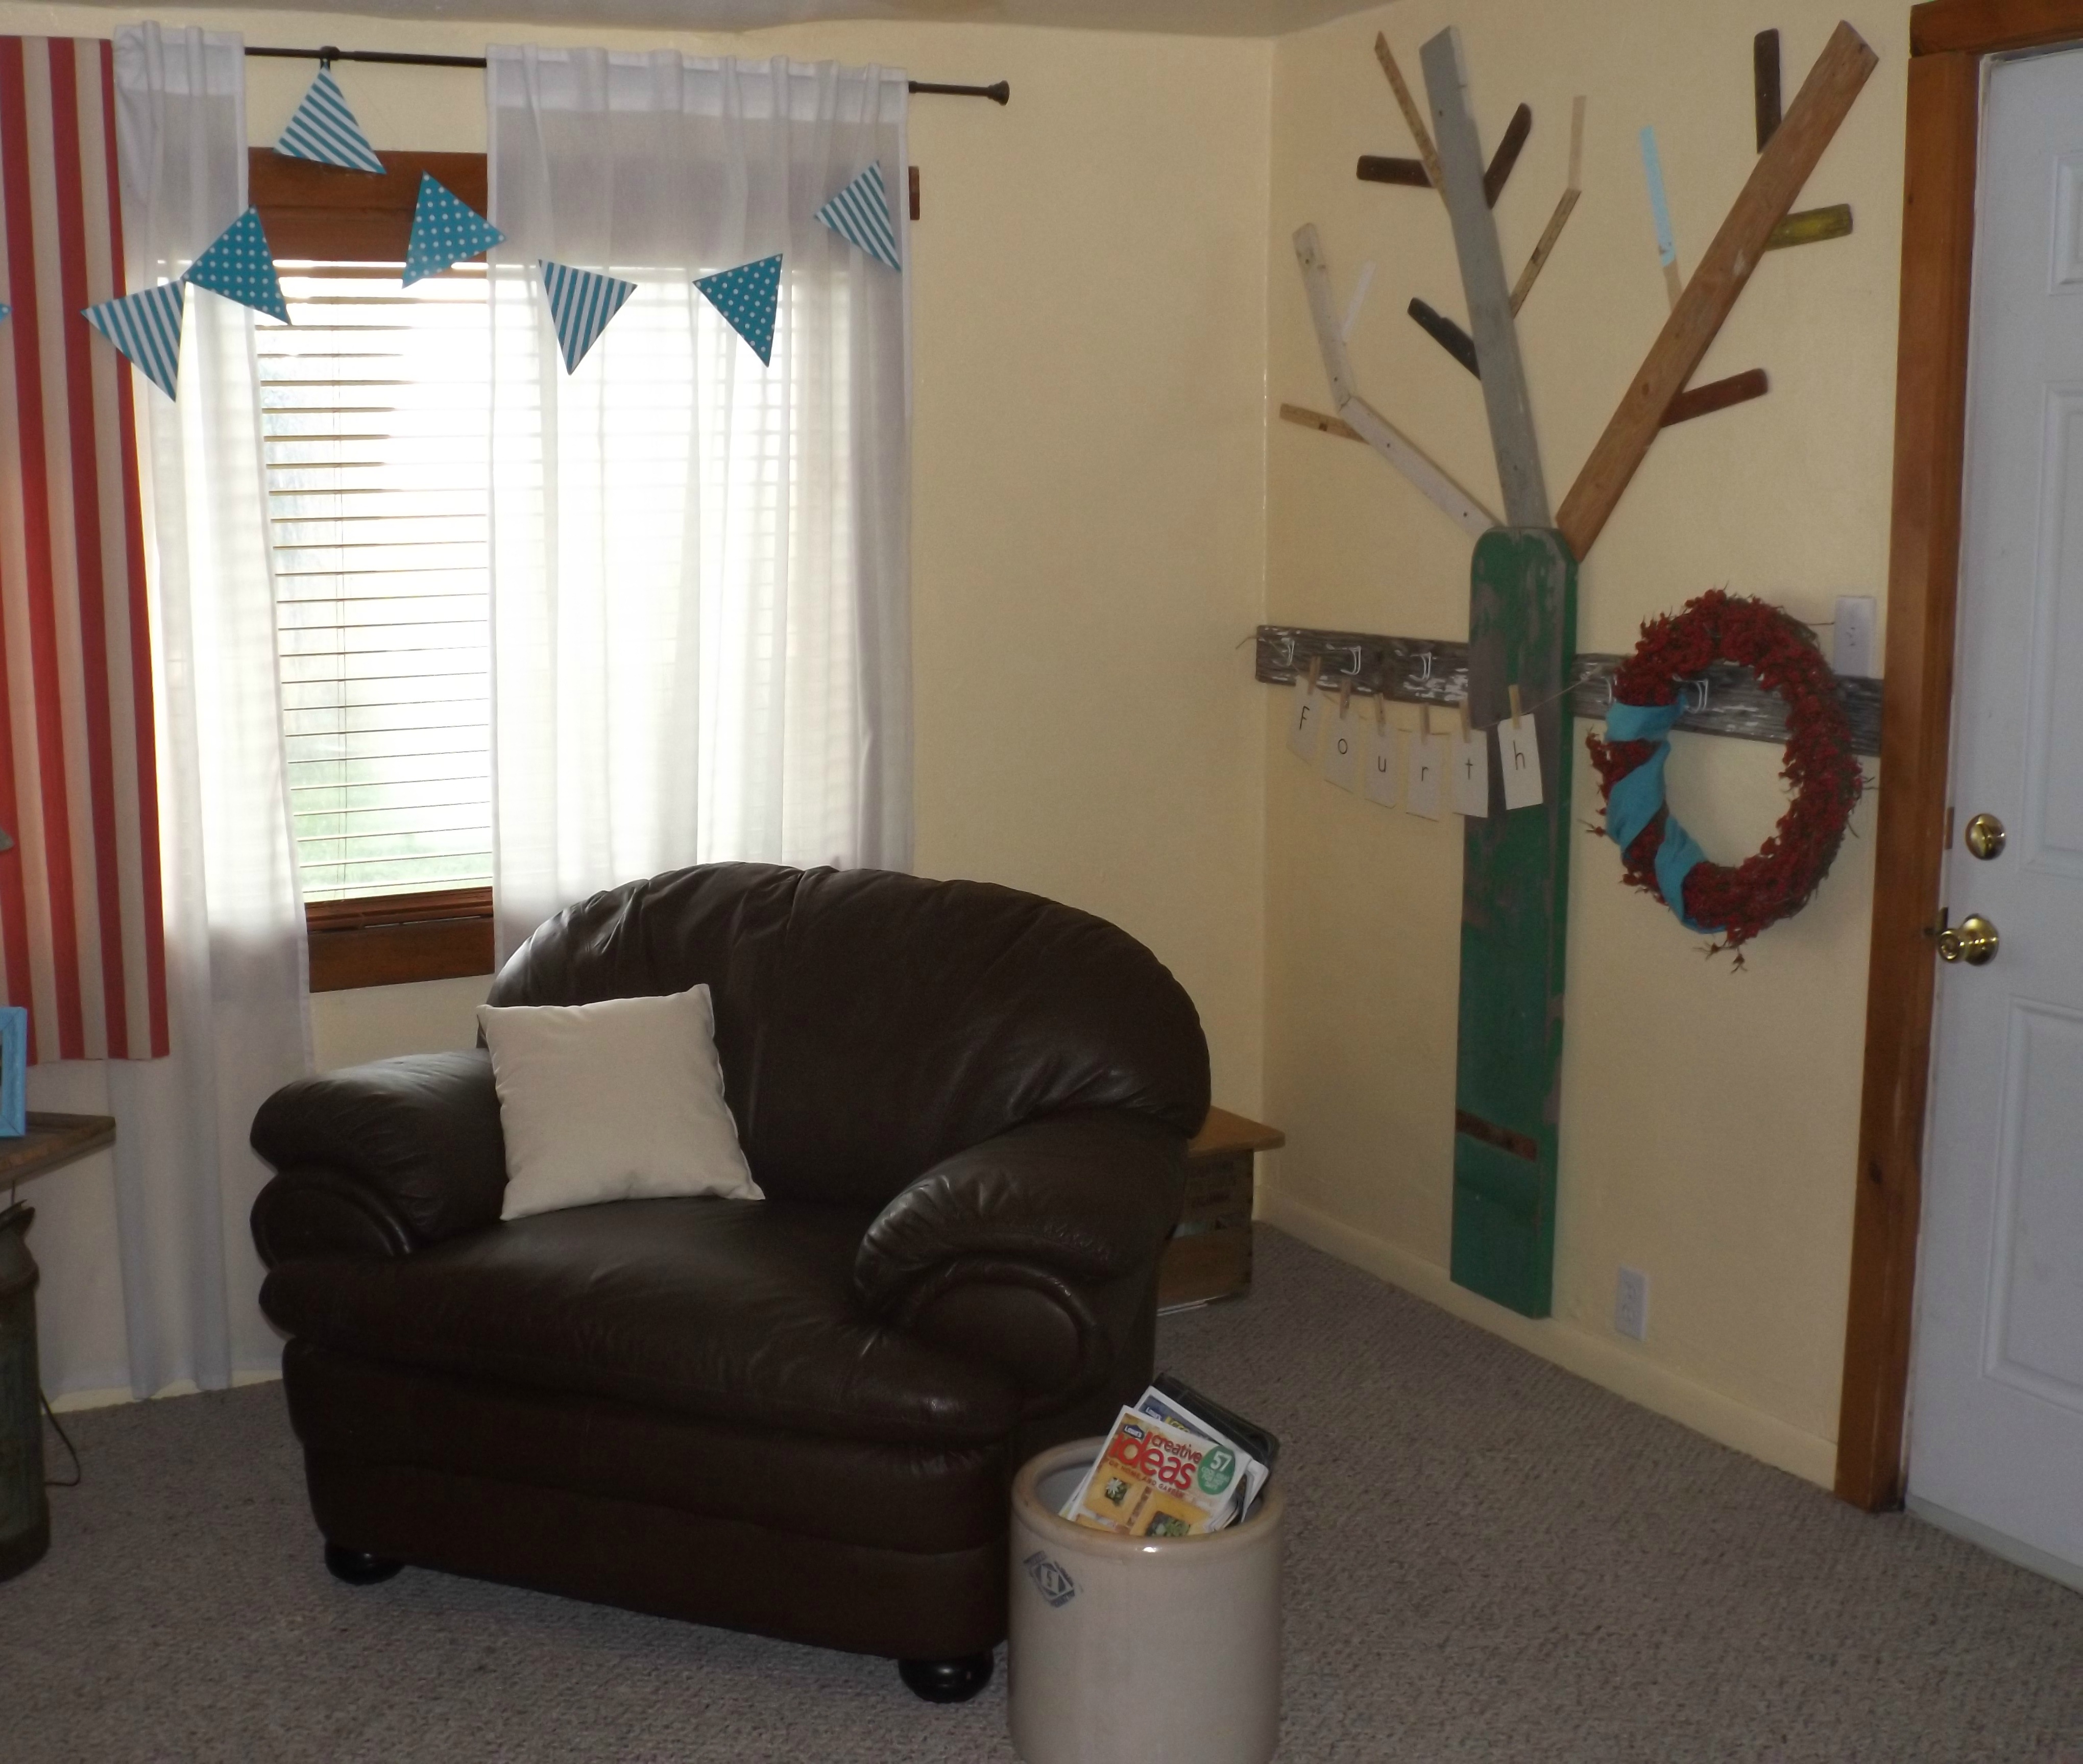
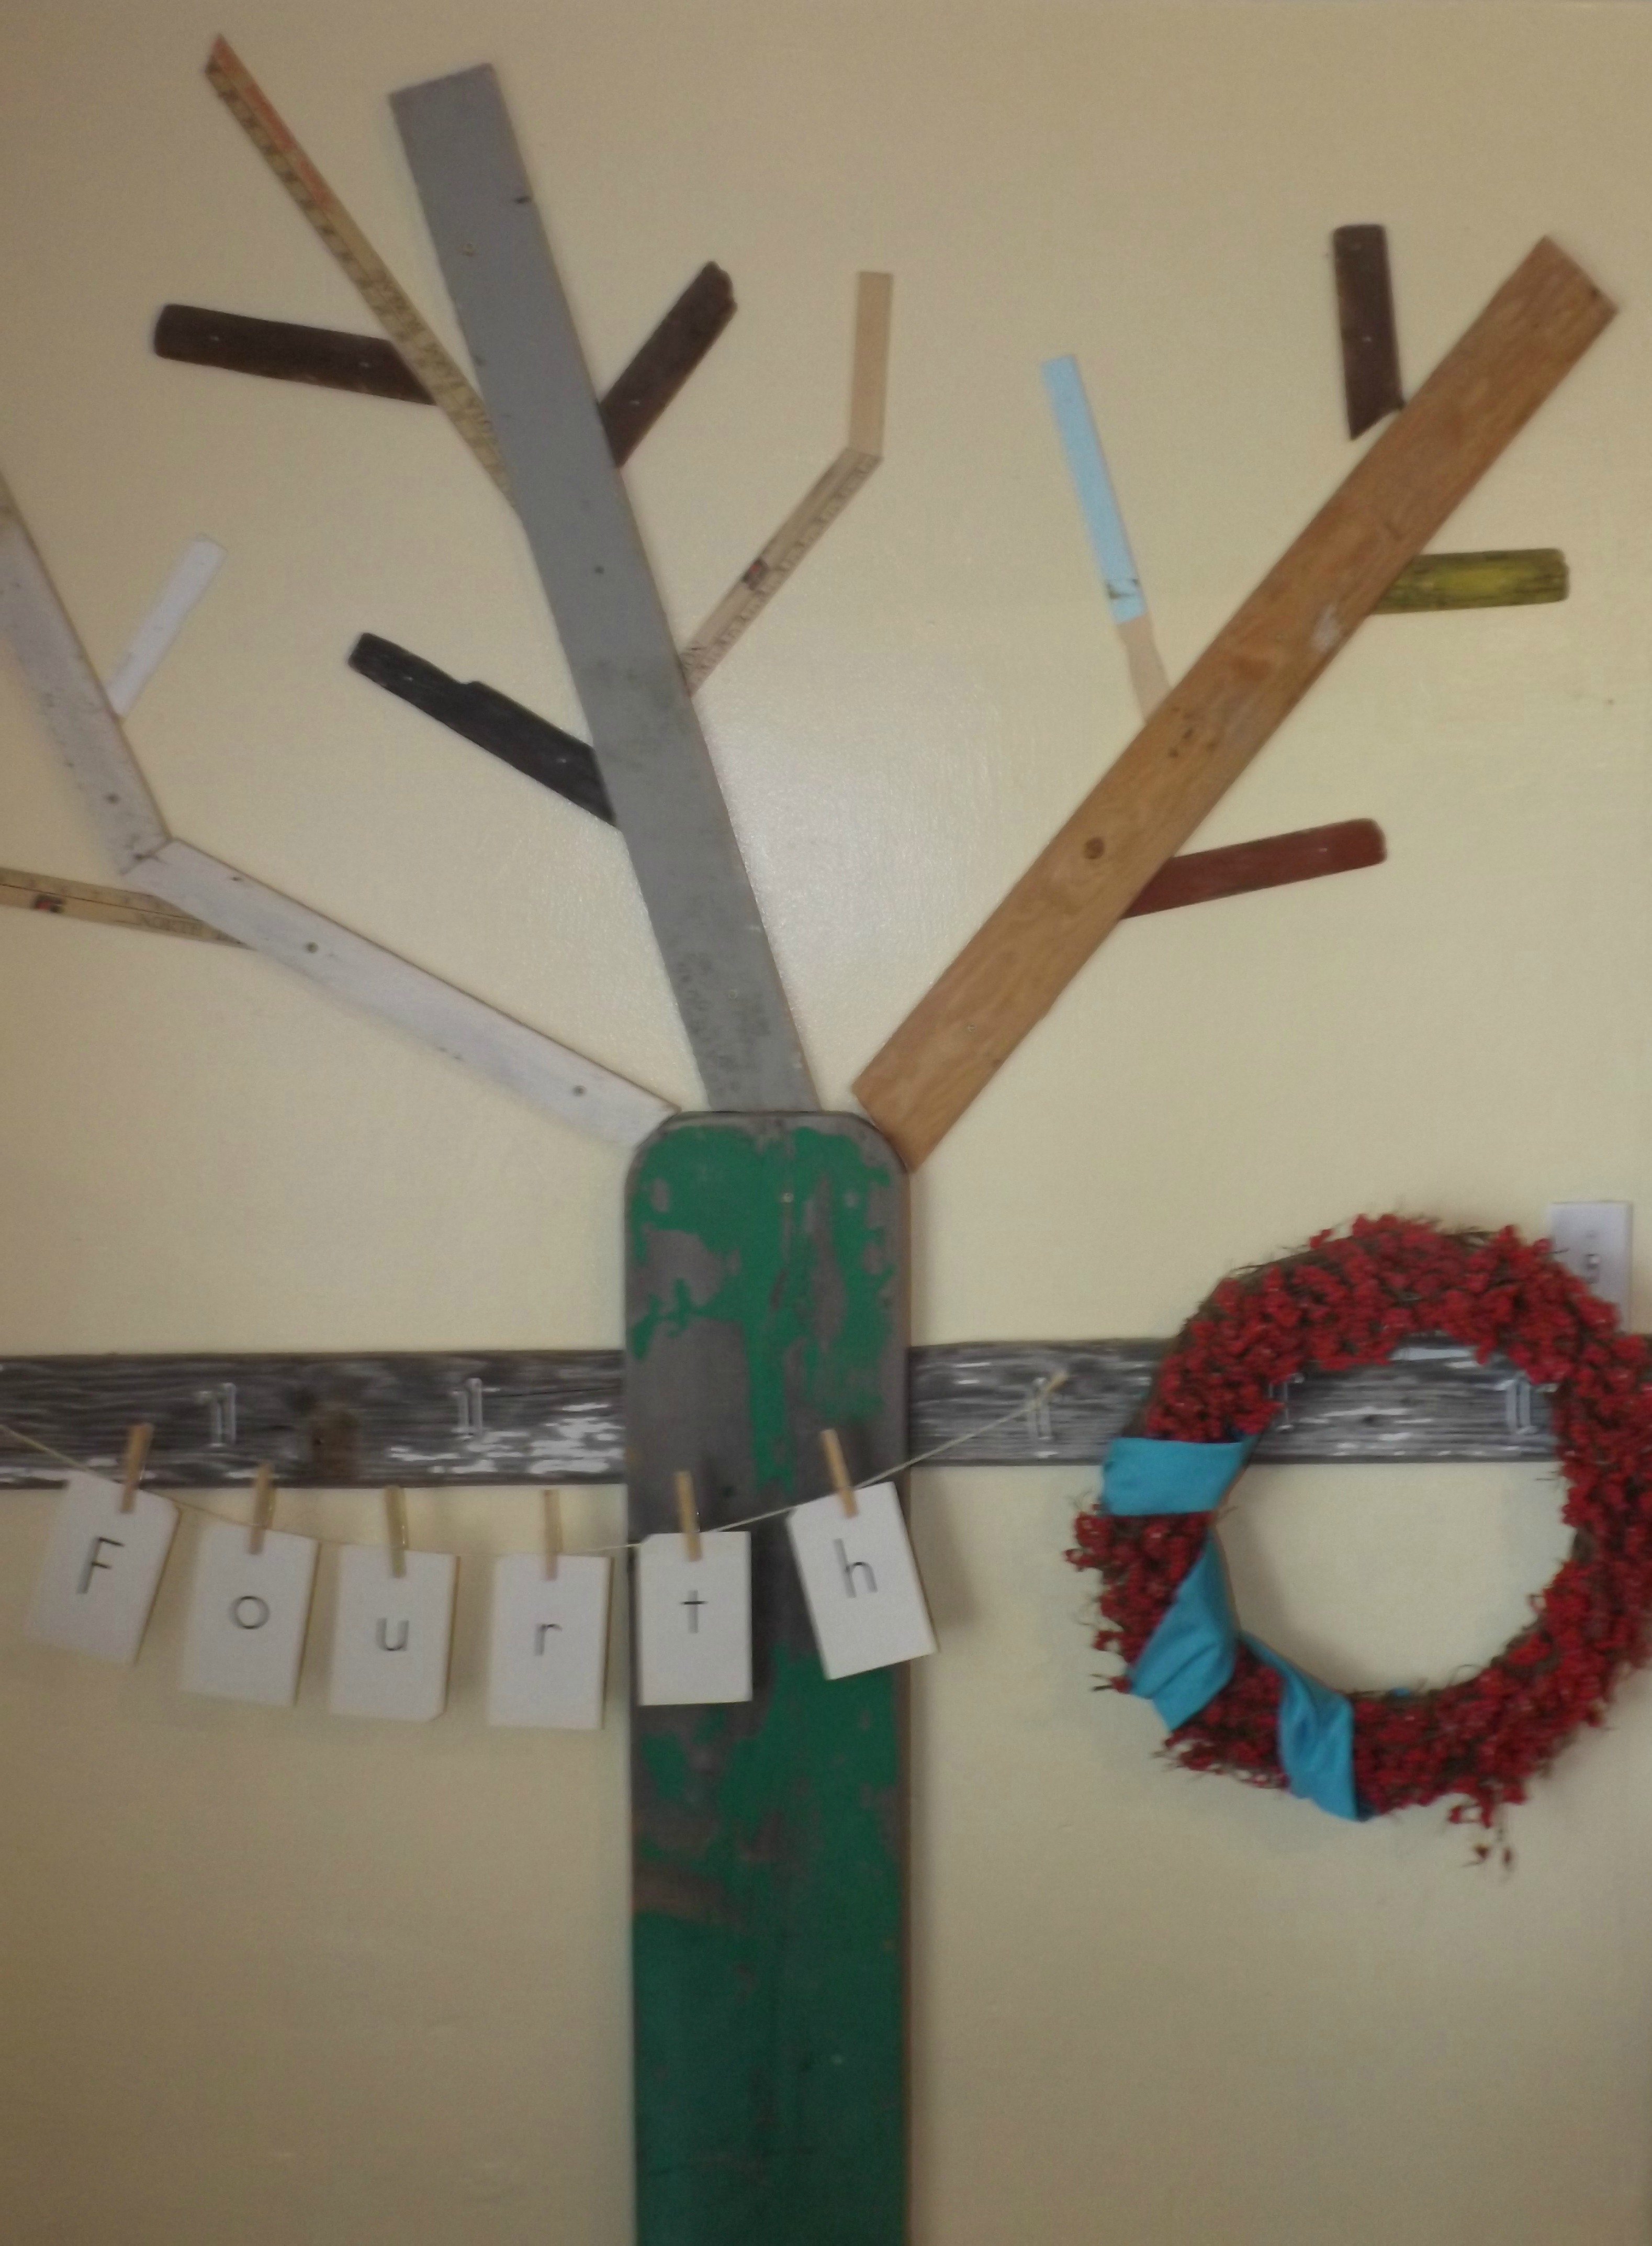
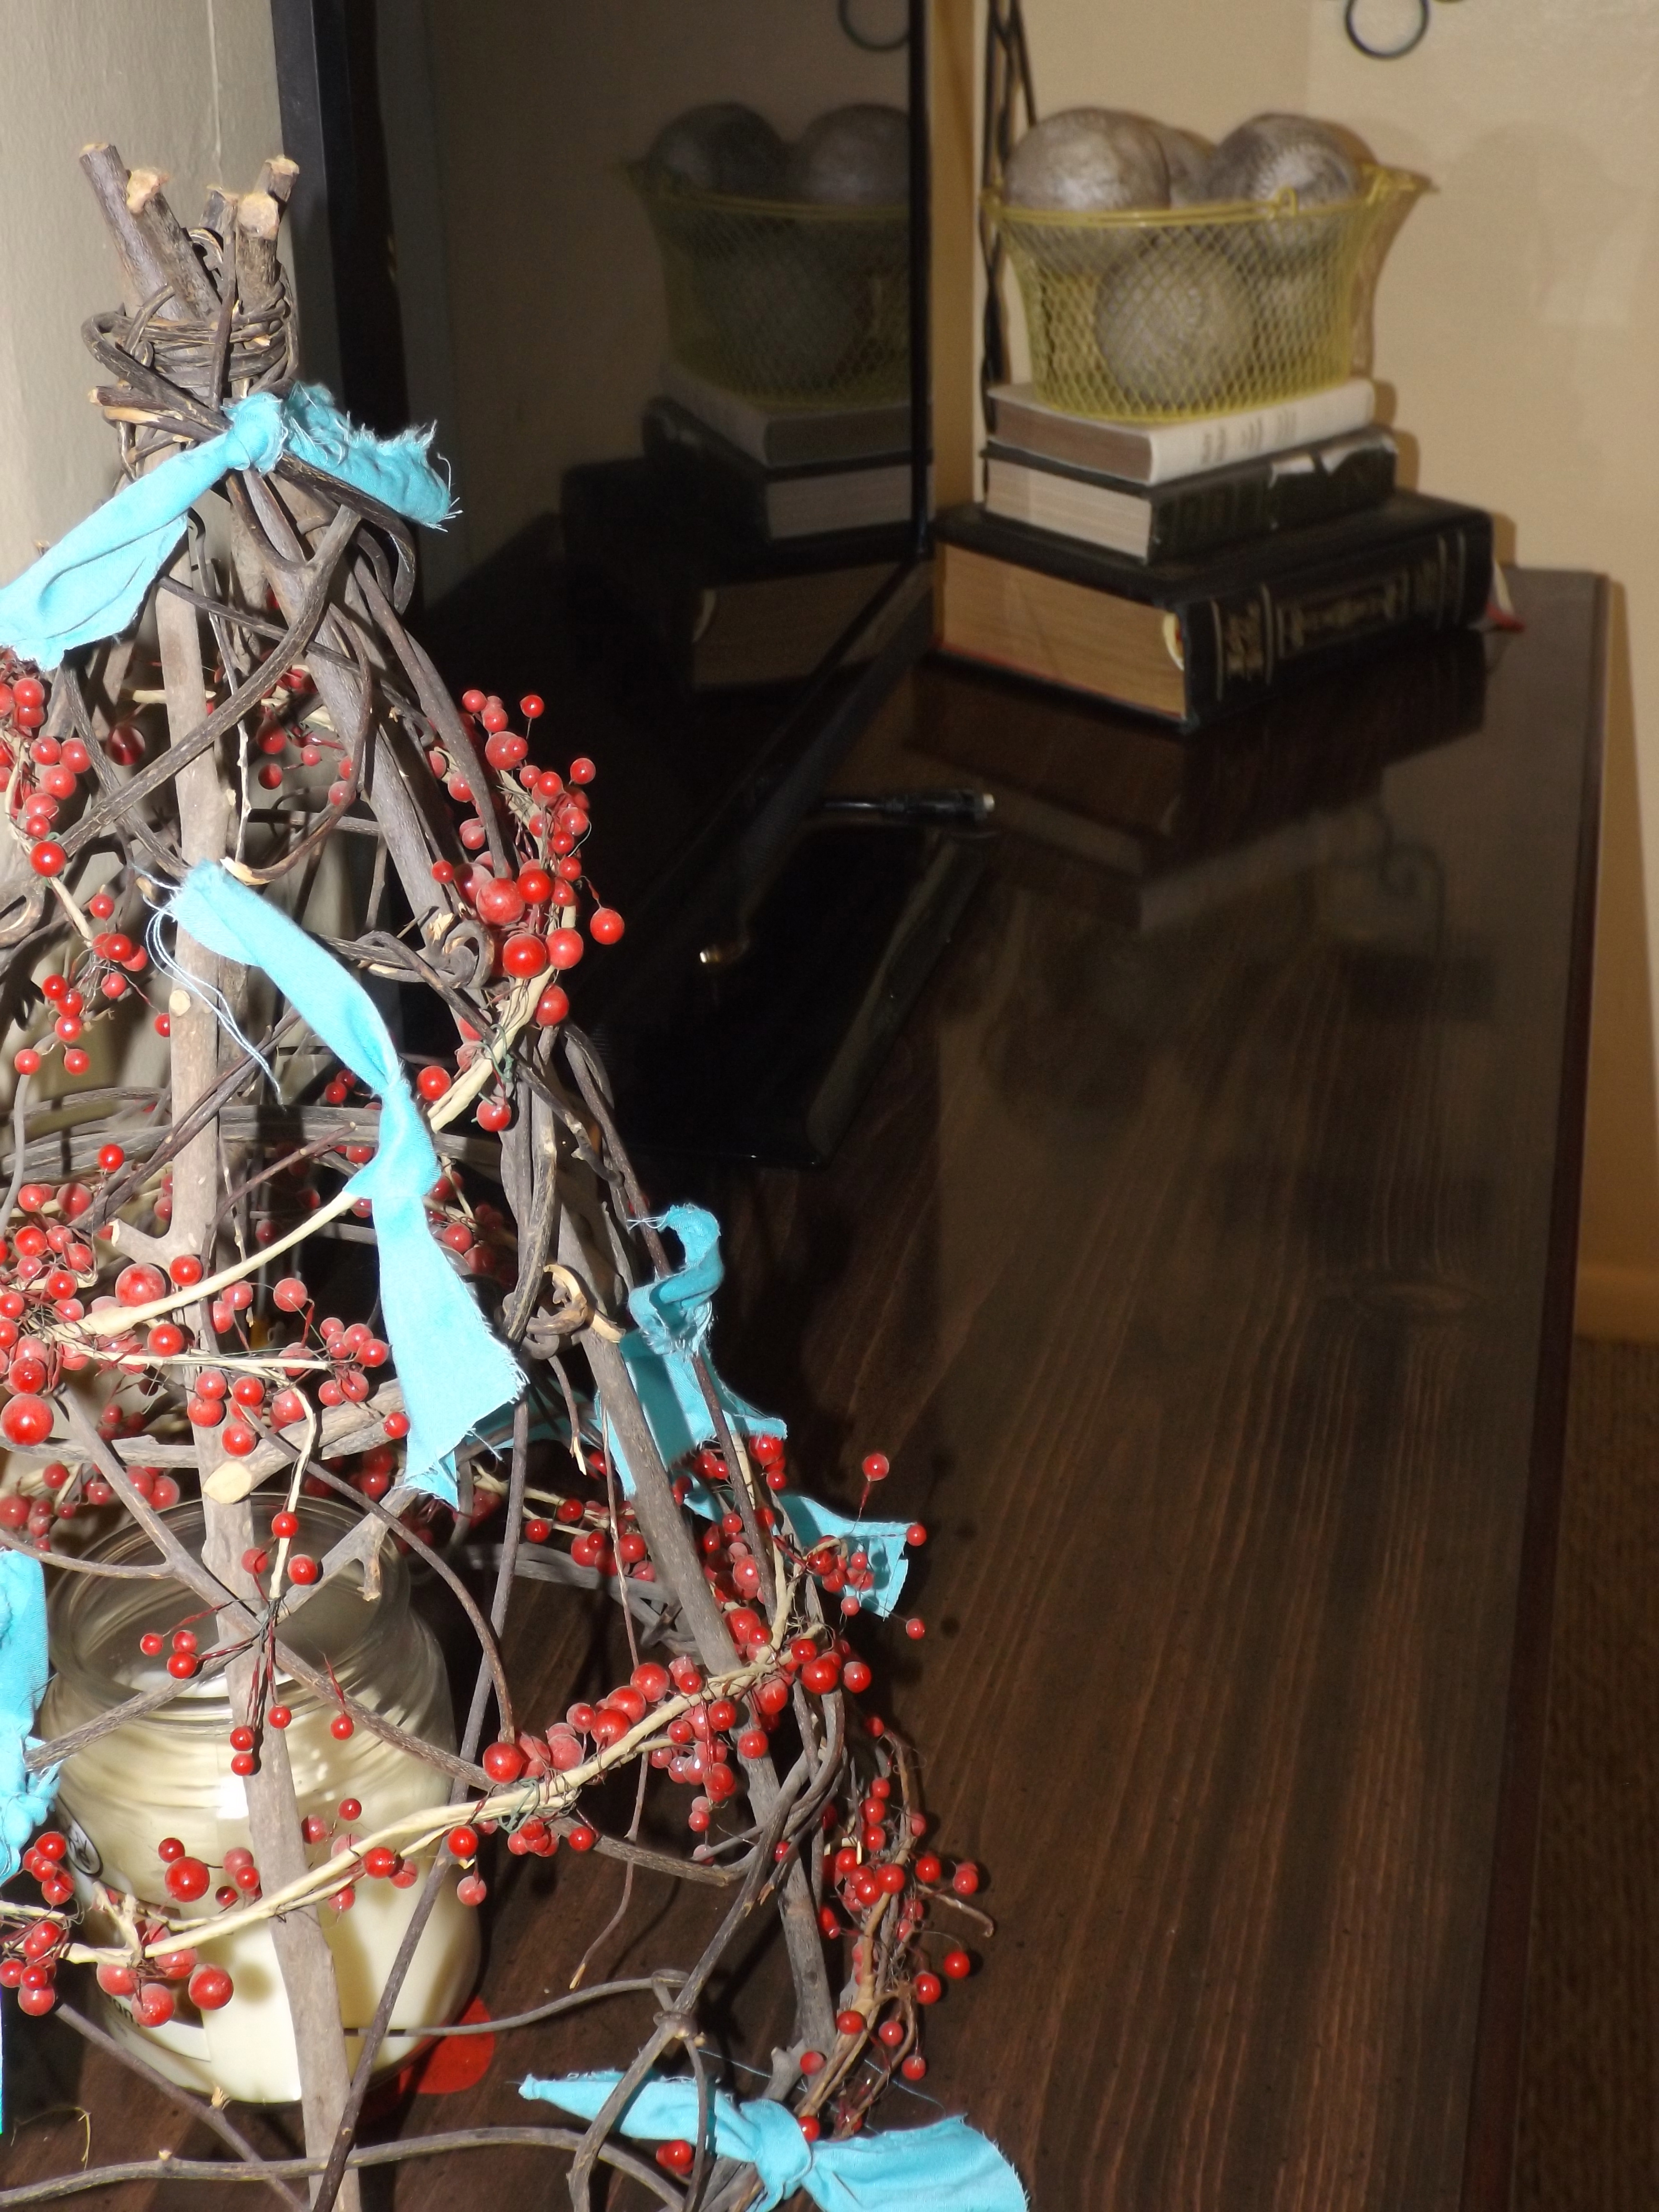
Wrex built this tree for me out of scrap wood and it’s one of my favorite things in the room. I keep thinking I’m going to get sick of it, but so far it hasn’t happened.
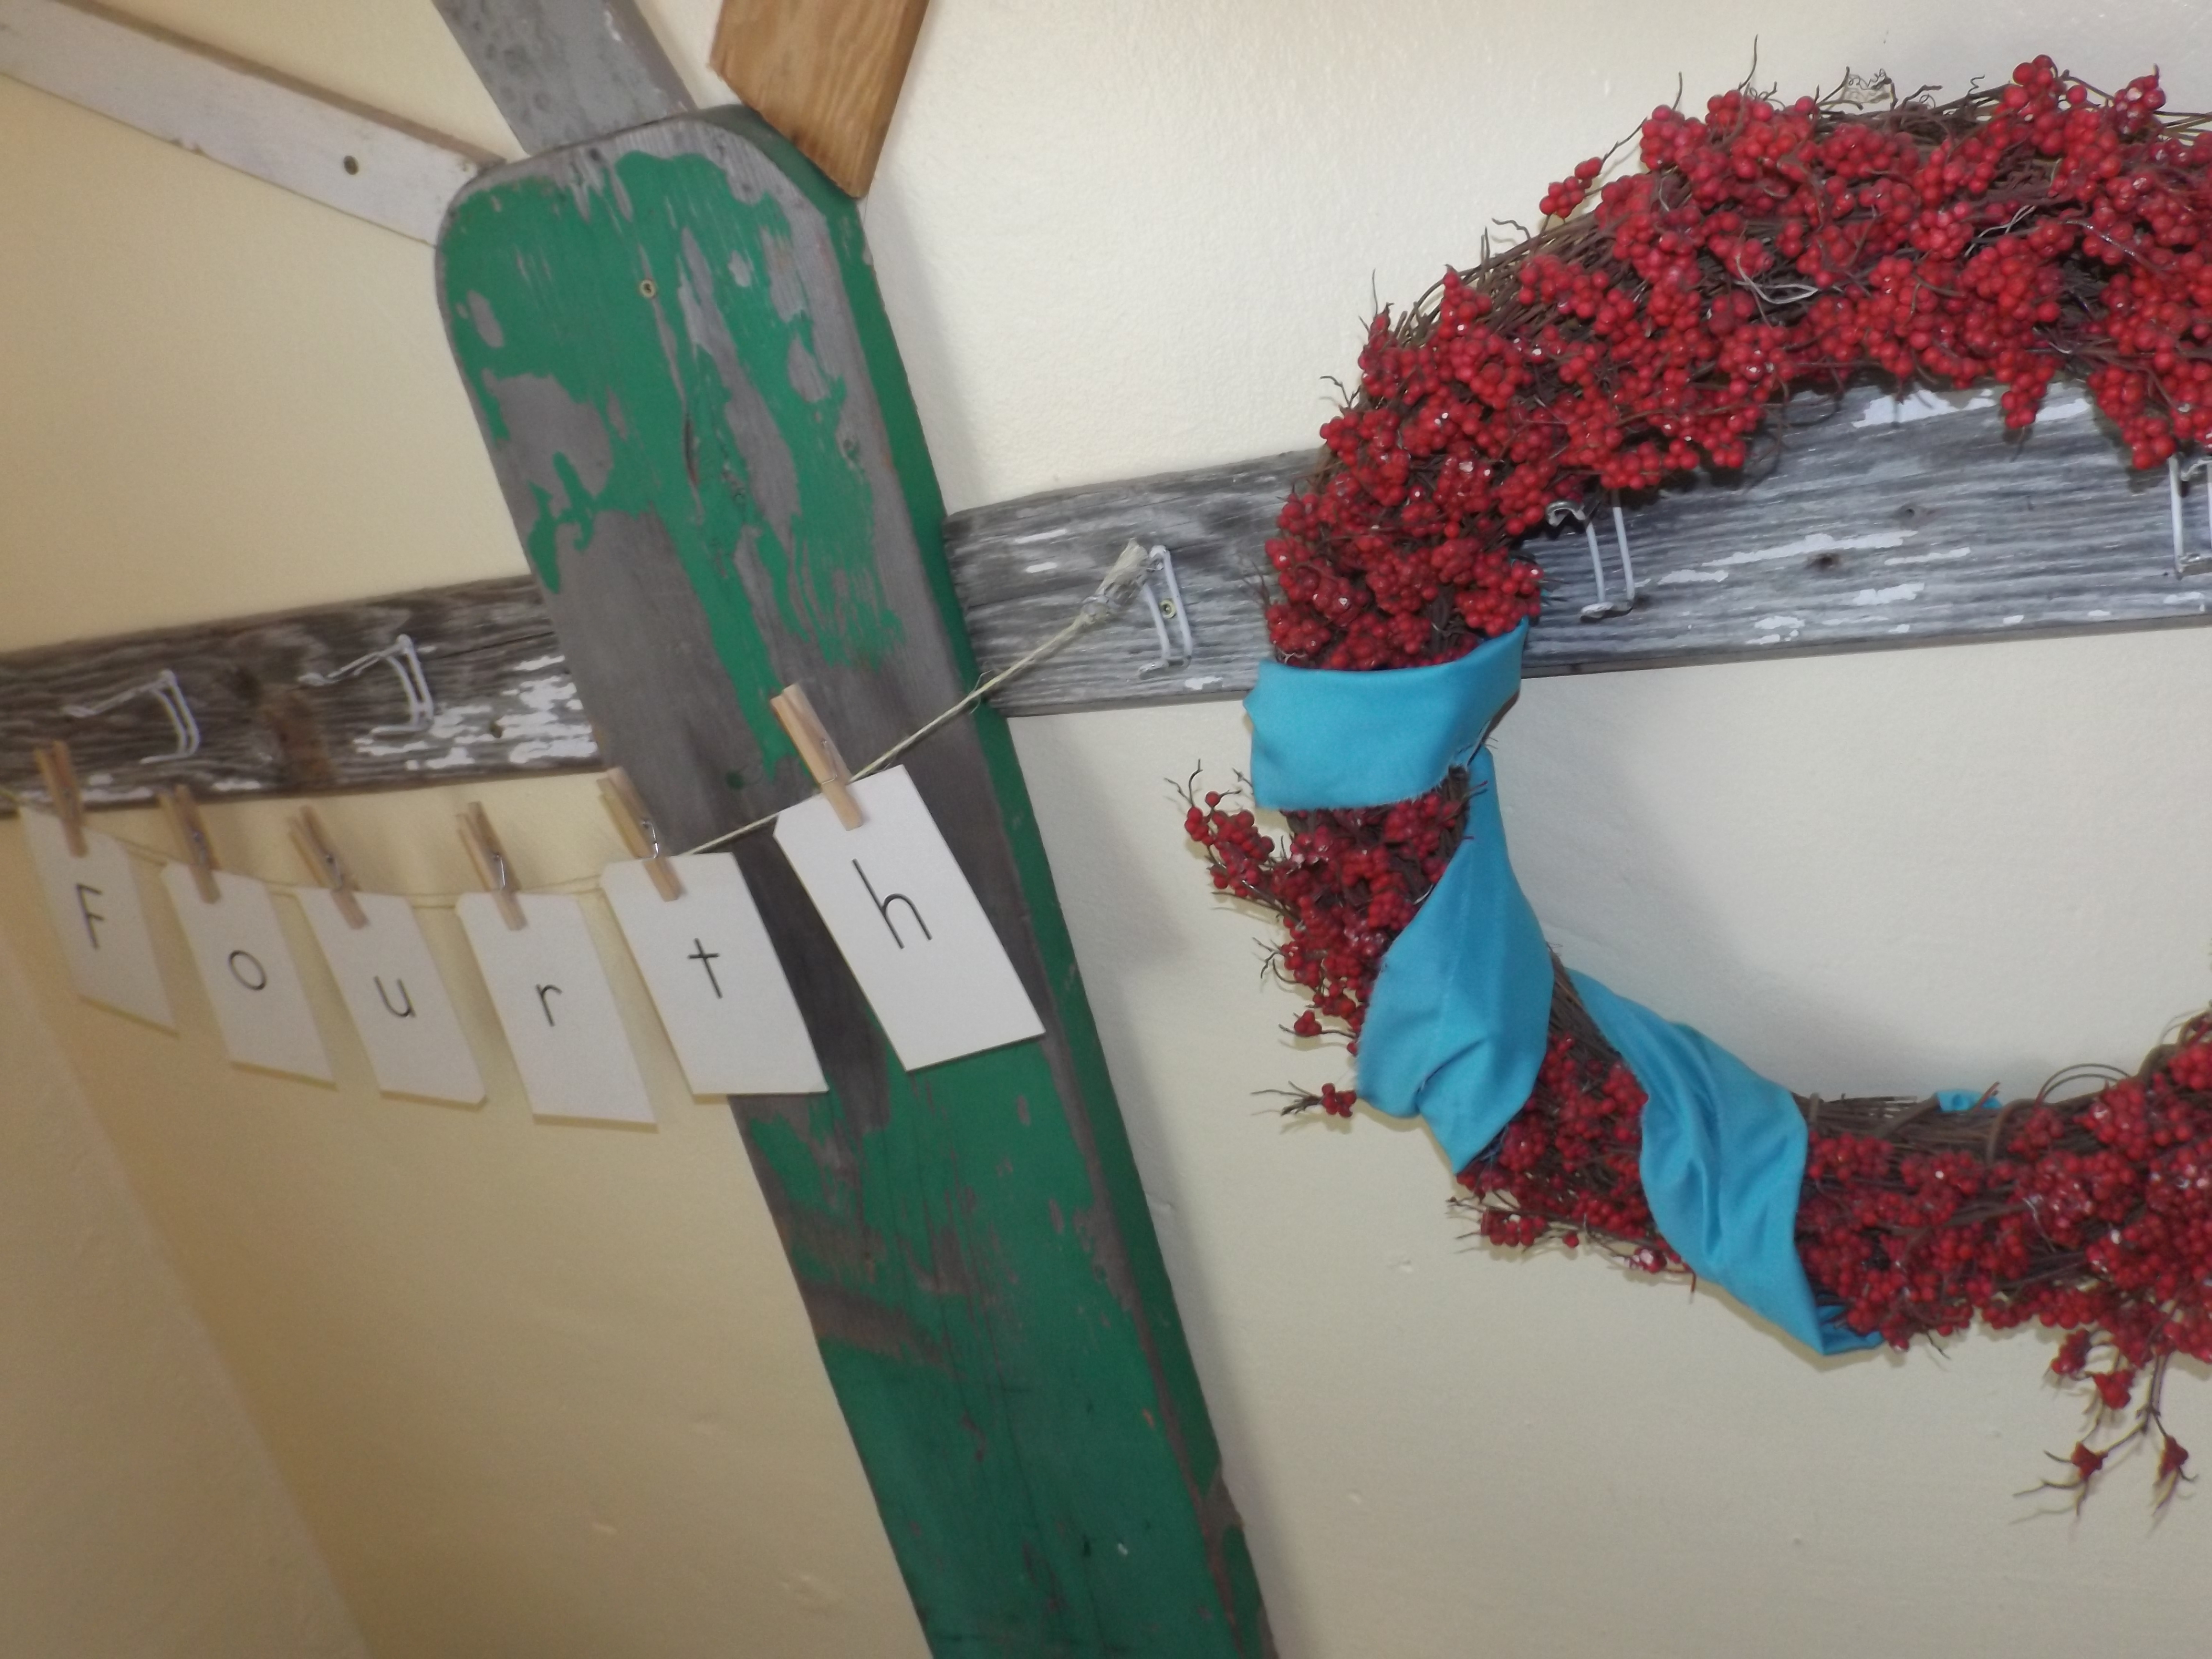
I used flashcards to make the bunting…
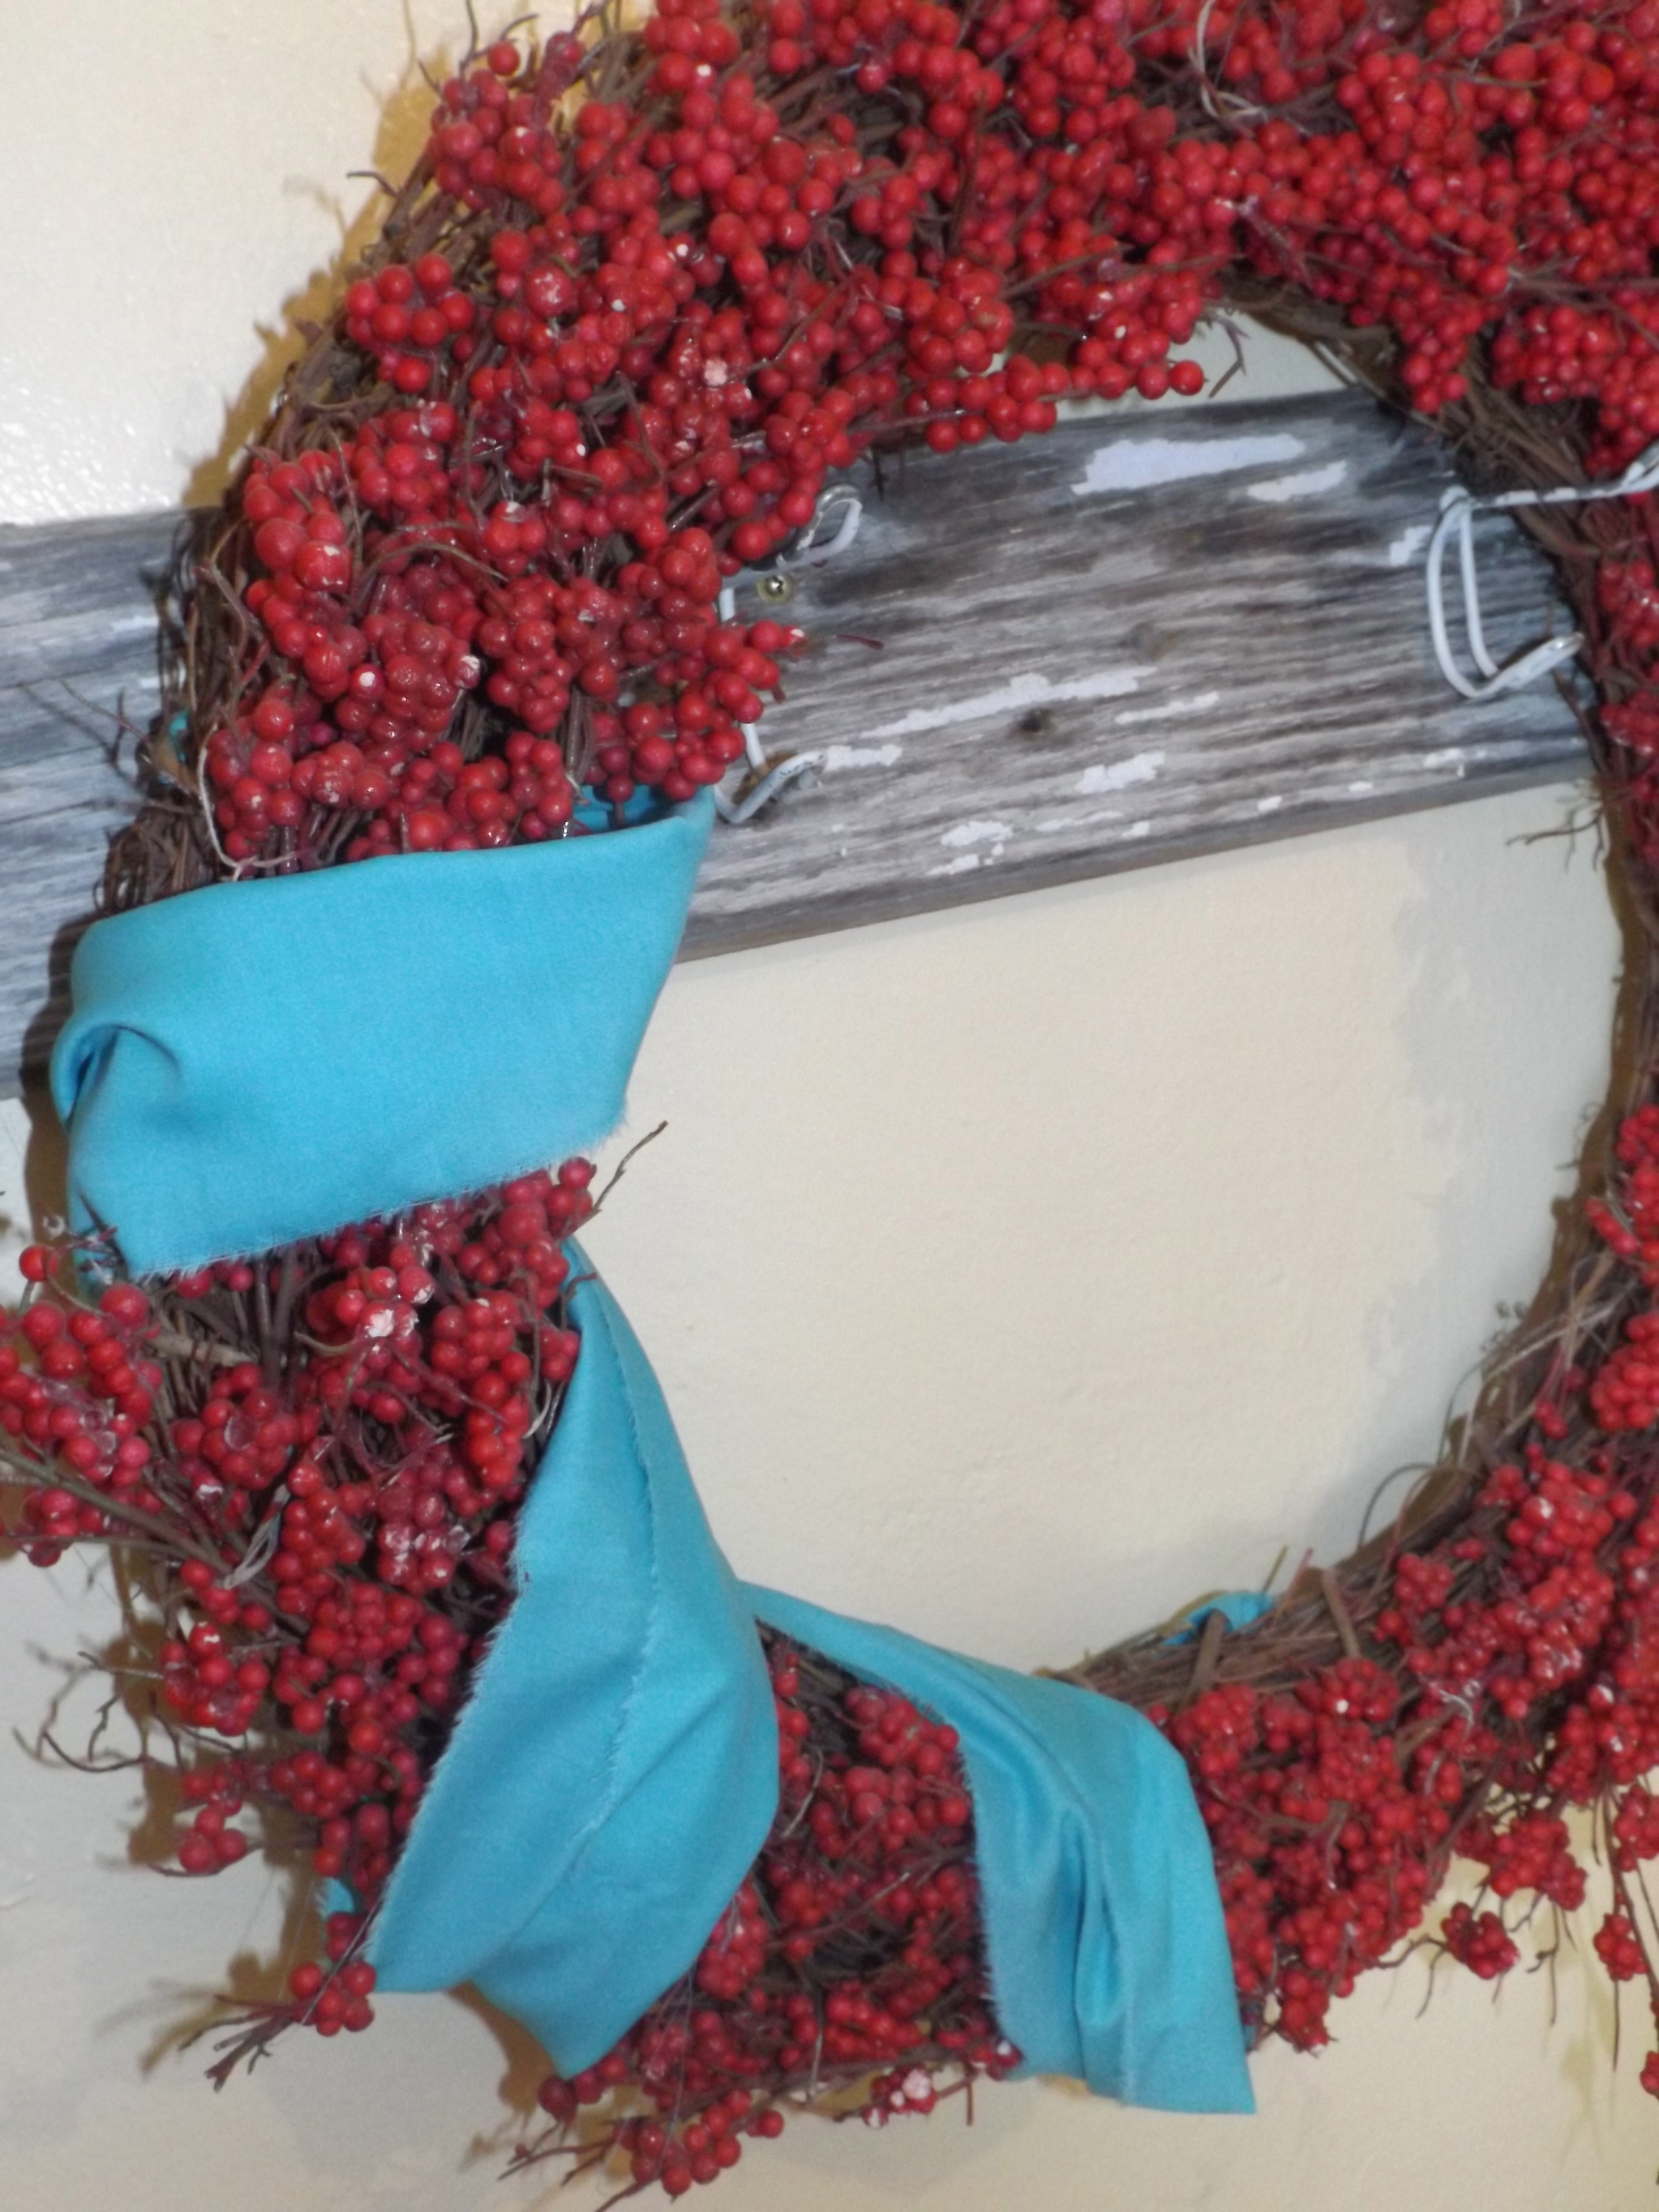
and scrap fabric to make this wreath stand out a bit.
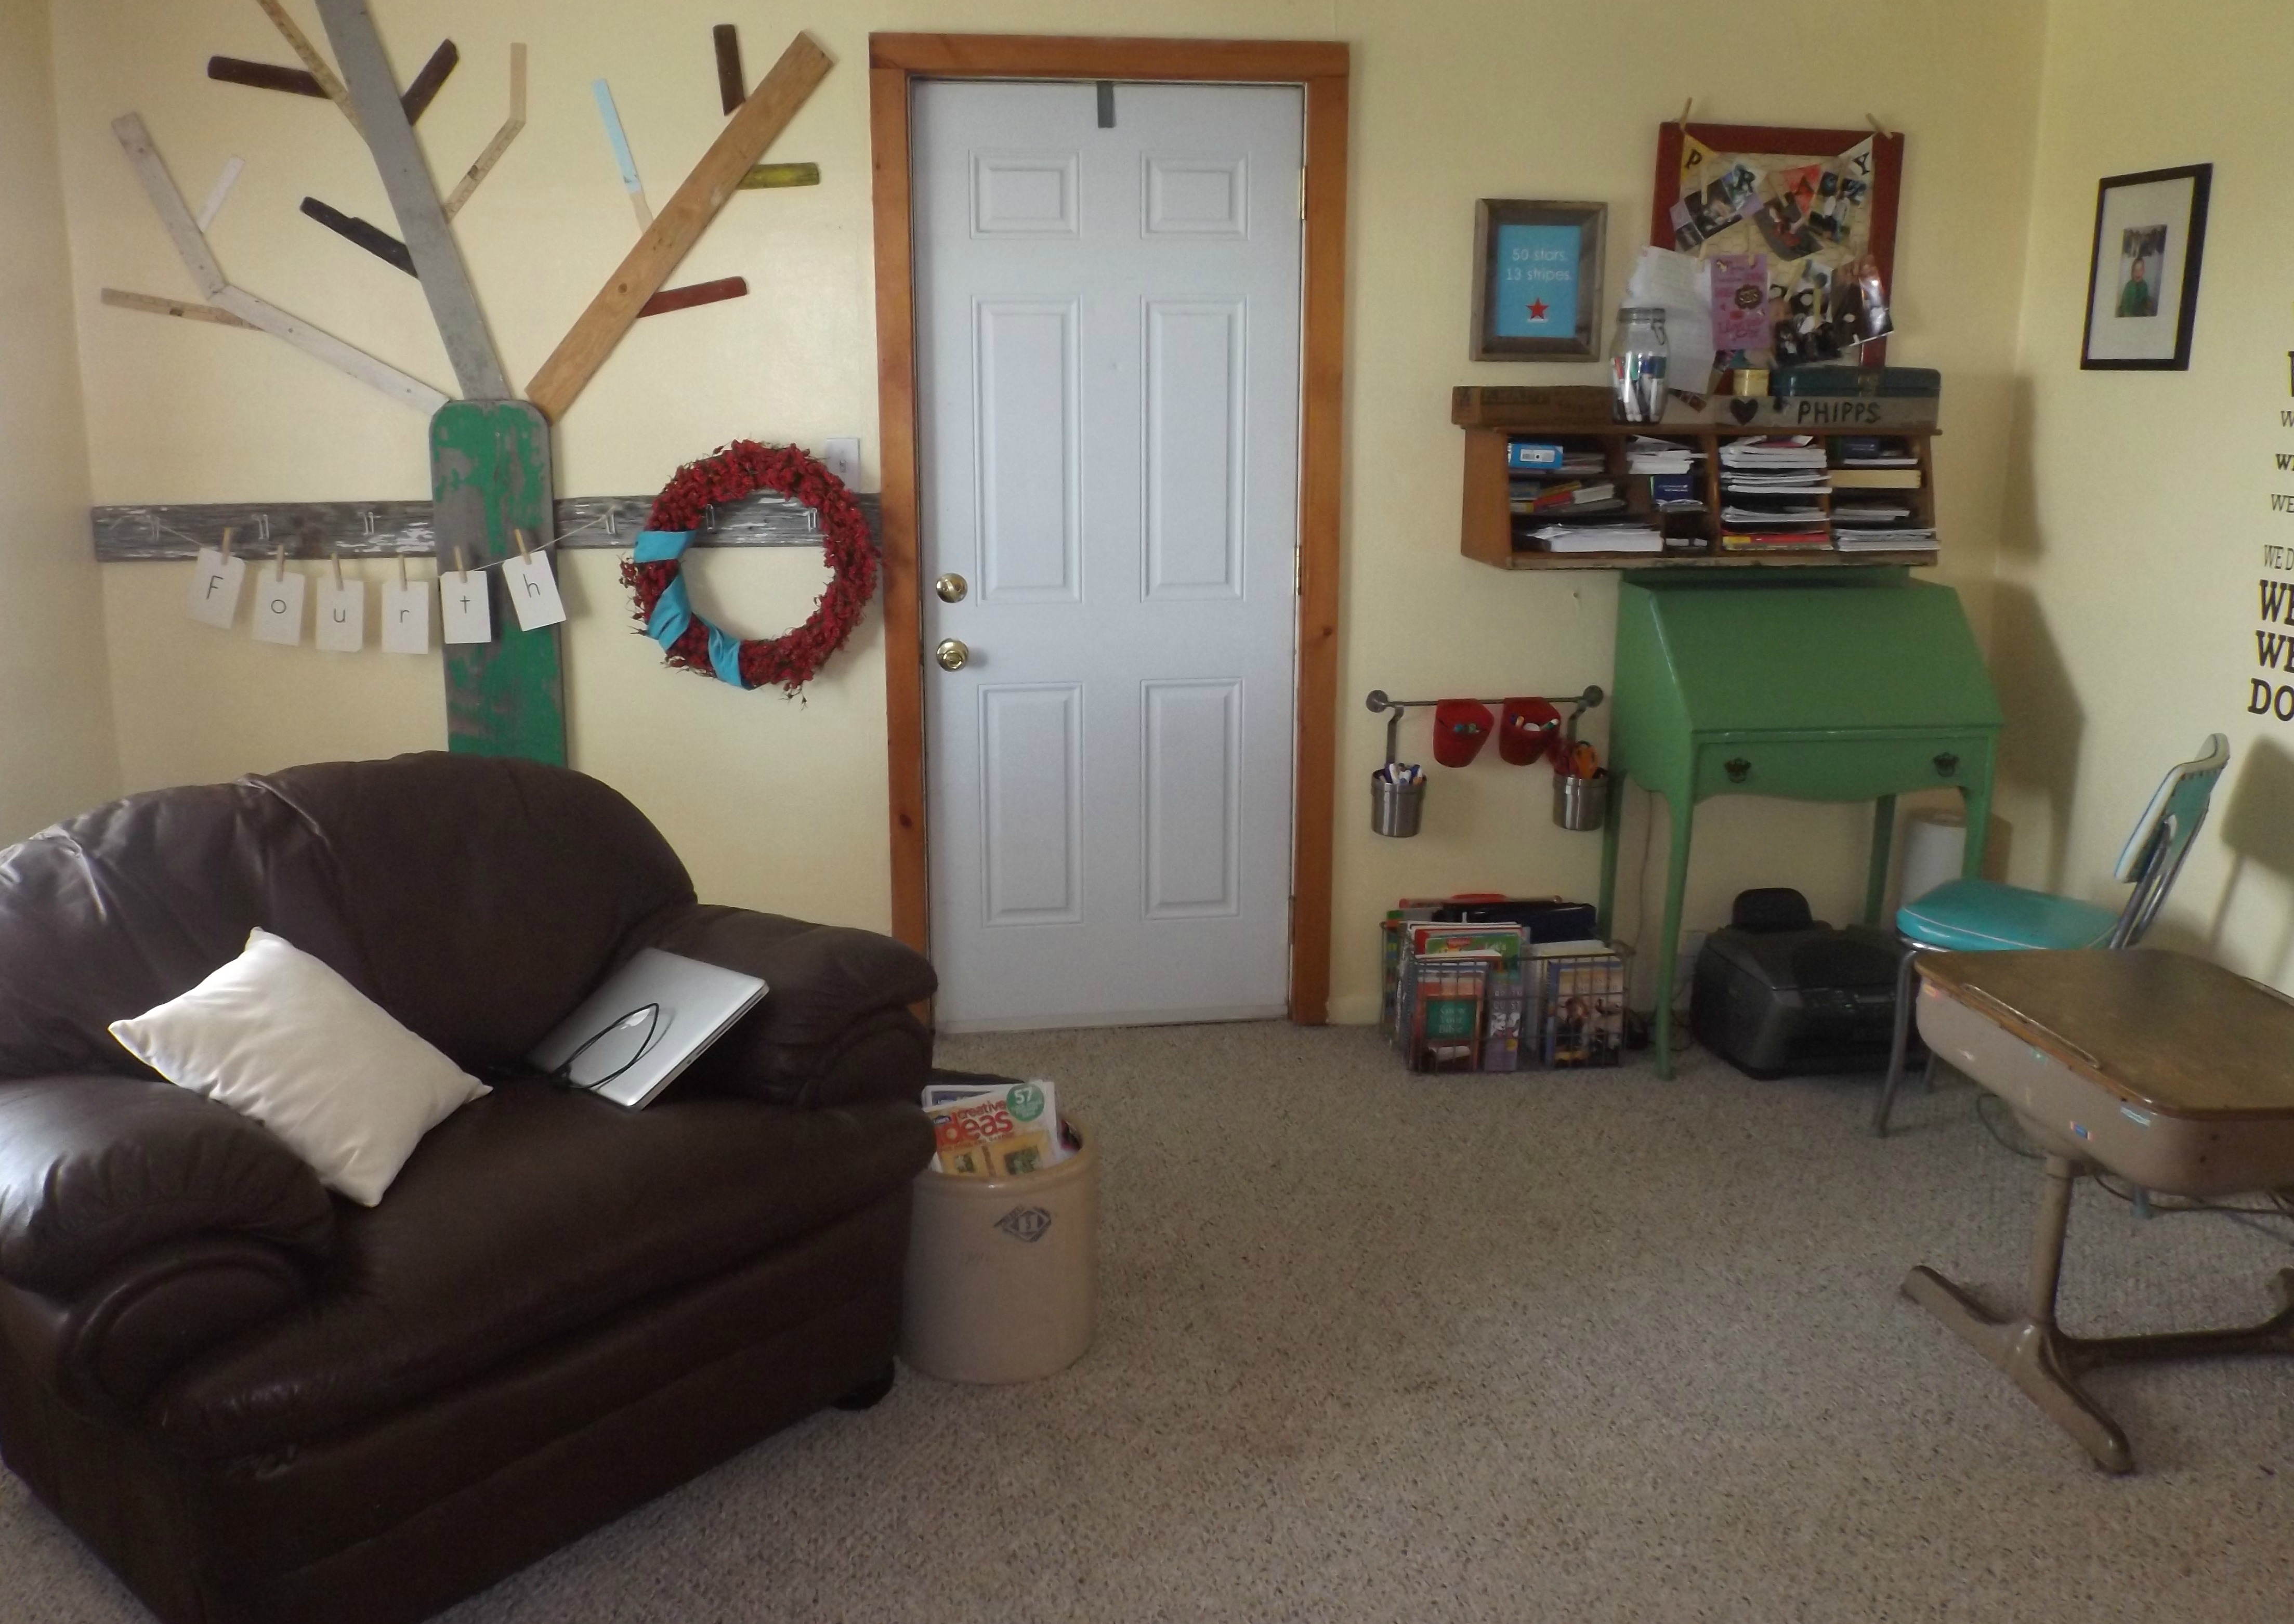
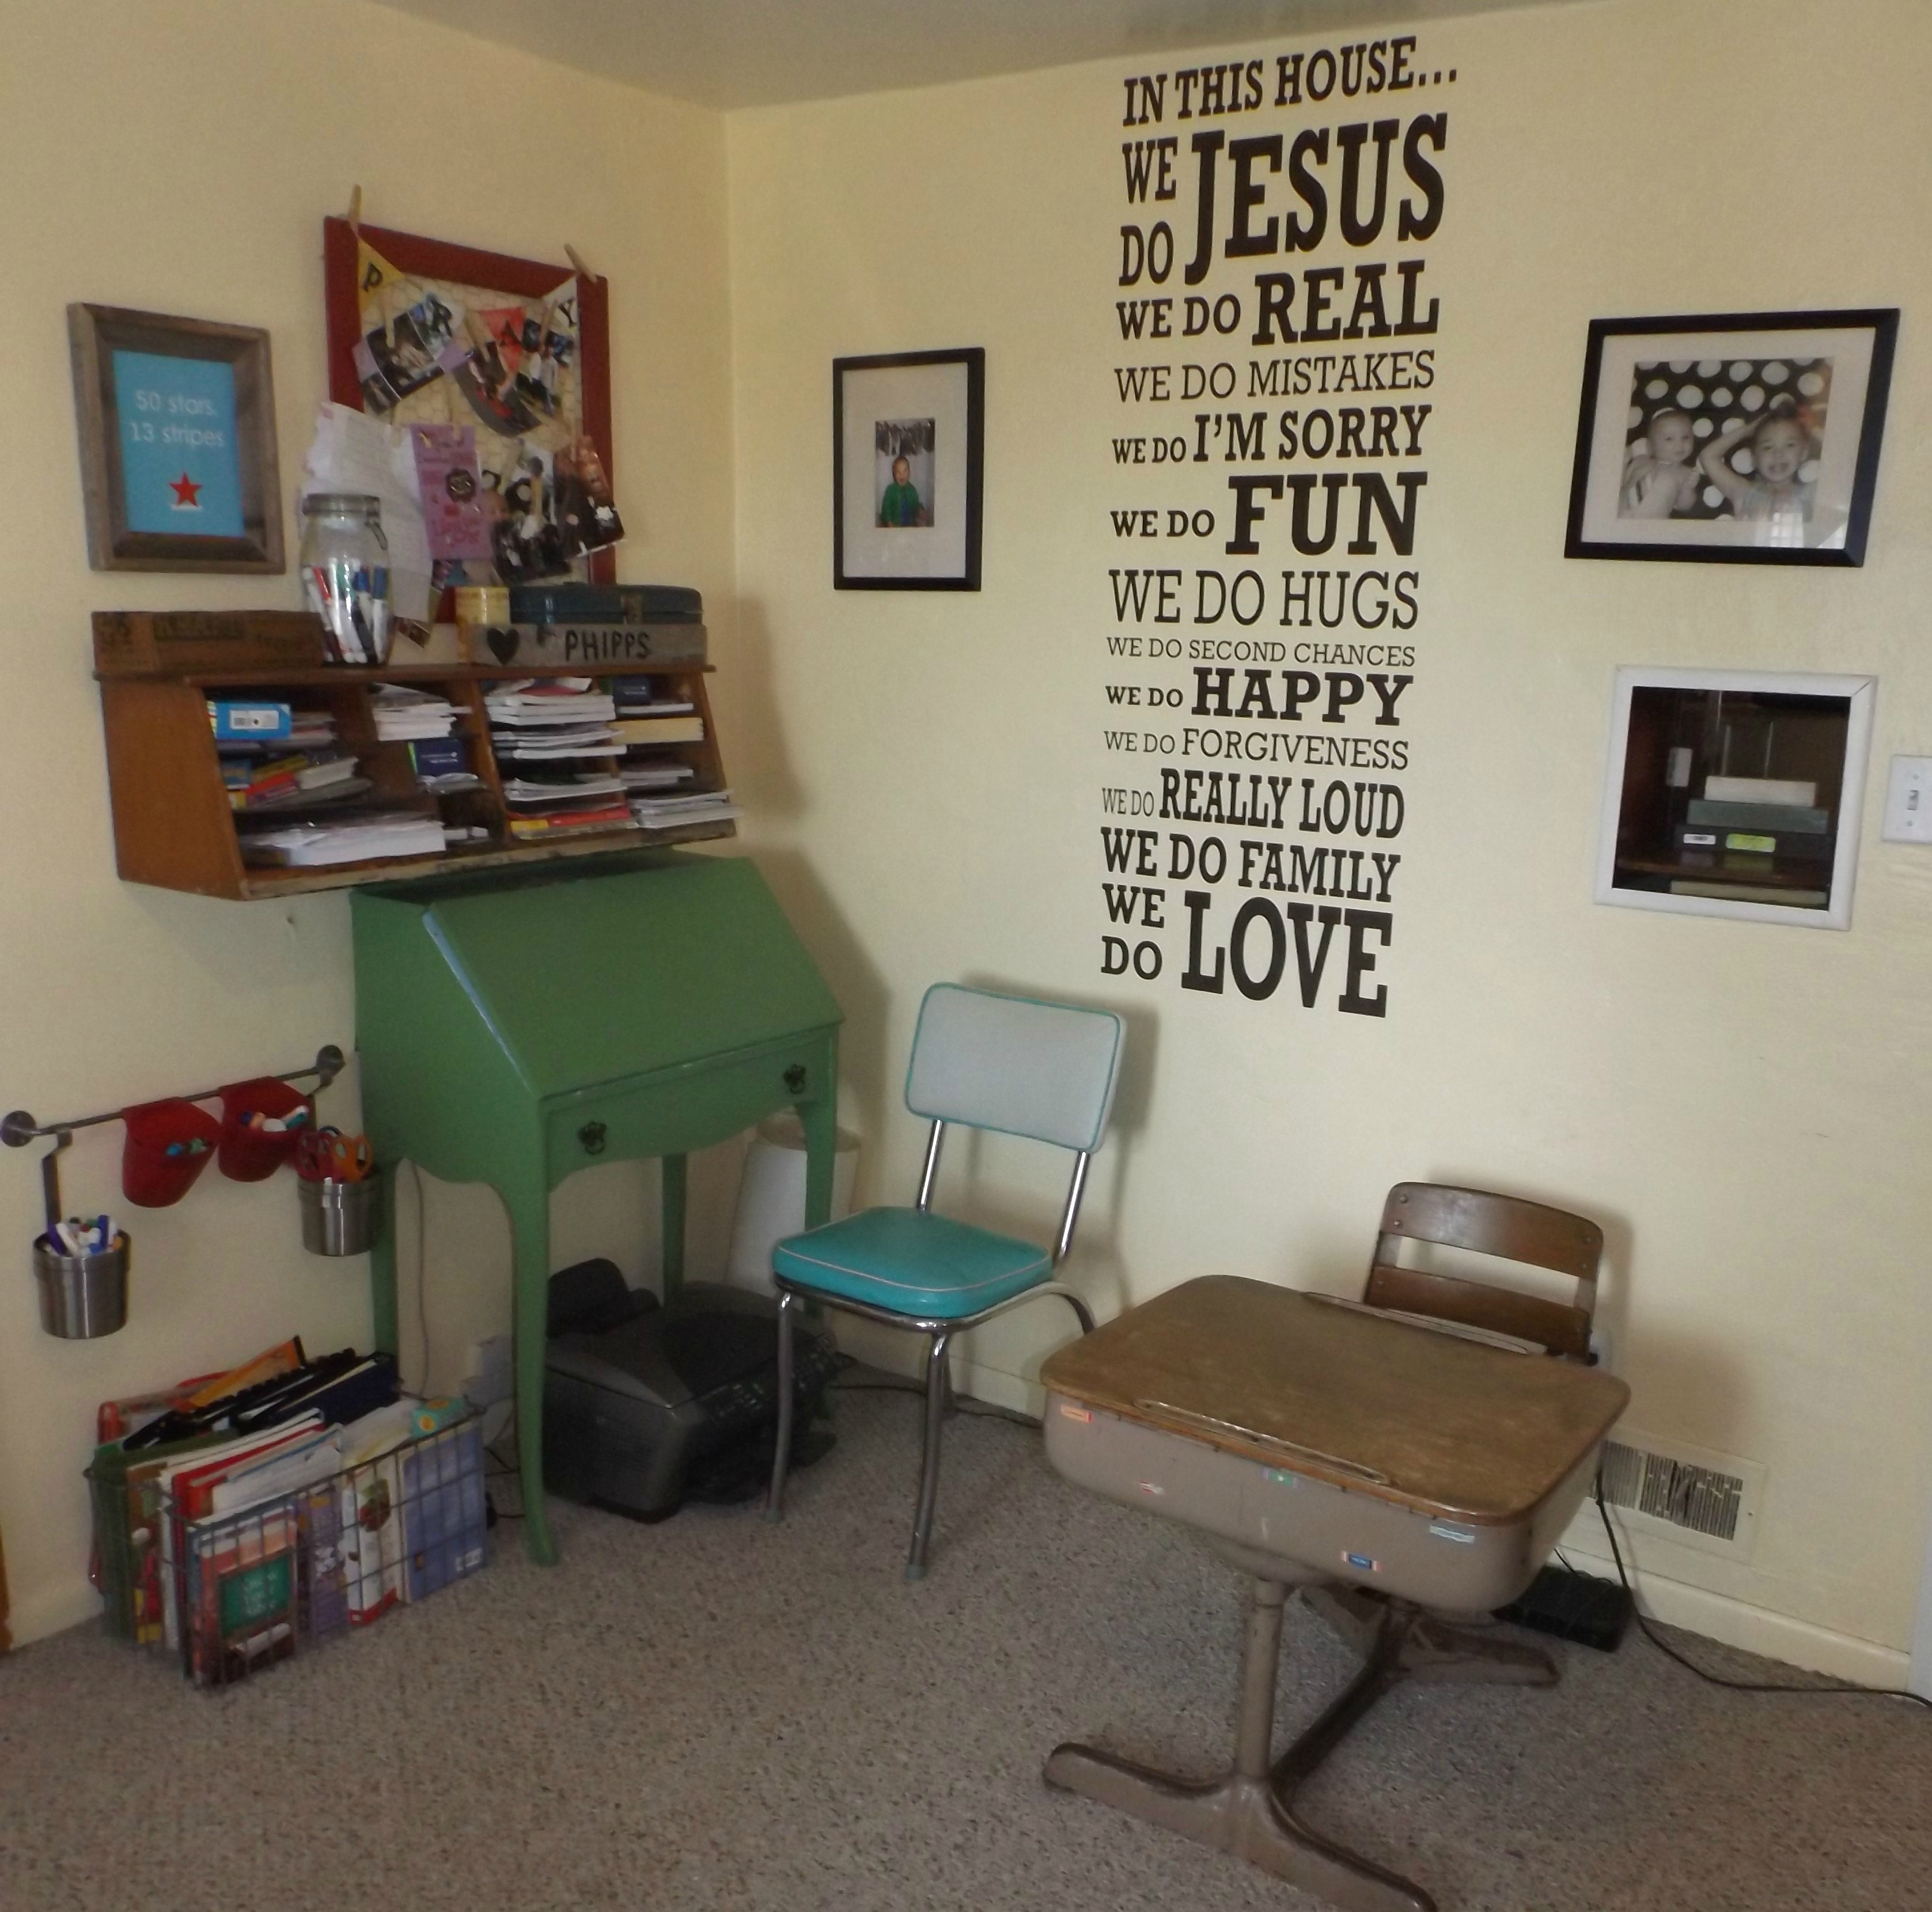
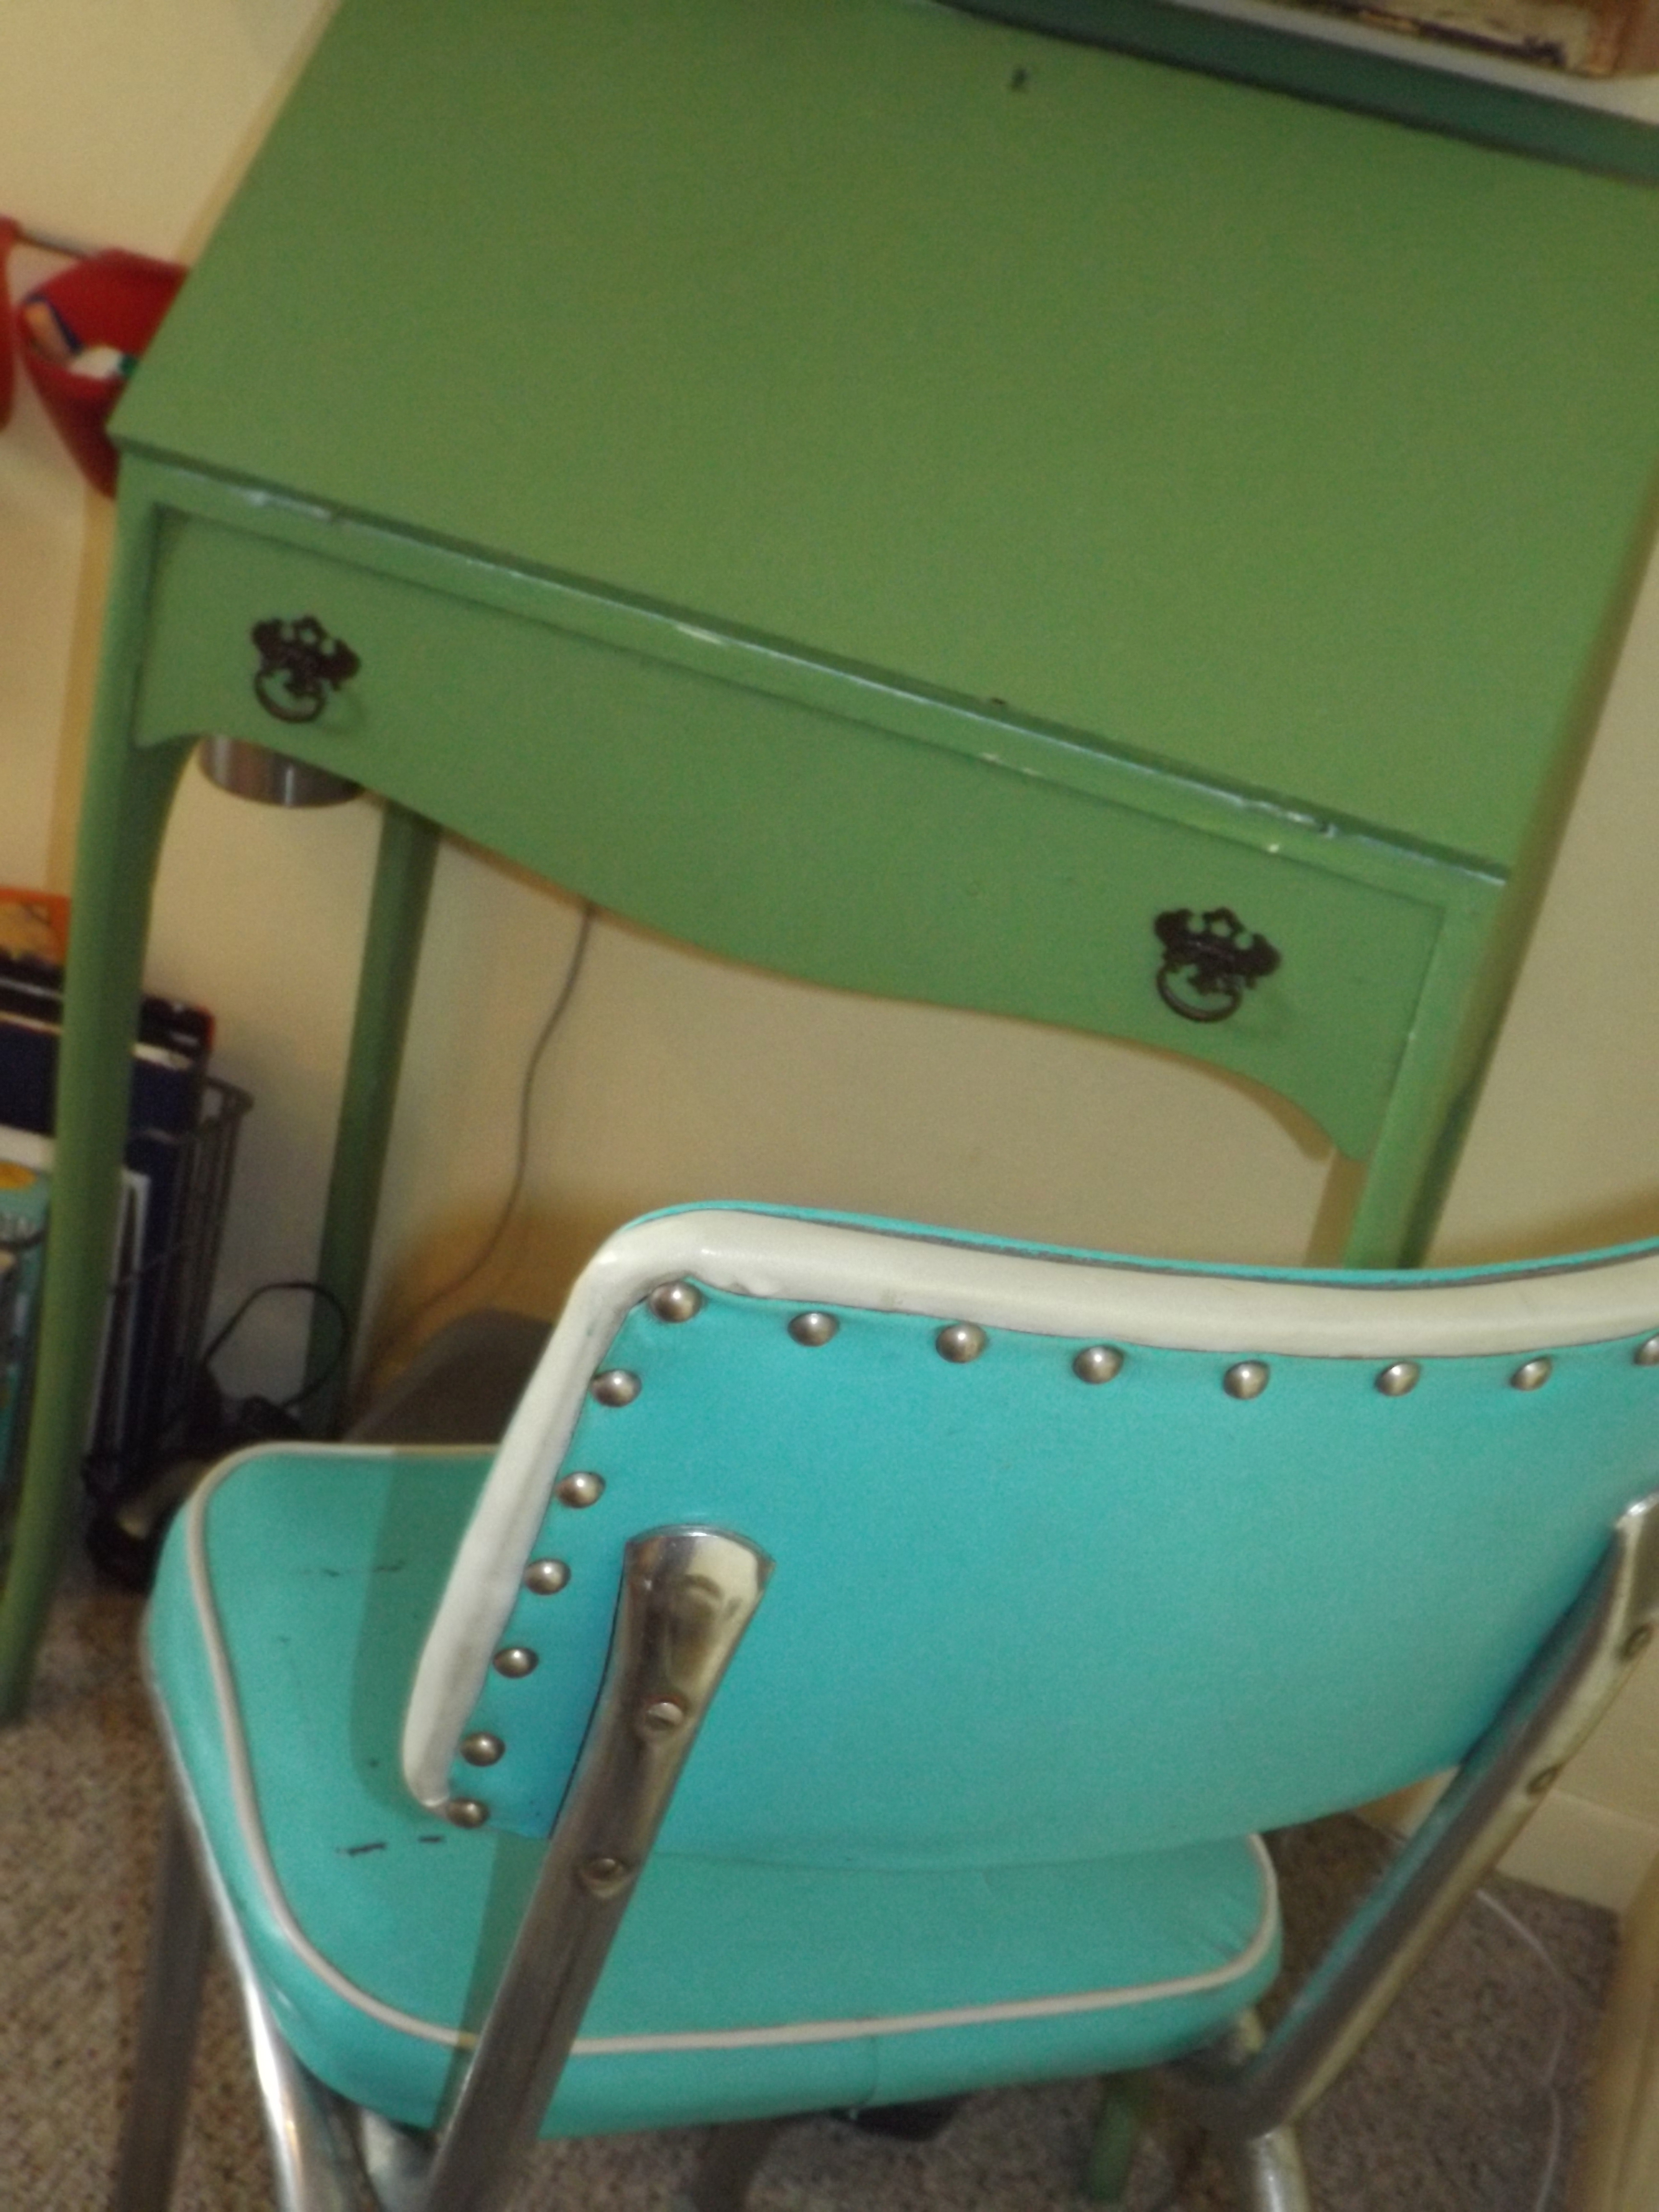
This is command central for all things preschool/Cubbies/blogging/bill paying, etc., can you tell?!
A lot goes on in this little corner!
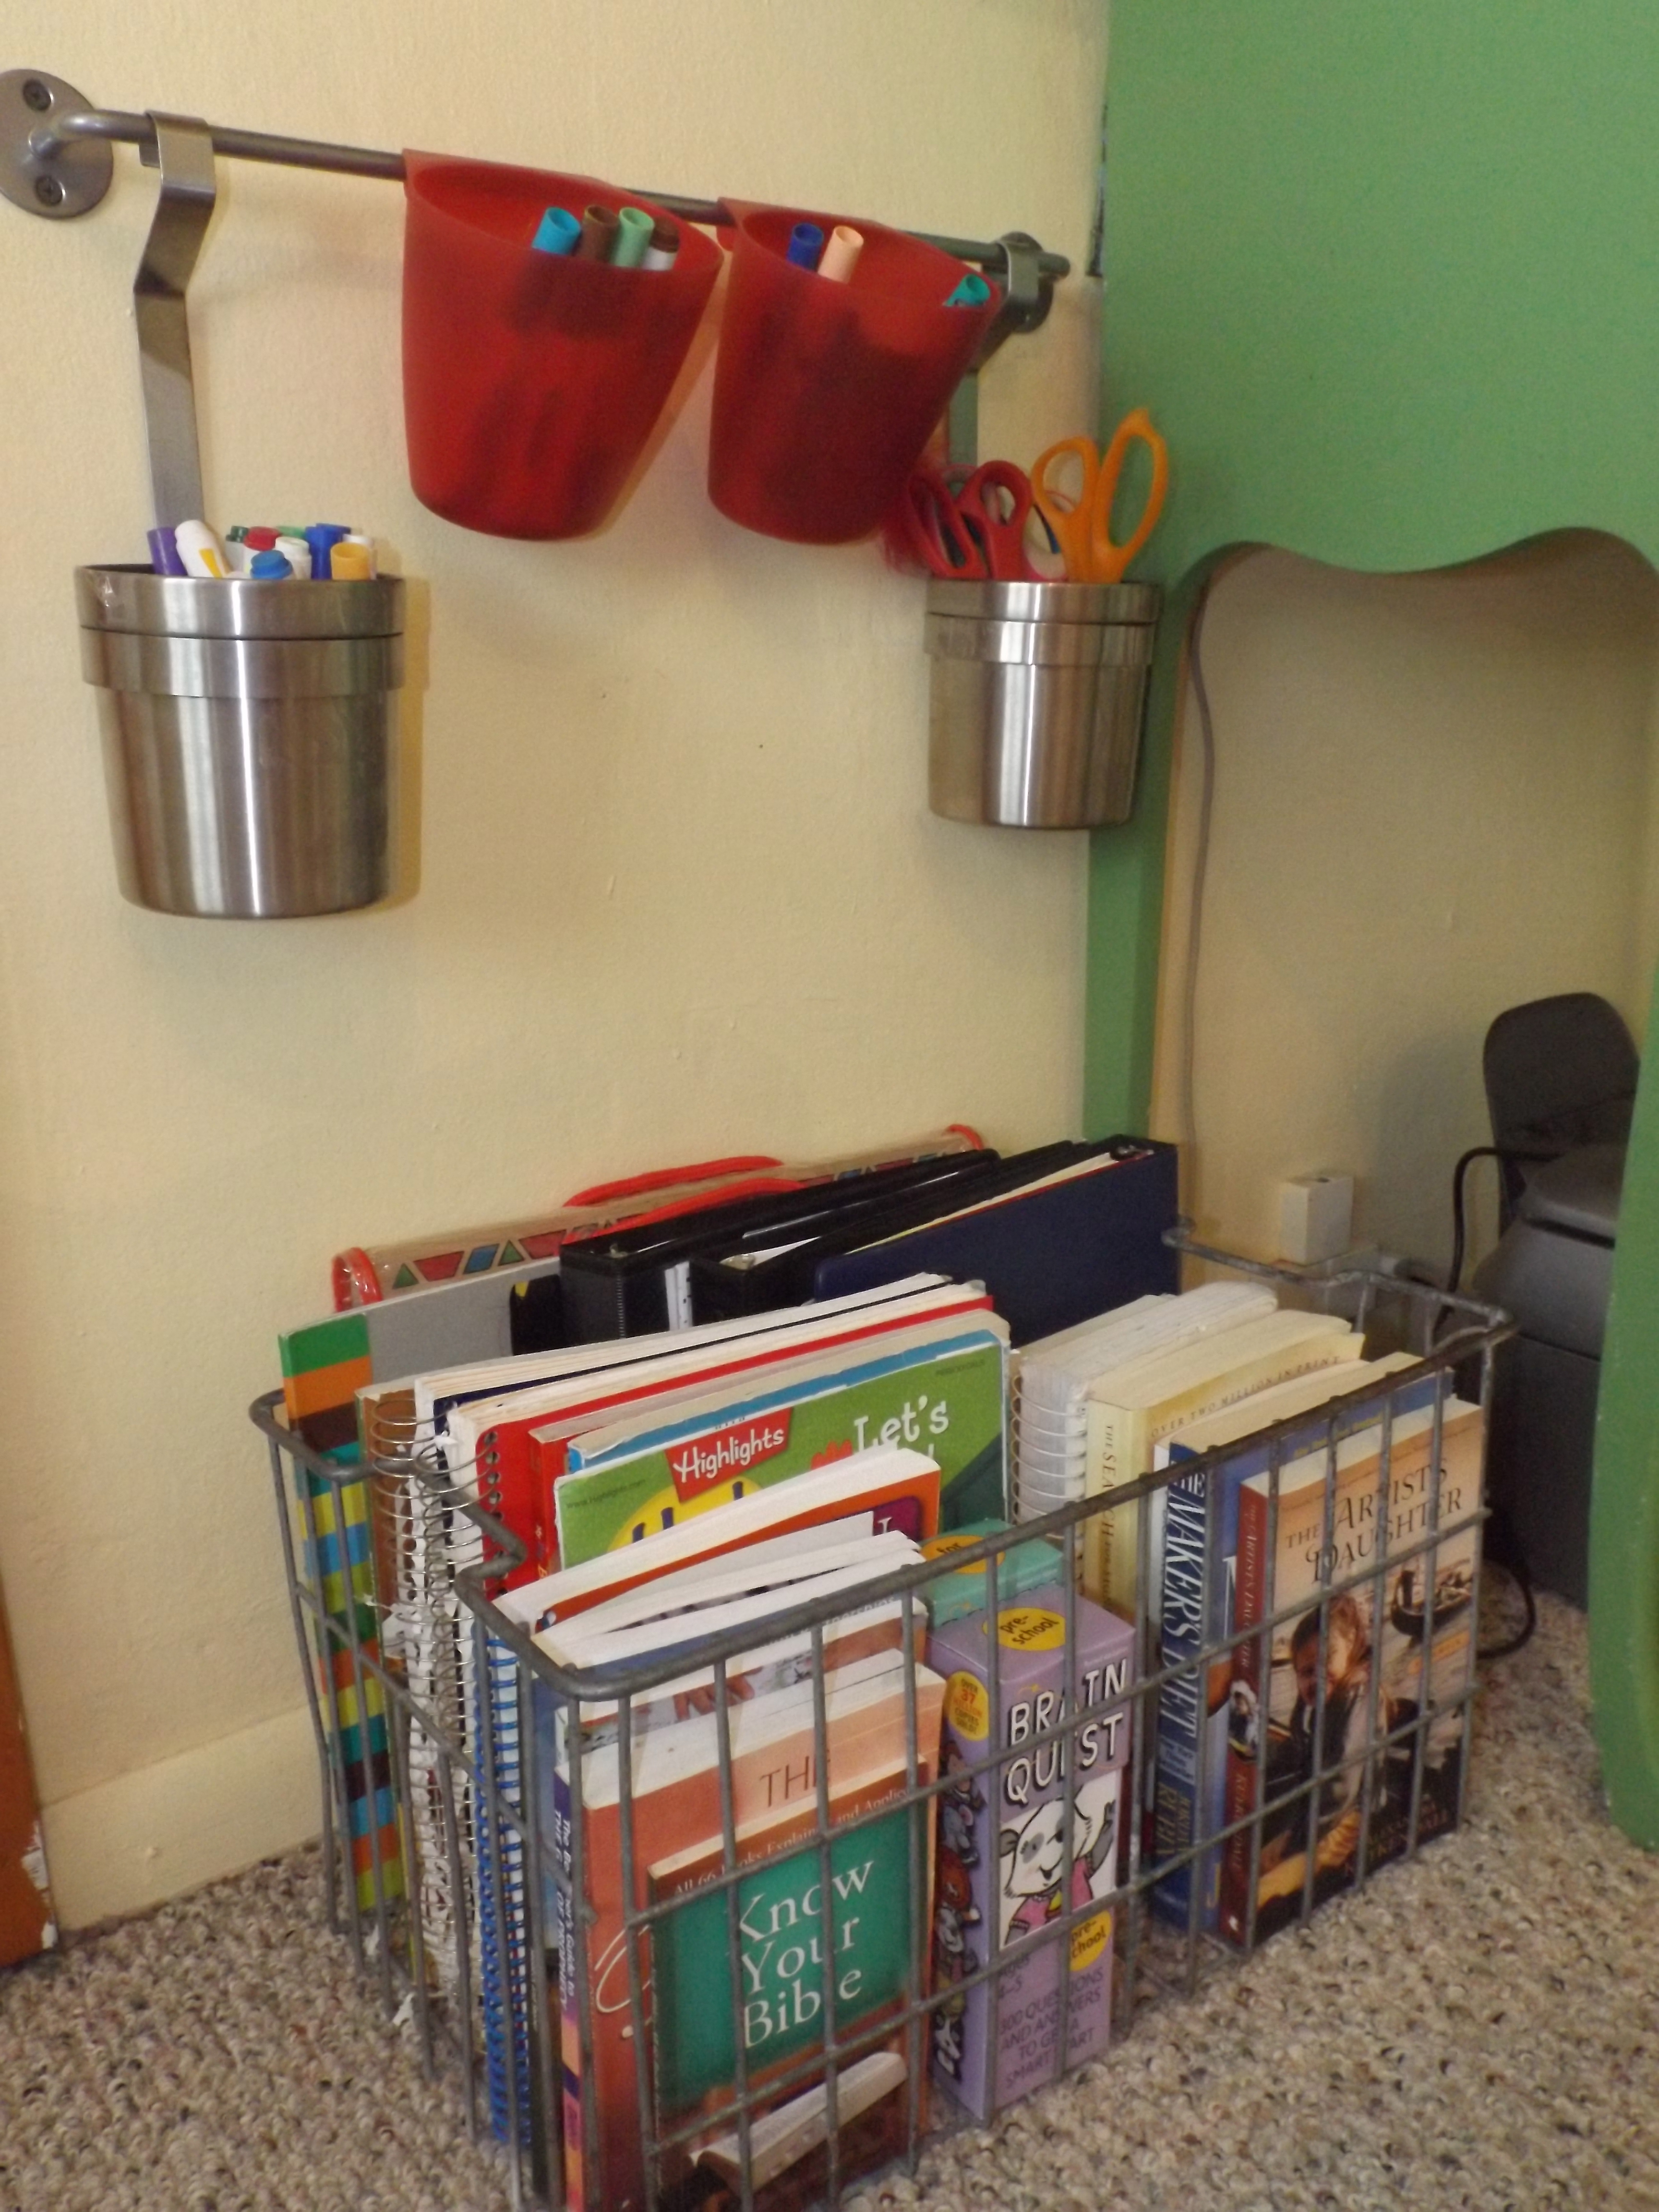
We made this chicken wire bulletin board and have been using it as a prayer board for a few years now. It’s just a simple reminder to intercede for the people we have tacked up there…
Where the blog magic happens…
I love these Ikea hanging systems. So handy!
We made the big star out of yardstick around Christmas and I threw it up there for summer. Our TV stand is an old dresser we bought from some friends. We sanded it to rustic it up, added some funky paint and fabric and voila – I love it!
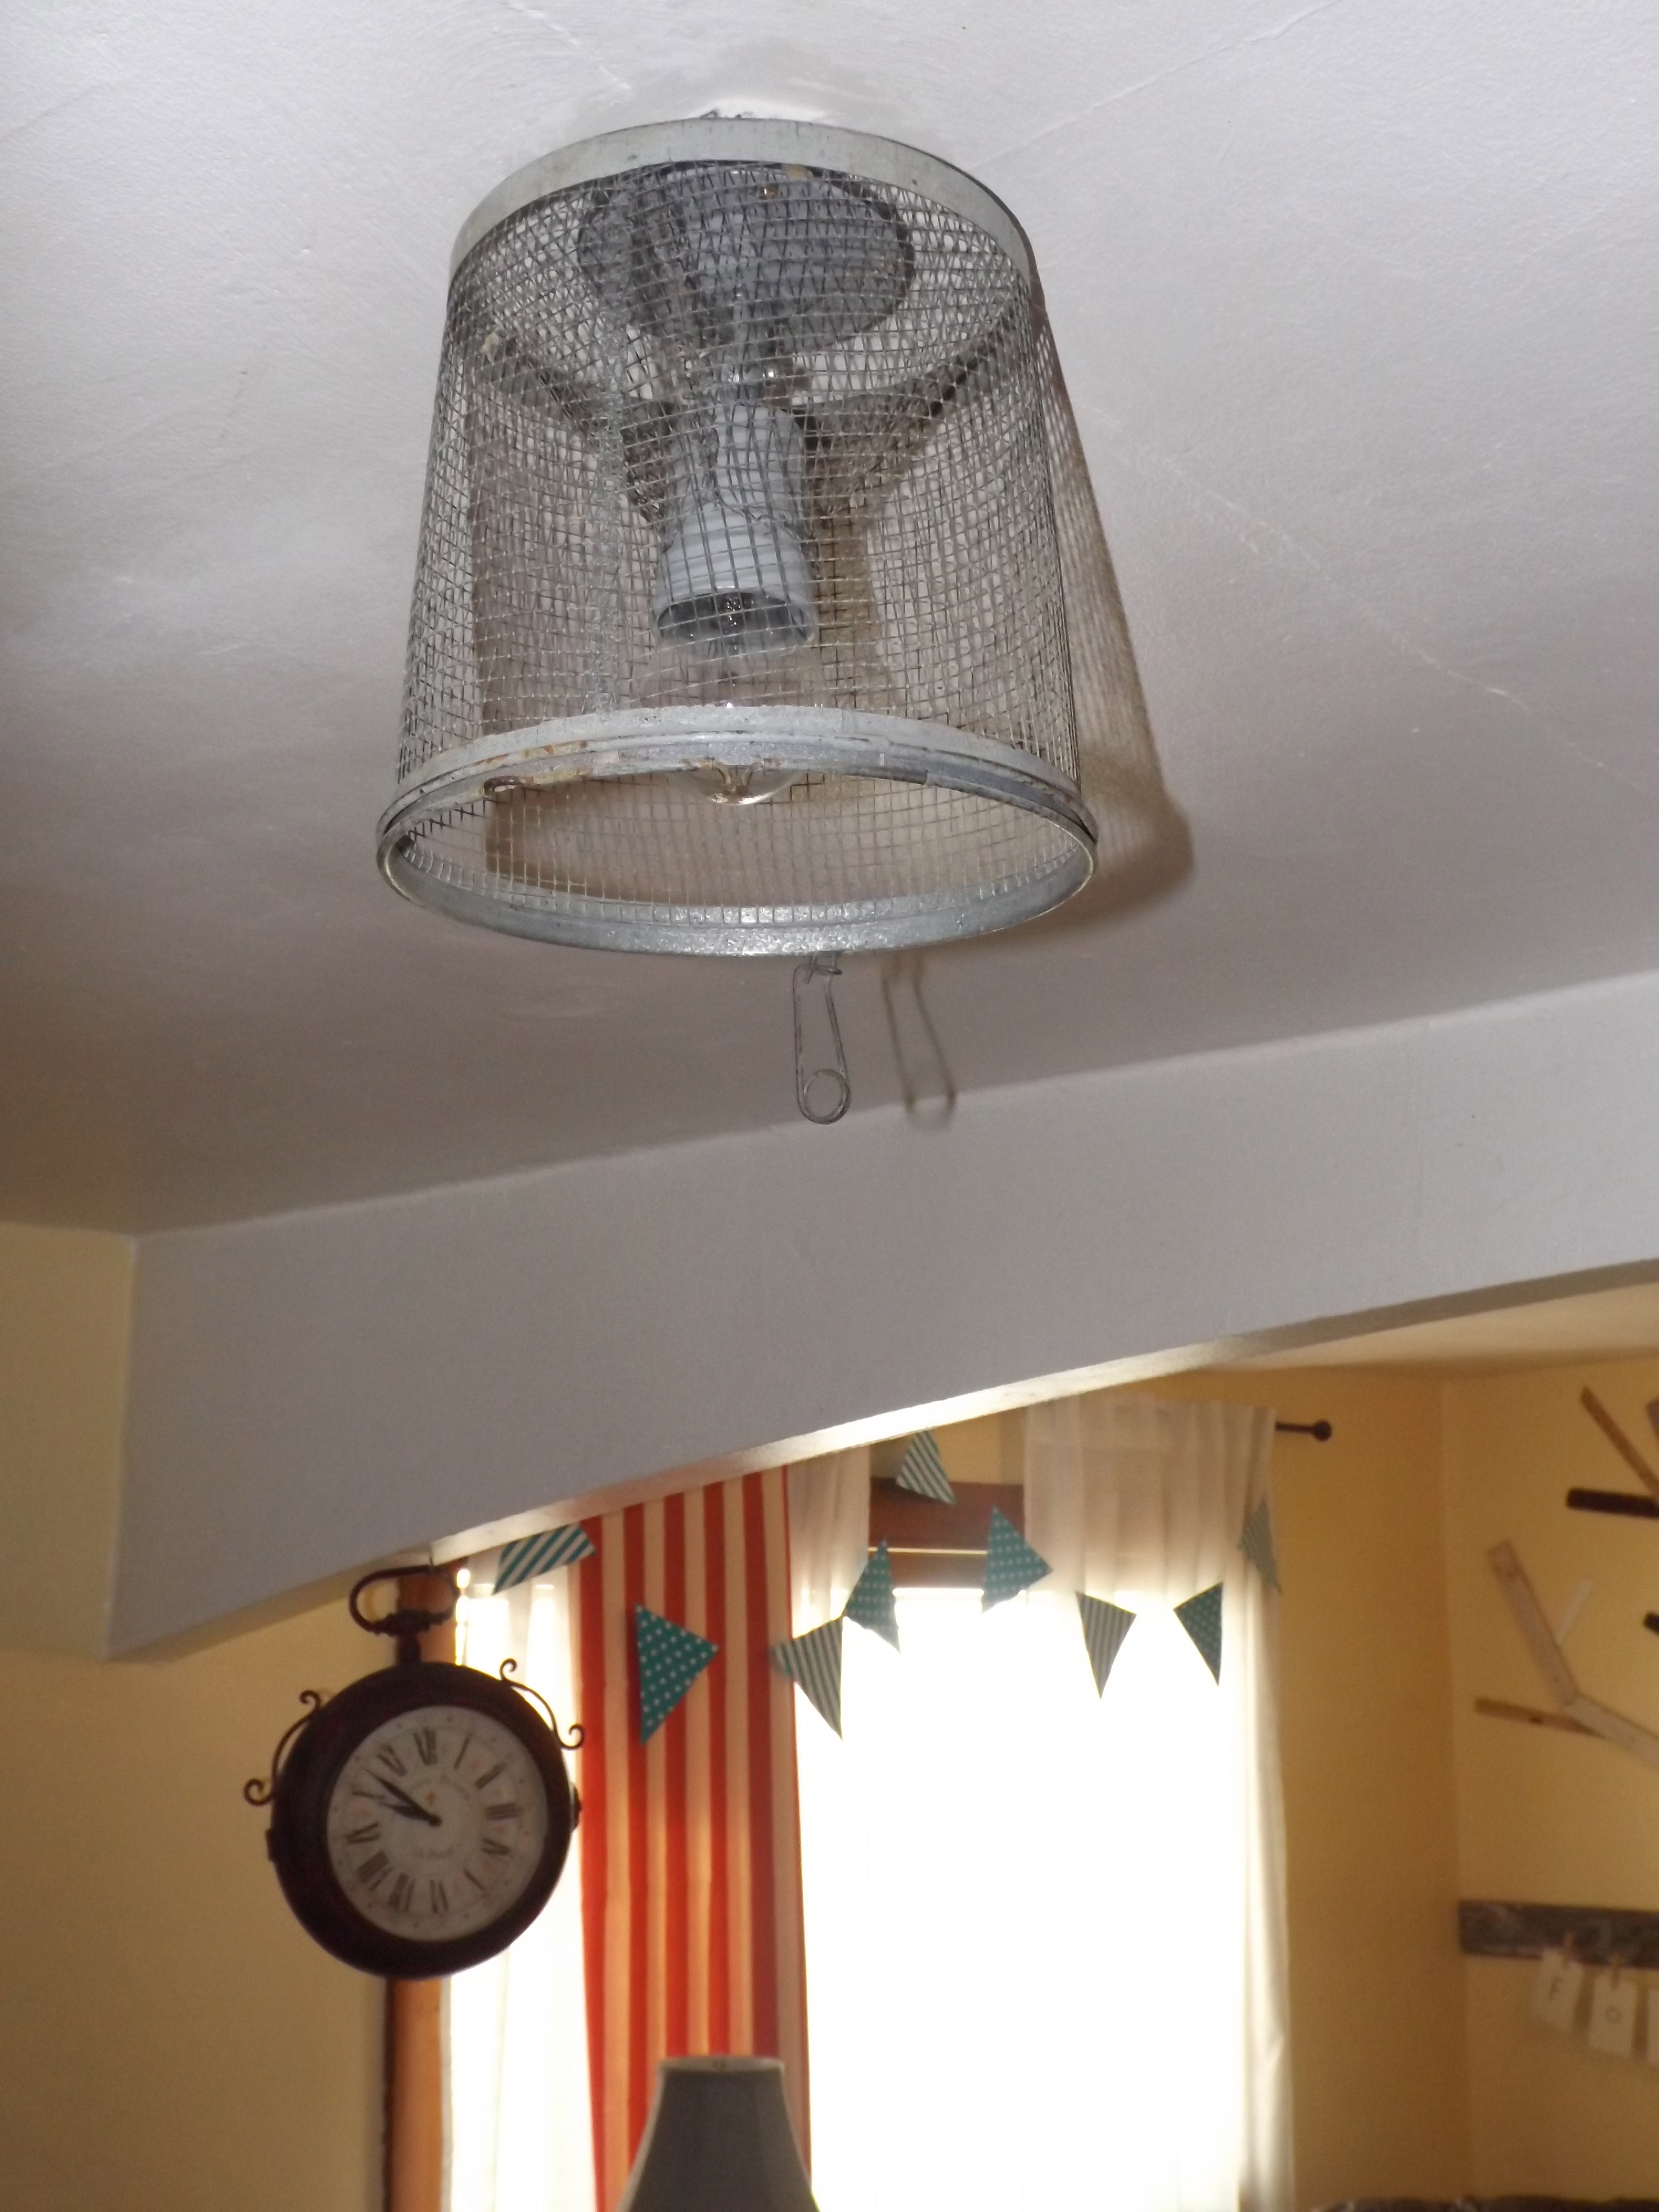
Our light fixtures in the living room are old minnow buckets we found at a flea market. They, too, are one of my faves!
I hope you enjoyed our little living room tour! We’re headed to enjoy some summer outside!
The kitchen is the most popular room in our house…probably because we spend a lot of time there. Between three meals and two snacks, plus prep and clean-up, some days I feel like I rarely leave it!
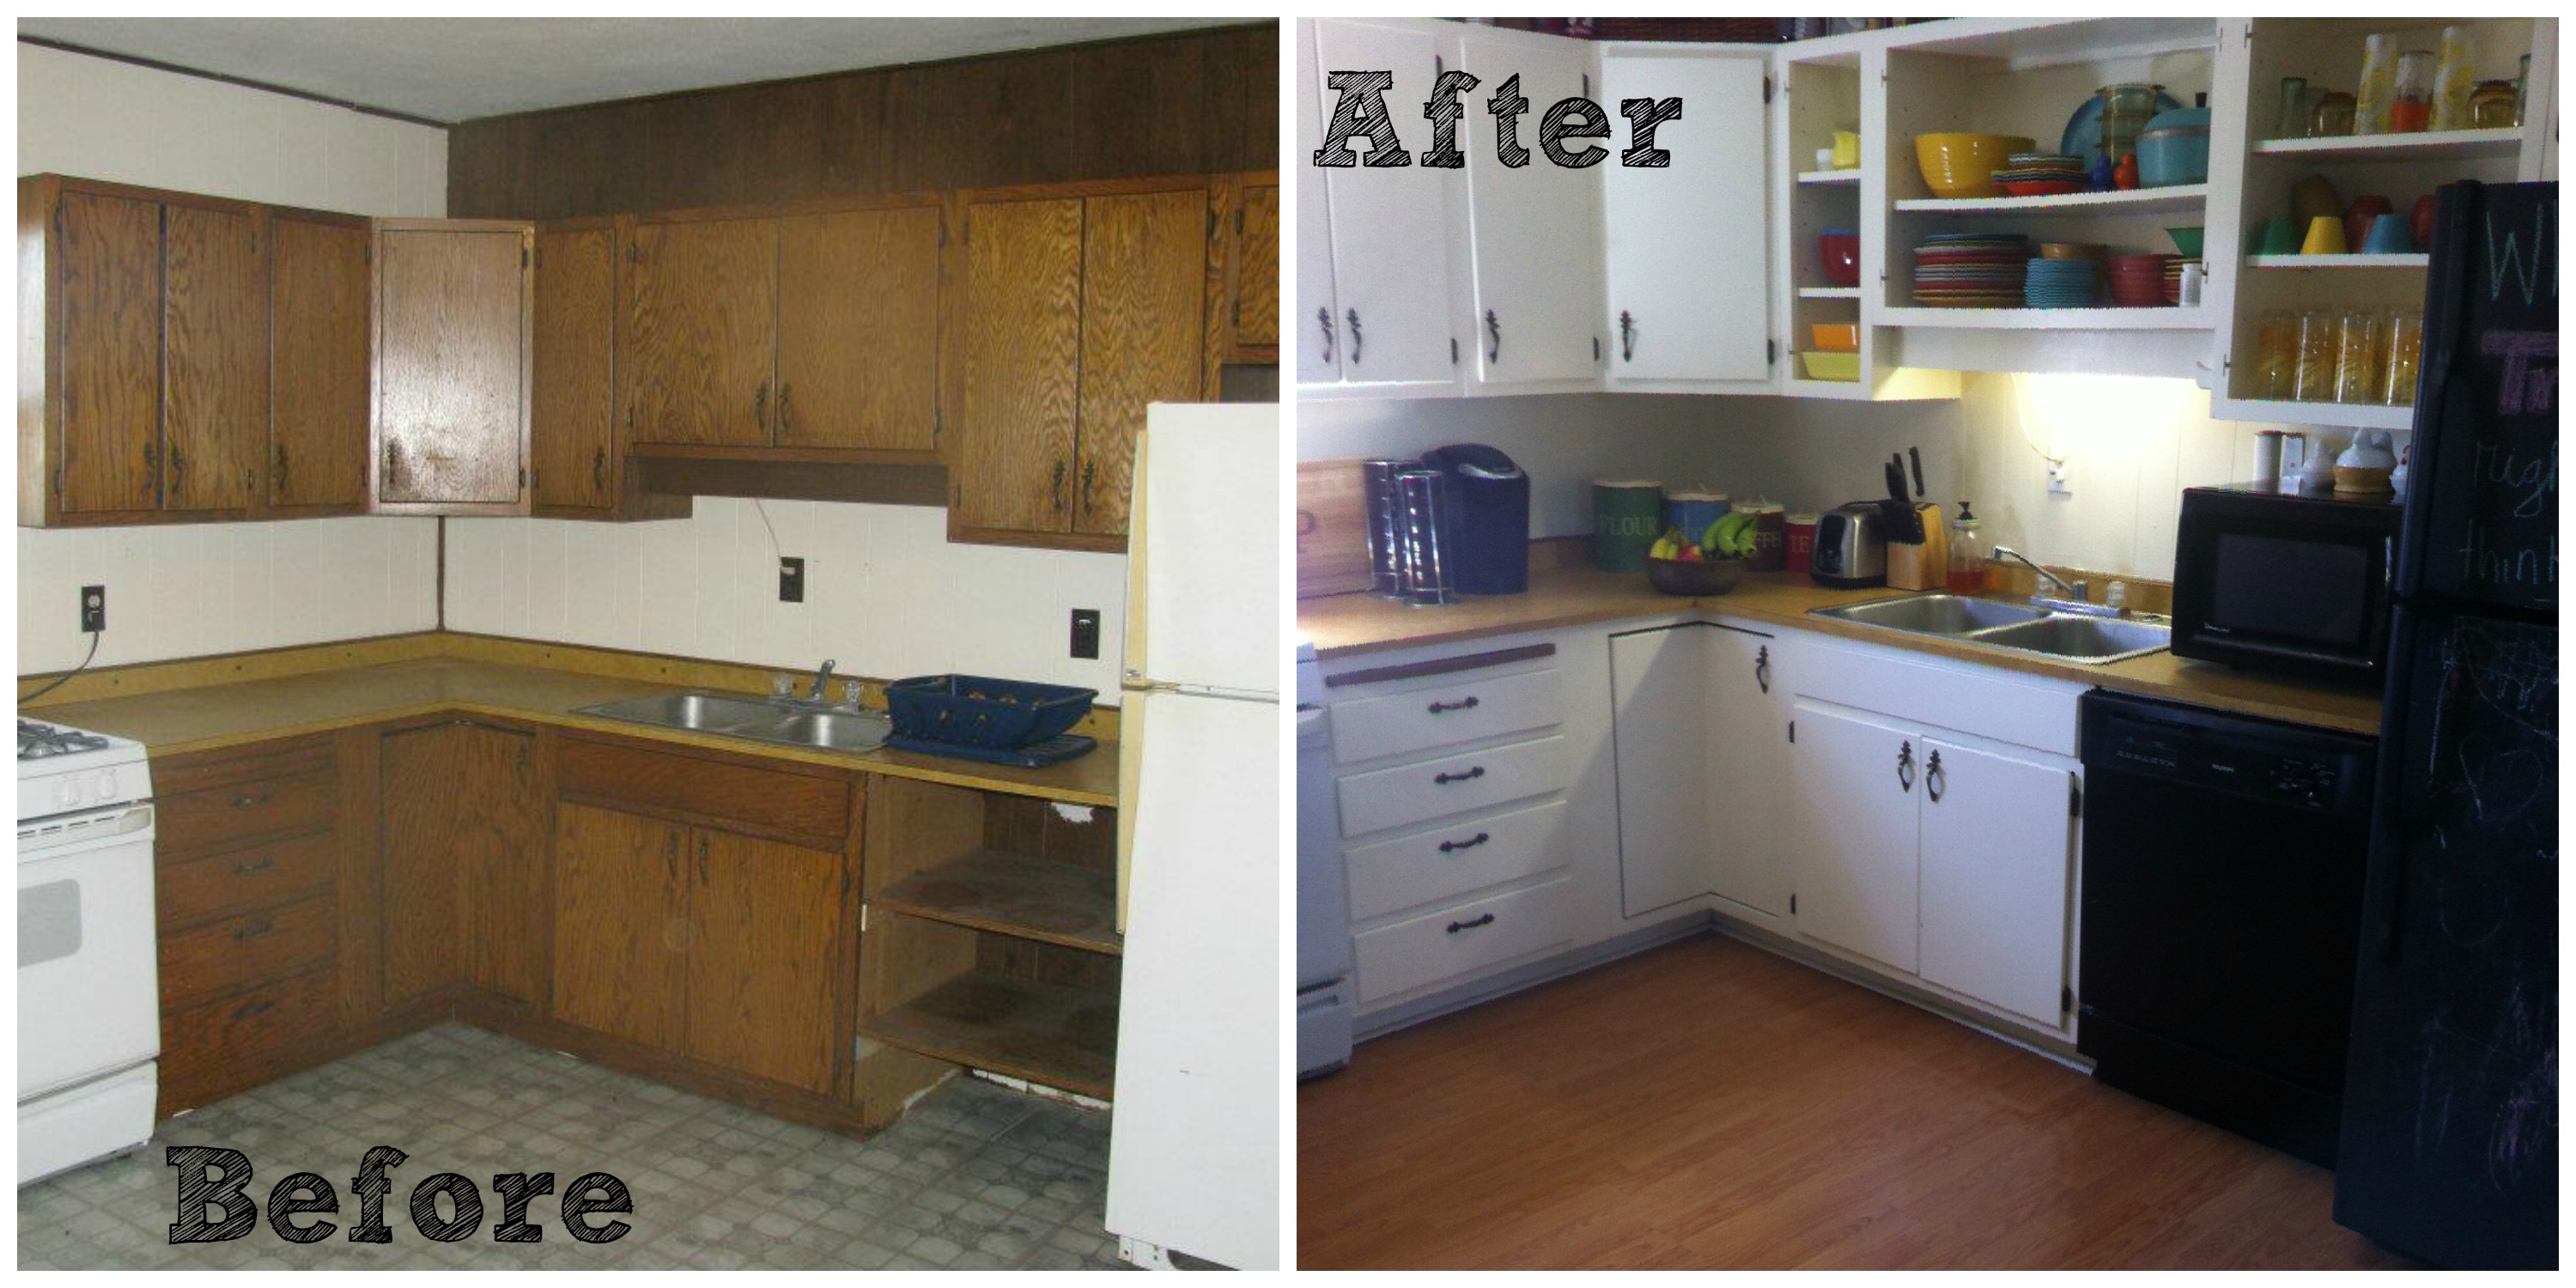
Aside from the flooring, this room didn’t need much attention; it mainly just looked dated…a little paint goes a long way…
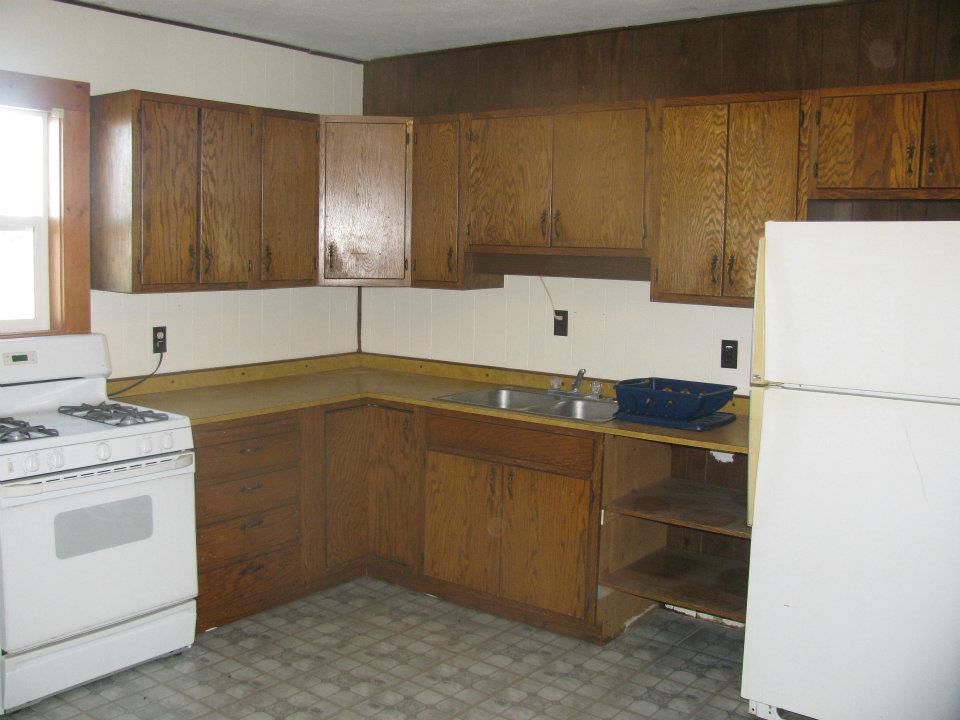
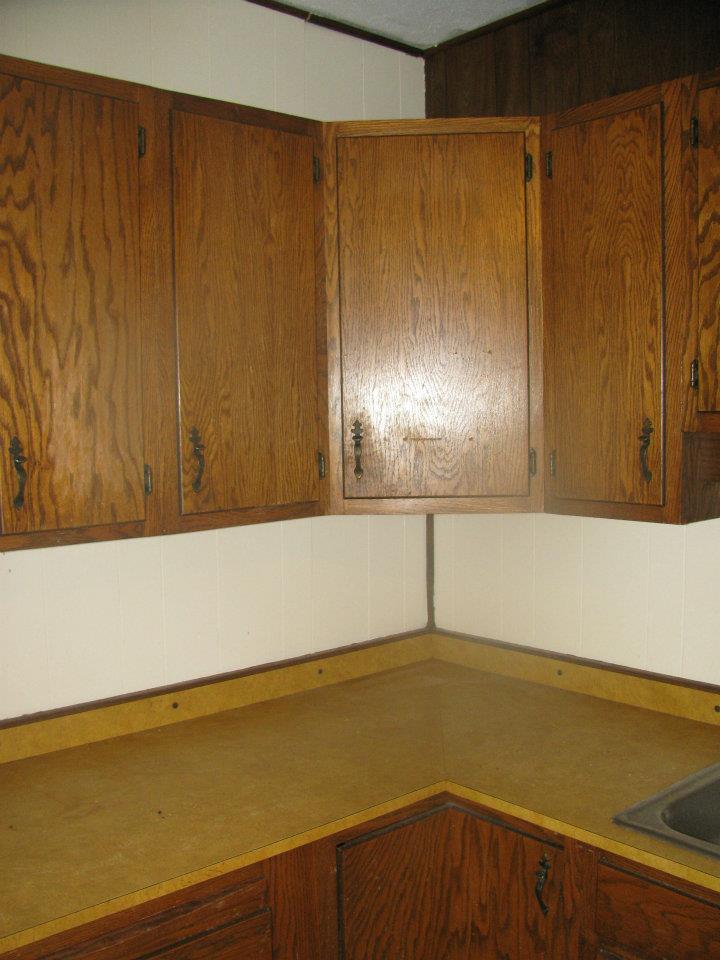
Before:
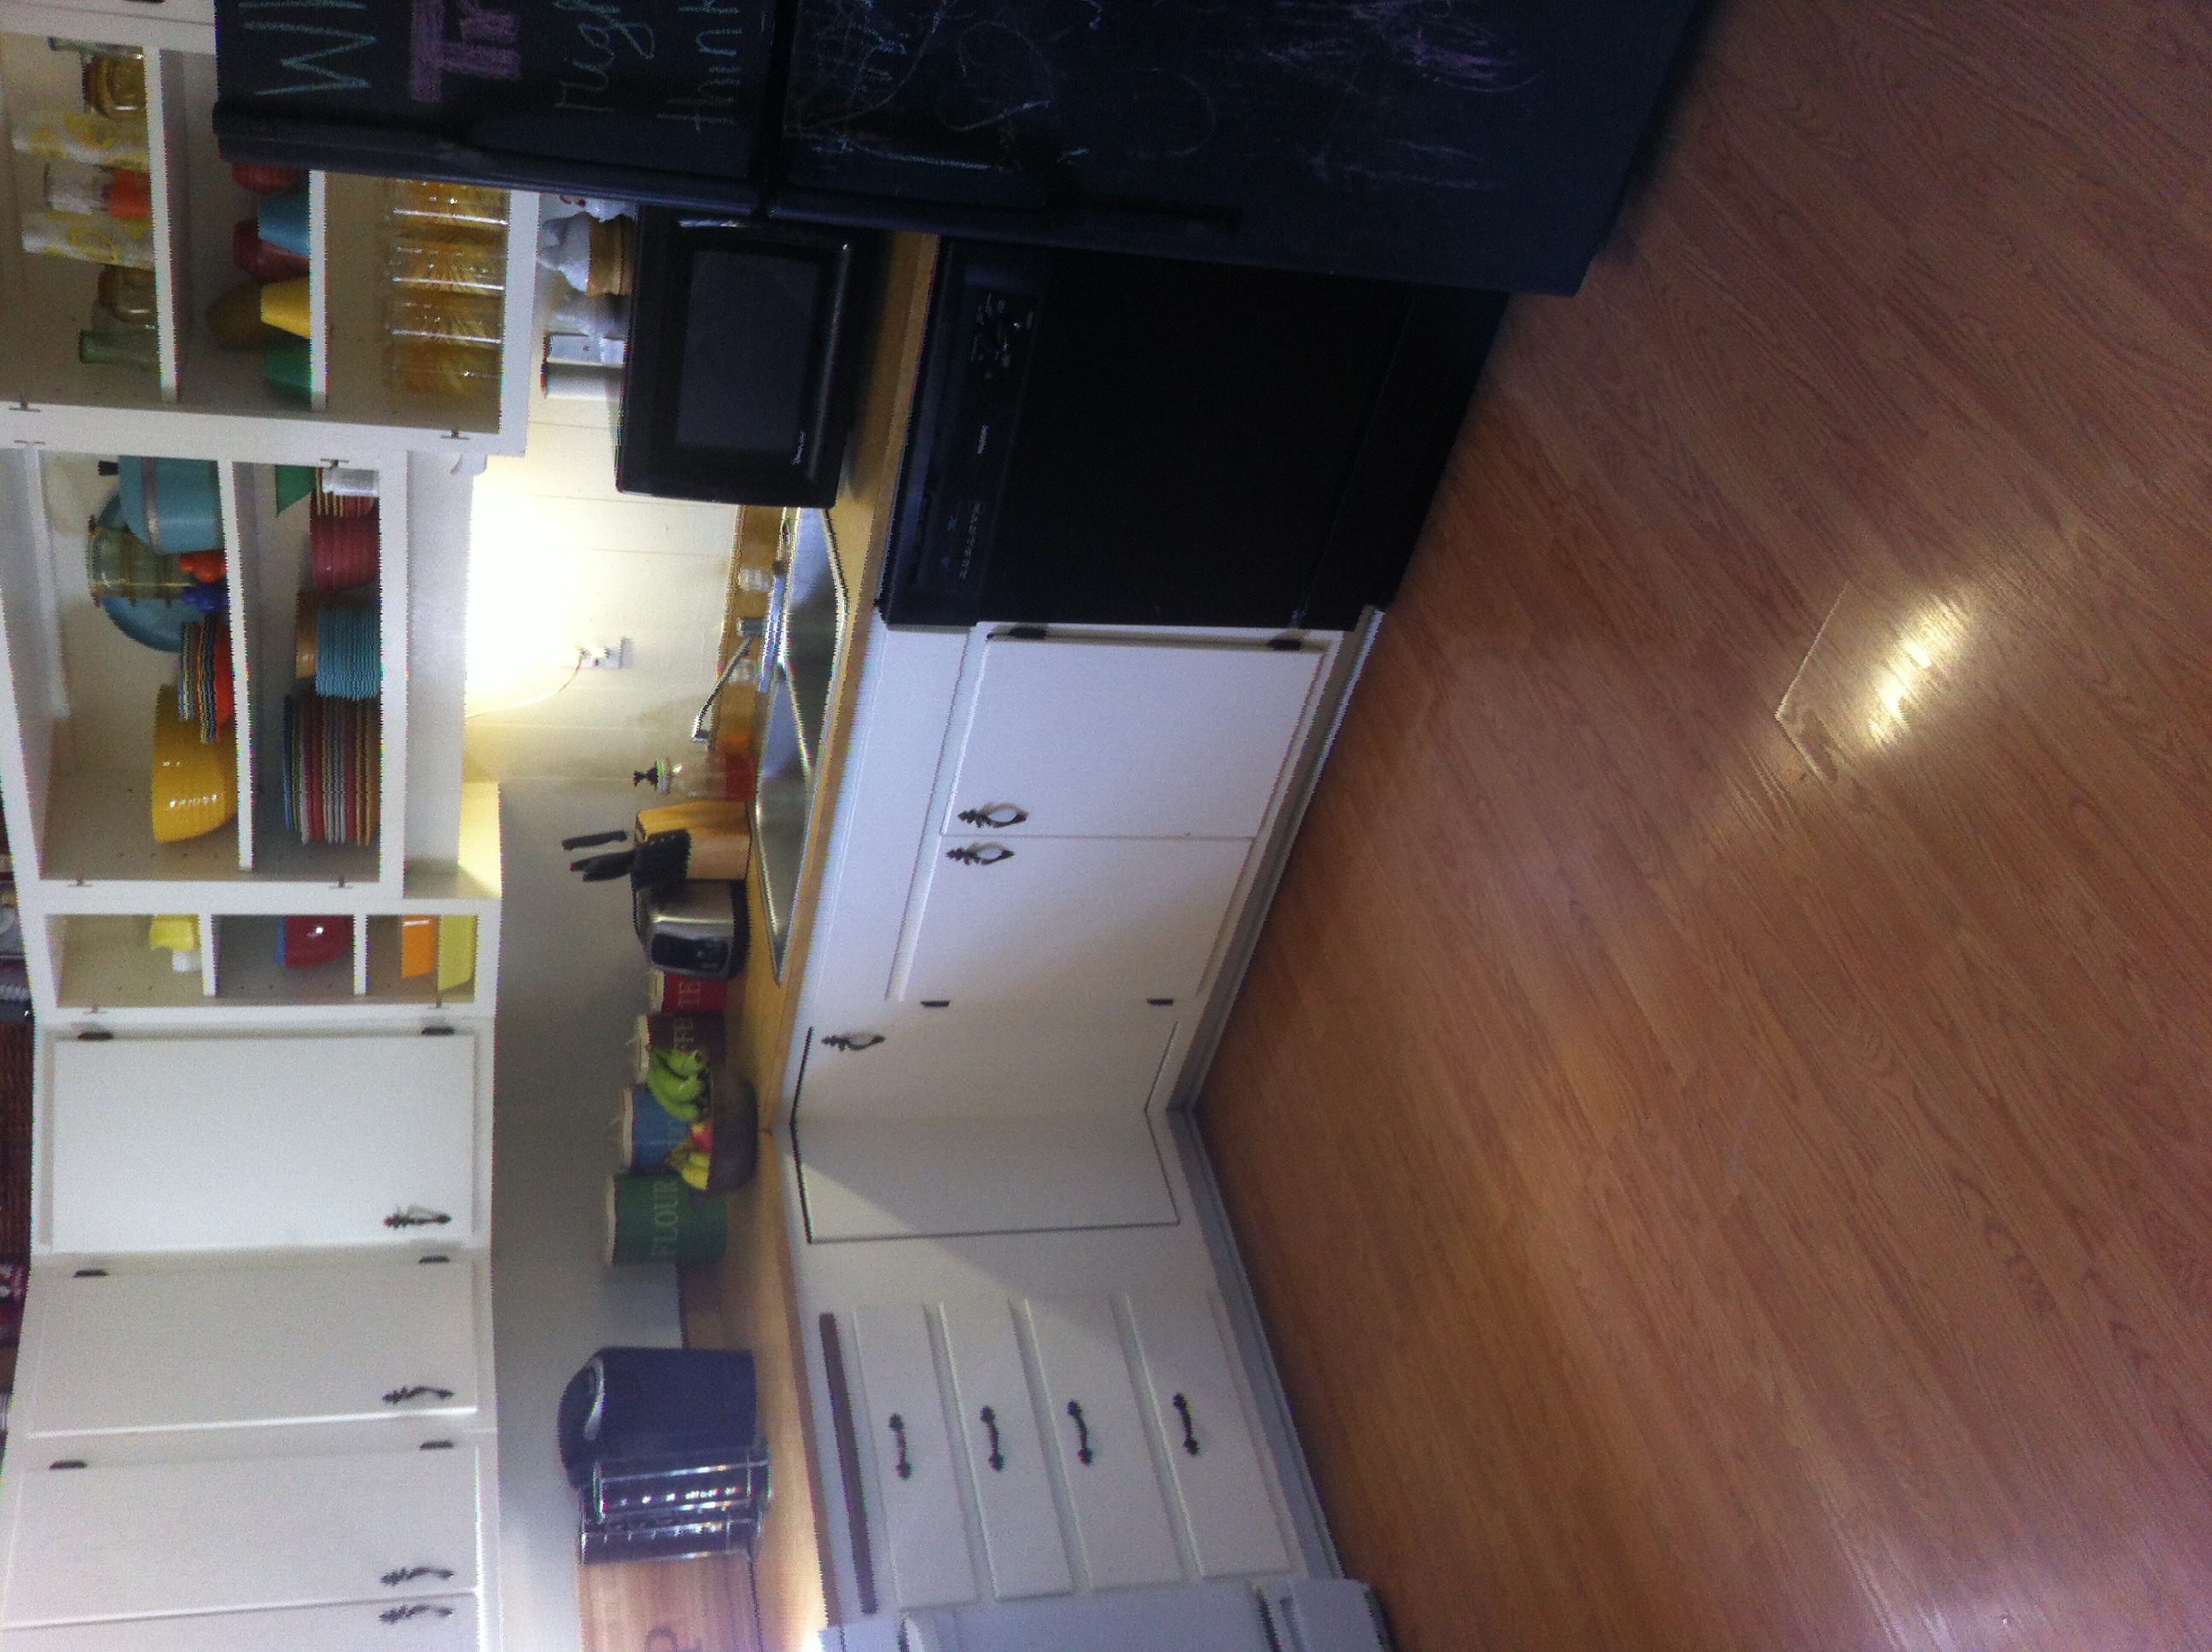
After:
We painted all of the cabinets a soft white, added a dishwasher, painted the walls and put in new flooring.
A little brighter, yes?!
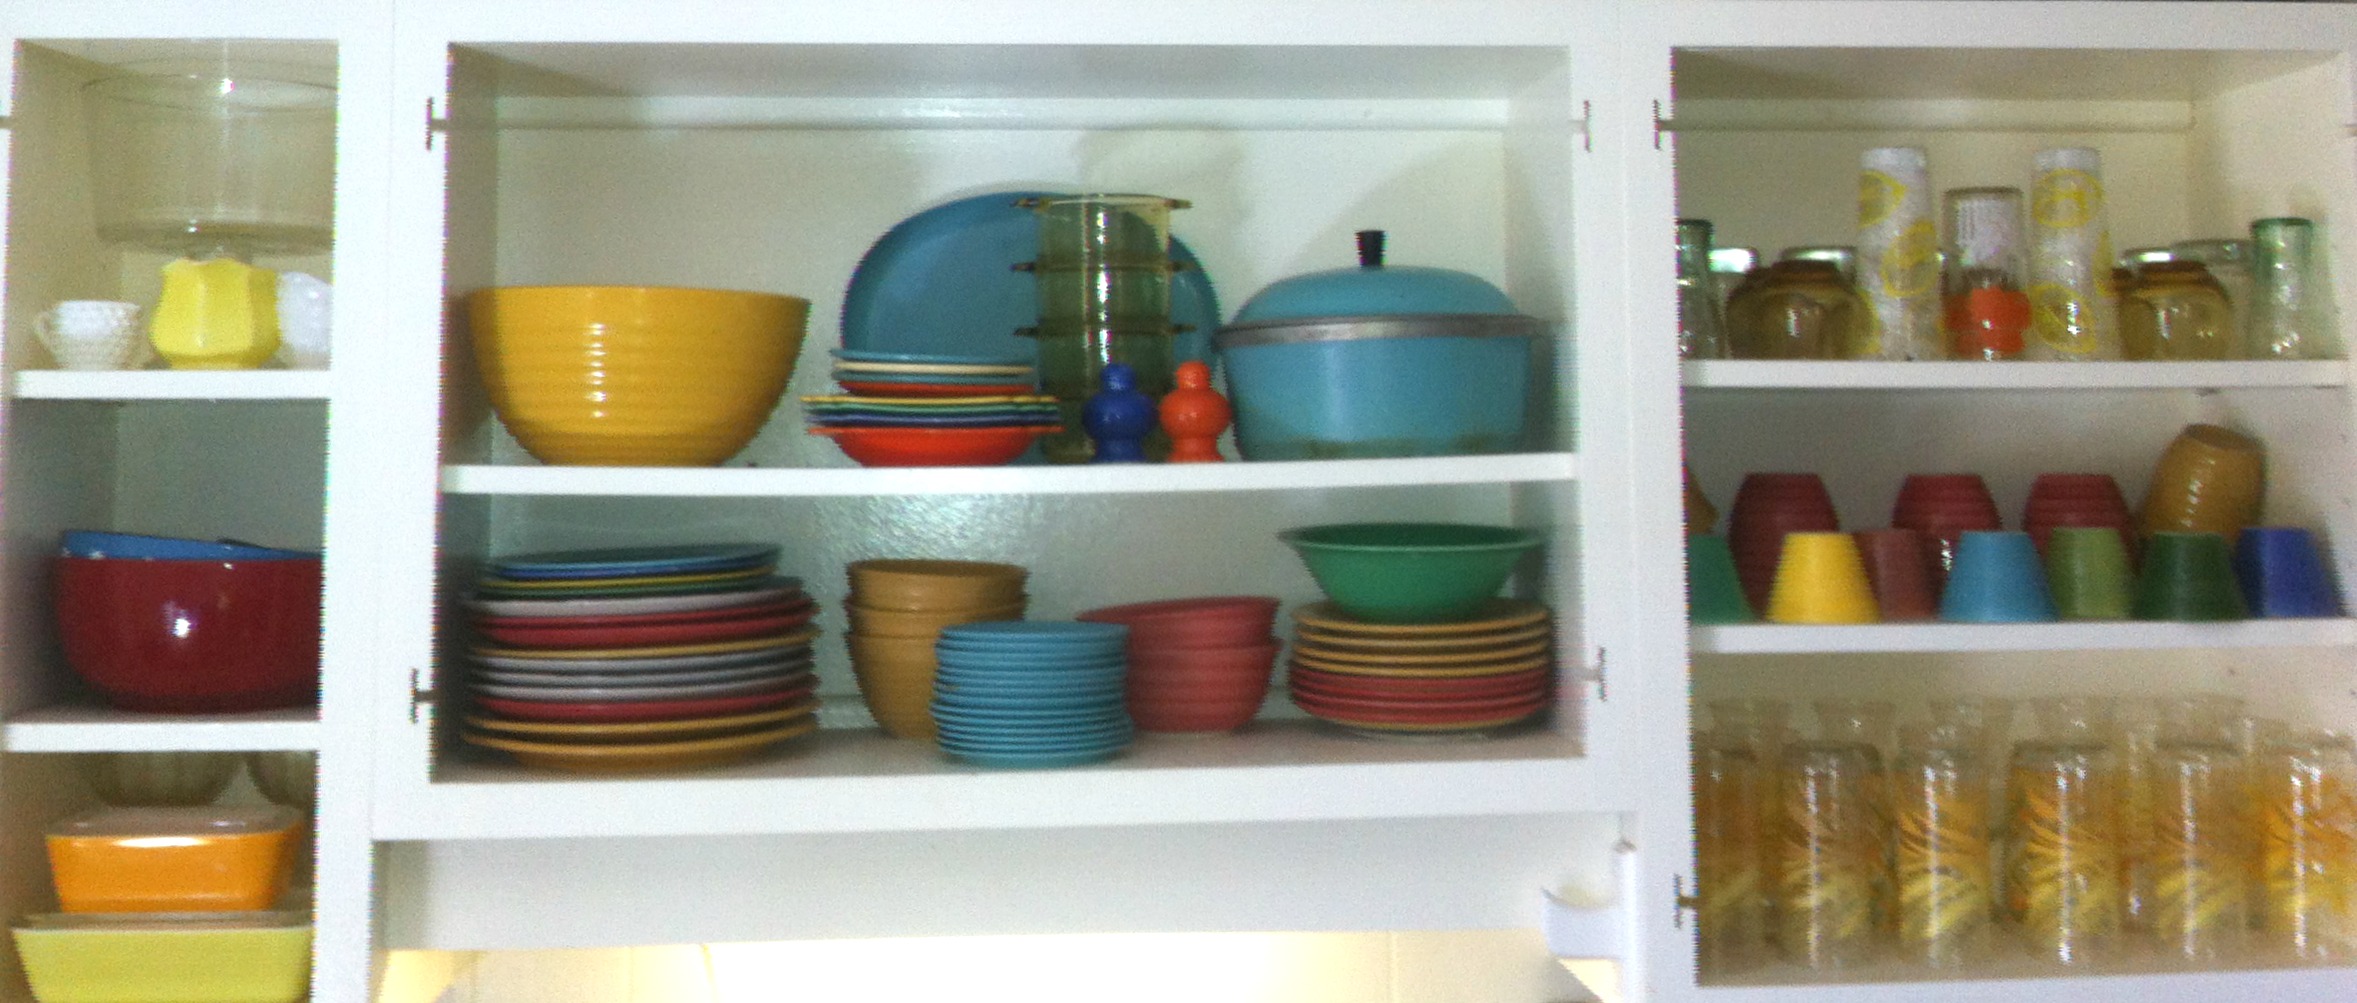
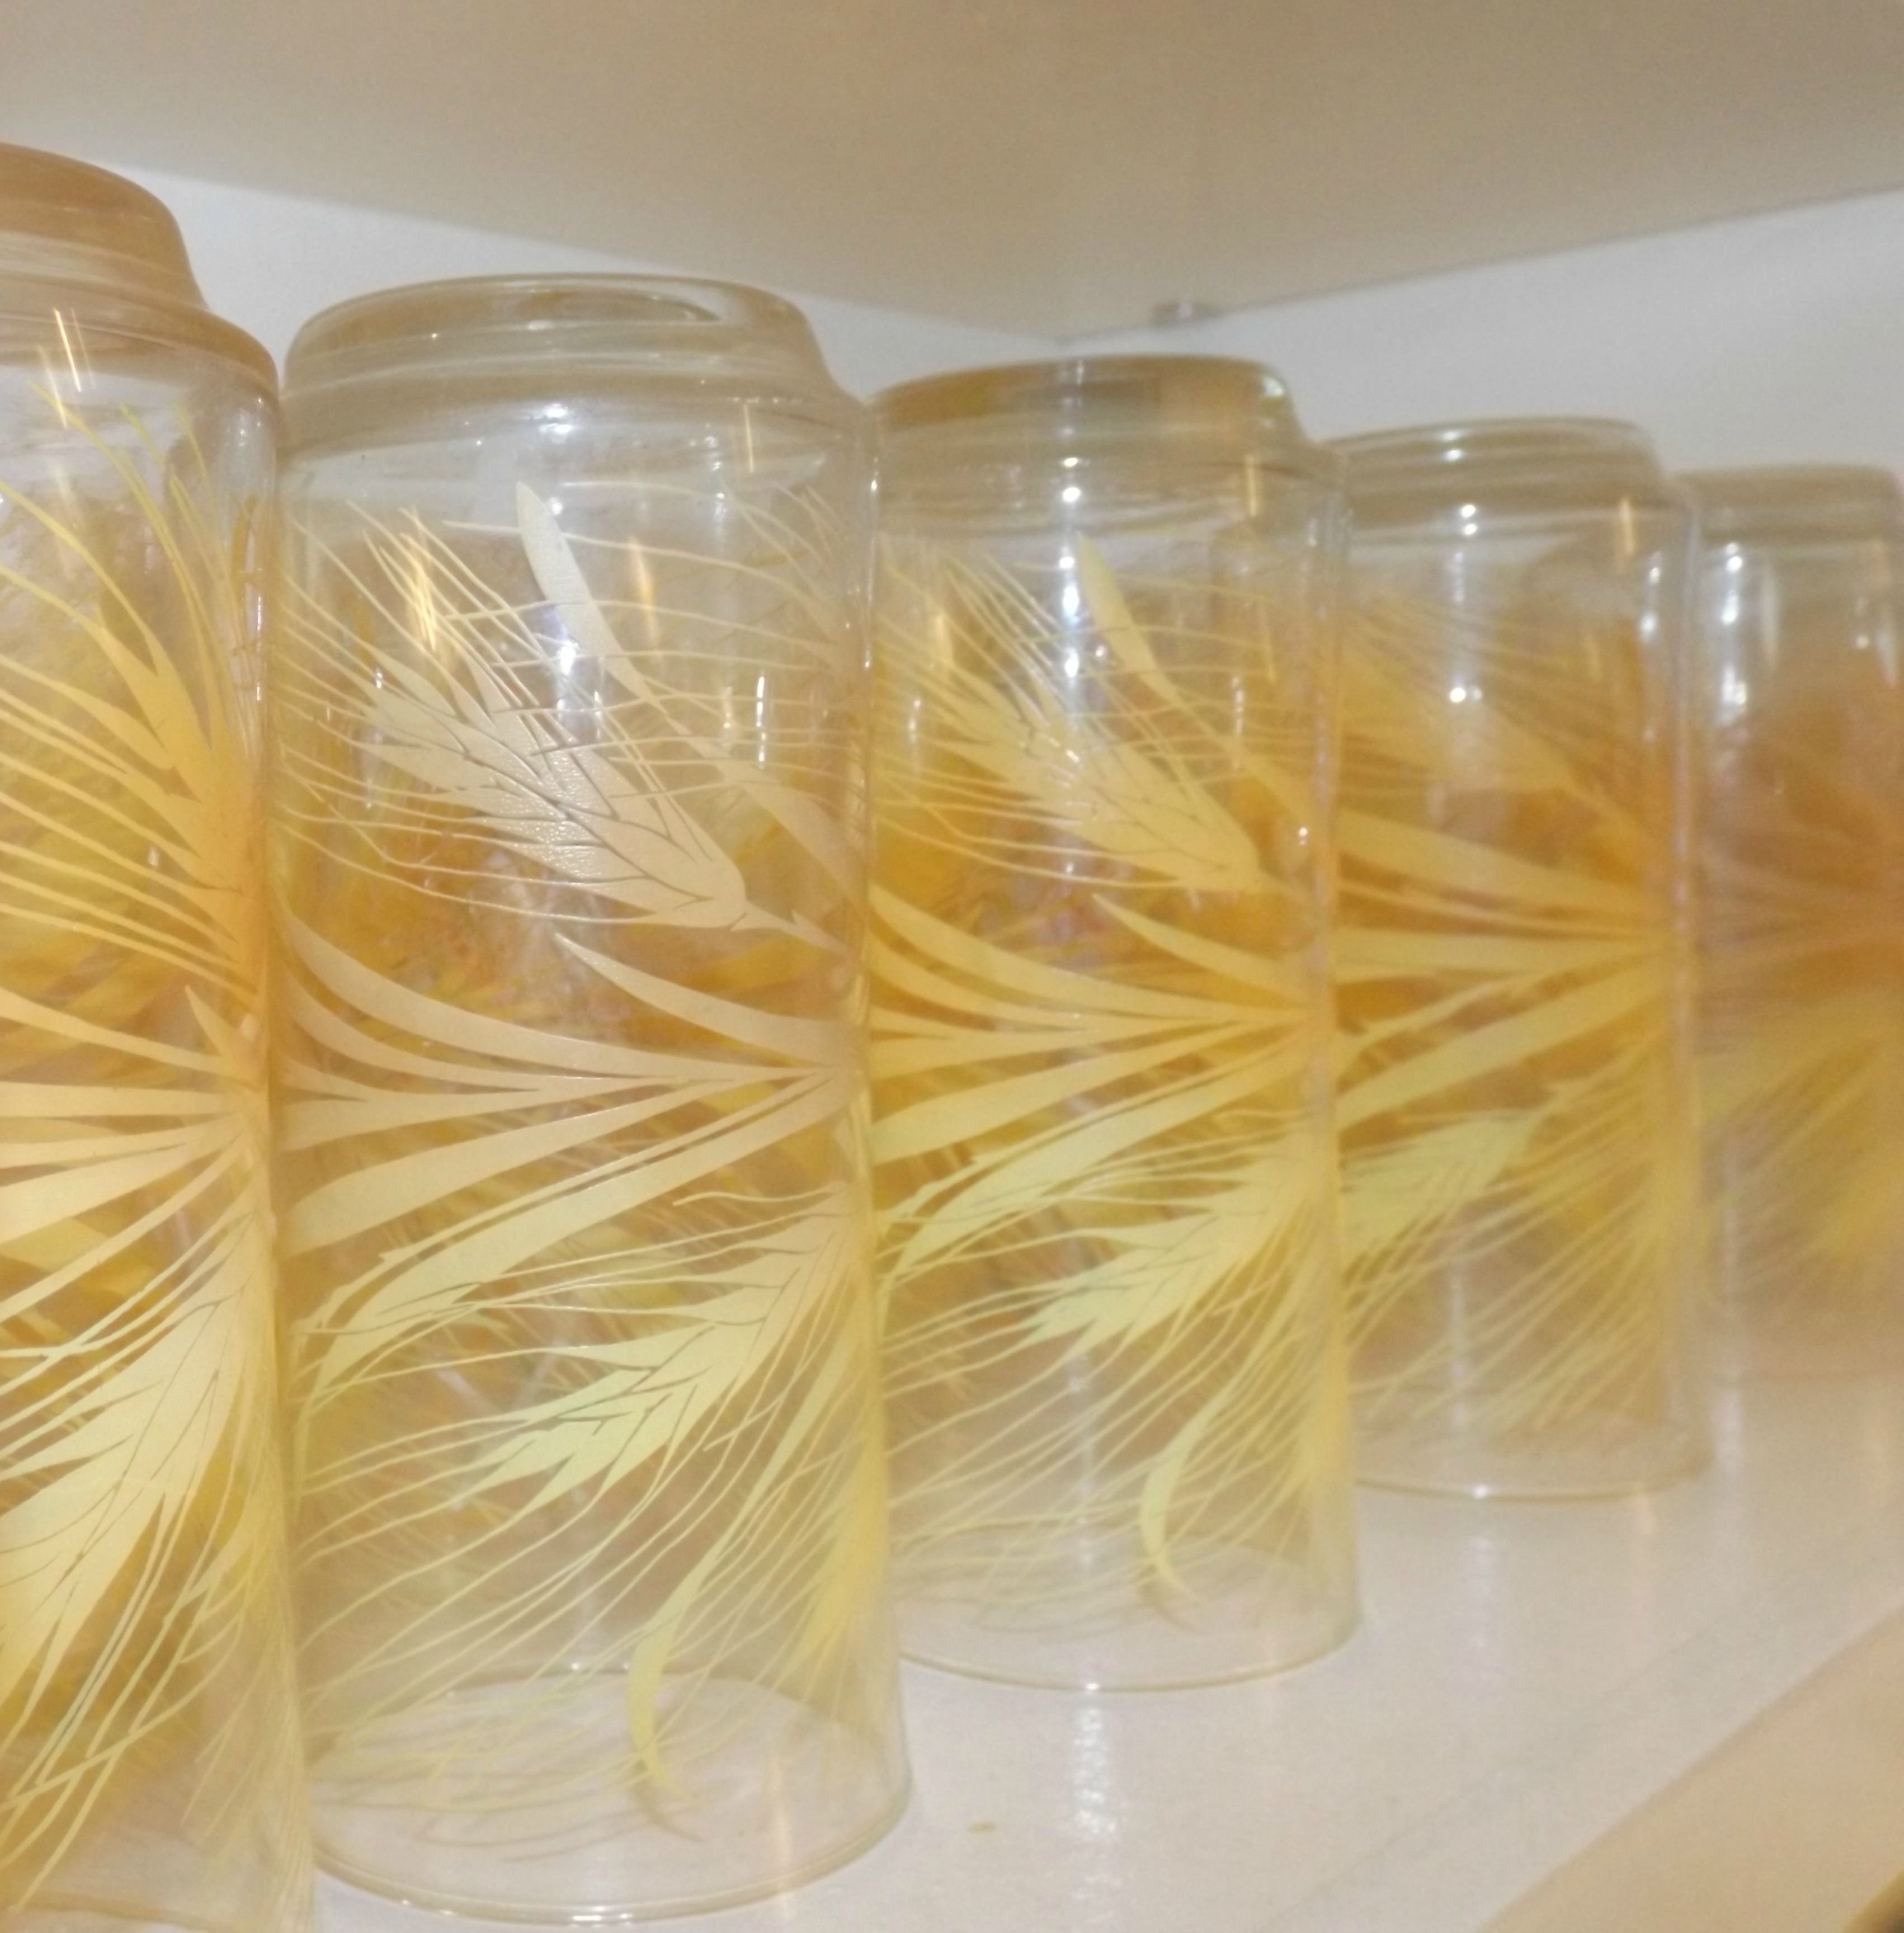
I left some of the cabinets exposed to show off some of my fun dishes and glassware.
I LOVE fun dishes!Color!Wrexy found this set with a pitcher for me – love them!
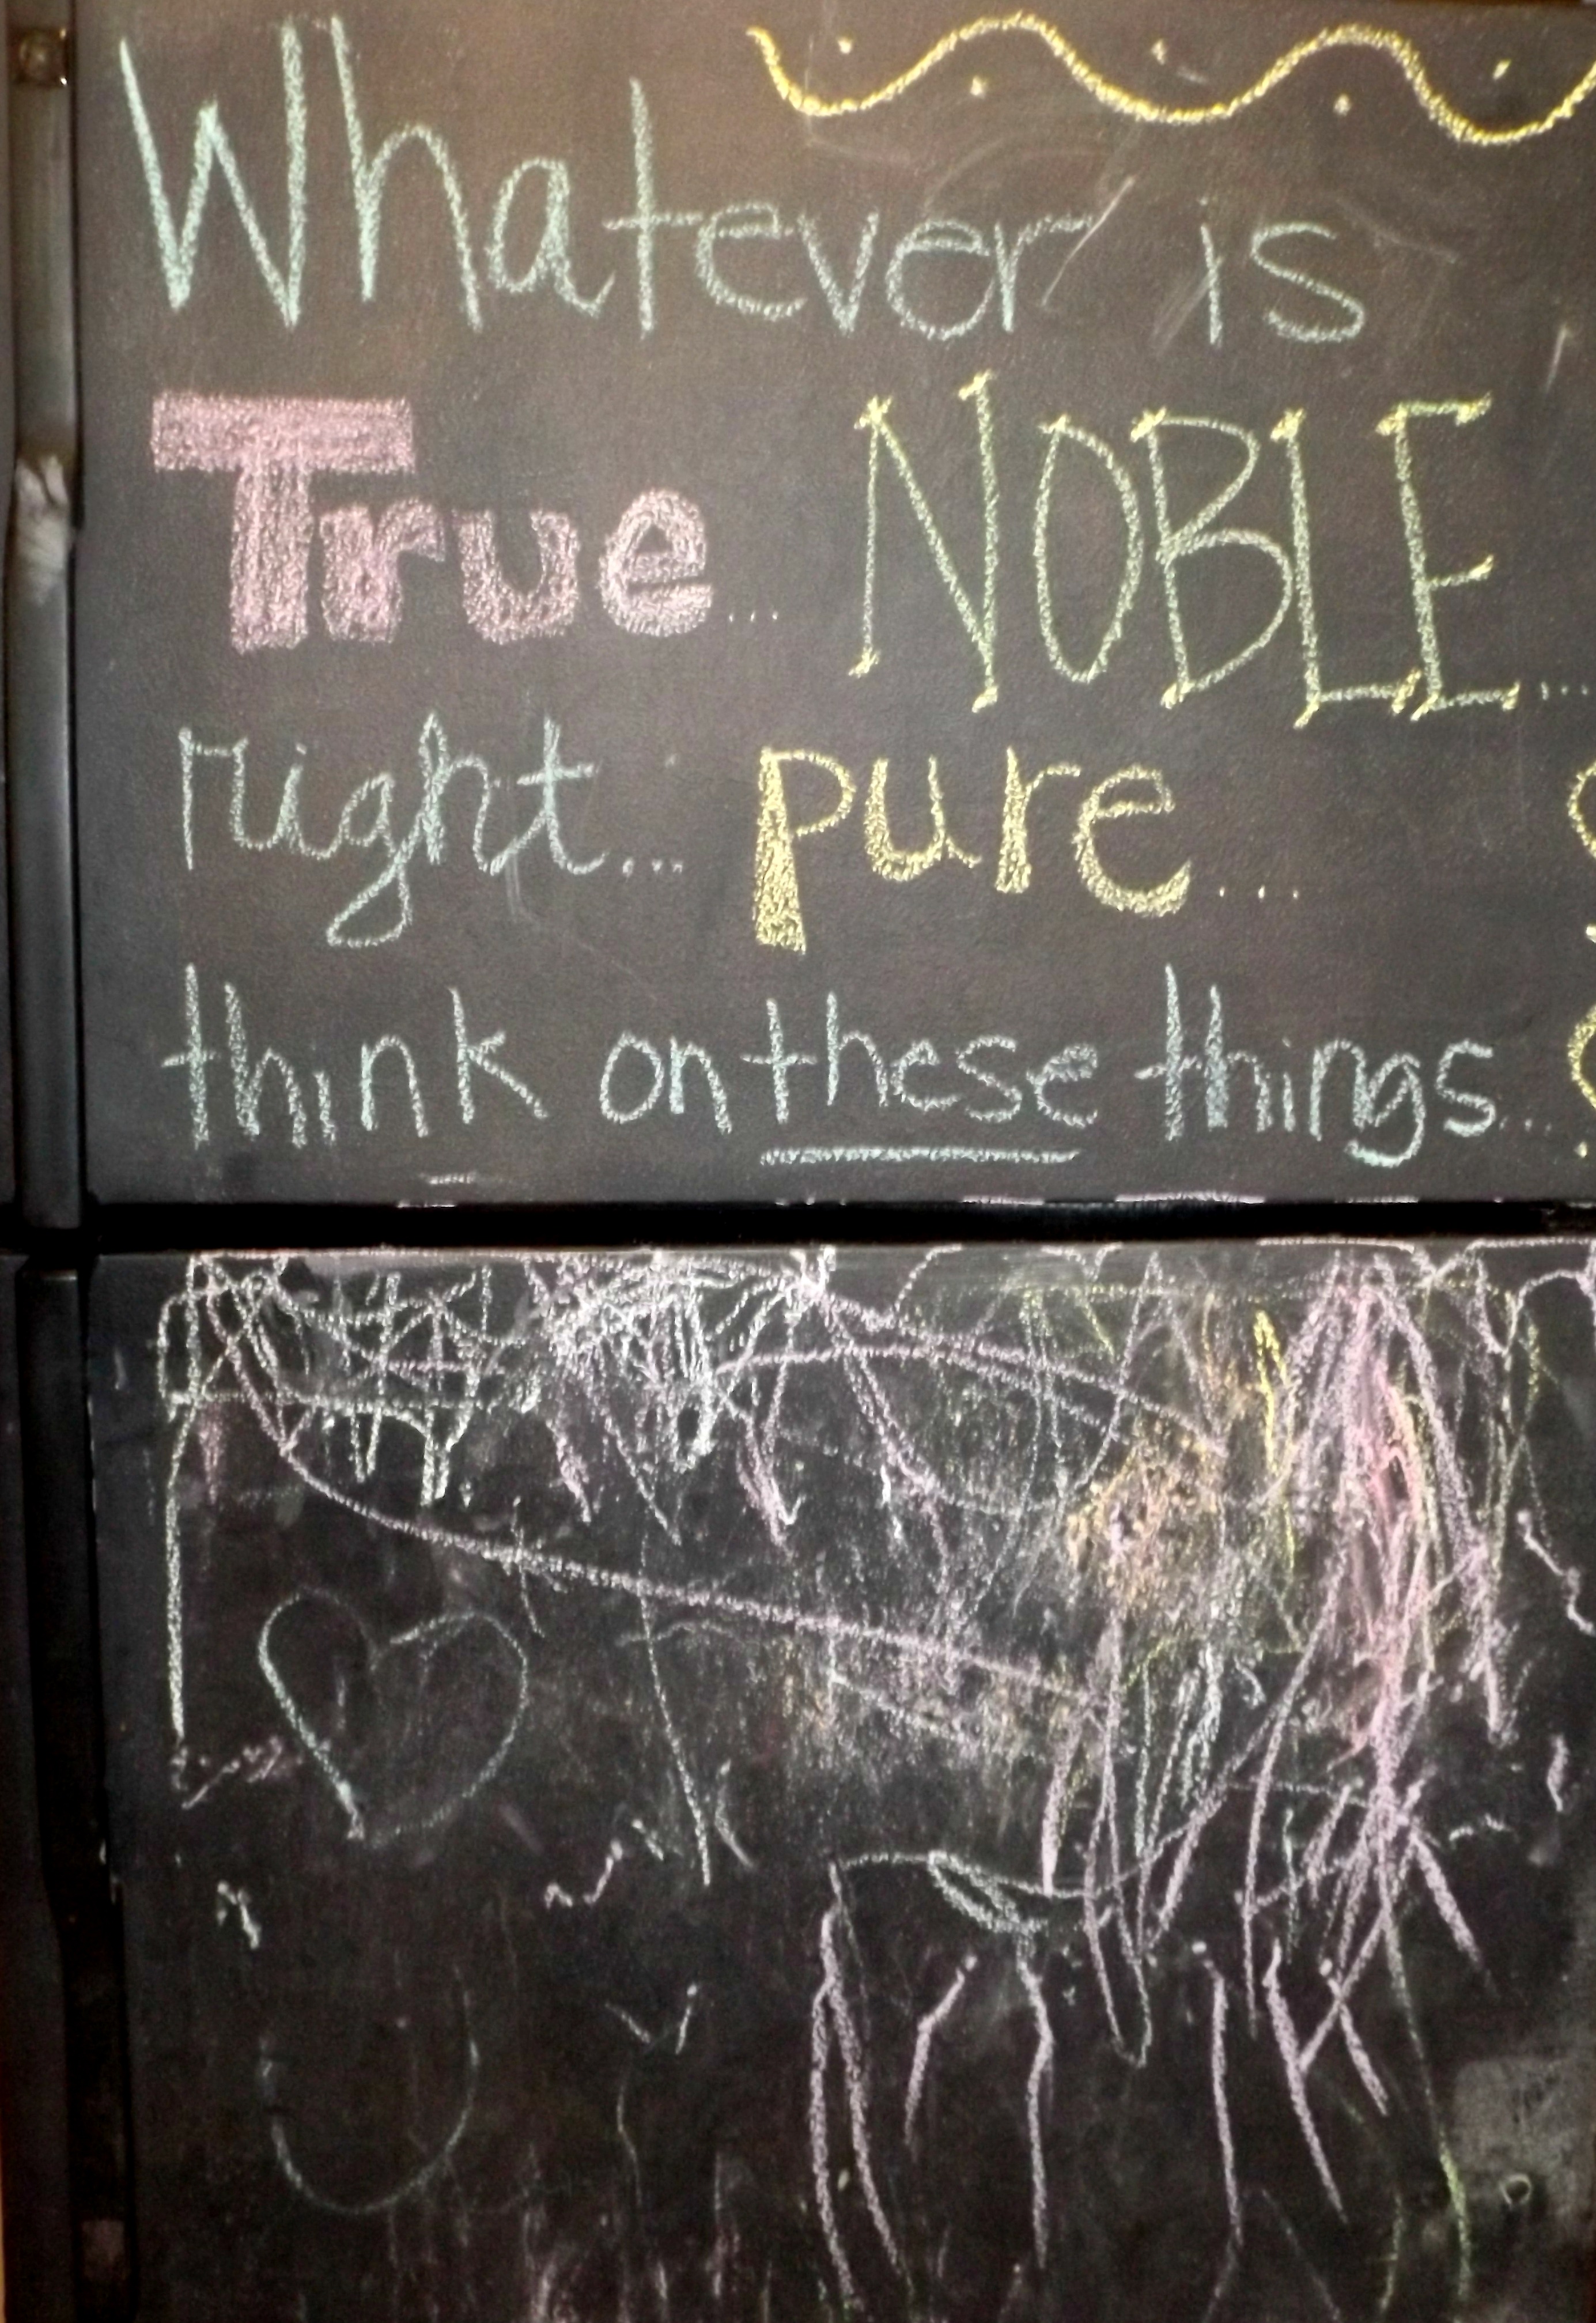
We got this refrigerator from my brother. It had been in storage and was pretty scratched up so I painted it with chalkboard paint. It’s a fantastic place to write scripture or reminders and it gives the kids something to do when I’m cooking.
Think on these things…
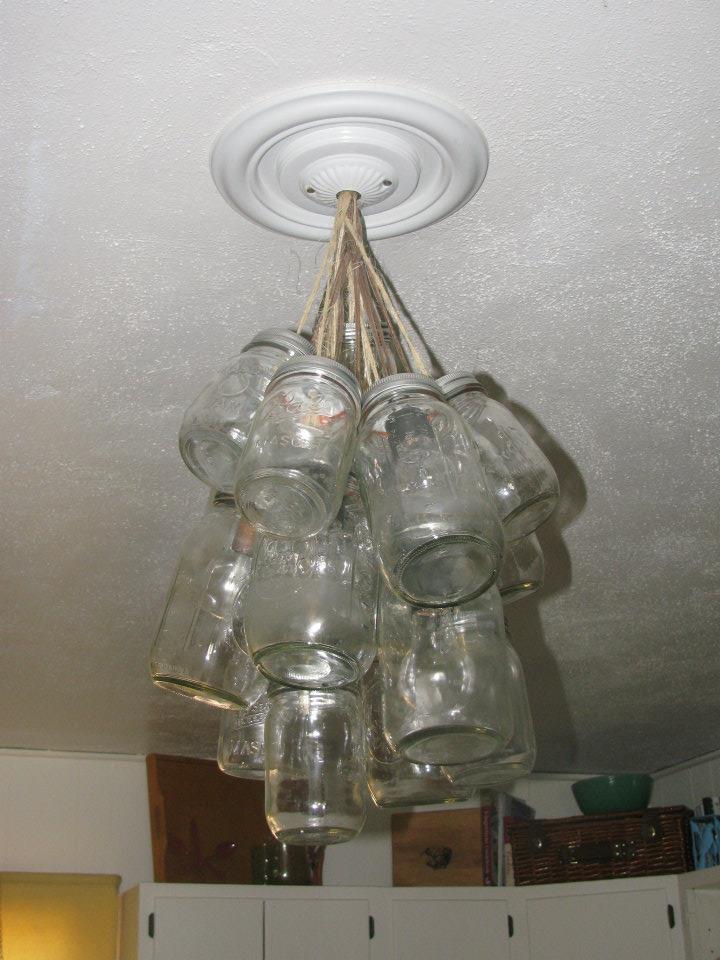
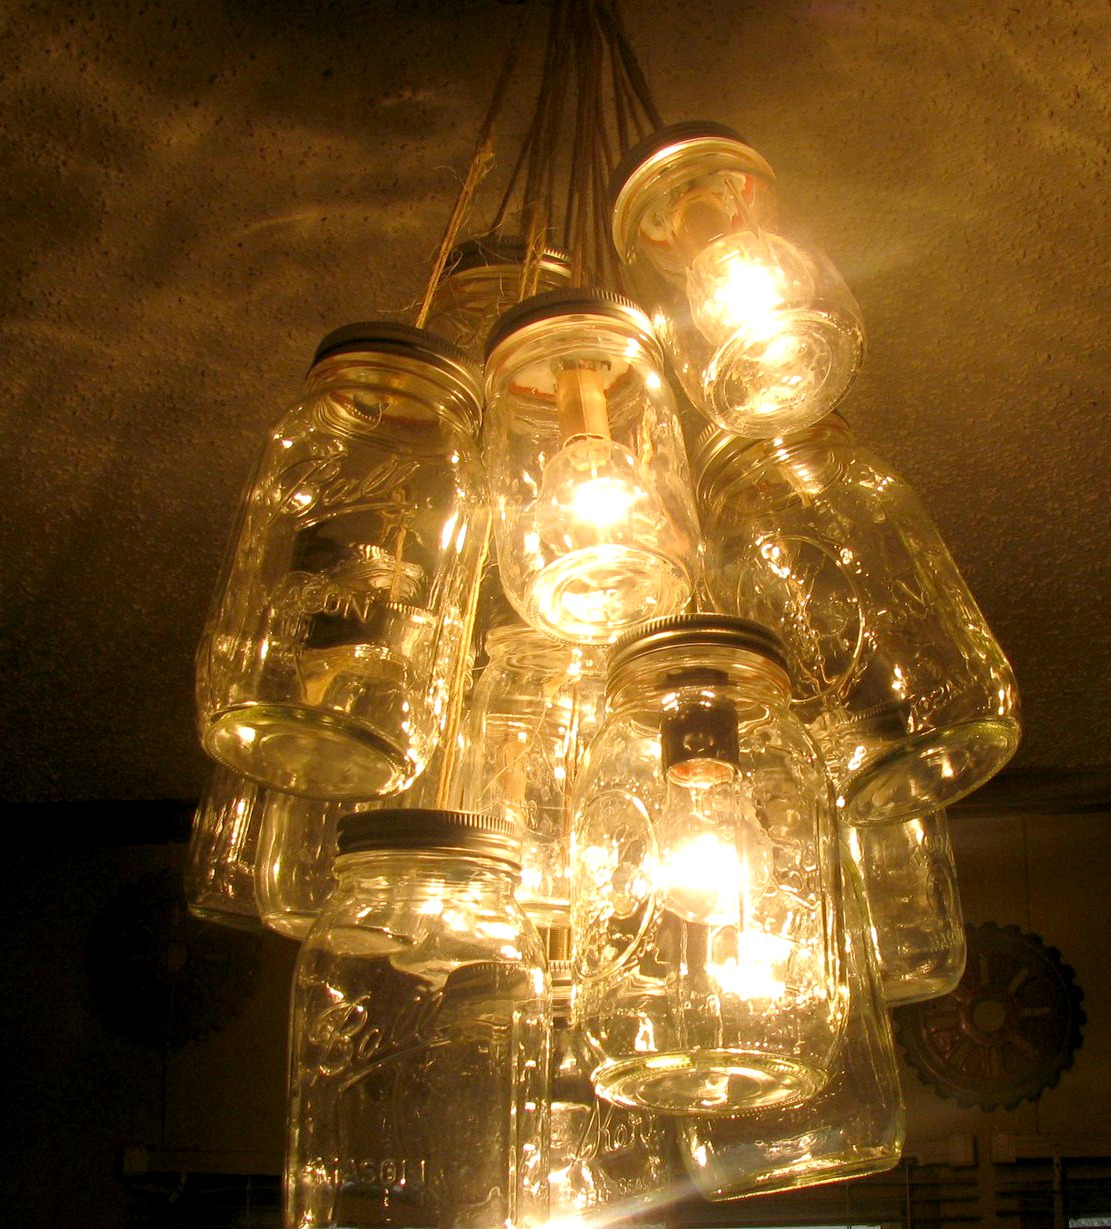
Wrex made this mason jar chandelier for me when we lived in Denver and there was no question that I was hanging it here, as well.
Isn’t this awesome?!?It’s one of my favorite things in the house…
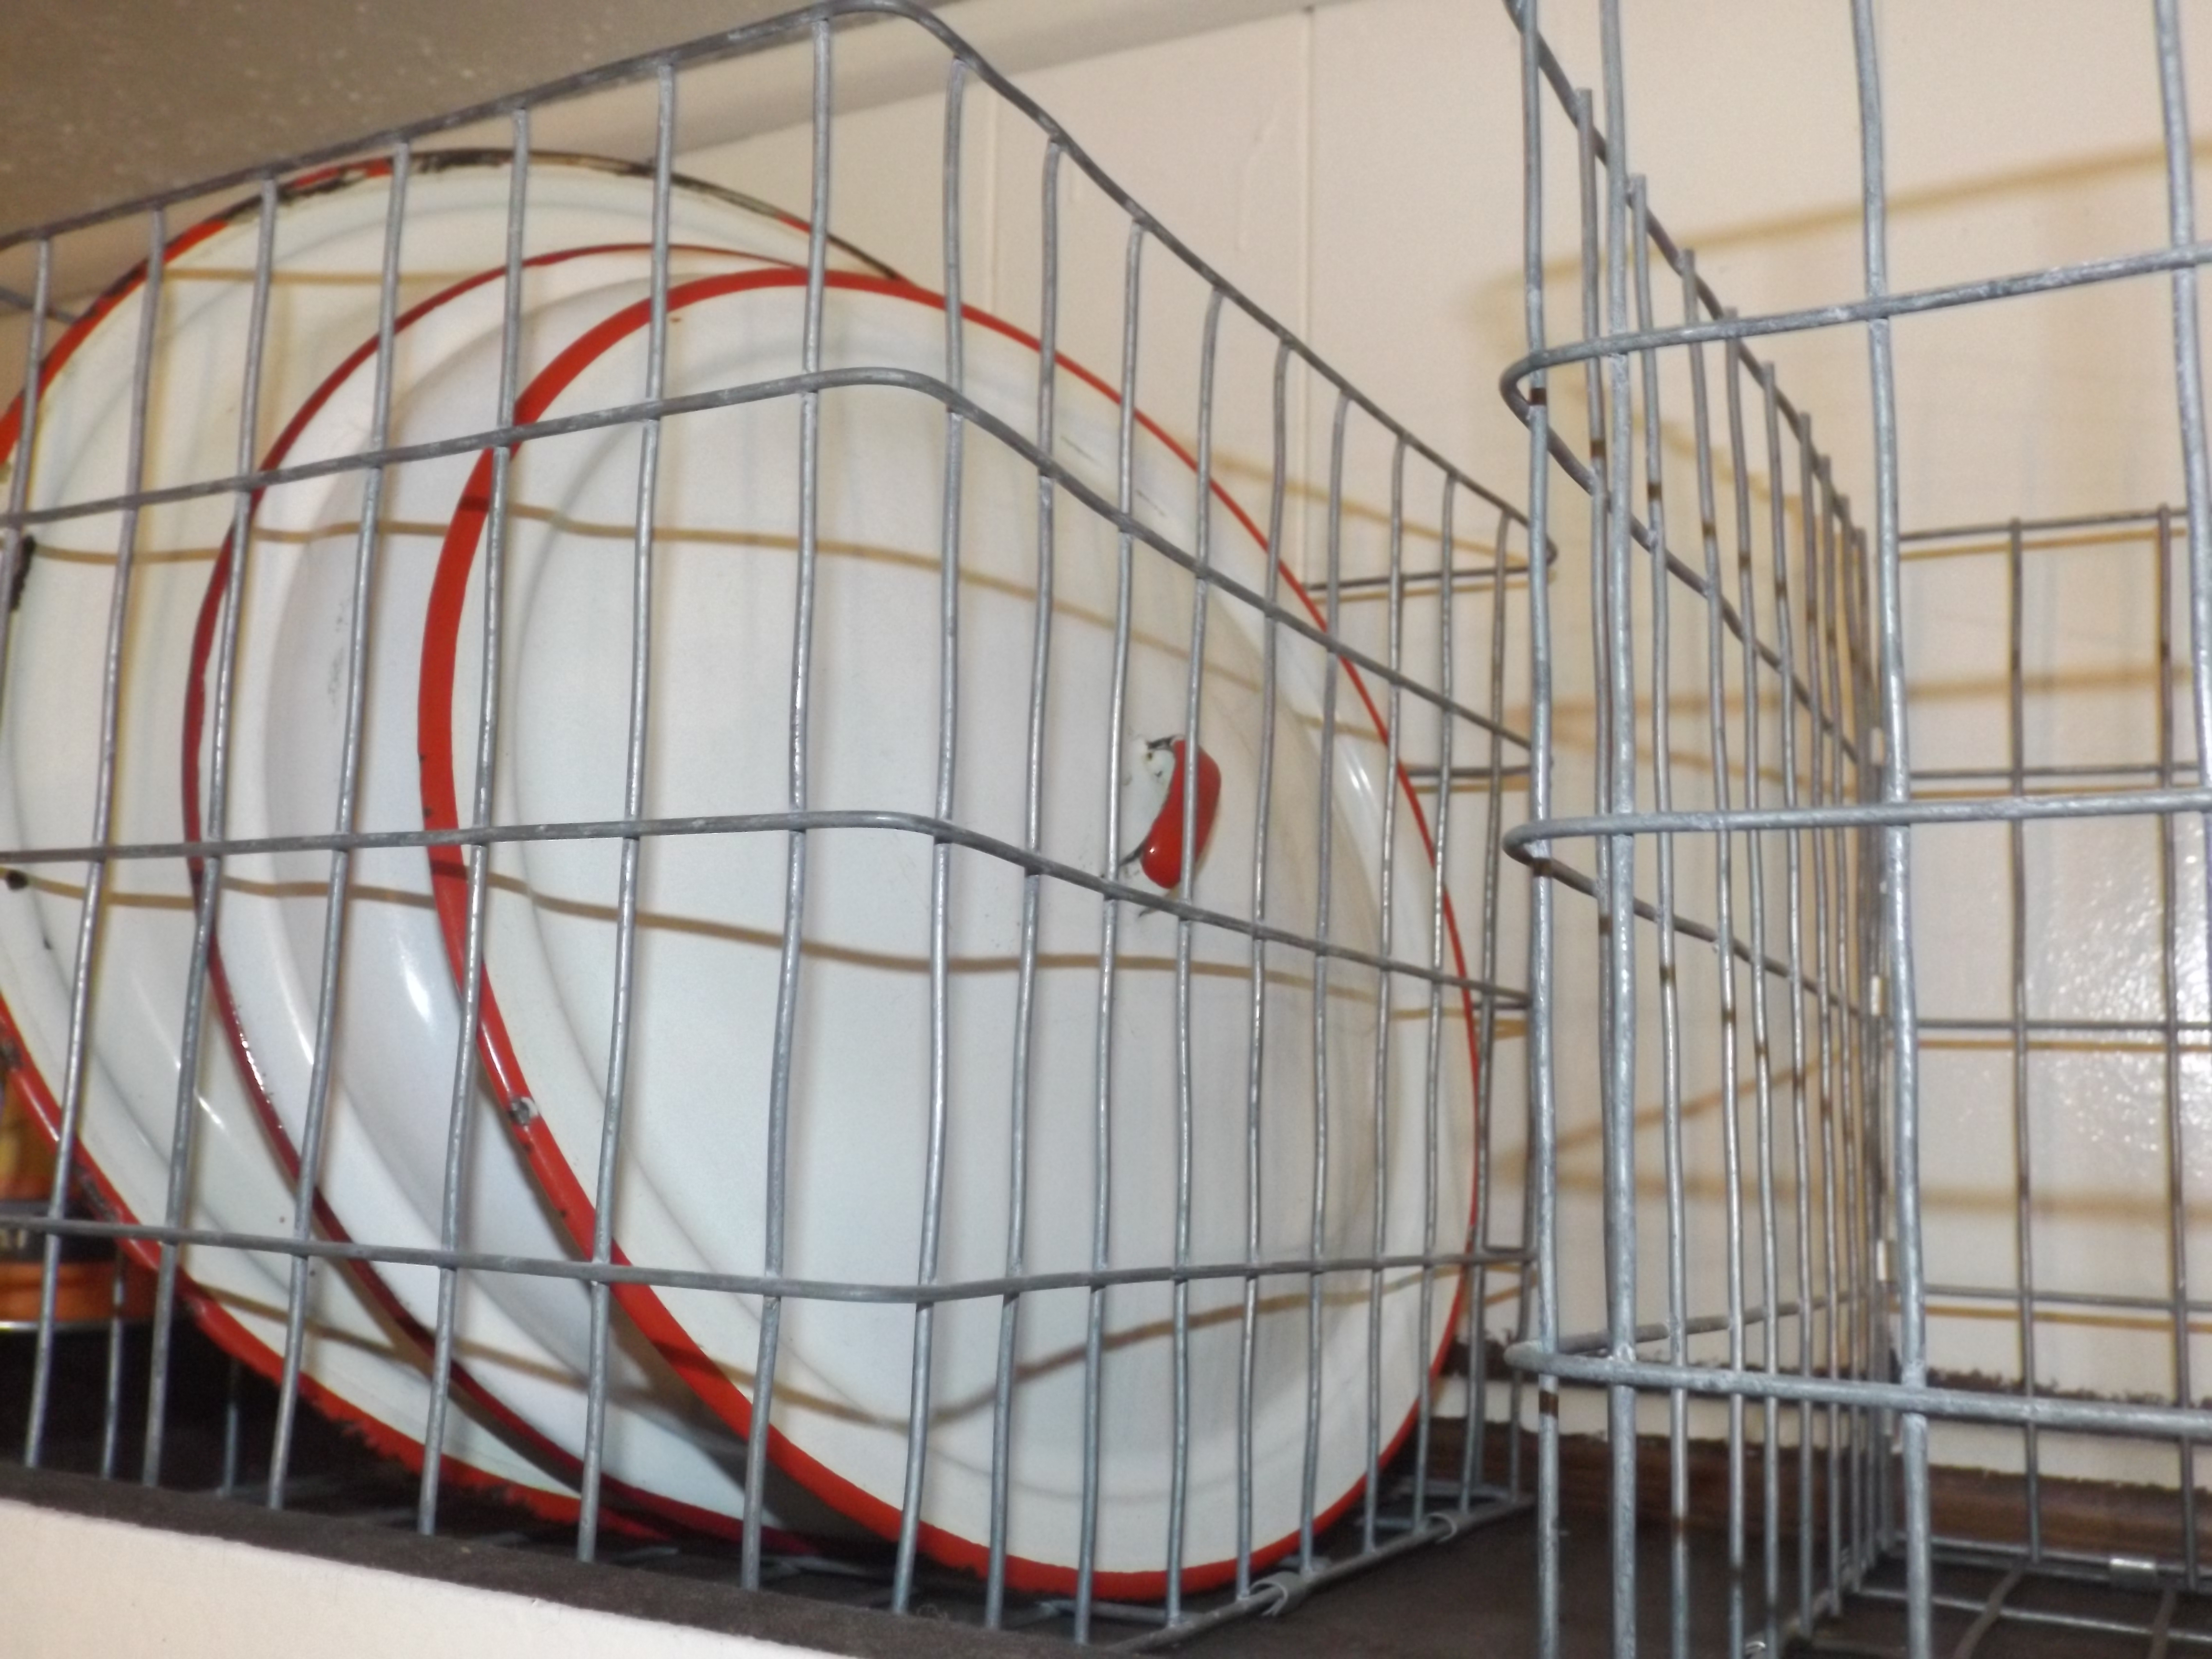
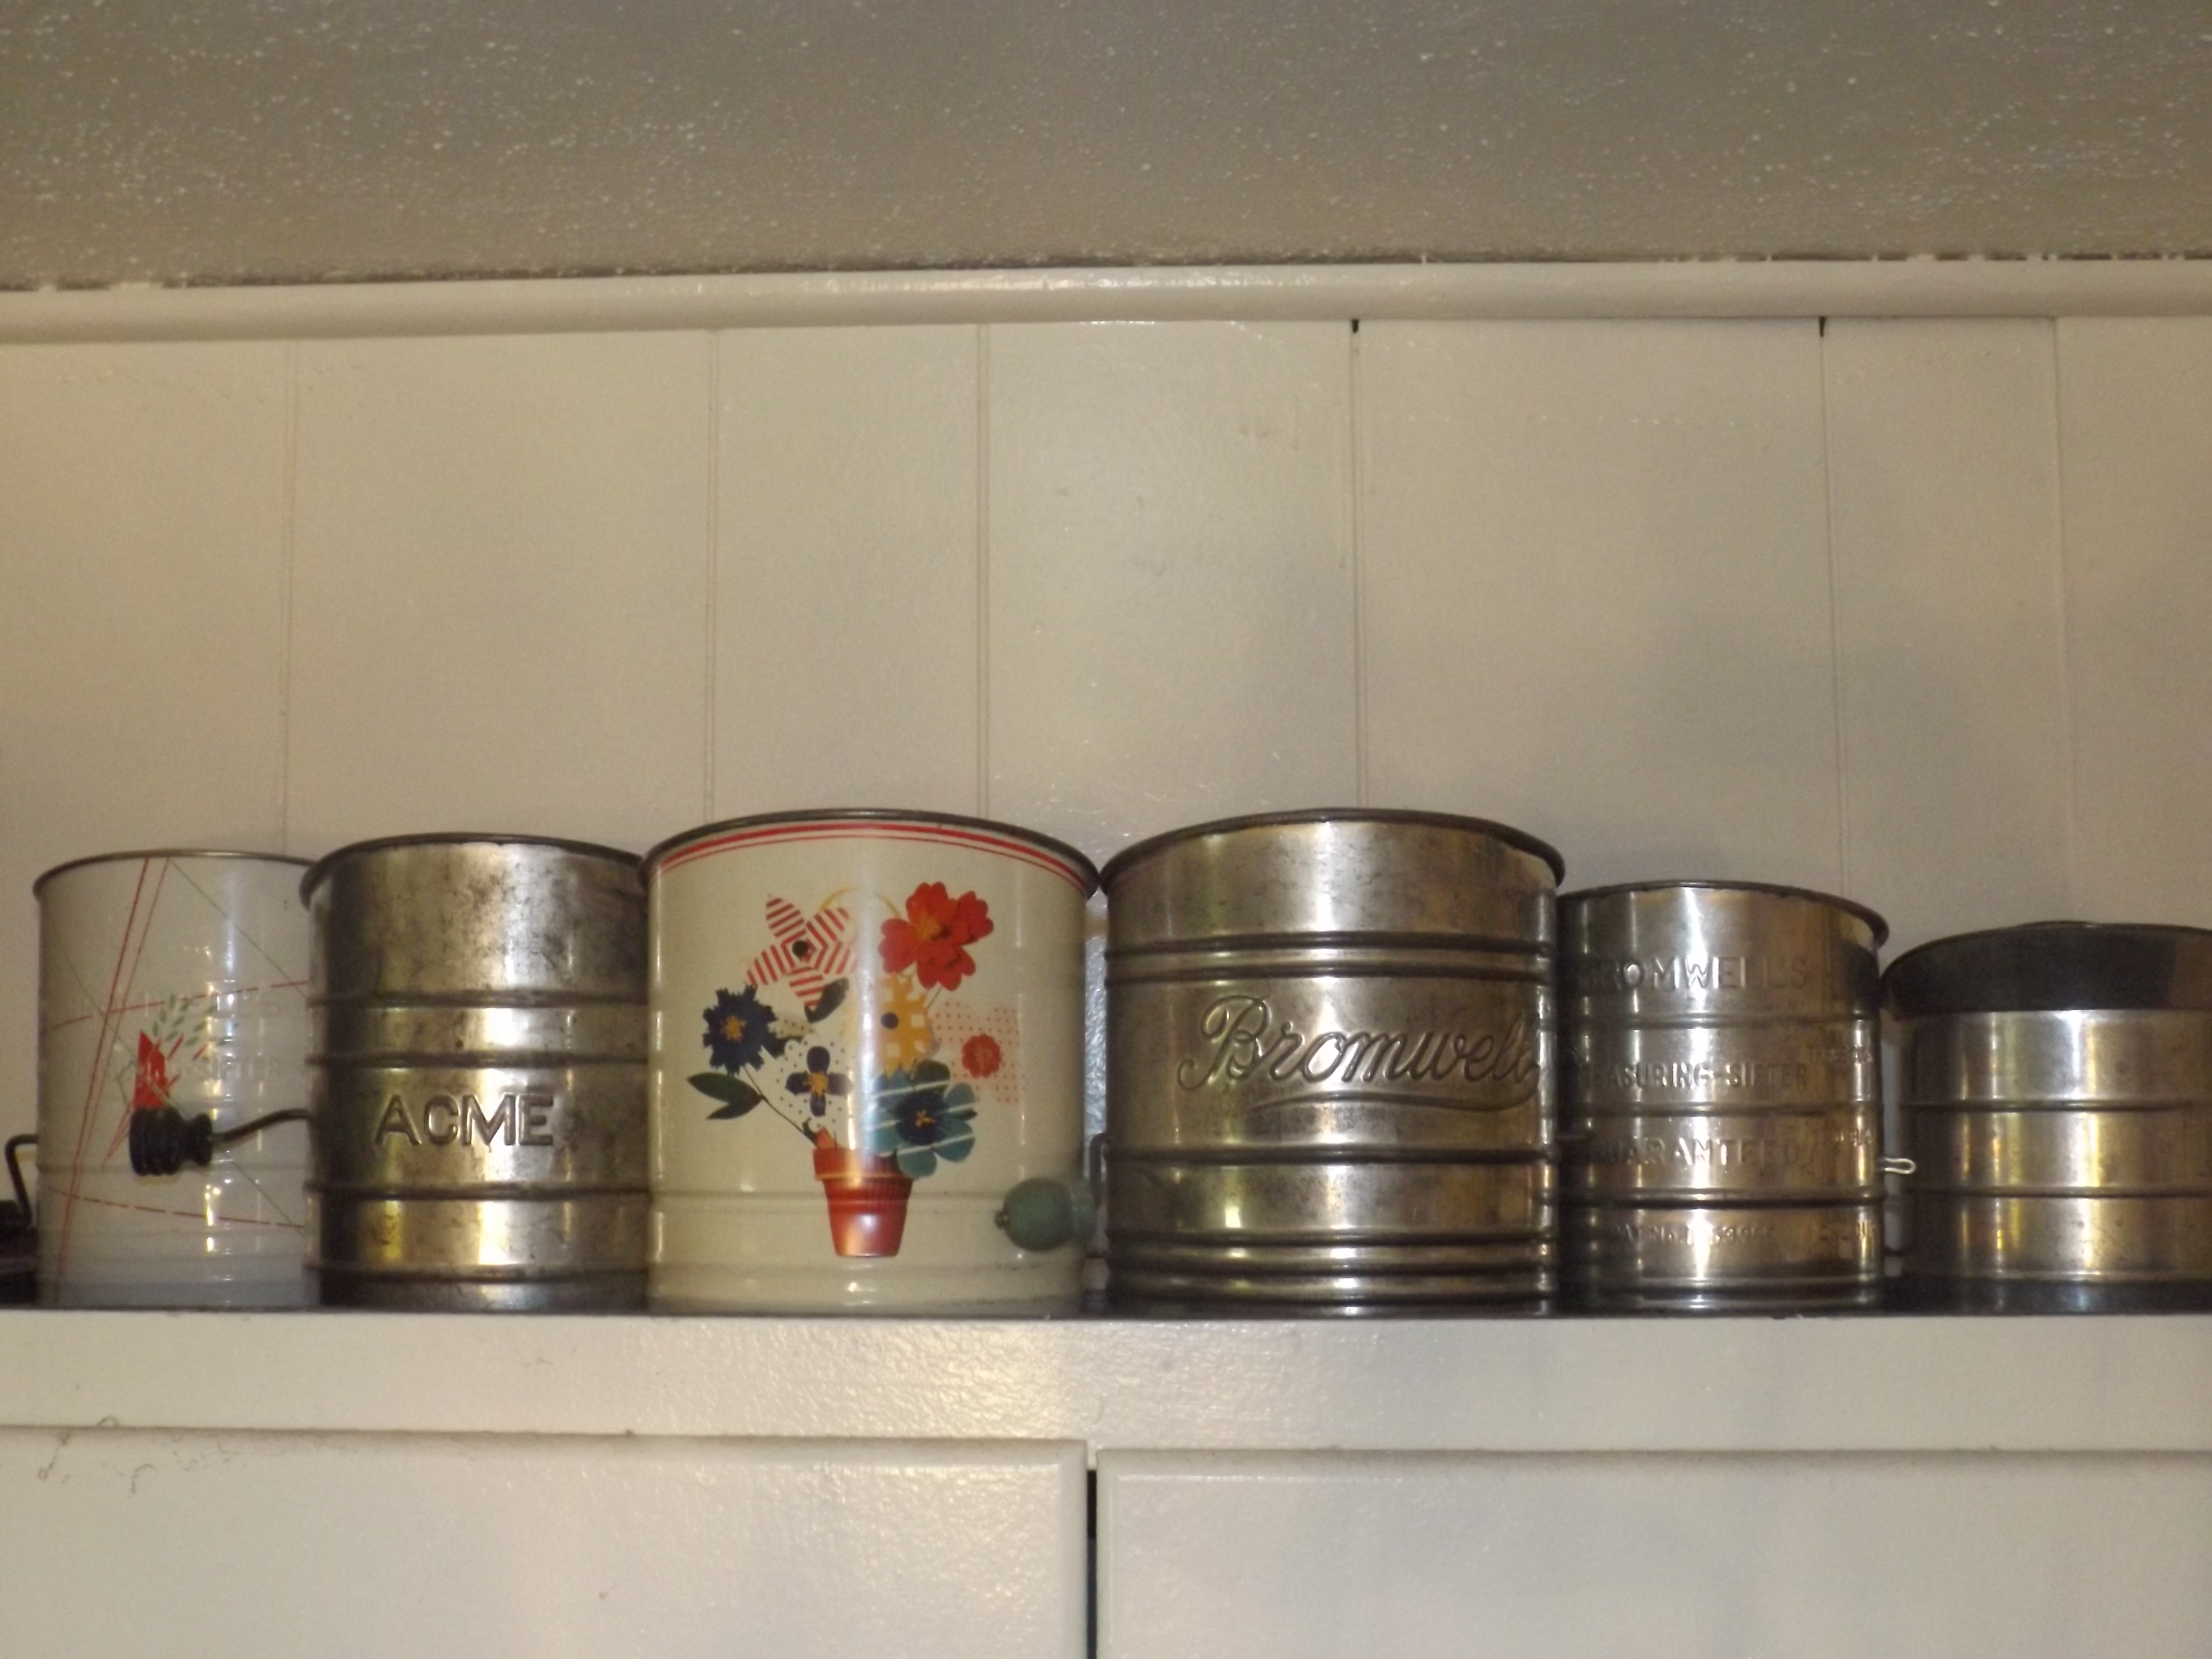
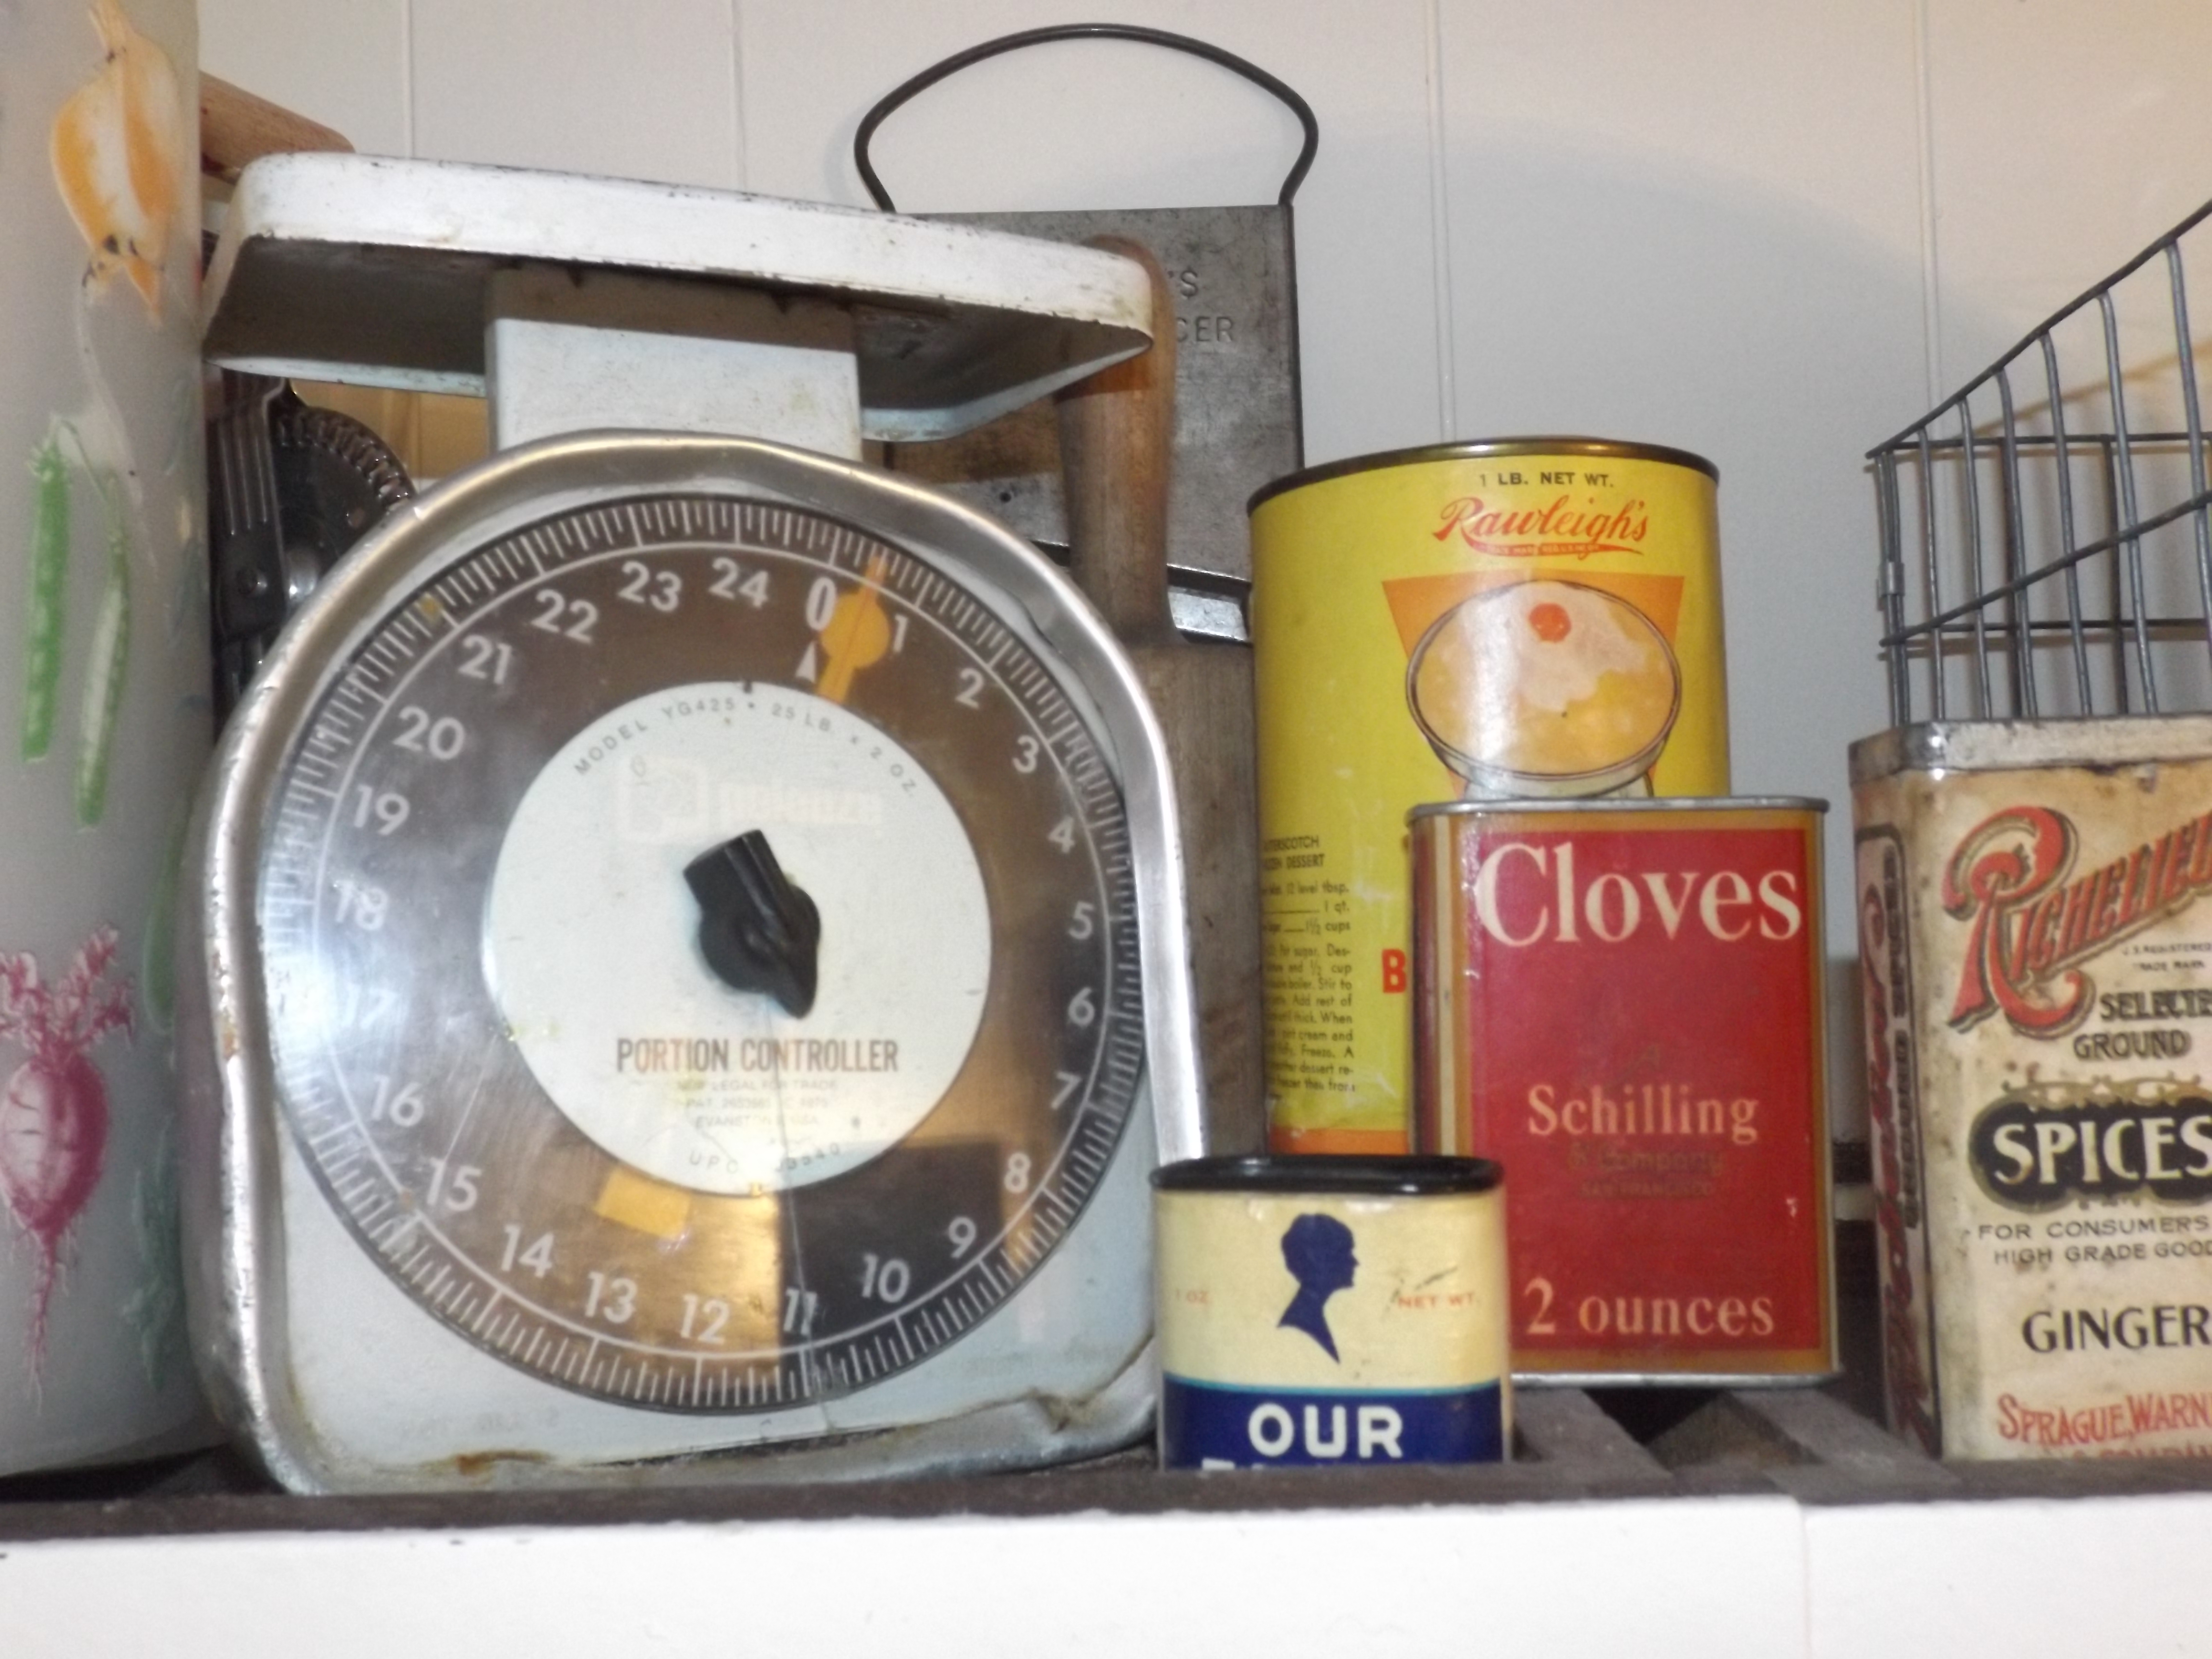
Wrex also made these wire baskets that I placed above my cabinets, along with a few other fun, vintage finds…
He’s pretty handy…I also have a thing for flour sifters…Rusty goodness…
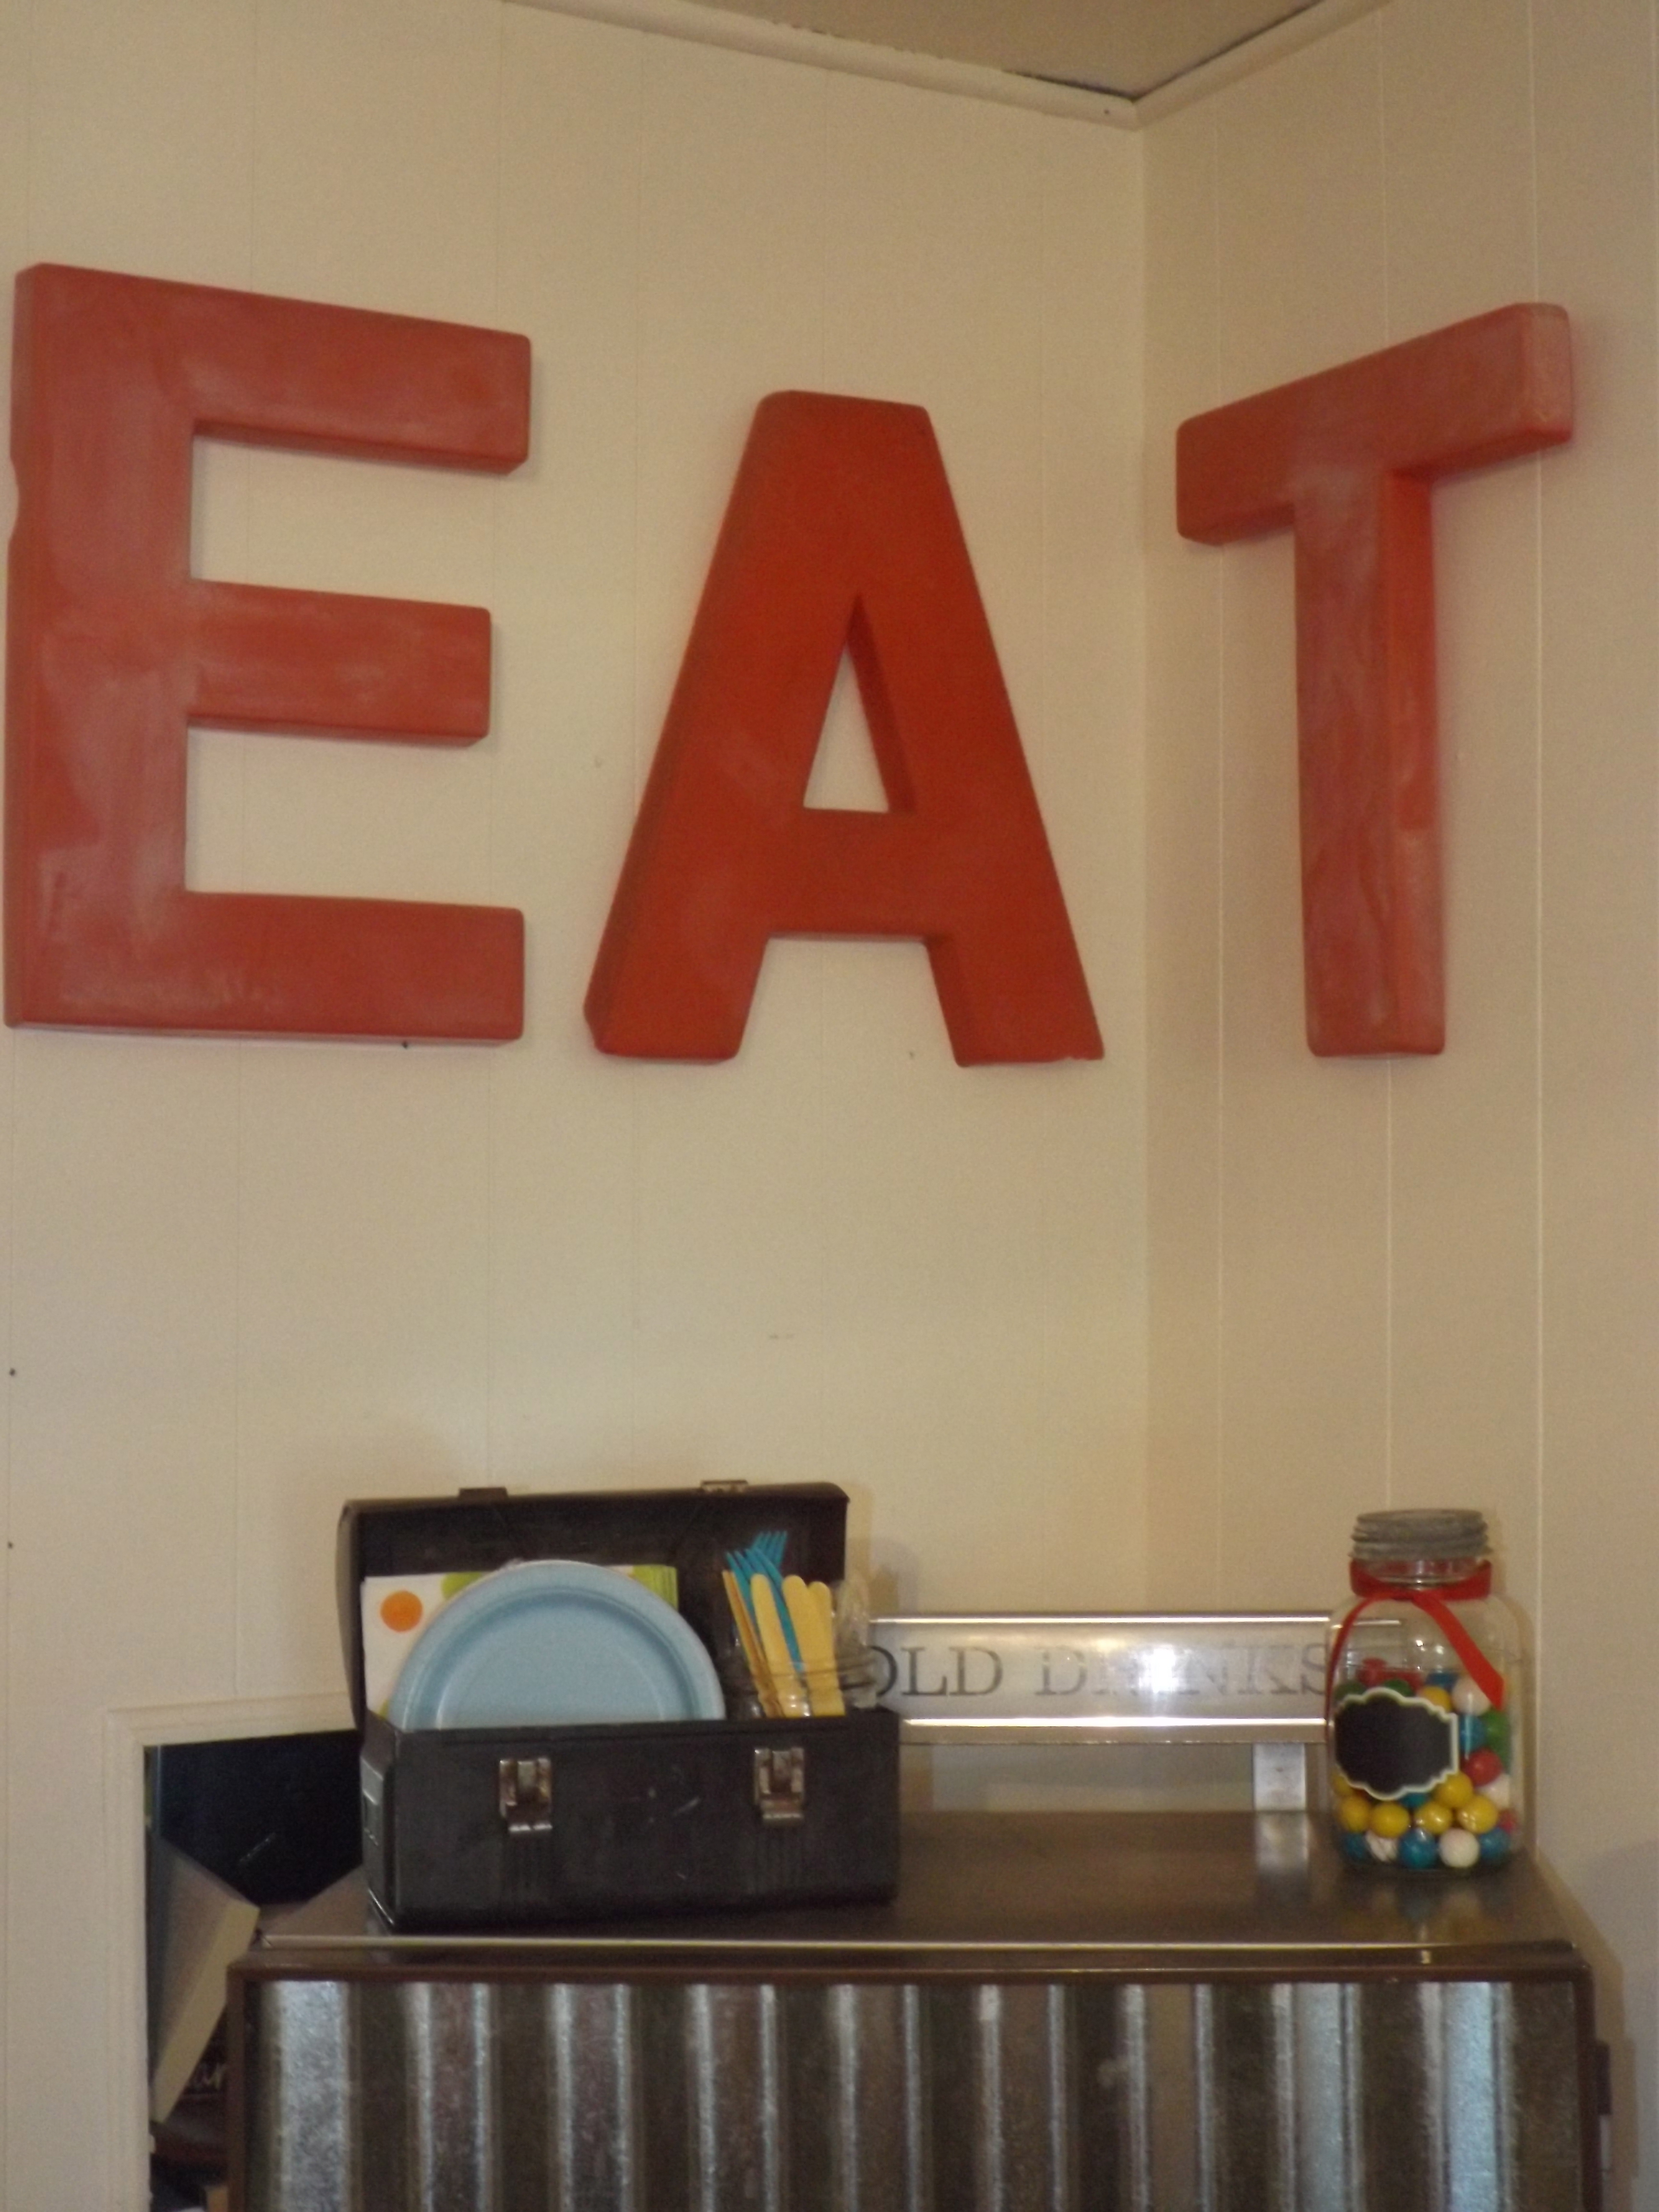
My other favorite thing in the kitchen are these giant letters.
Indeed…
They were from the old Ogallala Livestock sale barn sign and they let Wrex have them when they updated their signage.
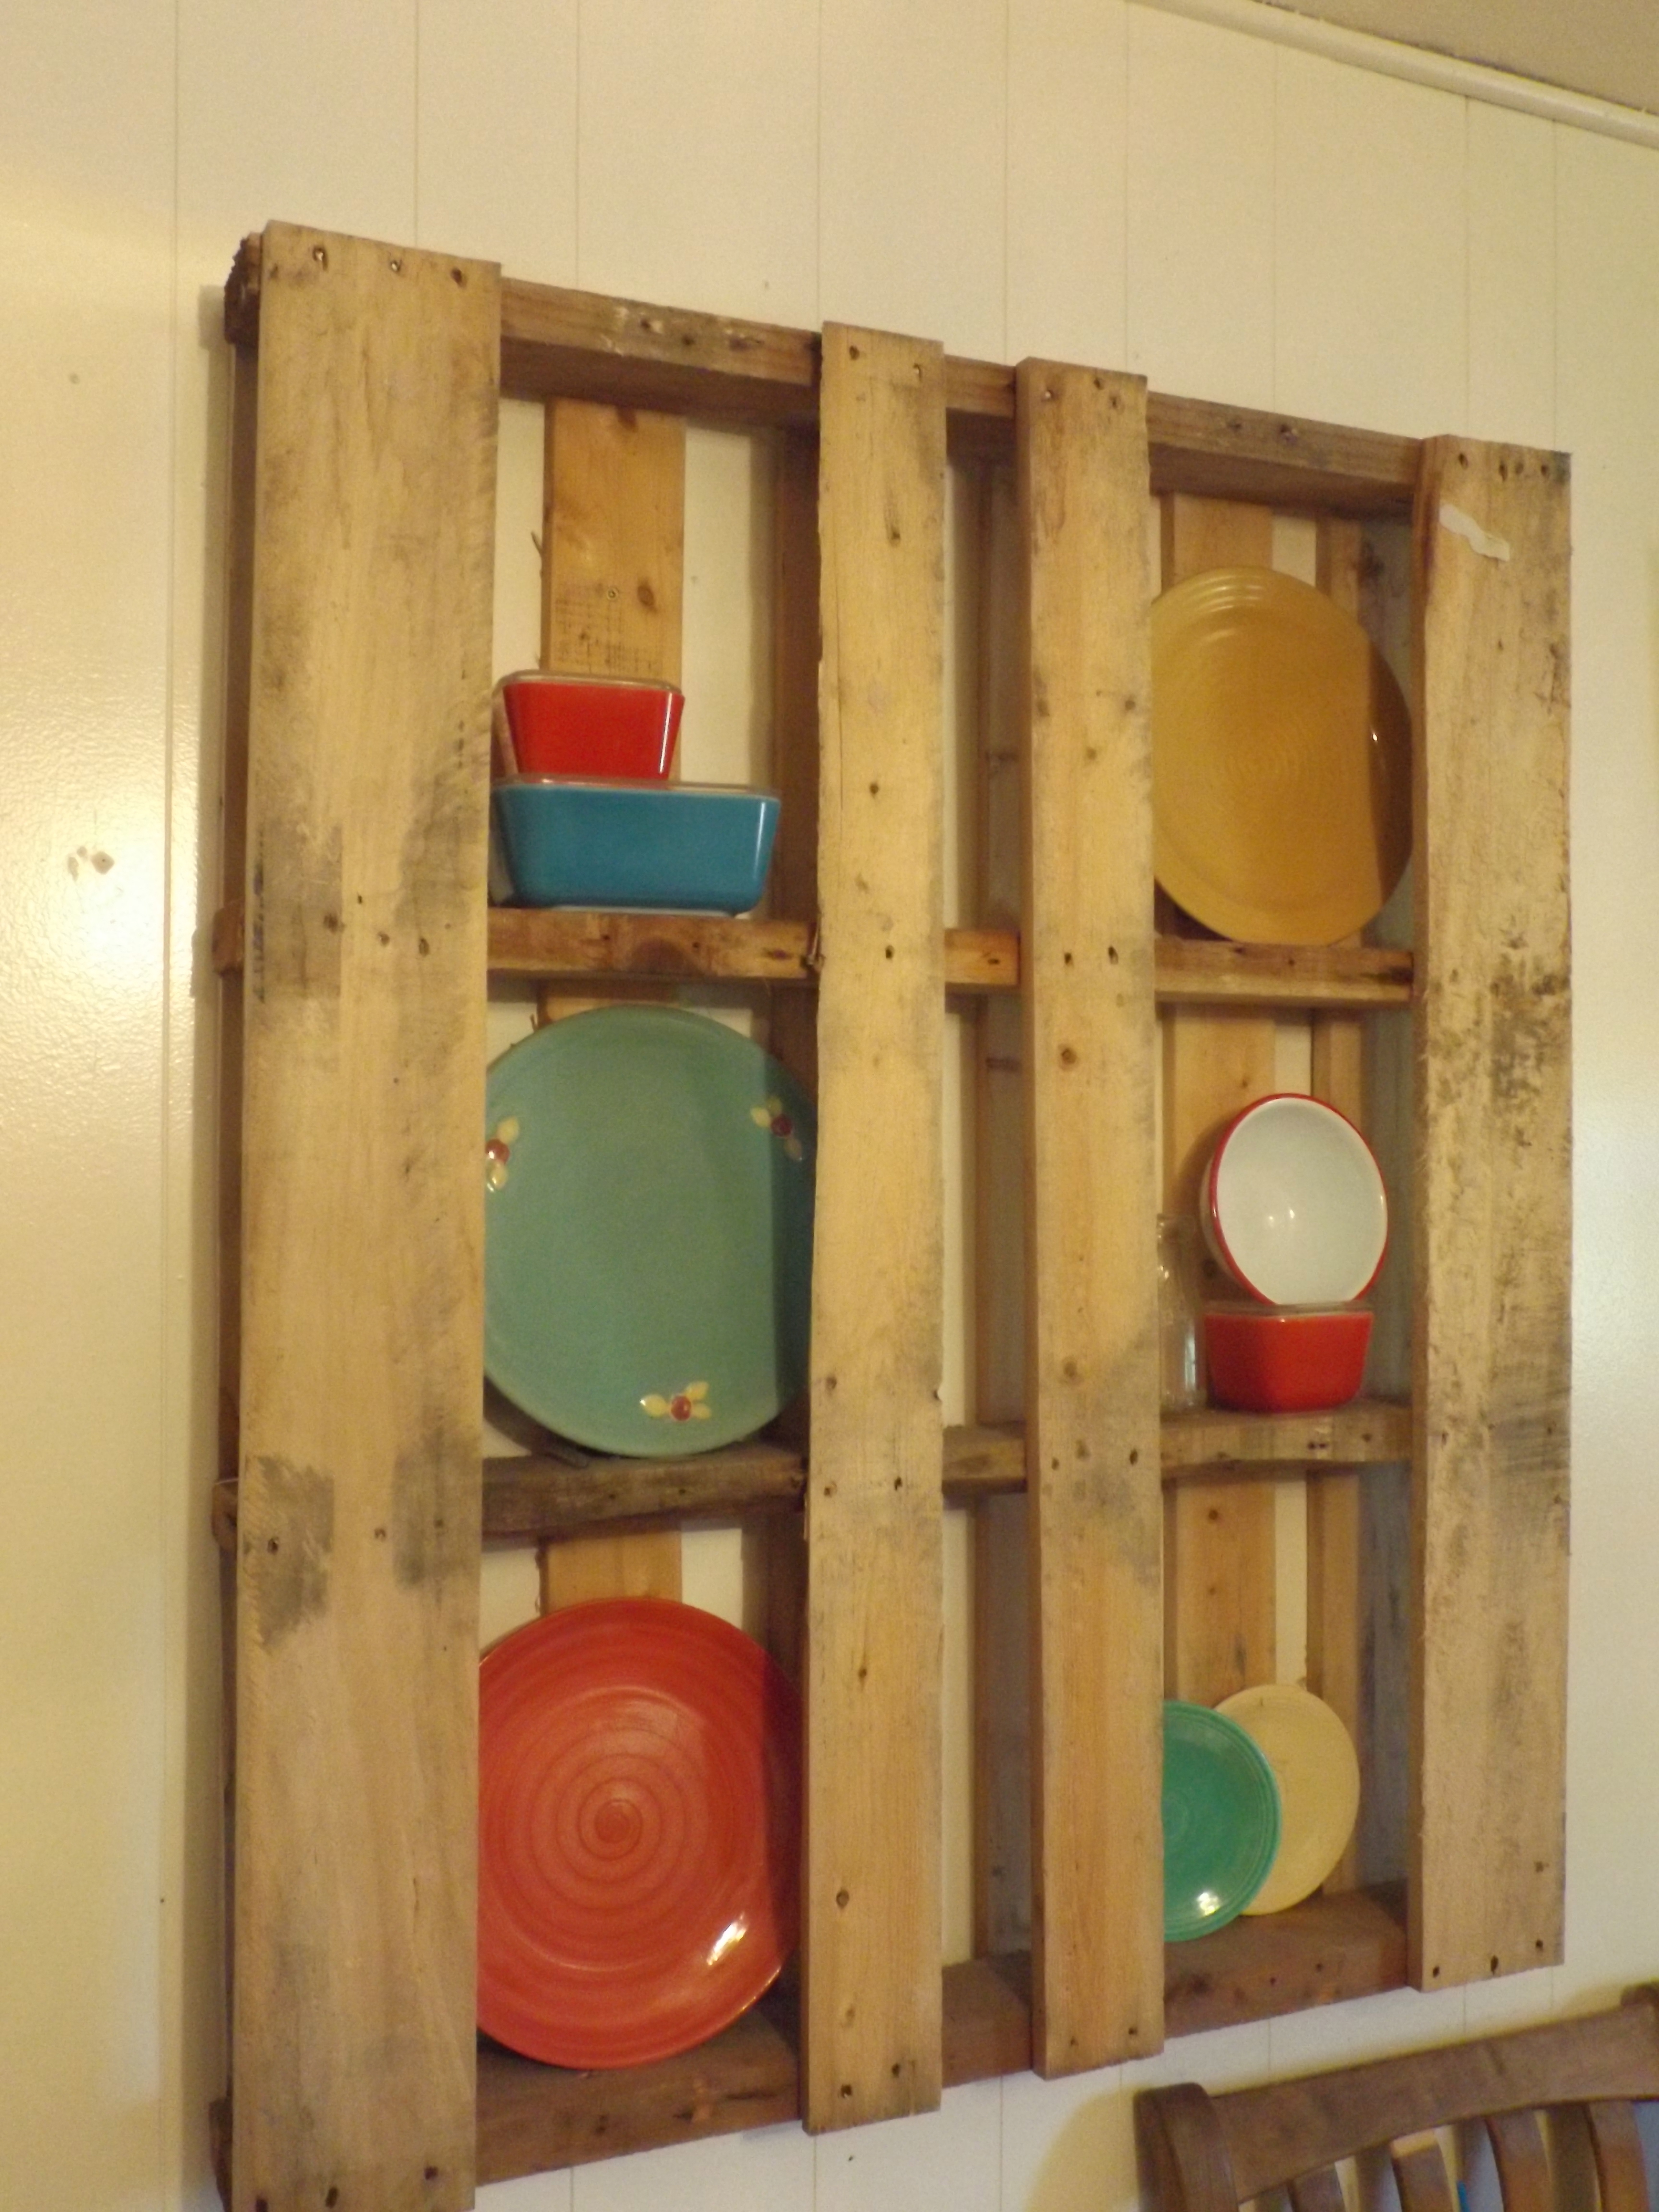
We used an old pallet for a dish display…
Yes, more dishes…
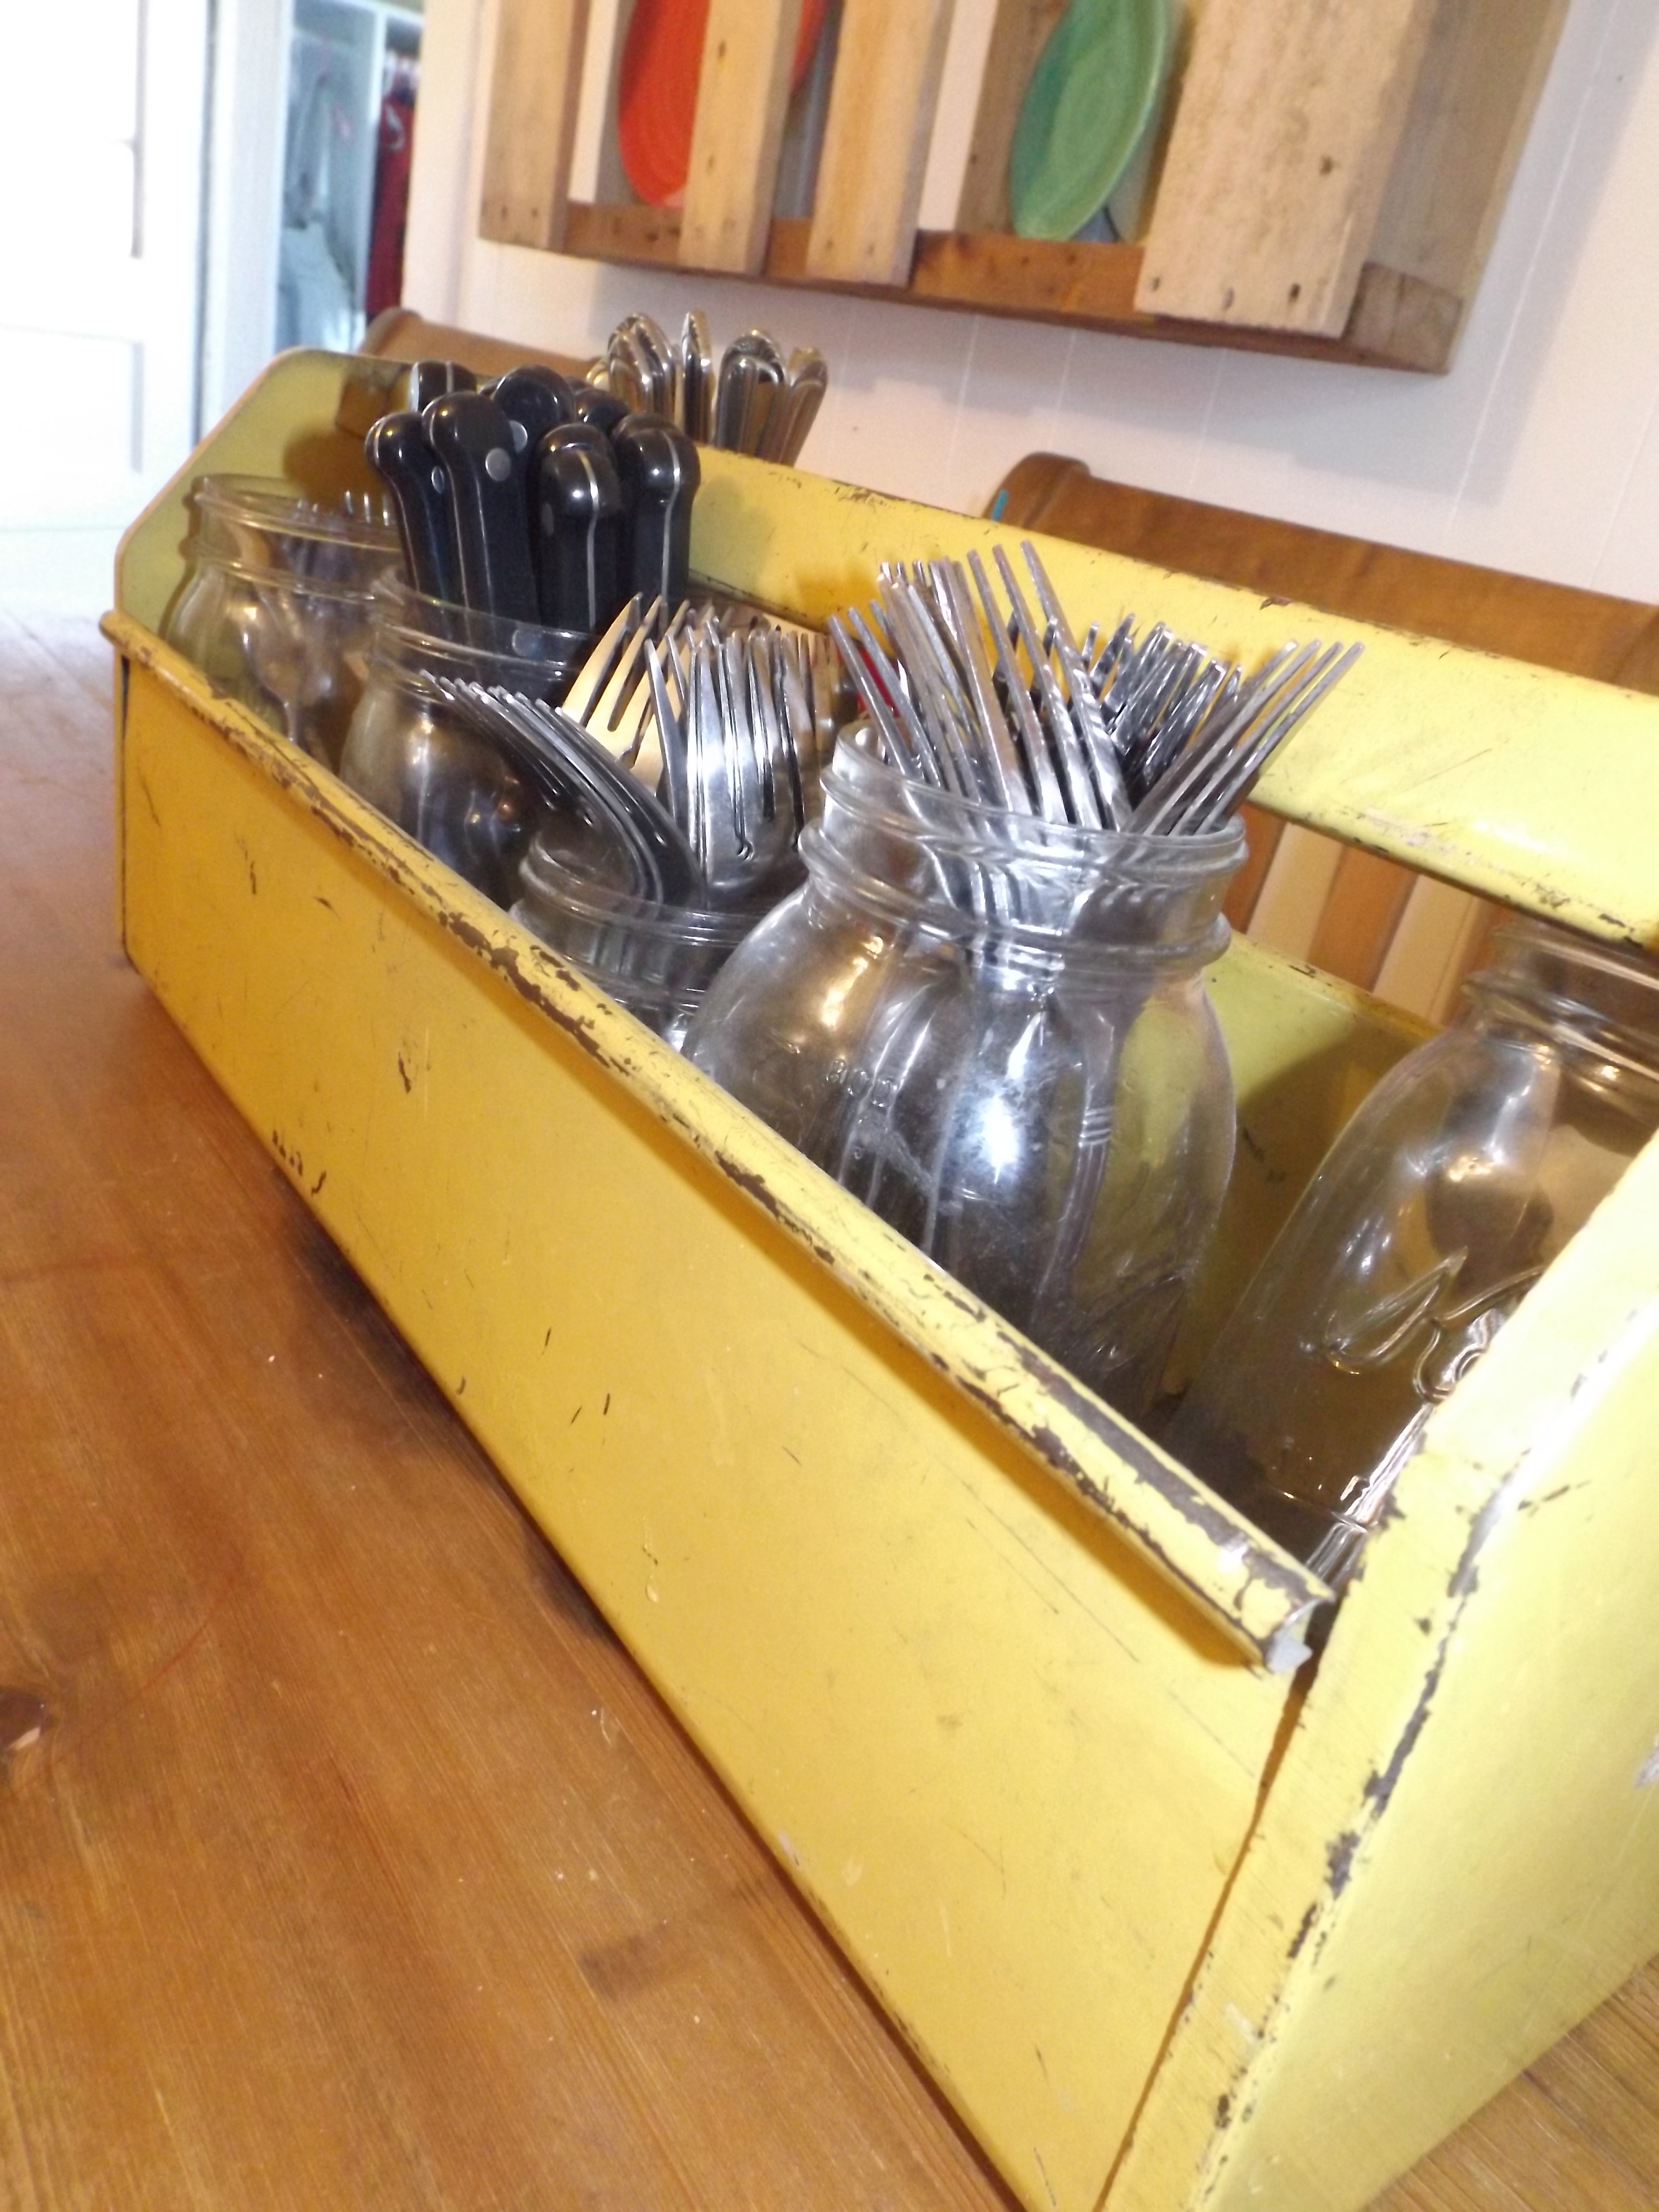
an old tool box as a silver ware holder…
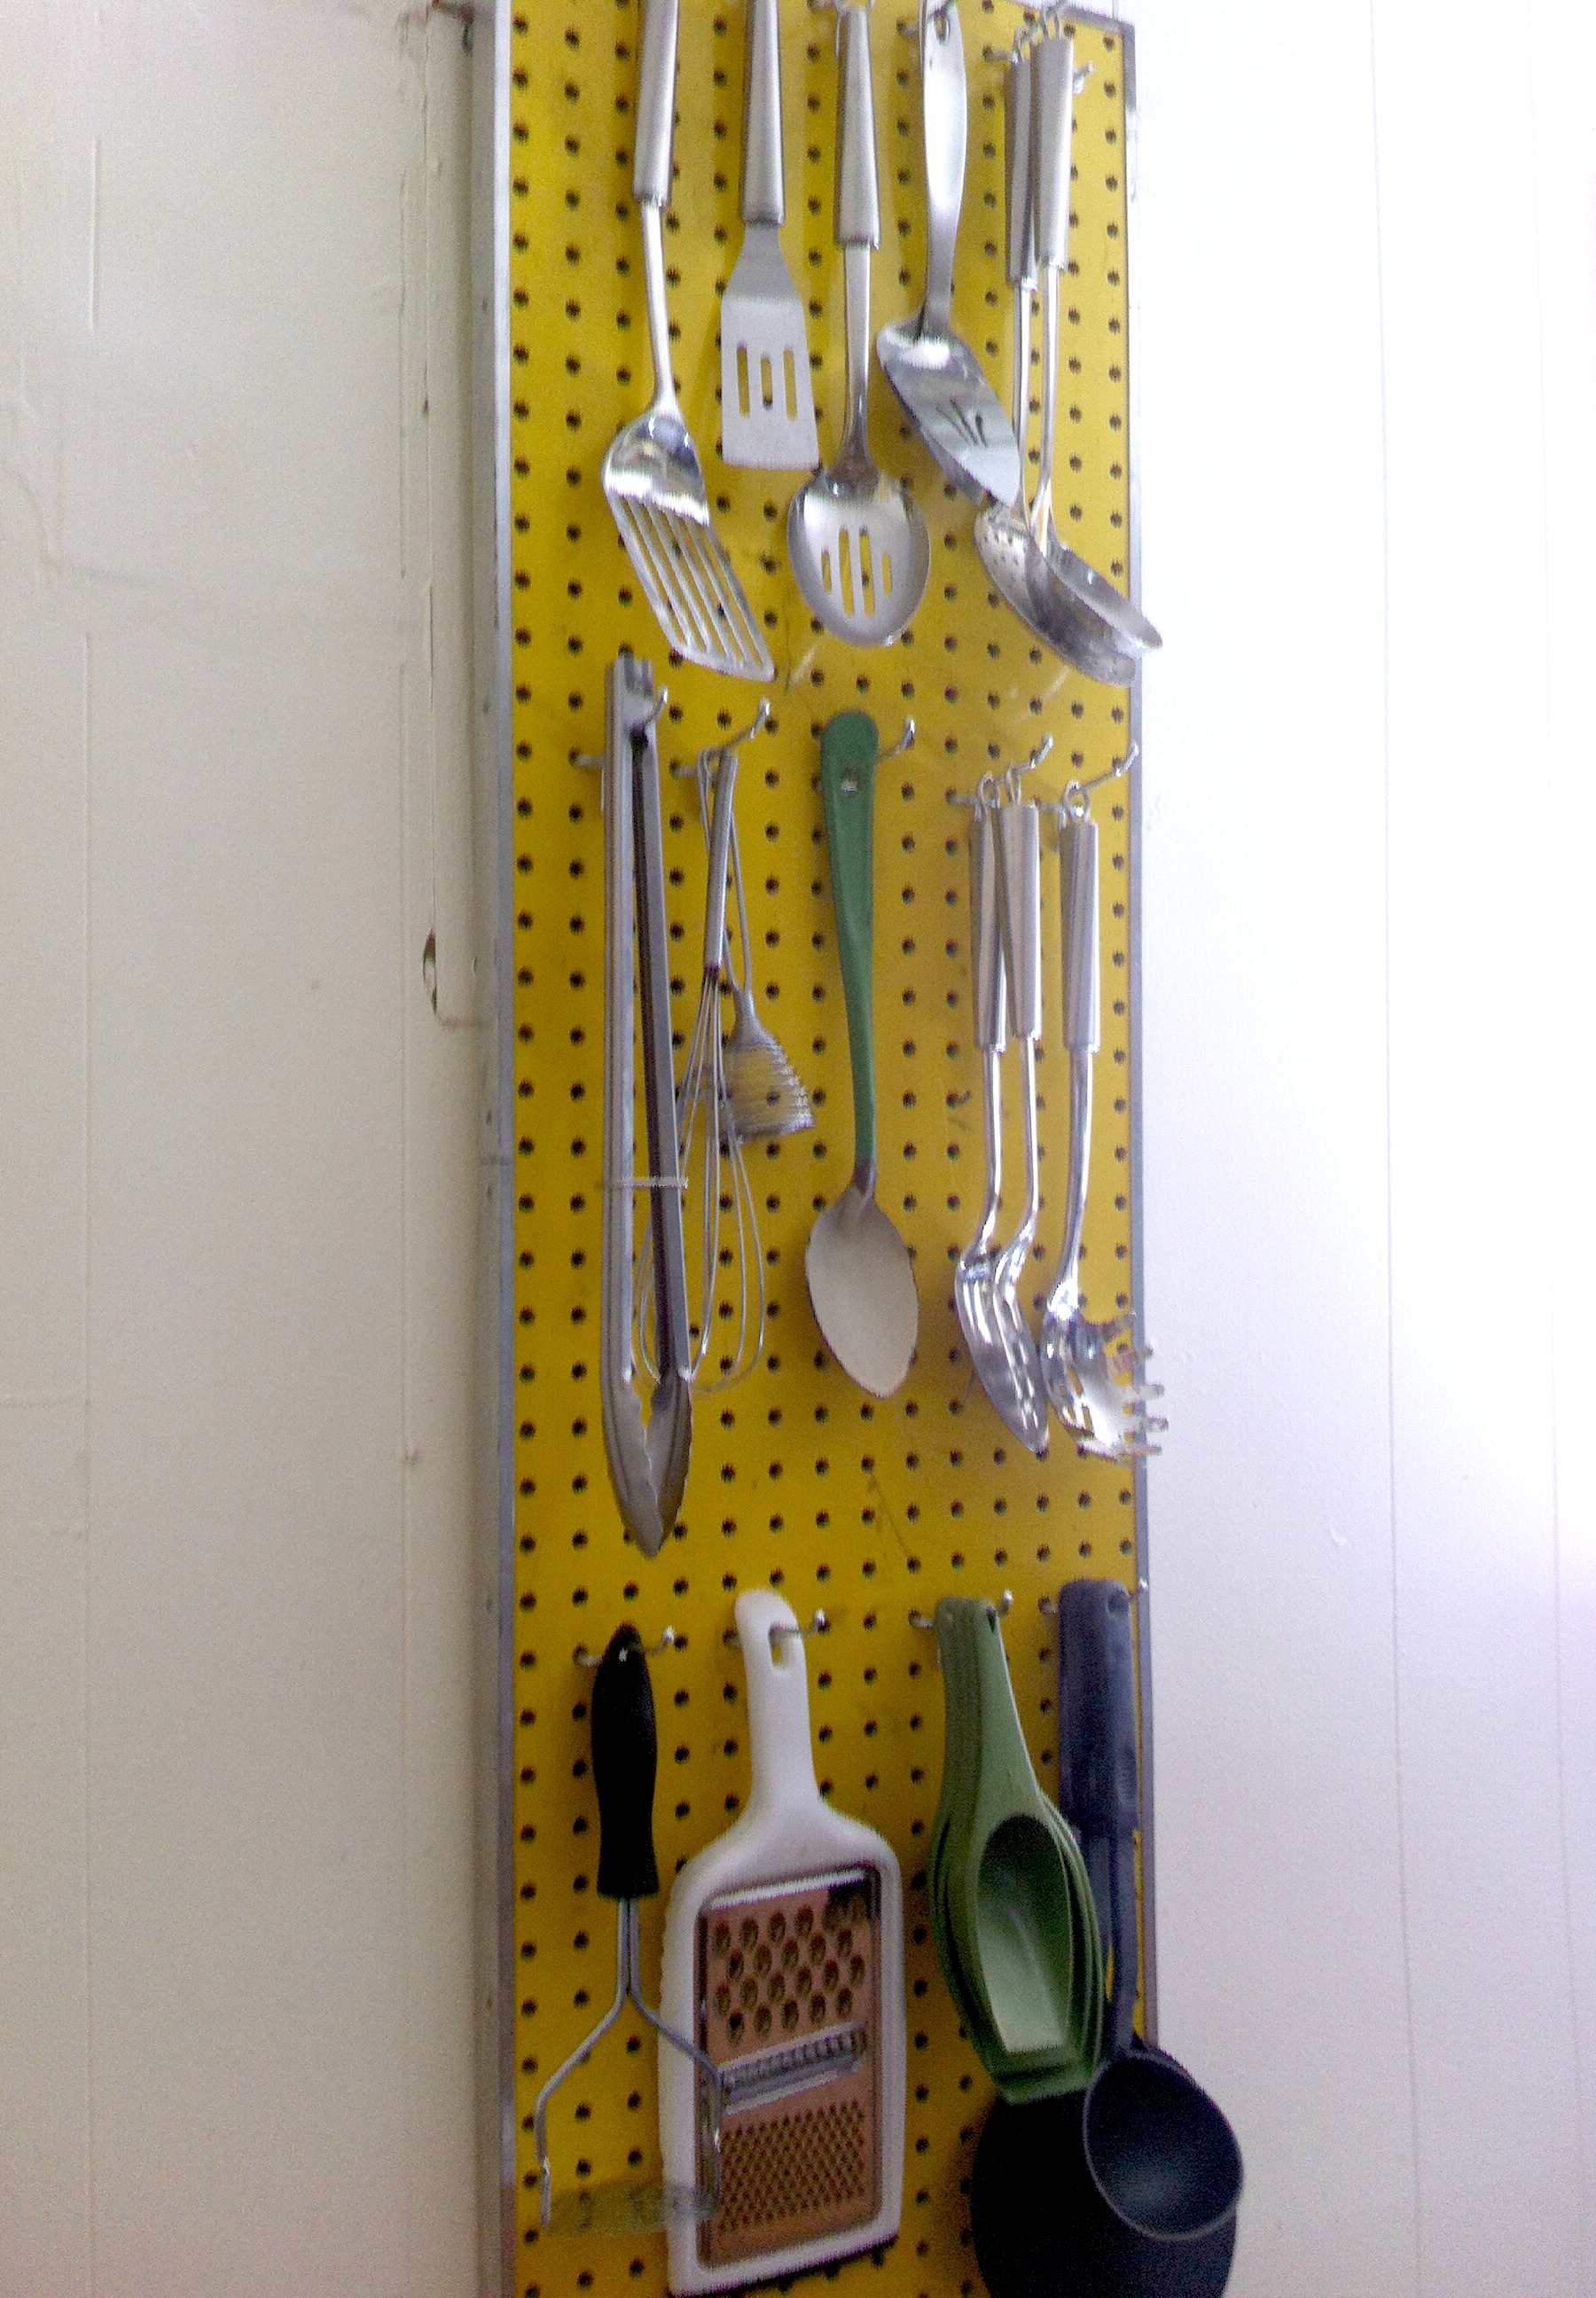
and a peg board as a electrical box hider/utensil hanger.
It’s handy!
Our kitchen table is butcher block style and is banged up and scarred and for this point in our lives – it’s perfect…
I love that everyone likes to gather here, I just really wish we had a dining room. We have a big family and we love to have everyone over and our small space makes that difficult. One day…one day…
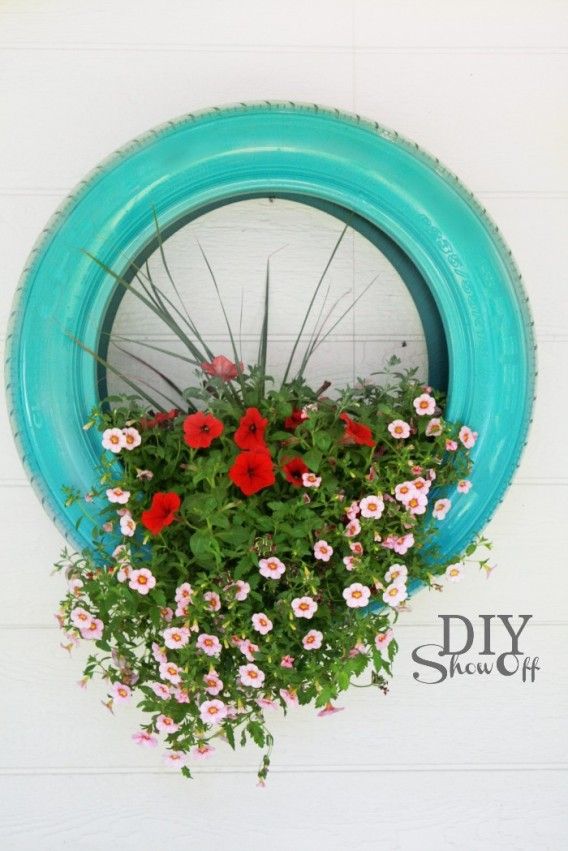
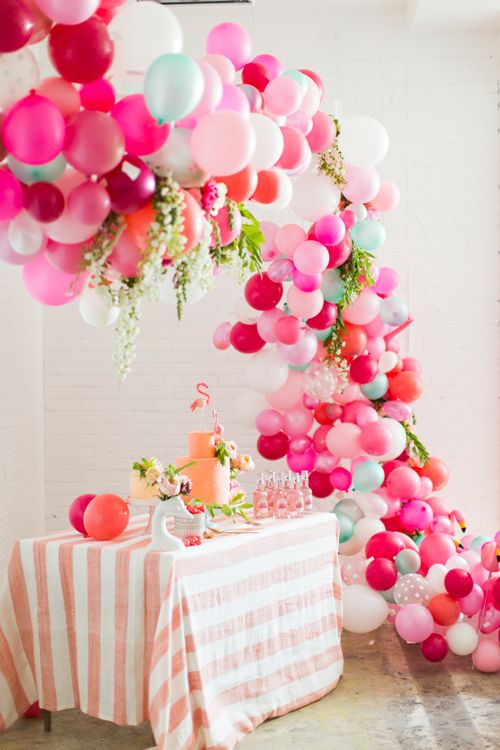
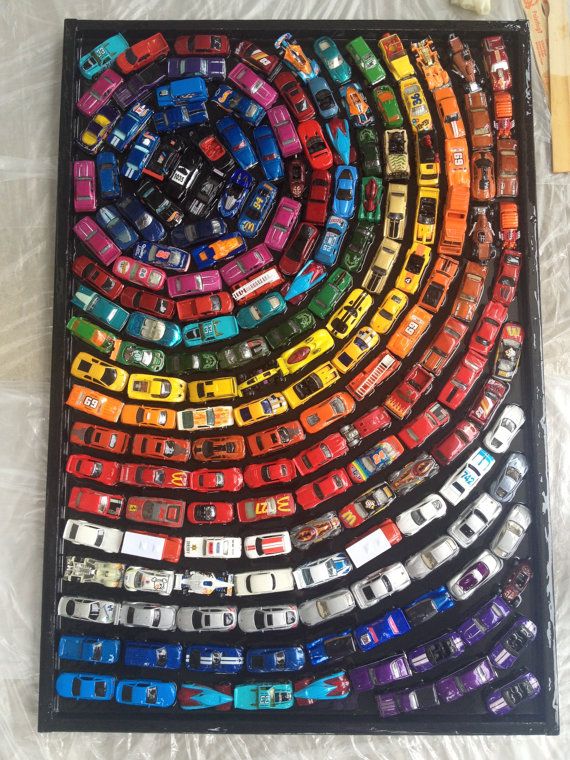
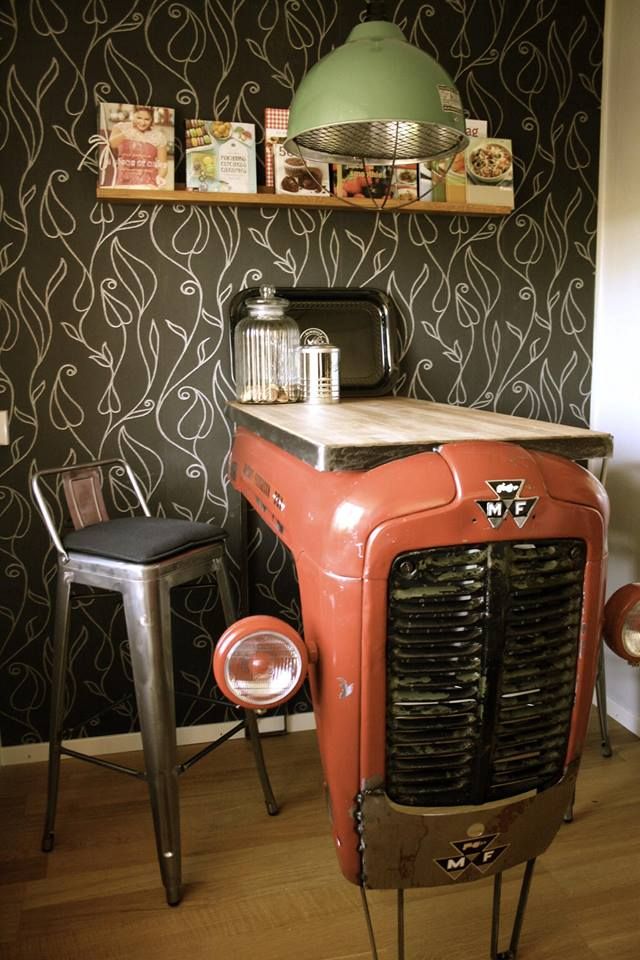
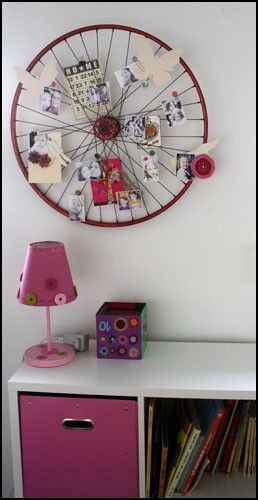
Oh man – how cool is this!?I’m seeing this in the kids’ bathroom one day…I LOVE these fireworks lights!HeheheWho’s having a girl?? Let’s get that shower started!Make. Me. Cry.What a cool art/memory piece!Love the tractor table but I REALLY love that wallpaper!Gorgeous sink…I am now on the lookout for an old bike wheel…And a cuckoo clock I can spray paint – this is awesome!
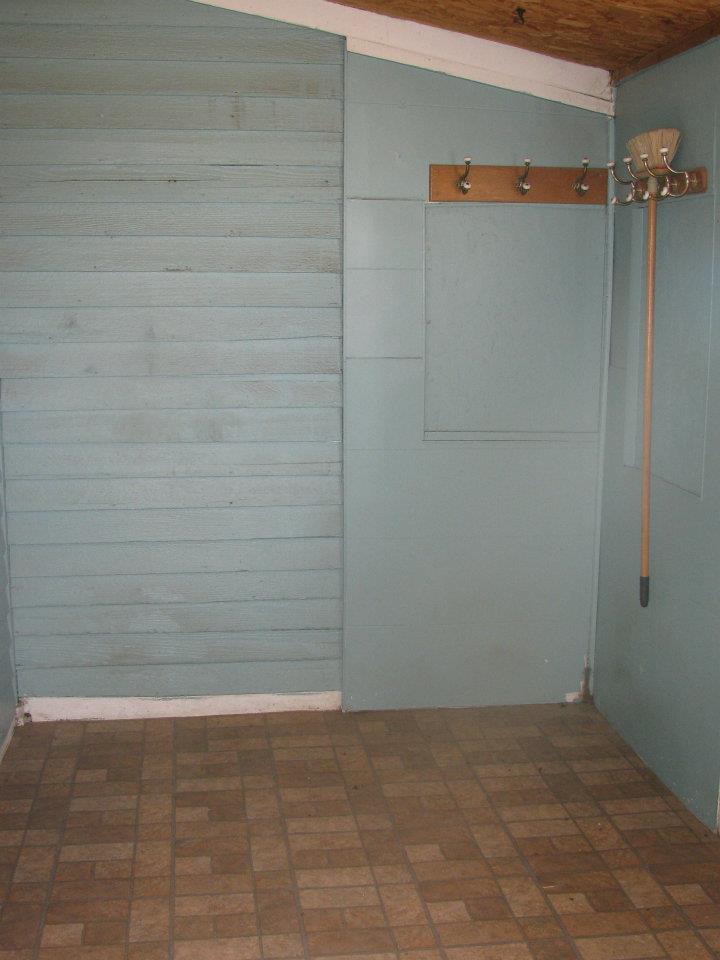
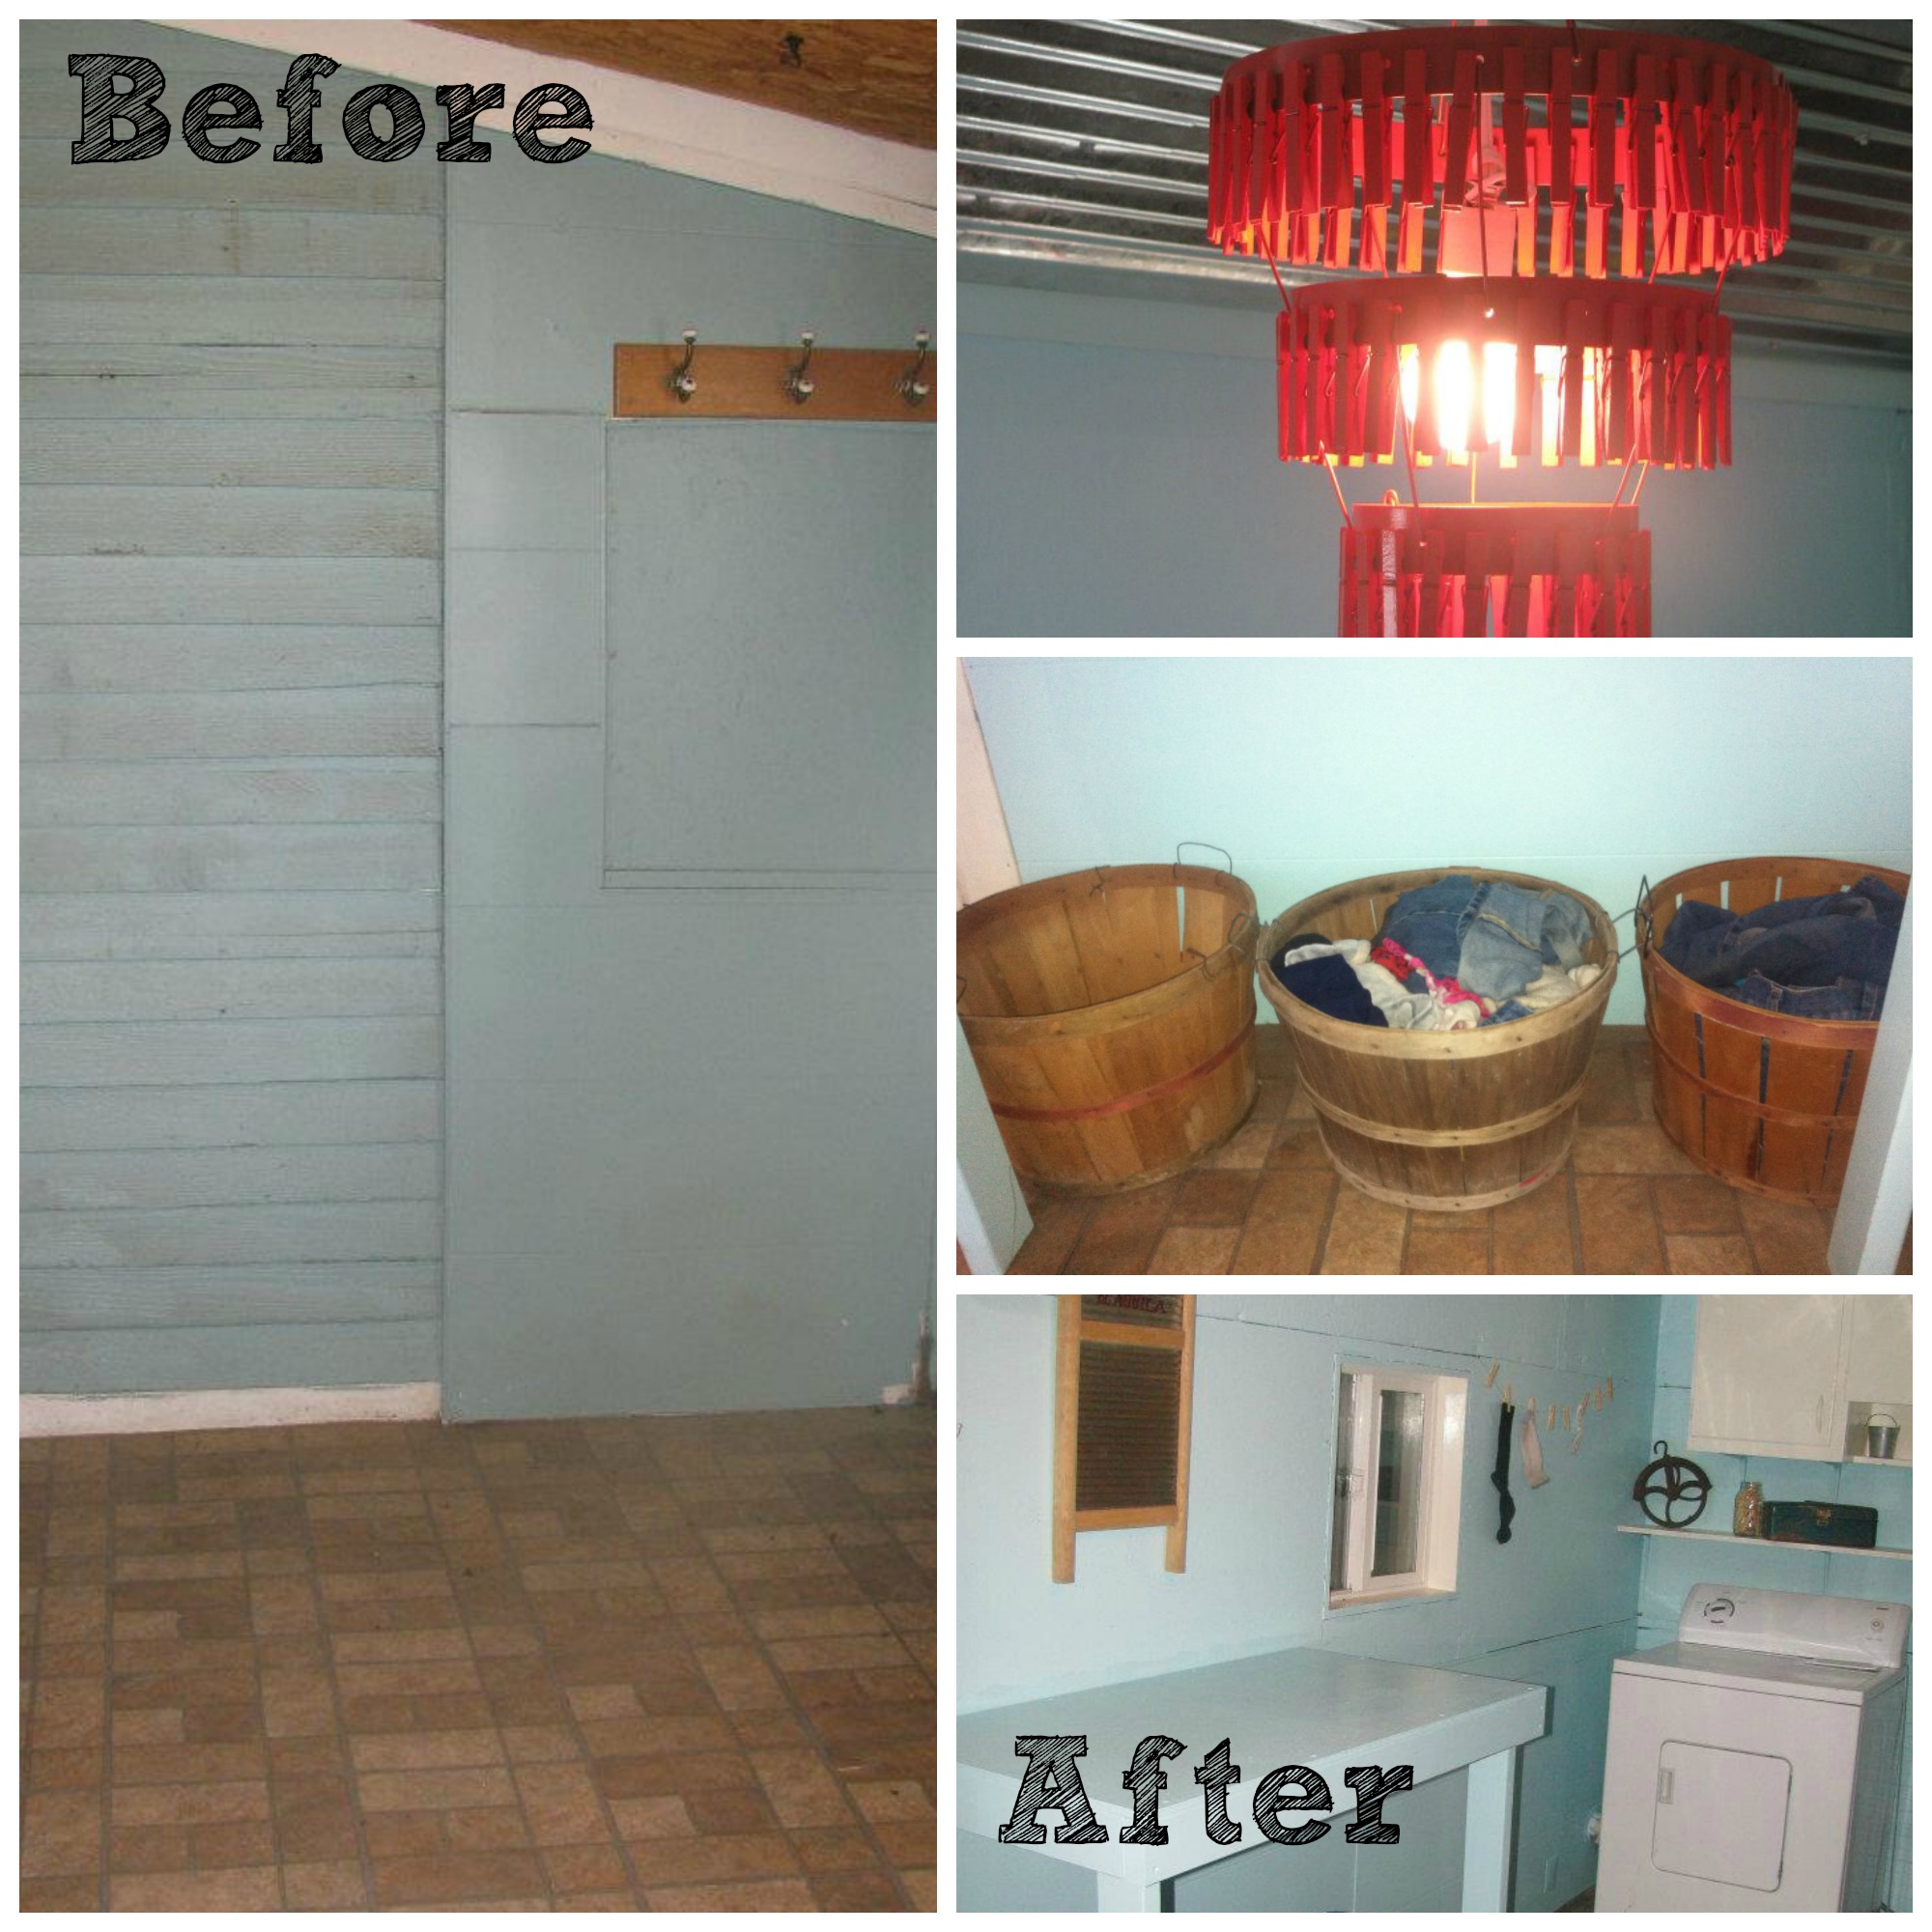
Oh, mudroom – how I love thee! I desperately needed one at our old home and this place is no different. It’s amazing what gets swept up out there…thankfully, it doesn’t end up in the house.
This room wasn’t in horrible shape but did need a little TLC. The ceiling wasn’t finished and it definitely needed a coat of paint, but besides that we didn’t change too much. We had some boards to replace and some trim to put in, but we kept the floor in this room. Brown hides dirt, yes?!
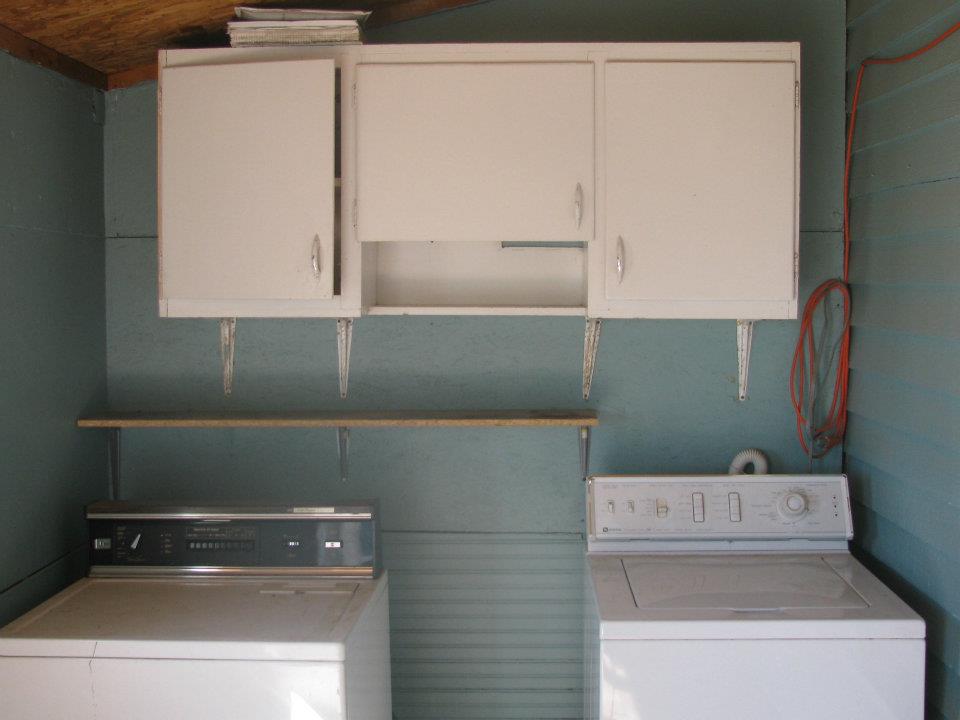
Before:
After:
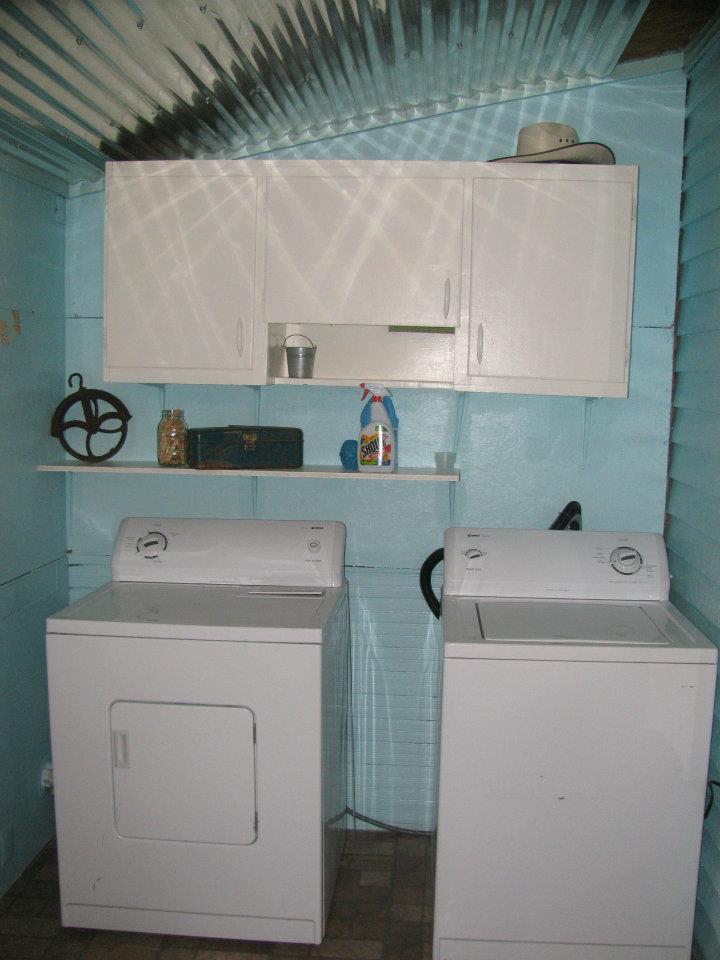
Fresh paint and our appliances…
Wrexy built me a table to fold and sort laundry on (which I love)…as well as the missing sock clothesline. We ended up putting galvanized metal on the ceiling to tie it in with other pieces of the house.
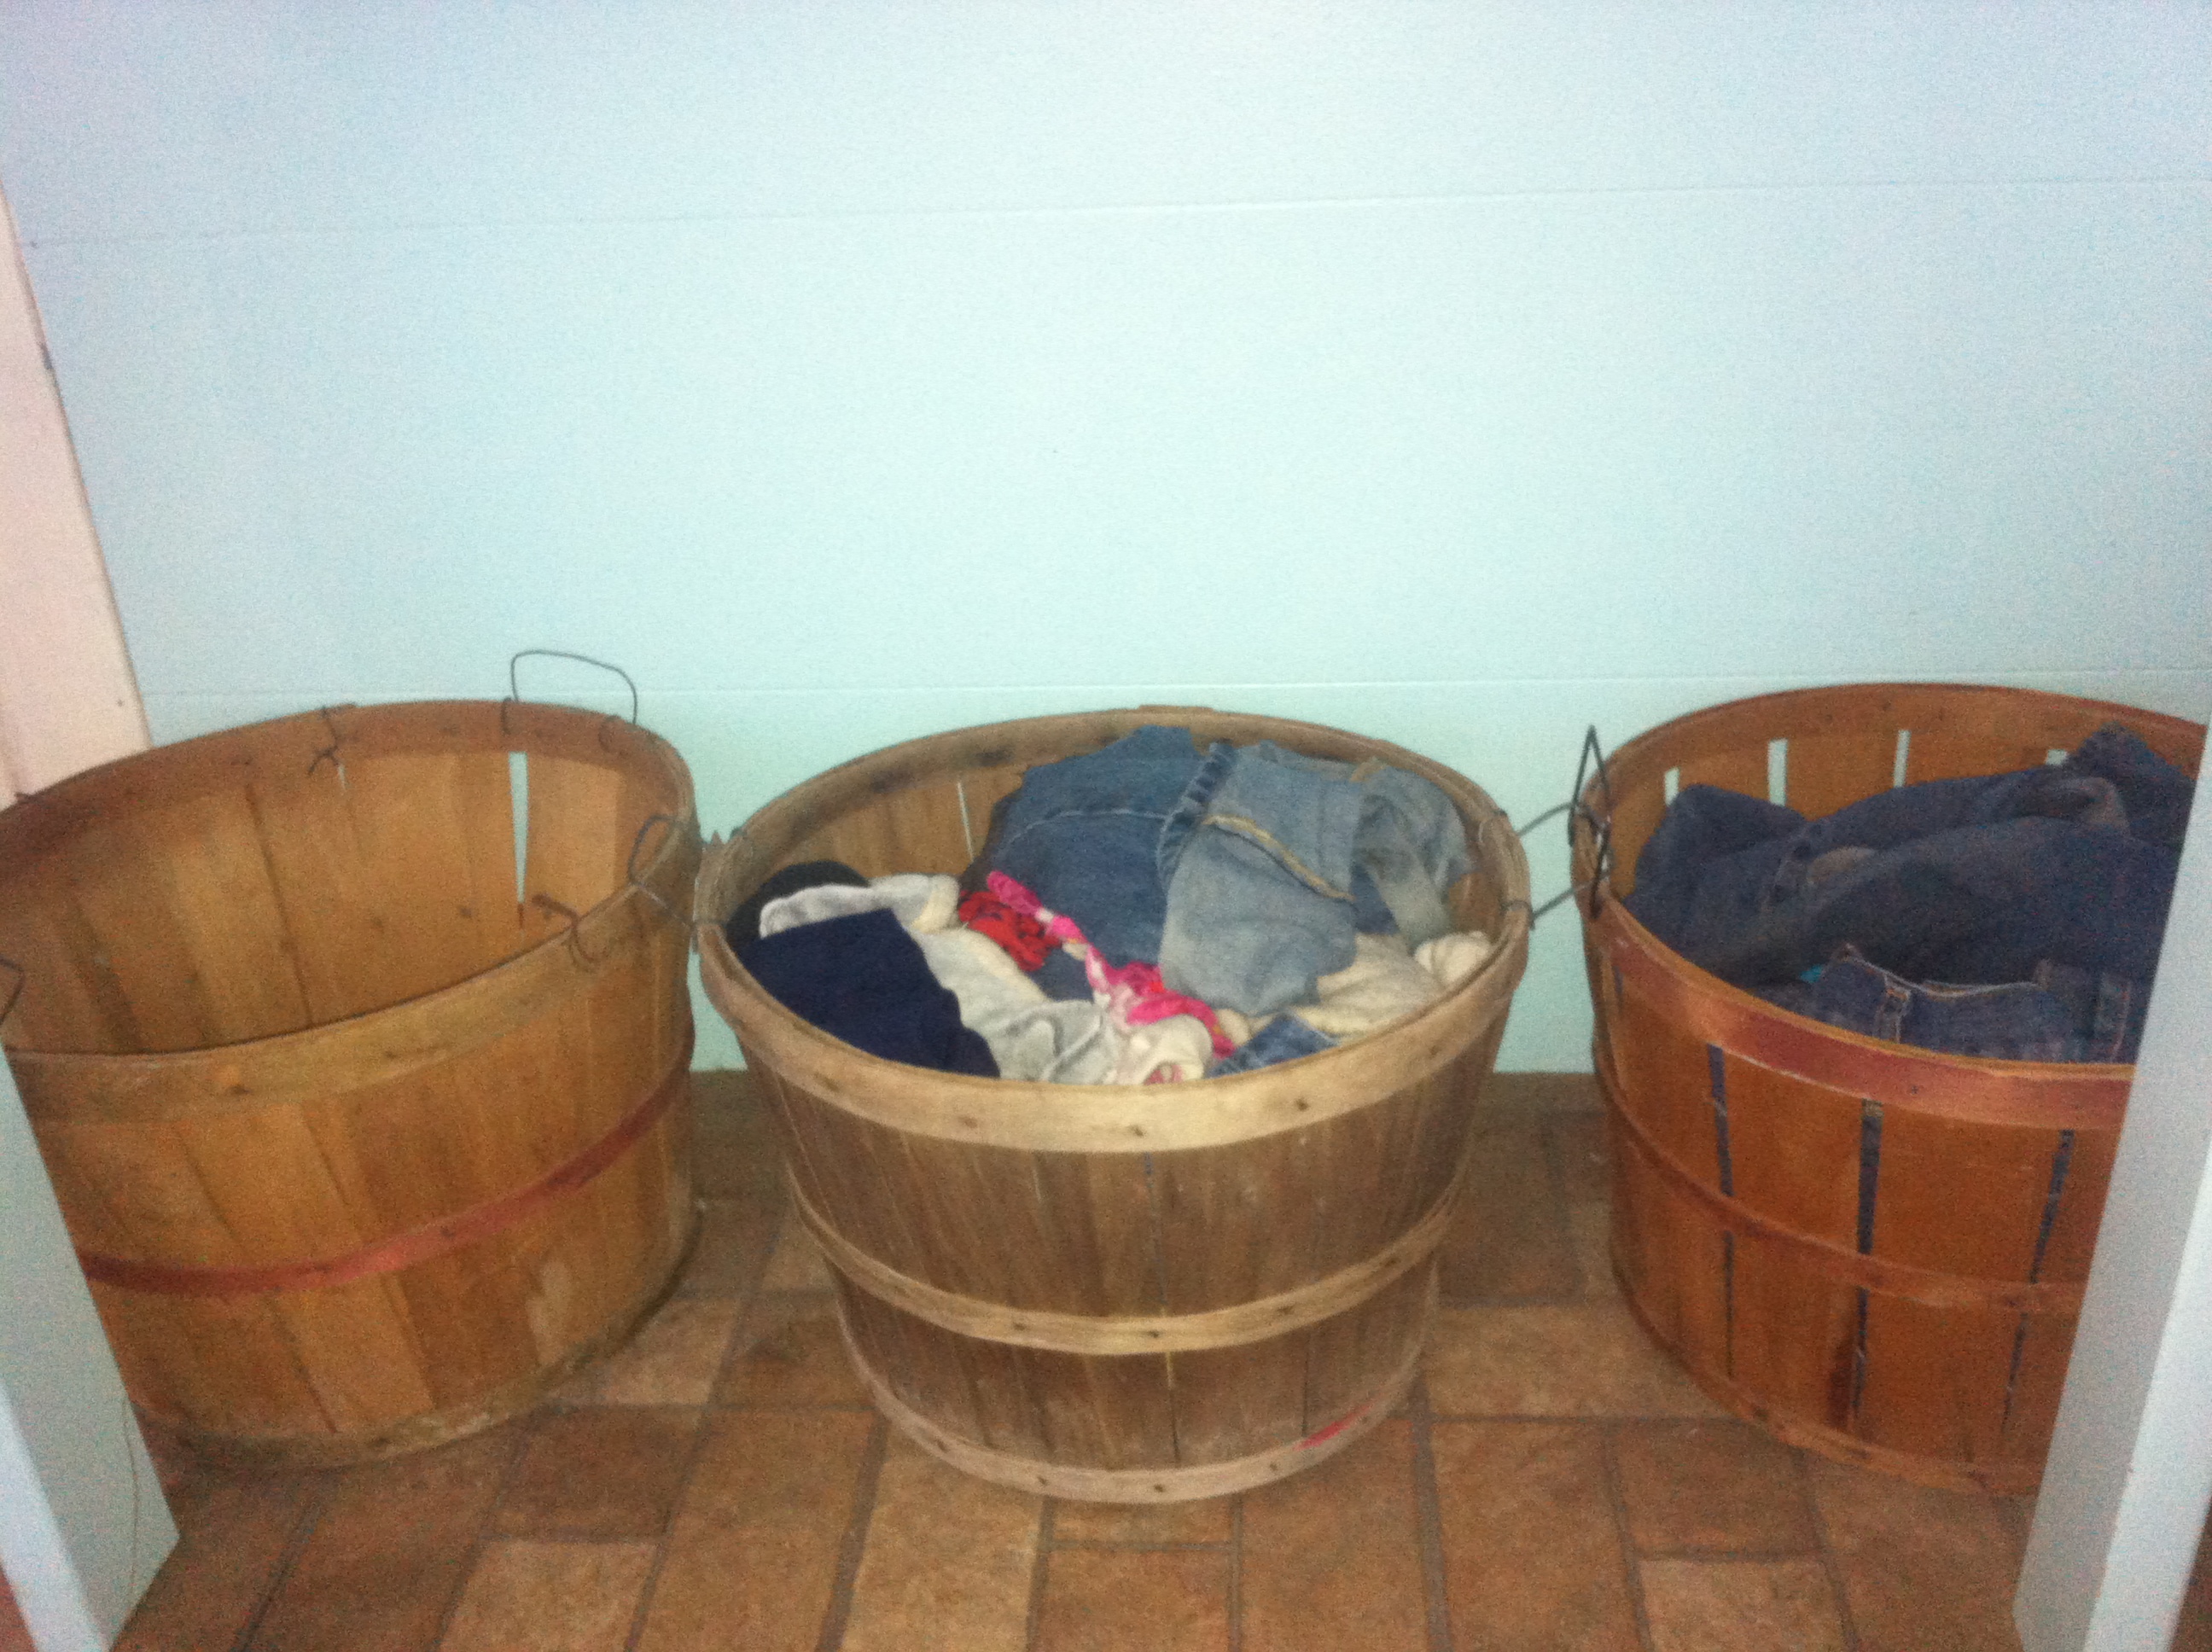
Functional – just what I need!I love my apple basket laundry hampers, even if they’re always full…
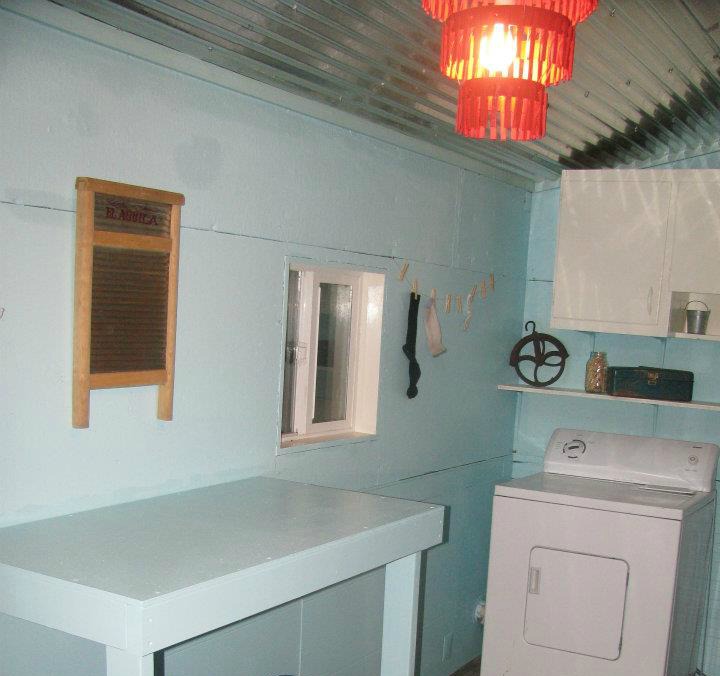
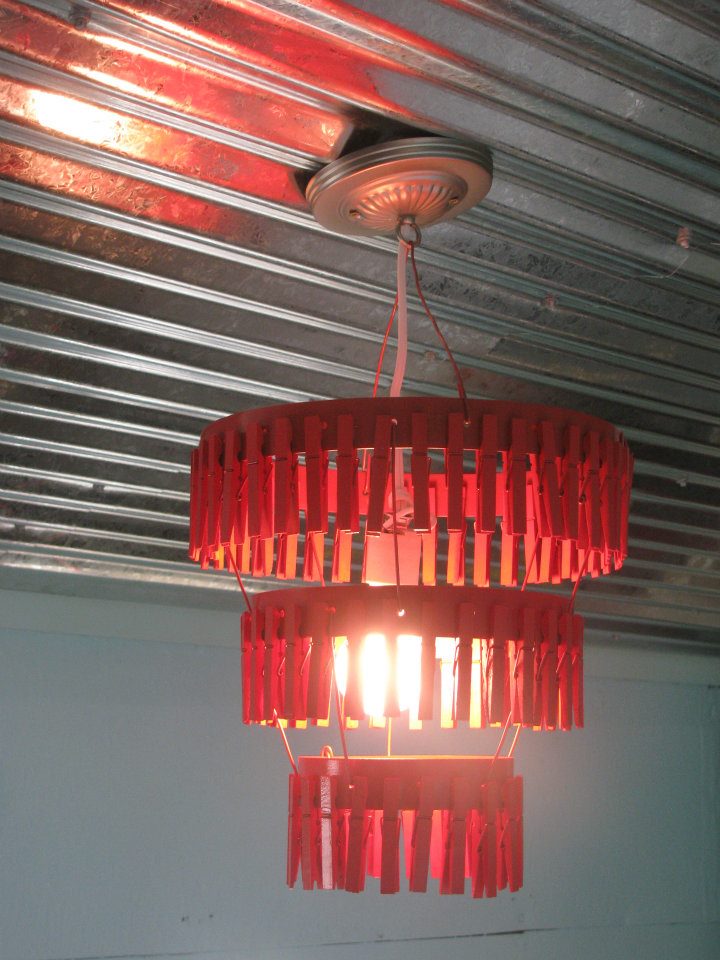
We made a clothespin chandelier and I absolutely love how it pops in this room!
Seriously adorbs, yes?!
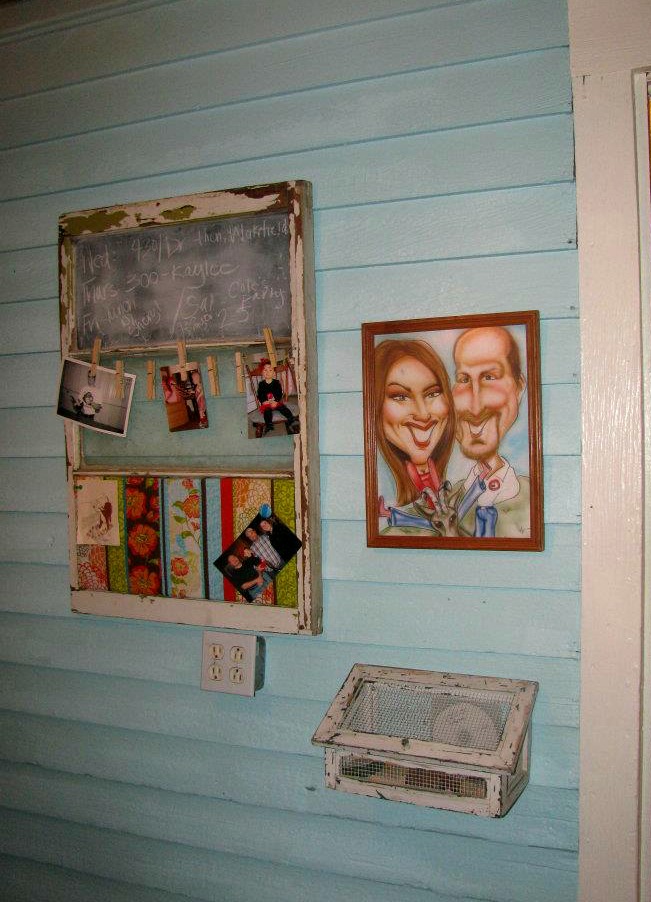
I made this chalkboard/note holder at our previous home out of an old window from the farm. I love it so much it had to live here…as well as the cool caricature of Wrex and I.
The fun wall!
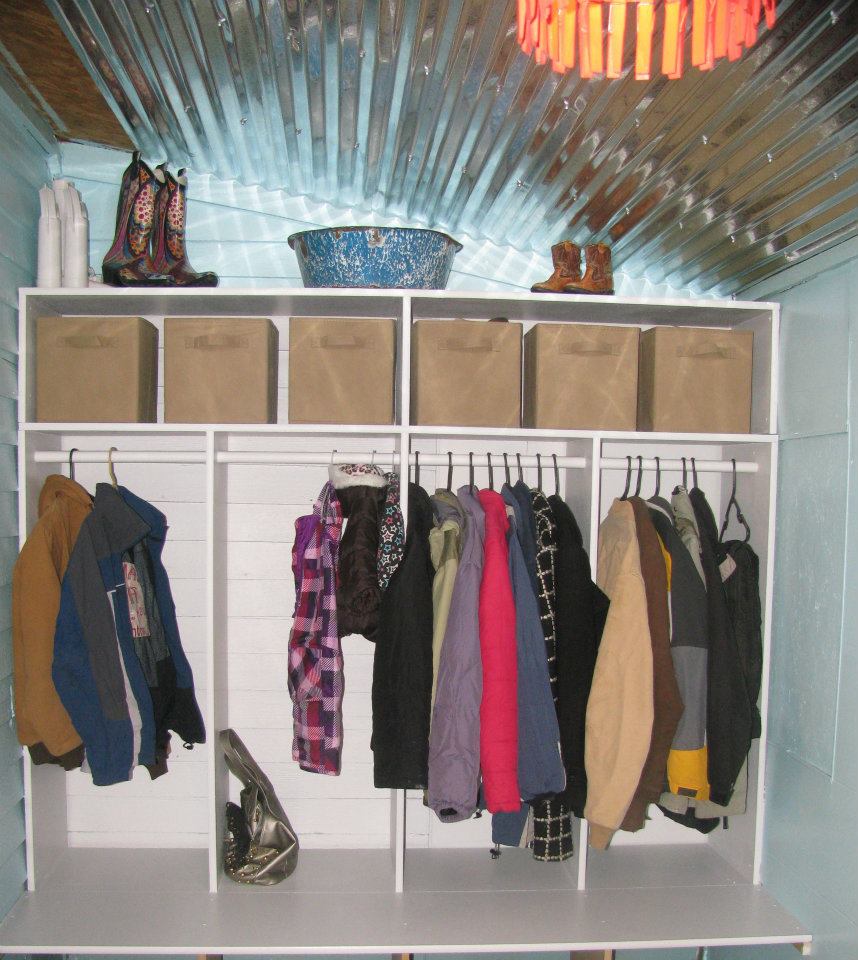
Wrex built a bench/cubby/coat rack – a necessity for us!
We have a few coats…
This room could’ve been in worse shape and us never have fixed it and I’d still love it just because it’s a place to kick off dirty shoes and undress and redress and house baby chicks and kittens and hairless dogs and keep all of those things out of the rest of the house! Our front door rarely gets used…and I’m totally ok with that.
Oh, friends…I think we’ve recovered for the most part. We’re still nursing sunburns and a few scabbed over blisters but other than that, we feel human again.
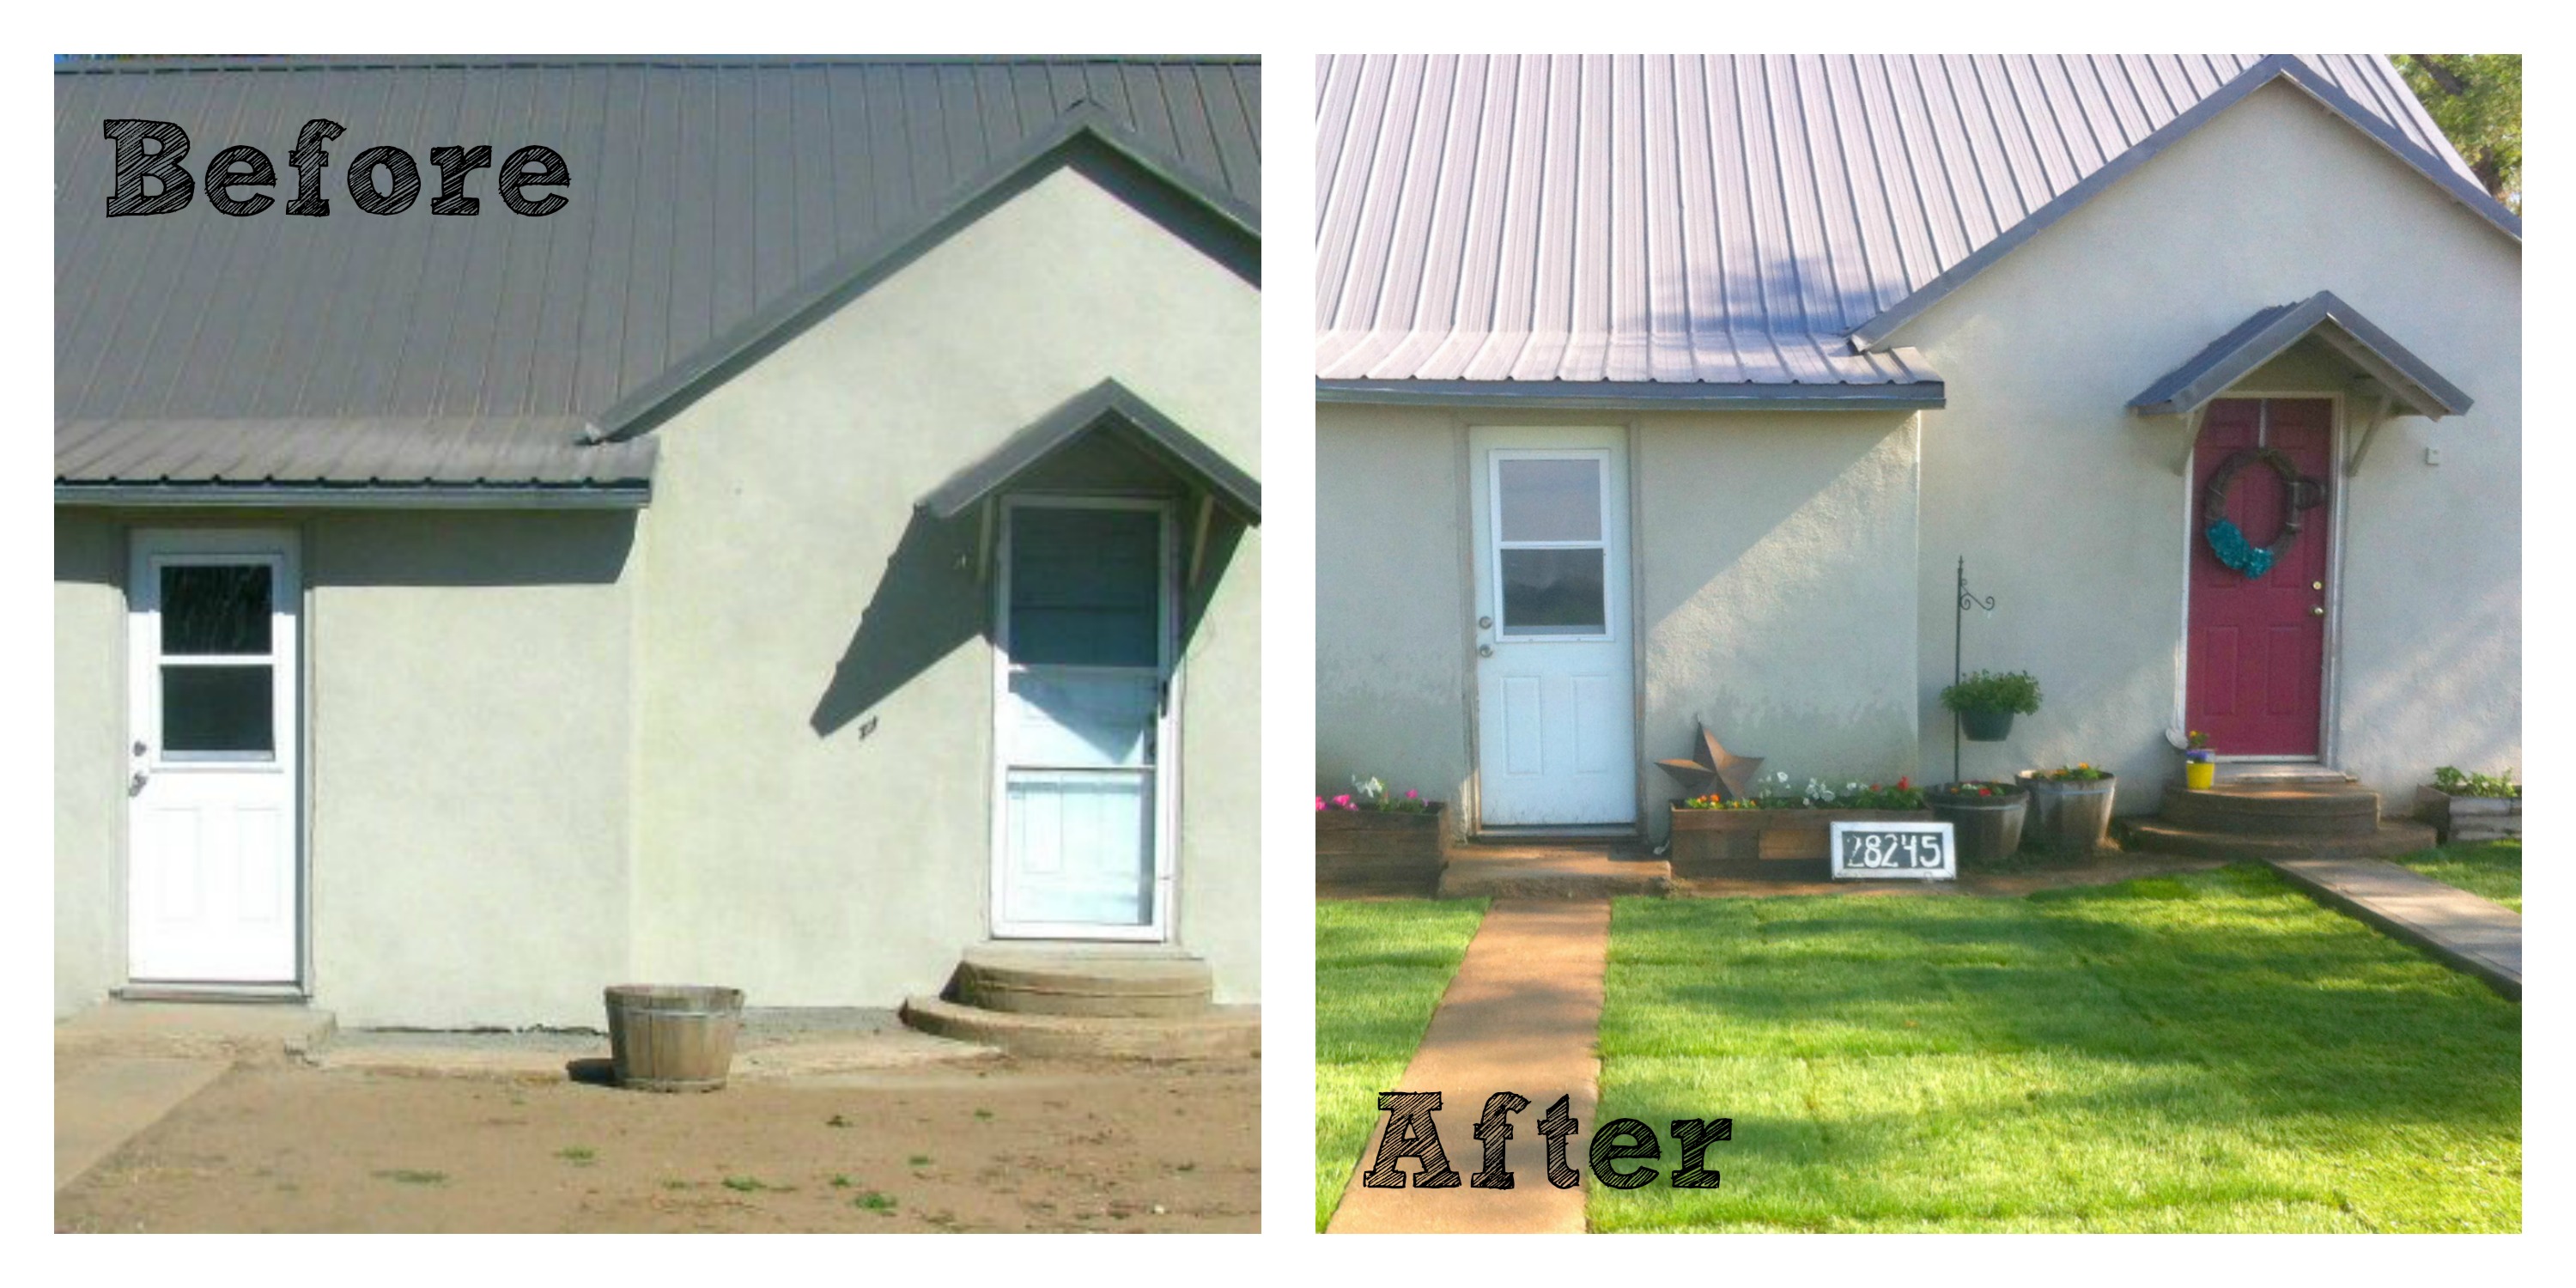
When we moved into our home three years ago there was no yard. The “front yard” was basically just packed down dirt, which we then used as a driveway for a few years.
See? No grass…
We had planned to lay sod the first year we were here but we got busy doing all sorts of other things outside like cutting down dead trees, building fence, removing old fence, etc. and it never got done. The next summer, a handsome newborn slowed us down but this past weekend we made it a priority!
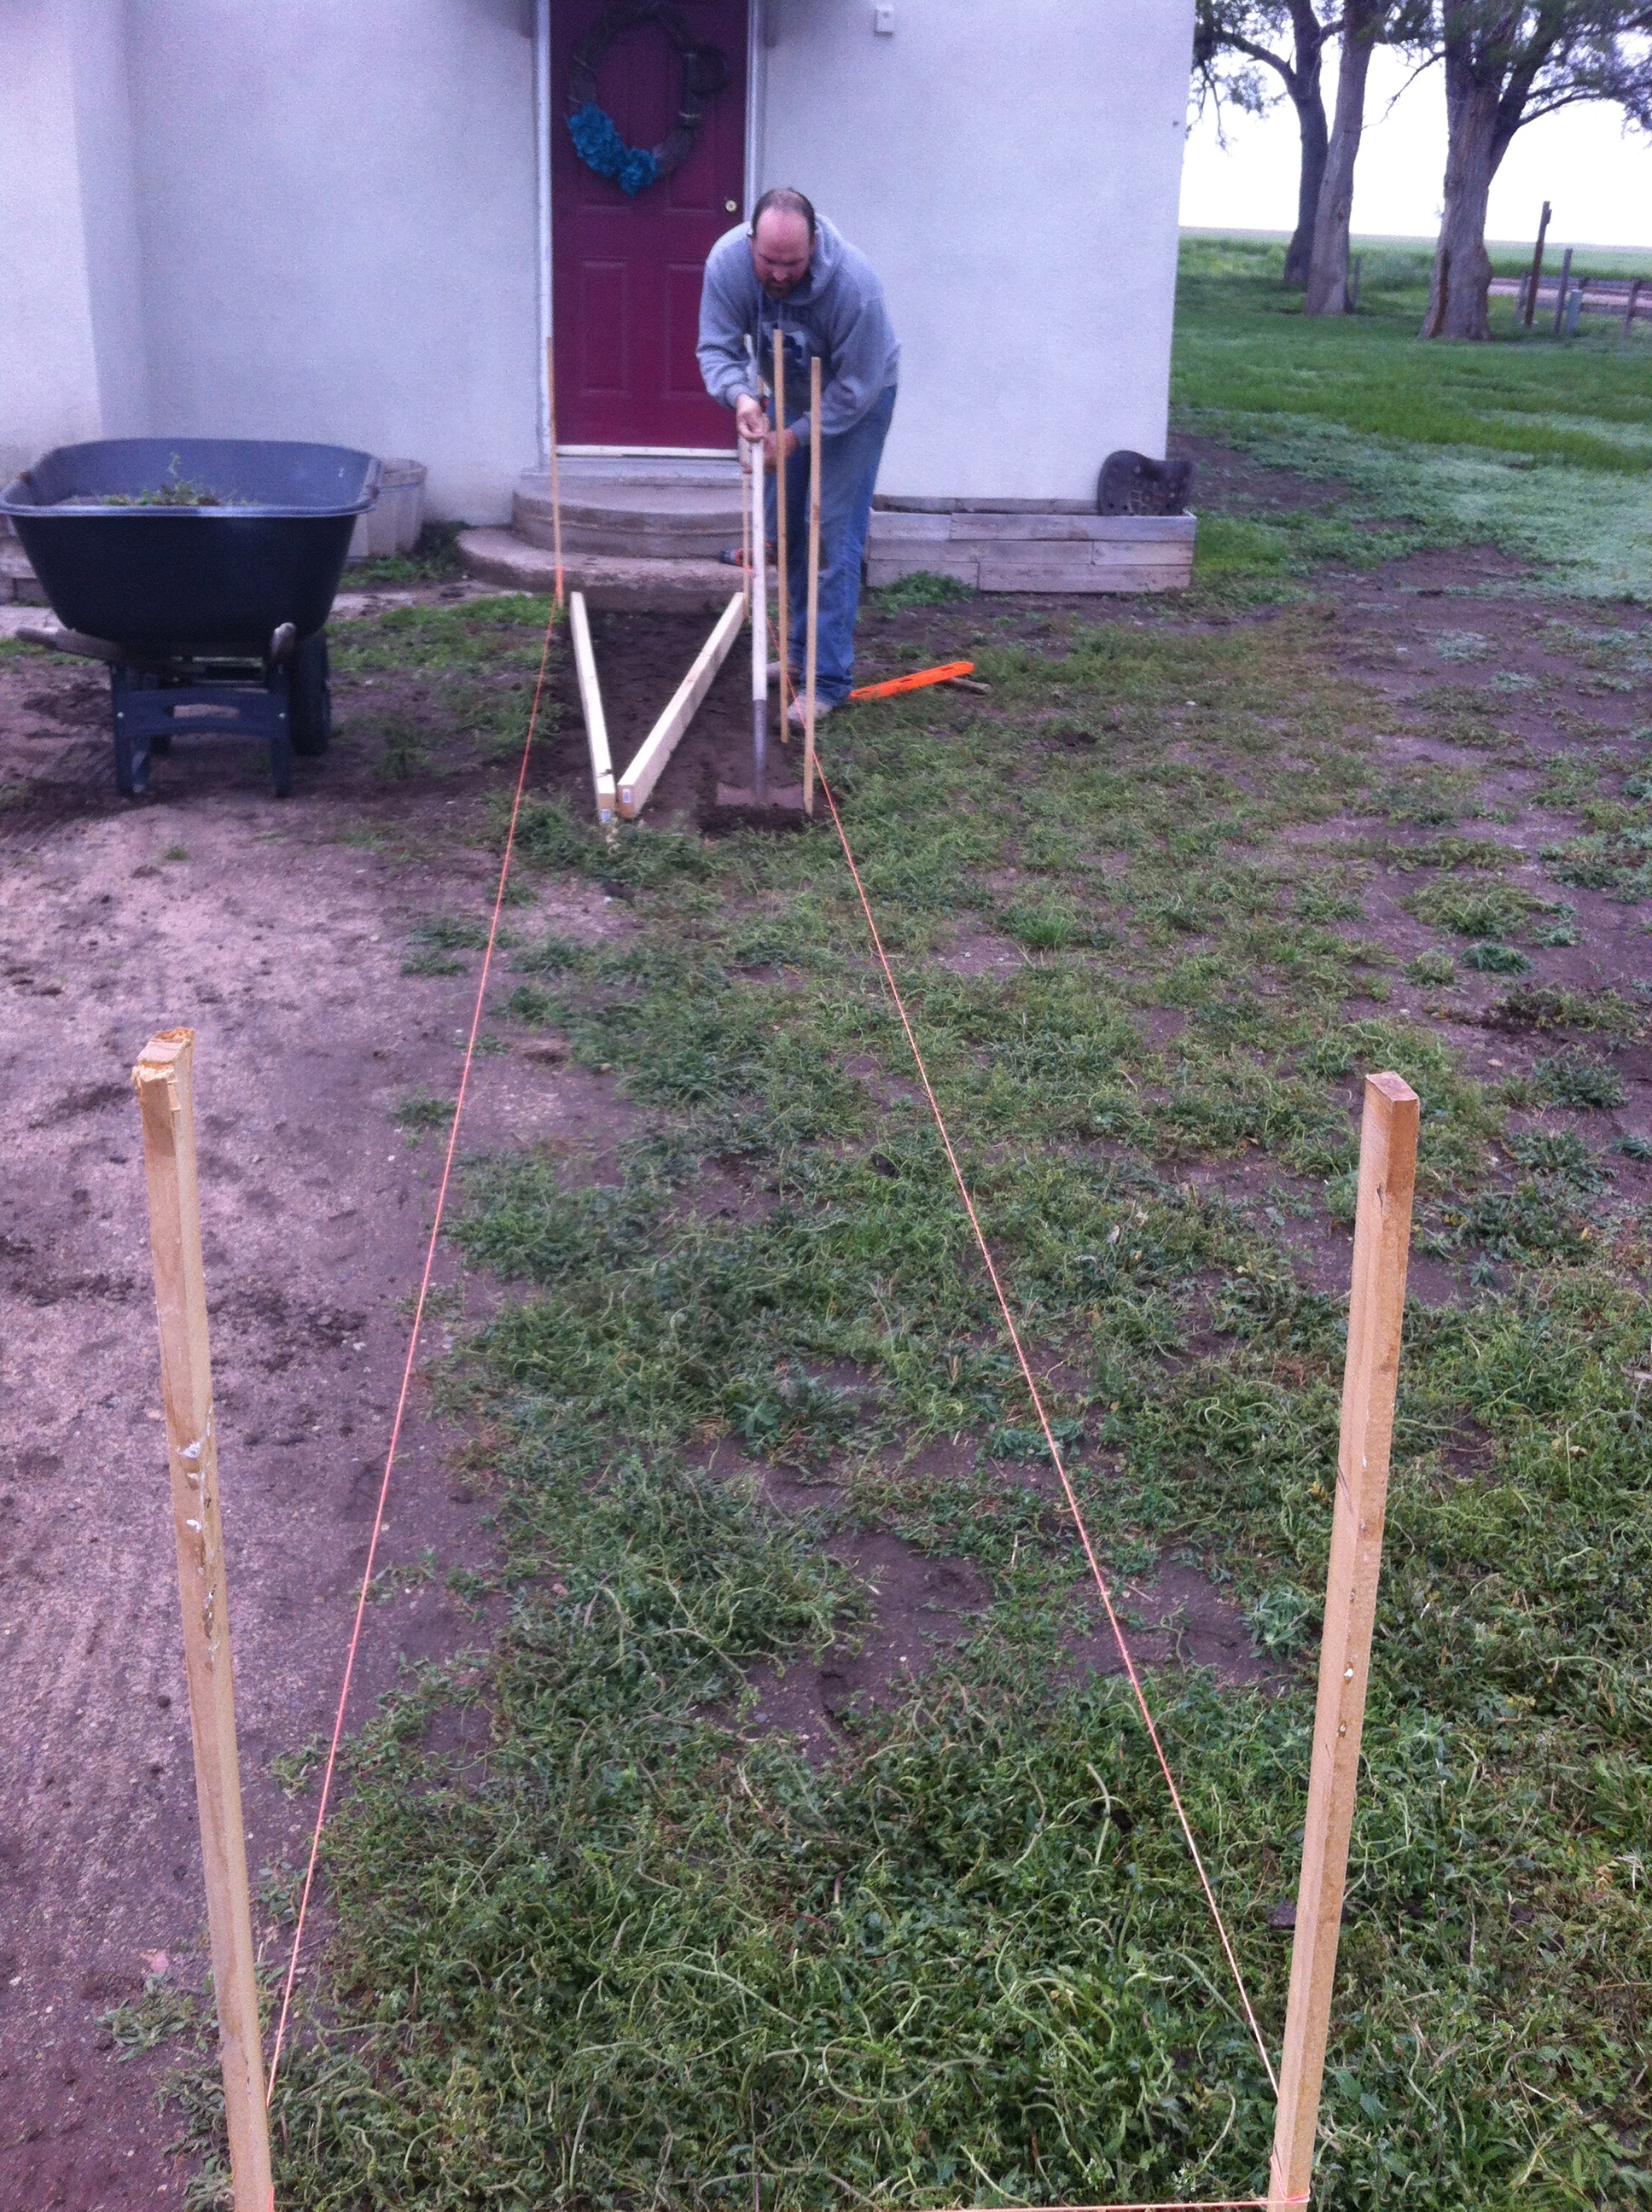
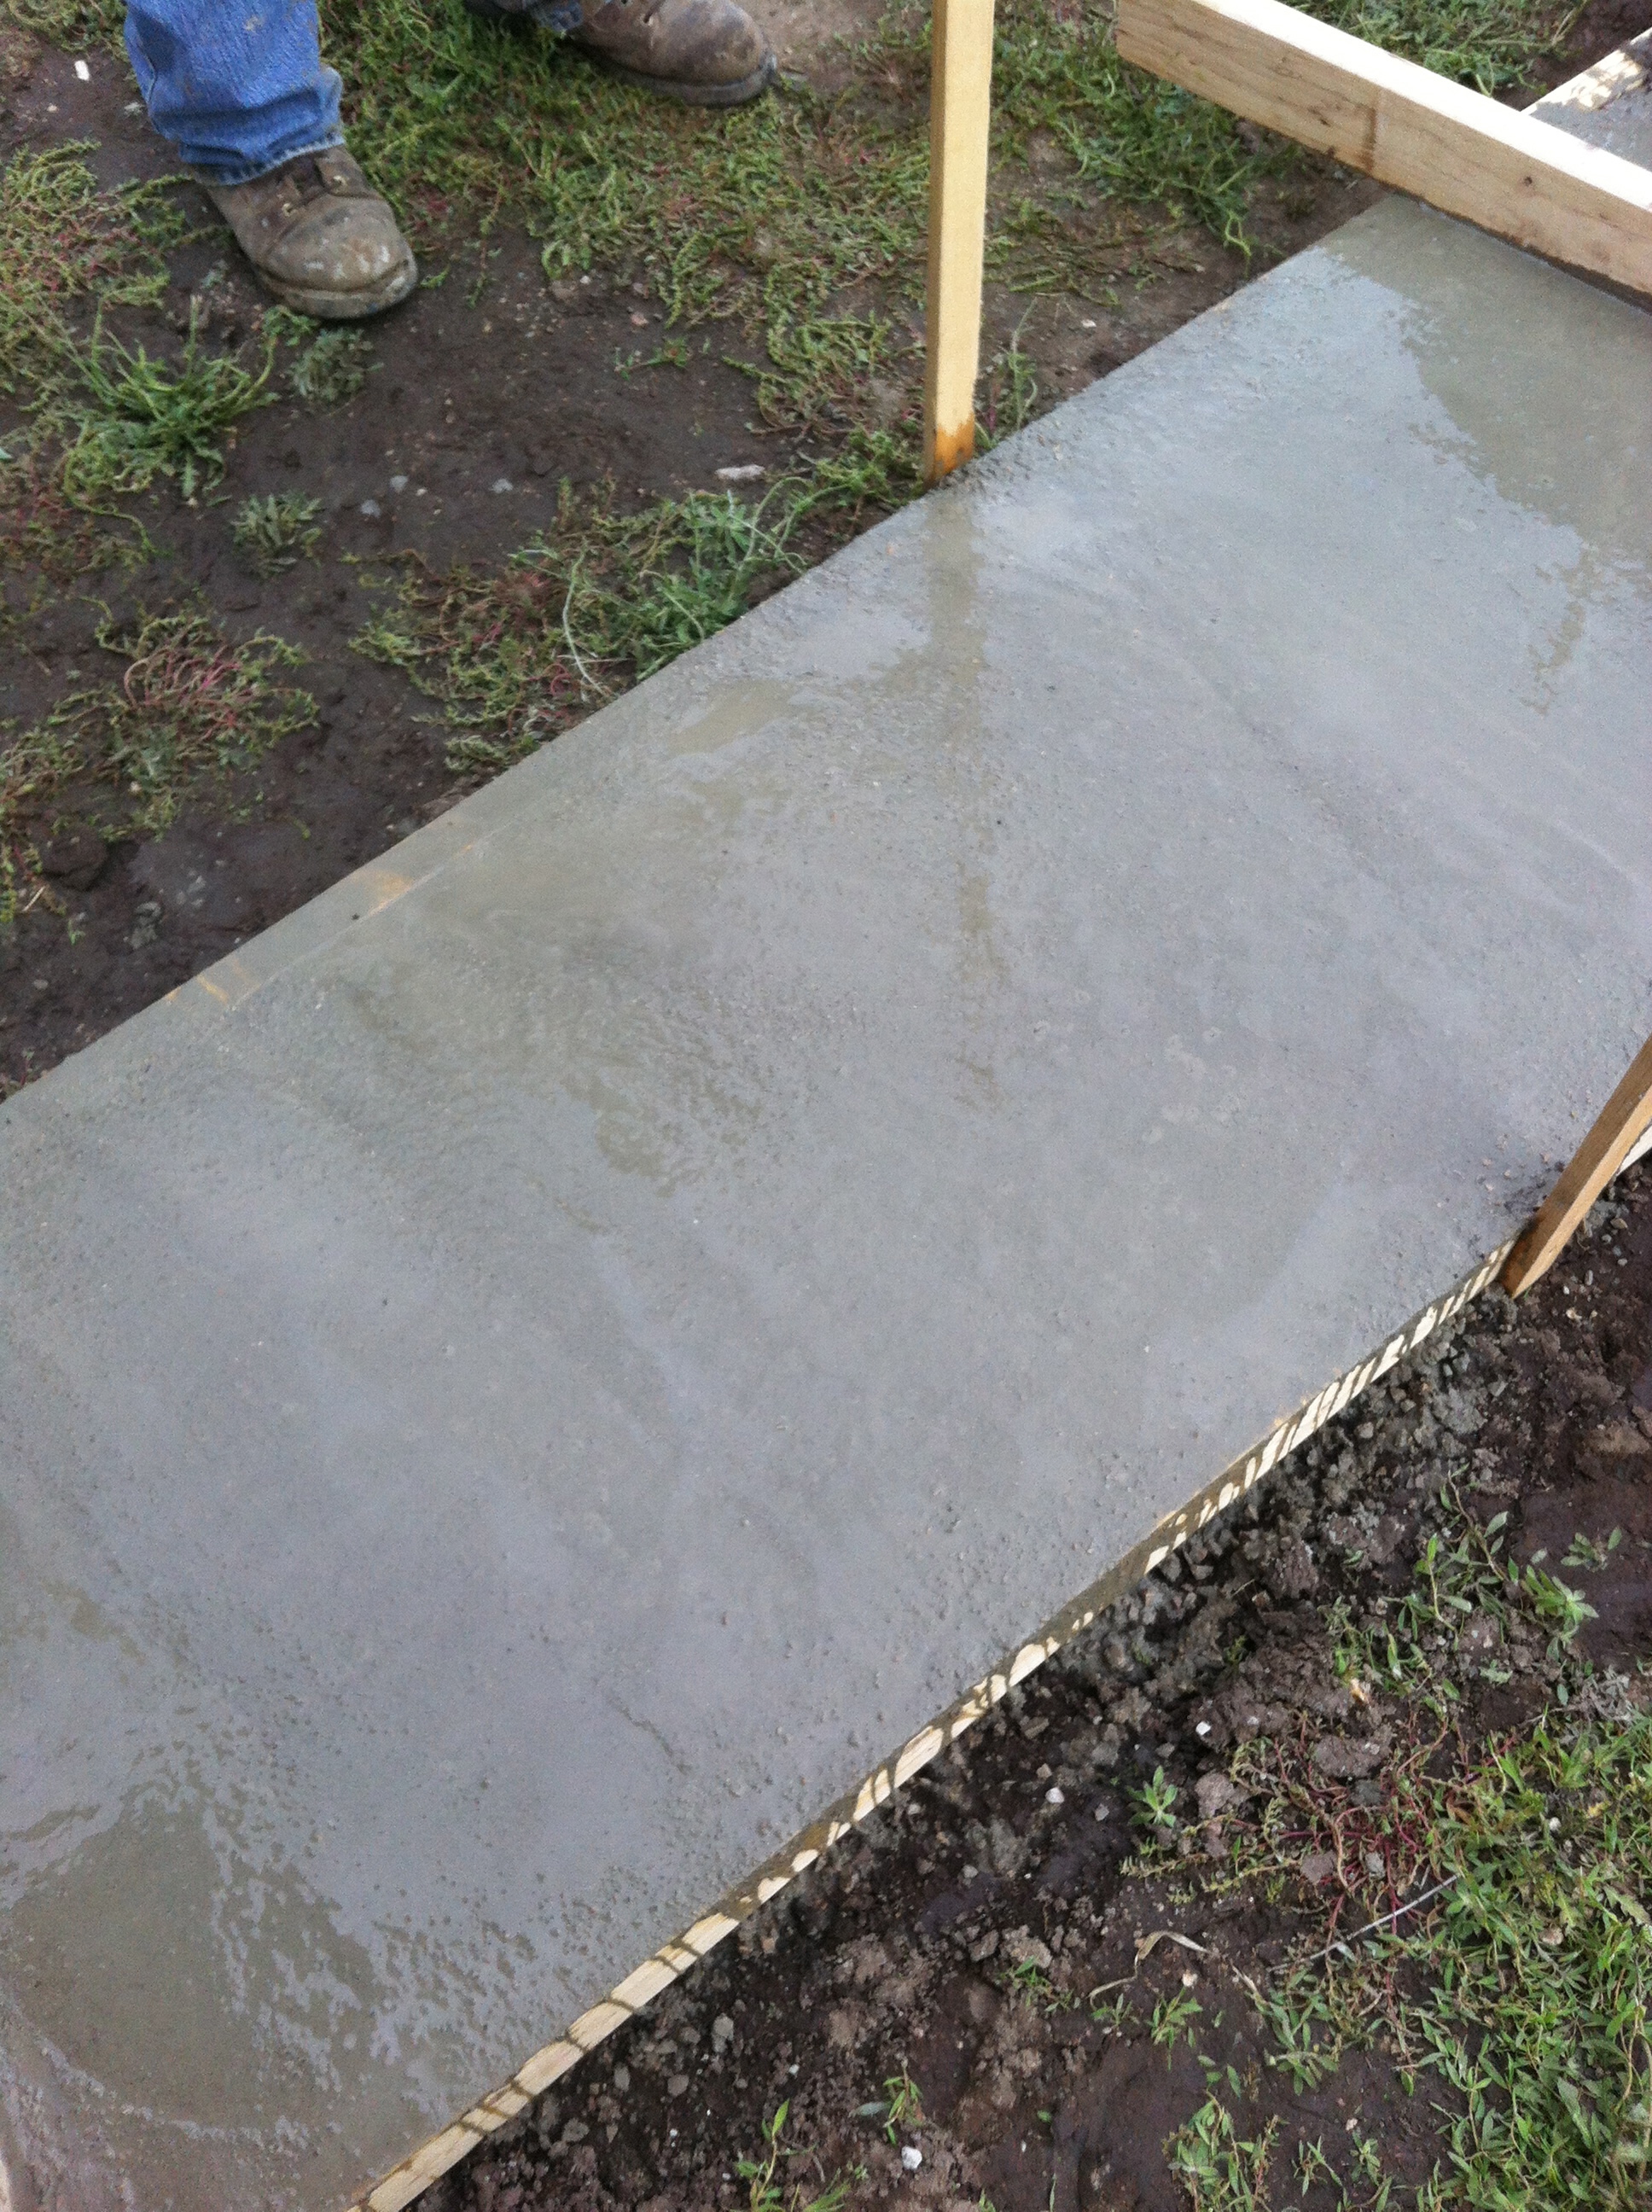
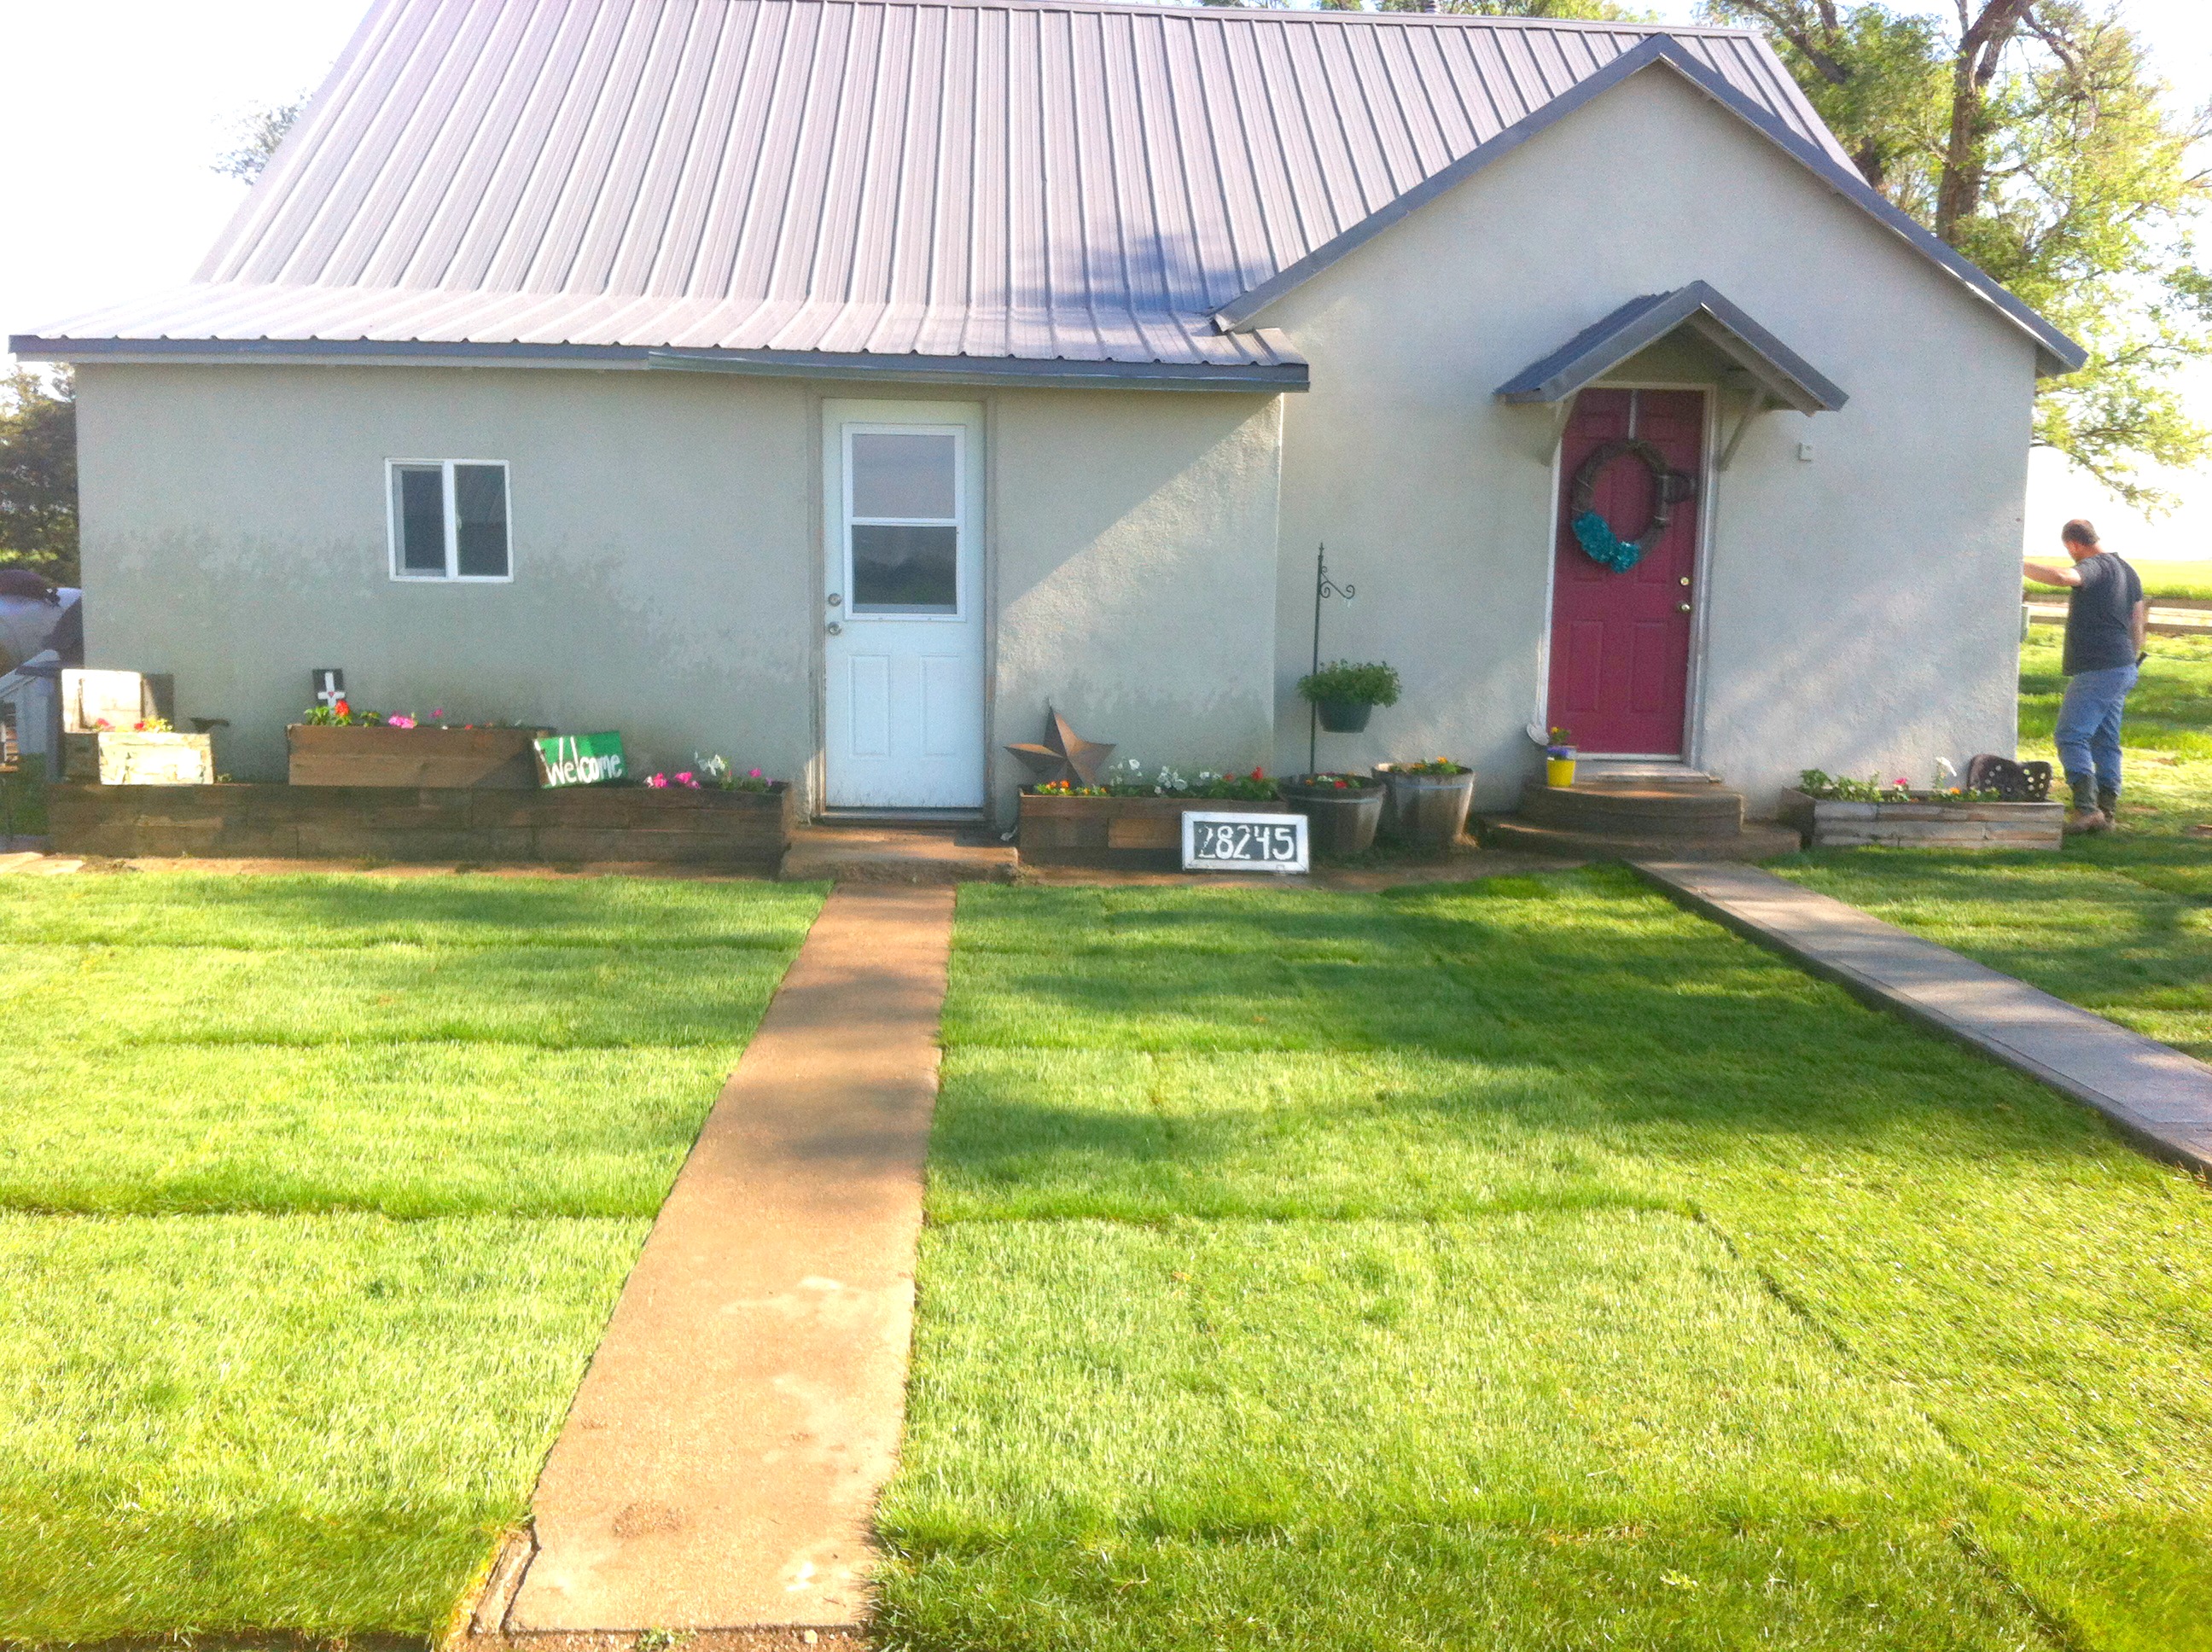
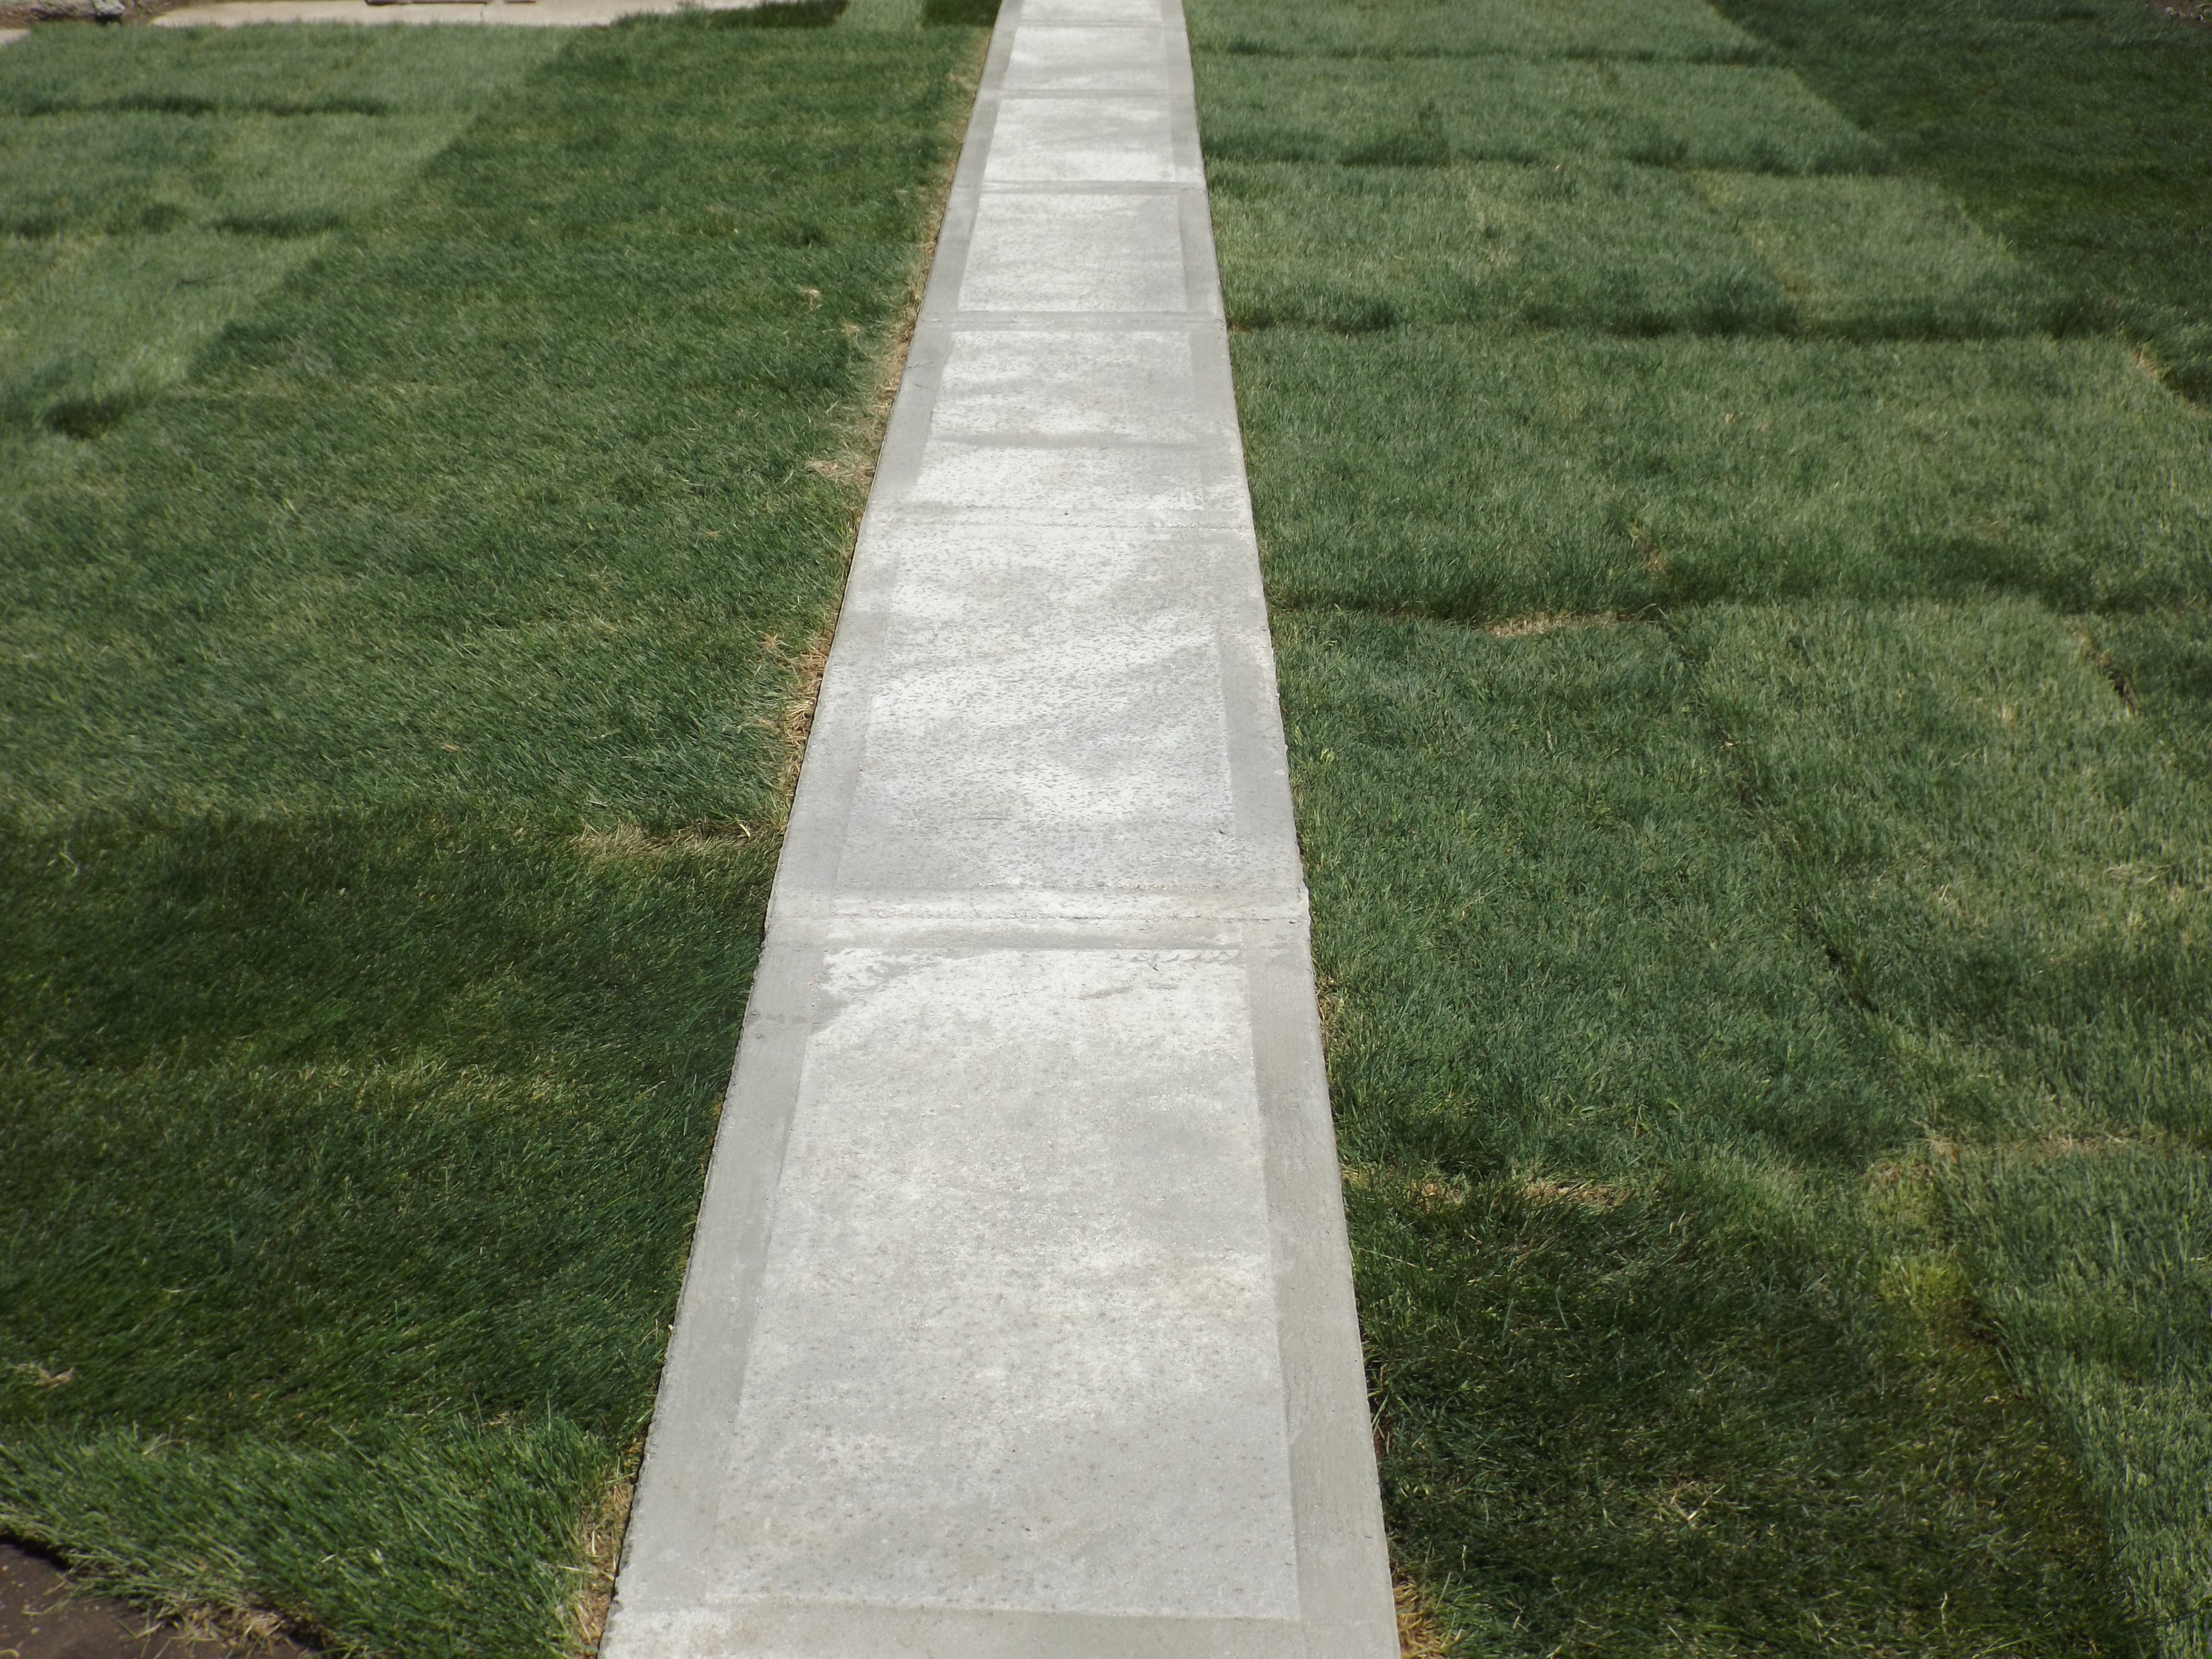
We started by leveling a place for a sidewalk that would lead from the driveway to the front door, as there never was one. I wanted a cute, curvy sidewalk, but it was a little faster and easier to just make a straight one…and I’m all about fast and easy!
A long way to go…
Thankfully, the ground was soft thanks to the inch of rain we’d had during the week so it made the weeding and leveling a little easier.
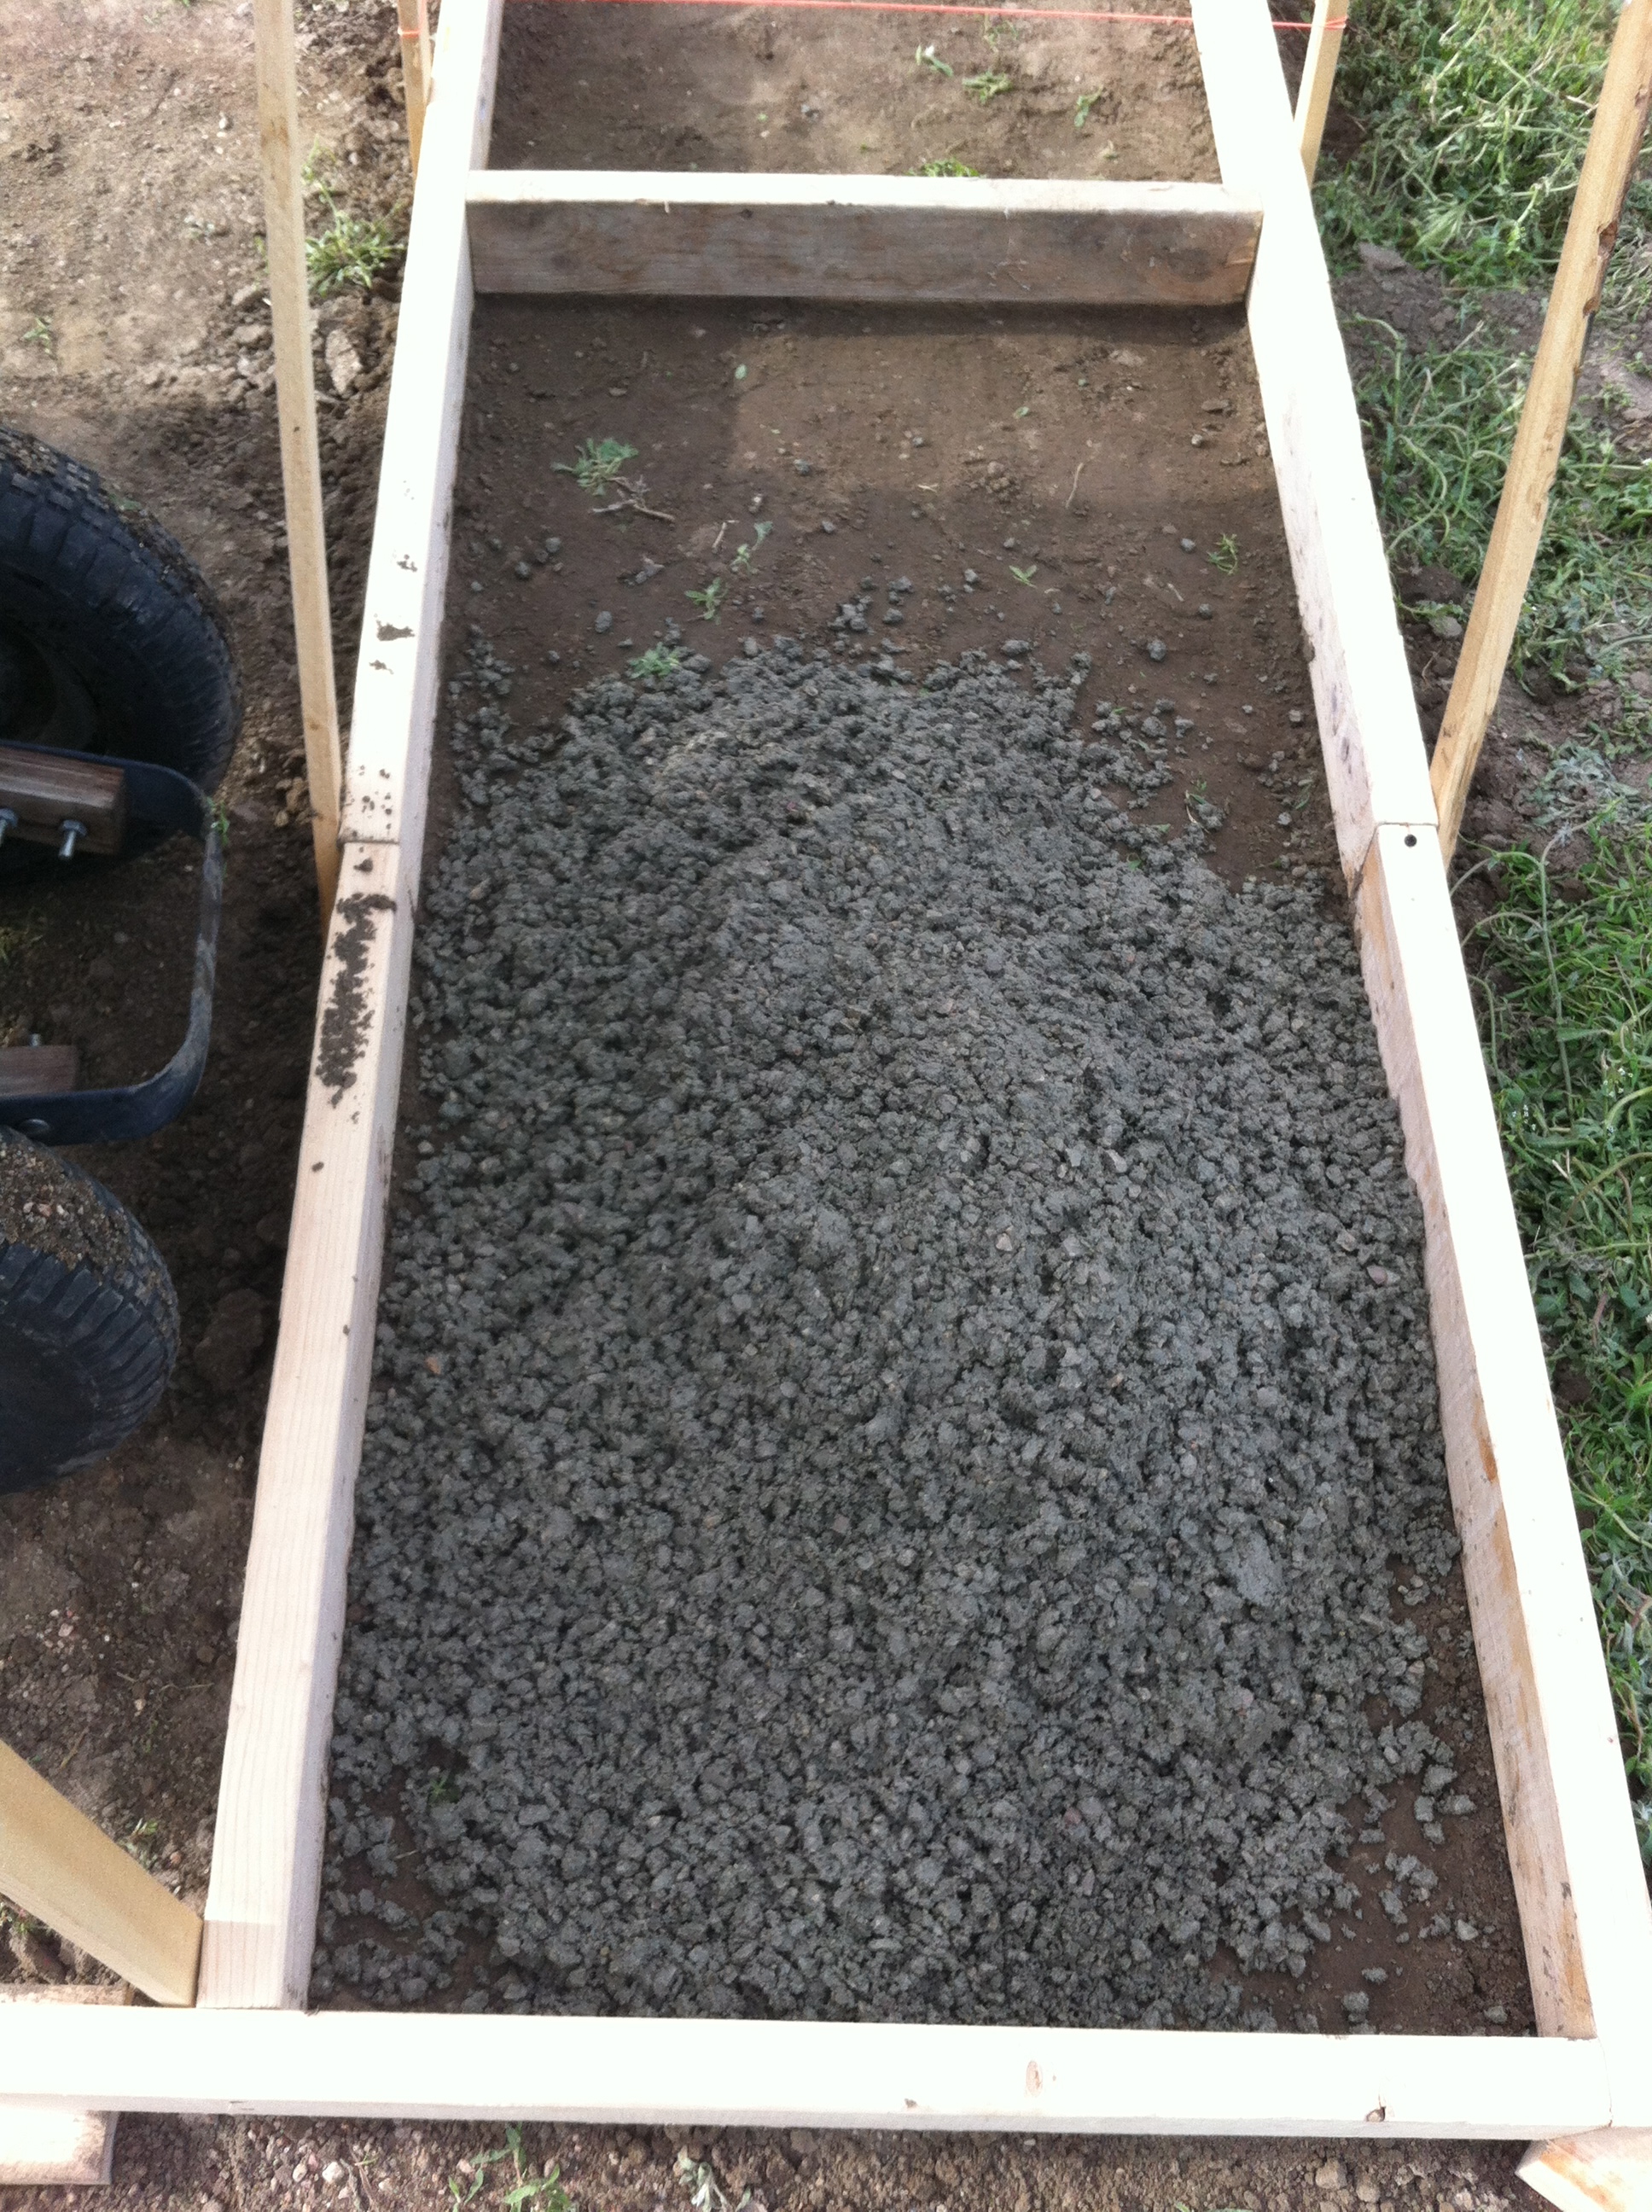
Concrete going in!
Our neighbor and his grandad came and helped us float and level the sidewalk and we were so grateful that they did!
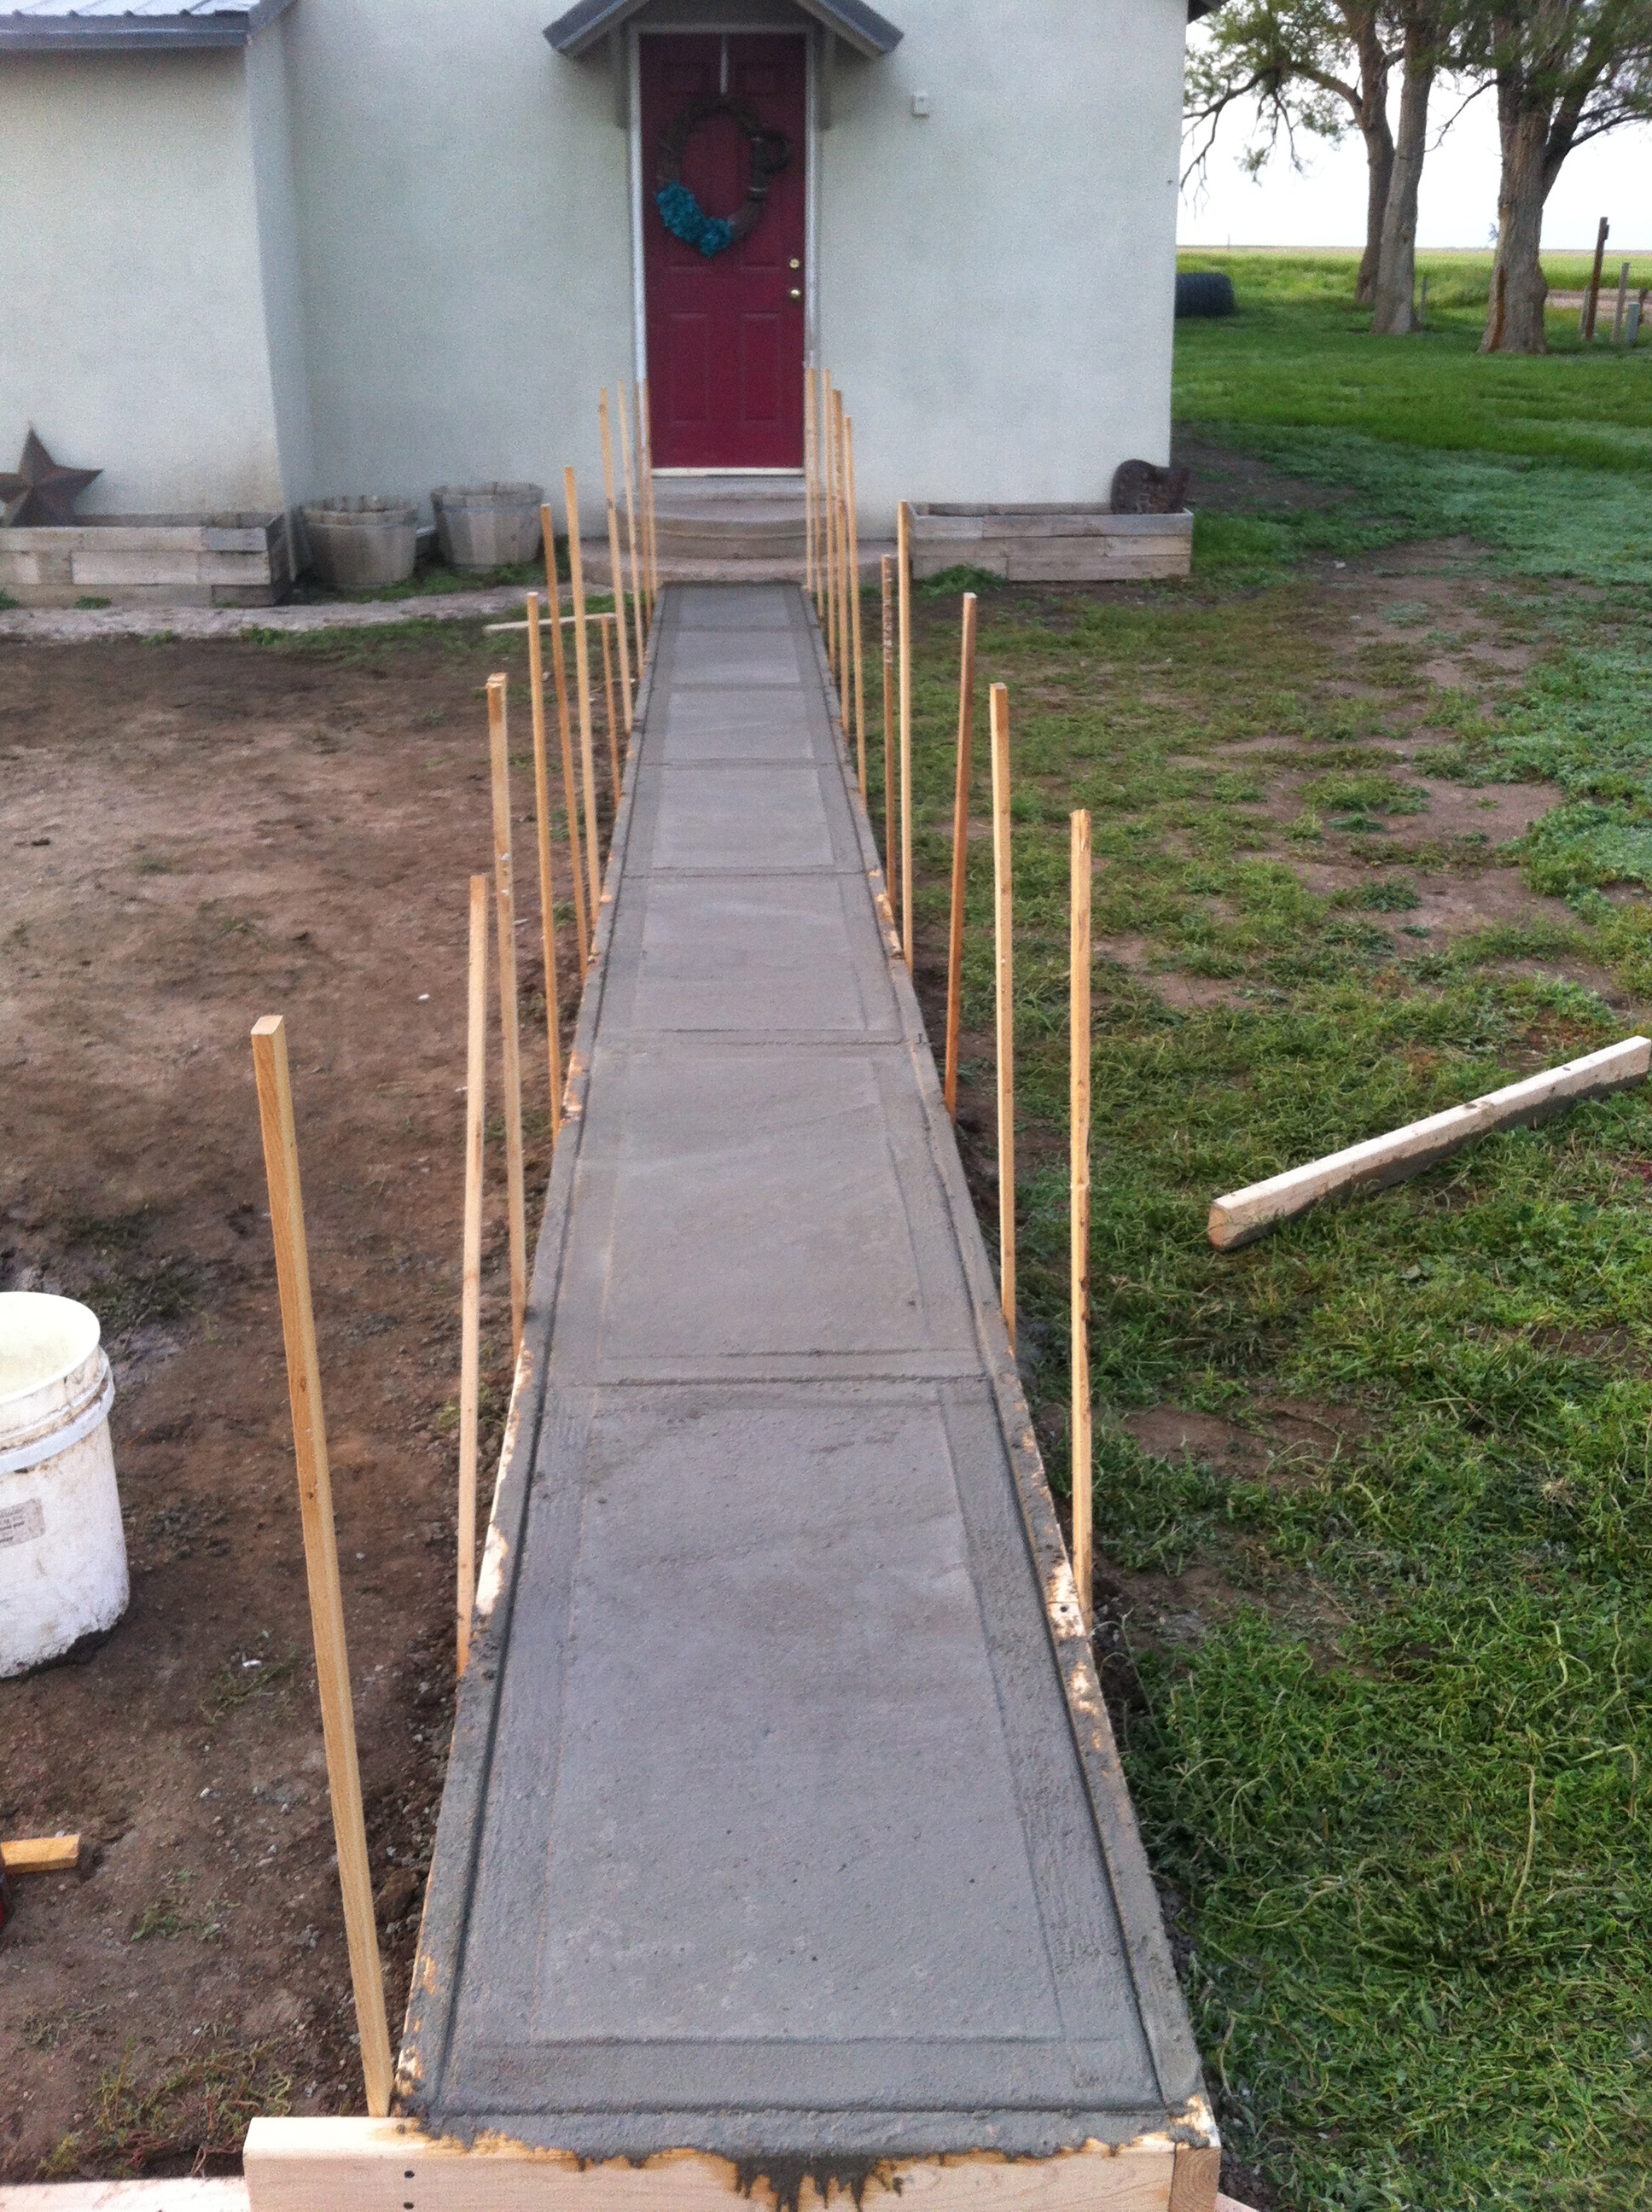
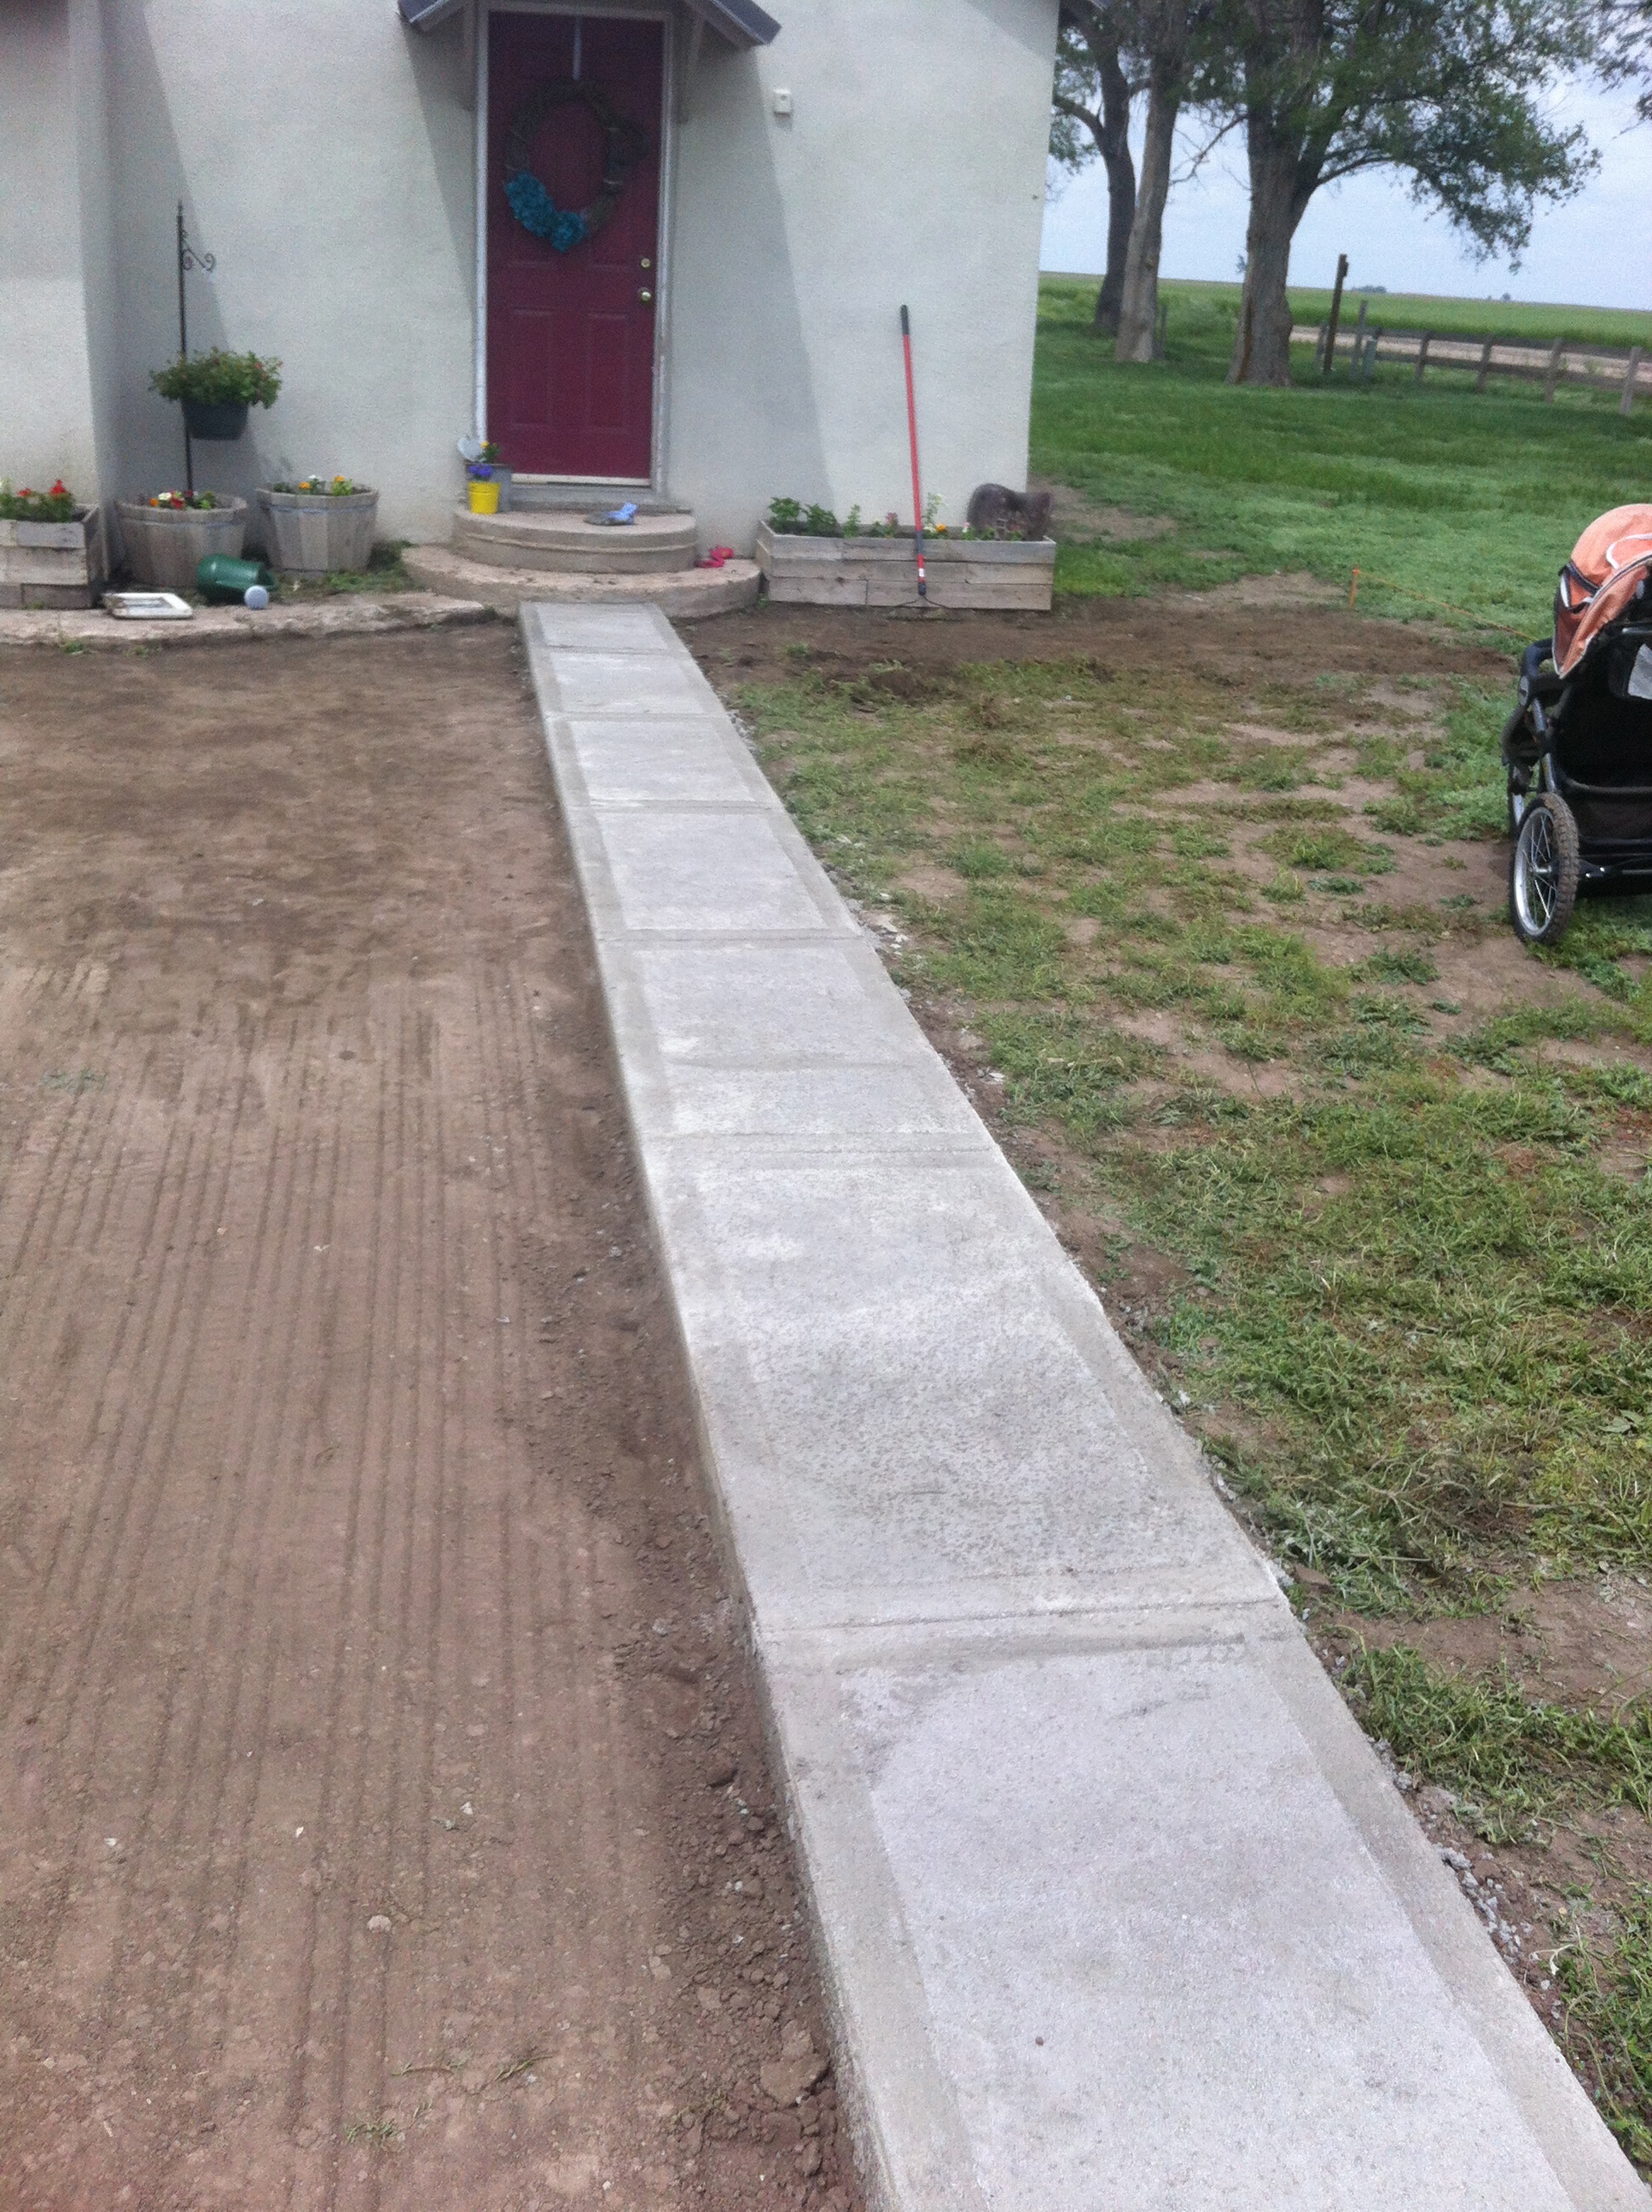
One section done!Drying…Ta-Da!
We were really pleased with how the sidewalk turned out…it just kinda makes you want to rip out all of the old concrete around the place and start over!
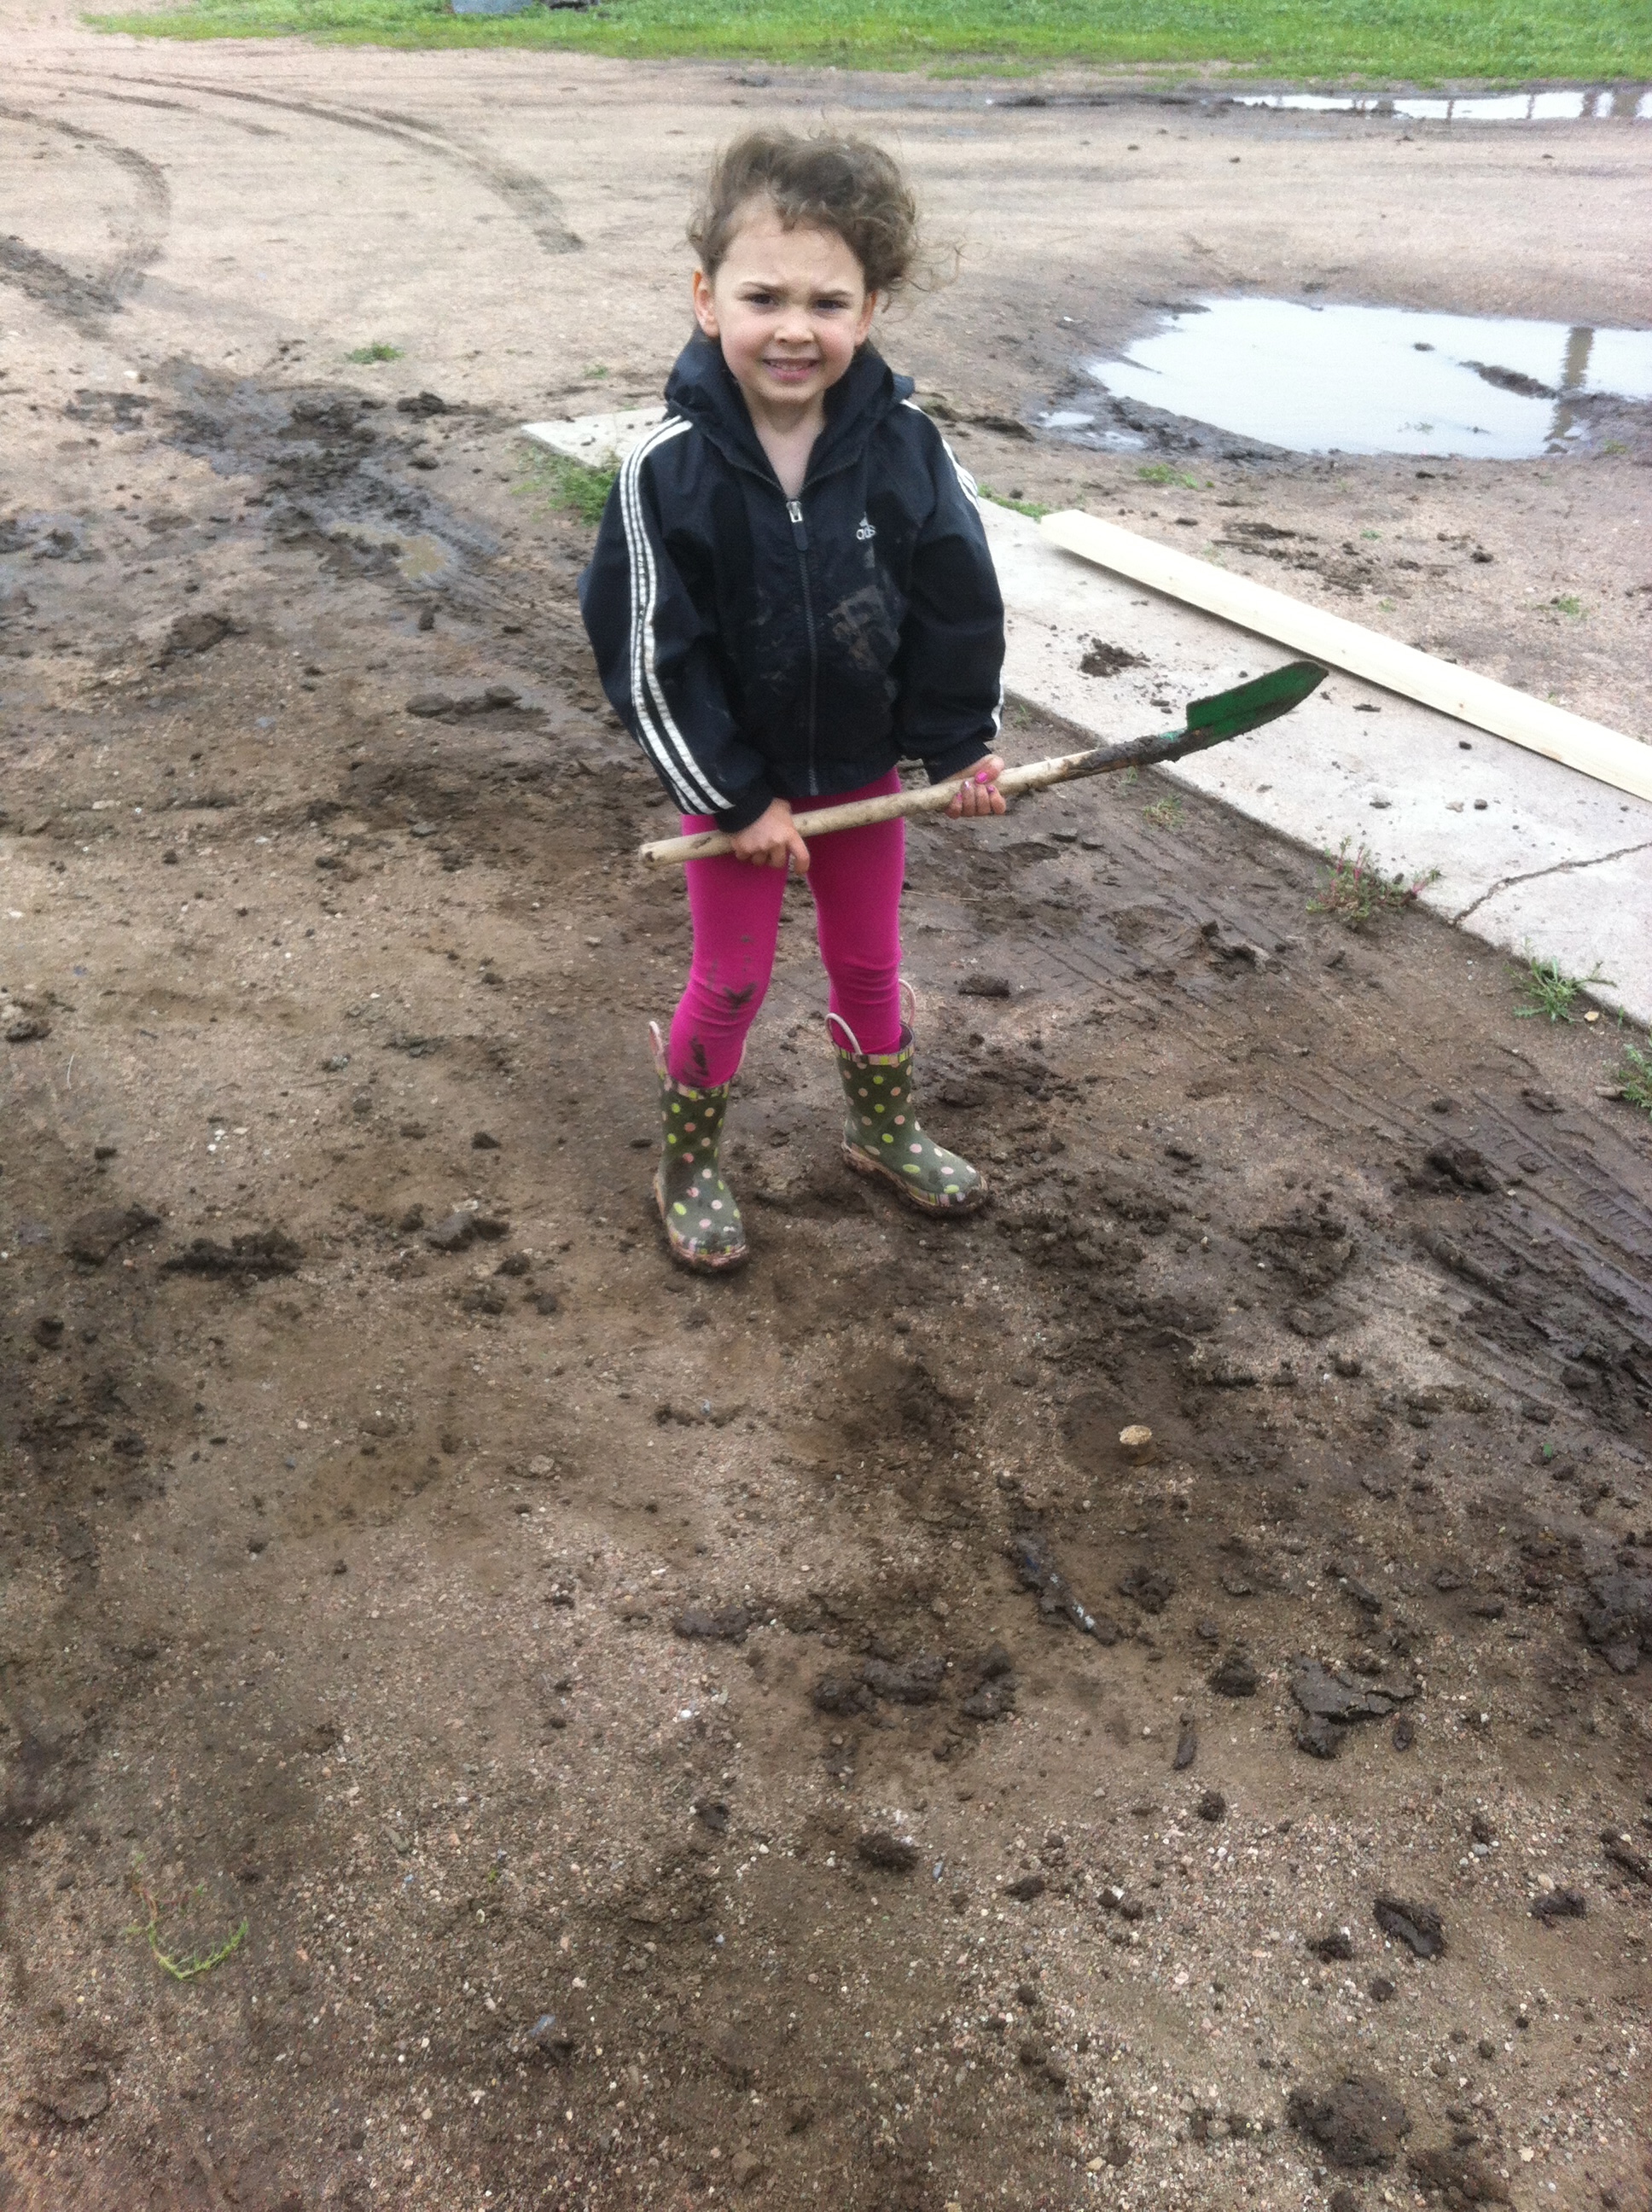
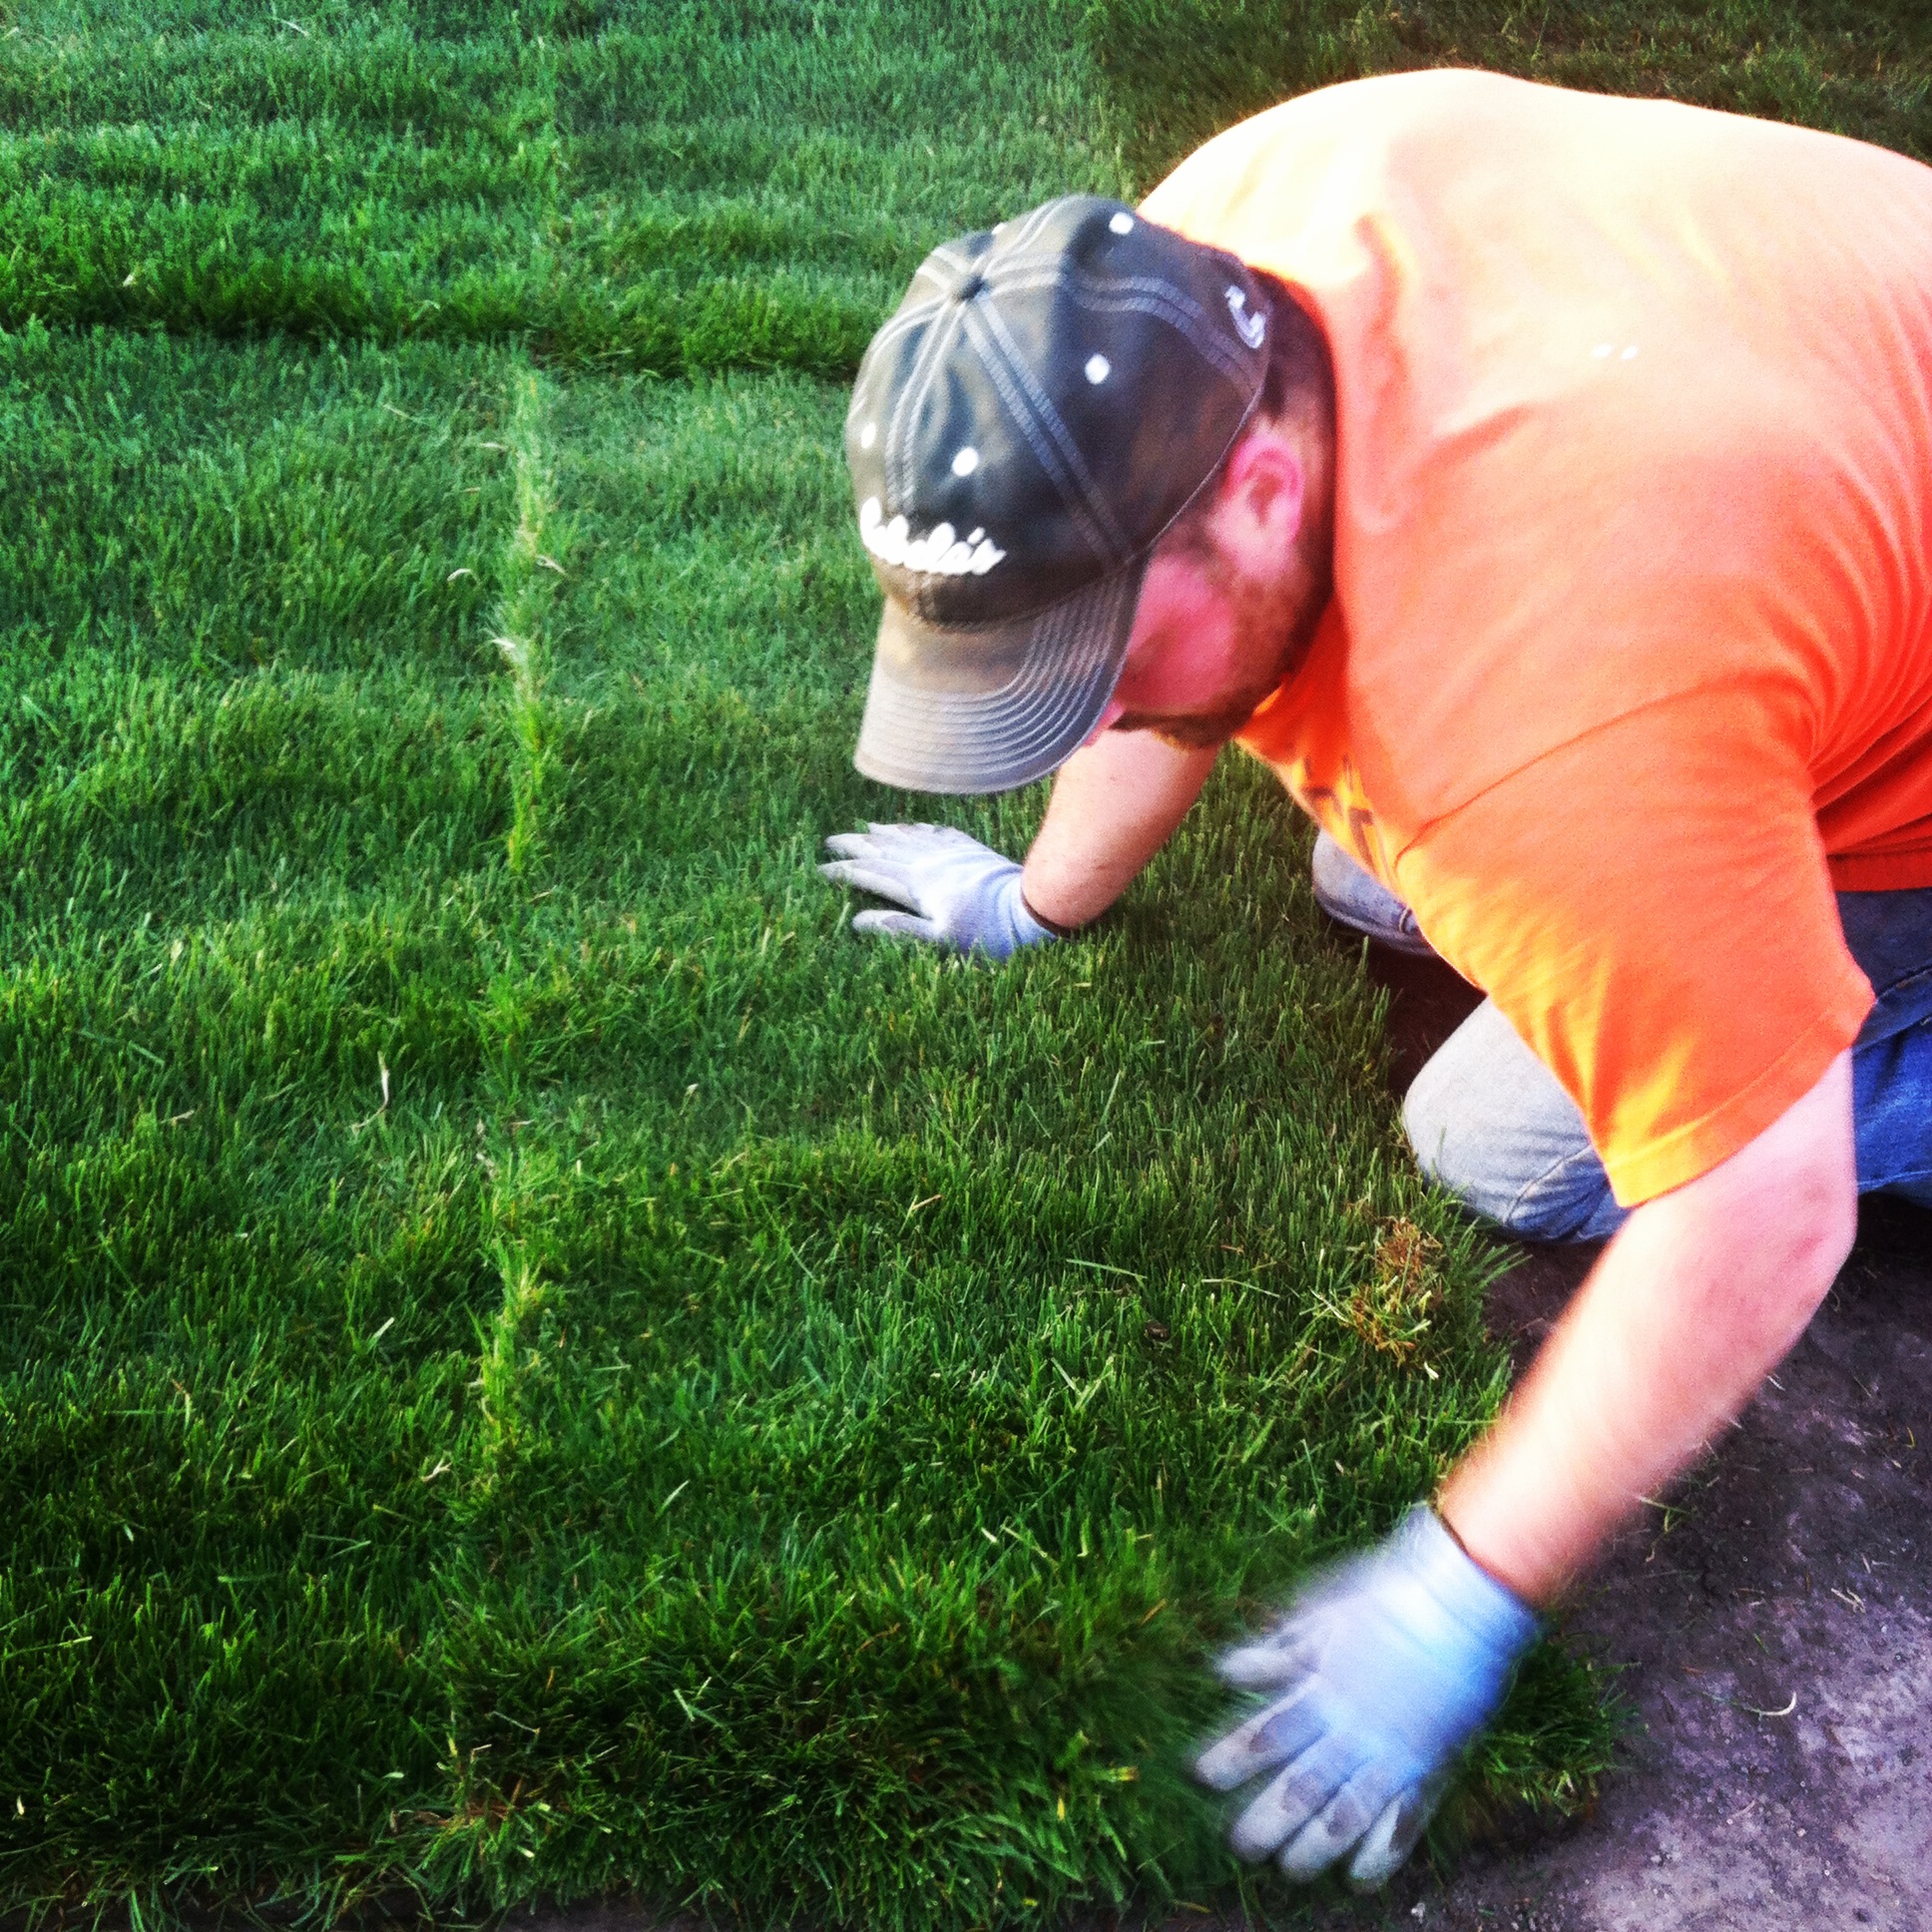
Next, it was time to level the yard area and it get it ready for sod. This took a while…a long while. We finally finished about 6:00 on Sunday evening and got to actually lay the sod. We’ve decided that laying sod is easy; prepping the ground for sod is not.
Cute helper with her shovel…Looking good!This man is a MACHINE!WOW!
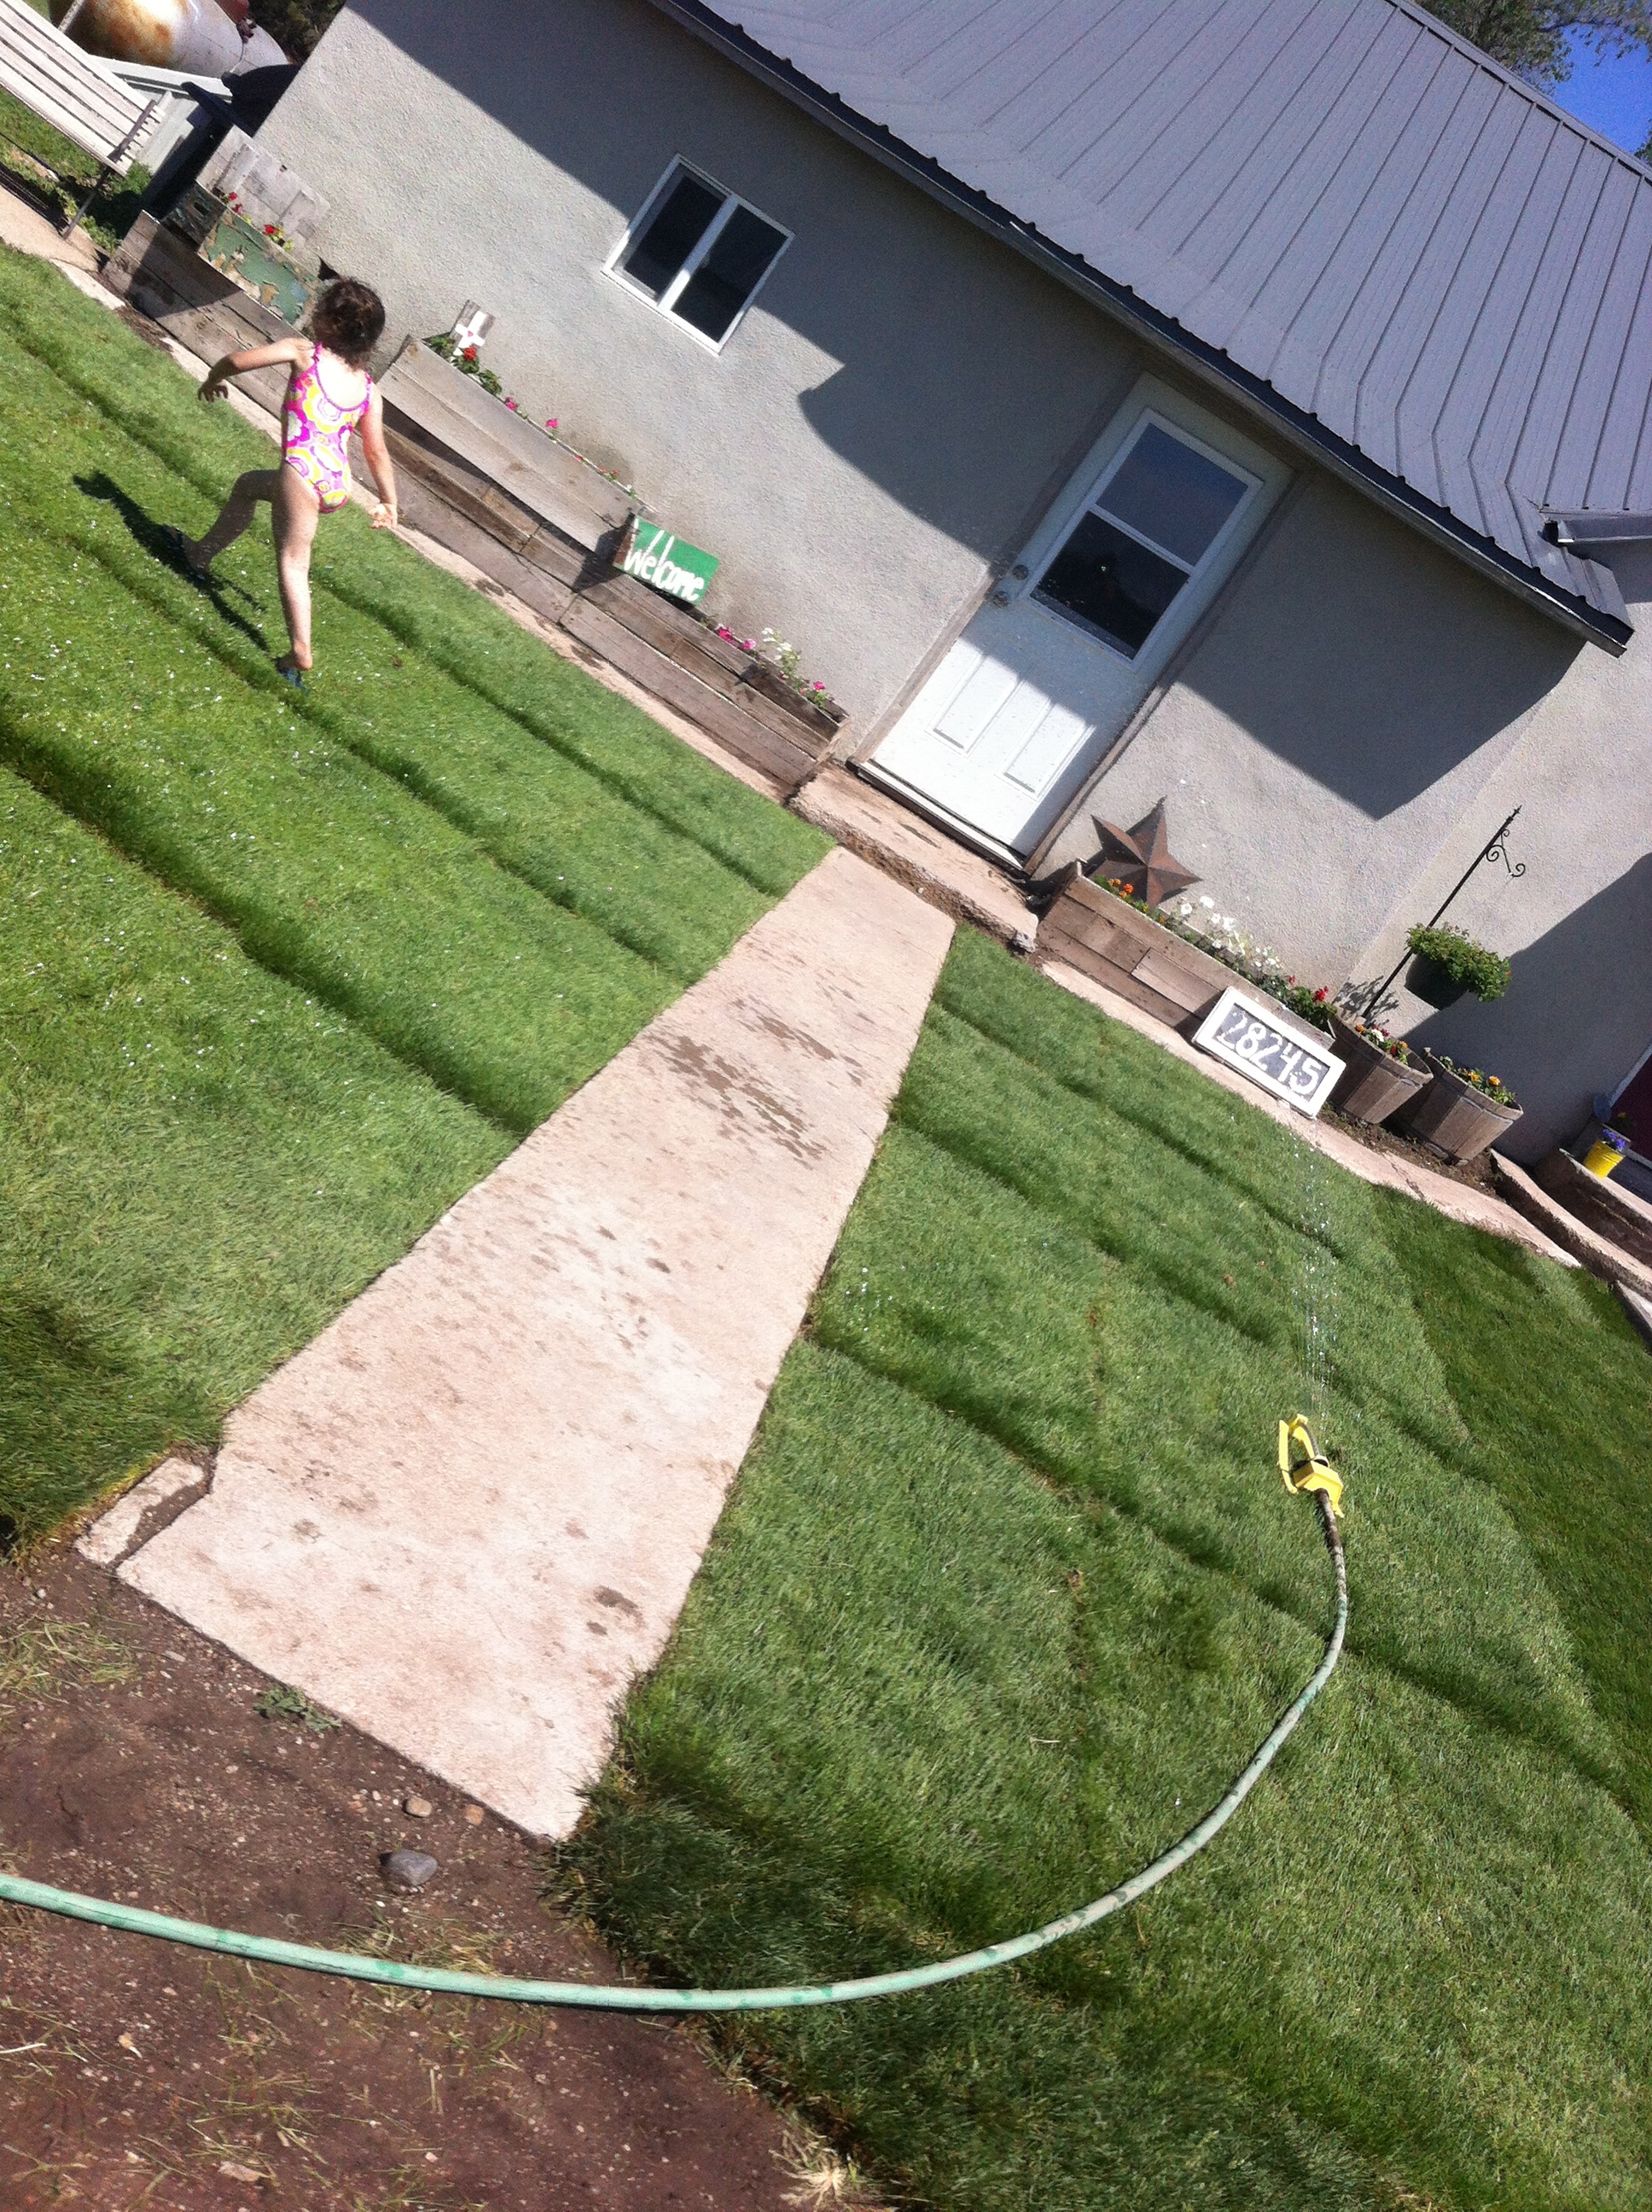
It looks soooooo nice (sans the seams, of course) and was totally worth feeling like we did on Monday. 😉 Sawyer has already taken advantage of a few barefoot walks and some sprinkler play.
Cute!Greeeeeeeeen…
We got flowers planted and our other lovely neighbor came down and bladed our driveway! Seriously, the place is looking good…except for the rest of the acreage that needs mowed again since we were a little busy with this project…we’ll get there.
Bring on the summer…and all of the rest of the projects on our list!
We are smack dab in the middle of an outside re-do, so I’m gonna keep this short and sweet so I can help lay some sod. EEP! Pray I don’t get too much dirt under my nails before the baby shower I have to get to this afternoon. 😉
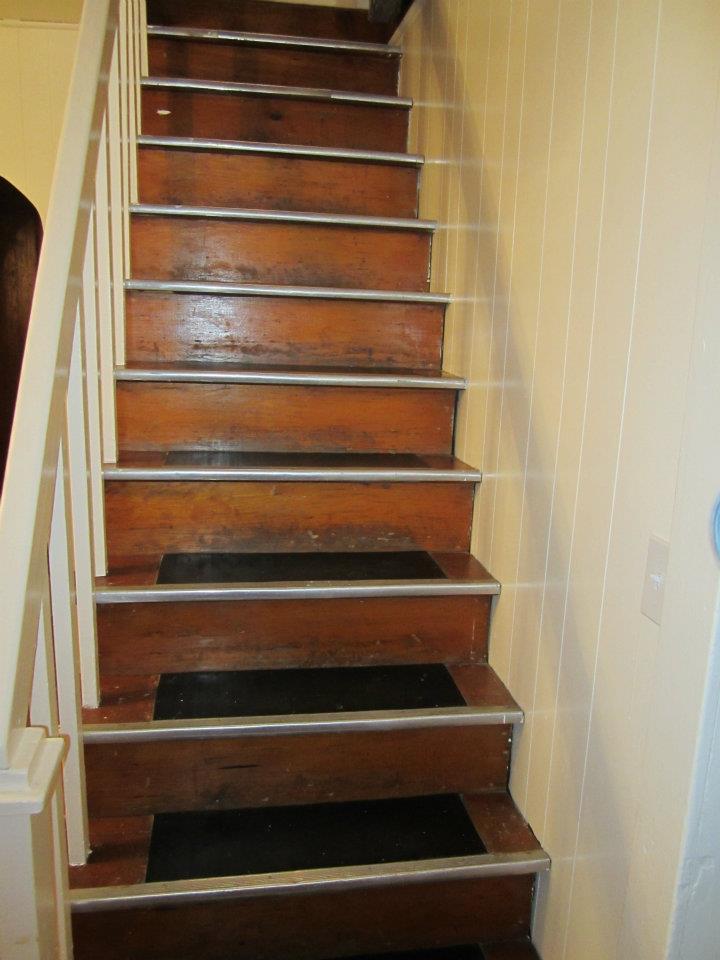
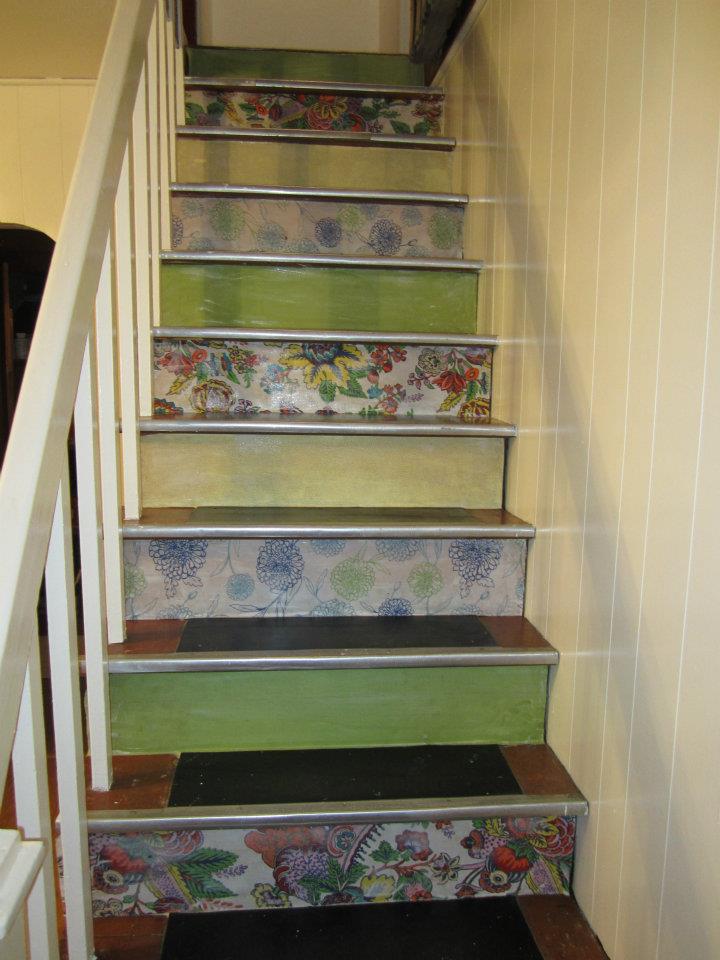
The stairs in our old farmhouse are steep. The last person that came to visit said, “I don’t think I’d call these stairs – I think I’d call them a ladder!” I wish I had a picture before I painted the hand rail and the wall, but I’m sure you can imagine that lovely purpleish color that’s been in the bathroom and kids’ room, yes?! The stairs in and of themselves weren’t horrible, just a little plain…and dangerous.
Before:
Not horrible, just nothing exciting…
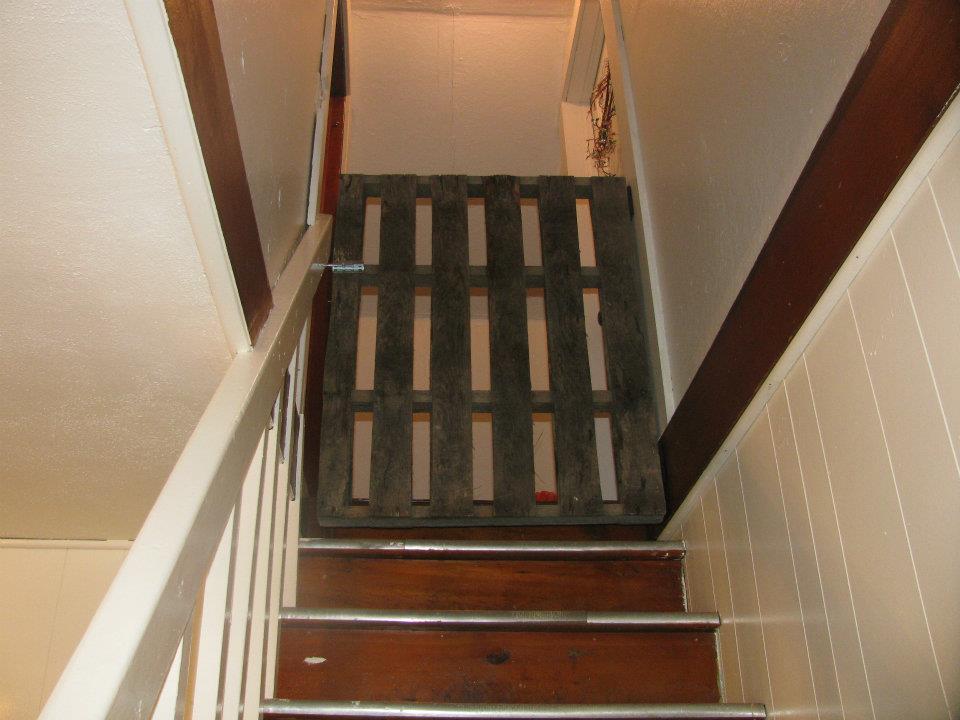
The first thing we needed was a gate of sorts. With Sawyer’s room being upstairs, we did not want her falling down those steep stairs so we needed it be sturdier than a baby gate…and more aesthetically pleasing.
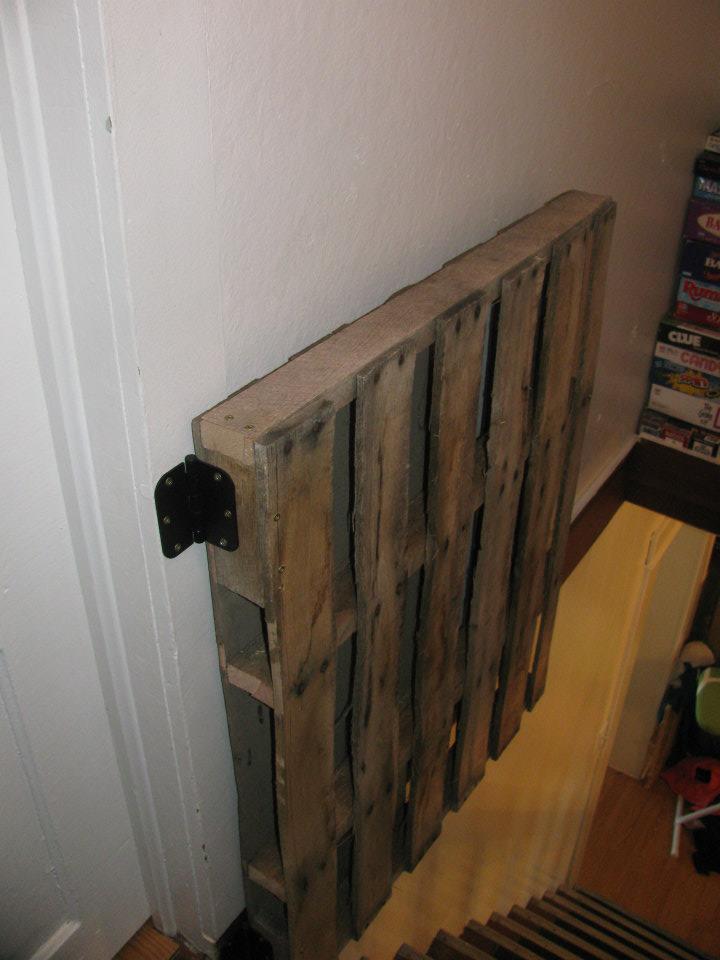
Wrex found a pallet that was narrower than normal and had slats that were really close together. We added hinges and a lock and the gate was born!
After:
Isn’t the awesome?!It lays flat against the wall when not in use…
We then decided to give the stairs a little pizazz using fabric and wall paper paste. Wrexy measured and cut all the rectangles and I “glued” them on to the stair faces. I absolutely love how they turned out!
Don’t you?!
I still hate those ugly black skid thingies, but alas, three years later and they’re still here. I’m kind of itching to redo the faces again with different fabric. We’ll see what I can get Wrexy talked into…after the sod gets laid.
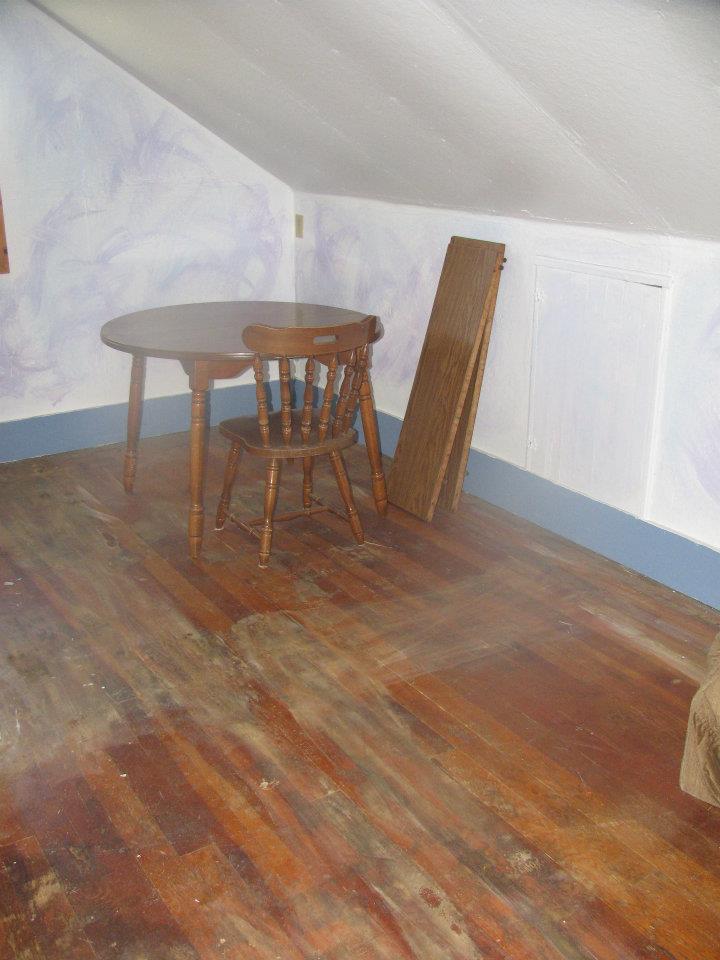
As much as I love our bathroom, I love the kids’ room even more! It started out just as Sawyer’s room, obviously, but we decided we’d like for them to share a room for a while so we could all be upstairs together. (Our home has two bedrooms upstairs and two bedrooms downstairs.)
One of Wrex’s biggest desires for our home is peace…and the room sharing didn’t really result in a lot of peace. Wryder is a really light sleeper and no matter how much training we did or rules we had, it just wasn’t working out. He was waking up a lot, which would wake us up, which would then wake sister up and peace was hard to find. We separated them for the time being but hope to revisit the room sharing thing soon.
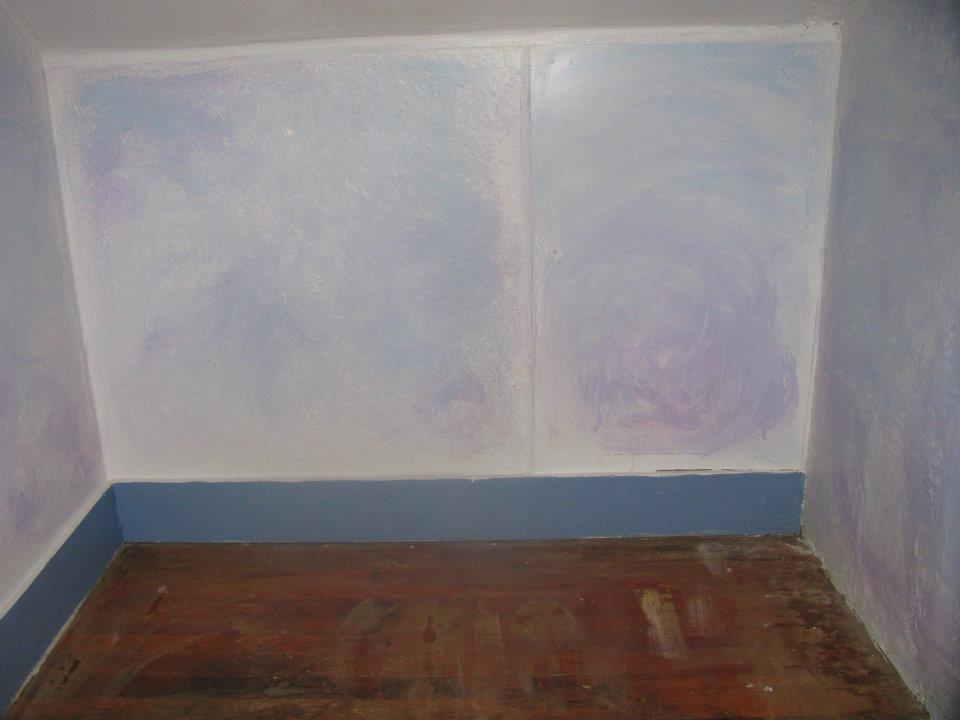
Before:
When we moved in, this room was probably in the worst shape. Between the paint job and the fact that the previous tenants put carpet upstairs by gluing it to the hardwoods, meant that we had some work to do.
View from just inside the door. See the glue tracks from the carpet?And, again, that paint job…Closet and it’s paint job. Are you seeing a theme?
After:
We put in wood flooring and painted everything pink, of course. The walls in this room are thin and strange and the ceiling had a lot of visible joints, so we added faux beams to break the room up a little and hide those seams.
***This room has changed a bit in the three years we’ve lived here, so some pictures are older, while some are newer, but you’ll get the idea.***
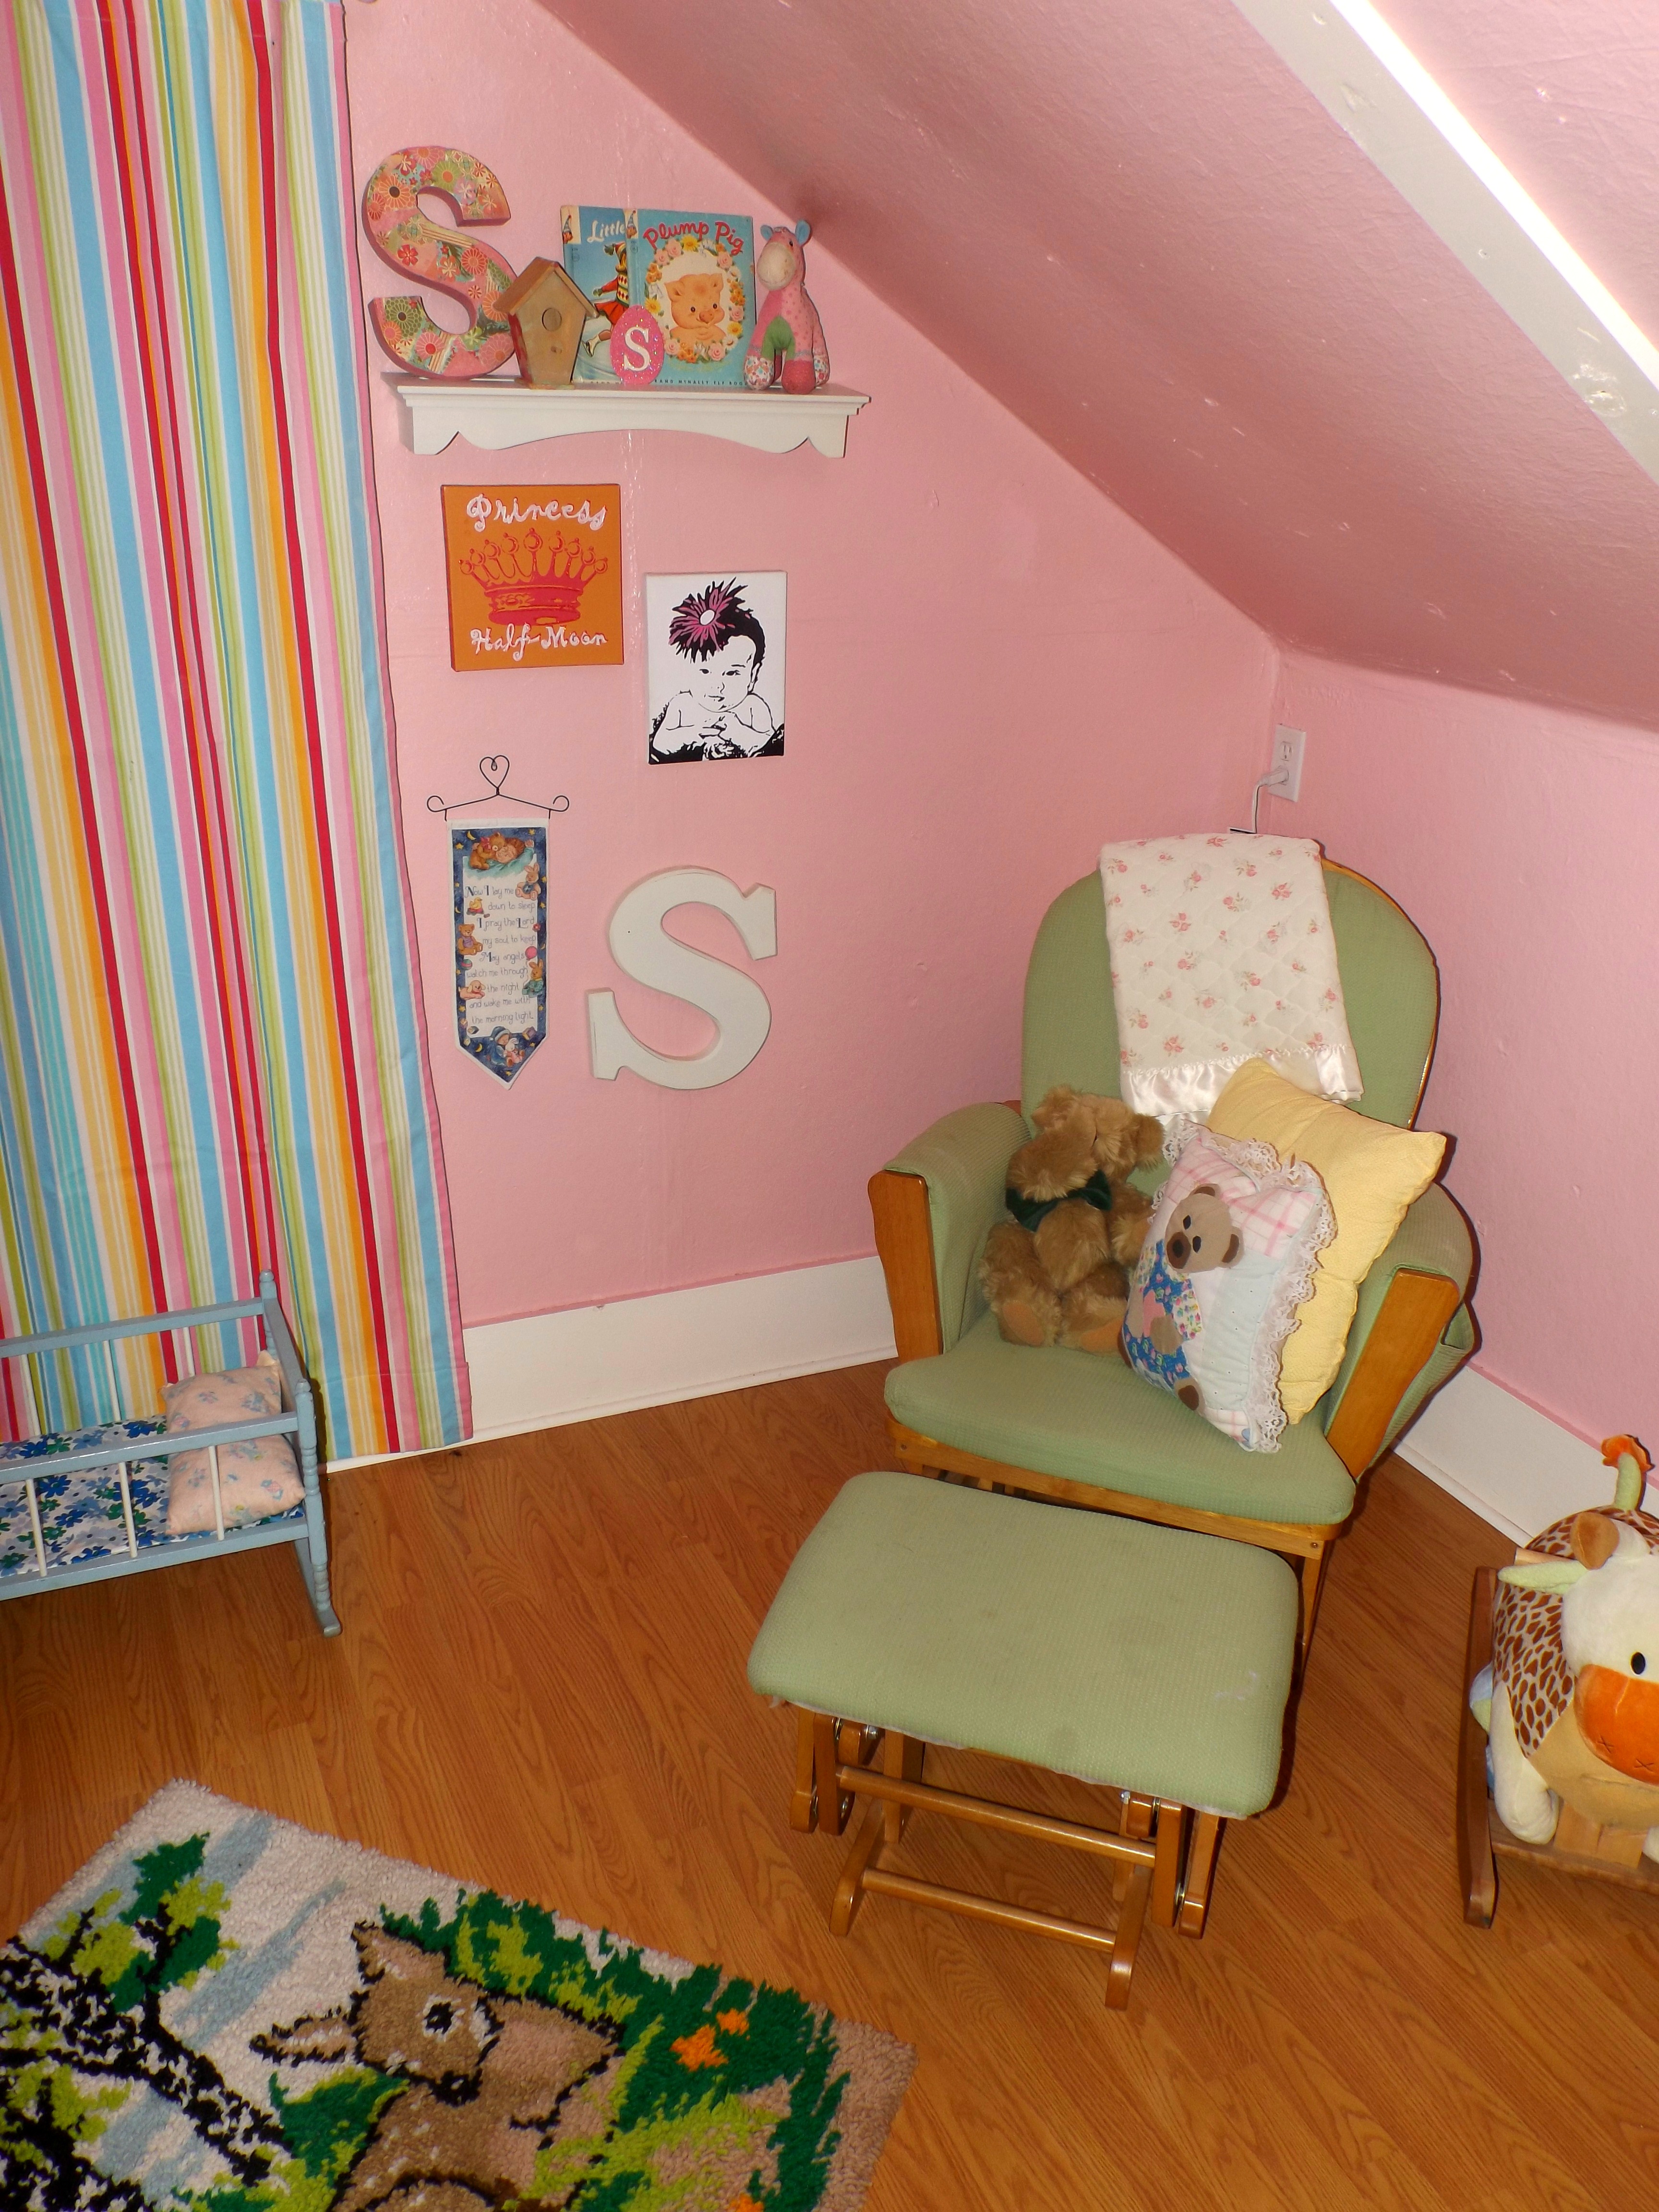
Ta-Da! Told you it was pink! This was when it was just Sawyer…
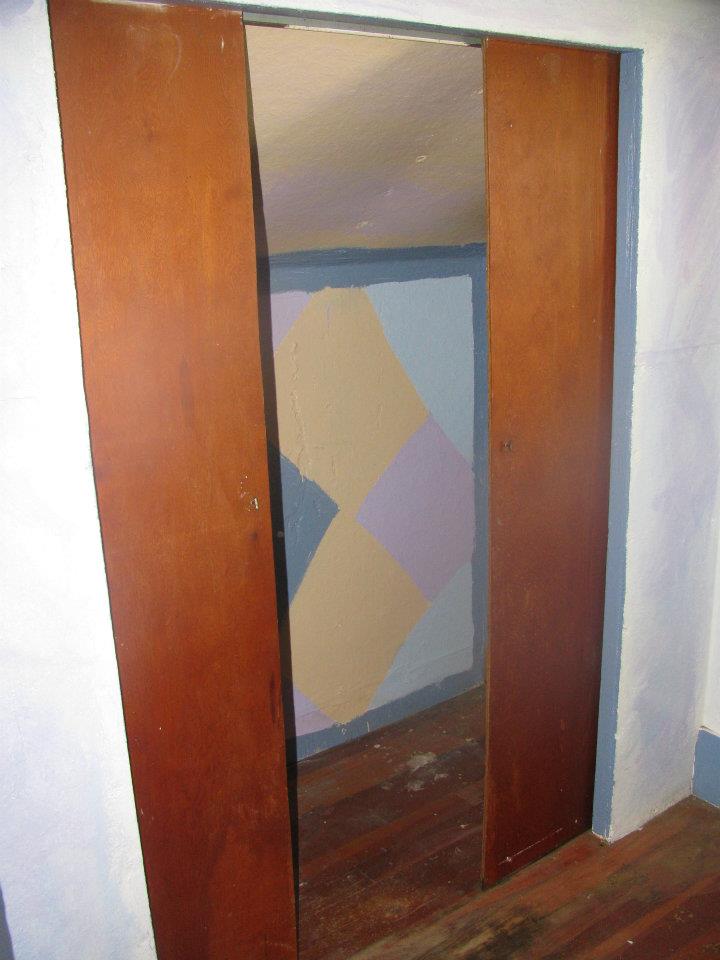
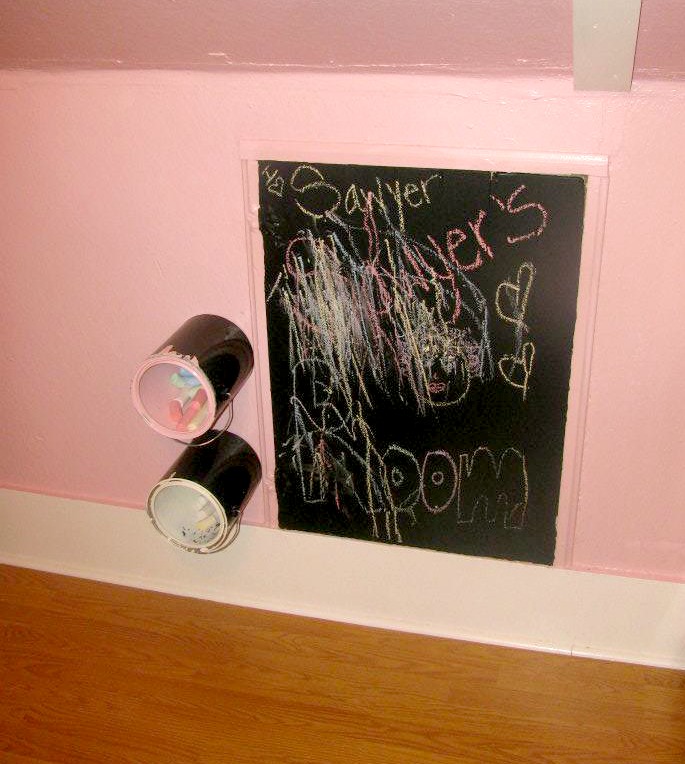
One of my favorite parts of the room is this little chalkboard. This door is the entrance to the upstairs crawl space and looked kinda silly just hanging out there, so I added some chalkboard paint and the paint cans as chalk holders. (This was prior to the last can being hung).
Isn’t it cute?!
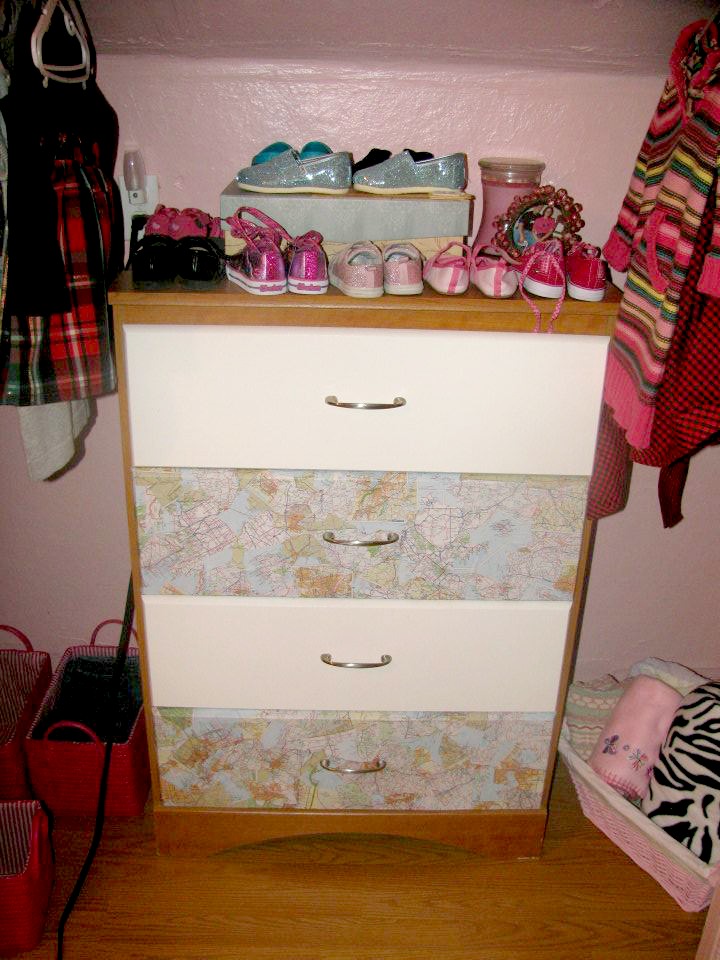
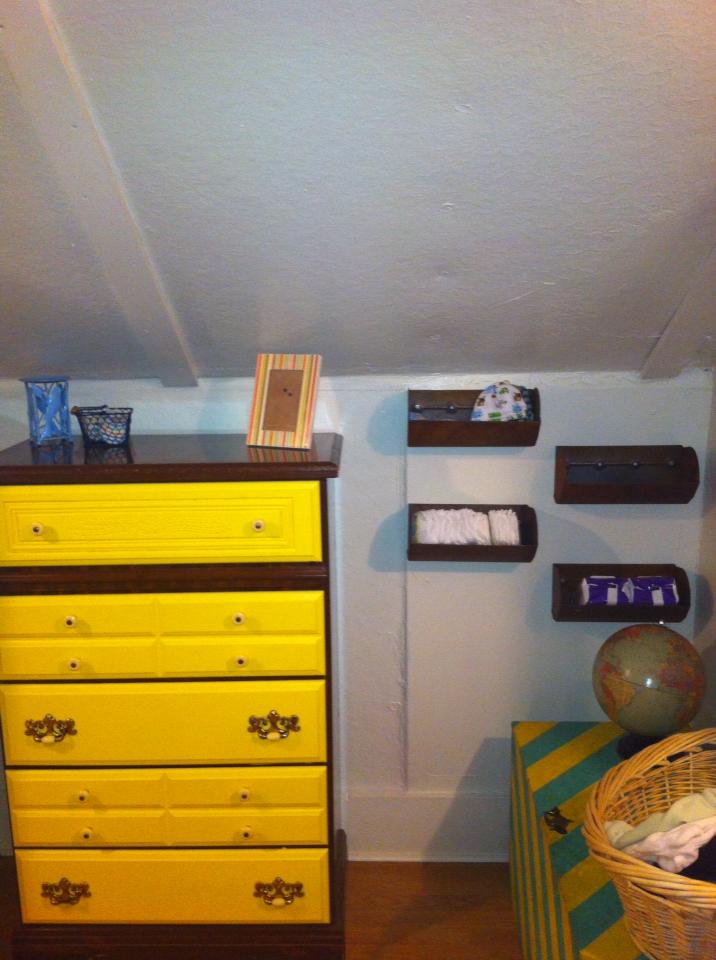
We decided to take the closet doors off and leave it exposed and I really like how open it is and how it turned out. The dresser is one of my favorite things in the house. I painted two drawers and mod-podged maps on the remaining two – cute and easy!
Who doesn’t love maps?! And shoes, for that matter…
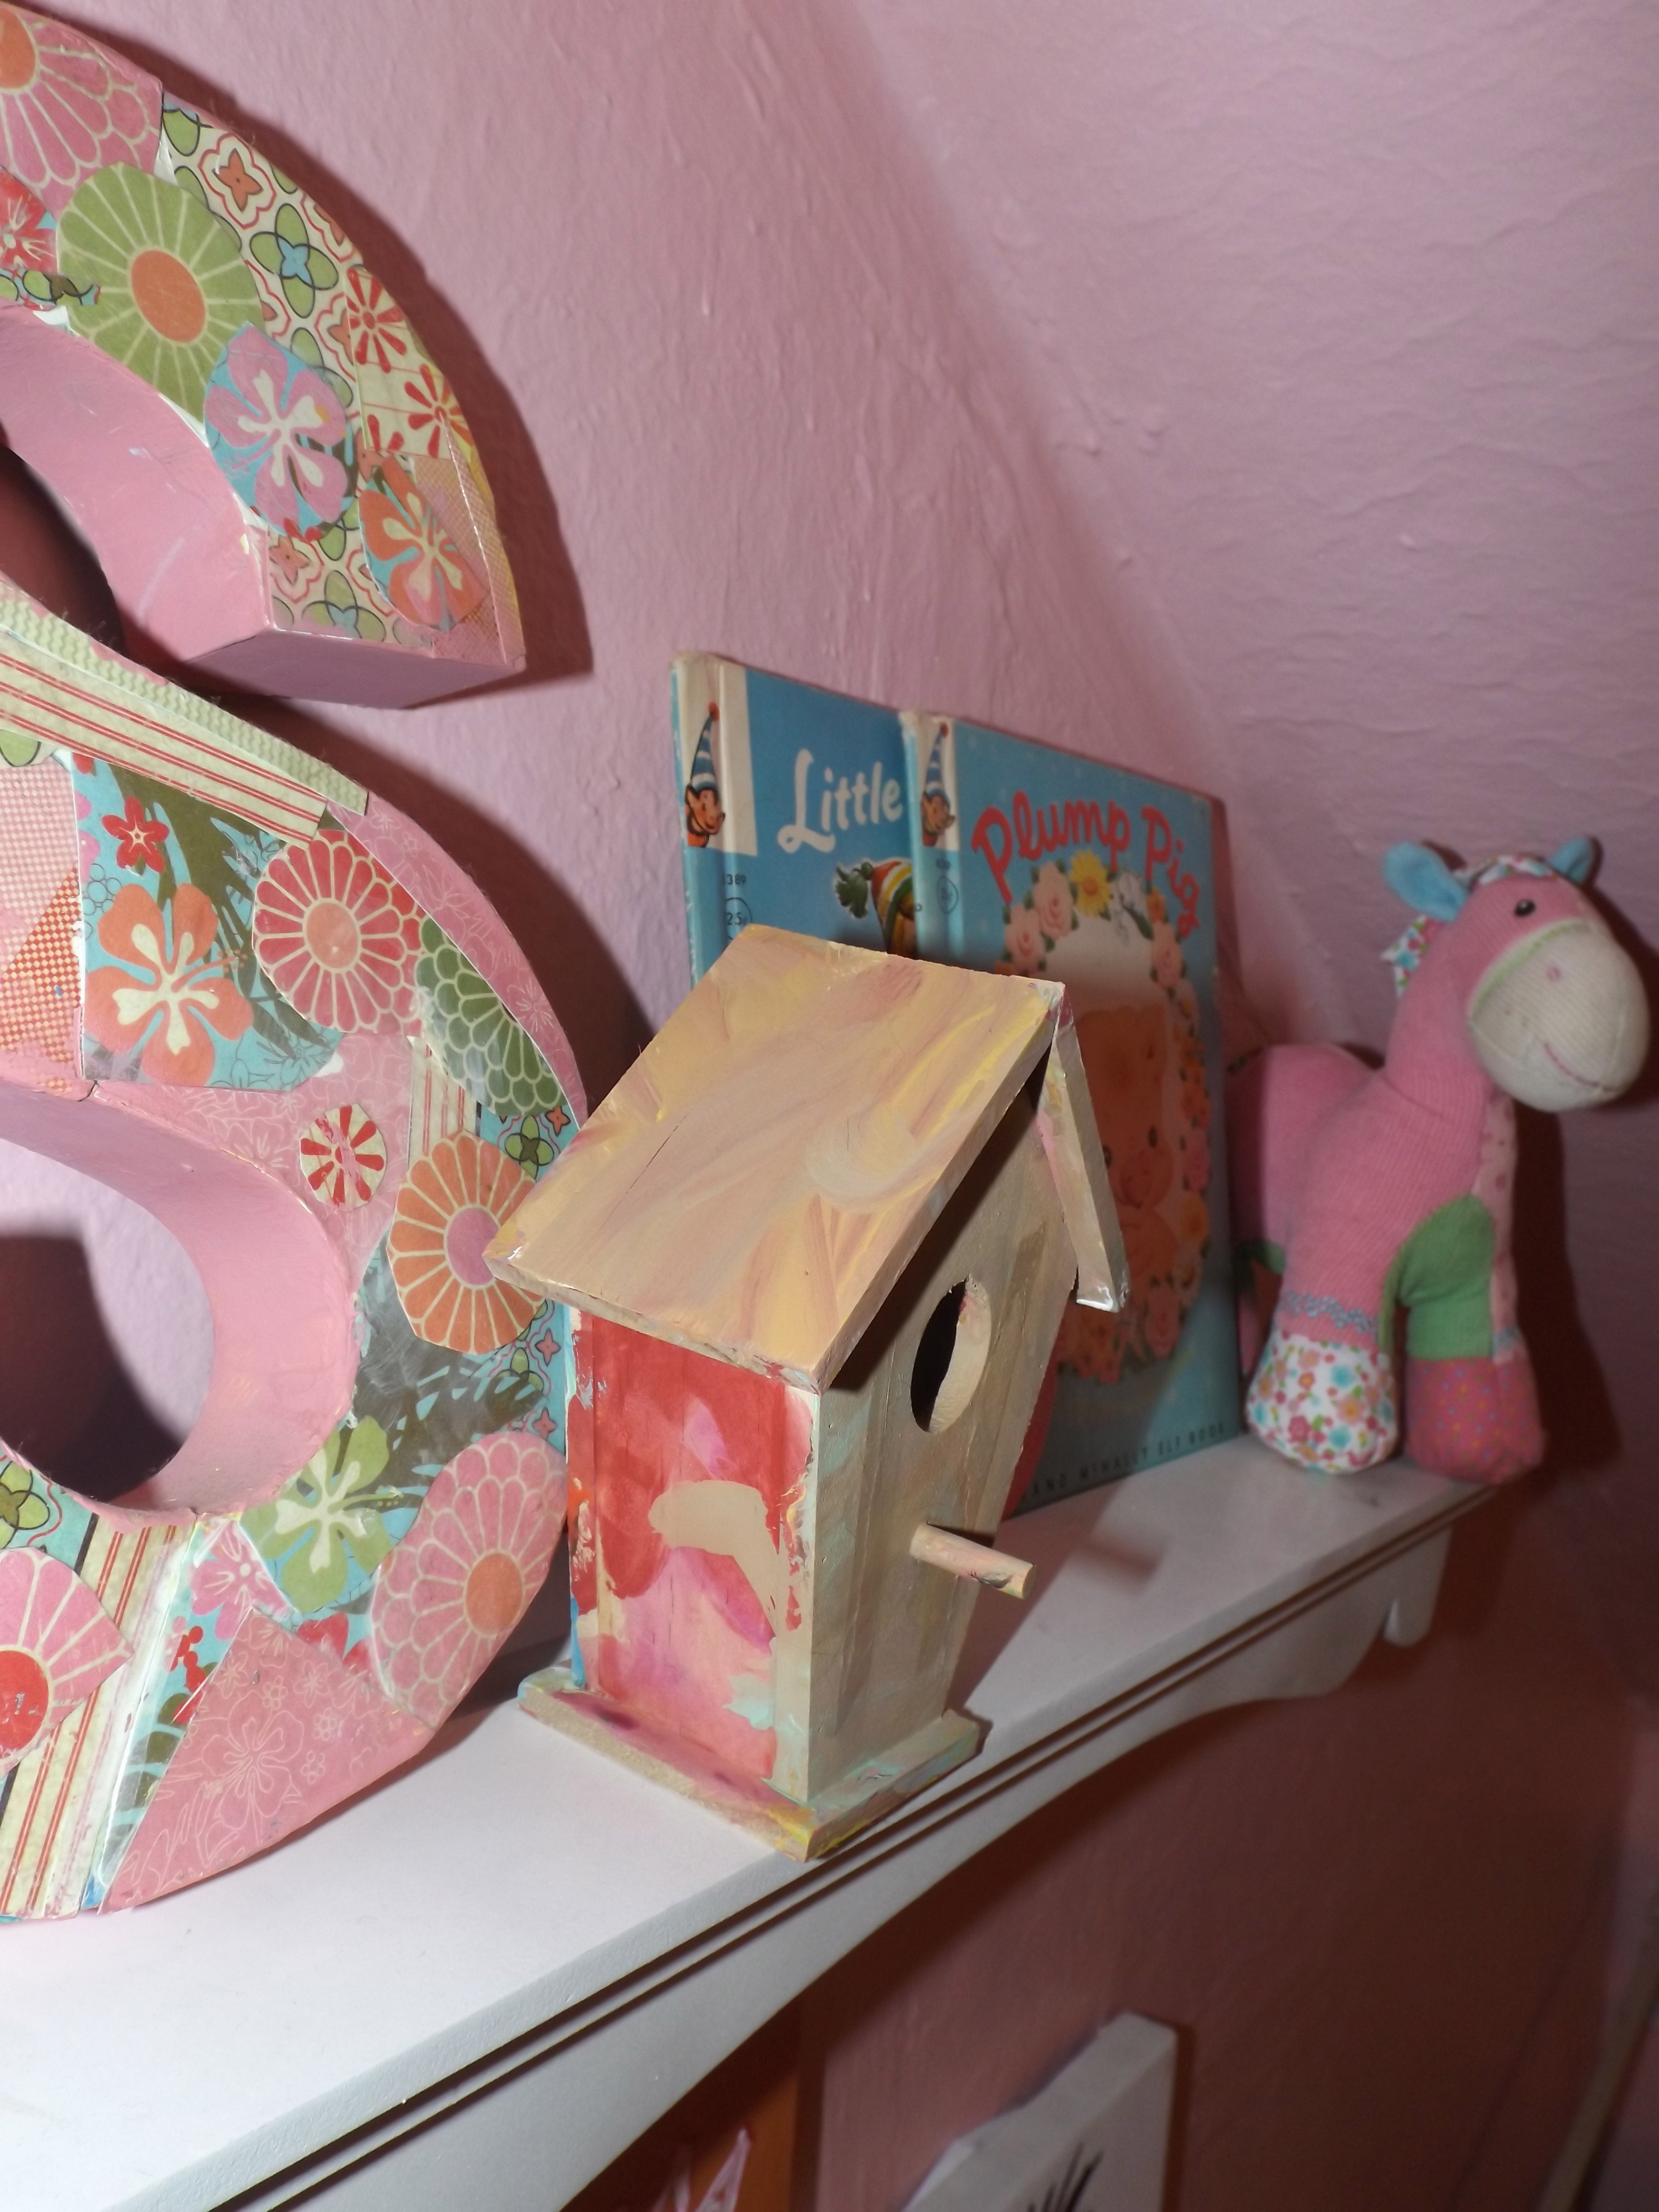
The rest of her room is just lots of pink and colorful things that we love and cherish.
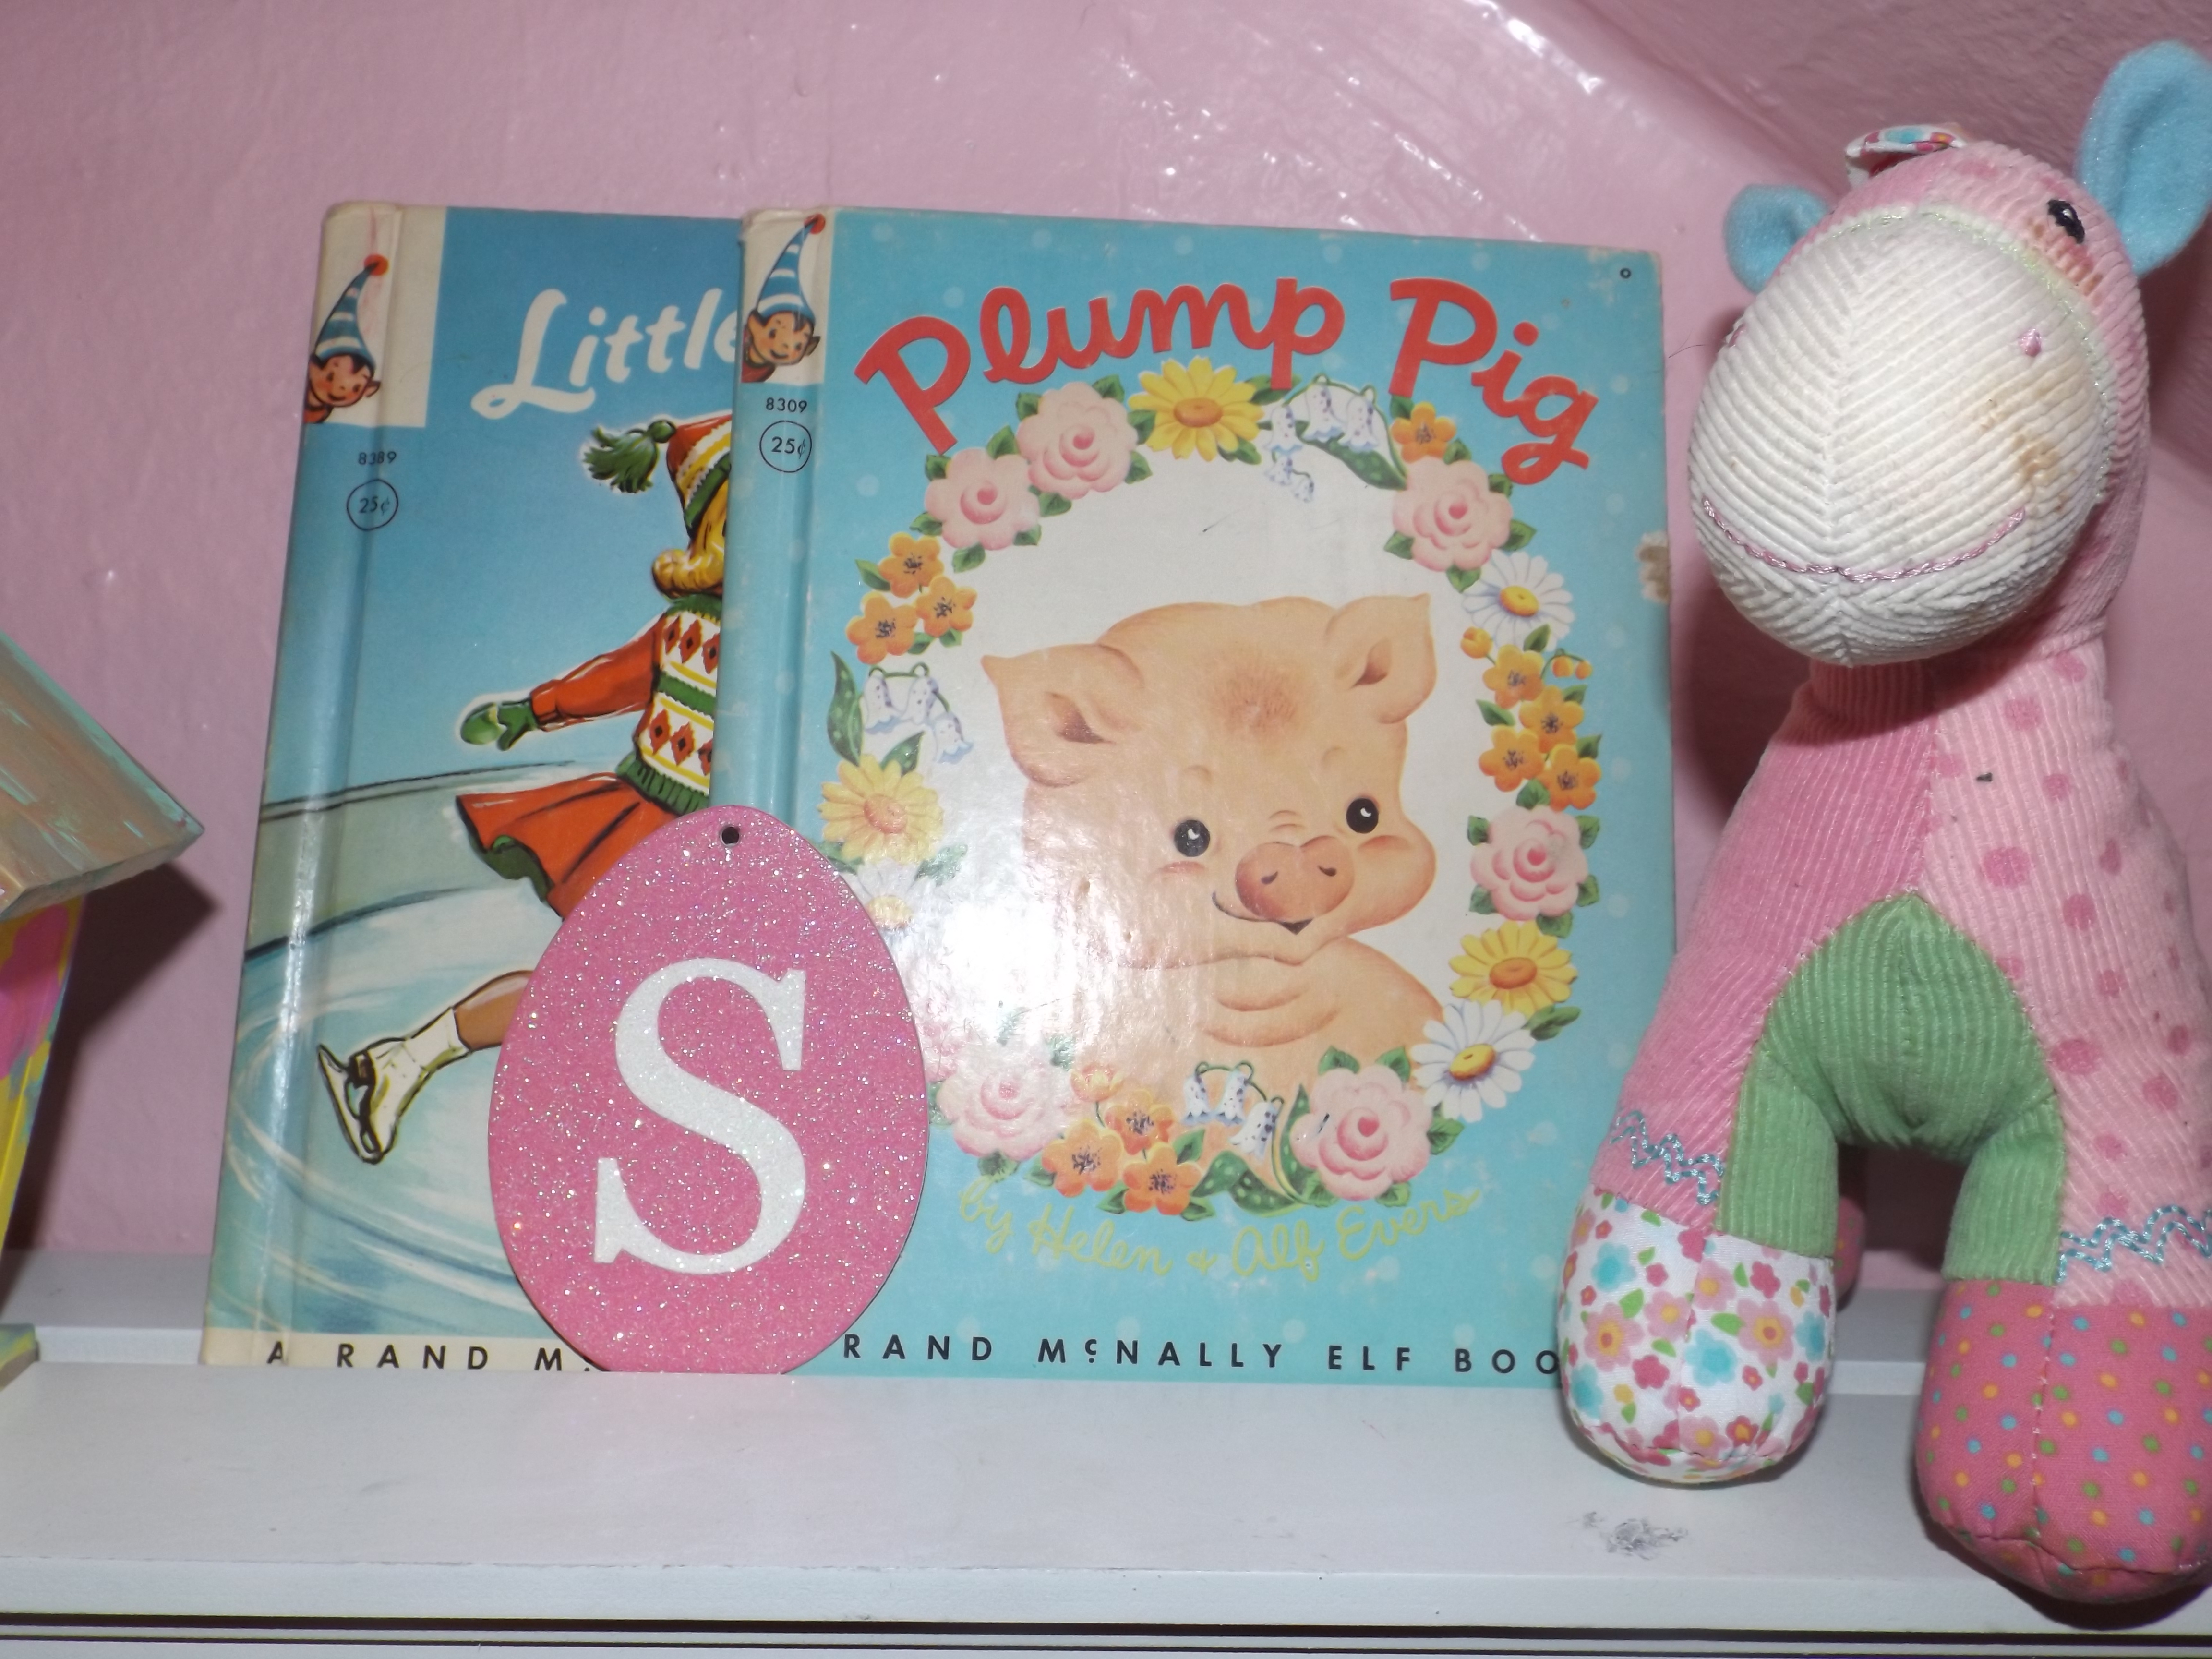
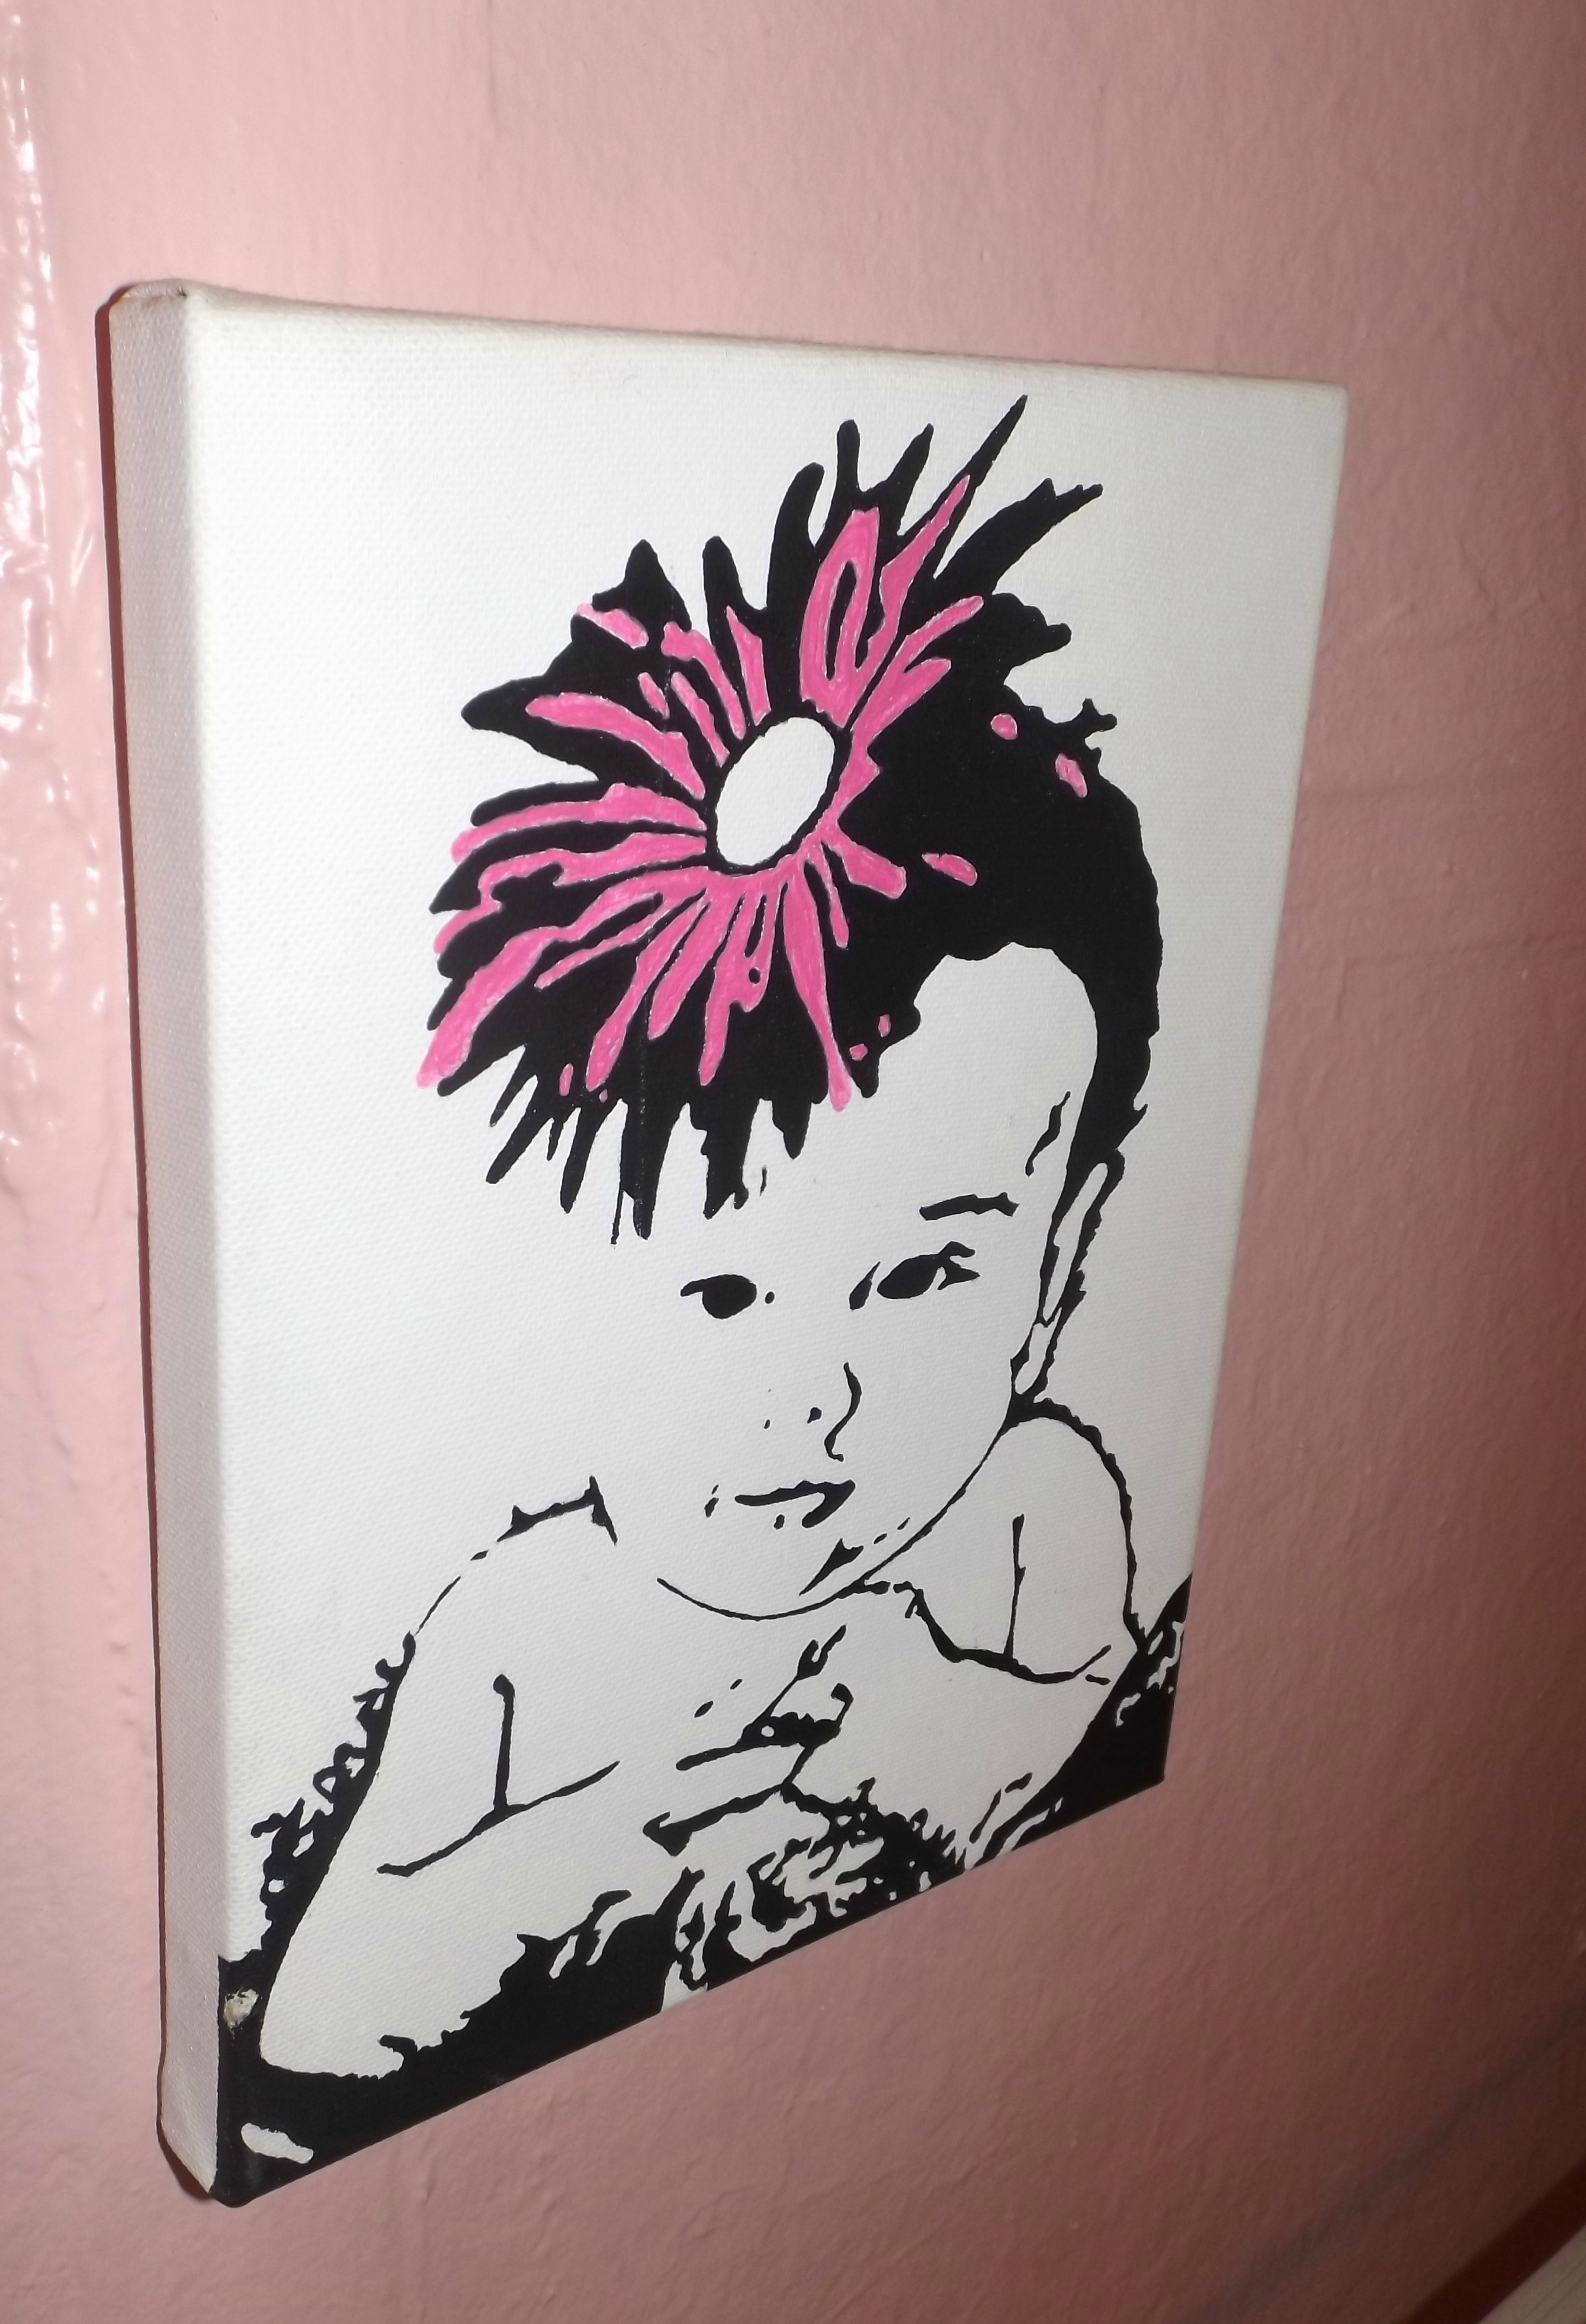
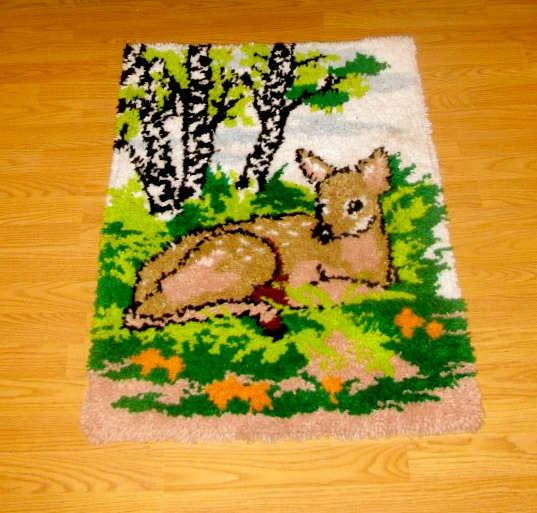
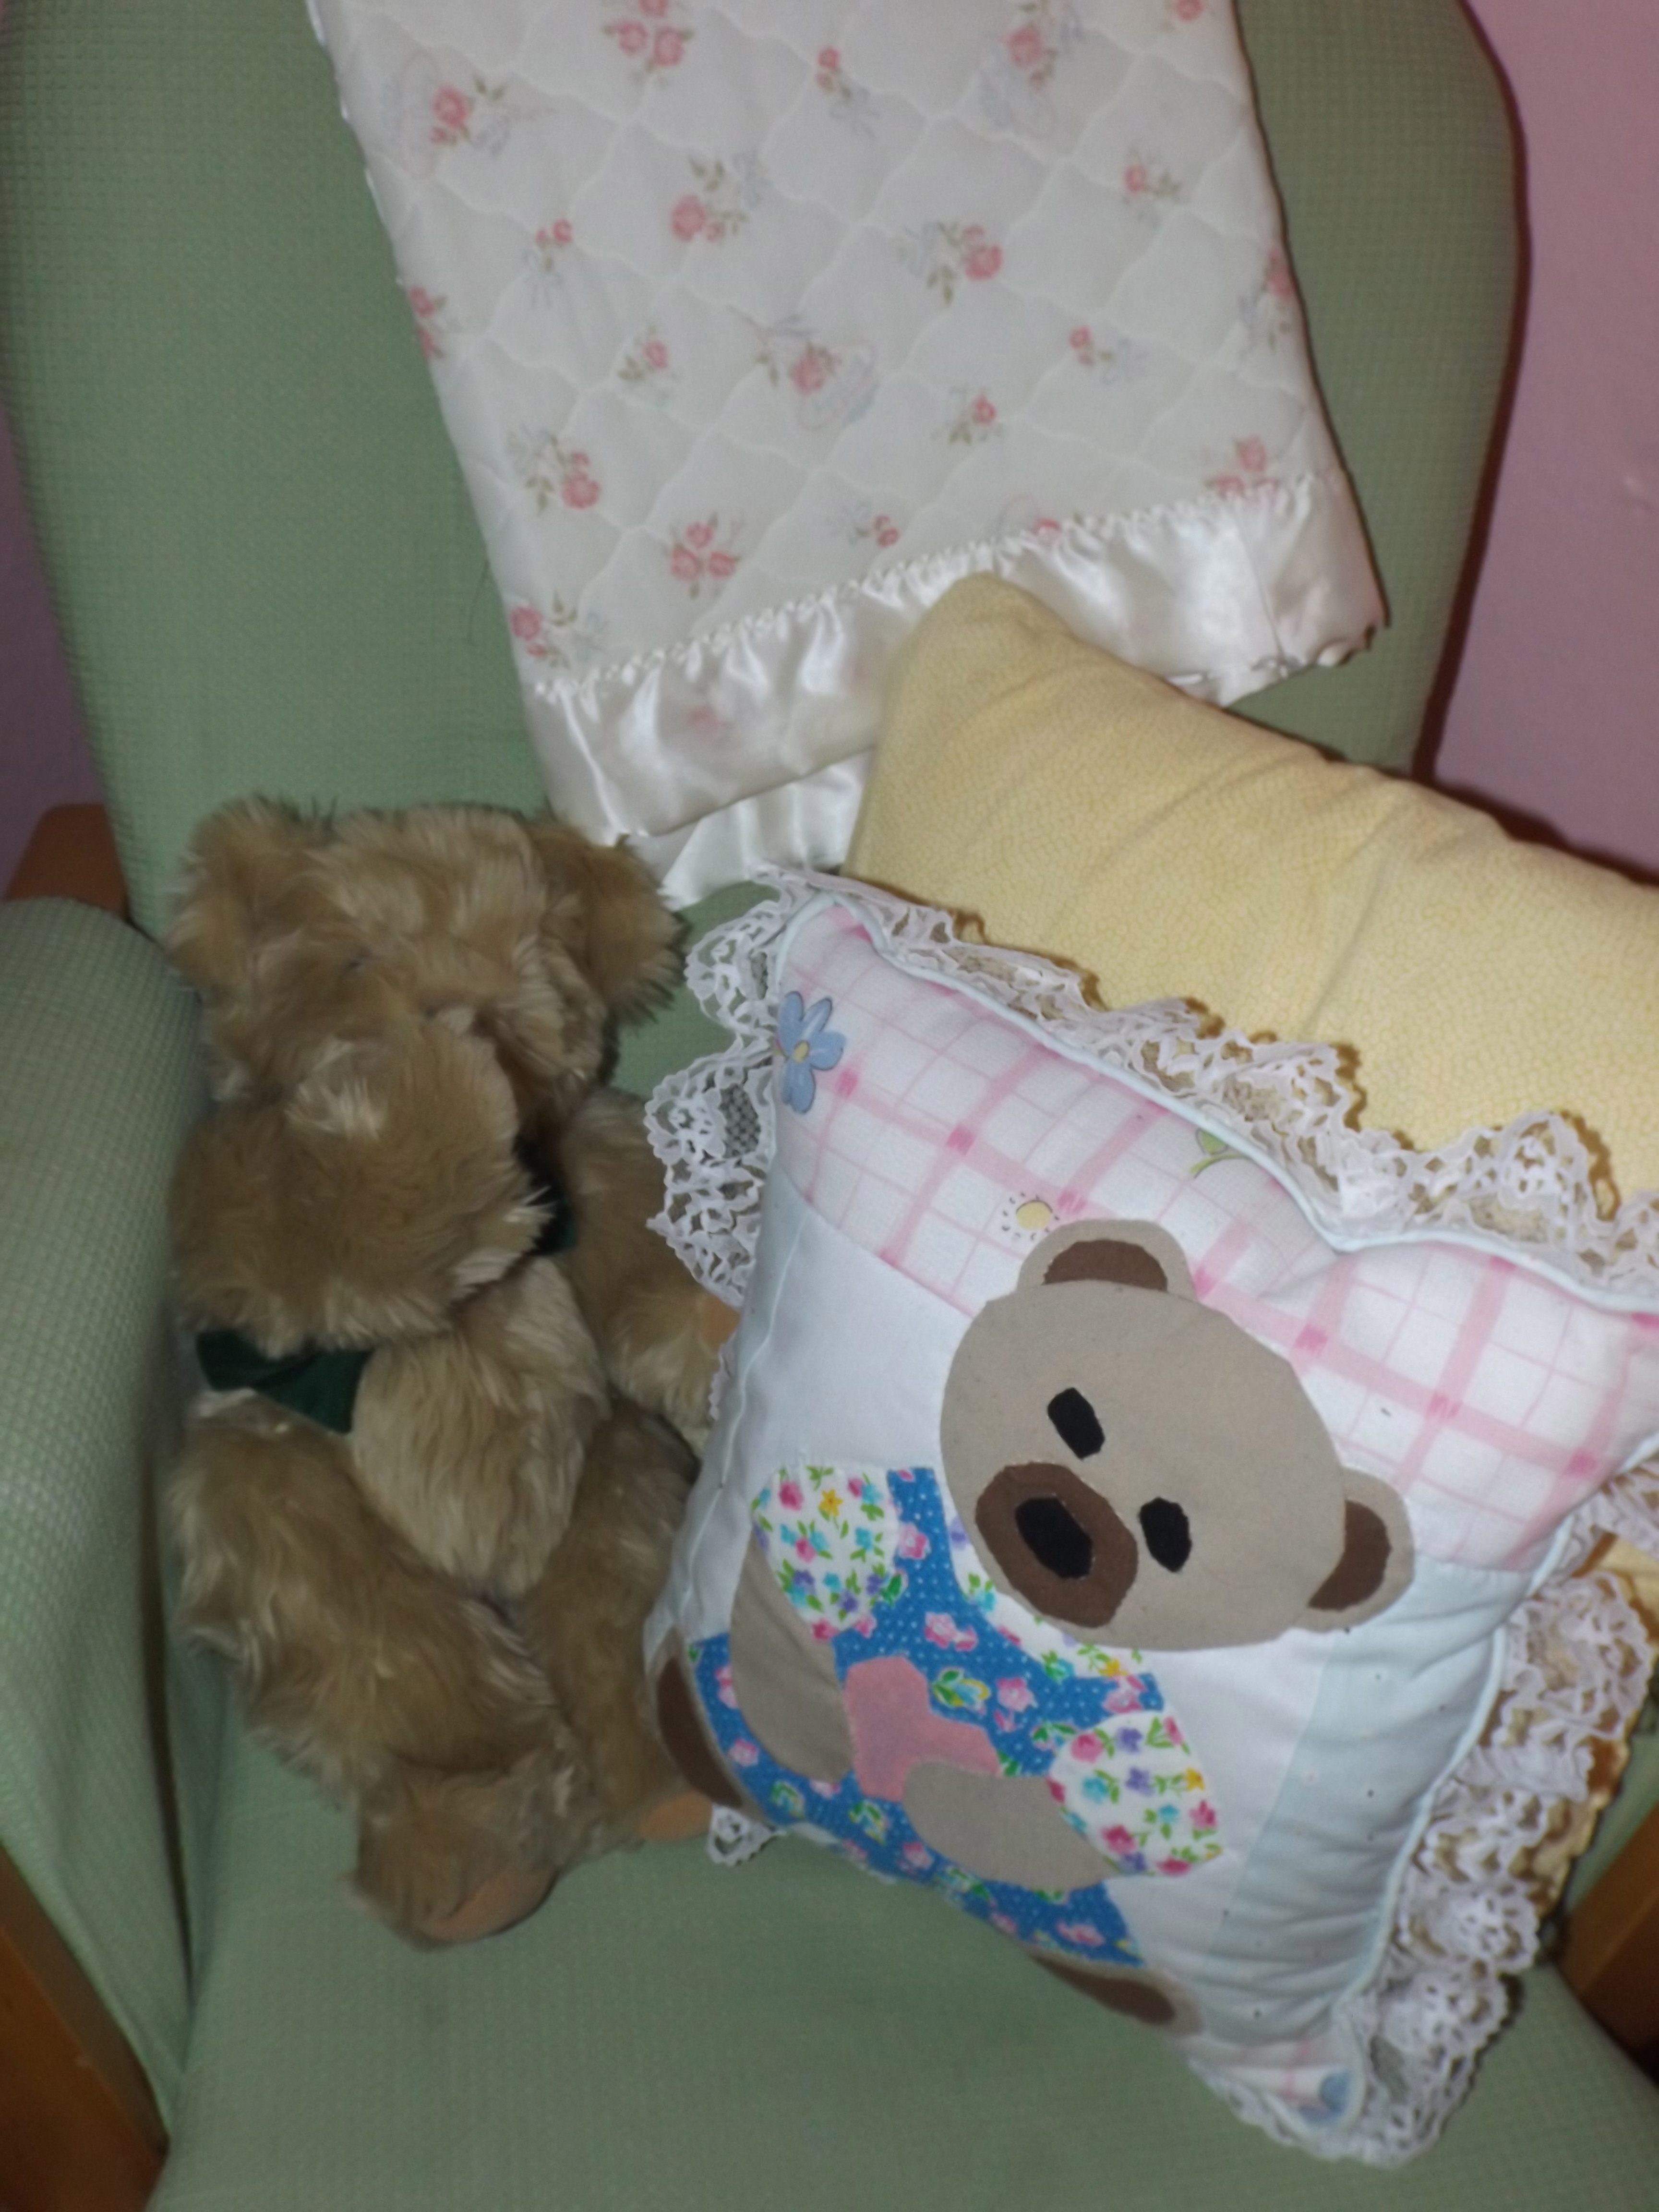
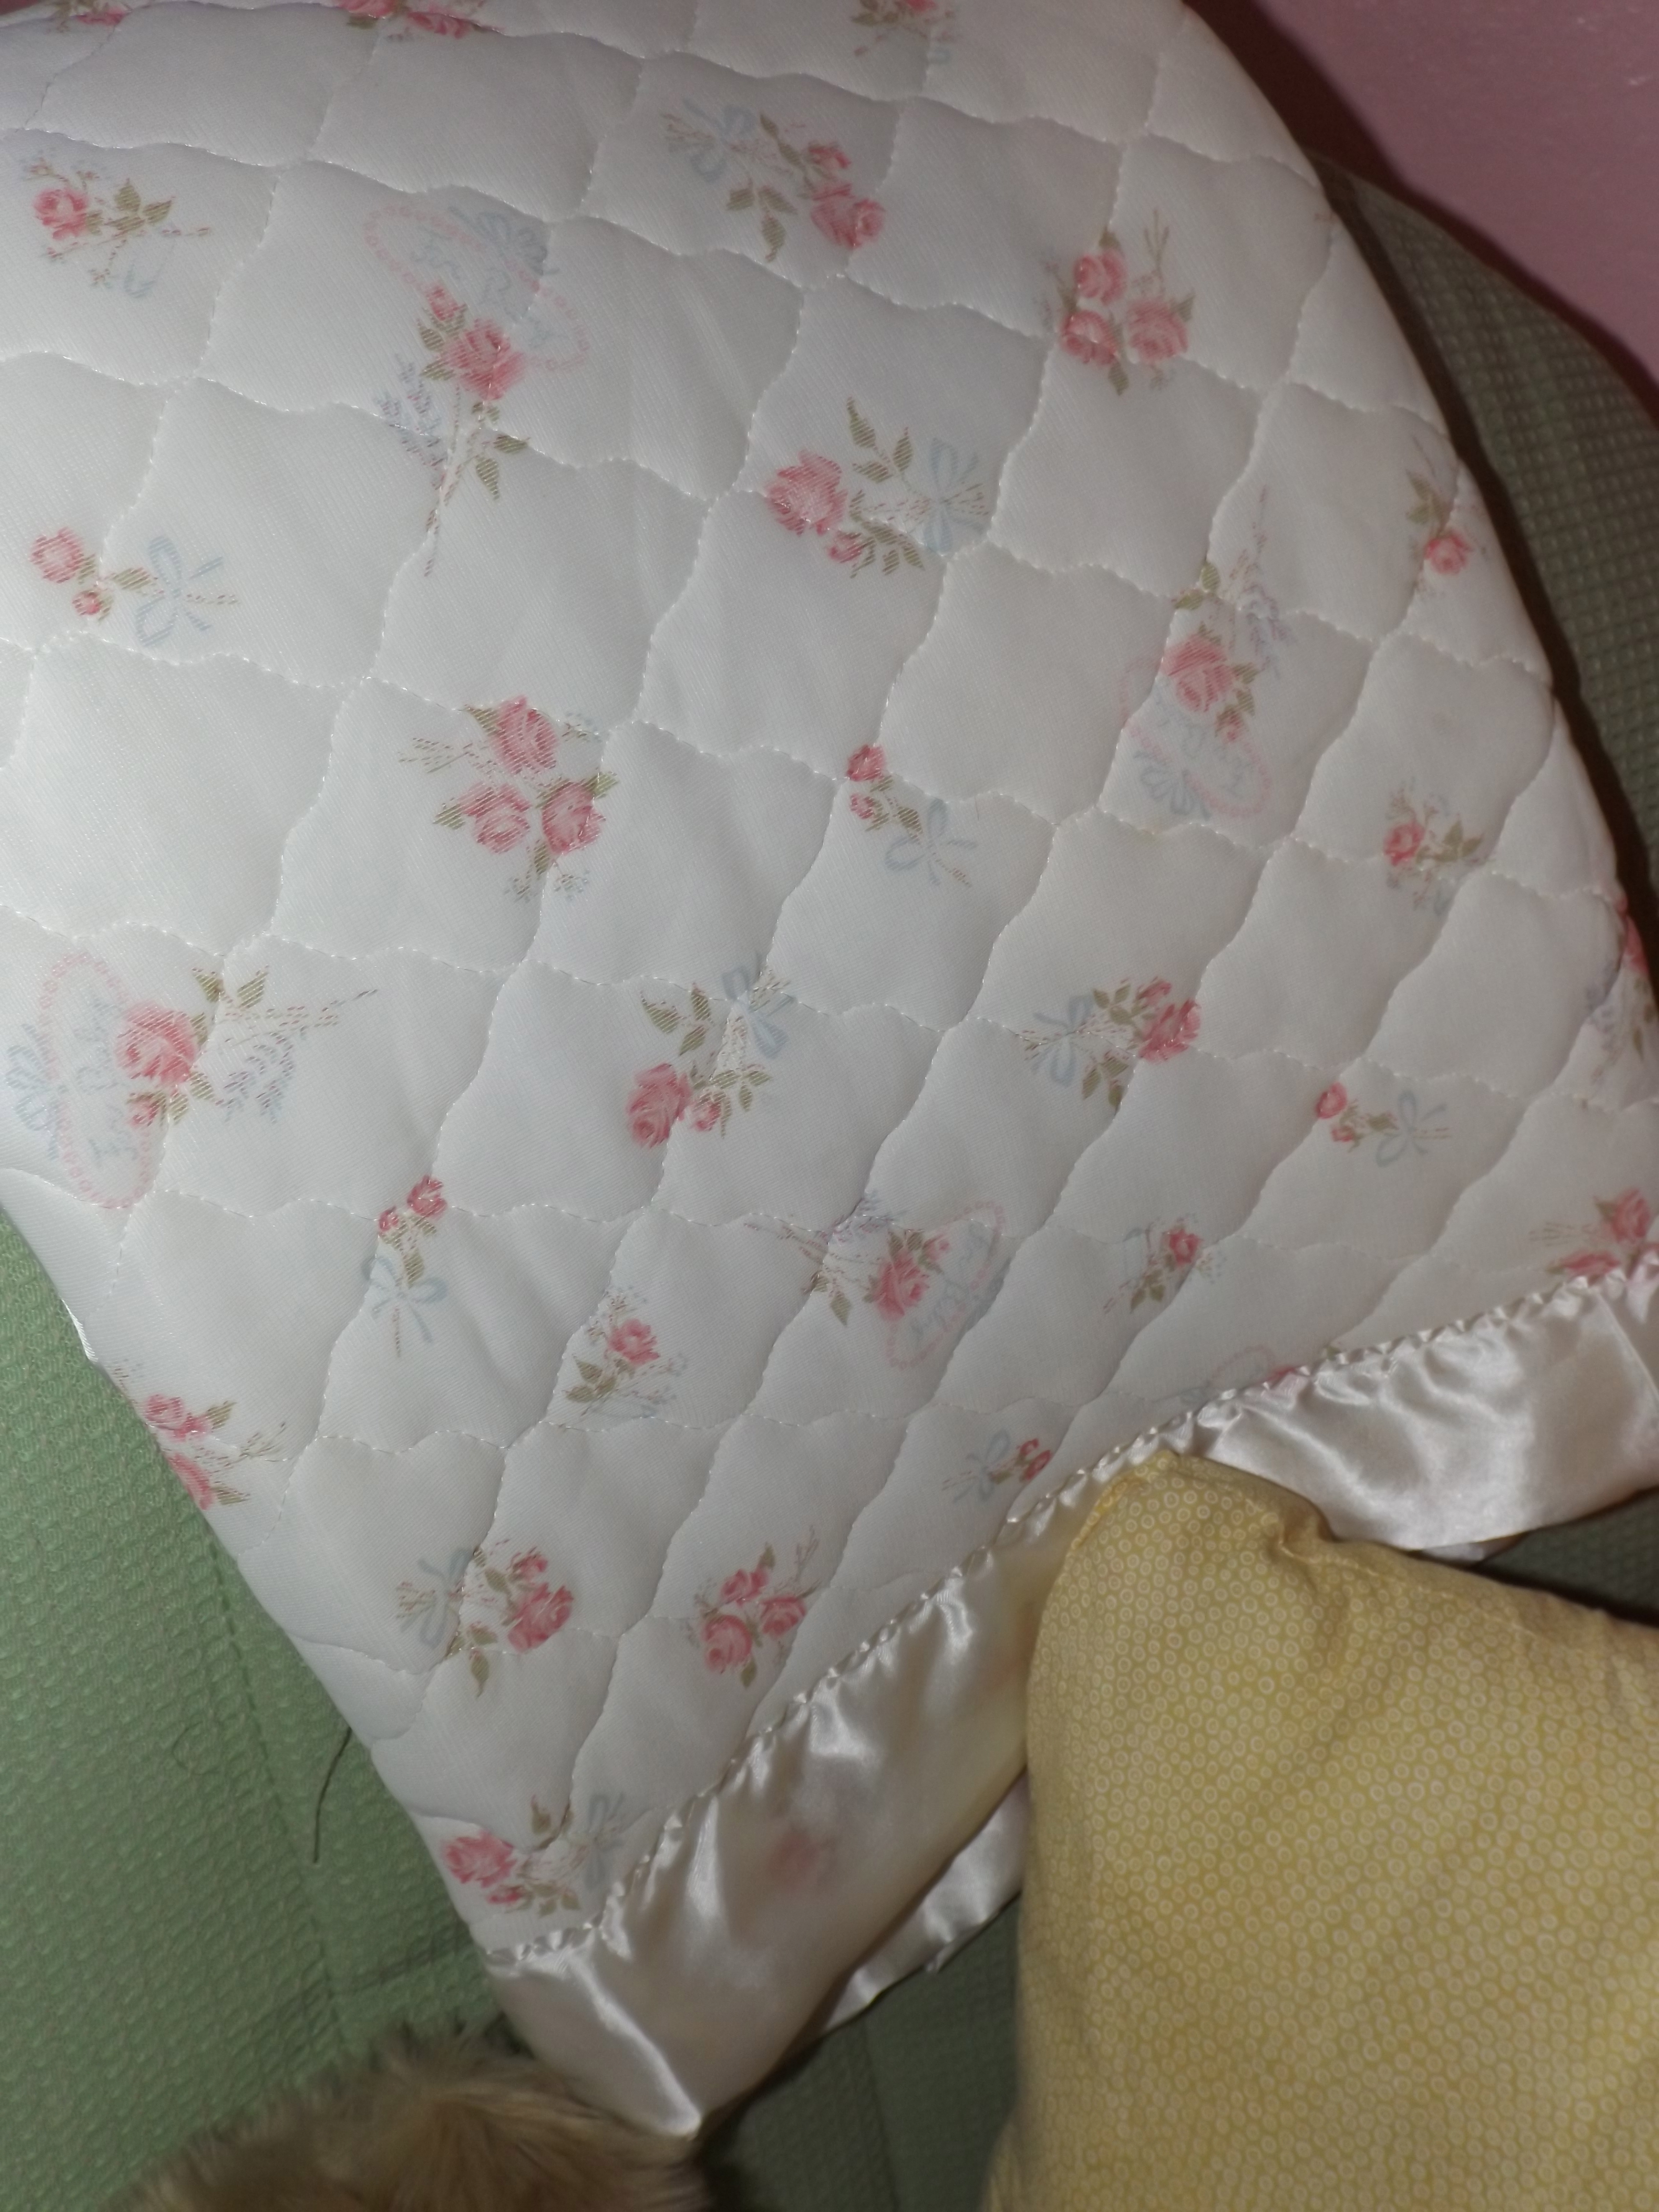
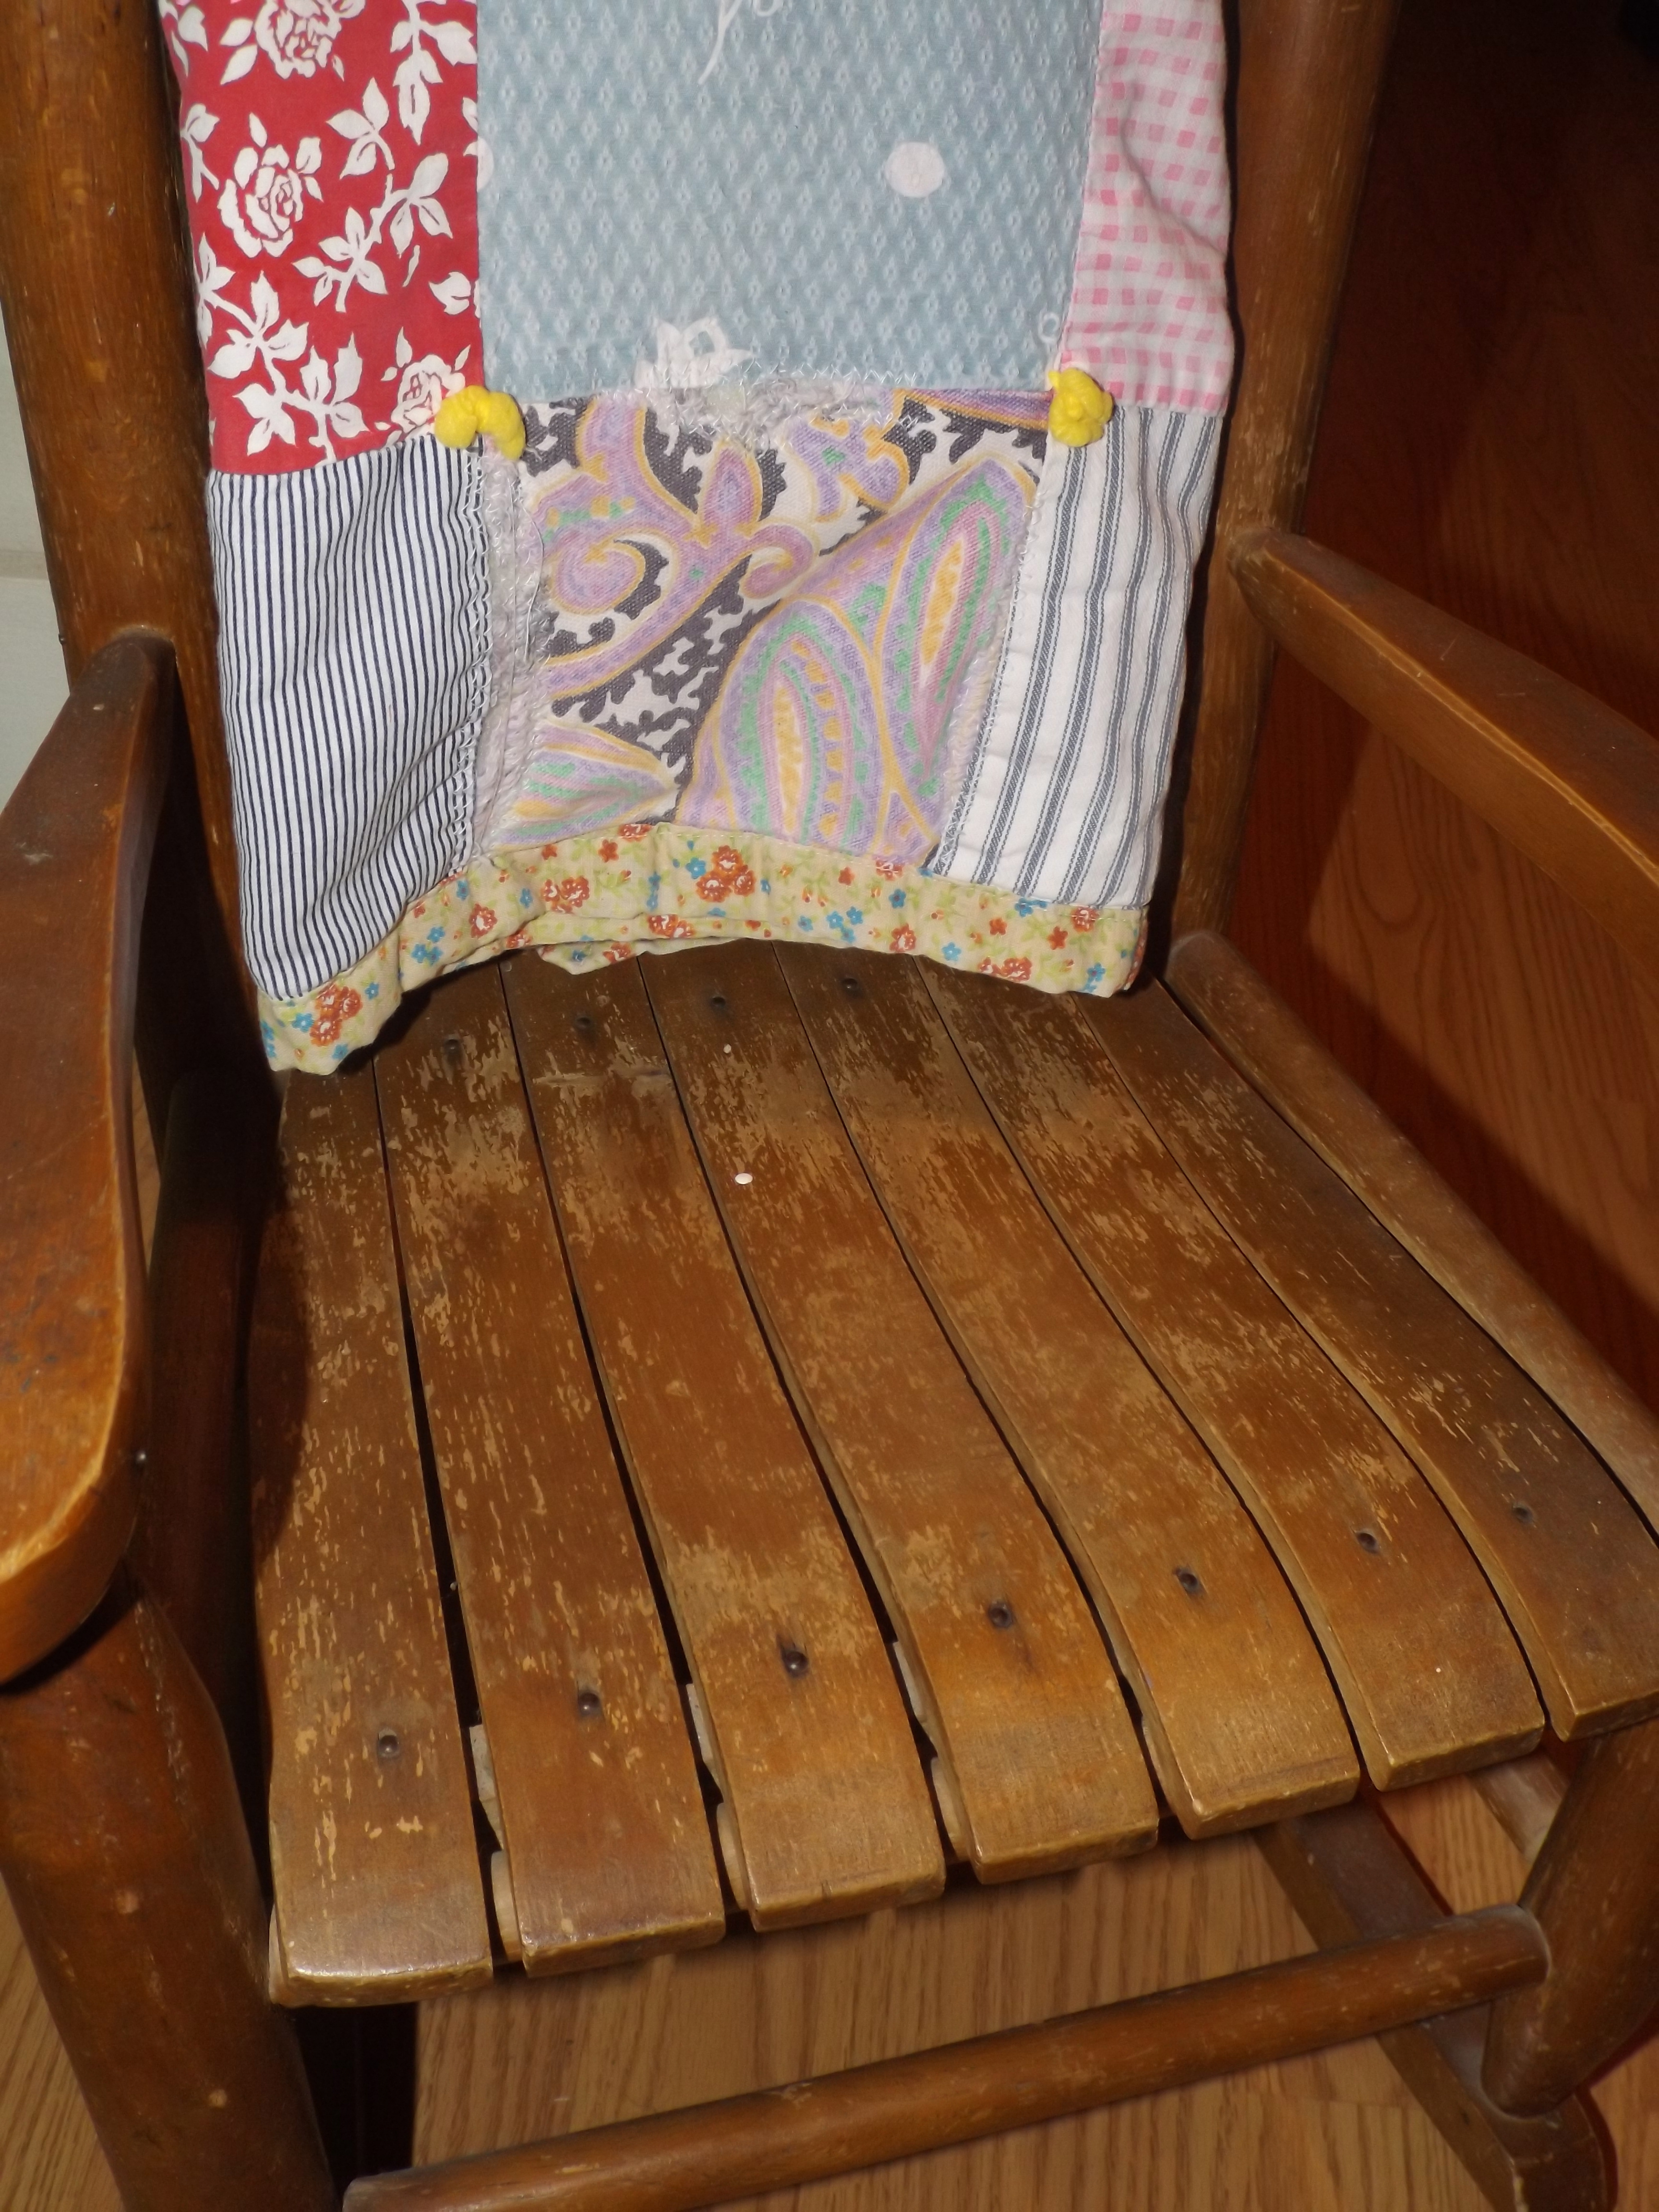
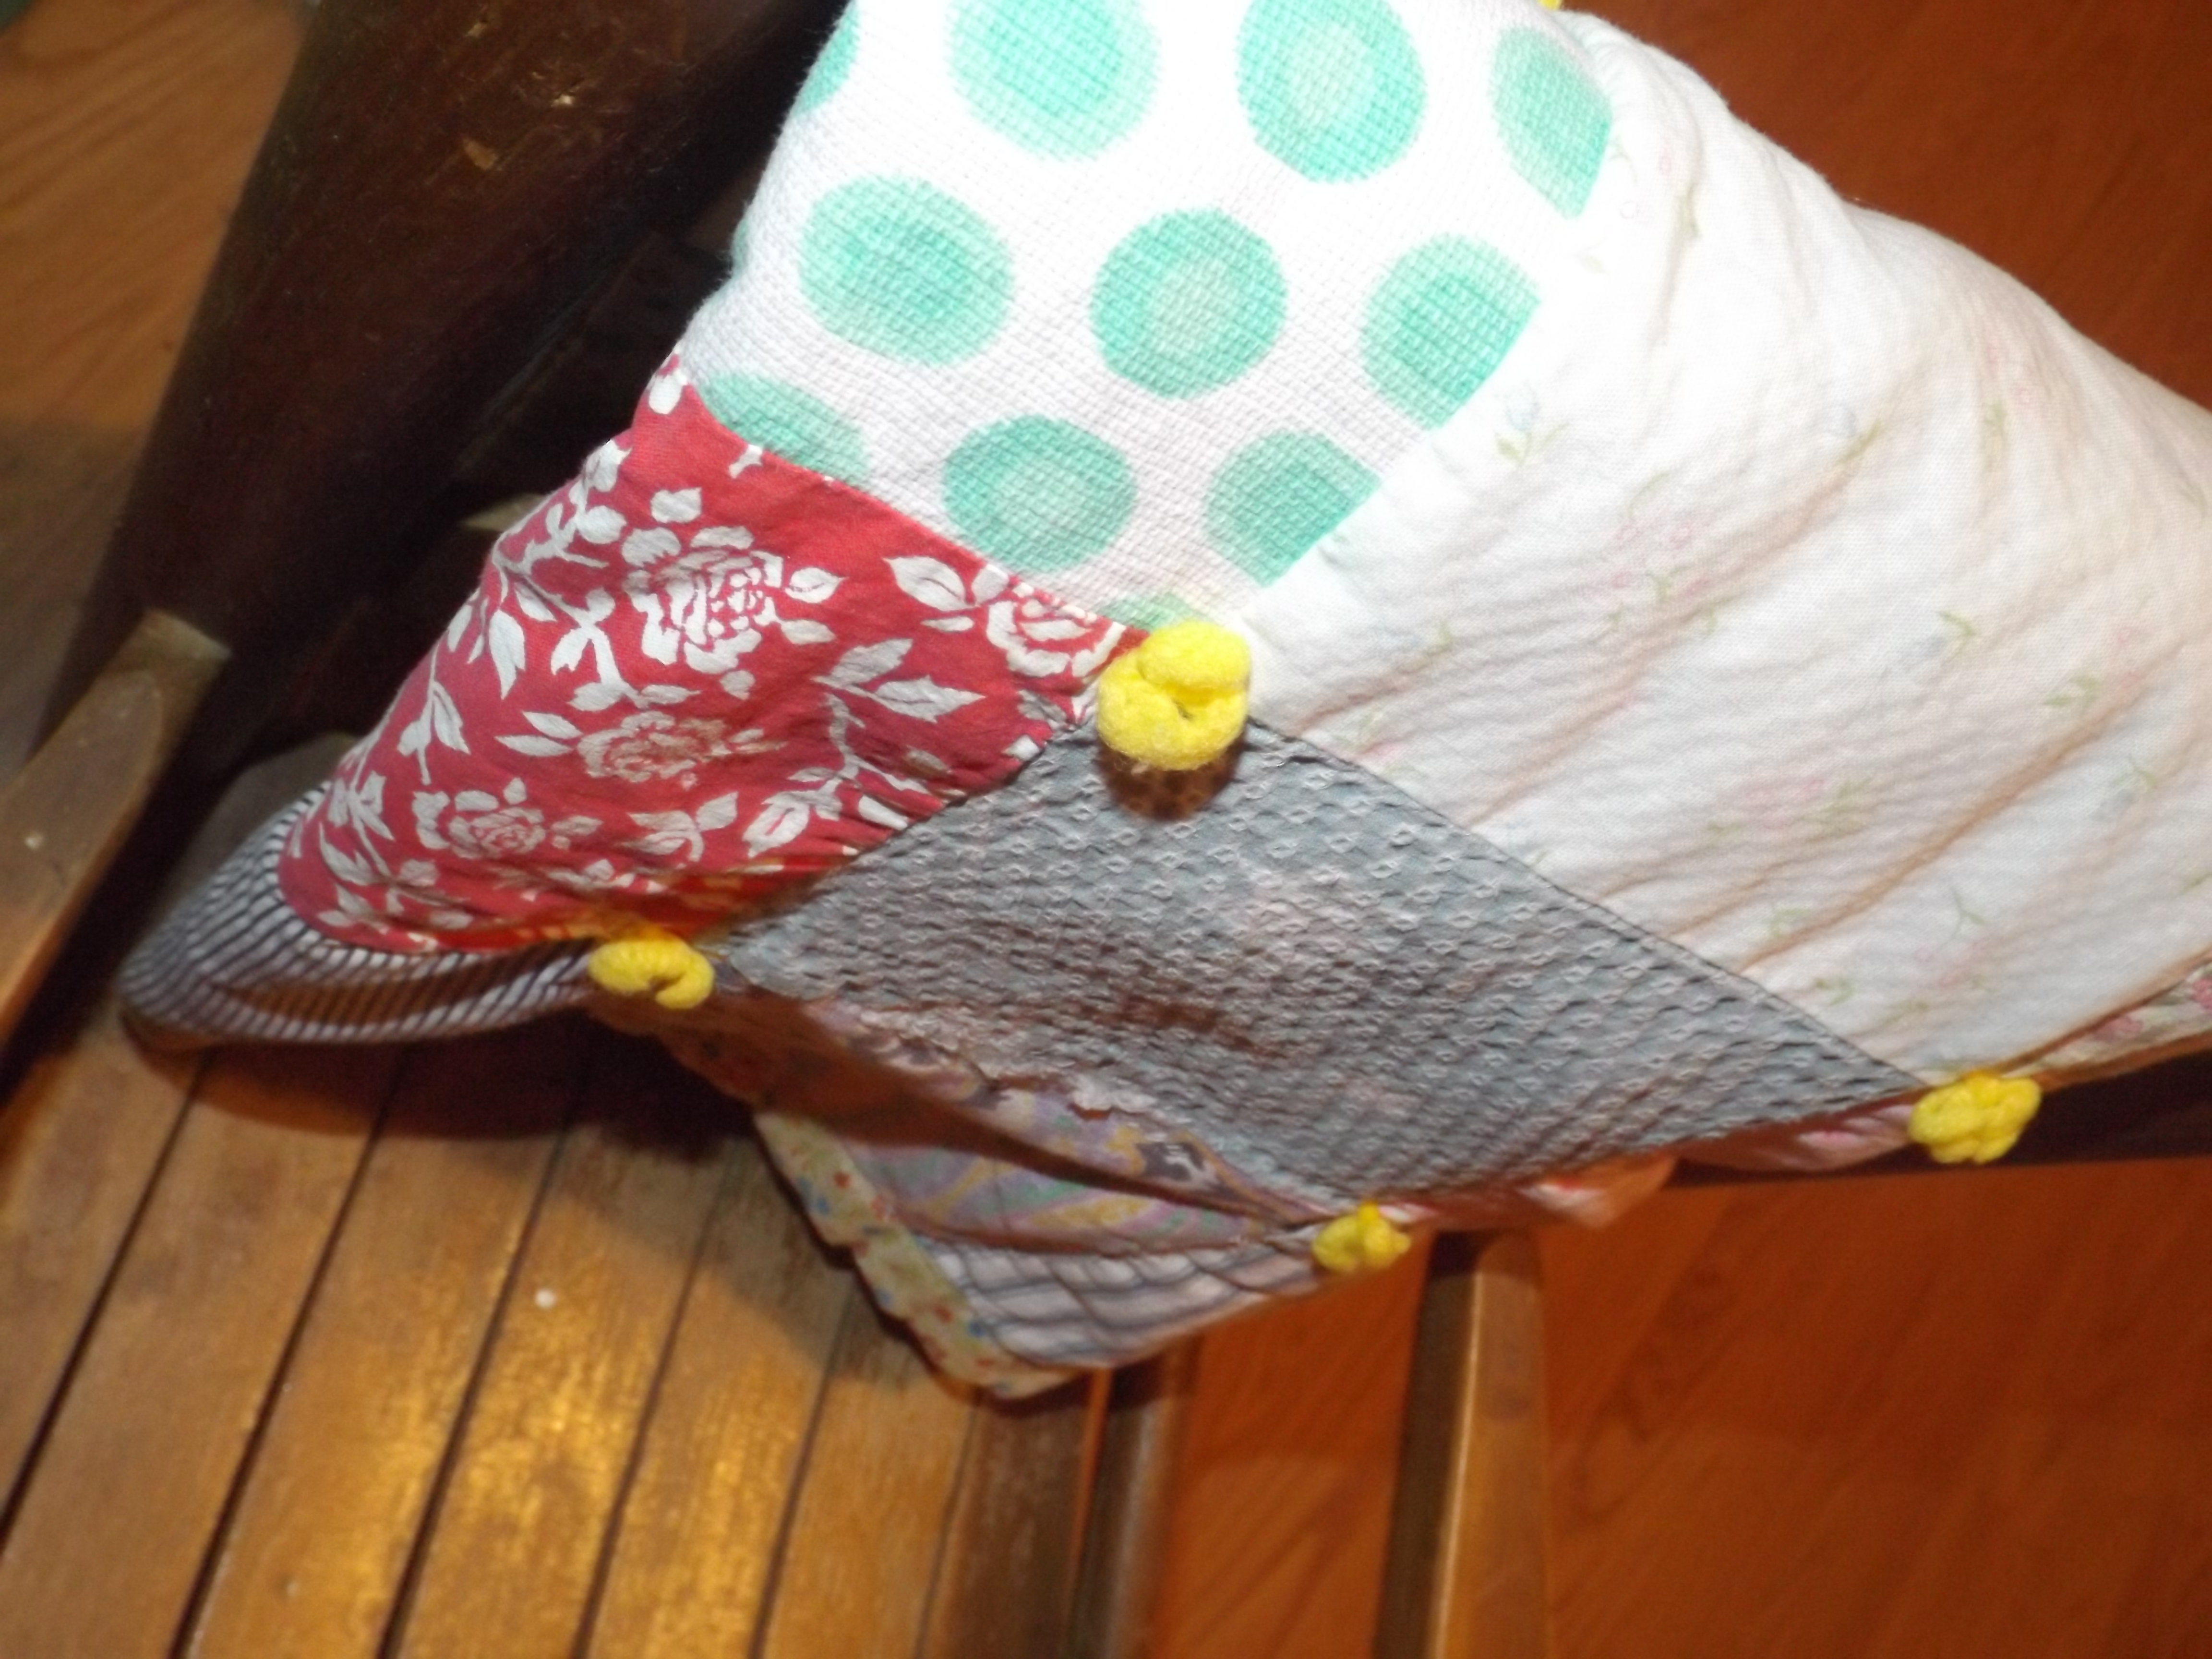
Shelf with things she’s made or things people made for her…These books were two of my mom’s favorites when she was growing up which she then gifted to Sawyer…Artwork from her Aunt Dessa; an interpretation of one of her 3 month old baby pictures…Oh yes, bows are important to us.I love this sweet little rug…Glider and friends…how cute is that bear pillow I thrifted?!My mom’s baby blanket…another treasure.This little rocker was my mom’s, then mine, now Sawyer’s…I bought this baby quilt at an auction. I LOVE all the colorful, vintage fabrics!
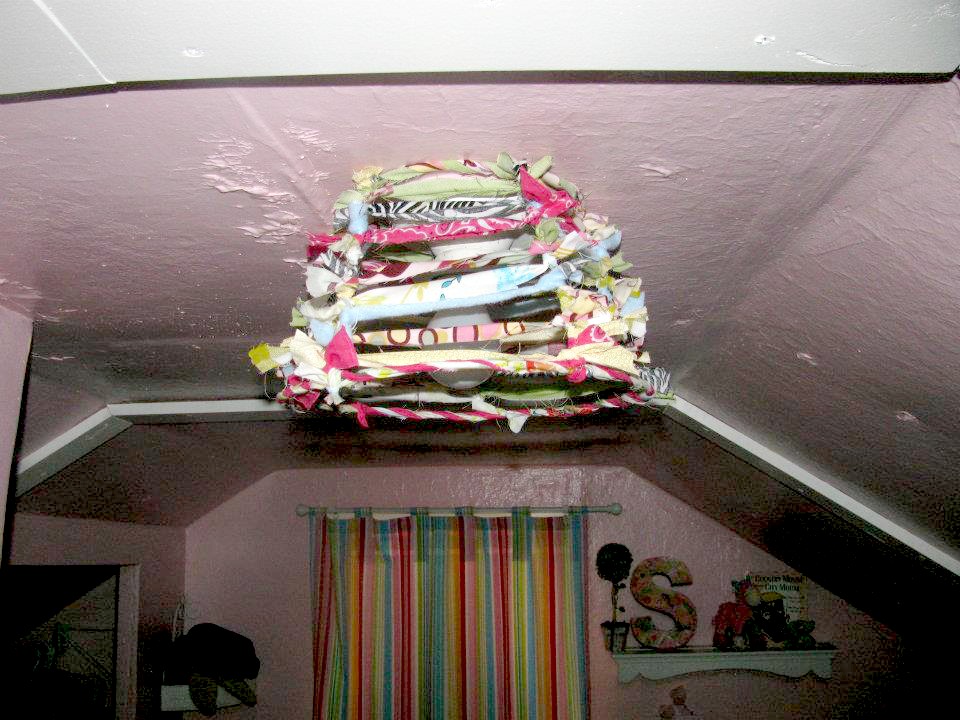
The ceilings upstairs are really pitched so I knew I needed a really shallow light fixture. I had Wrex shape me one out of wire and then I took strips of scrap fabric and ribbon and started tying it on.
Love how this turned out!
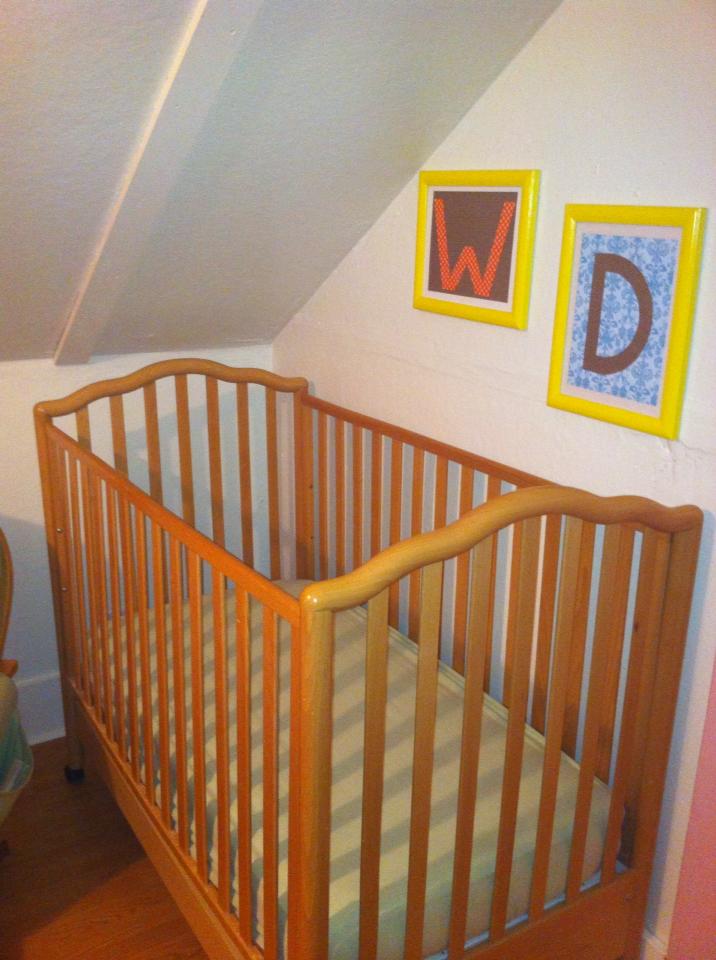
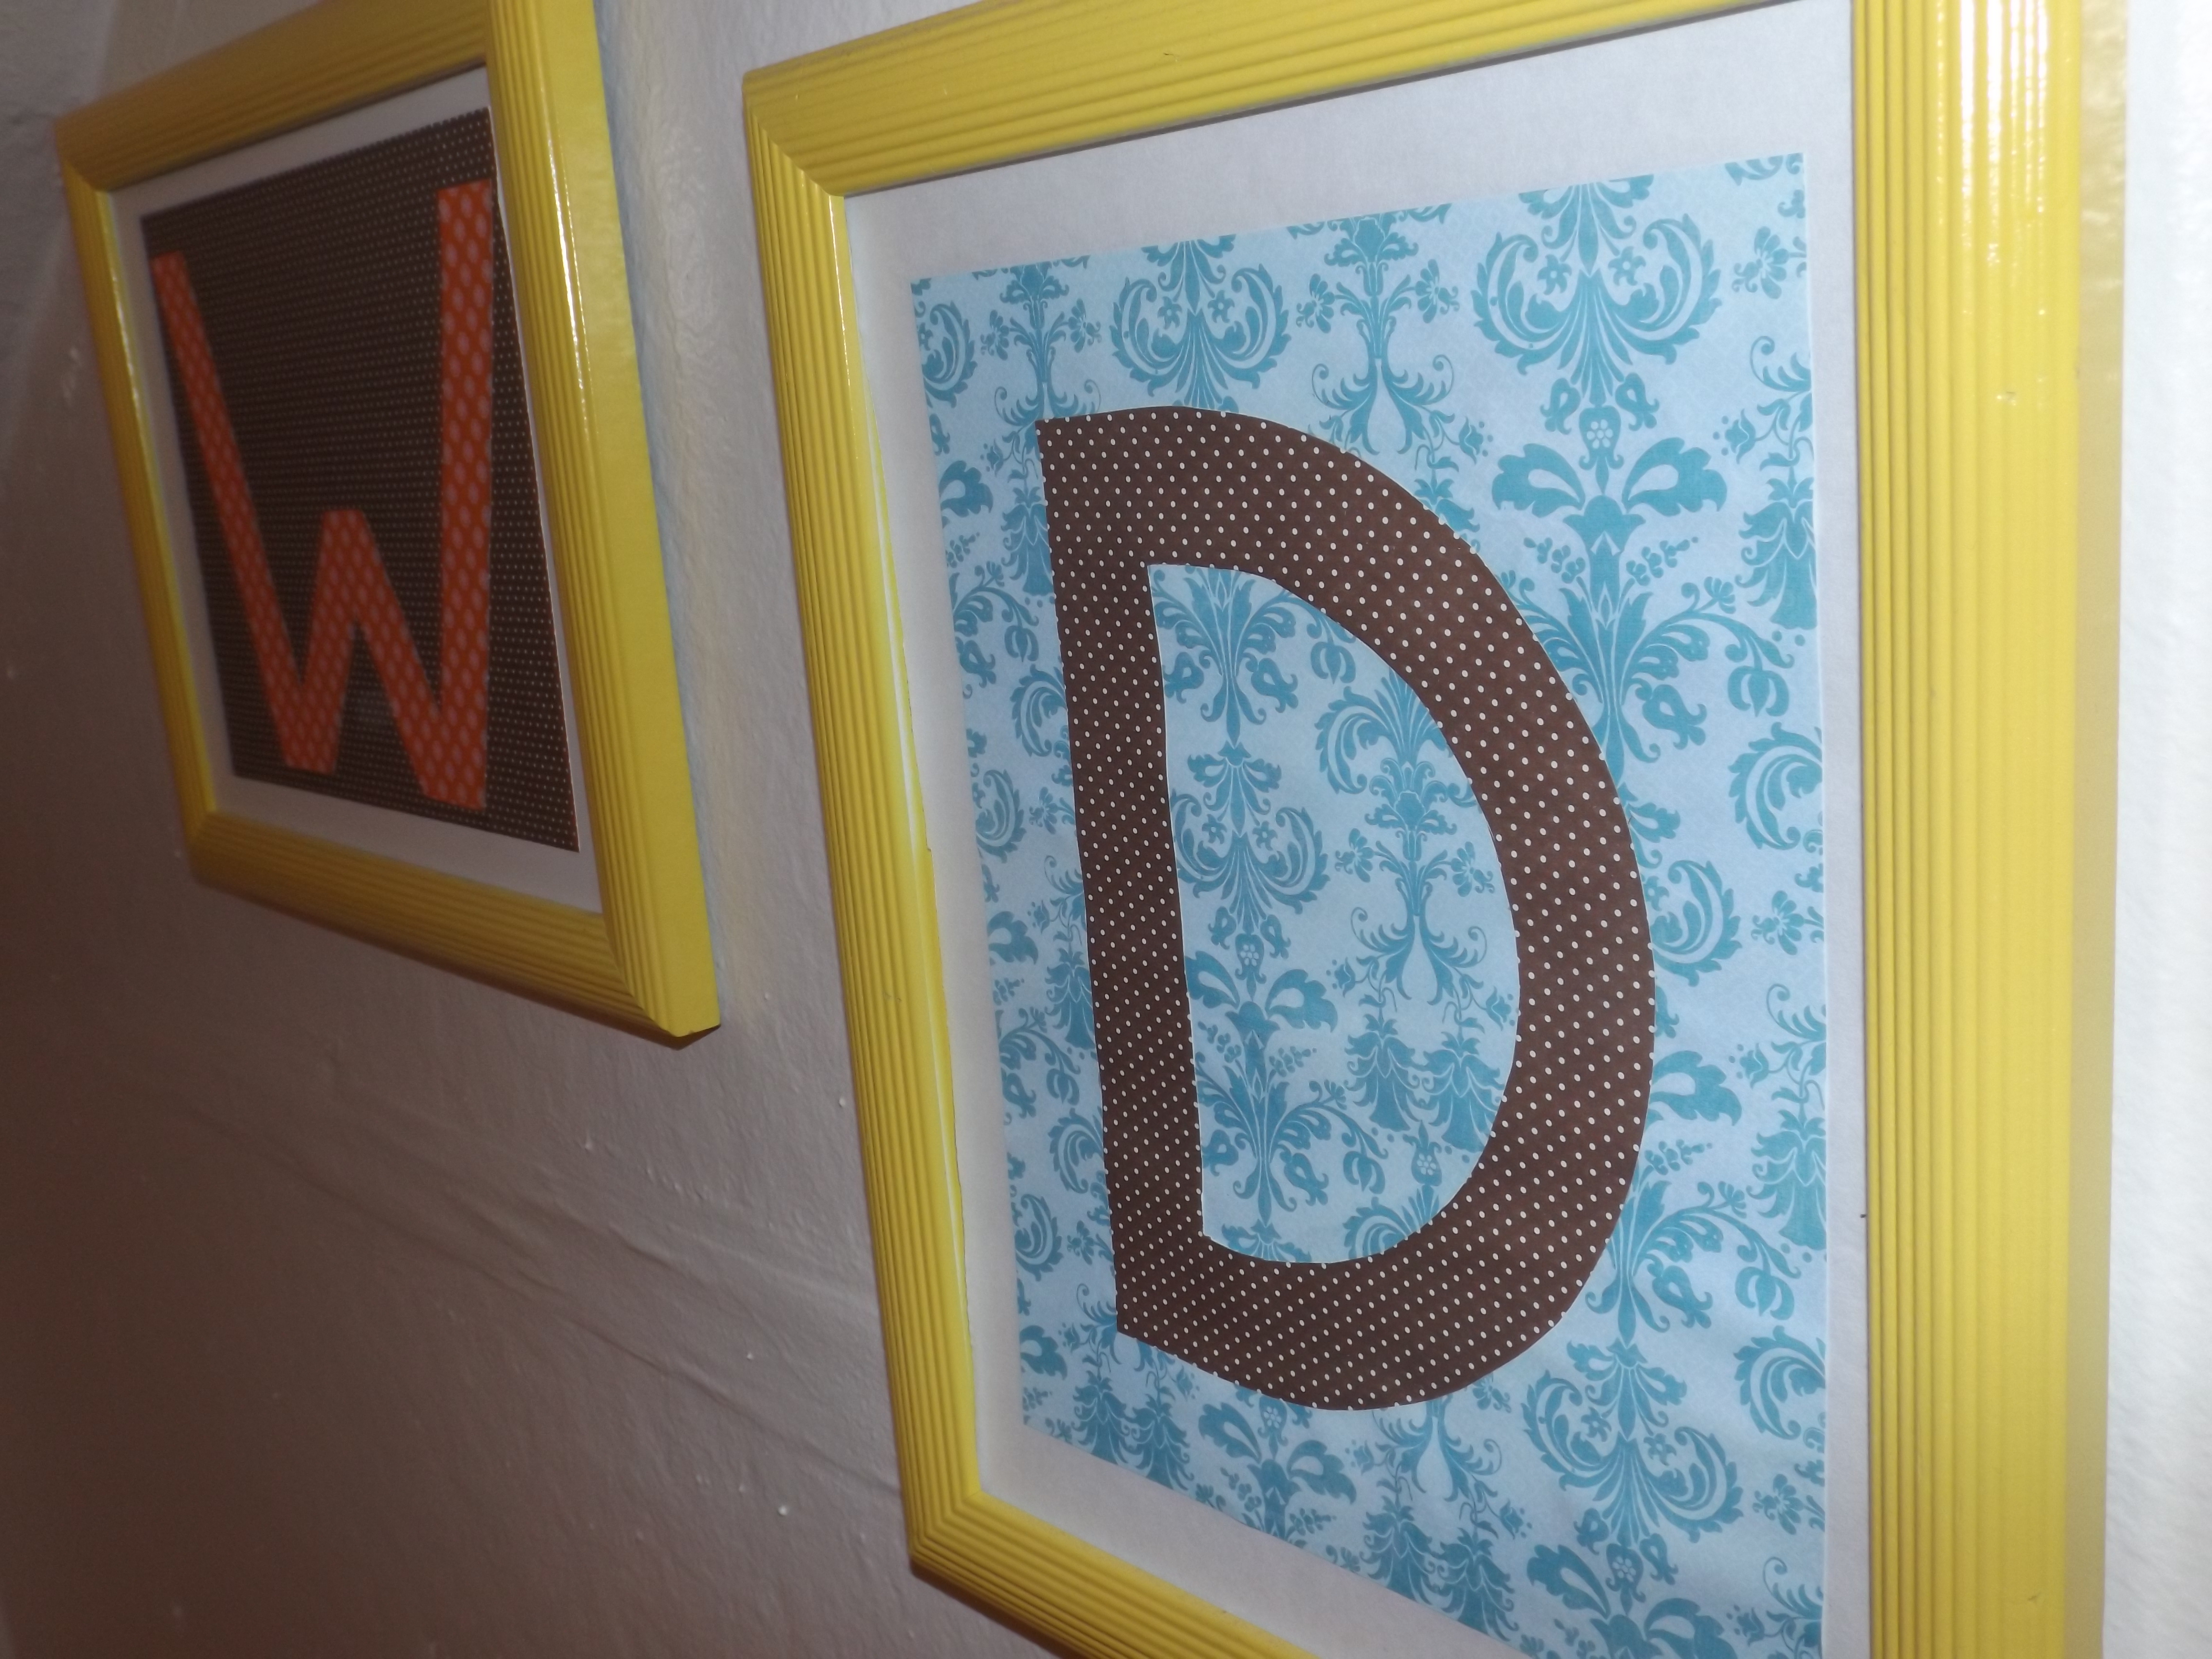
Once Wryder moved in, we didn’t want the poor boy to have to live in a totally pink room, so I painted his half white!
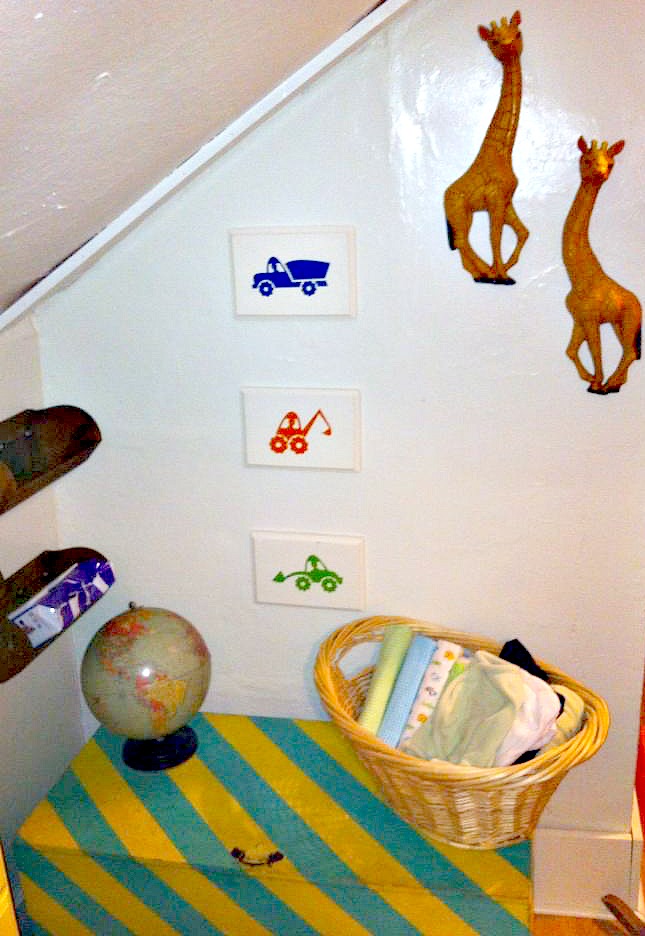
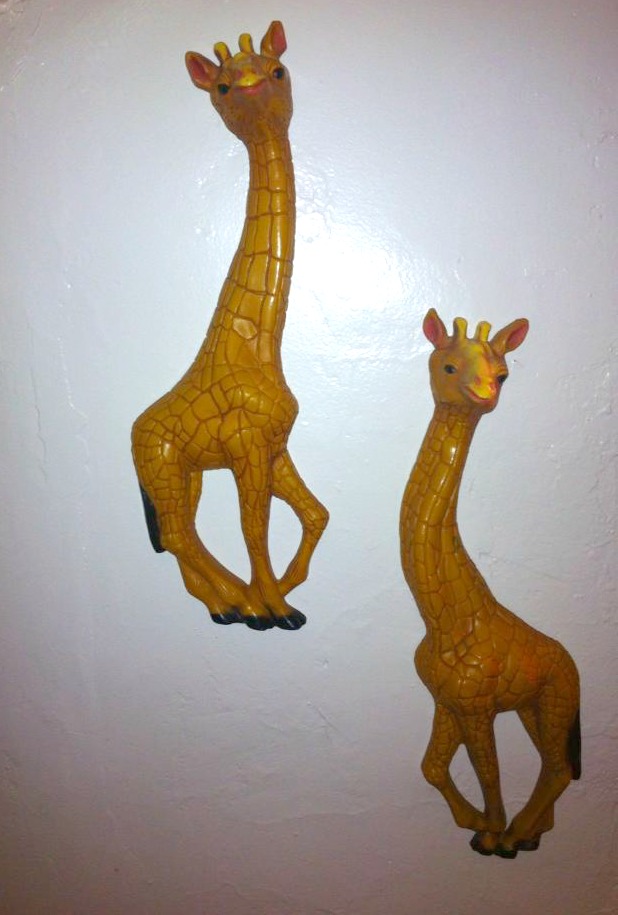
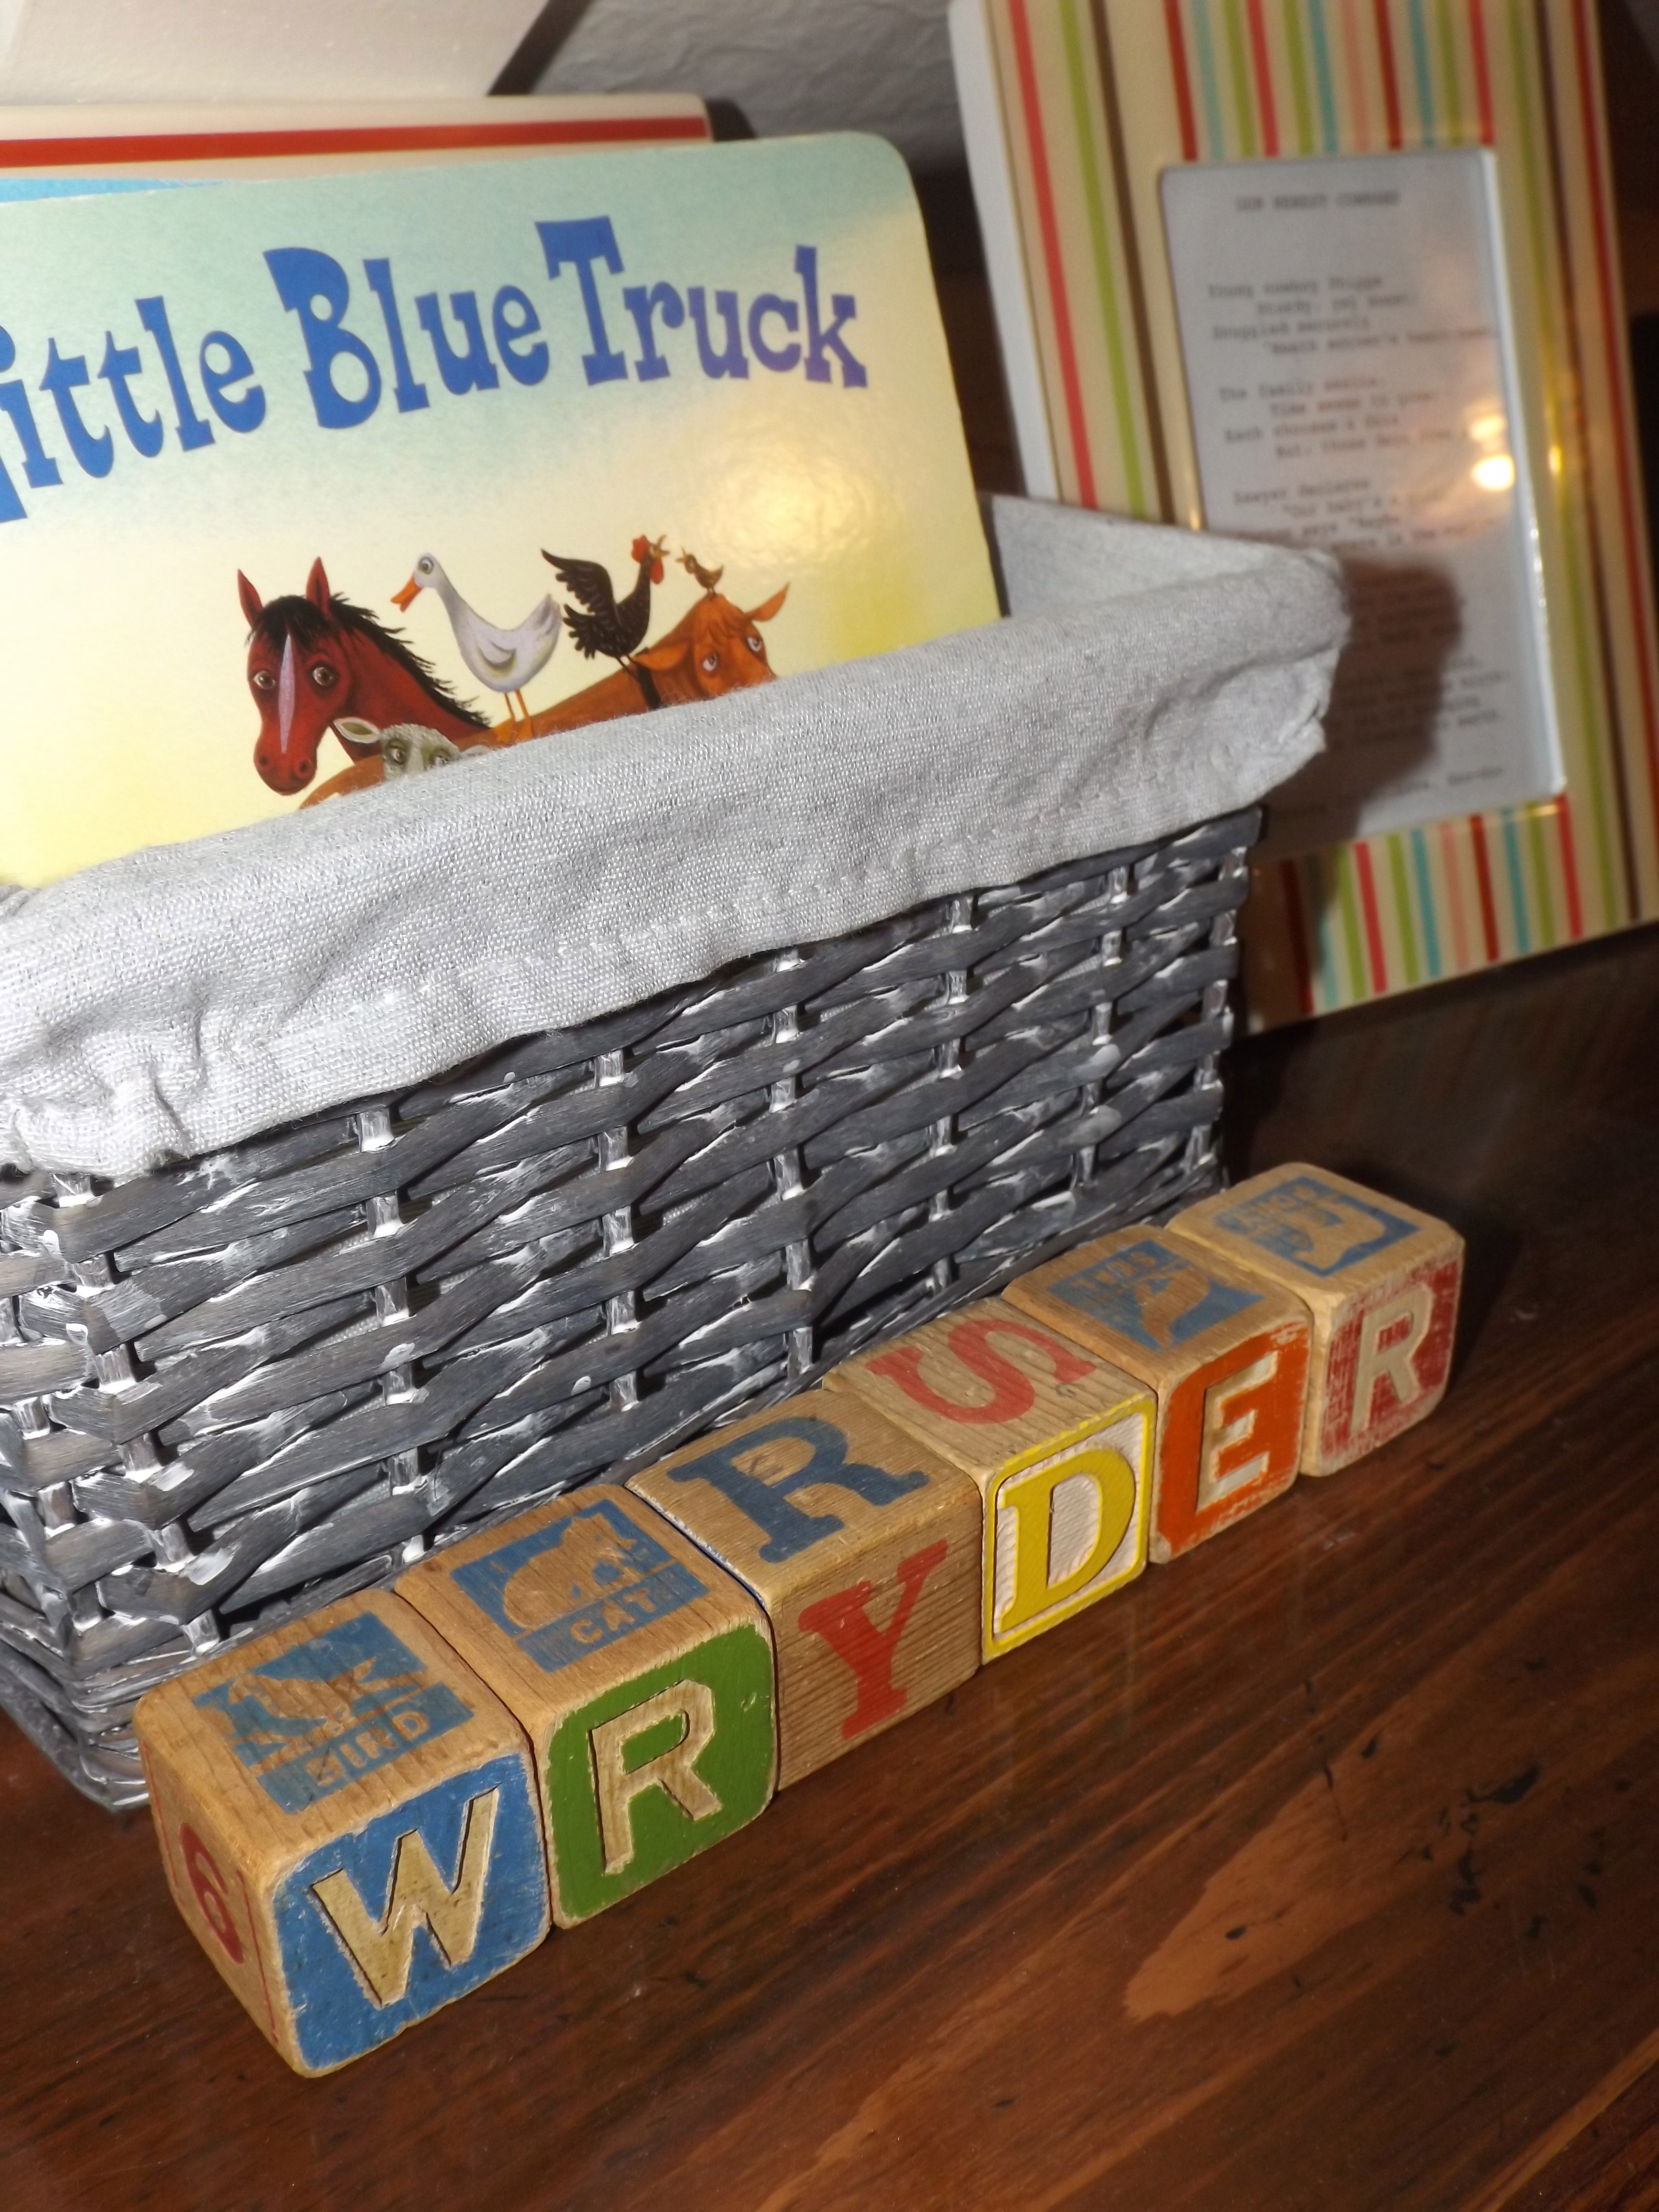
It’s not pink!I made these from some thrifted frames, spray paint and some scrapbook paper.Love my little WD…His little nook…We used these old grain elevator cups as storage…How cool is that toy box?!These little guys were in Wrex’s nursery when we was a little guy – awwww!If you haven’t read the Little Blue Truck you NEED to!
There are soooooo many fun things in this room (to me) that it was hard to know where to stop and start for this post! Sawyer told me her favorite part of her room is her bed and Wryder, well, he replied in Cantonese and I’m not sure exactly what it meant.