I’ve mentioned before that I’m a lover of big hair…and big hair bows. Haven’t you heard the old adage, “the higher the hair, the closer to God?” It’s also true that “the bigger the bow, the better the mom.” I kid, I kid… 😉
Sawyer was in need of a grey bow for an outfit the other day and can you believe we didn’t have one?! The horror! So, I found some ribbon and whipped one up. I’ve made 90% of her bows 1.) because I’m cheap and 2.) because they’re super easy to make. I’ll show you!
There are a ton of styles out there; I’ve done two simple versions here, both with the same basic steps.
For the simpler, single stack bow you’ll need:
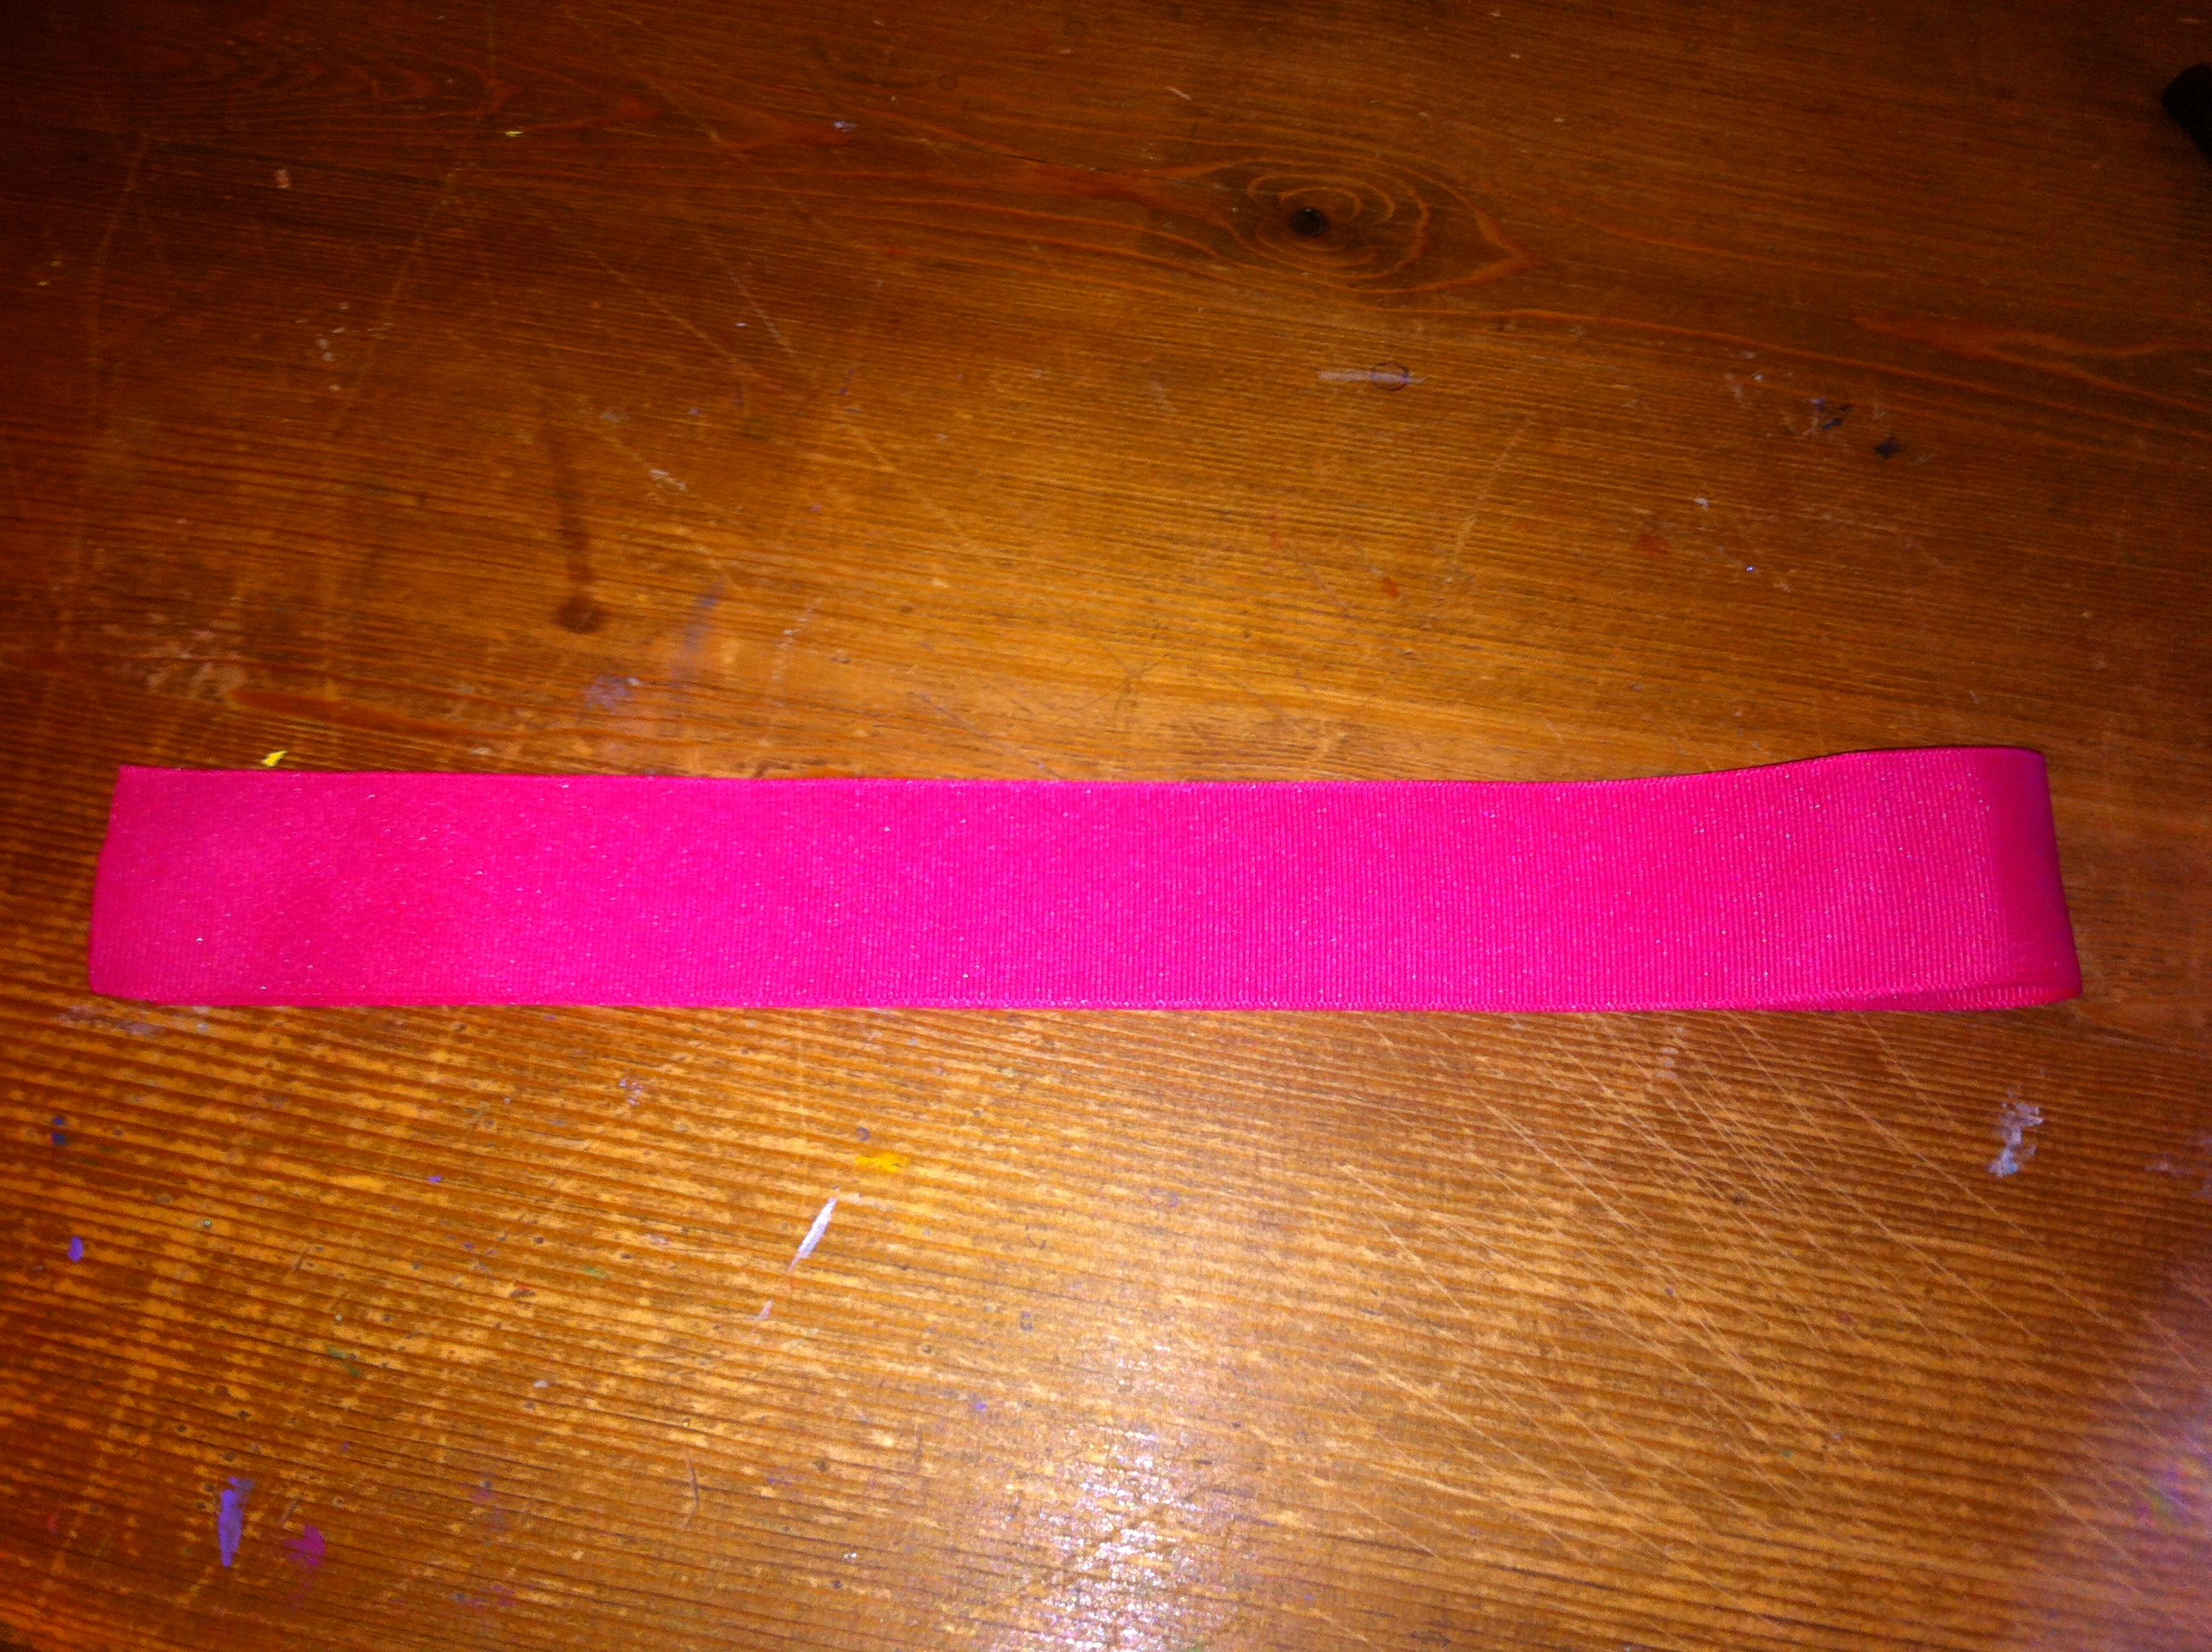
- 24 inches of ribbon
- lighter
- hot glue gun
- scissors
- alligator clip (or your barrette of choice)
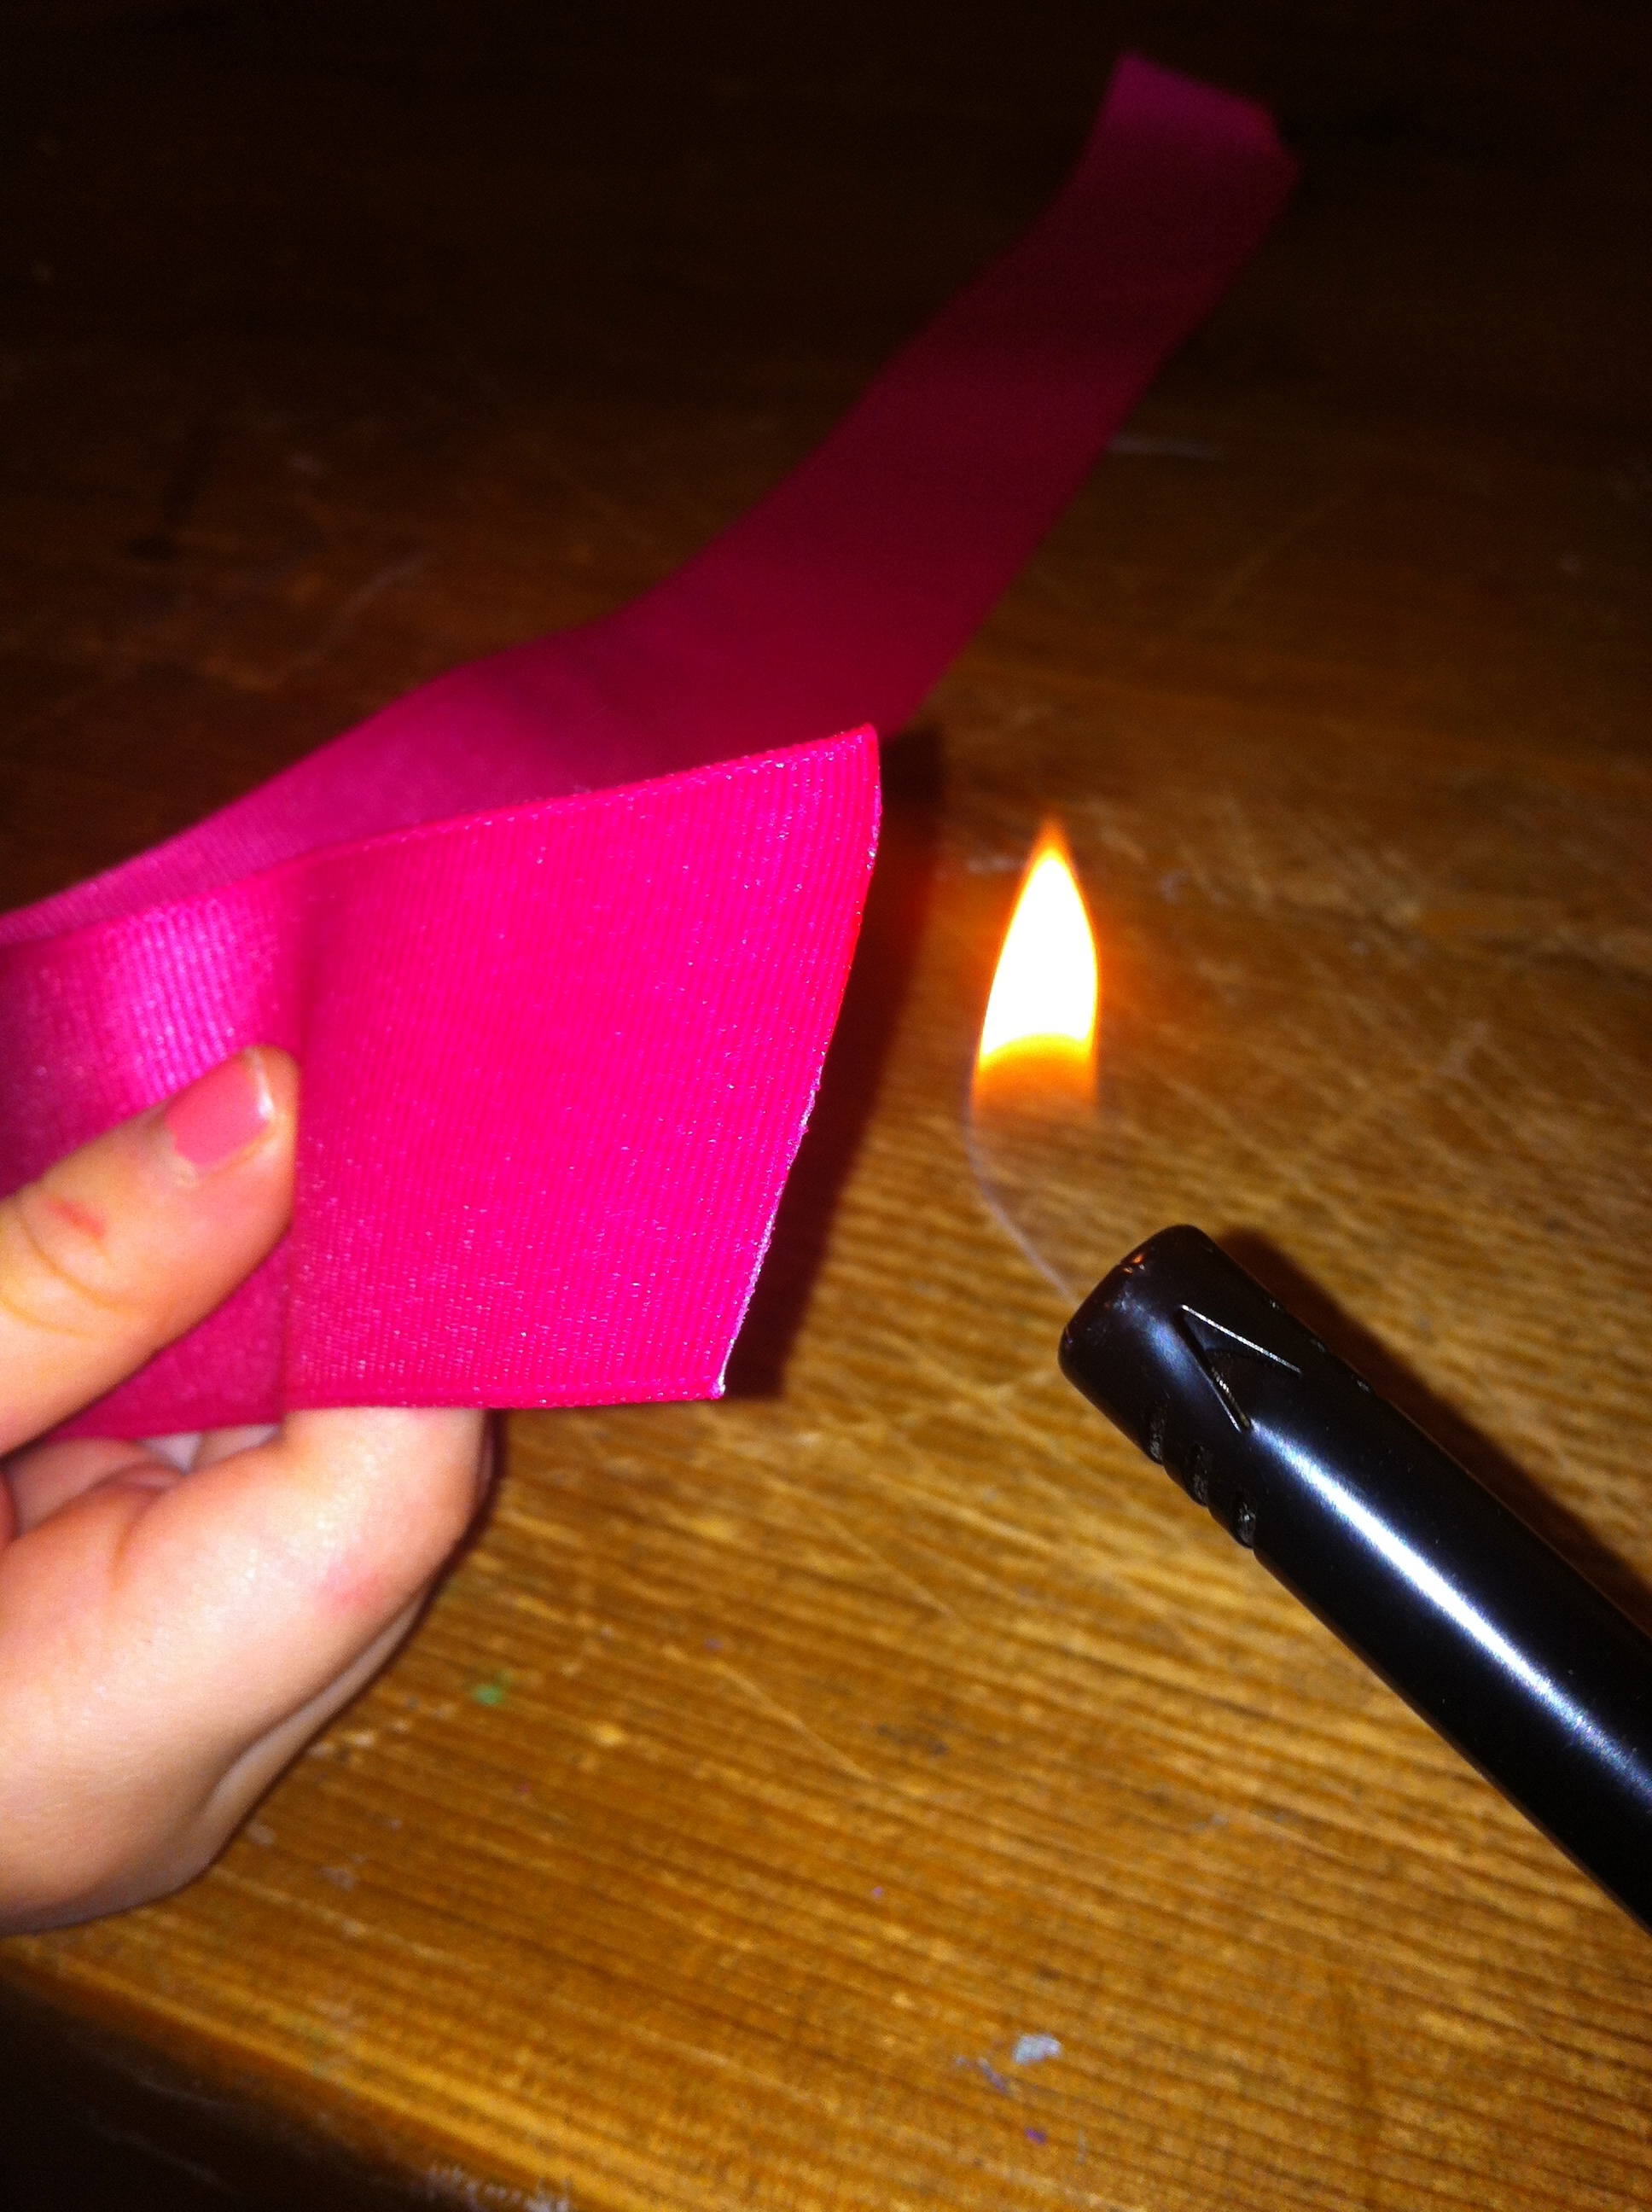
Step 1: Sear the ends so they won’t fray.
 Step 2: Fold your ribbon in half and press the end to make a crease. The crease will act as a marker for step 3.
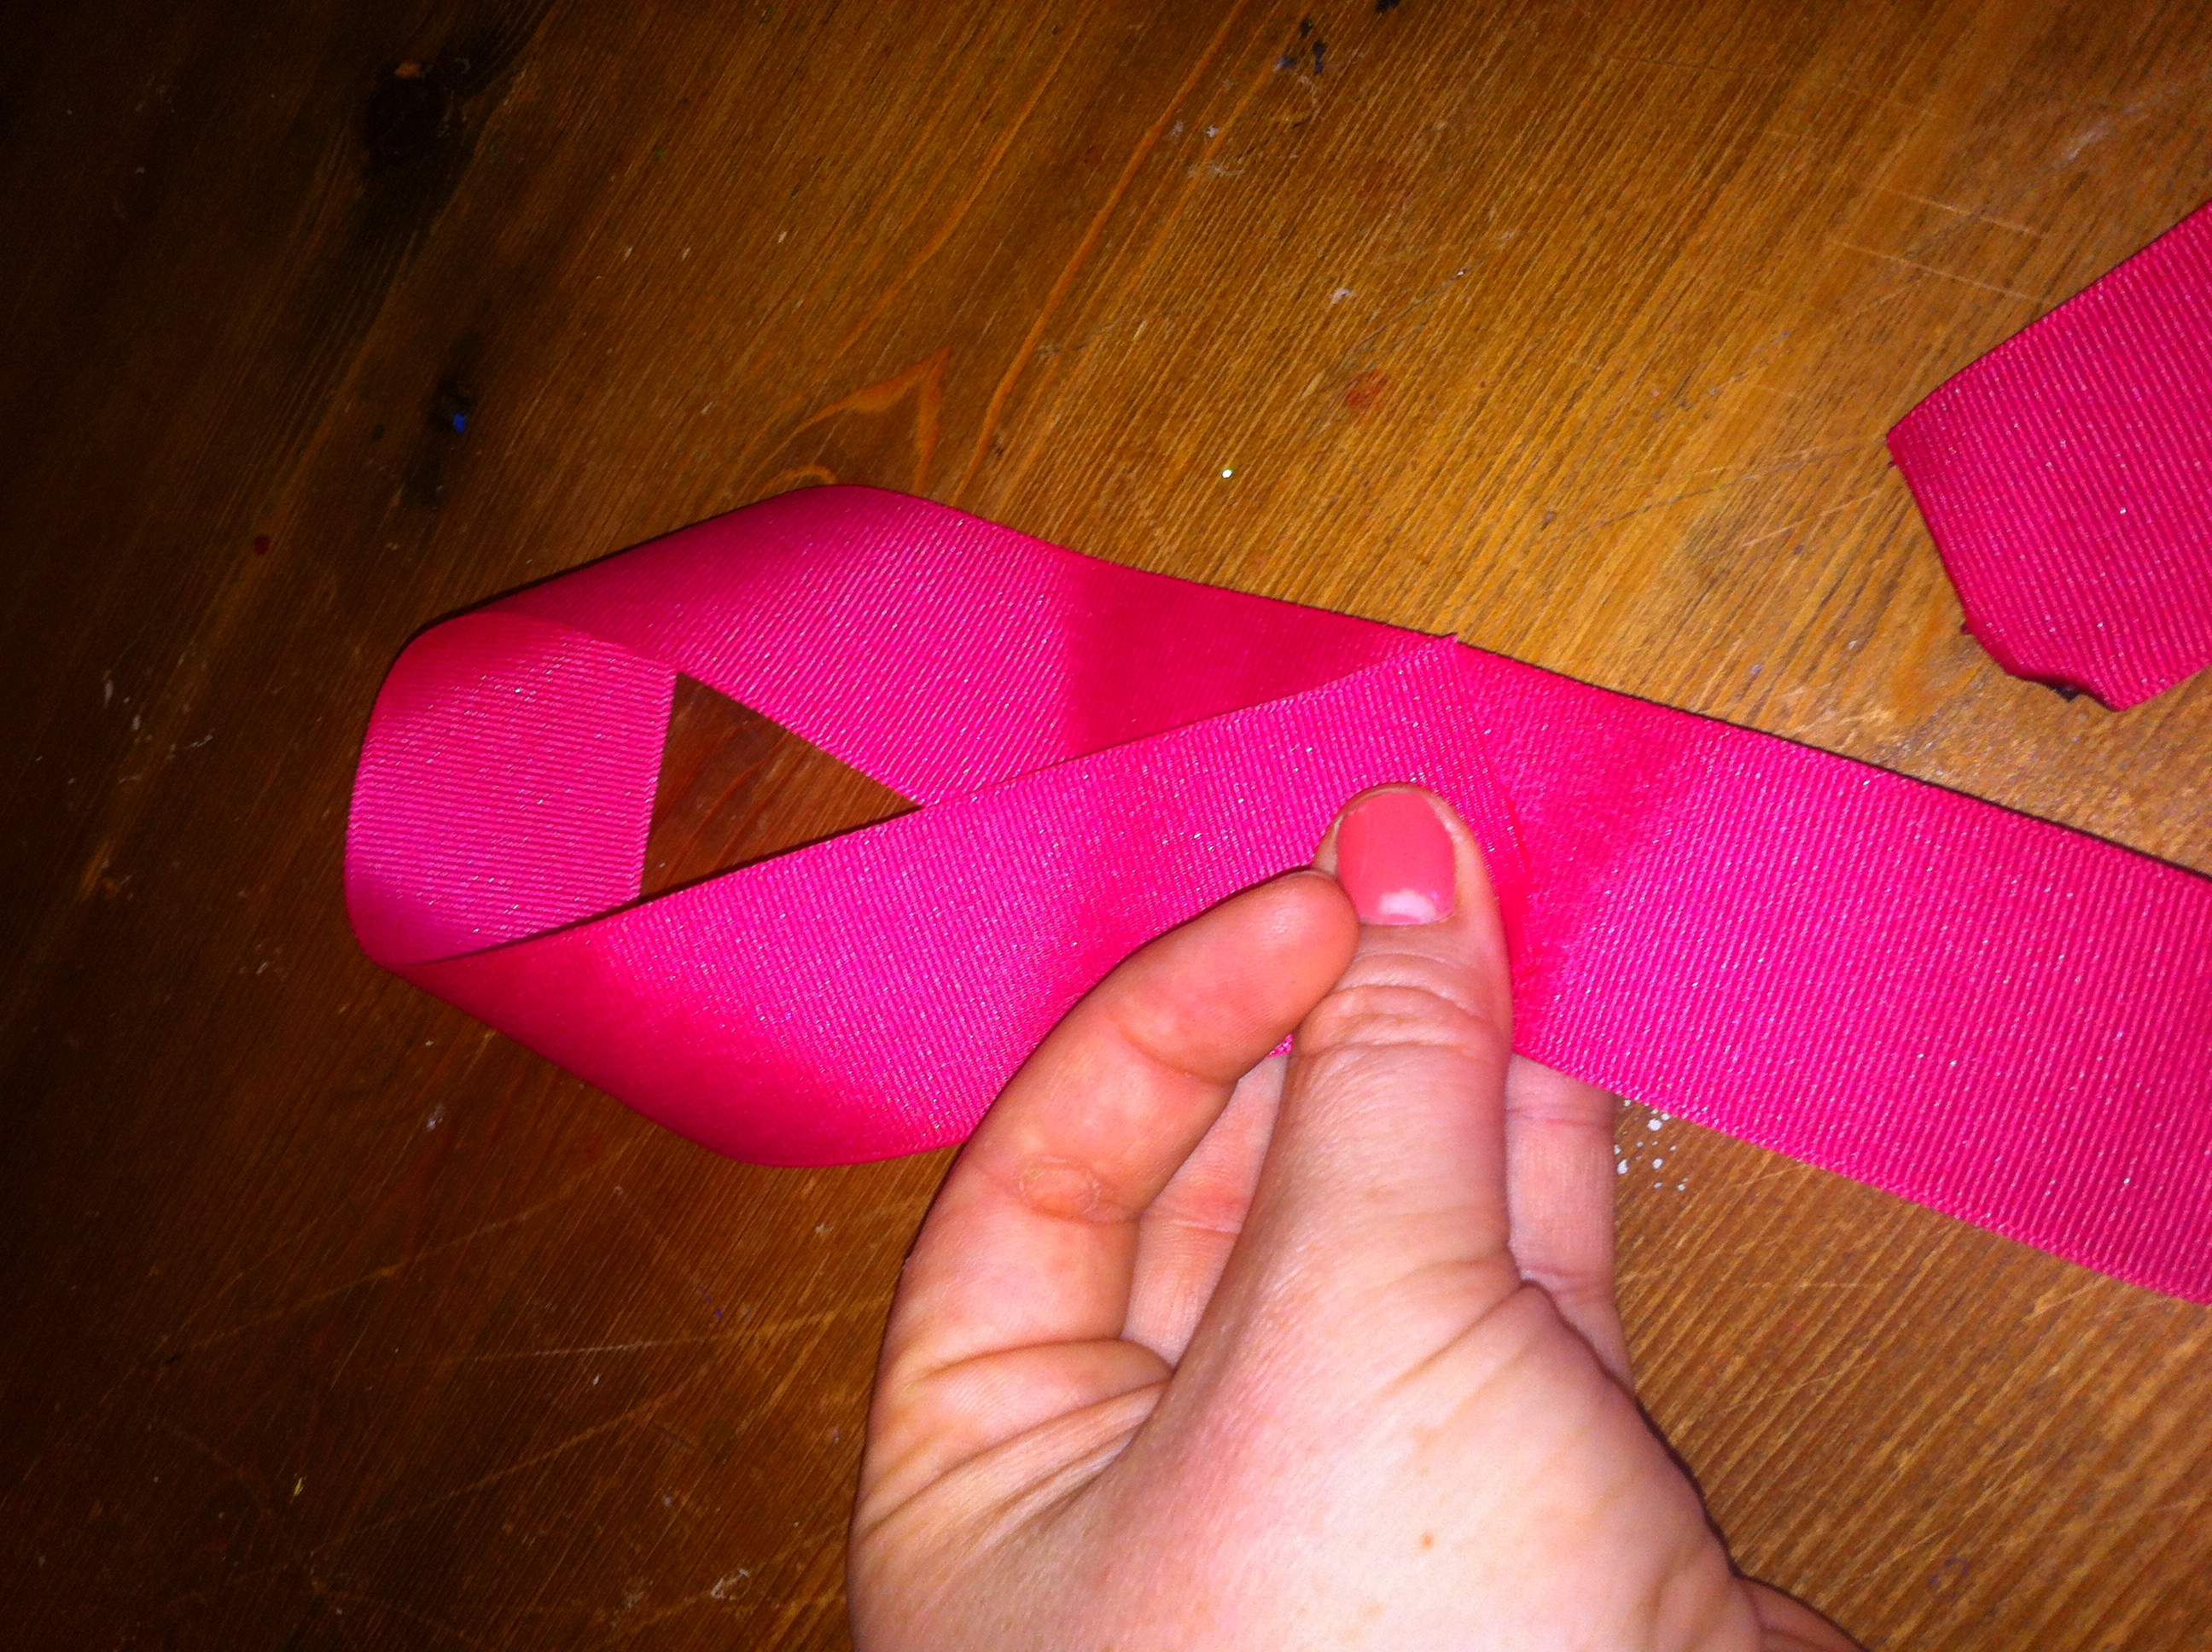
 Step 3: Open the ribbon back up and bring one end back to the middle crease, making a cancer awareness sign. Hold it secure with your finger while you do step 4.
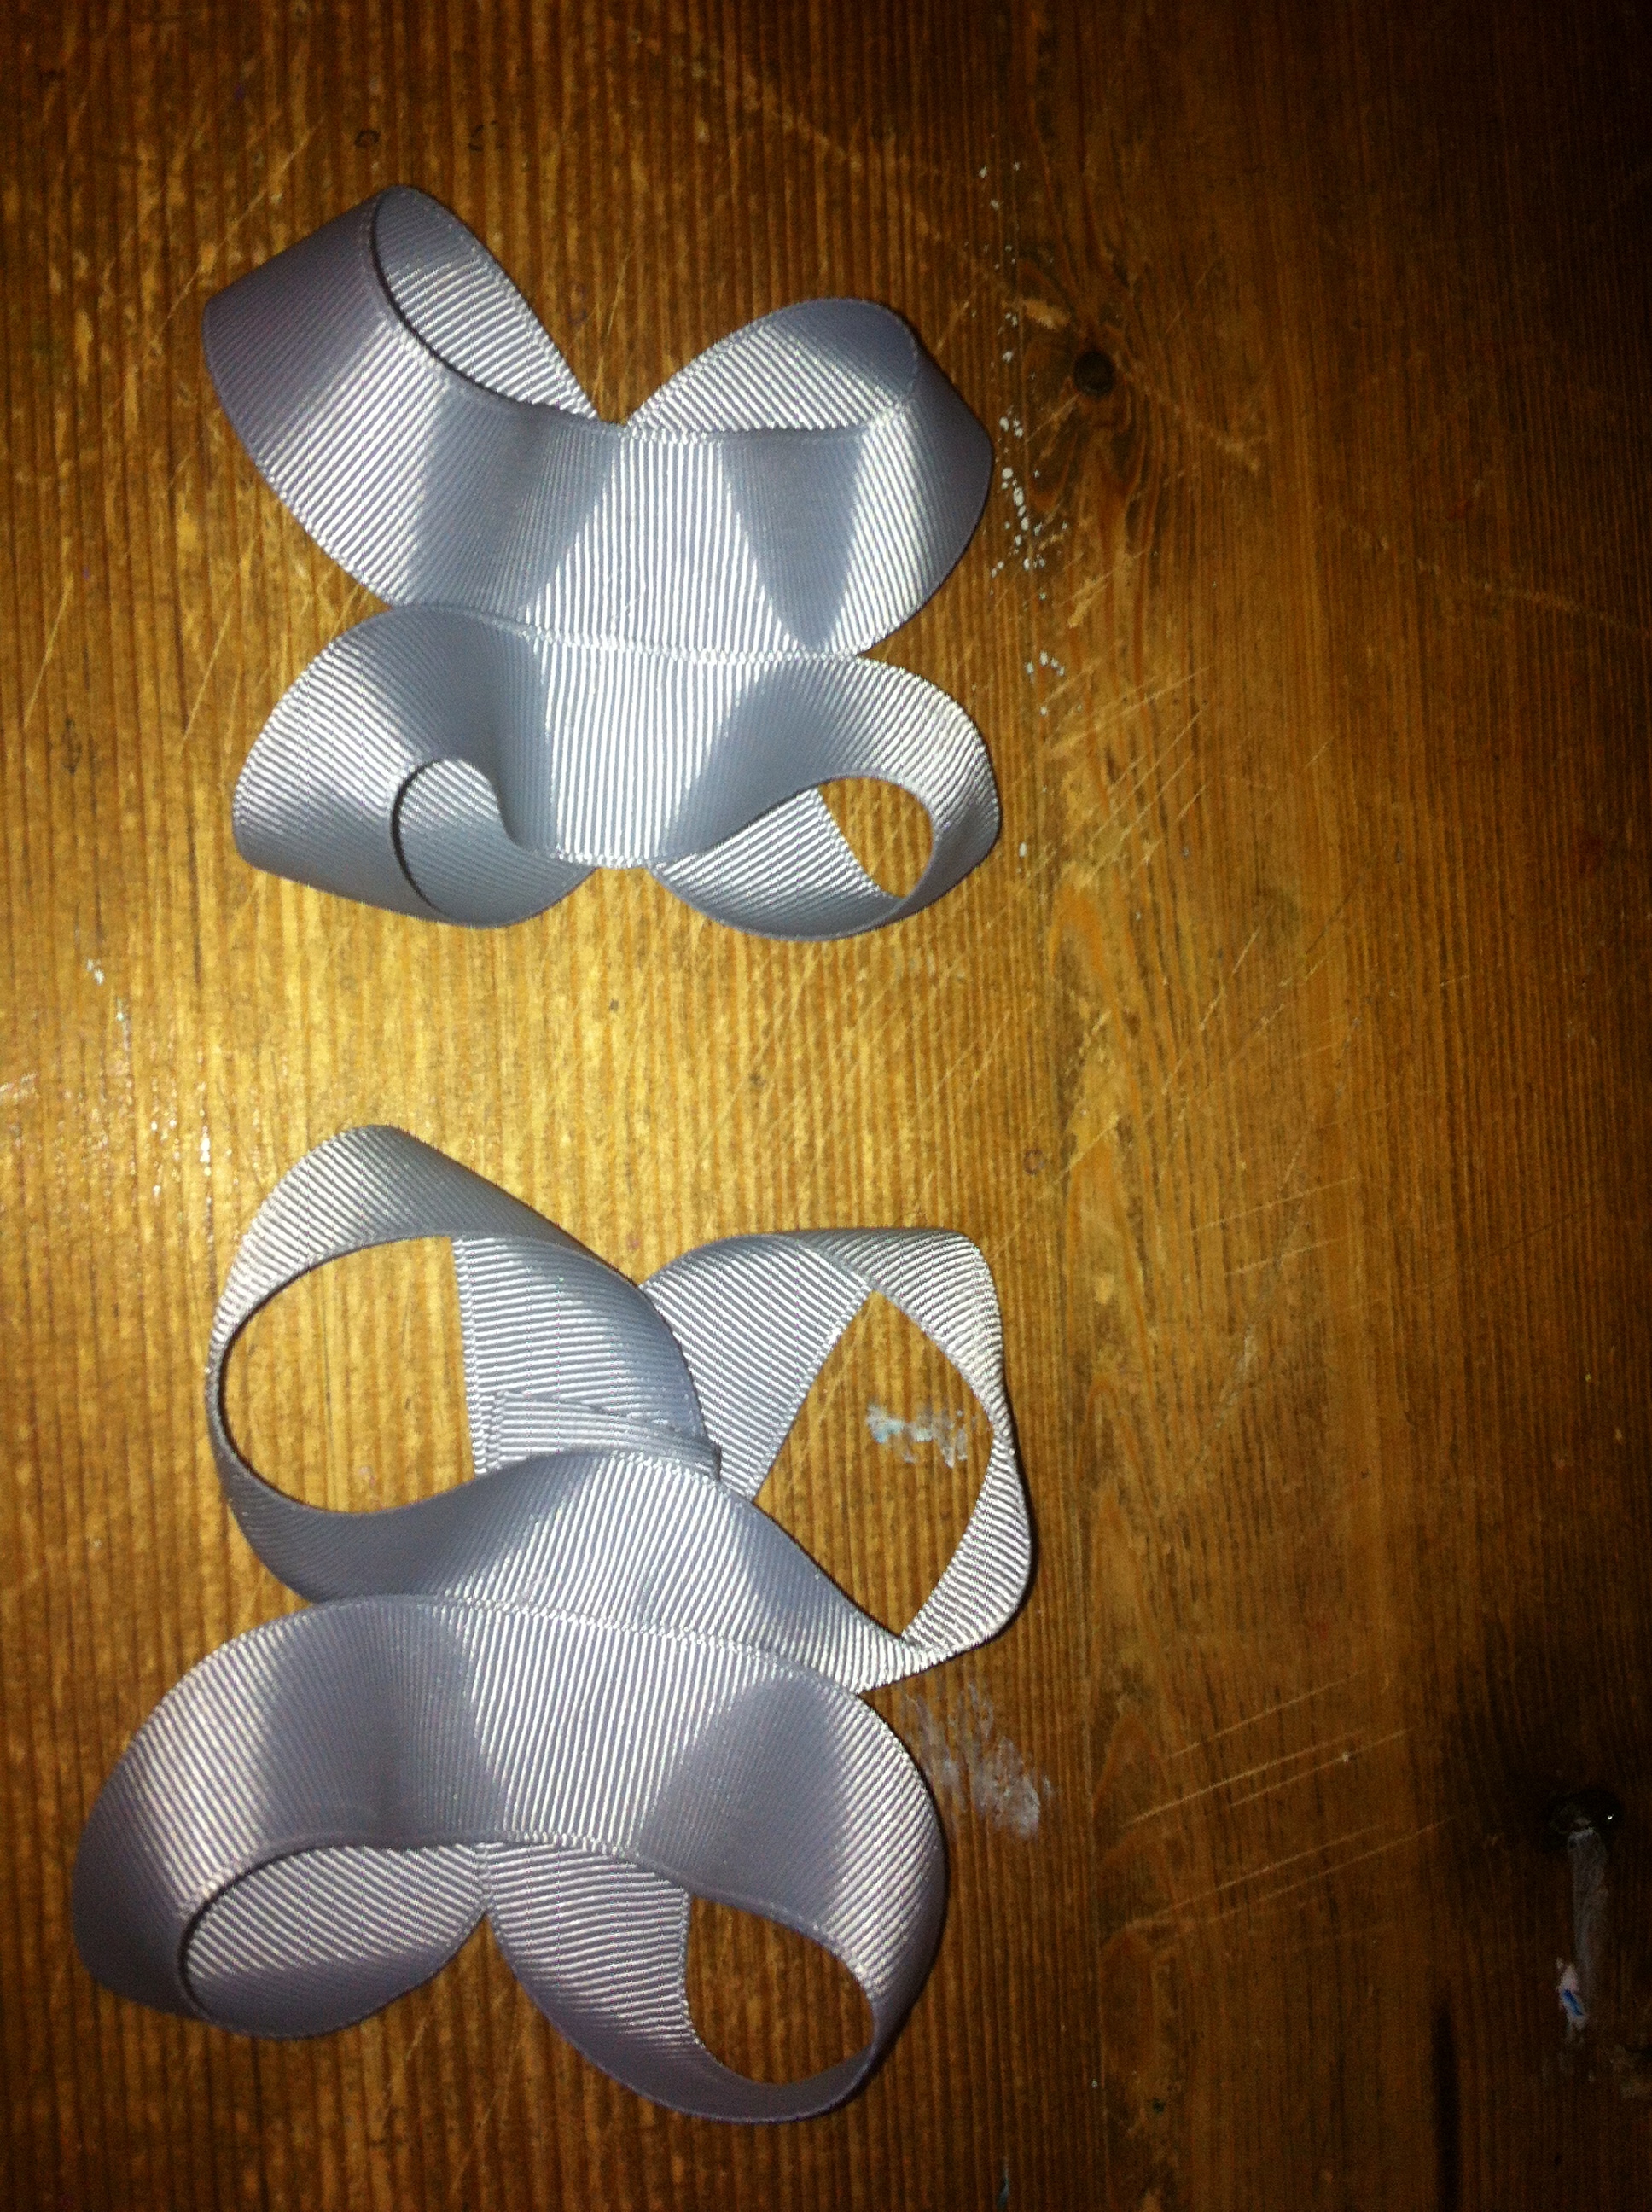
 Step 4: Do the same to the other end, making a figure eight. Secure with hot glue.

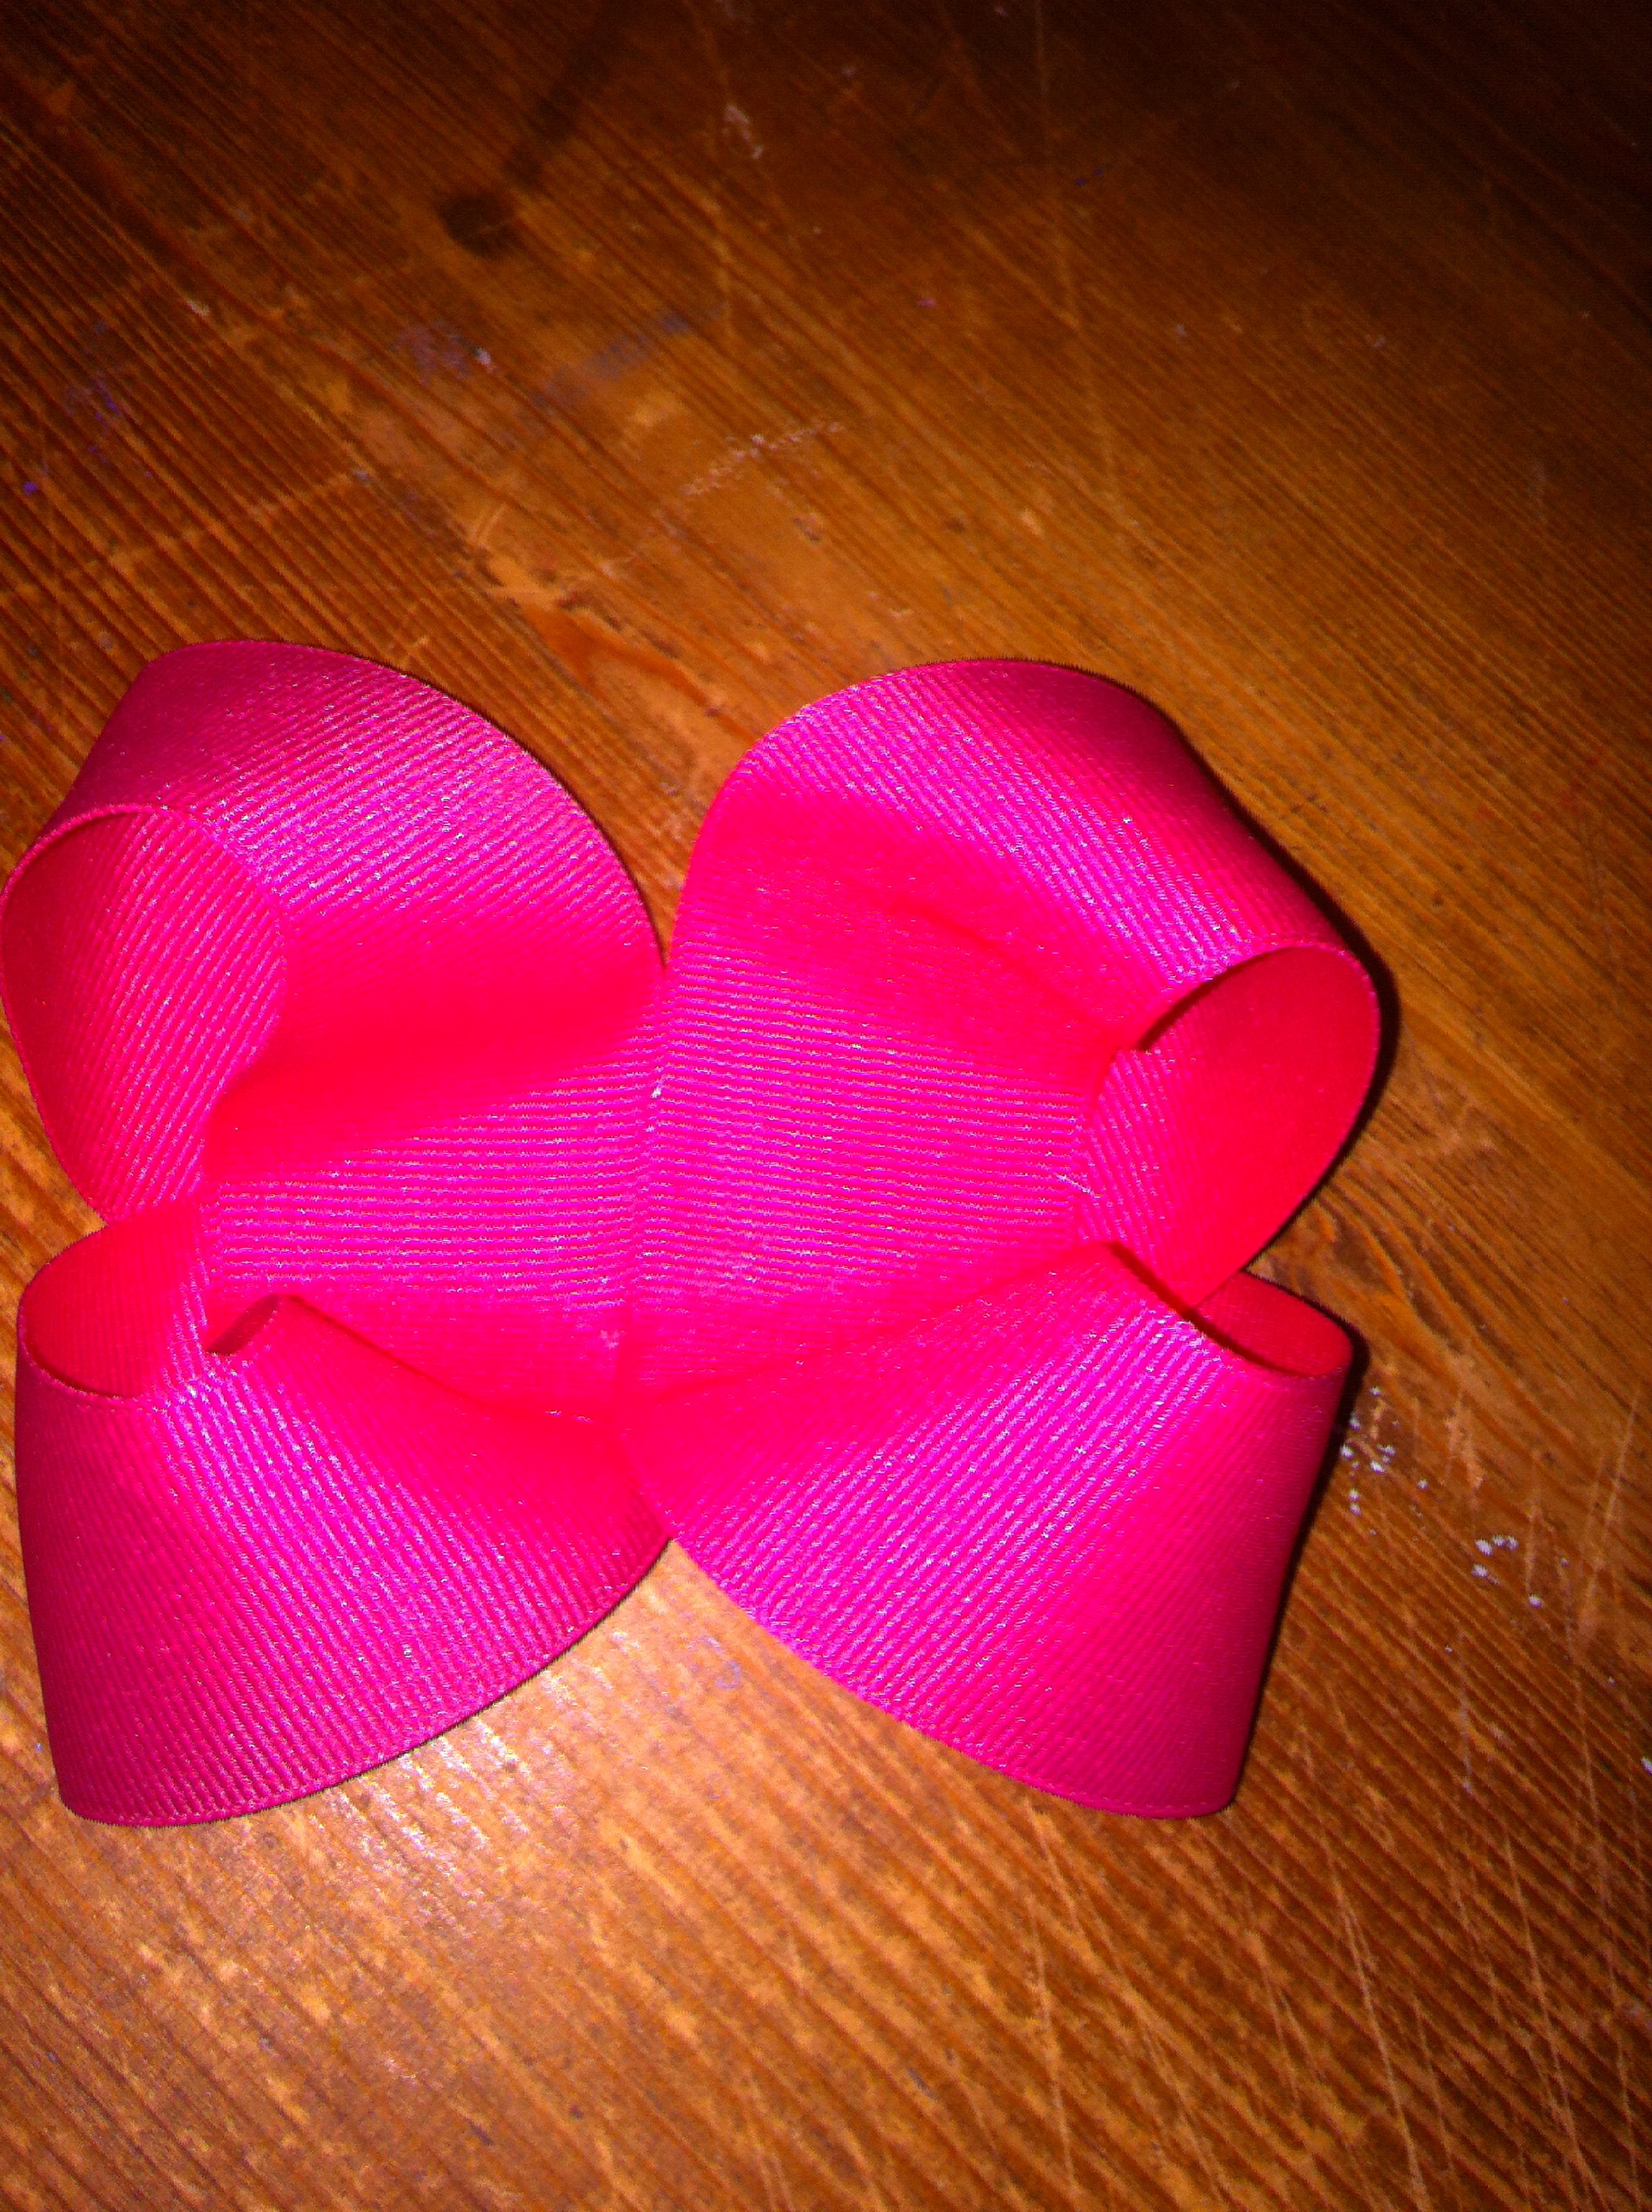
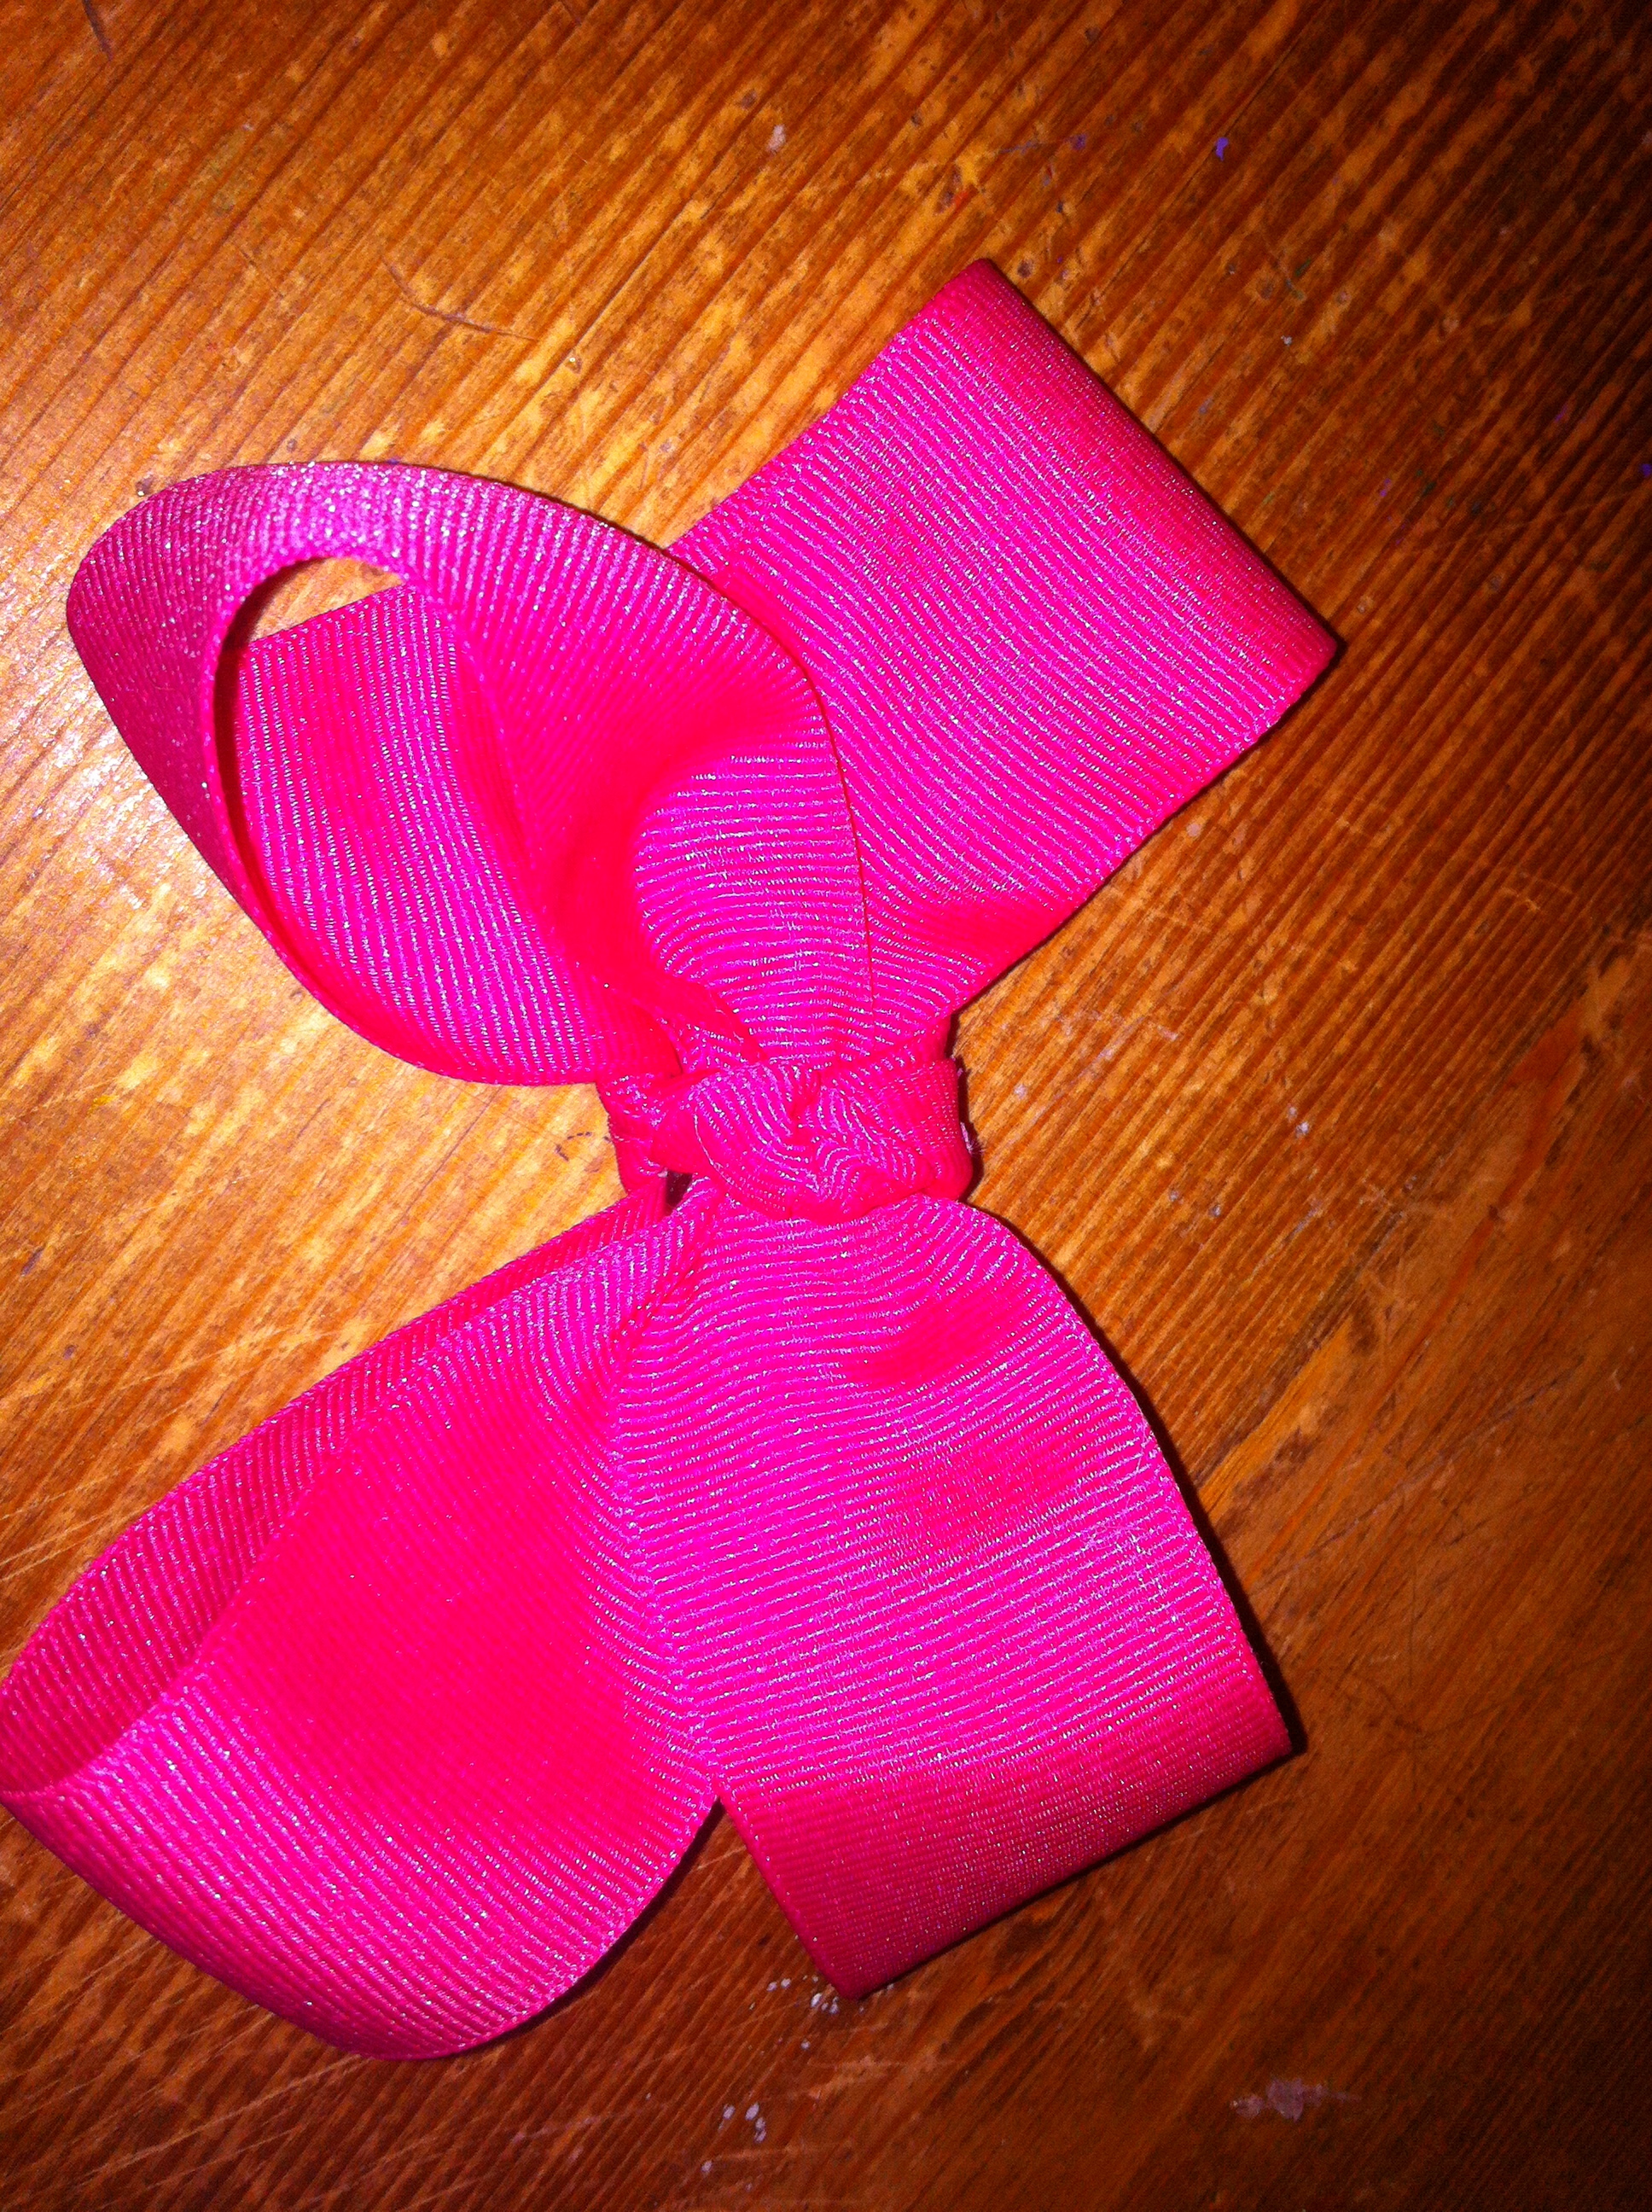
Step 5: Bring in each end and secure with hot glue.
 Step 6: Take a 6 inch piece of ribbon and tie a knot it the center.
 Step 7: Wrap the knot around the center of the bow and secure with hot glue on the backside.
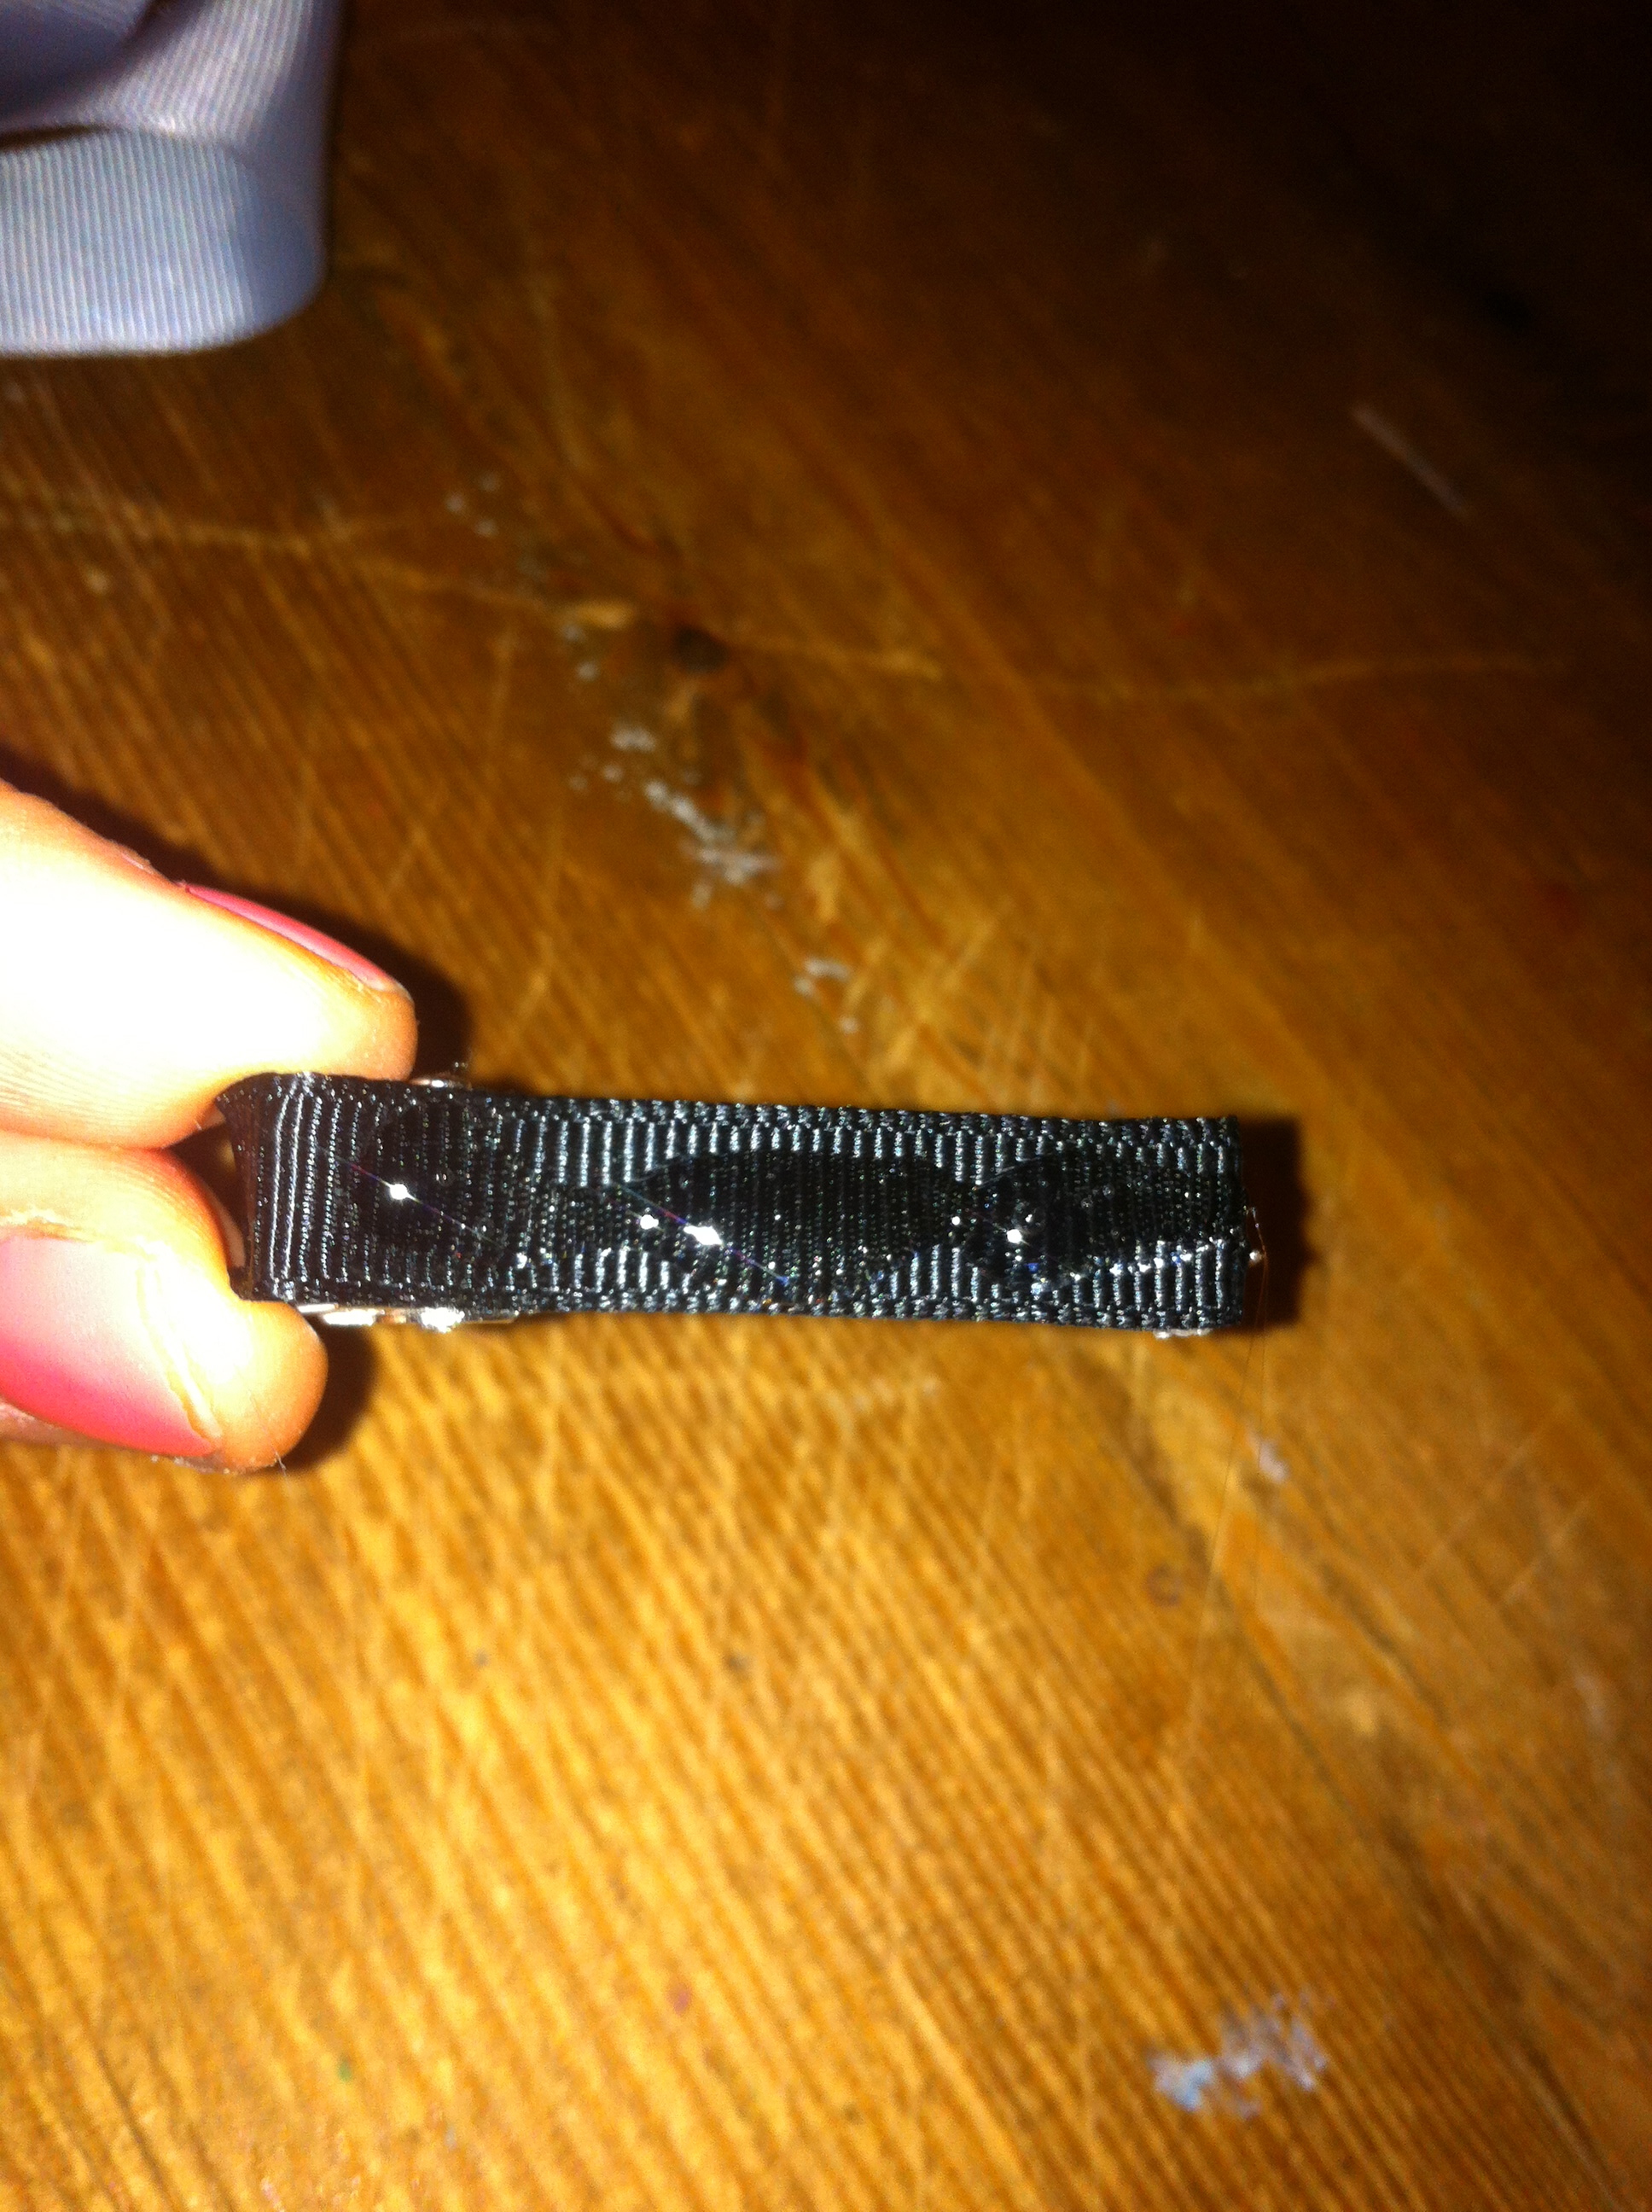
 Step 8: Secure your alligator clip to the back of the bow with hot glue.
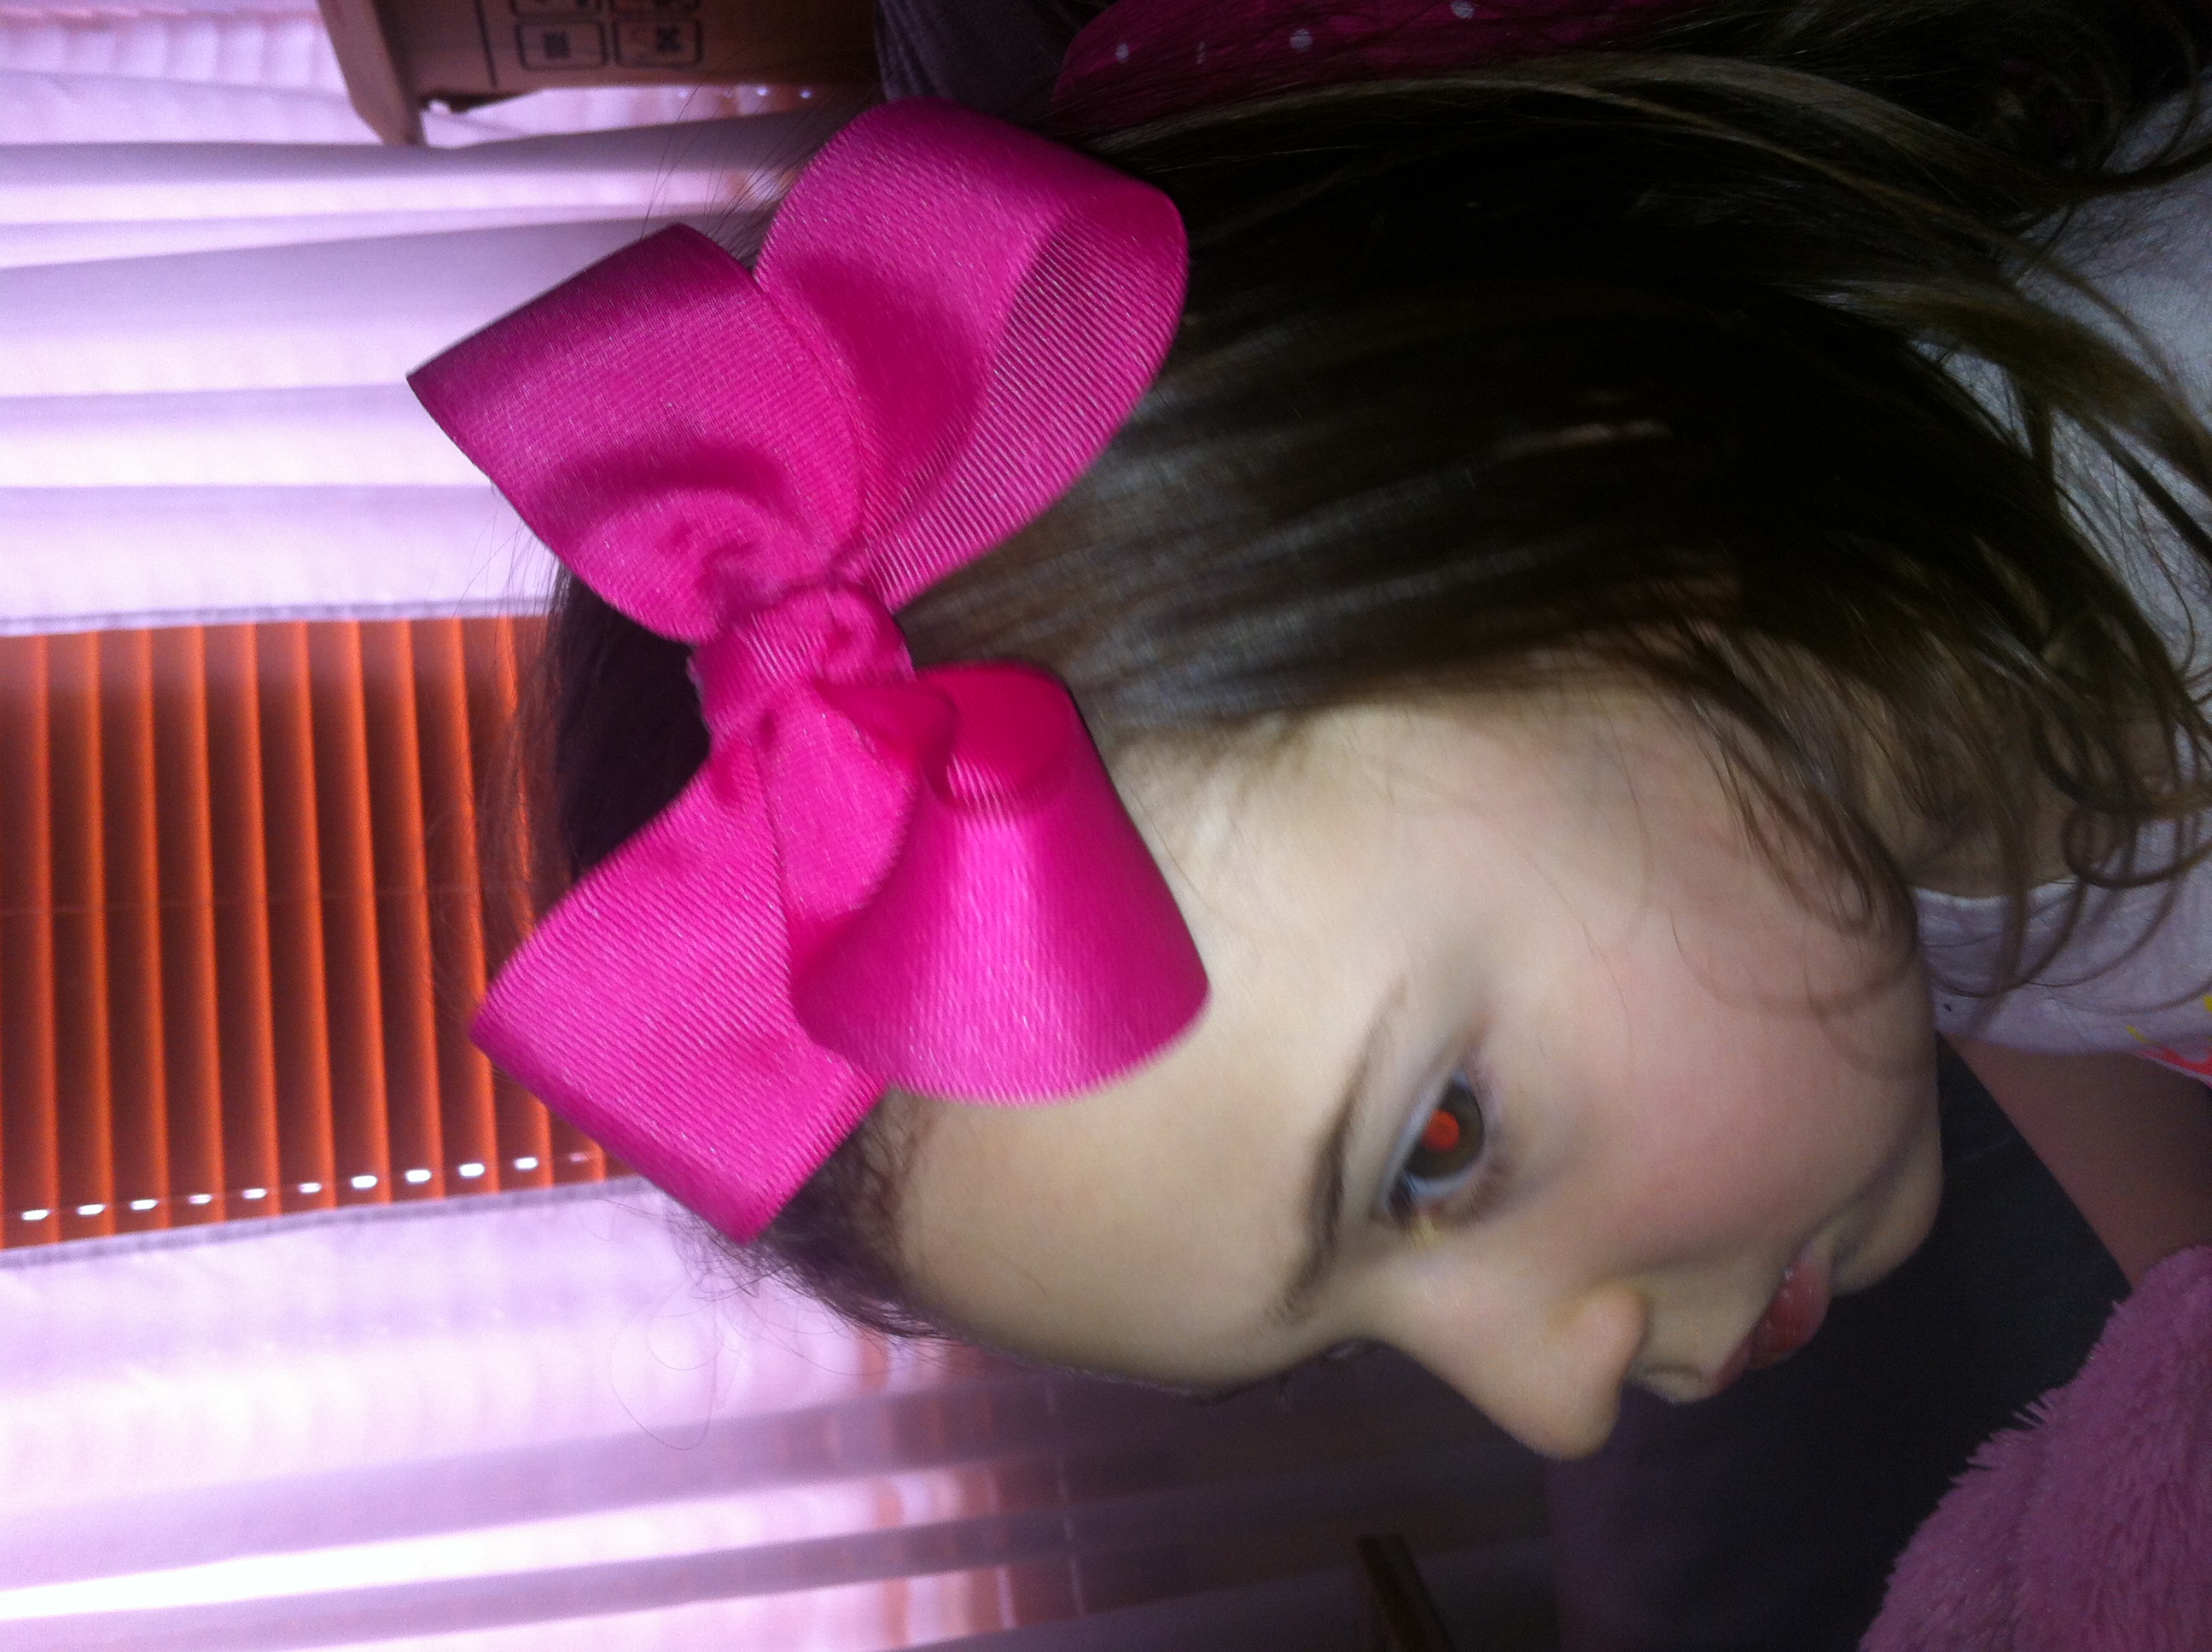
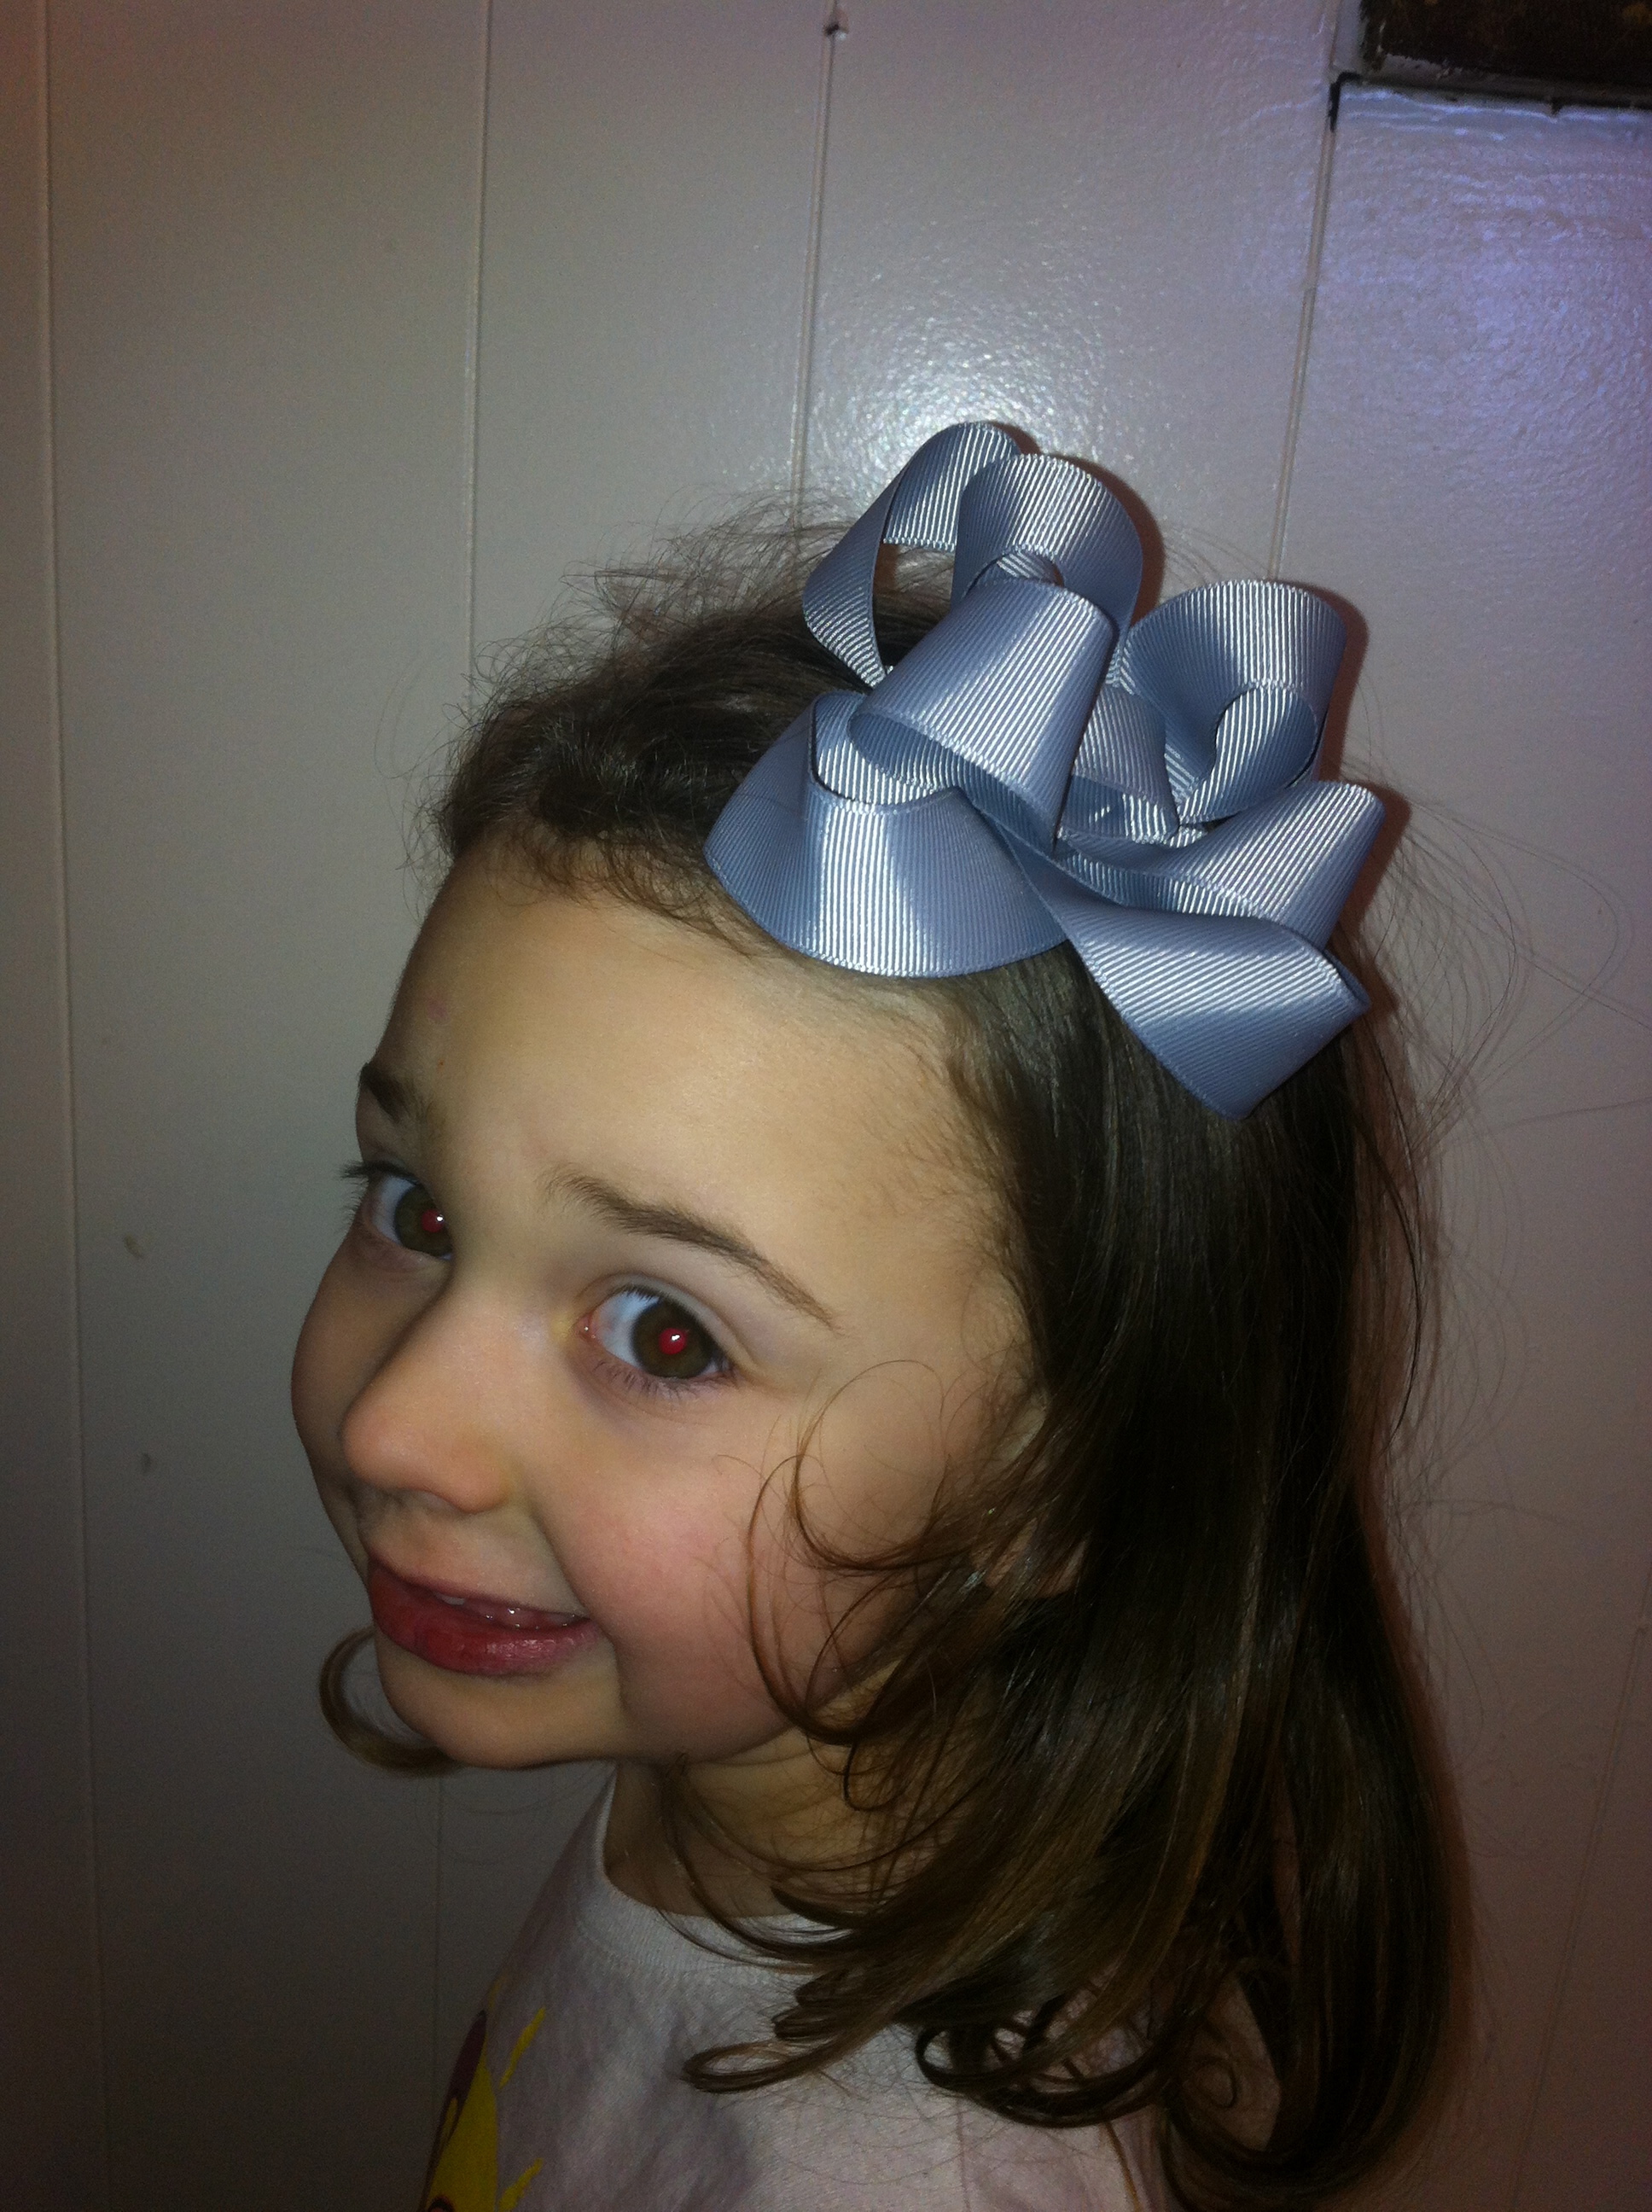
 Step 9: Get a cute little girl to model your bow!
For the double stack bow, you’ll need:
- 24 inches of ribbon
- 18 inches of ribbon
- lighter
- hot glue gun
- scissors
- alligator clip (or your barrette of choice)
Step 1: Follow steps 1-5 from above on your 24 inch ribbon.
 Step 2: Do the same 5 steps for your 18 inch ribbon. You’ll now have two, identical bows in different sizes.
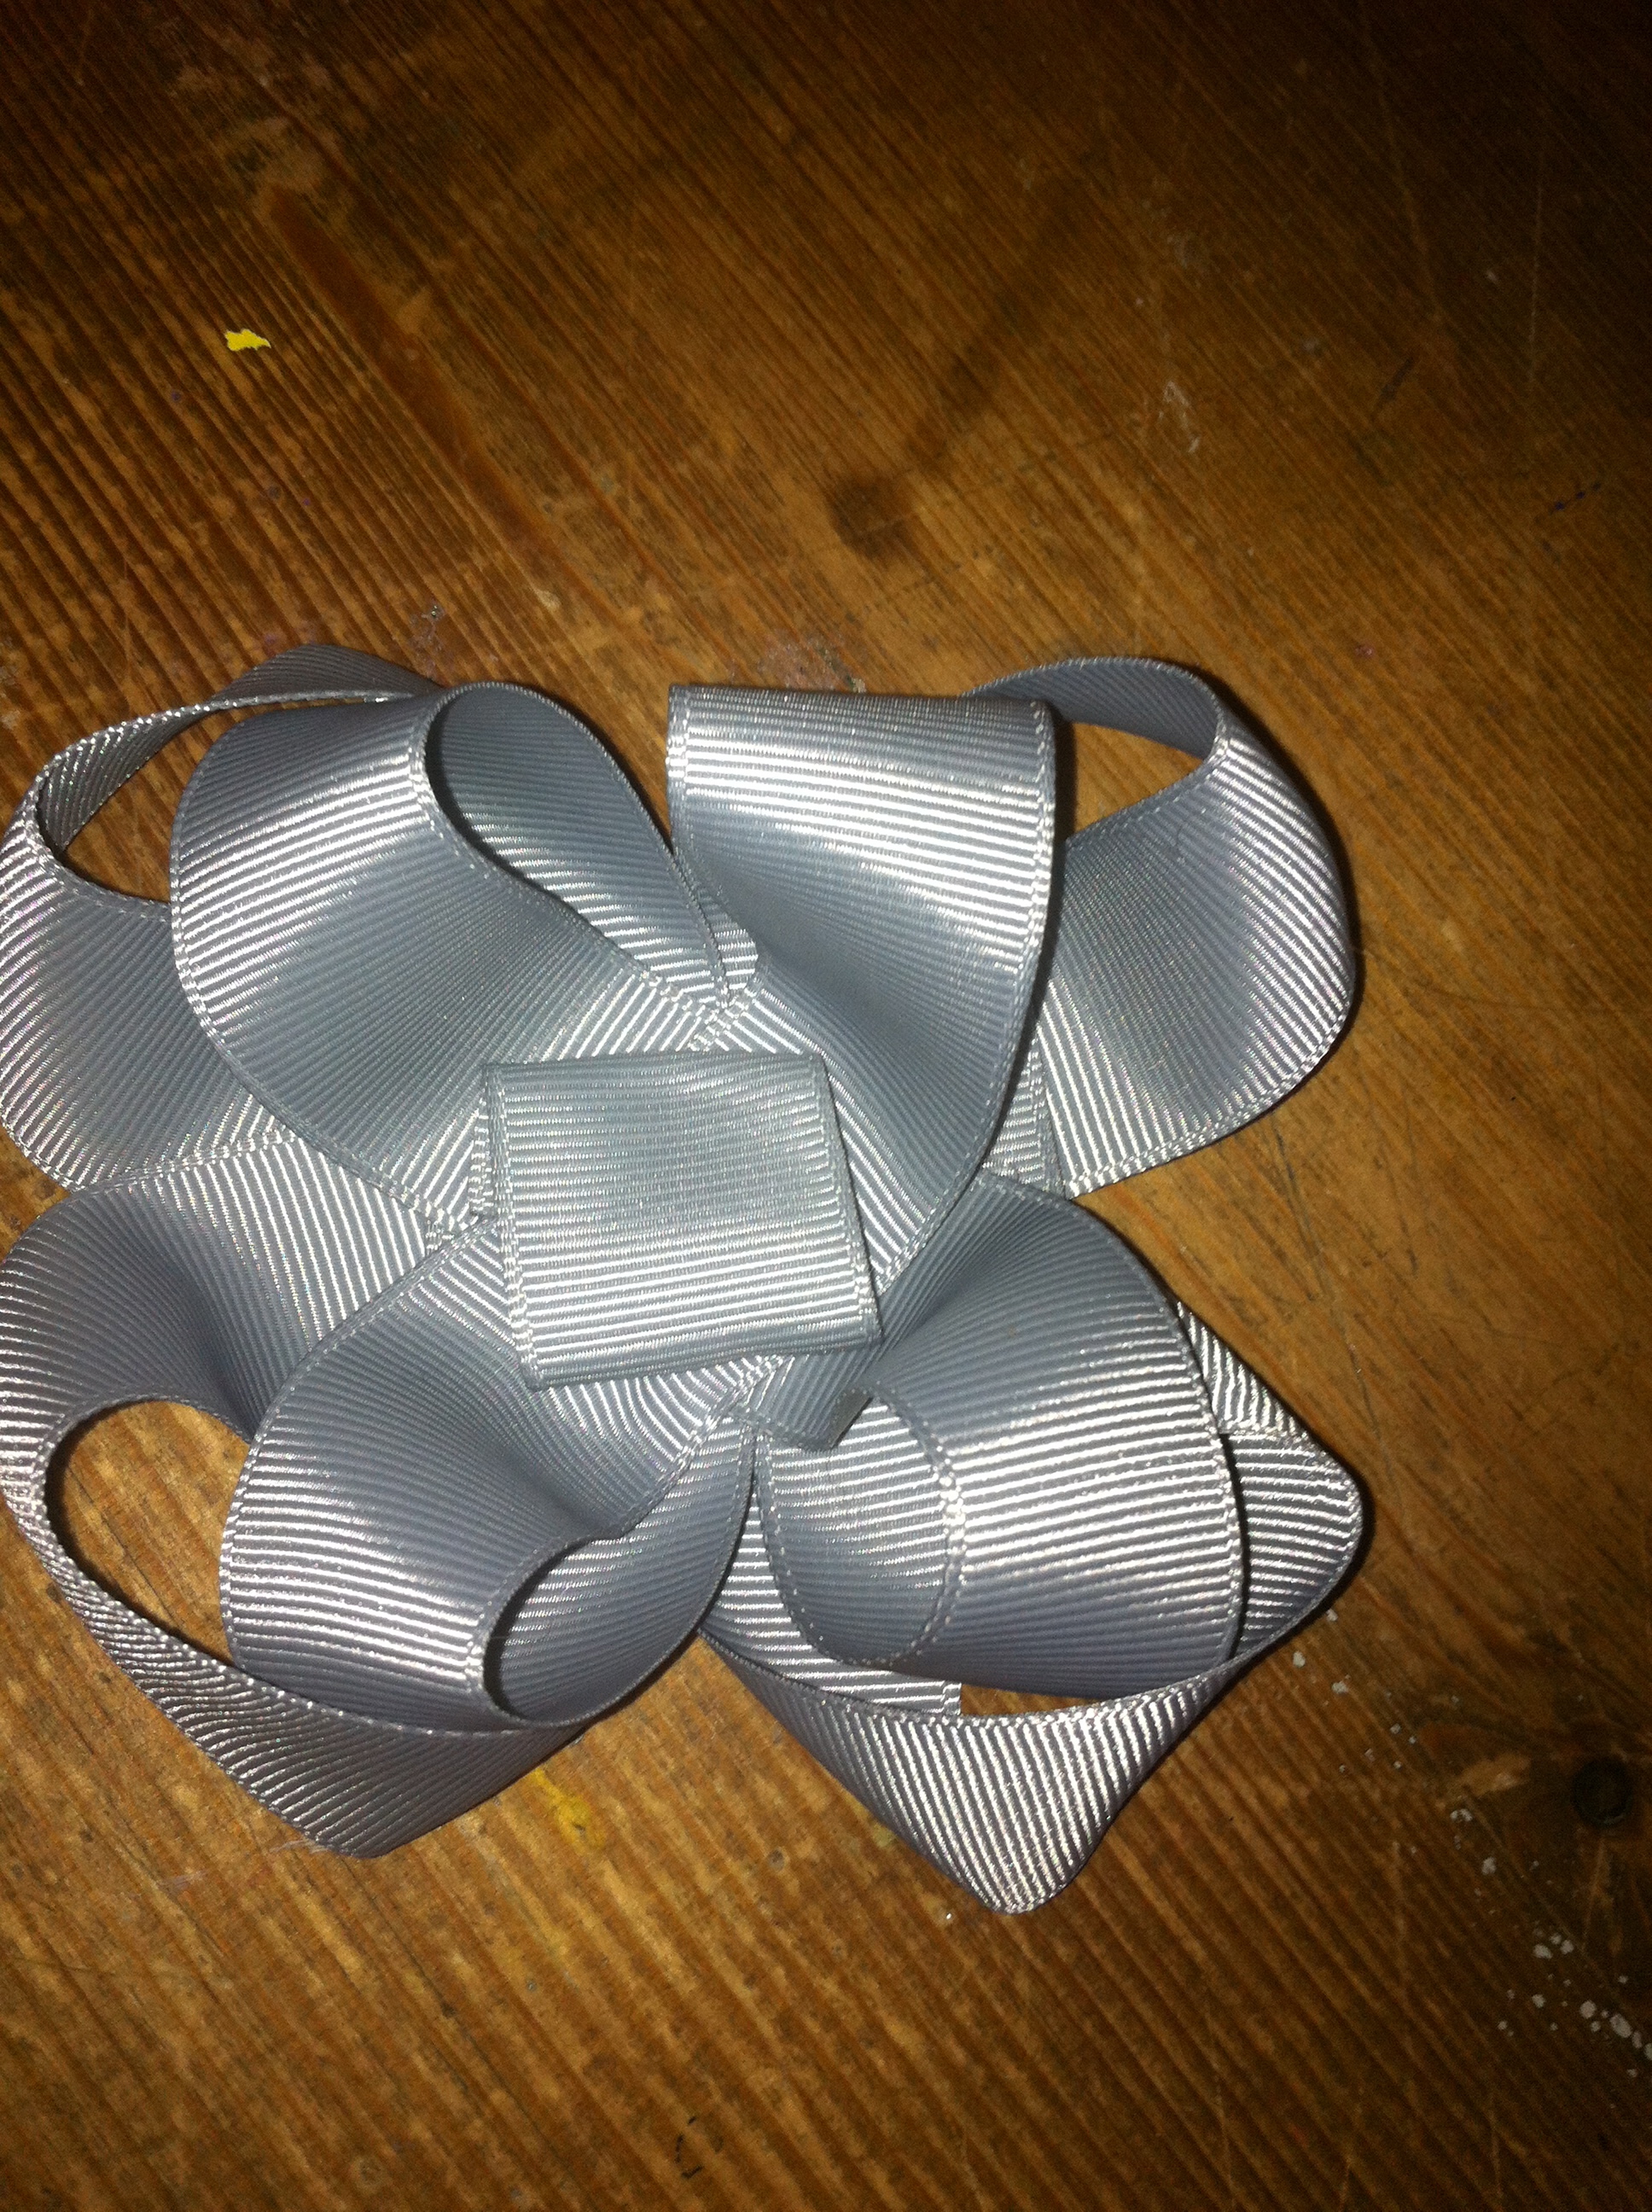
 Step 3: Stack your smaller bow on top of the larger one and secure with hot glue.

Step 4: Secure your alligator clip to the back of the bow using hot glue.
Step 5: Get a cute girl to model your bow!
See? Super cute and super simple! If you’re wanting to make a bow collection, it’s a good idea to get a few friends together. Have each person buy different colors of ribbon than everyone else and then share your designs and colors, as one spool will make quite a few bows. Shoot me a picture of what you make!