How cute are these felt flowers?
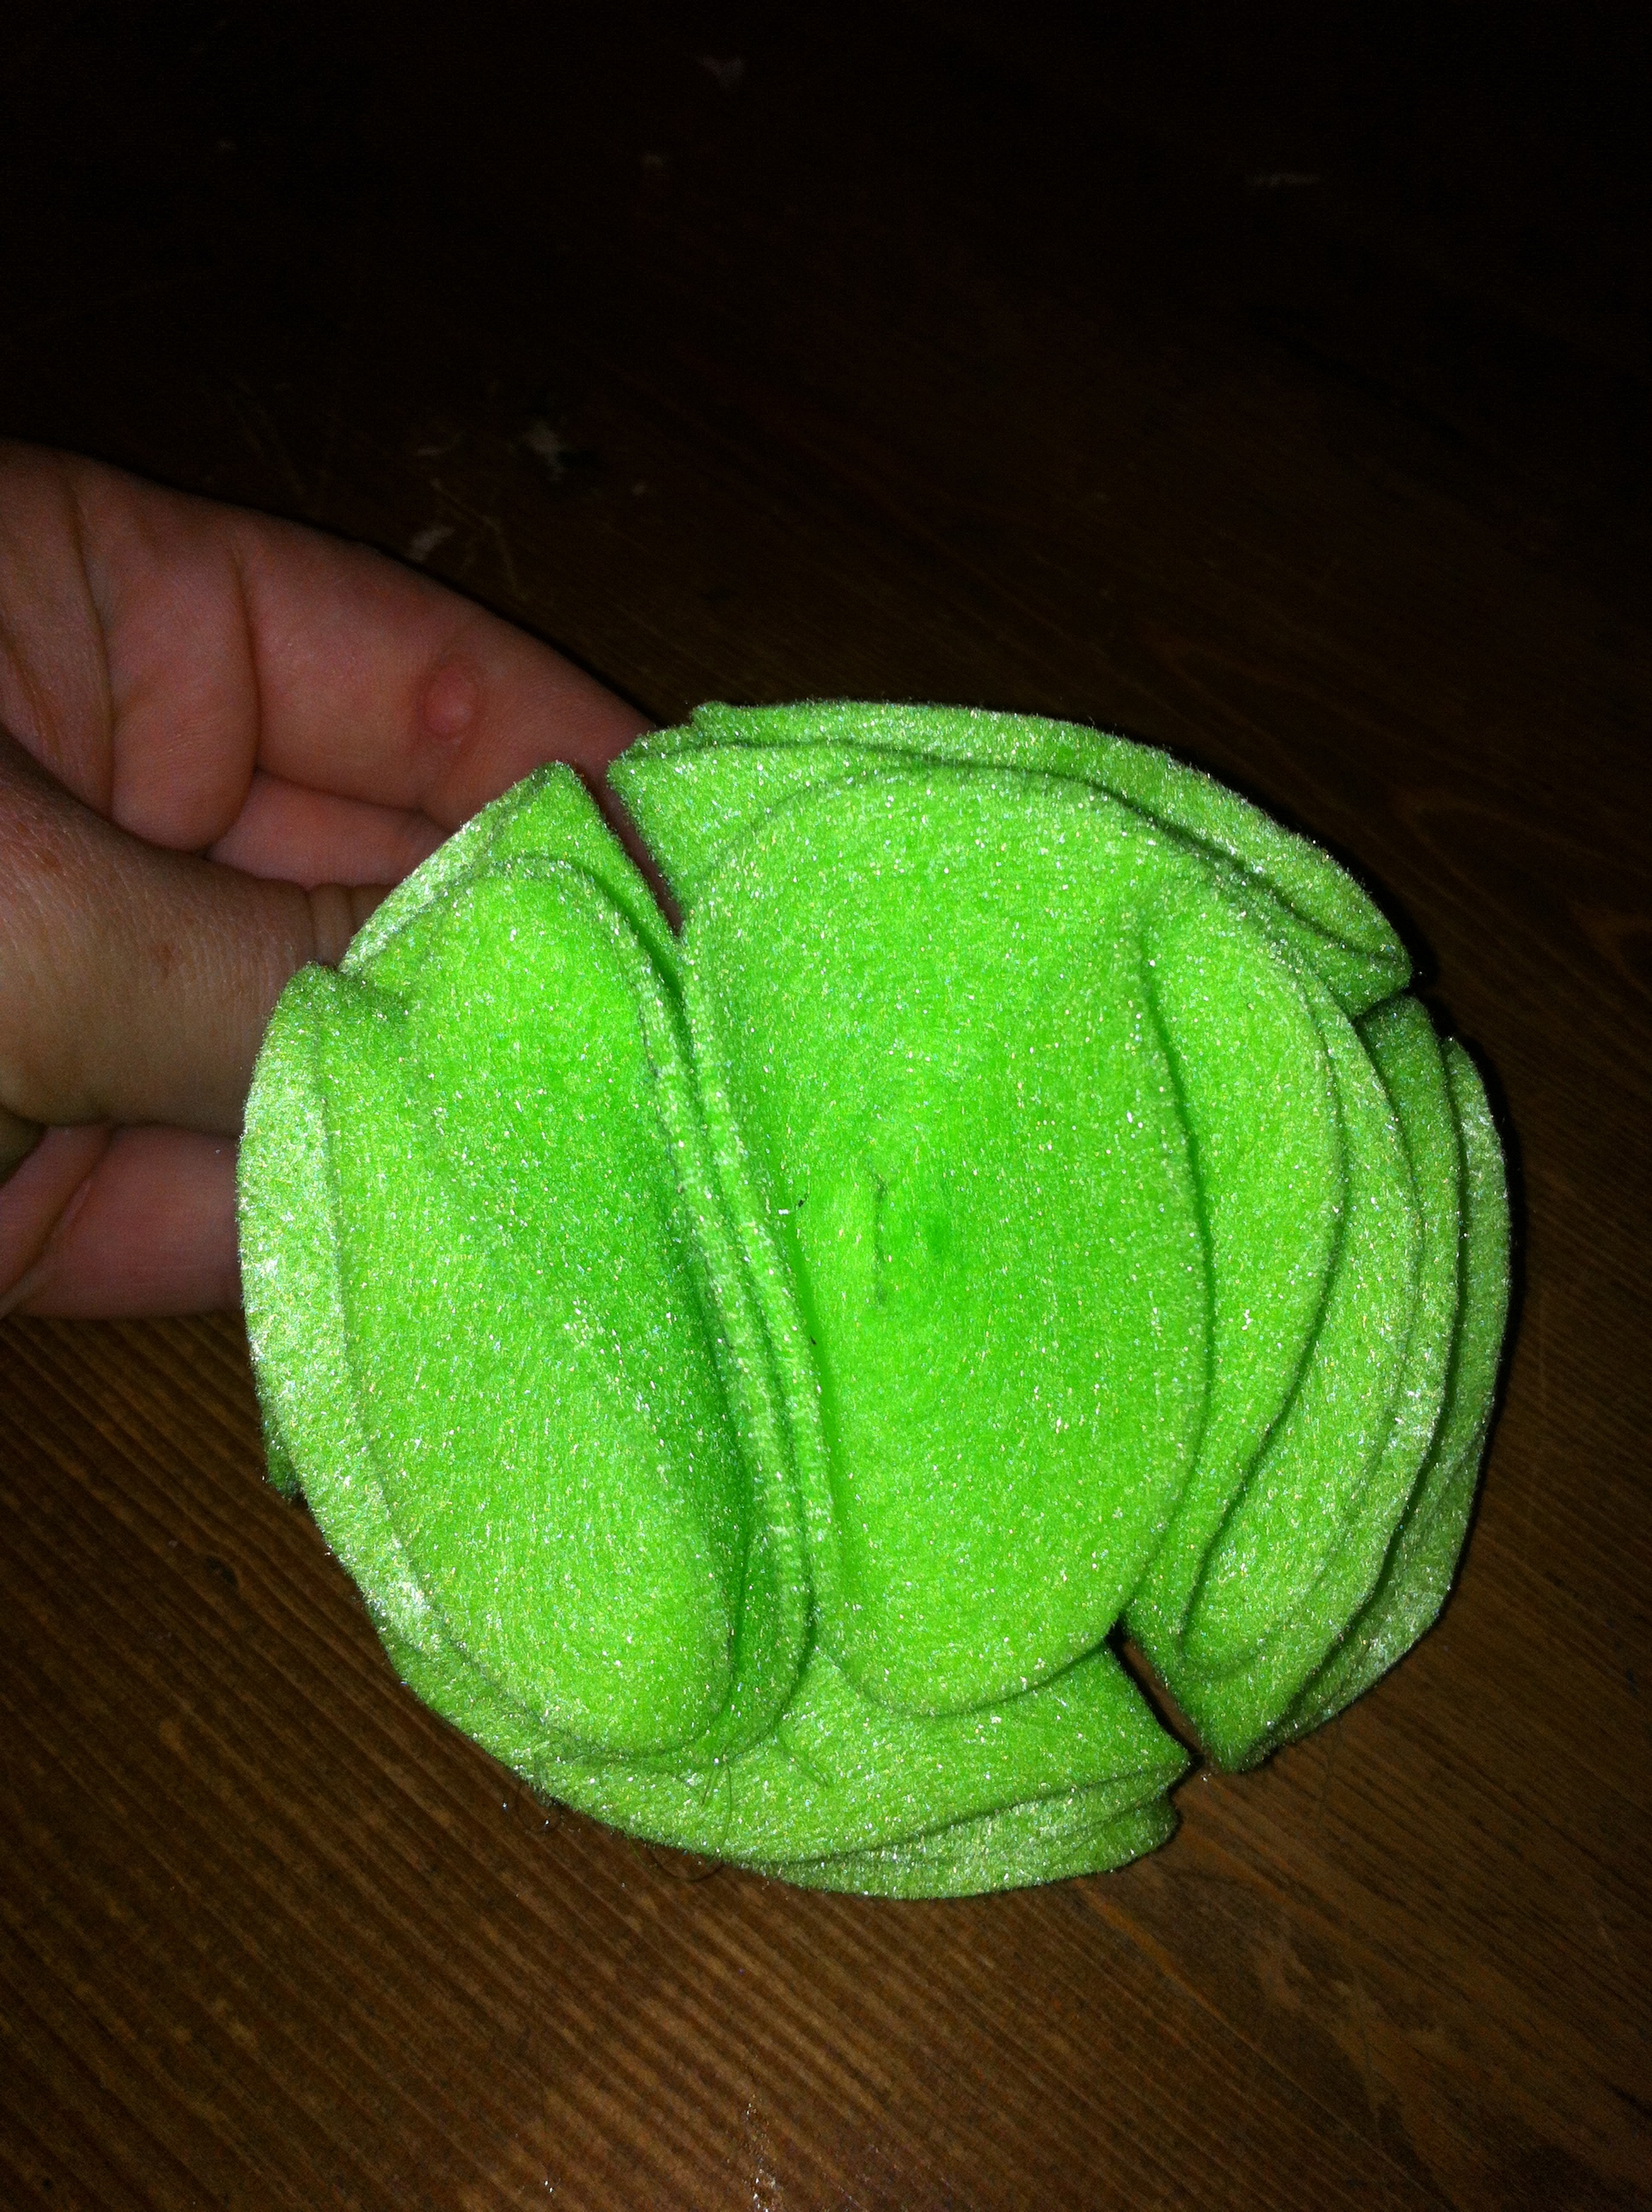
They are SUPER simple (and cheap!) to make and you can do countless things with them. All you need to create this flower is:
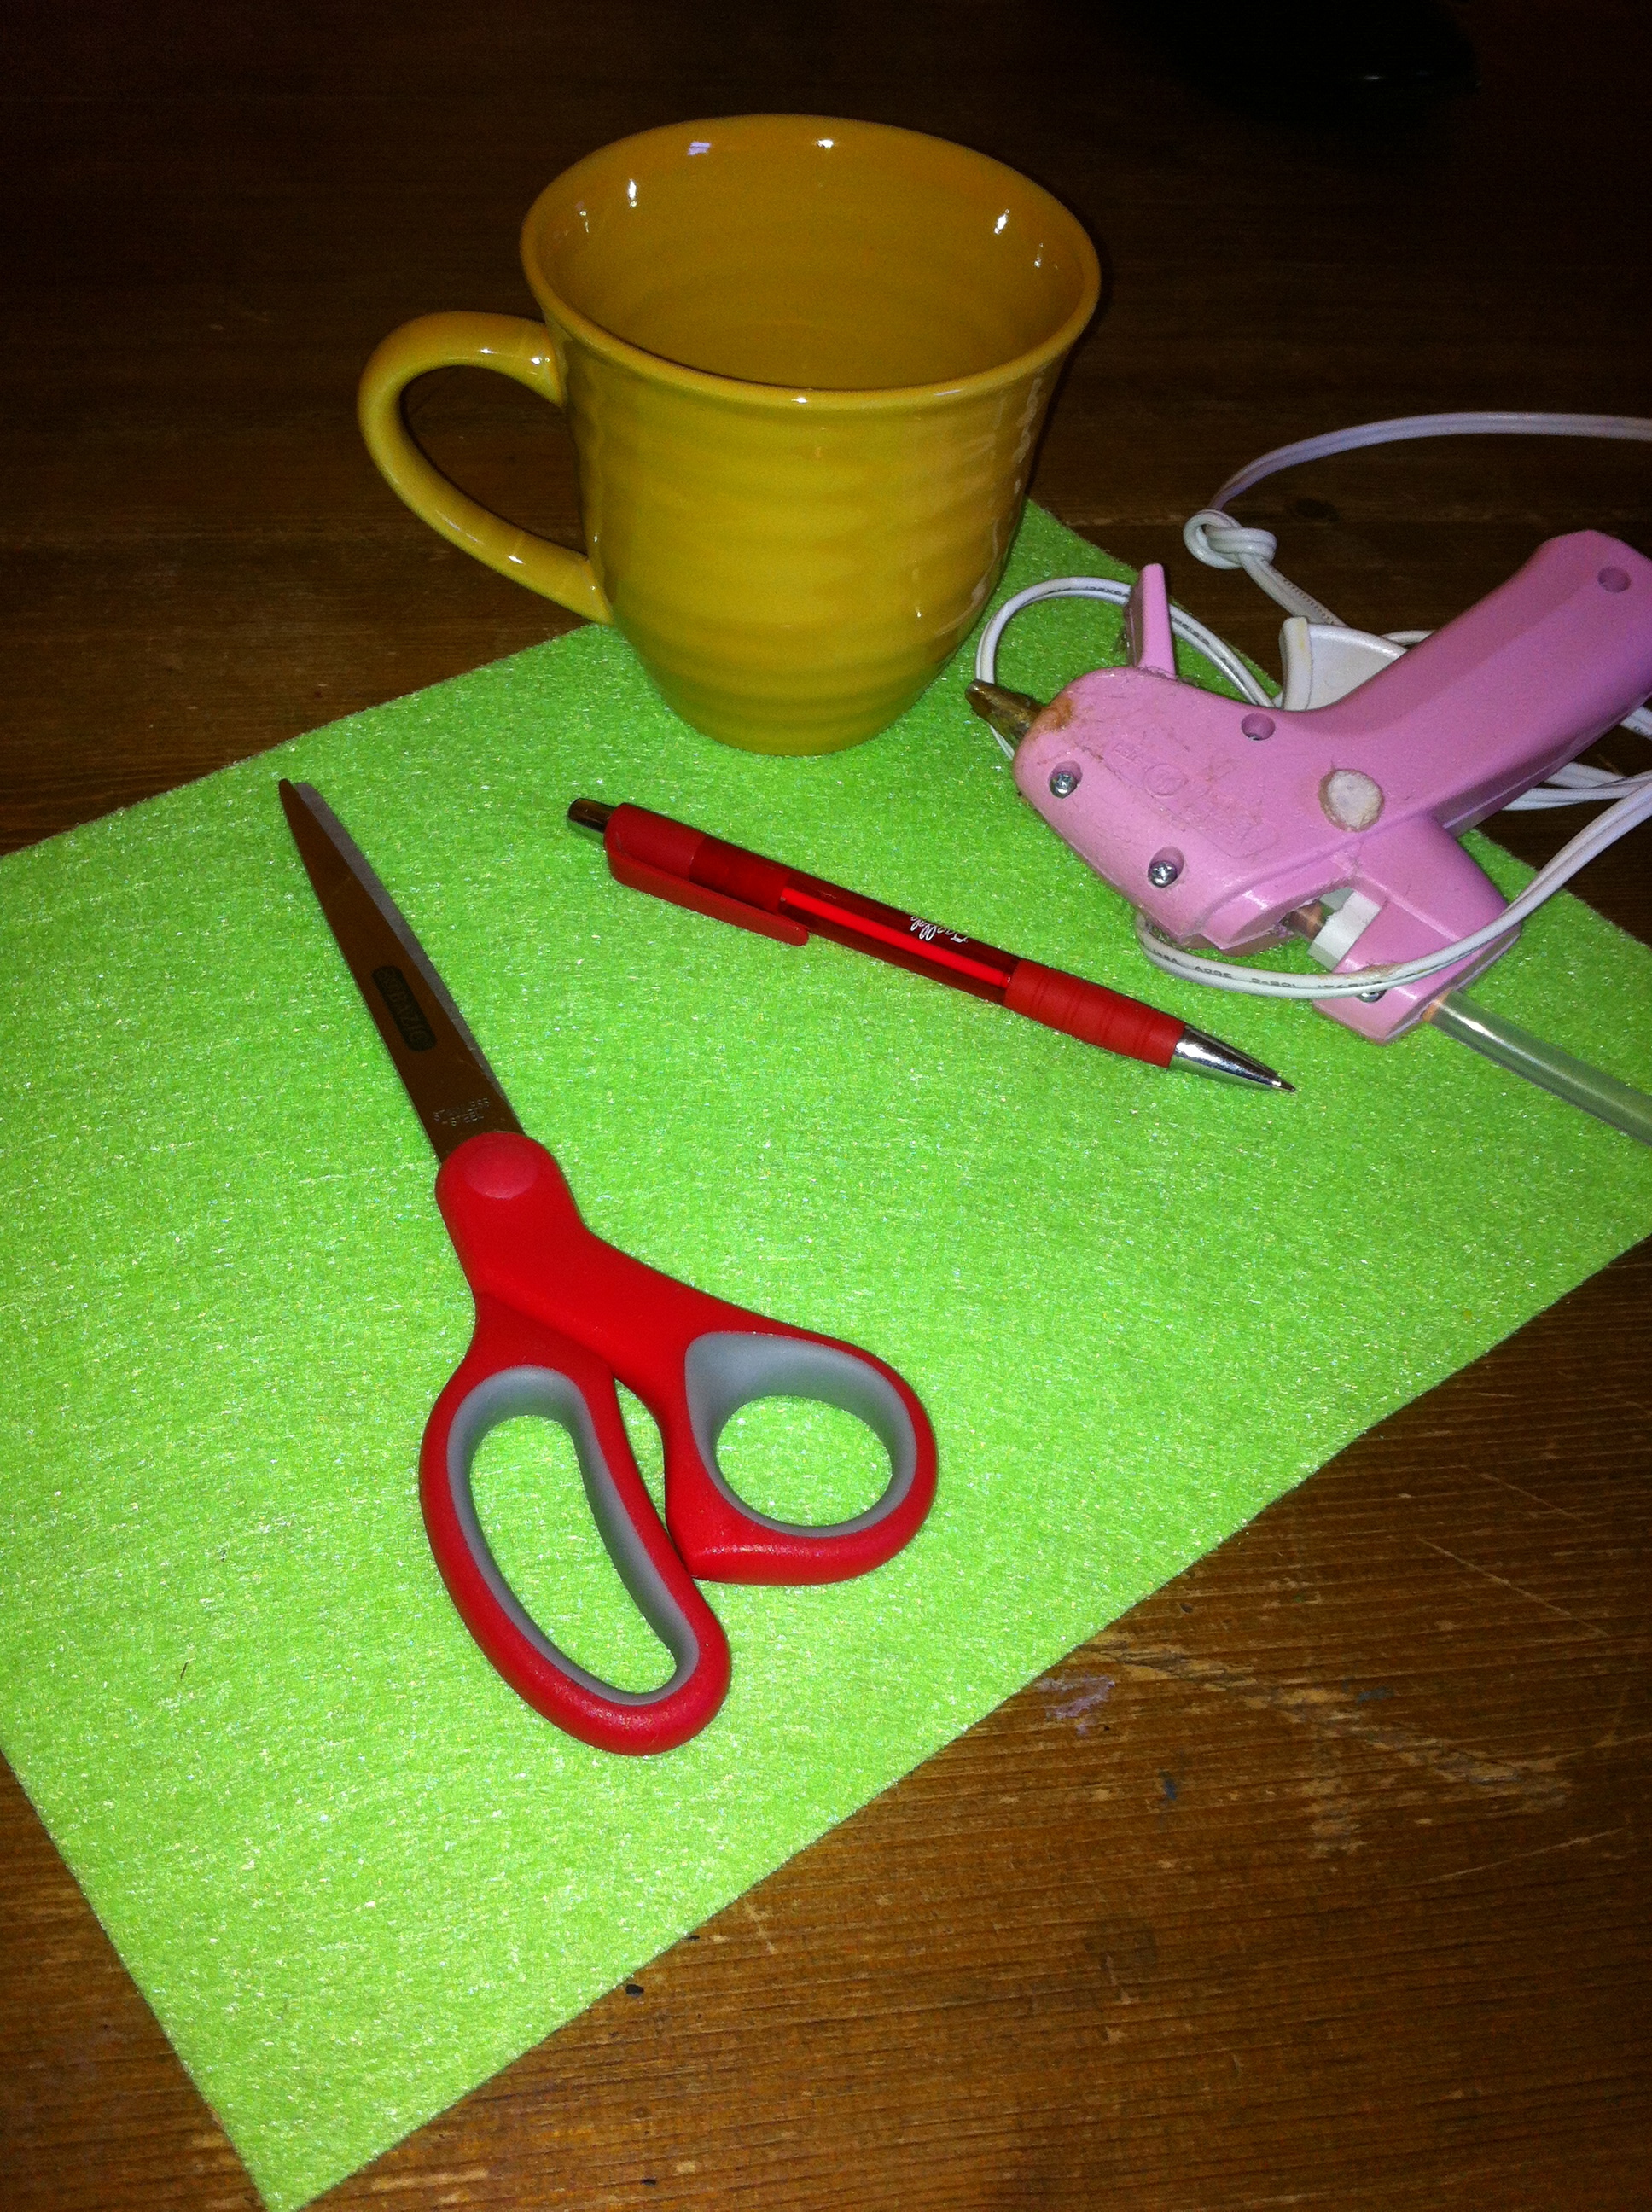
- 1 sheet of felt (your color choice)
- Scissors
- Pen
- A round object for tracing
- Hot glue gun
Step 1: Trace out 6 circles onto the felt.
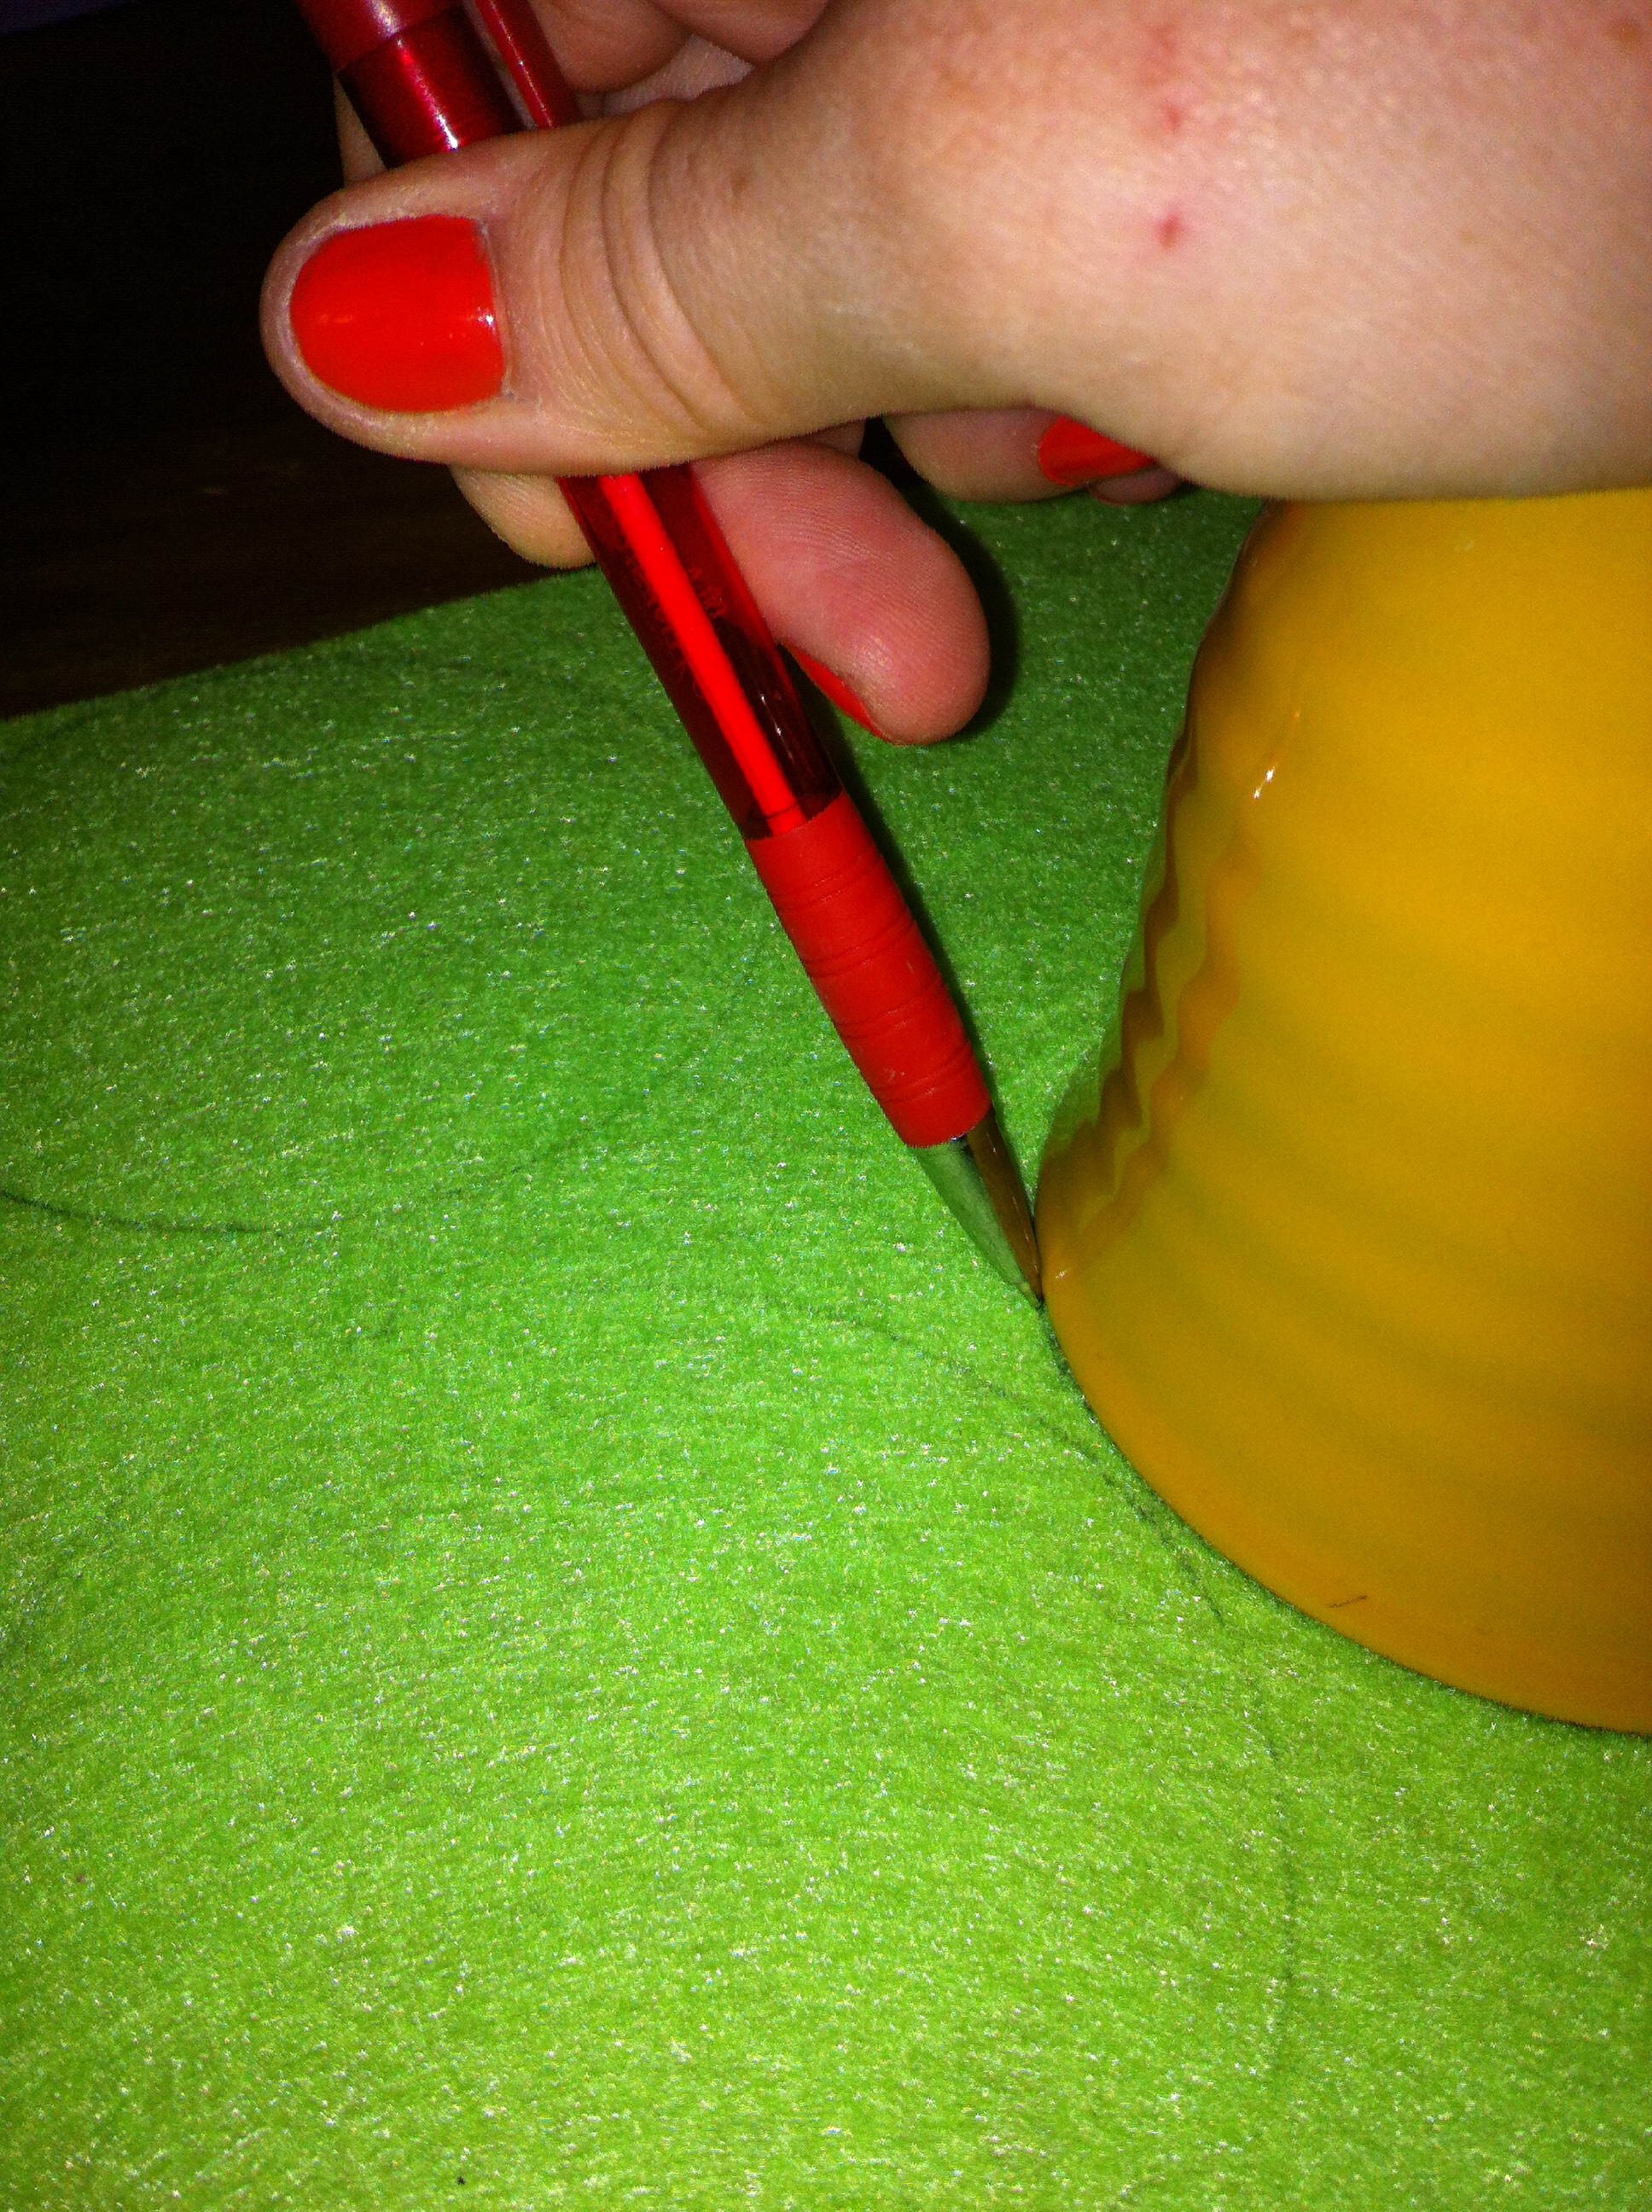 I used the big end of a coffee cup to make these and ended up with about a 4″ flower. Then, flip the cup over and cut a smaller circle; you’ll adhere your flowers petals to this smaller circle.
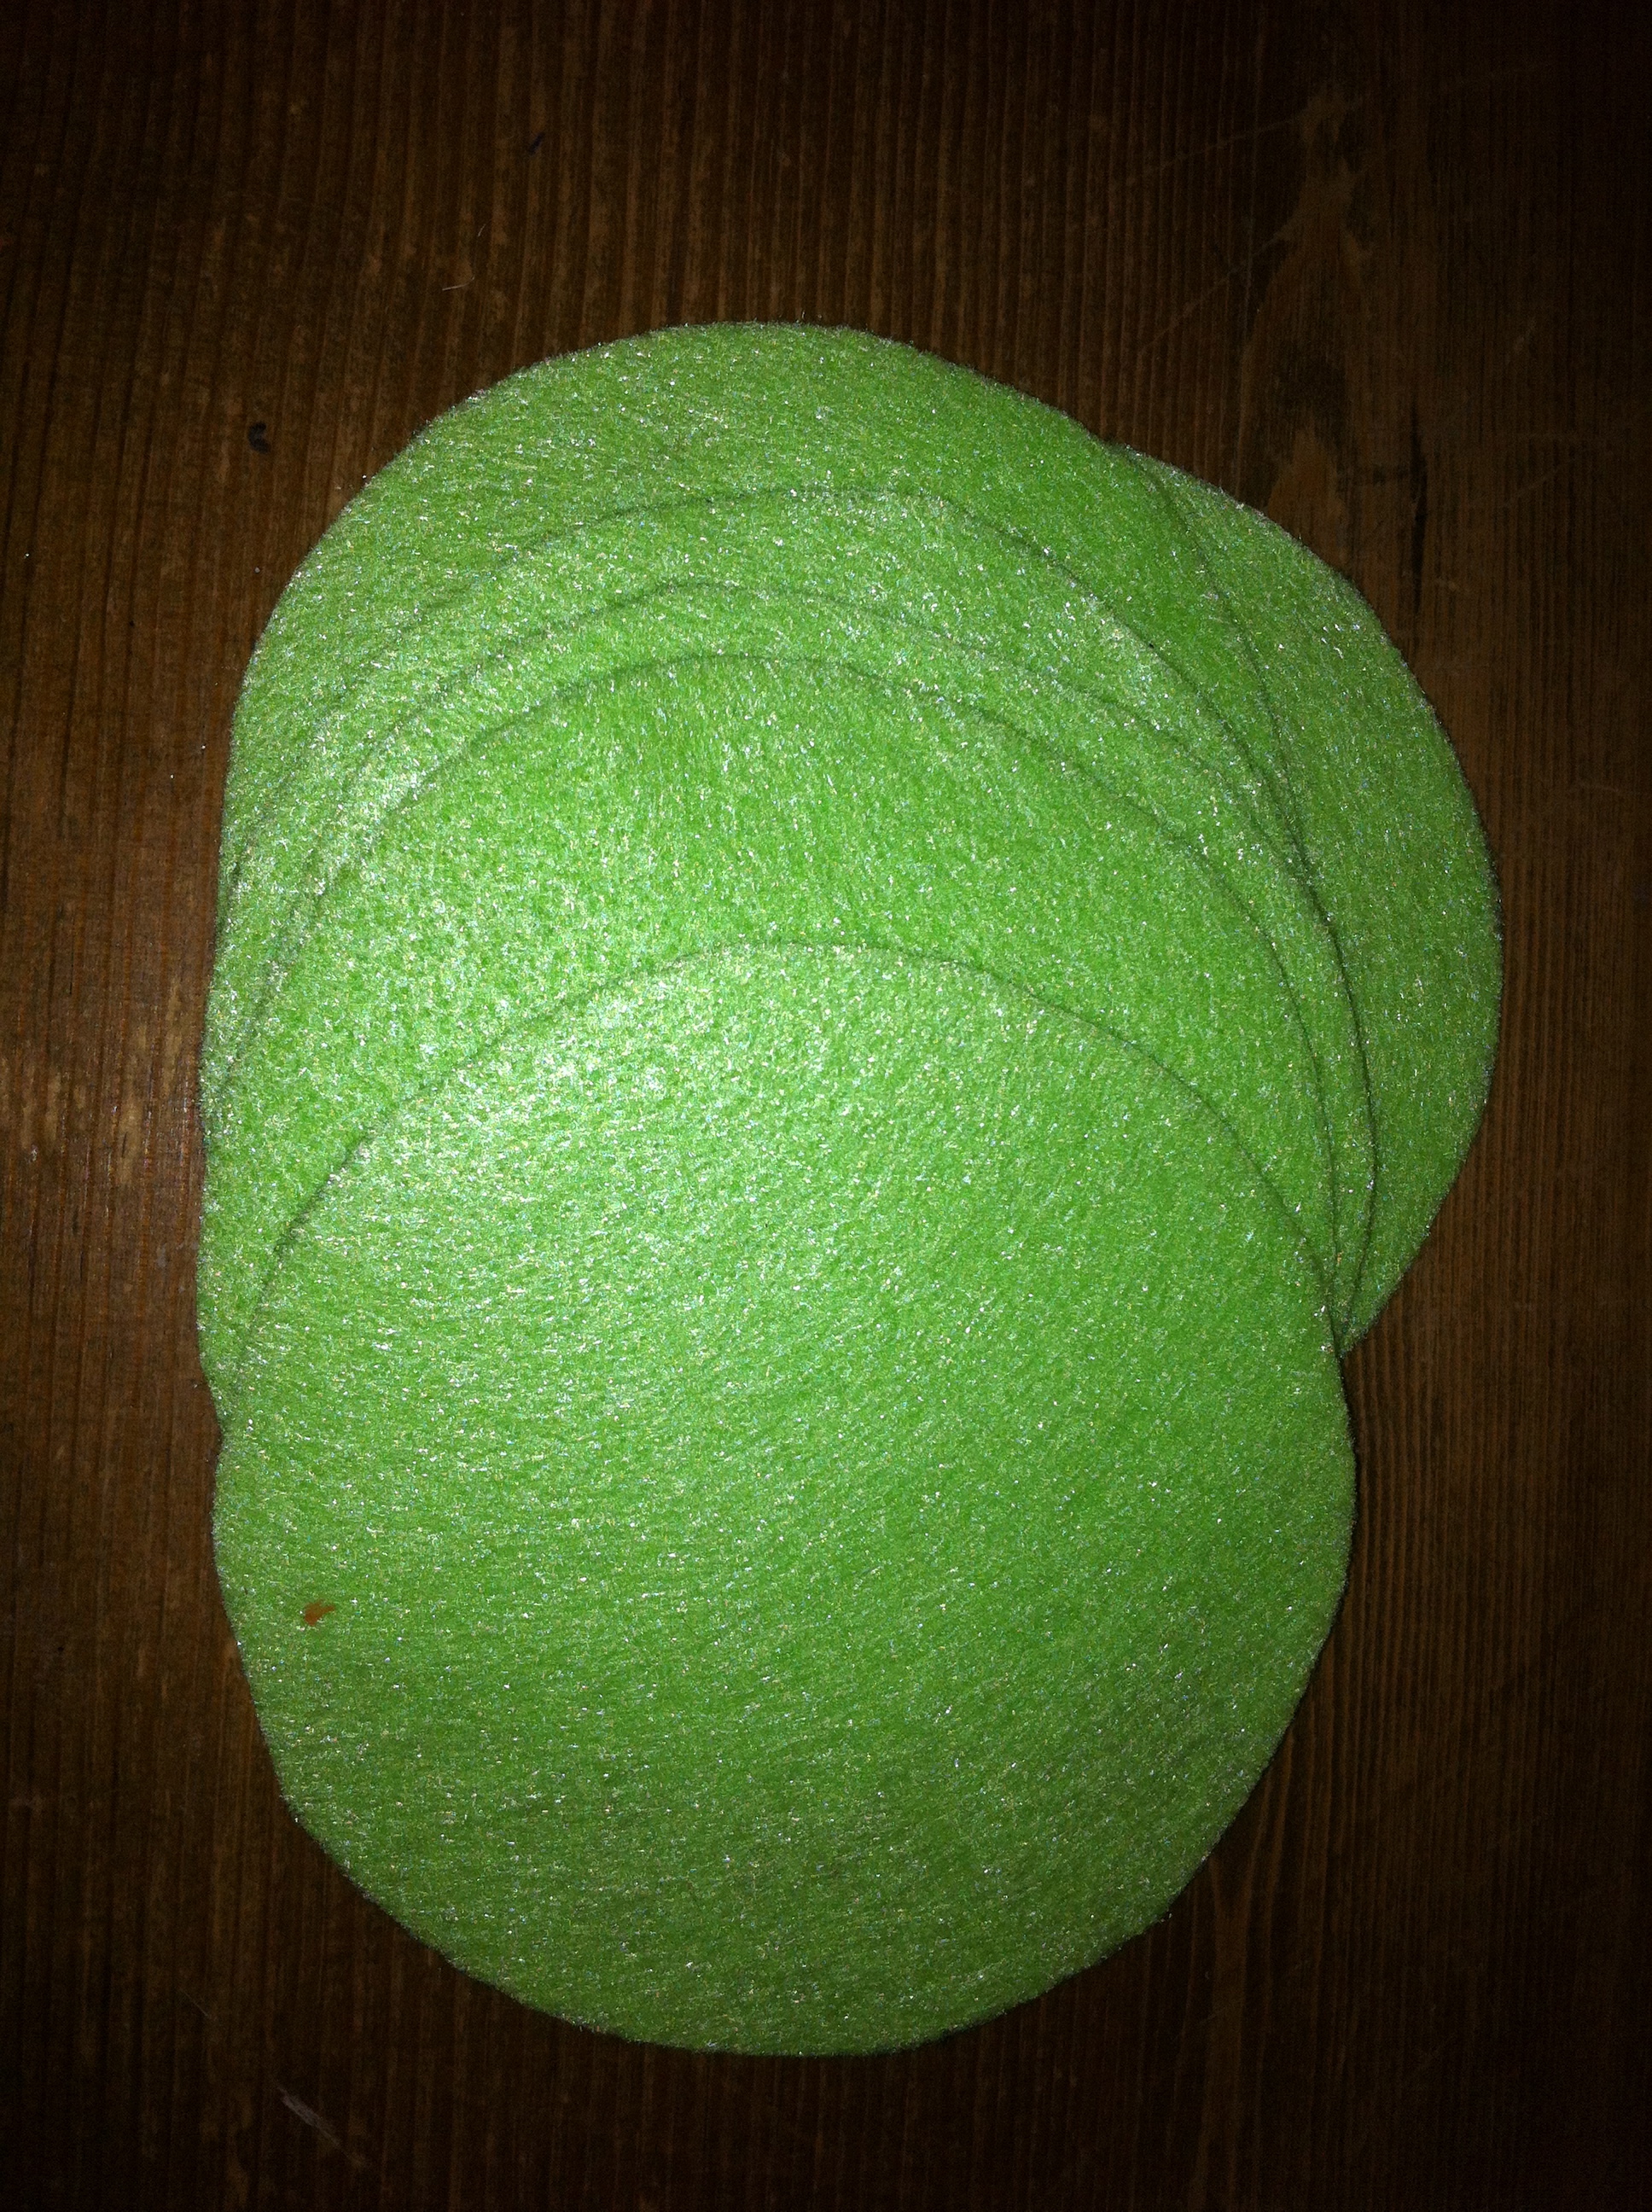
Step 2: Cut out all of your circles.
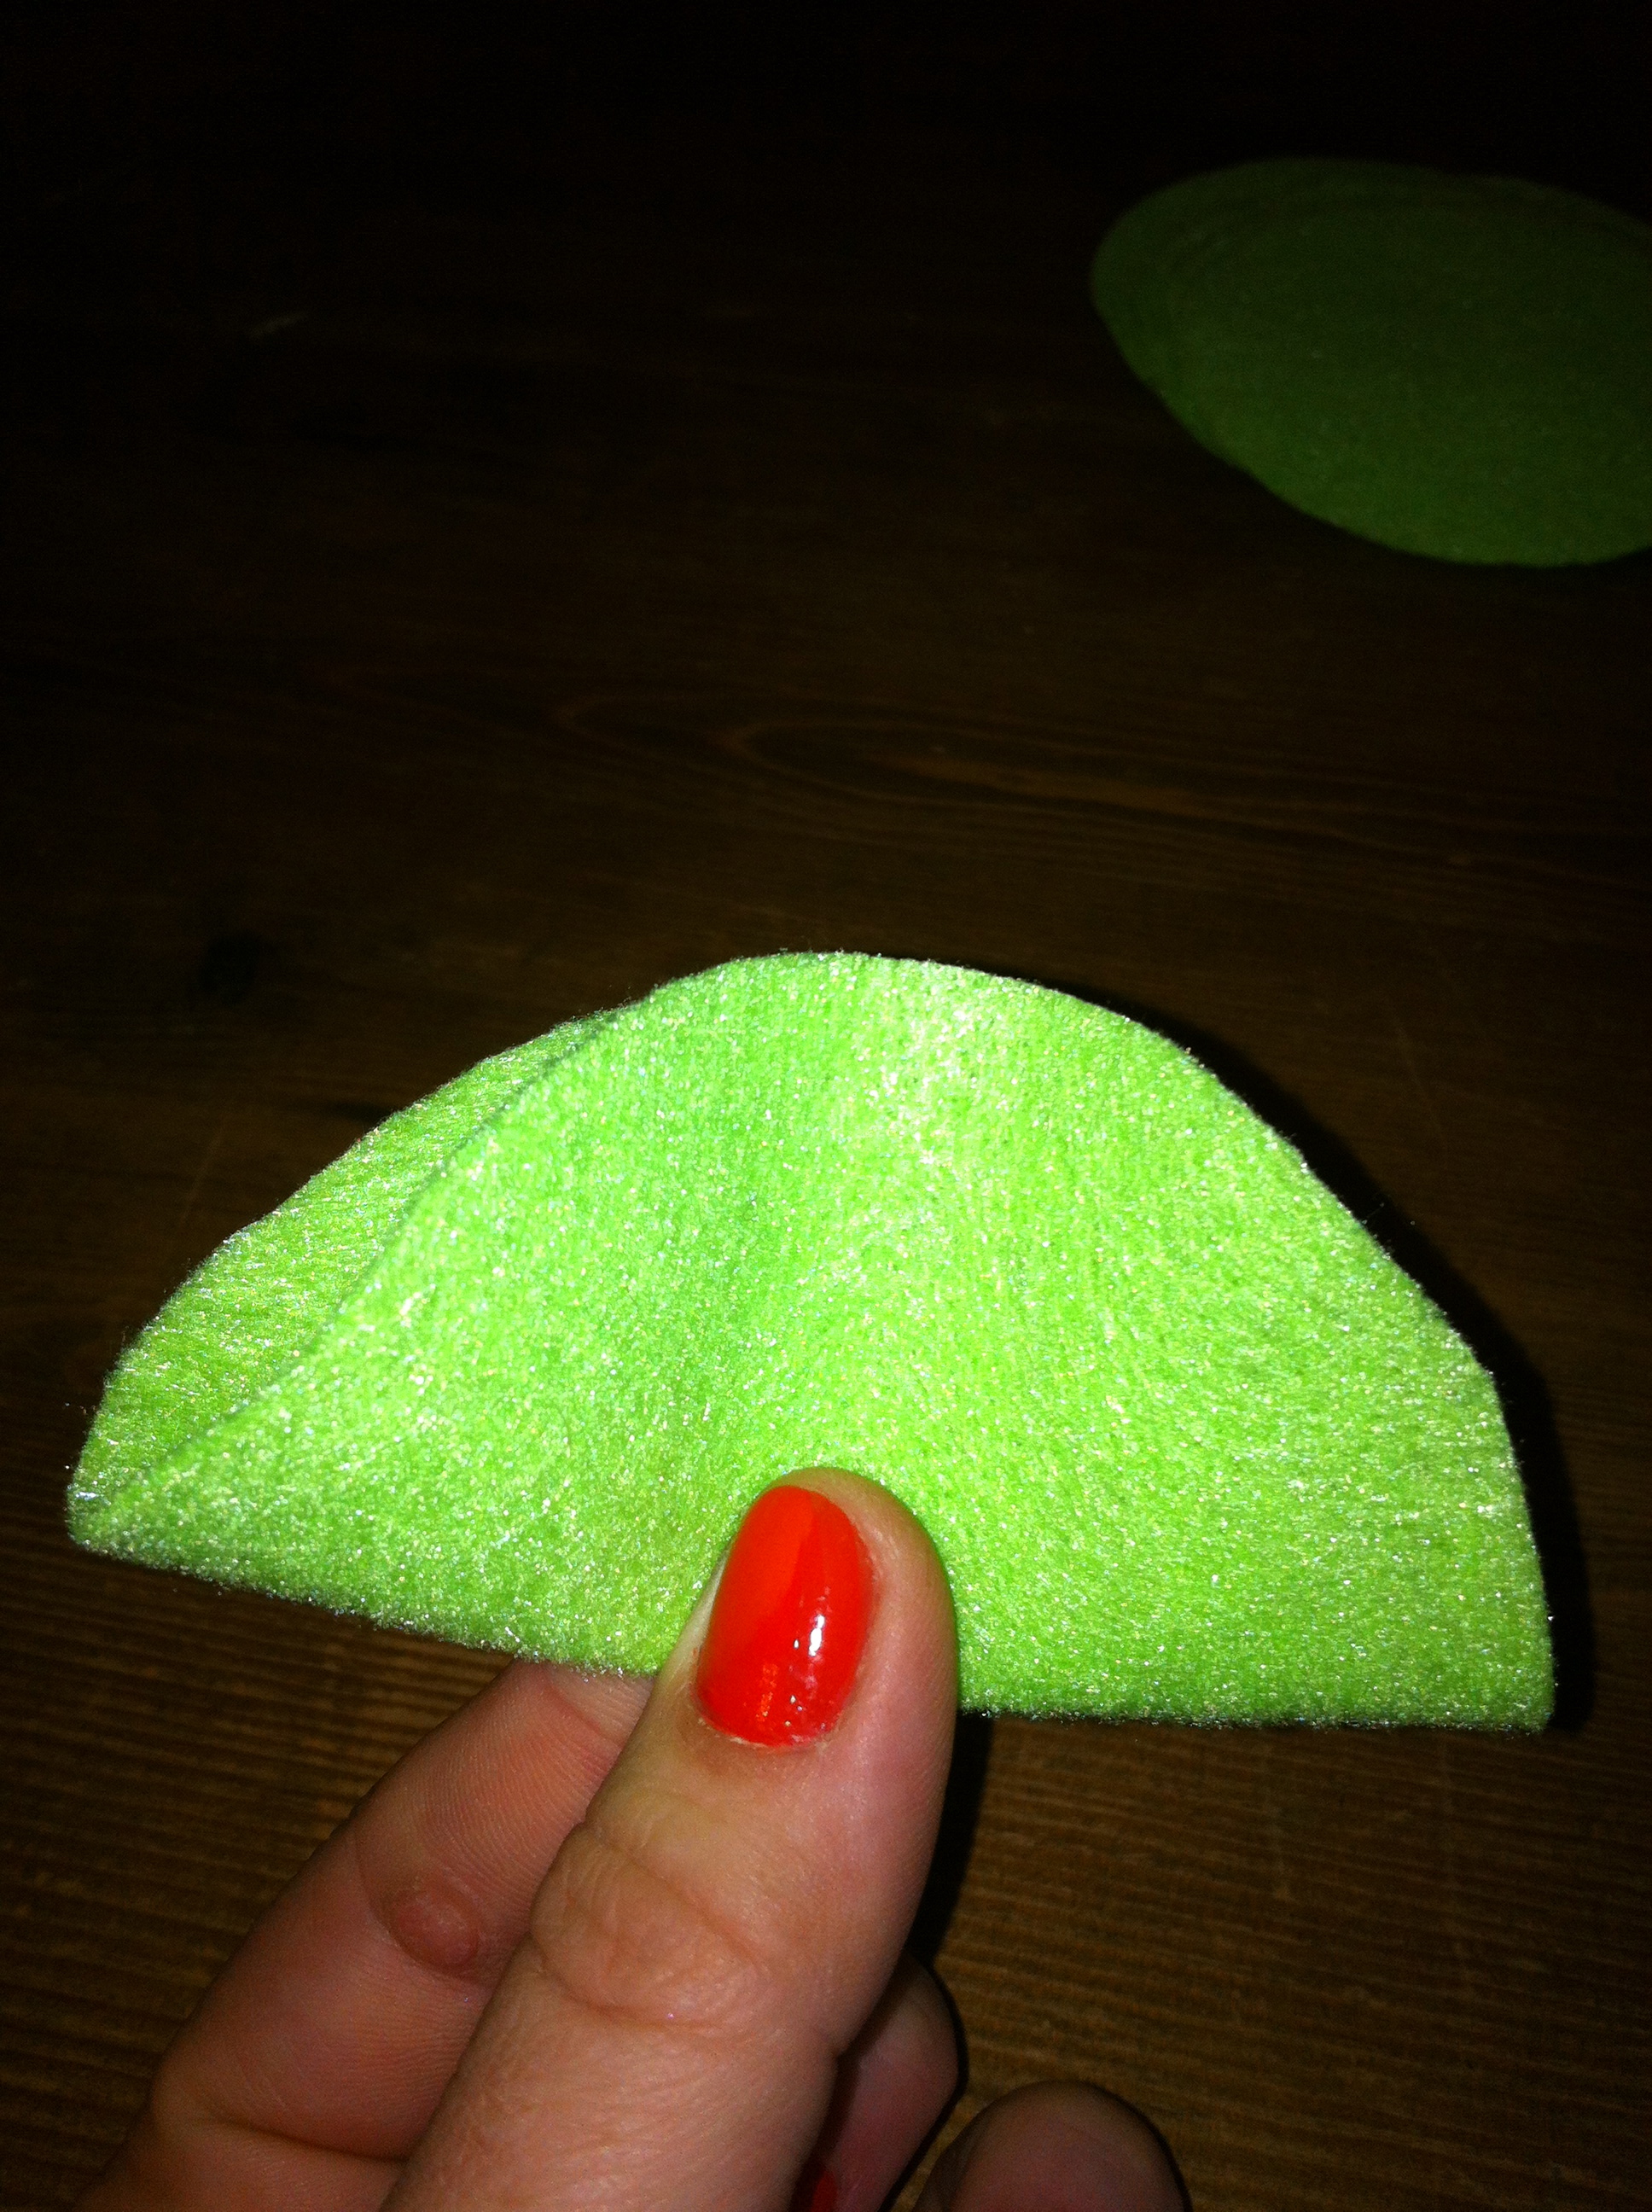
 Step 3: Fold your circles in half, like a taco. (Yummmm….tacos….)
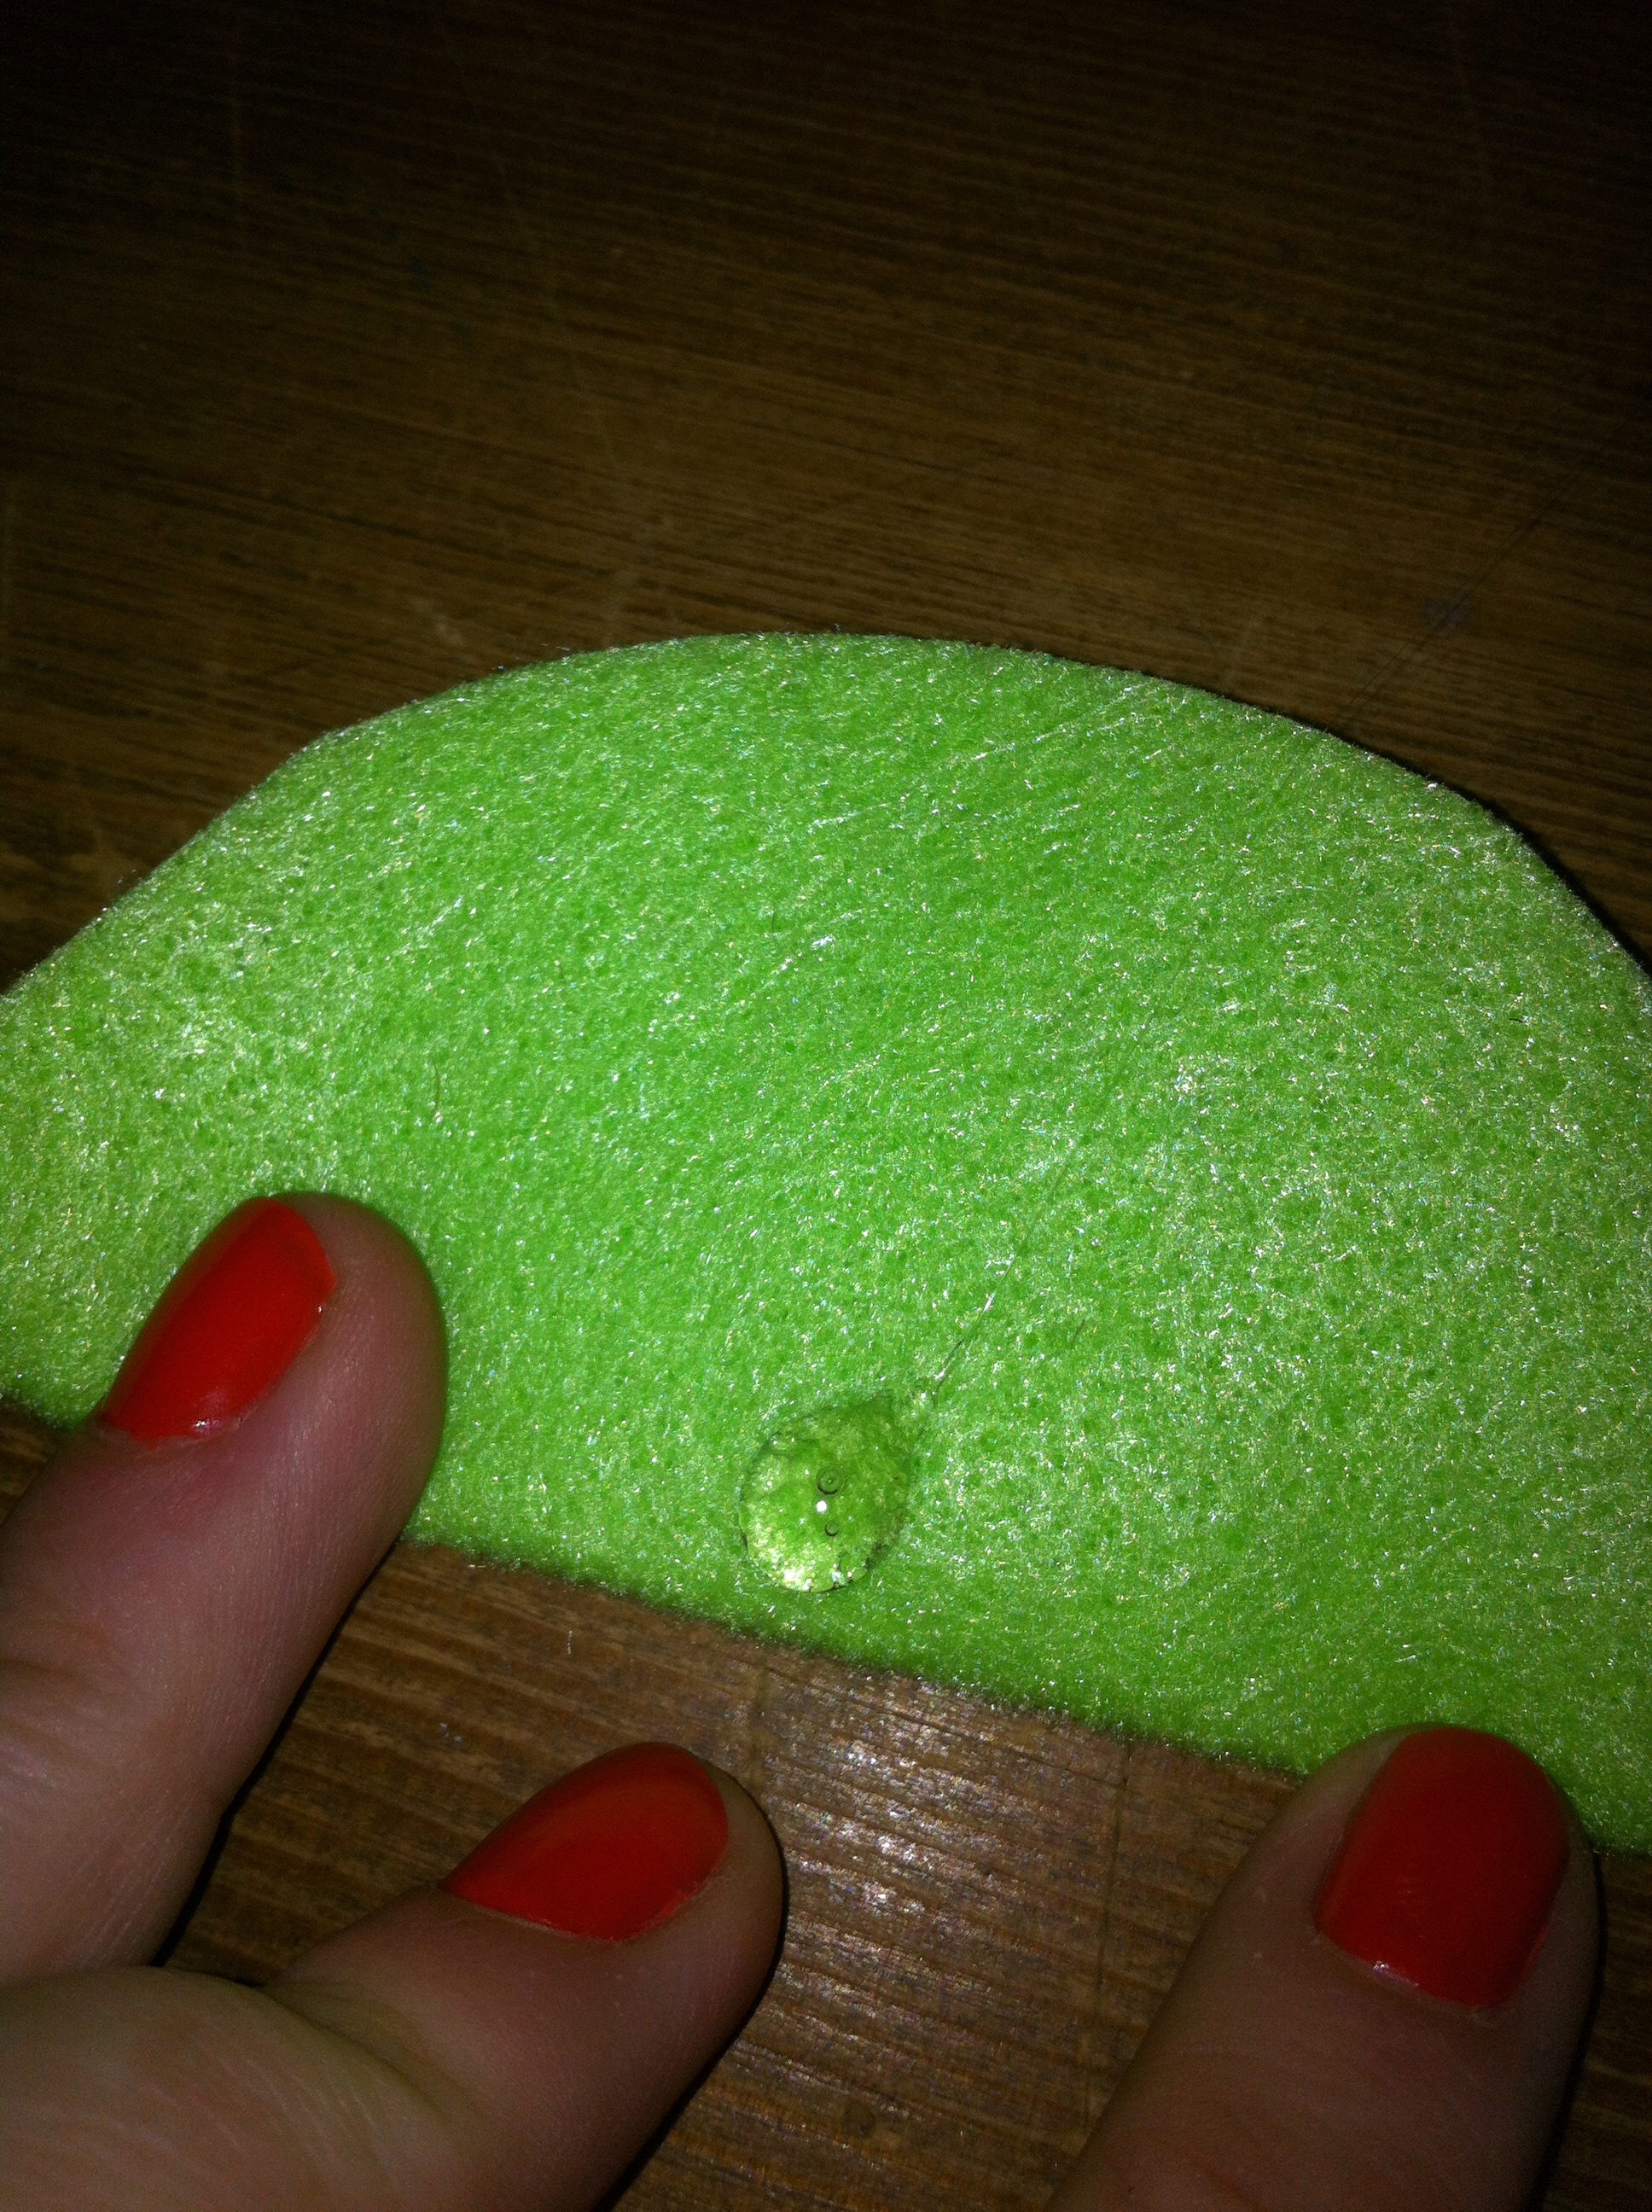
 Step 4: Place a decent sized dot of hot glue in the bottom middle of your taco.
 Step 5: Fold your felt taco in half again and pinch it at the bottom. Allow the glue to dry completely.
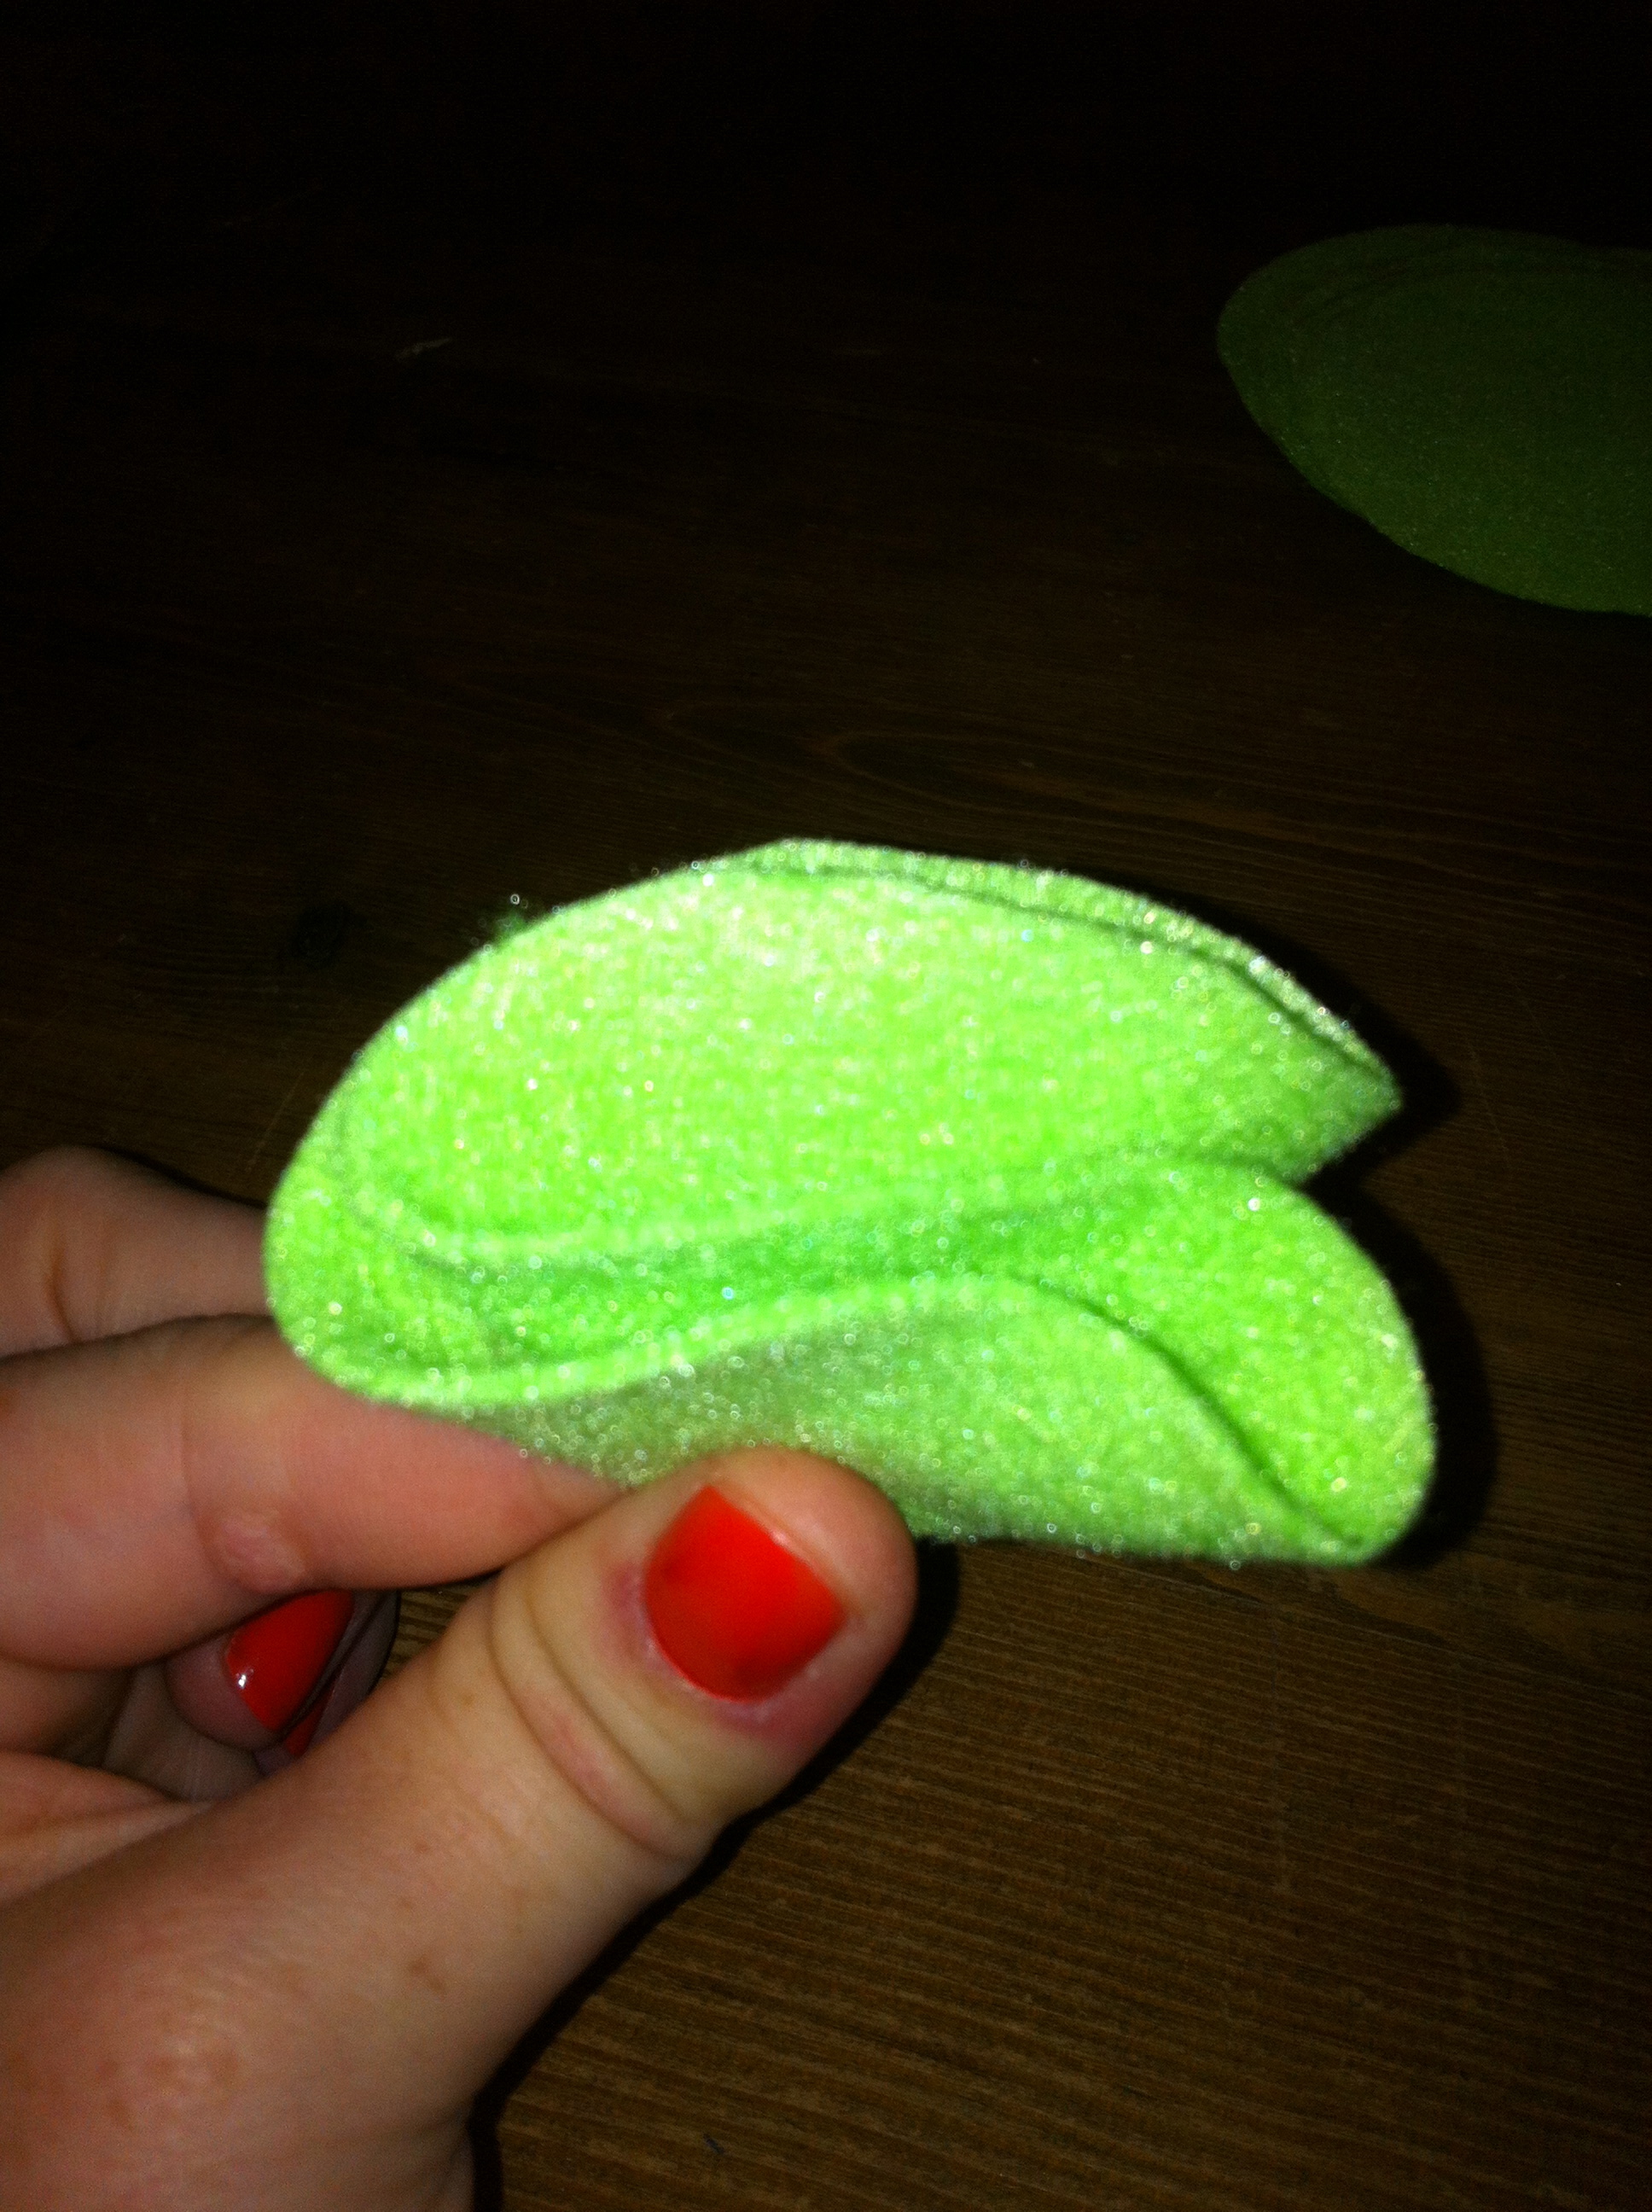 You’ll end up with a twirly, cone shape. Cute, yes? This is your first petal. Repeat this with all six of your big circles.
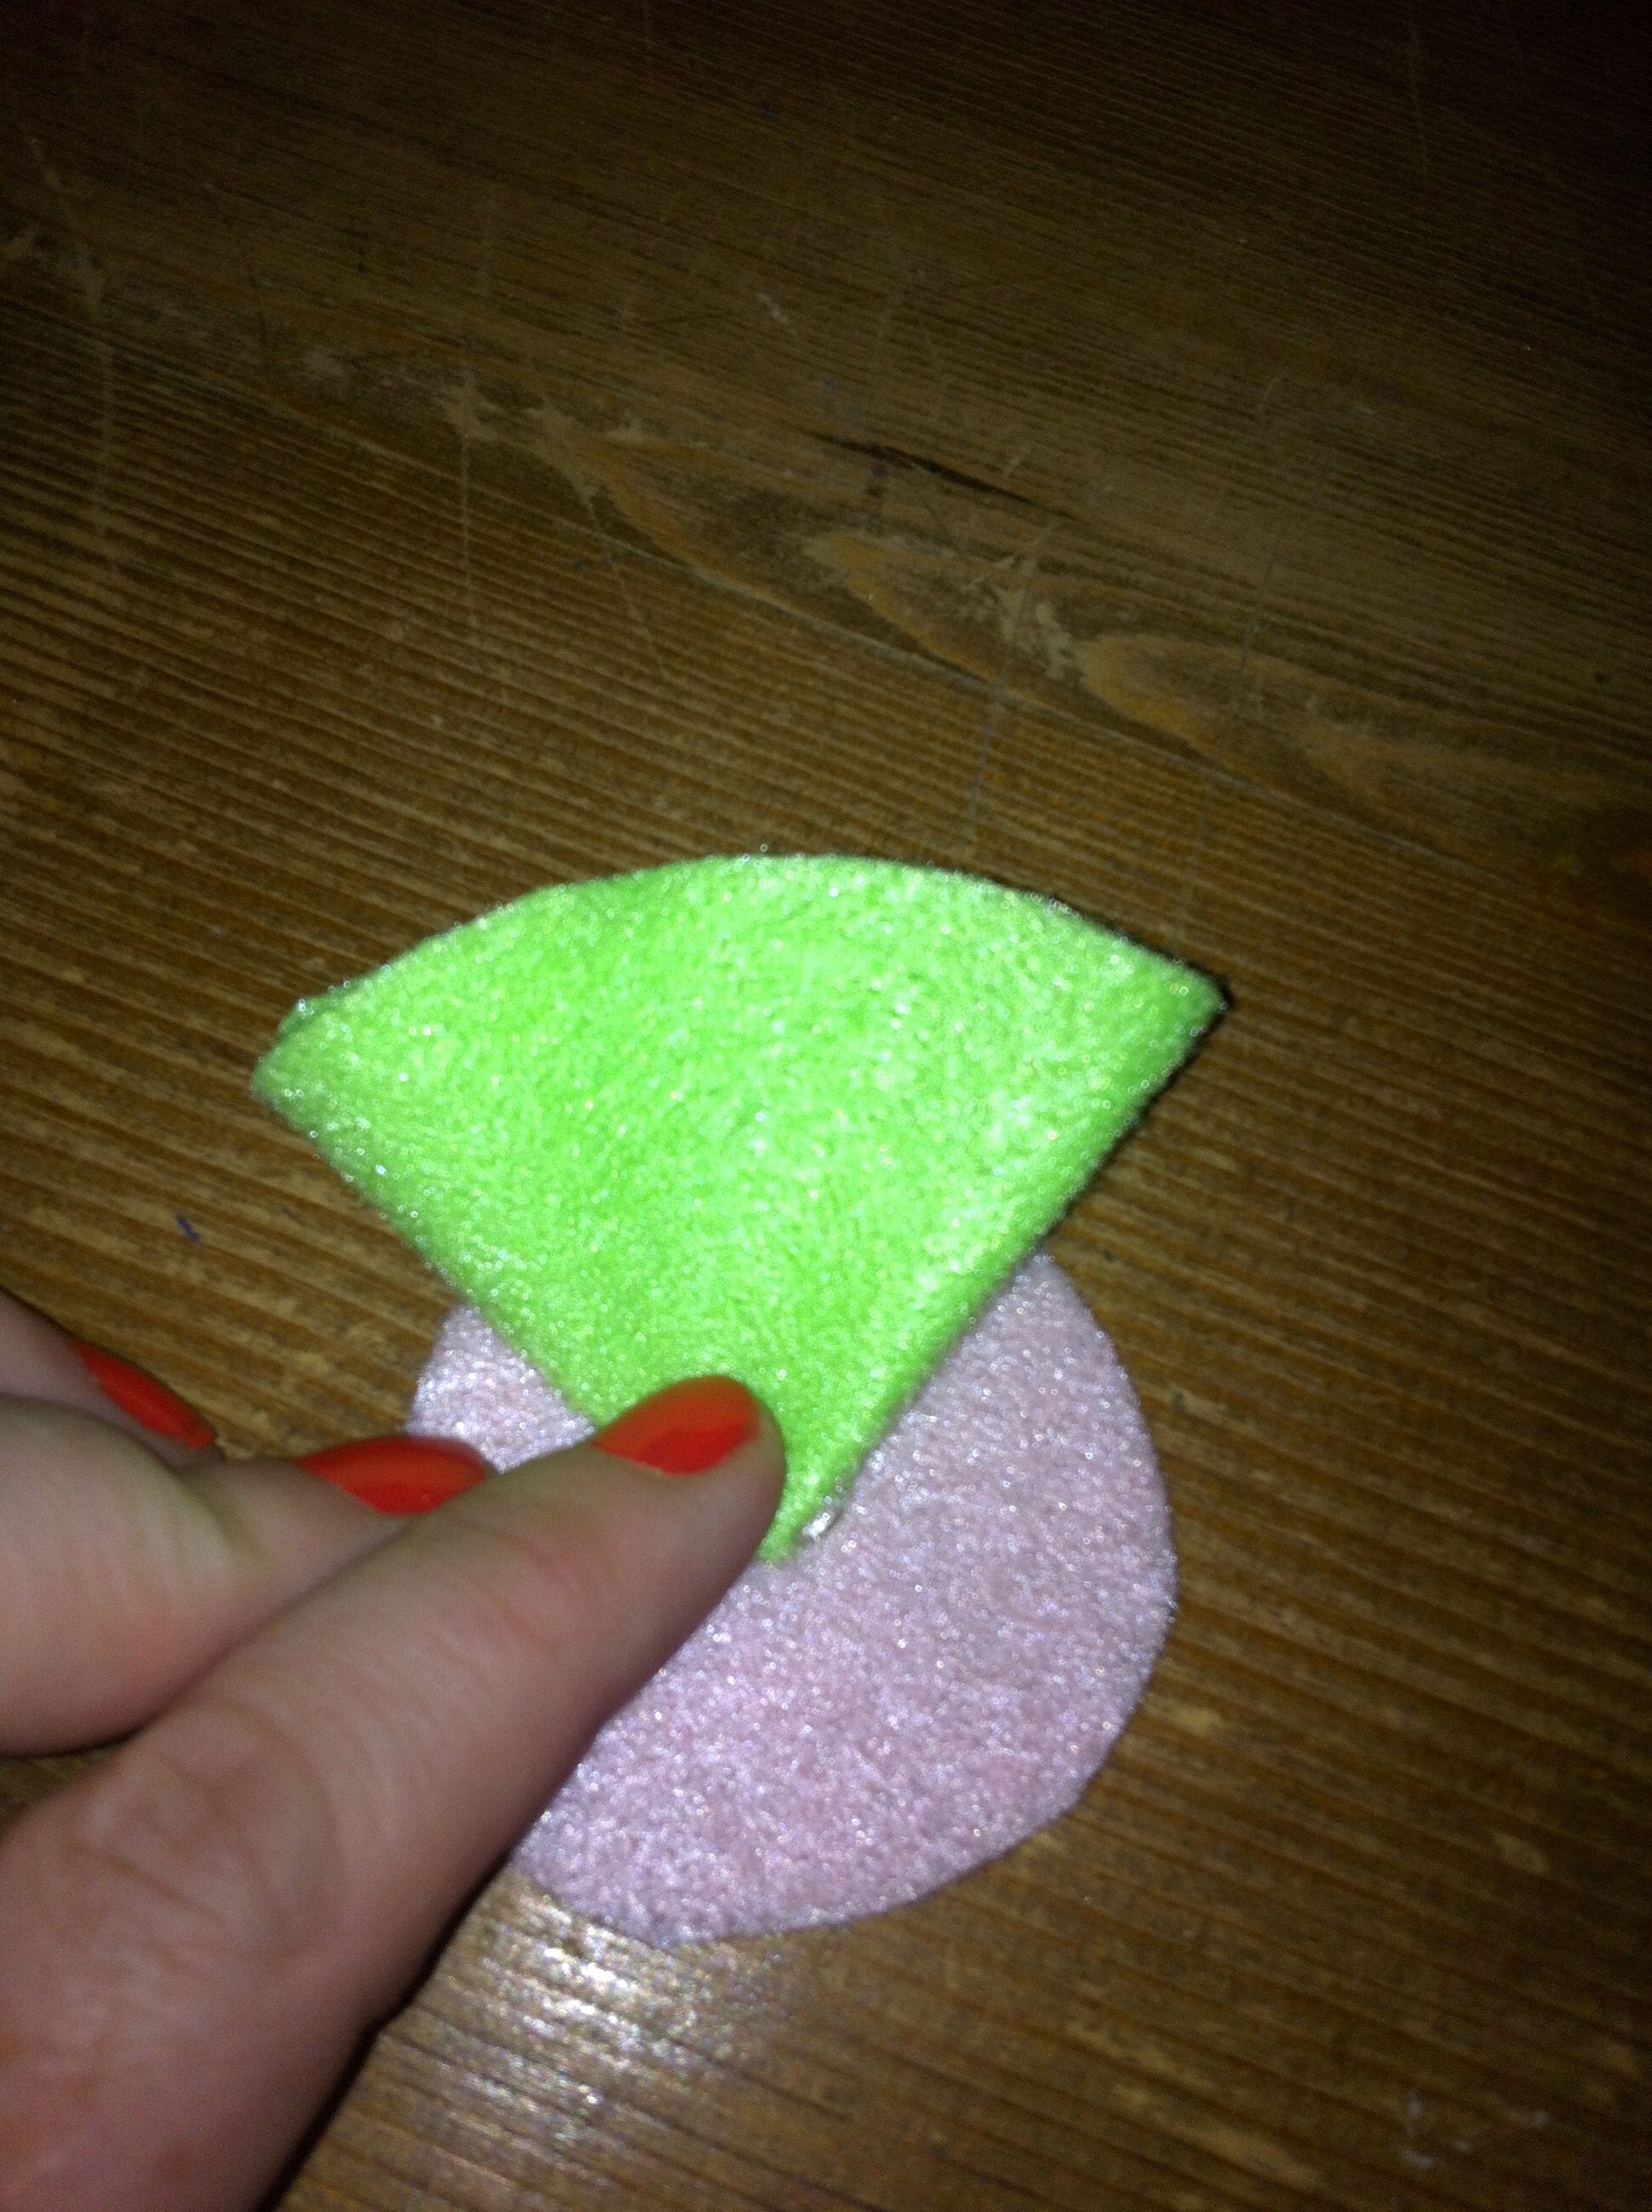
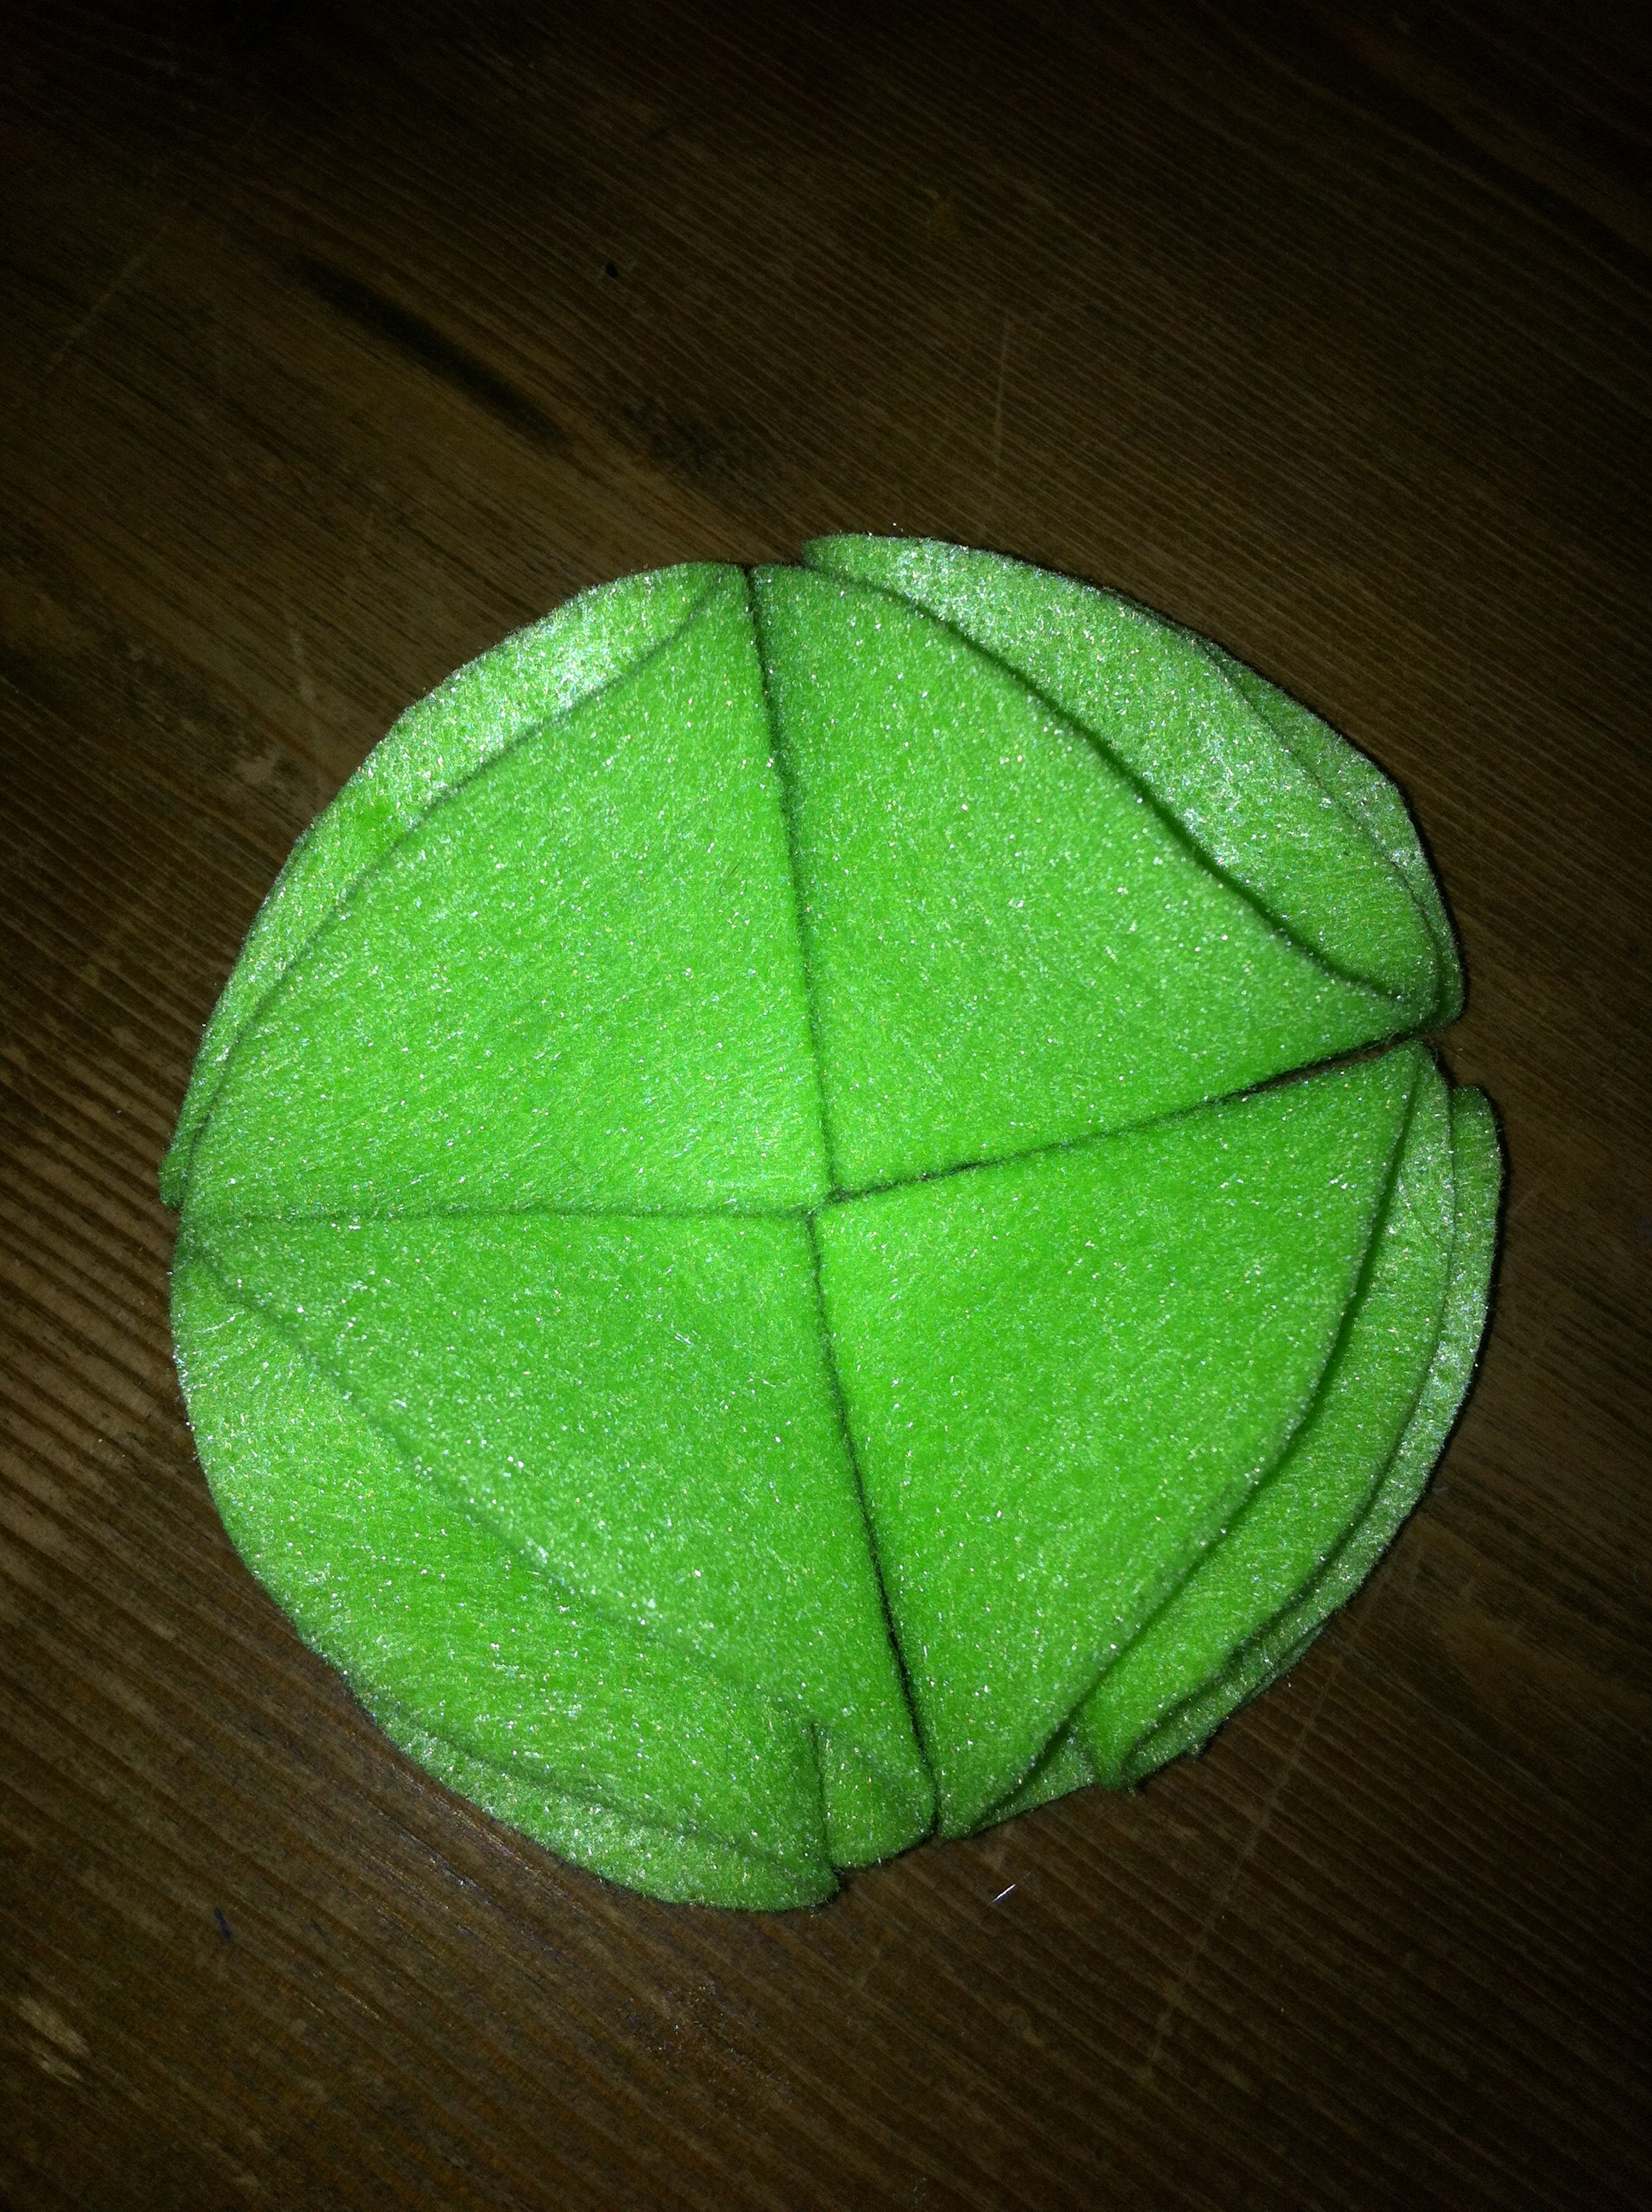
Step 6: Glue four of your petals onto the small circle.
 It should look like this once all four are glued on.
 Step 7: Put a well of hot glue in the middle of these four petals.
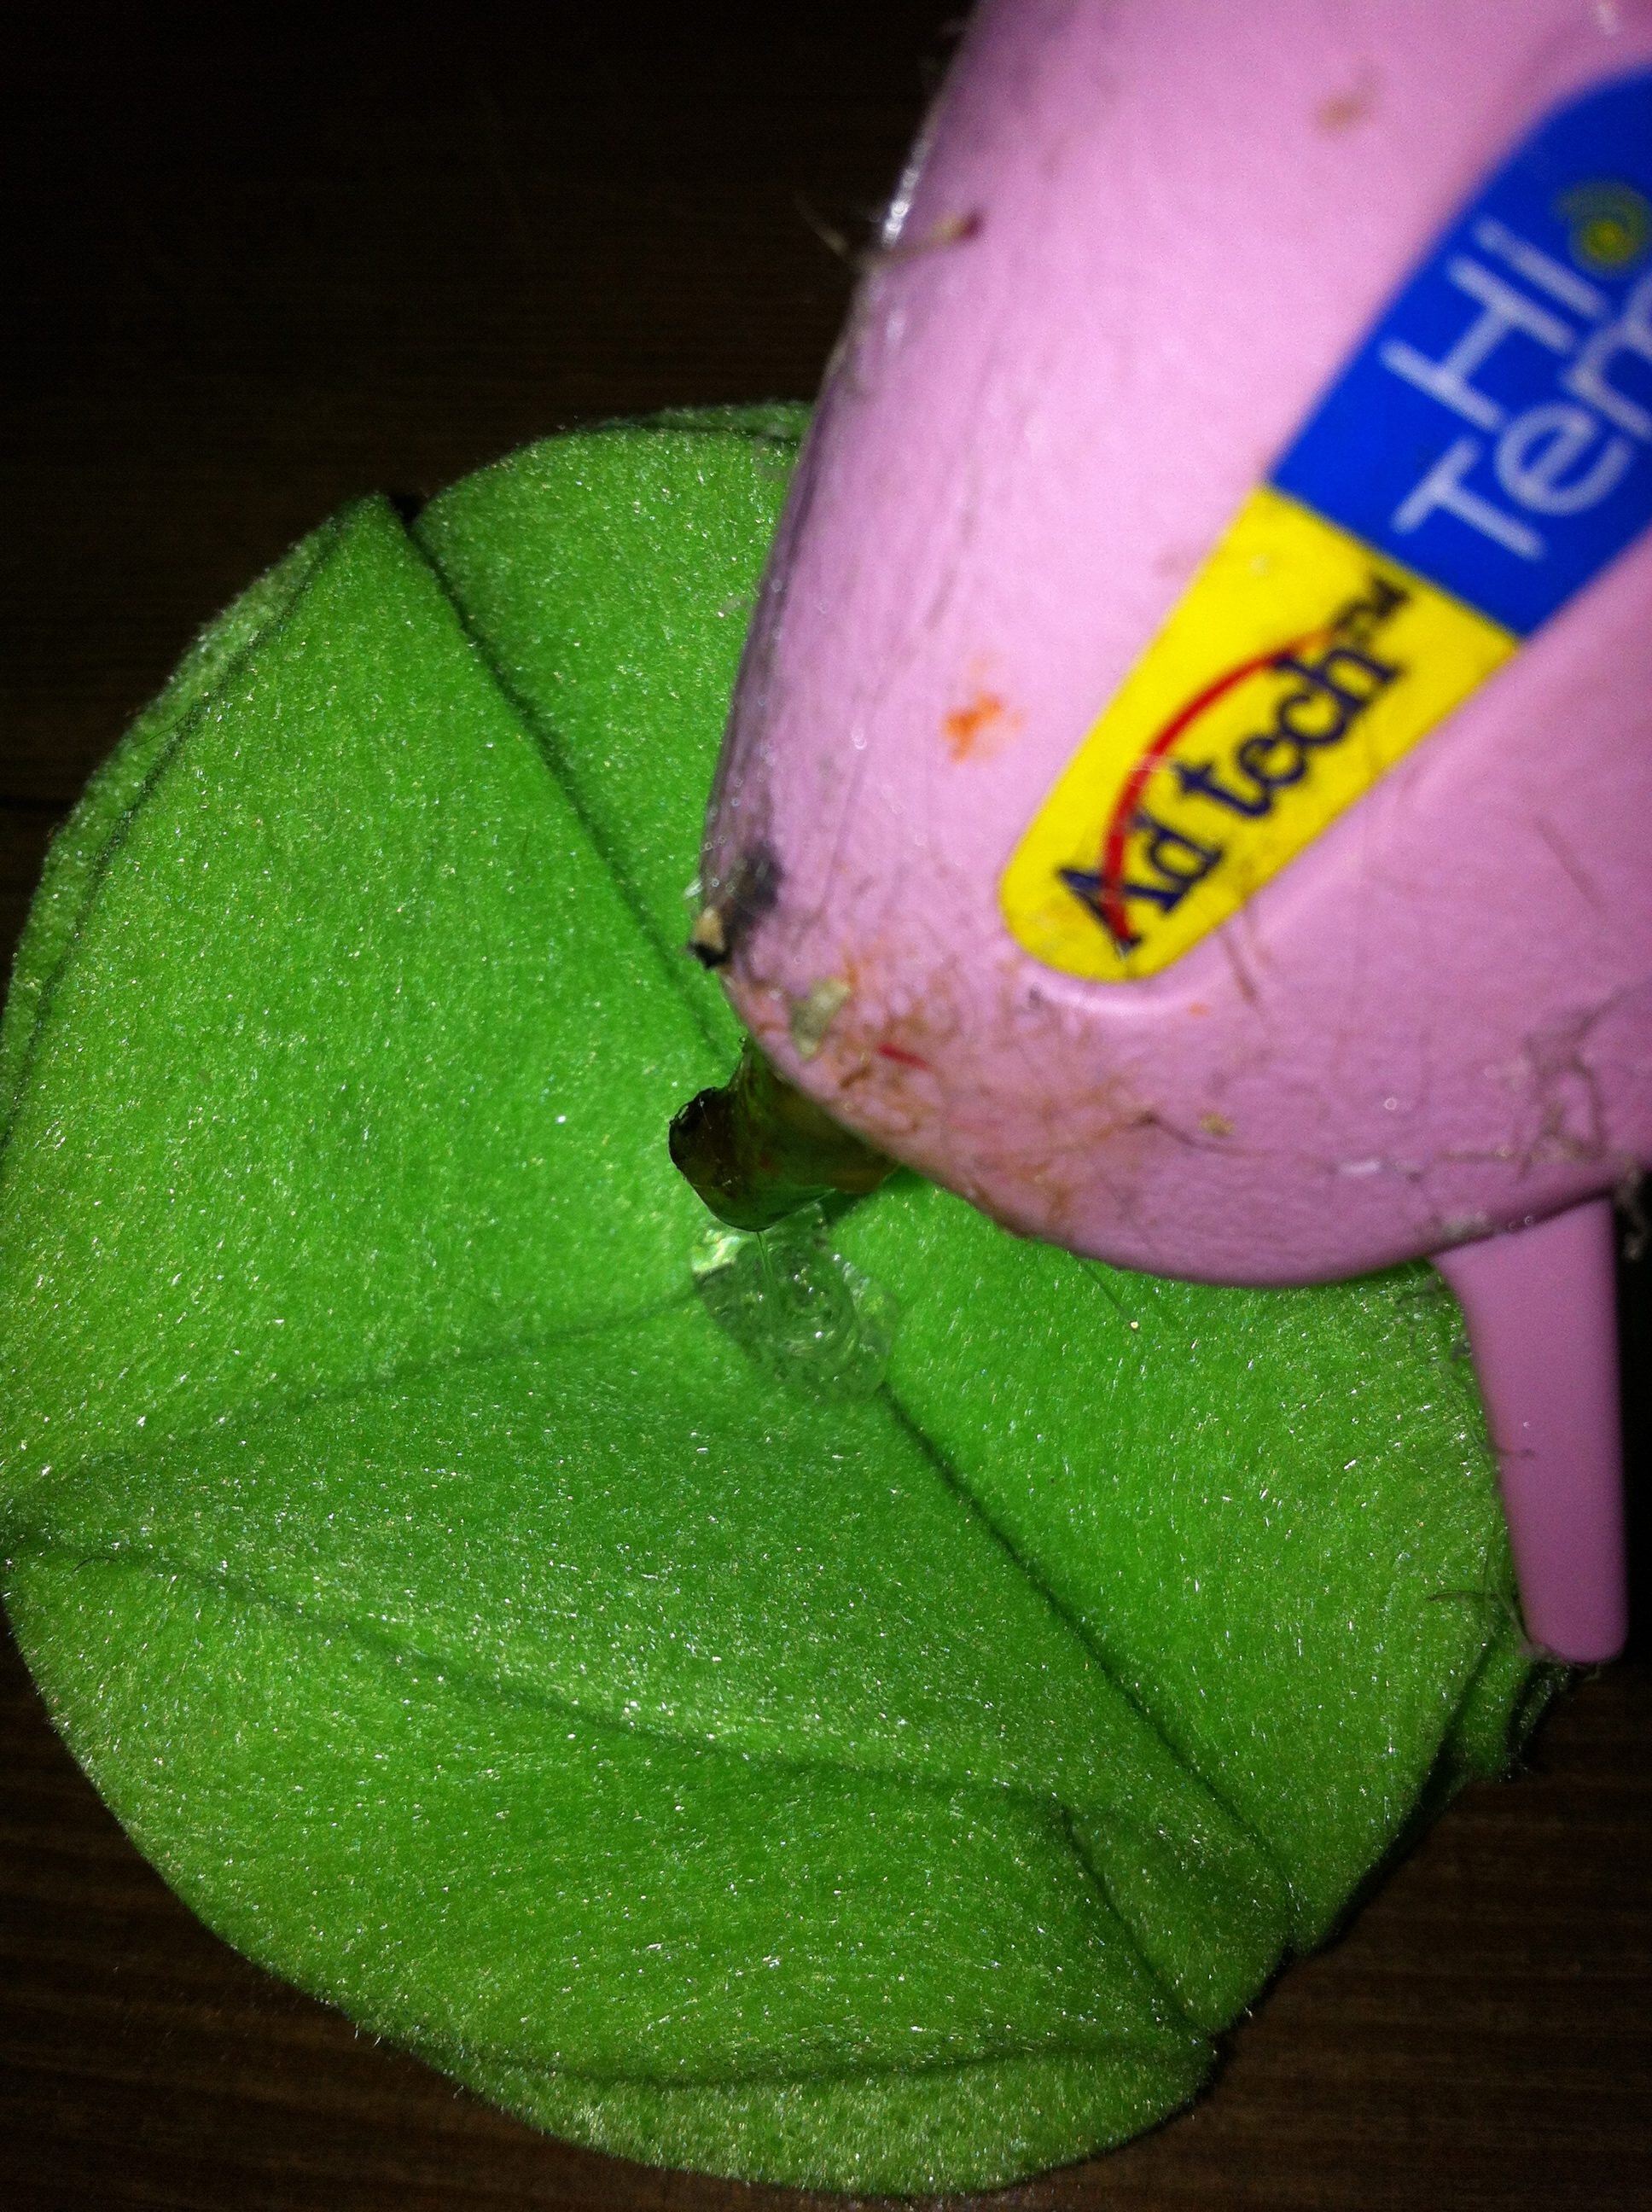 Step 8: Add the two remaining petals (standing up as opposed to flat) to the center of the flower.
Seriously, aren’t these the cutest?! You can do sooooo much with them! I added these guys to a cute frame project I’m working on.
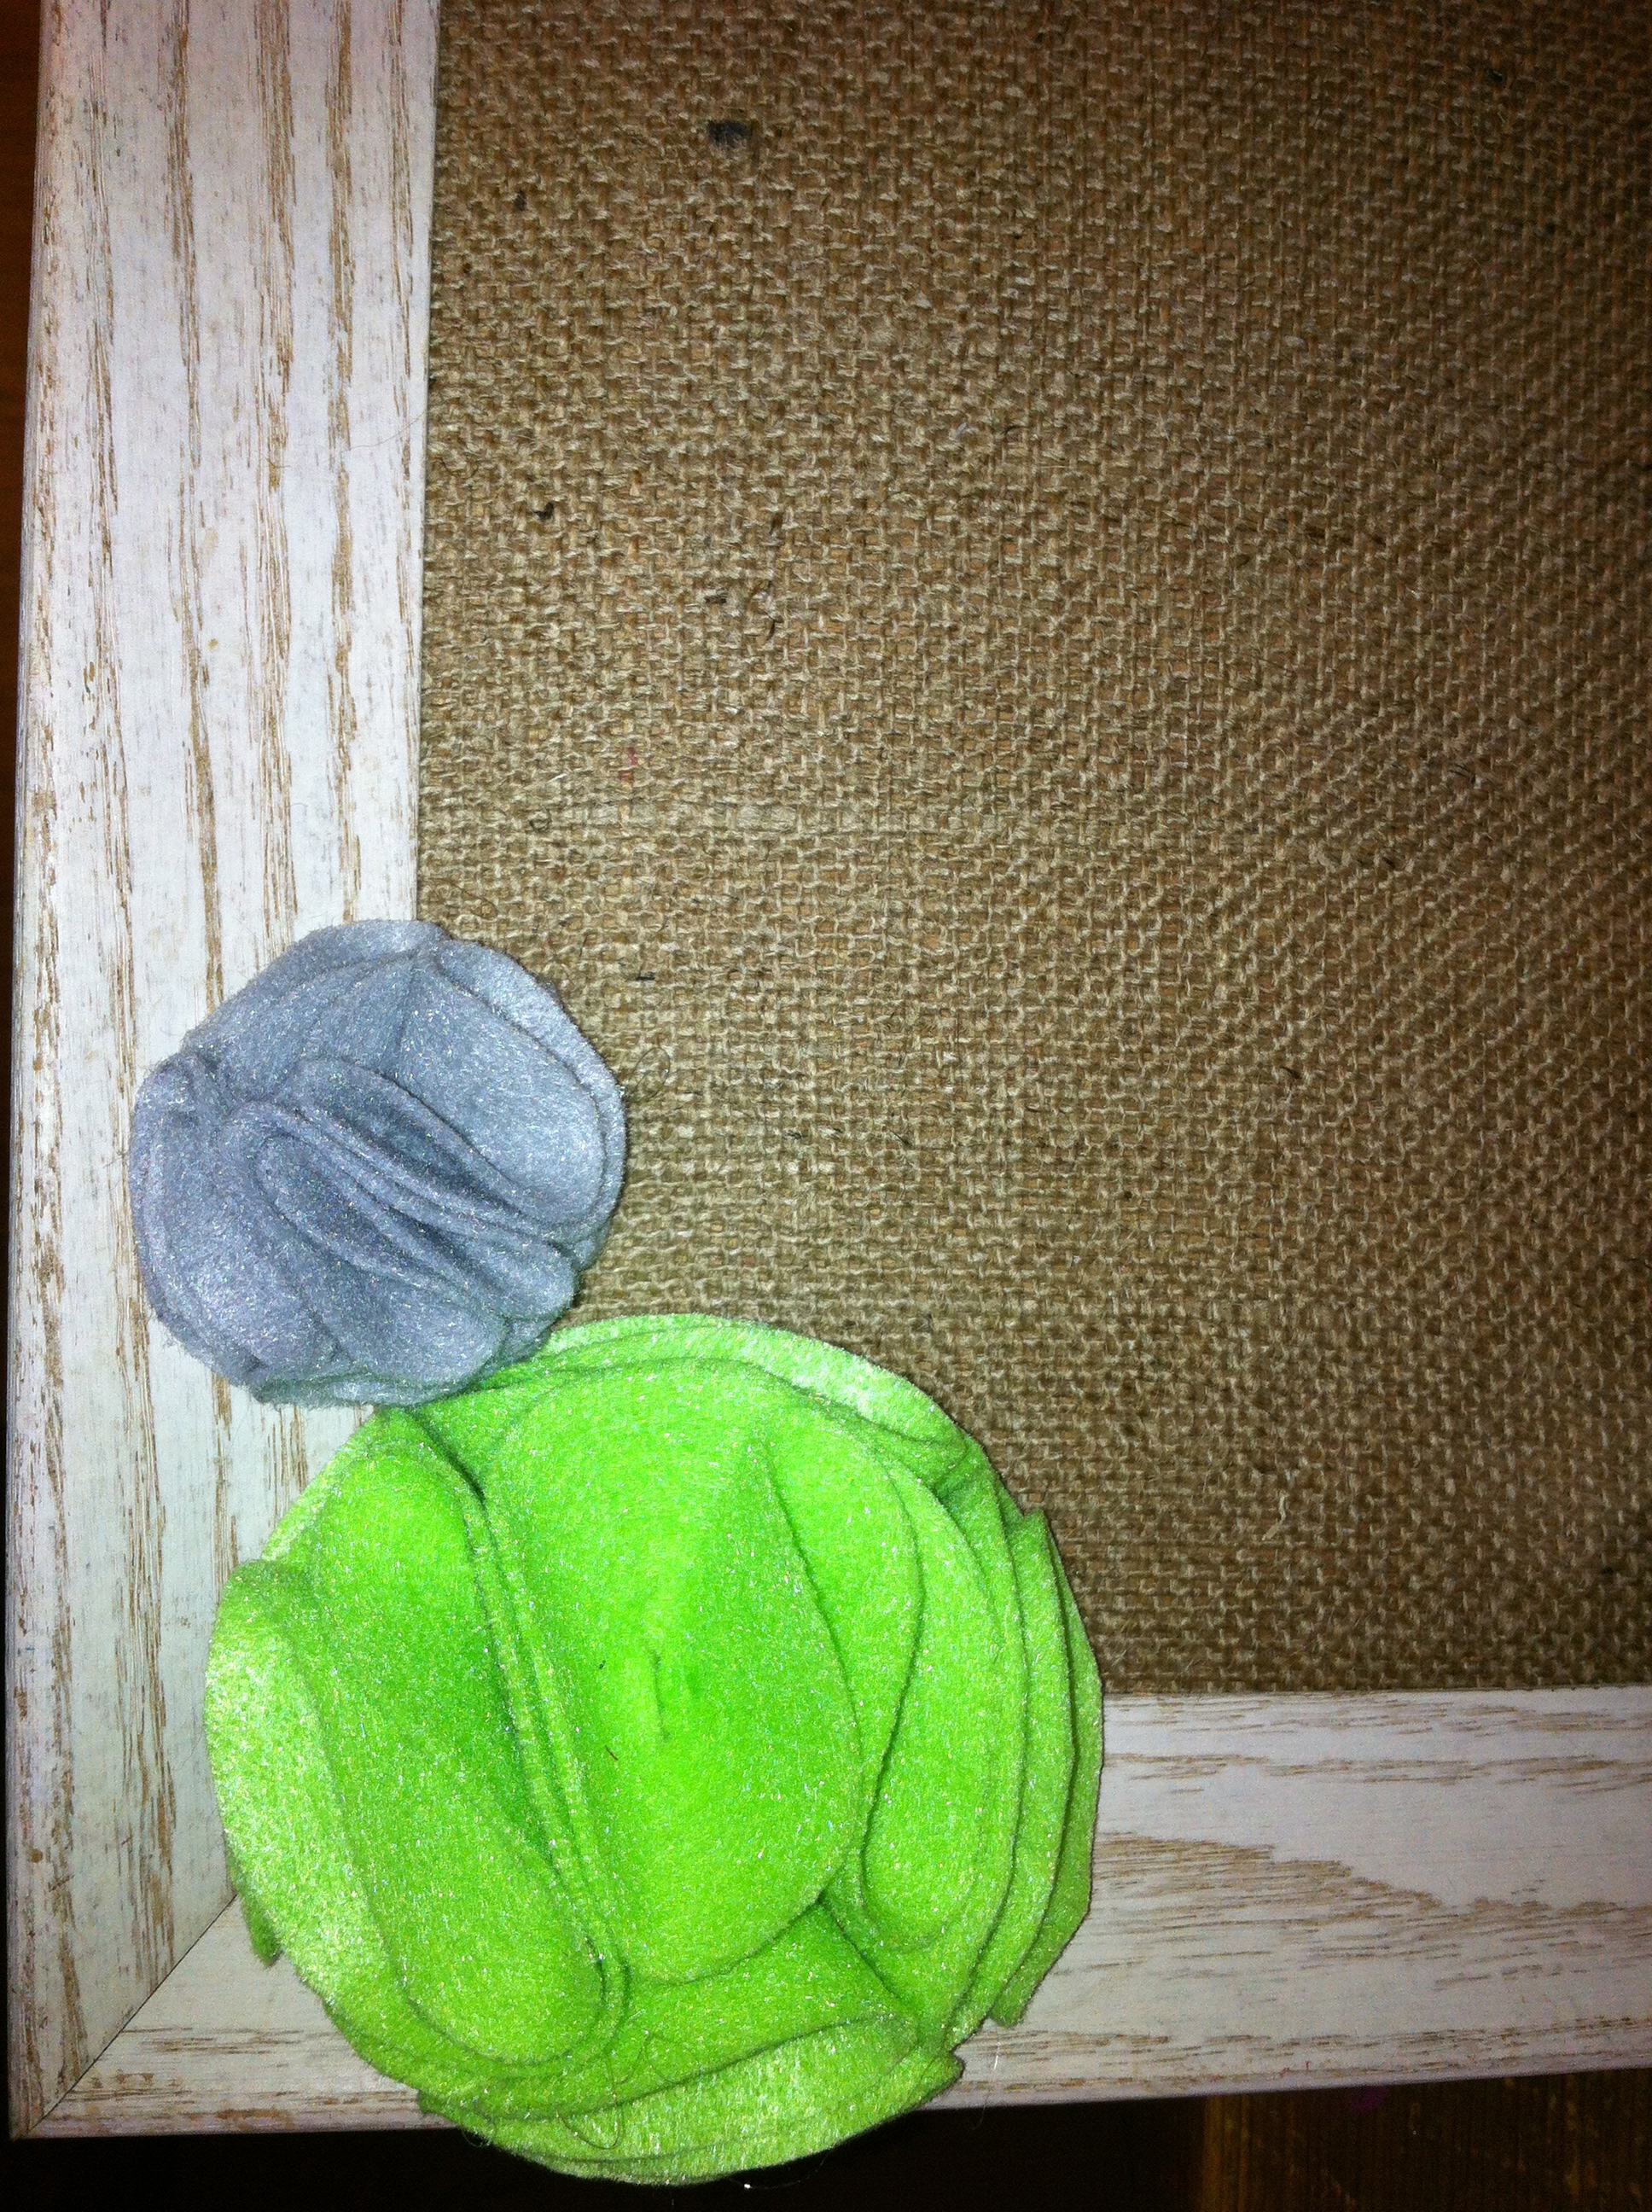 You can make them into name tags, necklaces, package decor – anything you can think of! If you decide to give these a whirl, let me know what you make with them!
Hey, THAT looks familiar! LOVE it! 🙂
you are so crafty